“It’s really important to teach people how to get food, how to grow it, how to pick it, how to prepare it and what’s safe to eat.” ― Arthur Potts Dawson
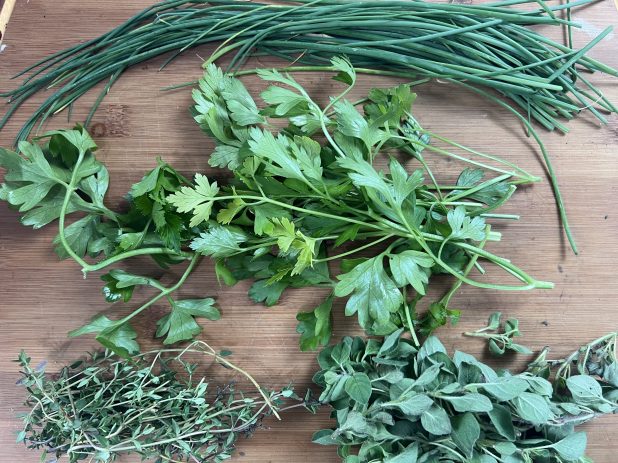
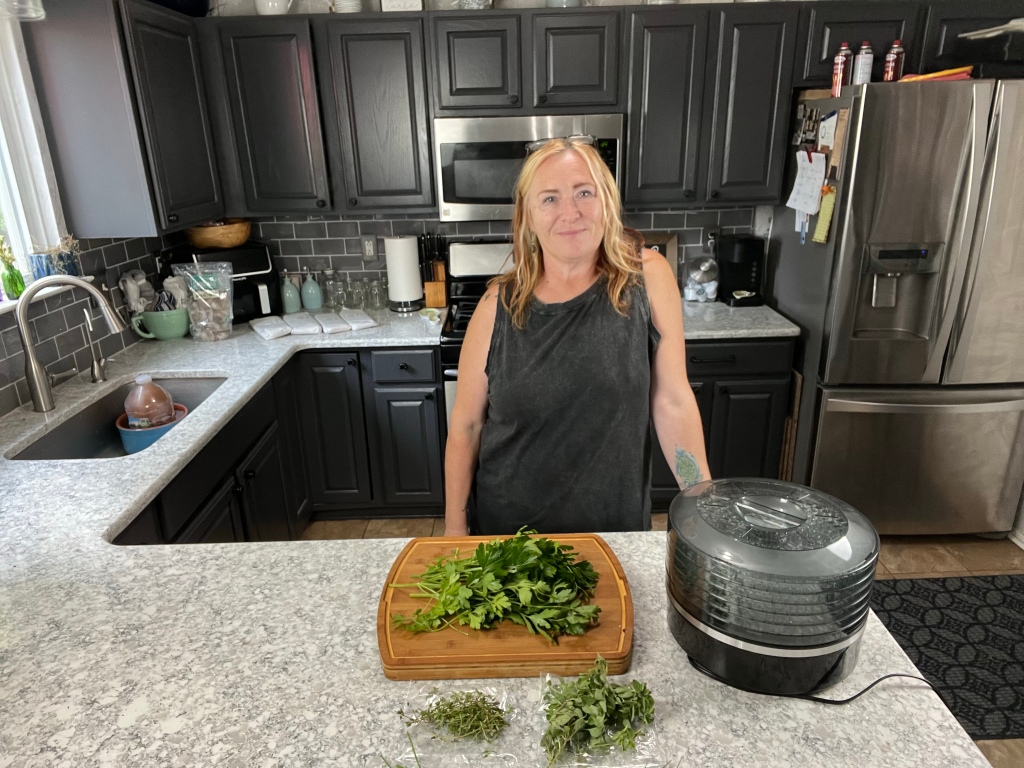
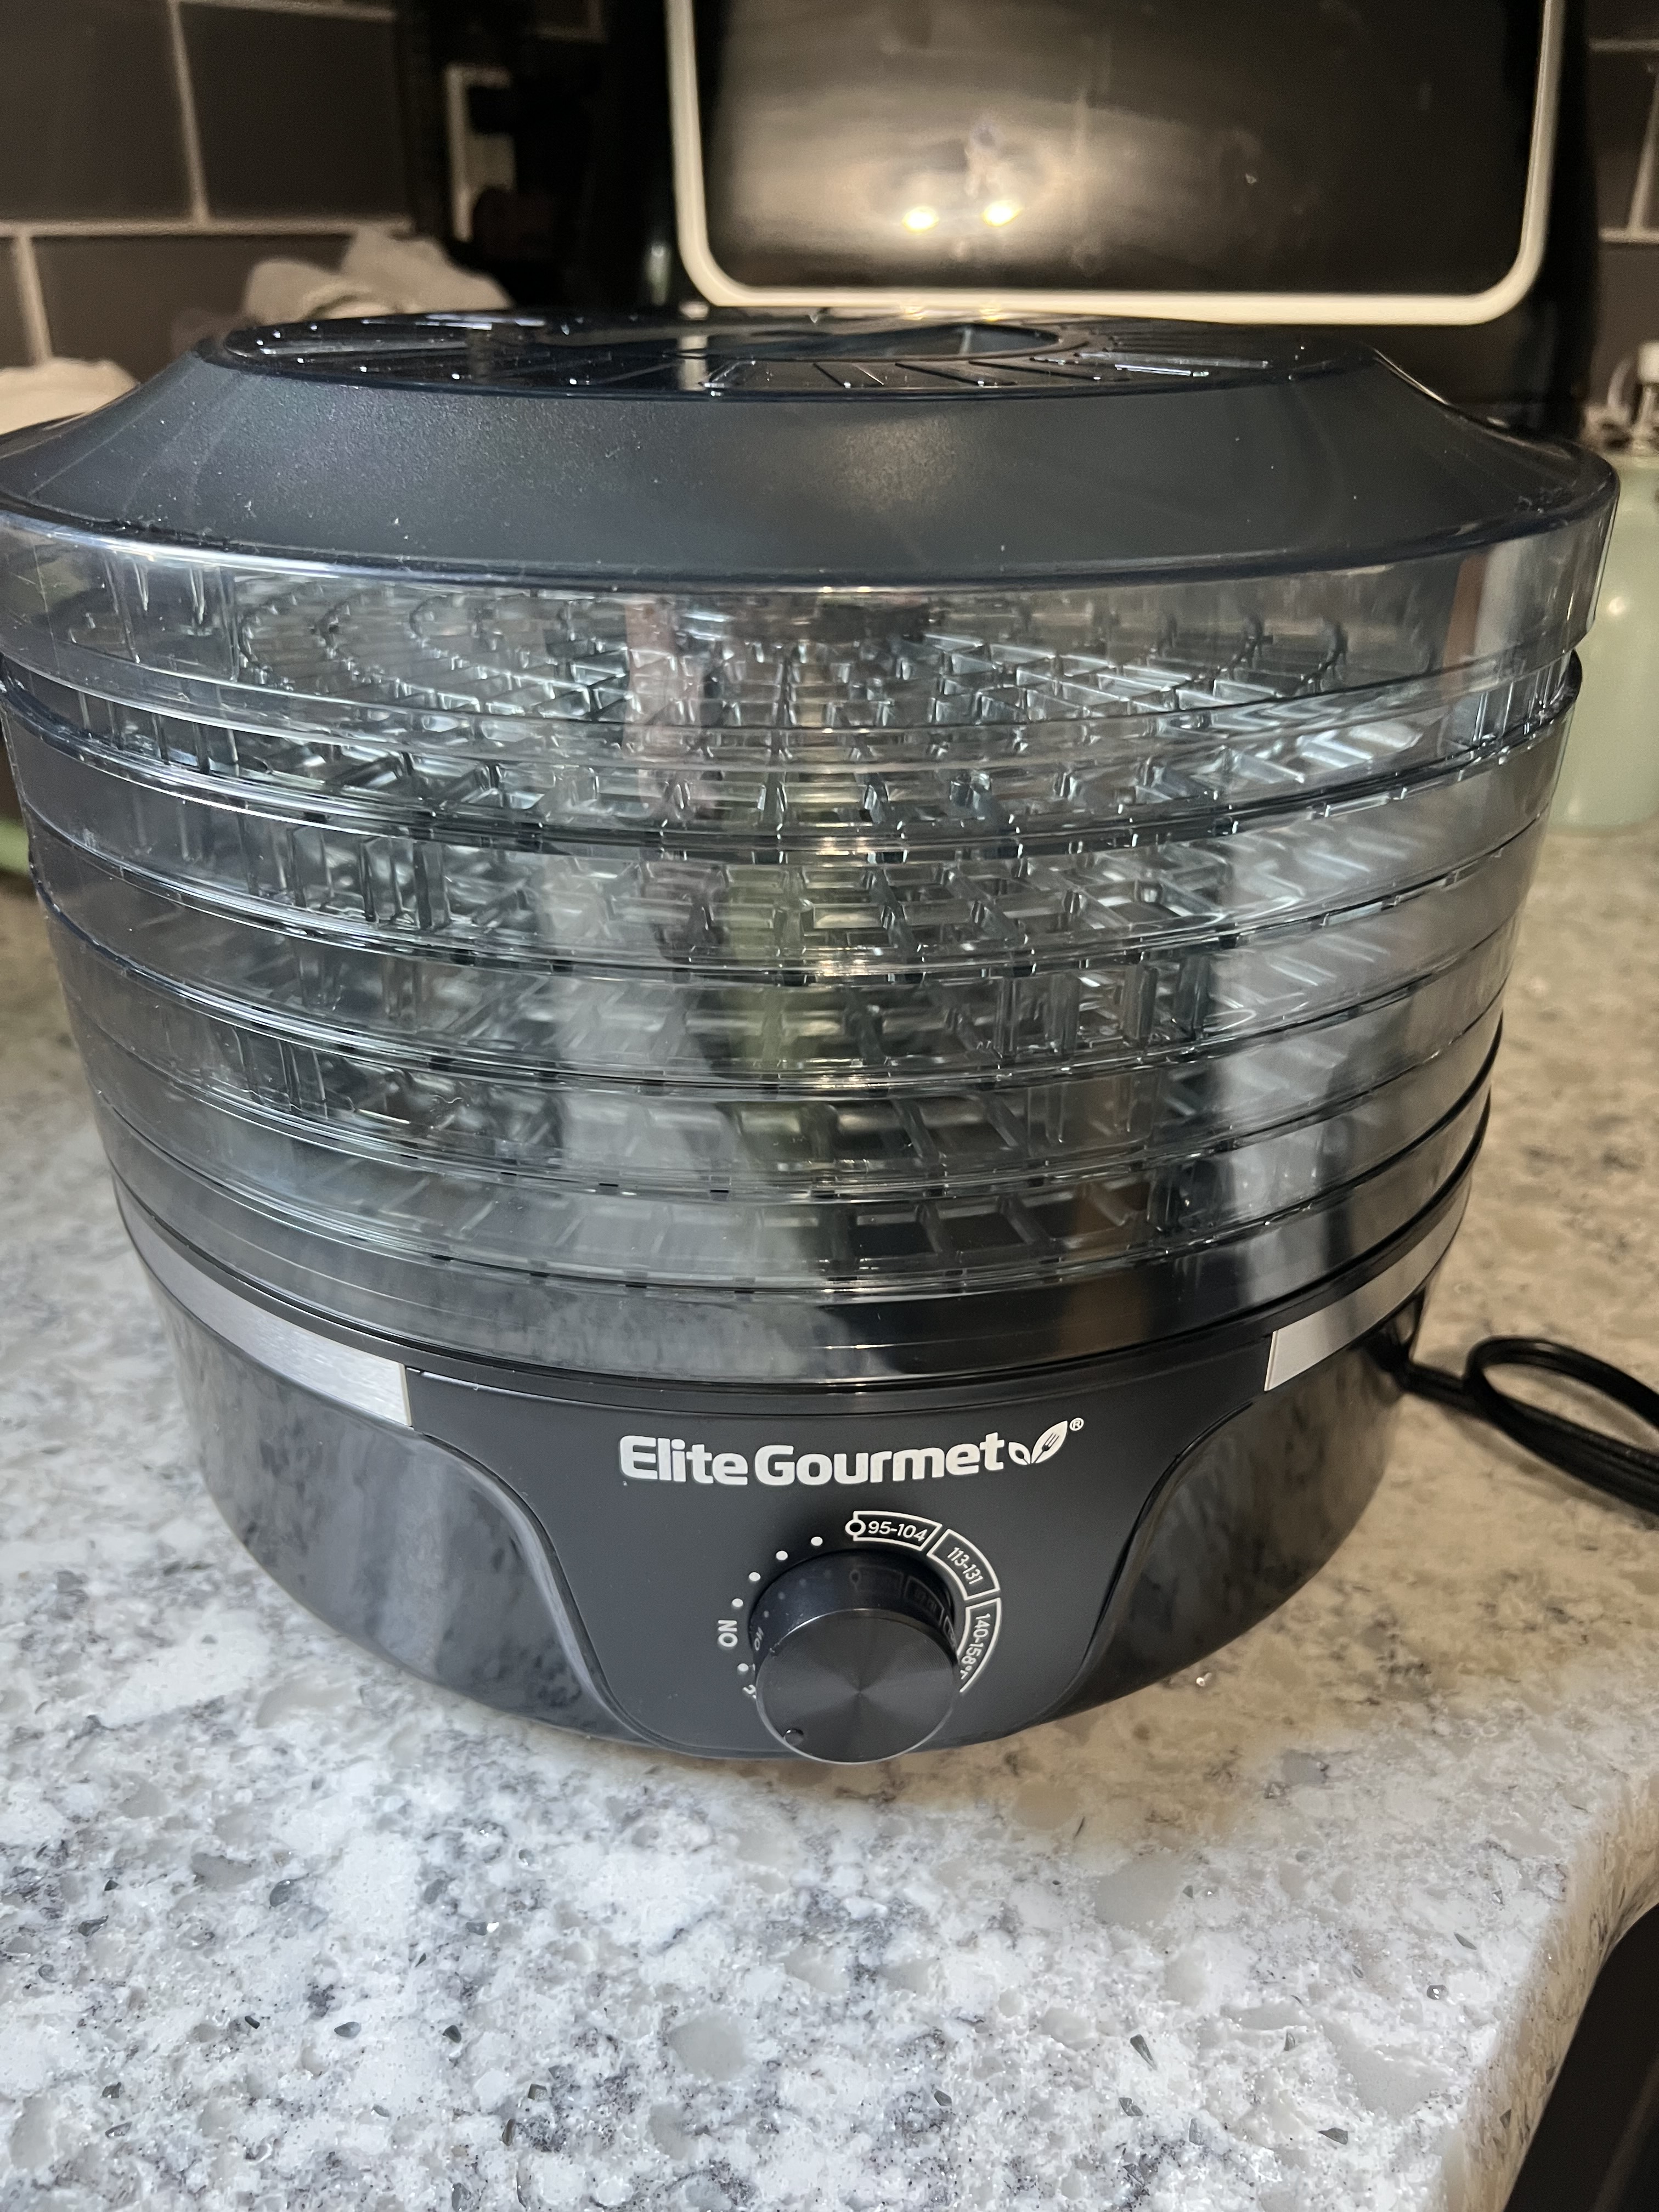
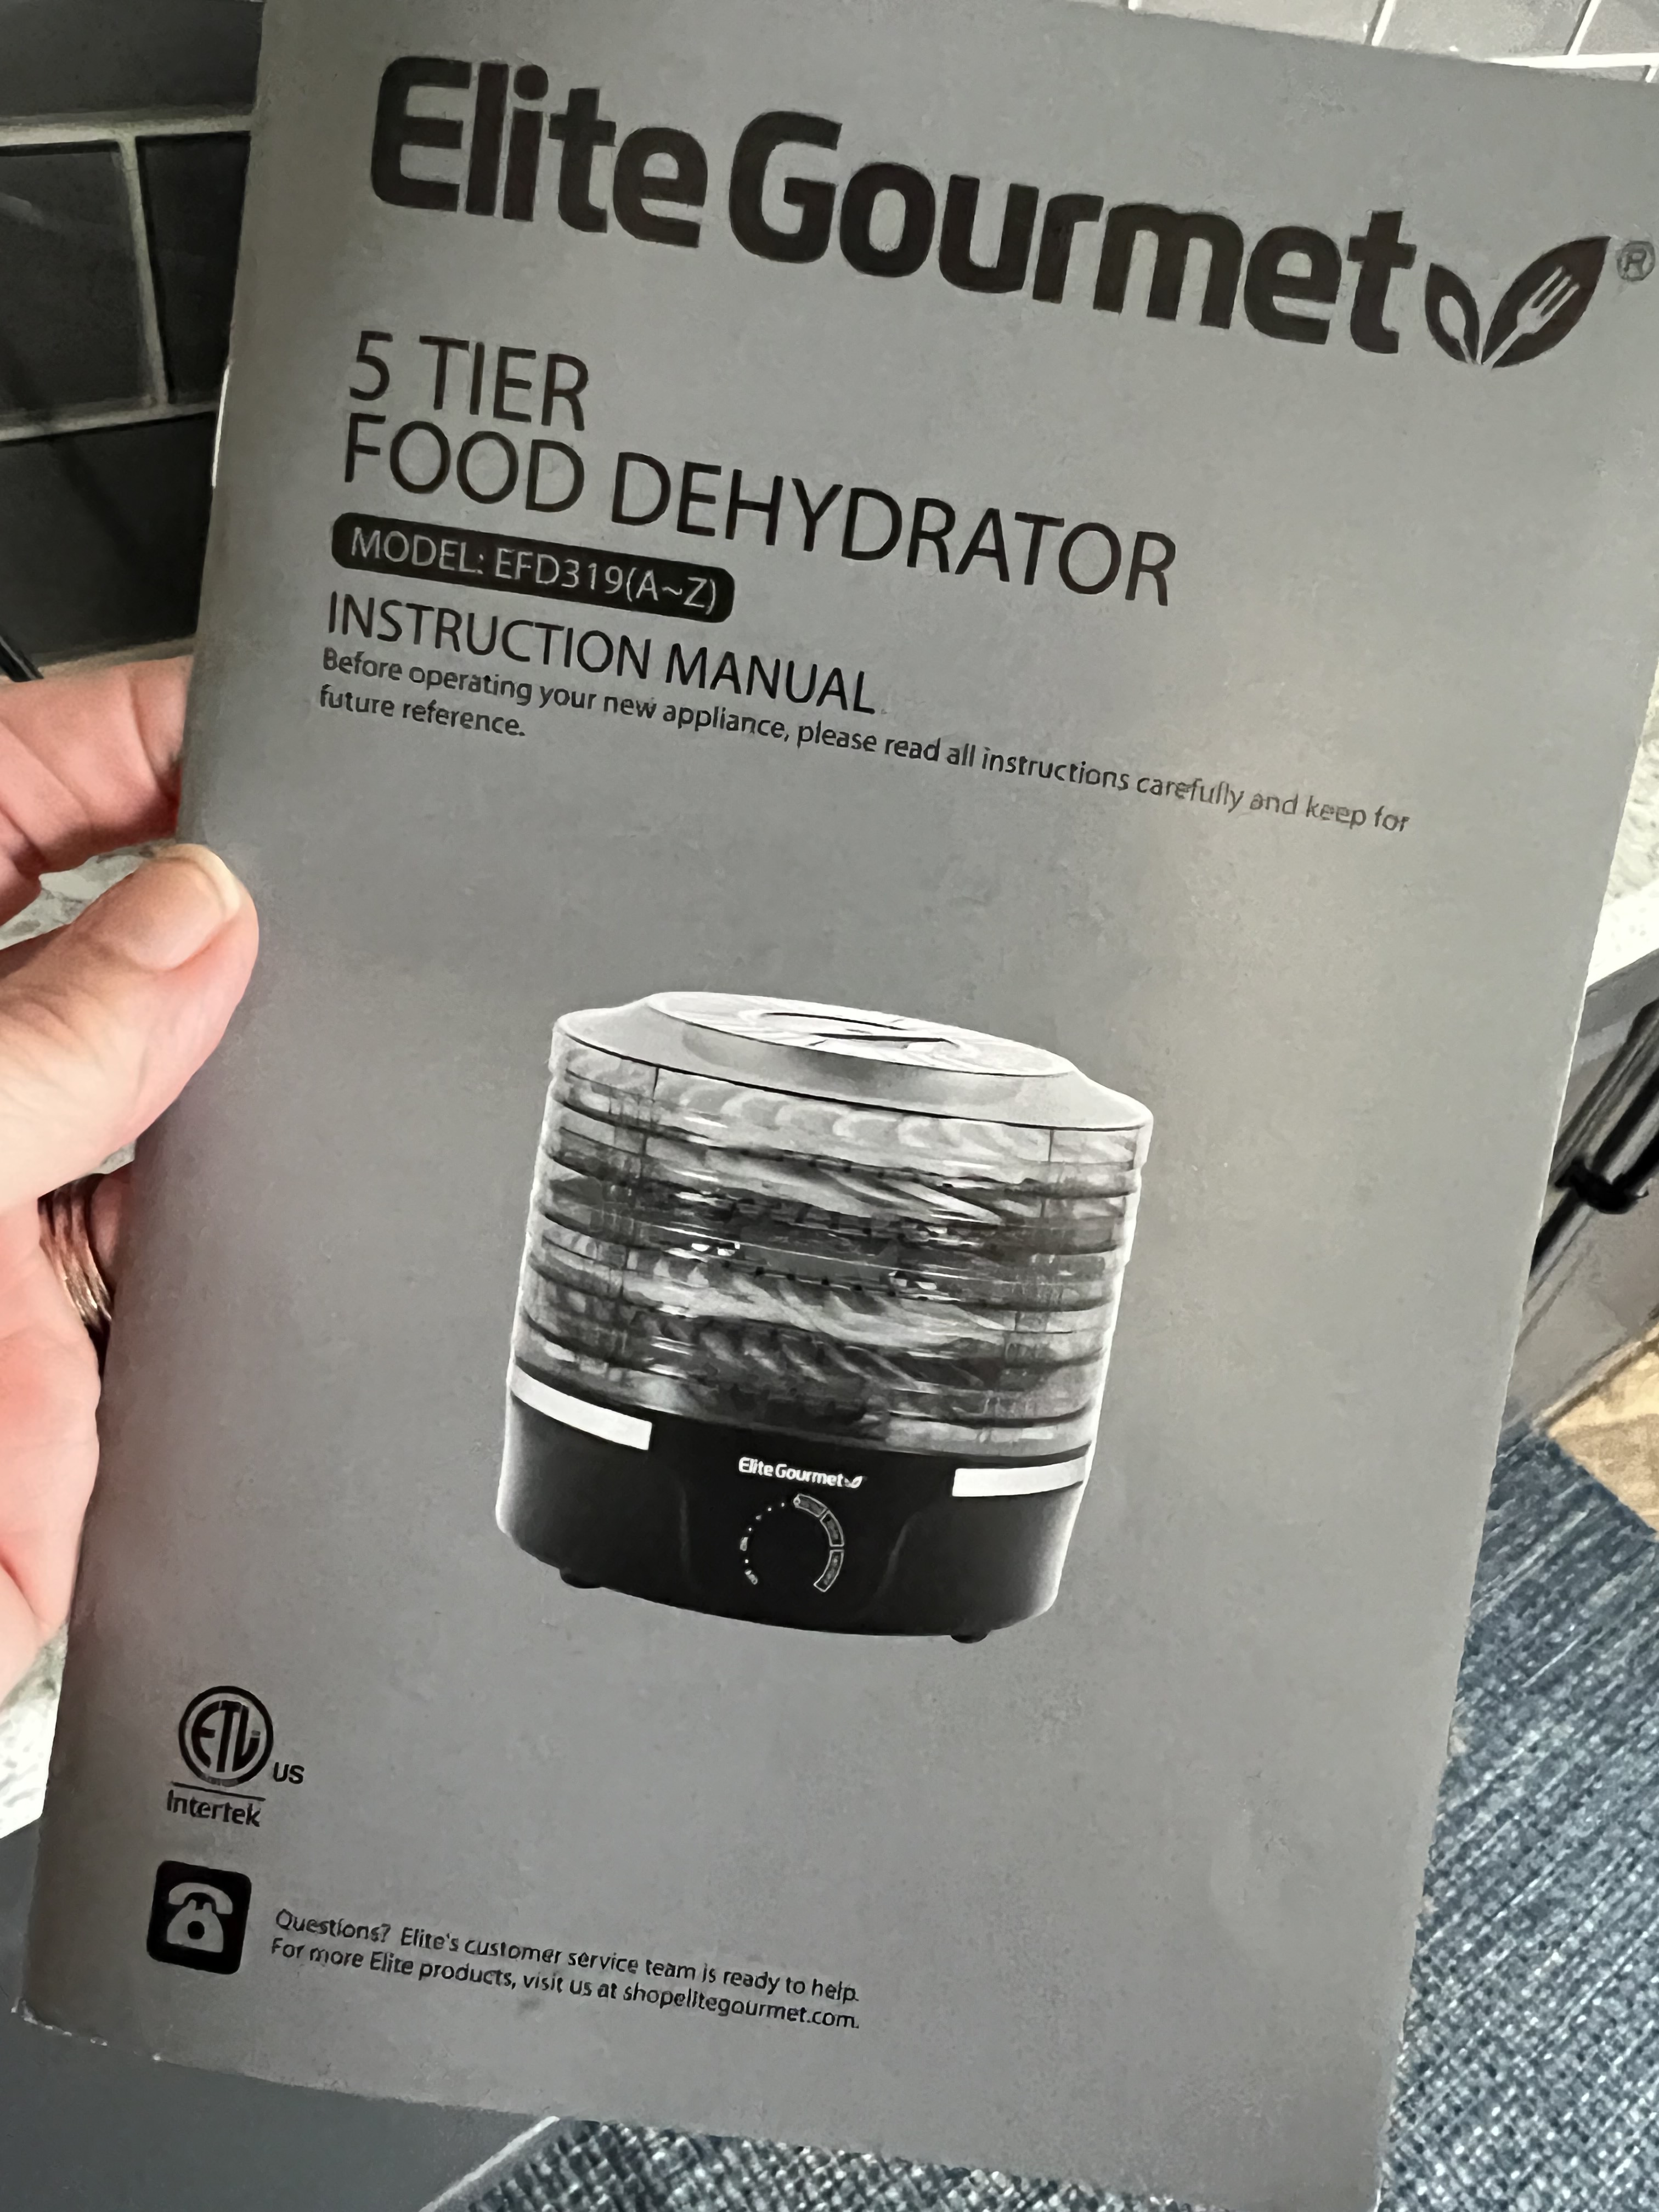
Do you grow your own herbs? Well, if you do, this is a video you won’t wanna miss! Over the years, I have owned several Elite Gourmet Food Dehydrators! I just got my new one and I’m so excited to start using it.
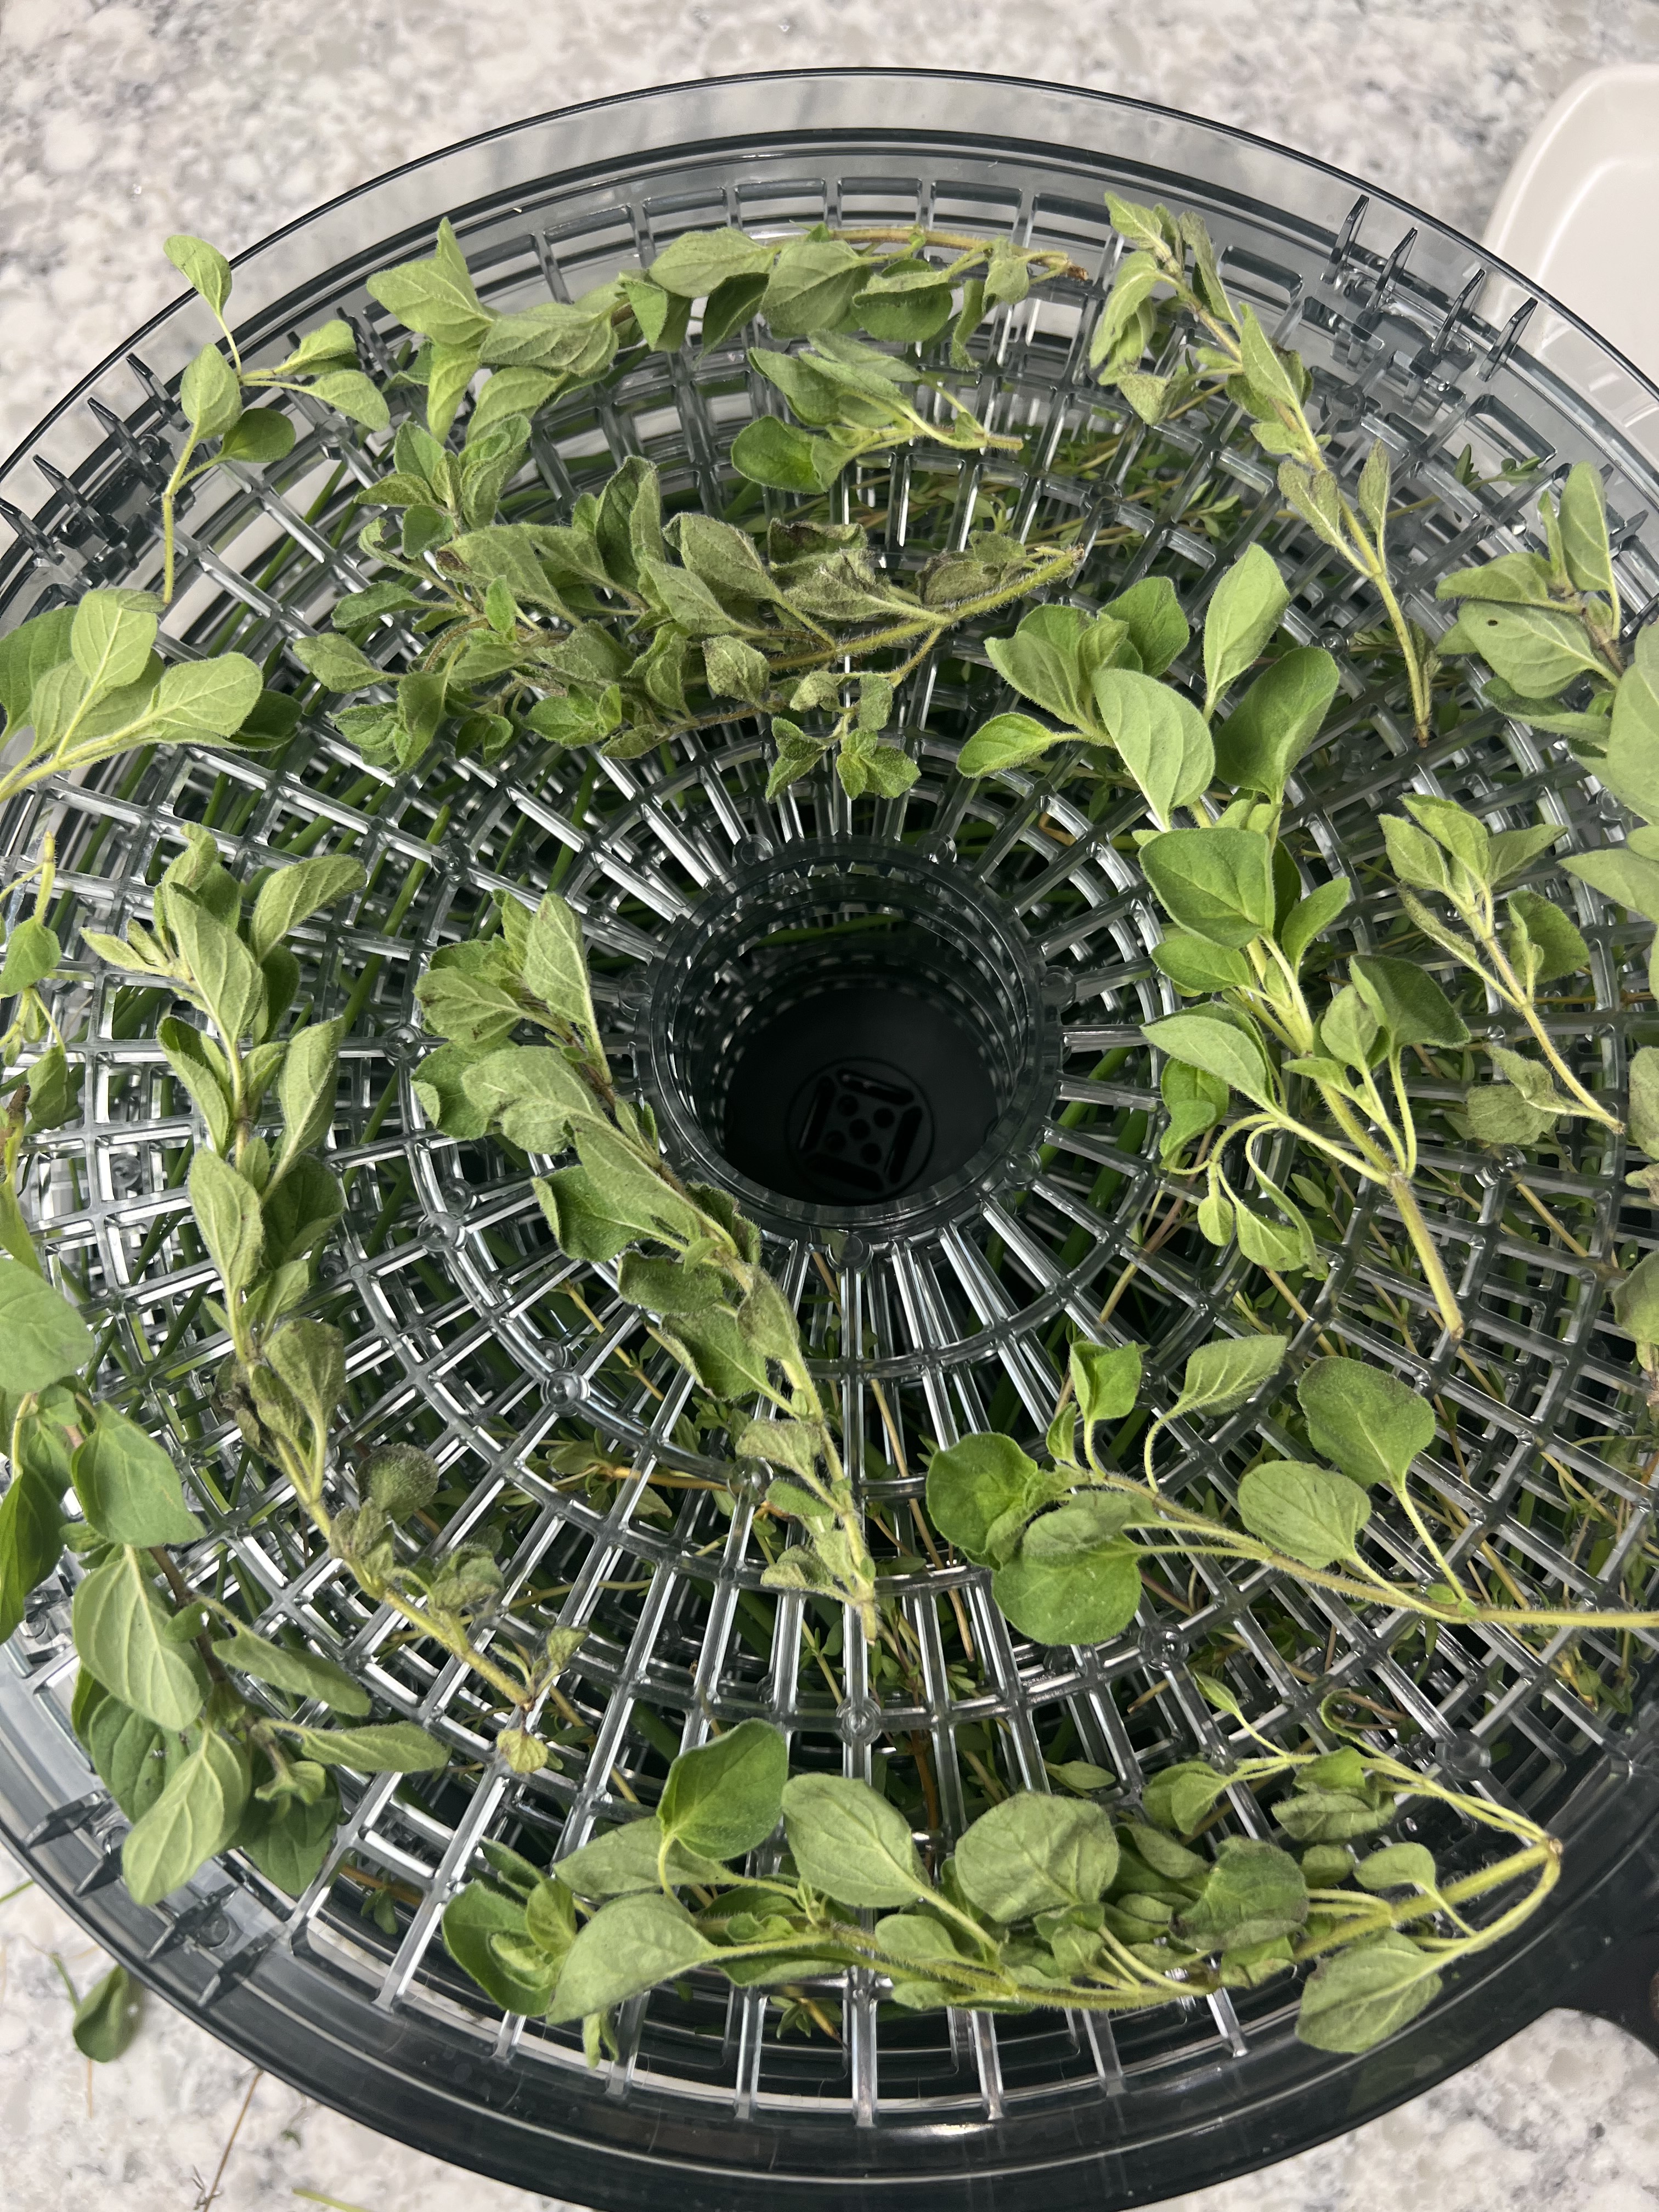
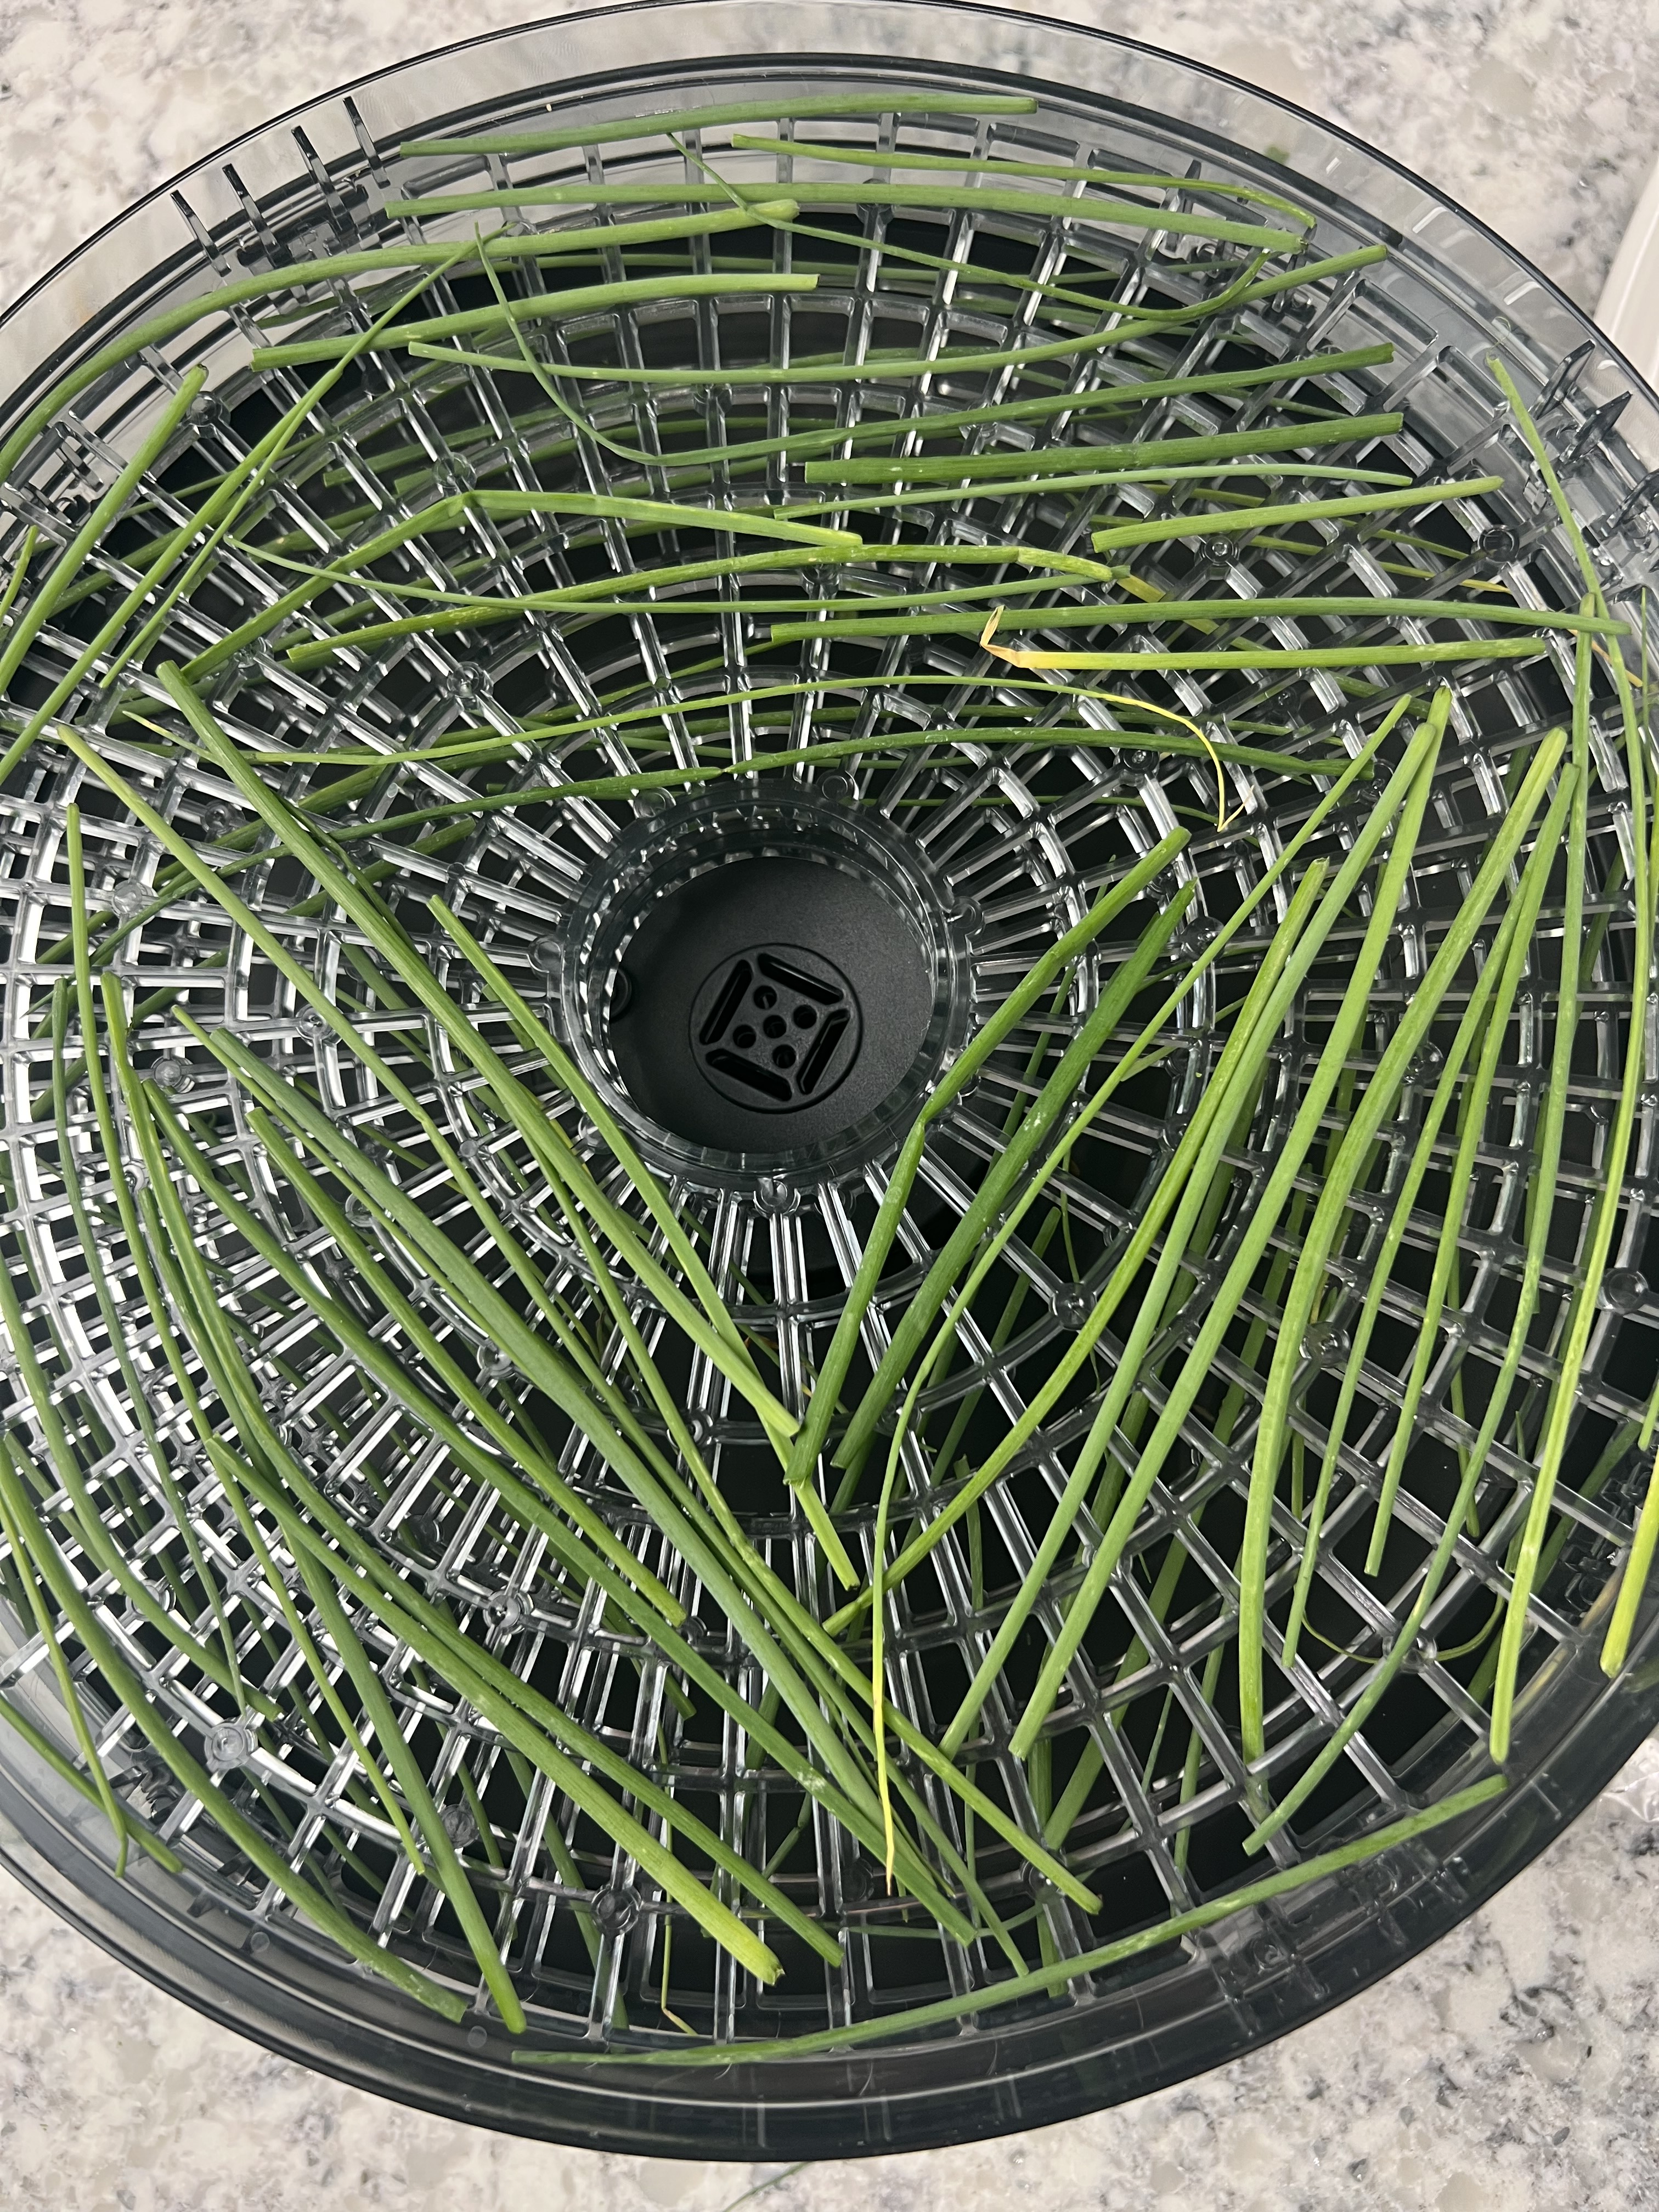
In today’s video, I’m going to show you how easy it is to use this dehydrator to dry your homegrown or purchased herbs.
If you are interested in purchasing your own Elite Gourmet Food Dehydrator, if you click the link here, I will receive a small financial compensation. Thanks in advance you won’t regret purchasing this item!
Check out my YouTube video below for this easy how to and then scroll down for recipes on how to create your own spice blends, including Italian seasoning and taco seasoning!
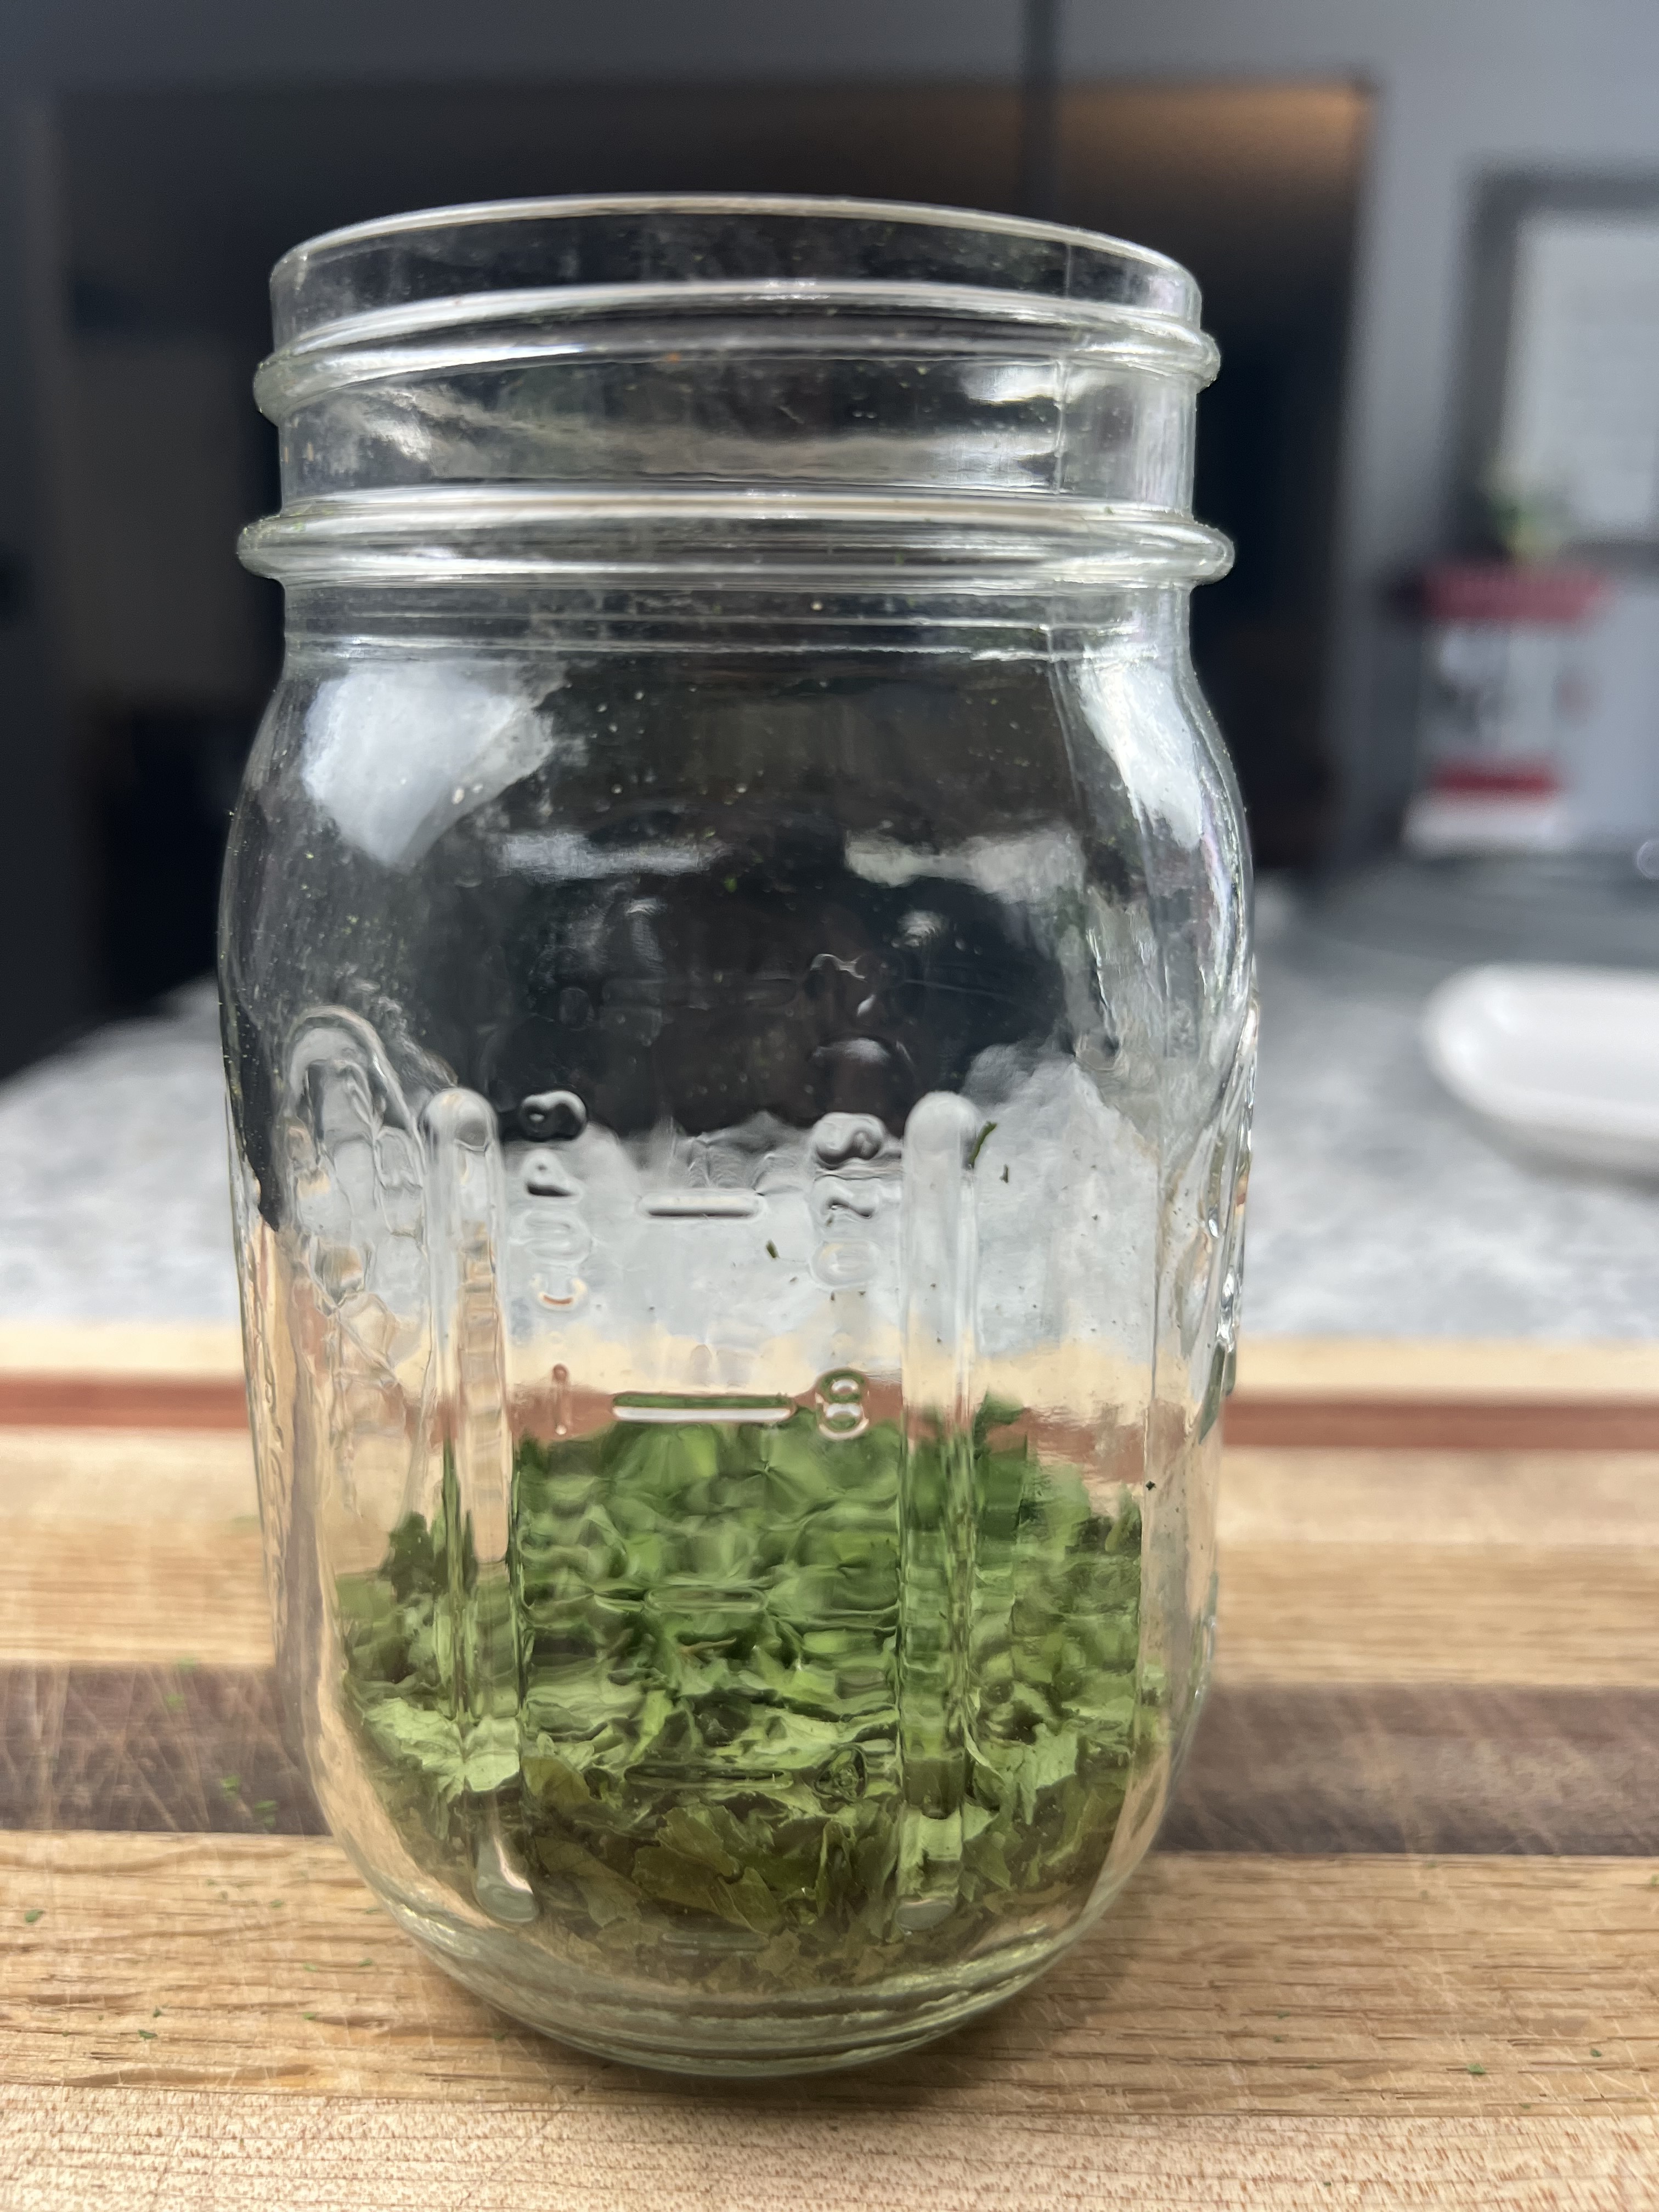
Keep scrolling to see how I processed my herbs and how to store them.
Now check out how I tried my herbs!
Check out these past blog posts for herb spice blends and more!
Until next time remember to, Eat fresh, shop local & have a happy day, Jean
Copyright Policy
All text and images on this site are copyright of For Dragonflies And Me. Unless otherwise noted, you may not use this content.
This post may contain affiliate links. If you choose to purchase through an affiliate link, I may receive a small commission at no additional cost to you. You can see my full disclaimer here.
“Cooking is one of the greatest gifts you can give to those you love.” – Ina Garten
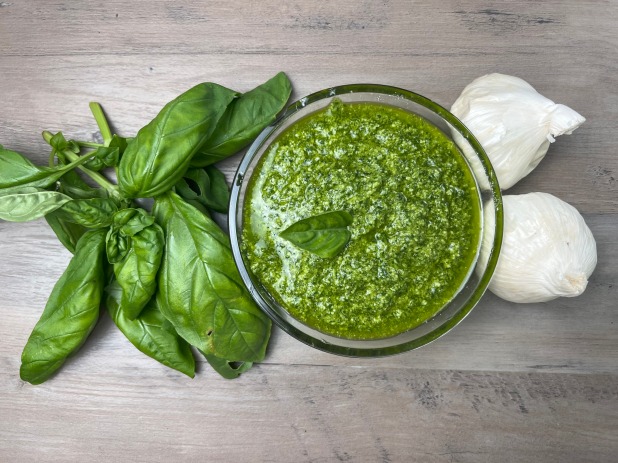
Pesto is one of our family favorites! Fresh basil from the garden is one of summer’s more wonderful gifts! Here is a very simple recipe for my homemade pesto without pine nuts!
Check out my YouTube Video on how and scroll down to see the complete list of ingredients and directions with a few additional Pro Tips!
To see more homemade pesto recipes check them out below!
Our Favorite Recipes
Yields: 1 cup finished product
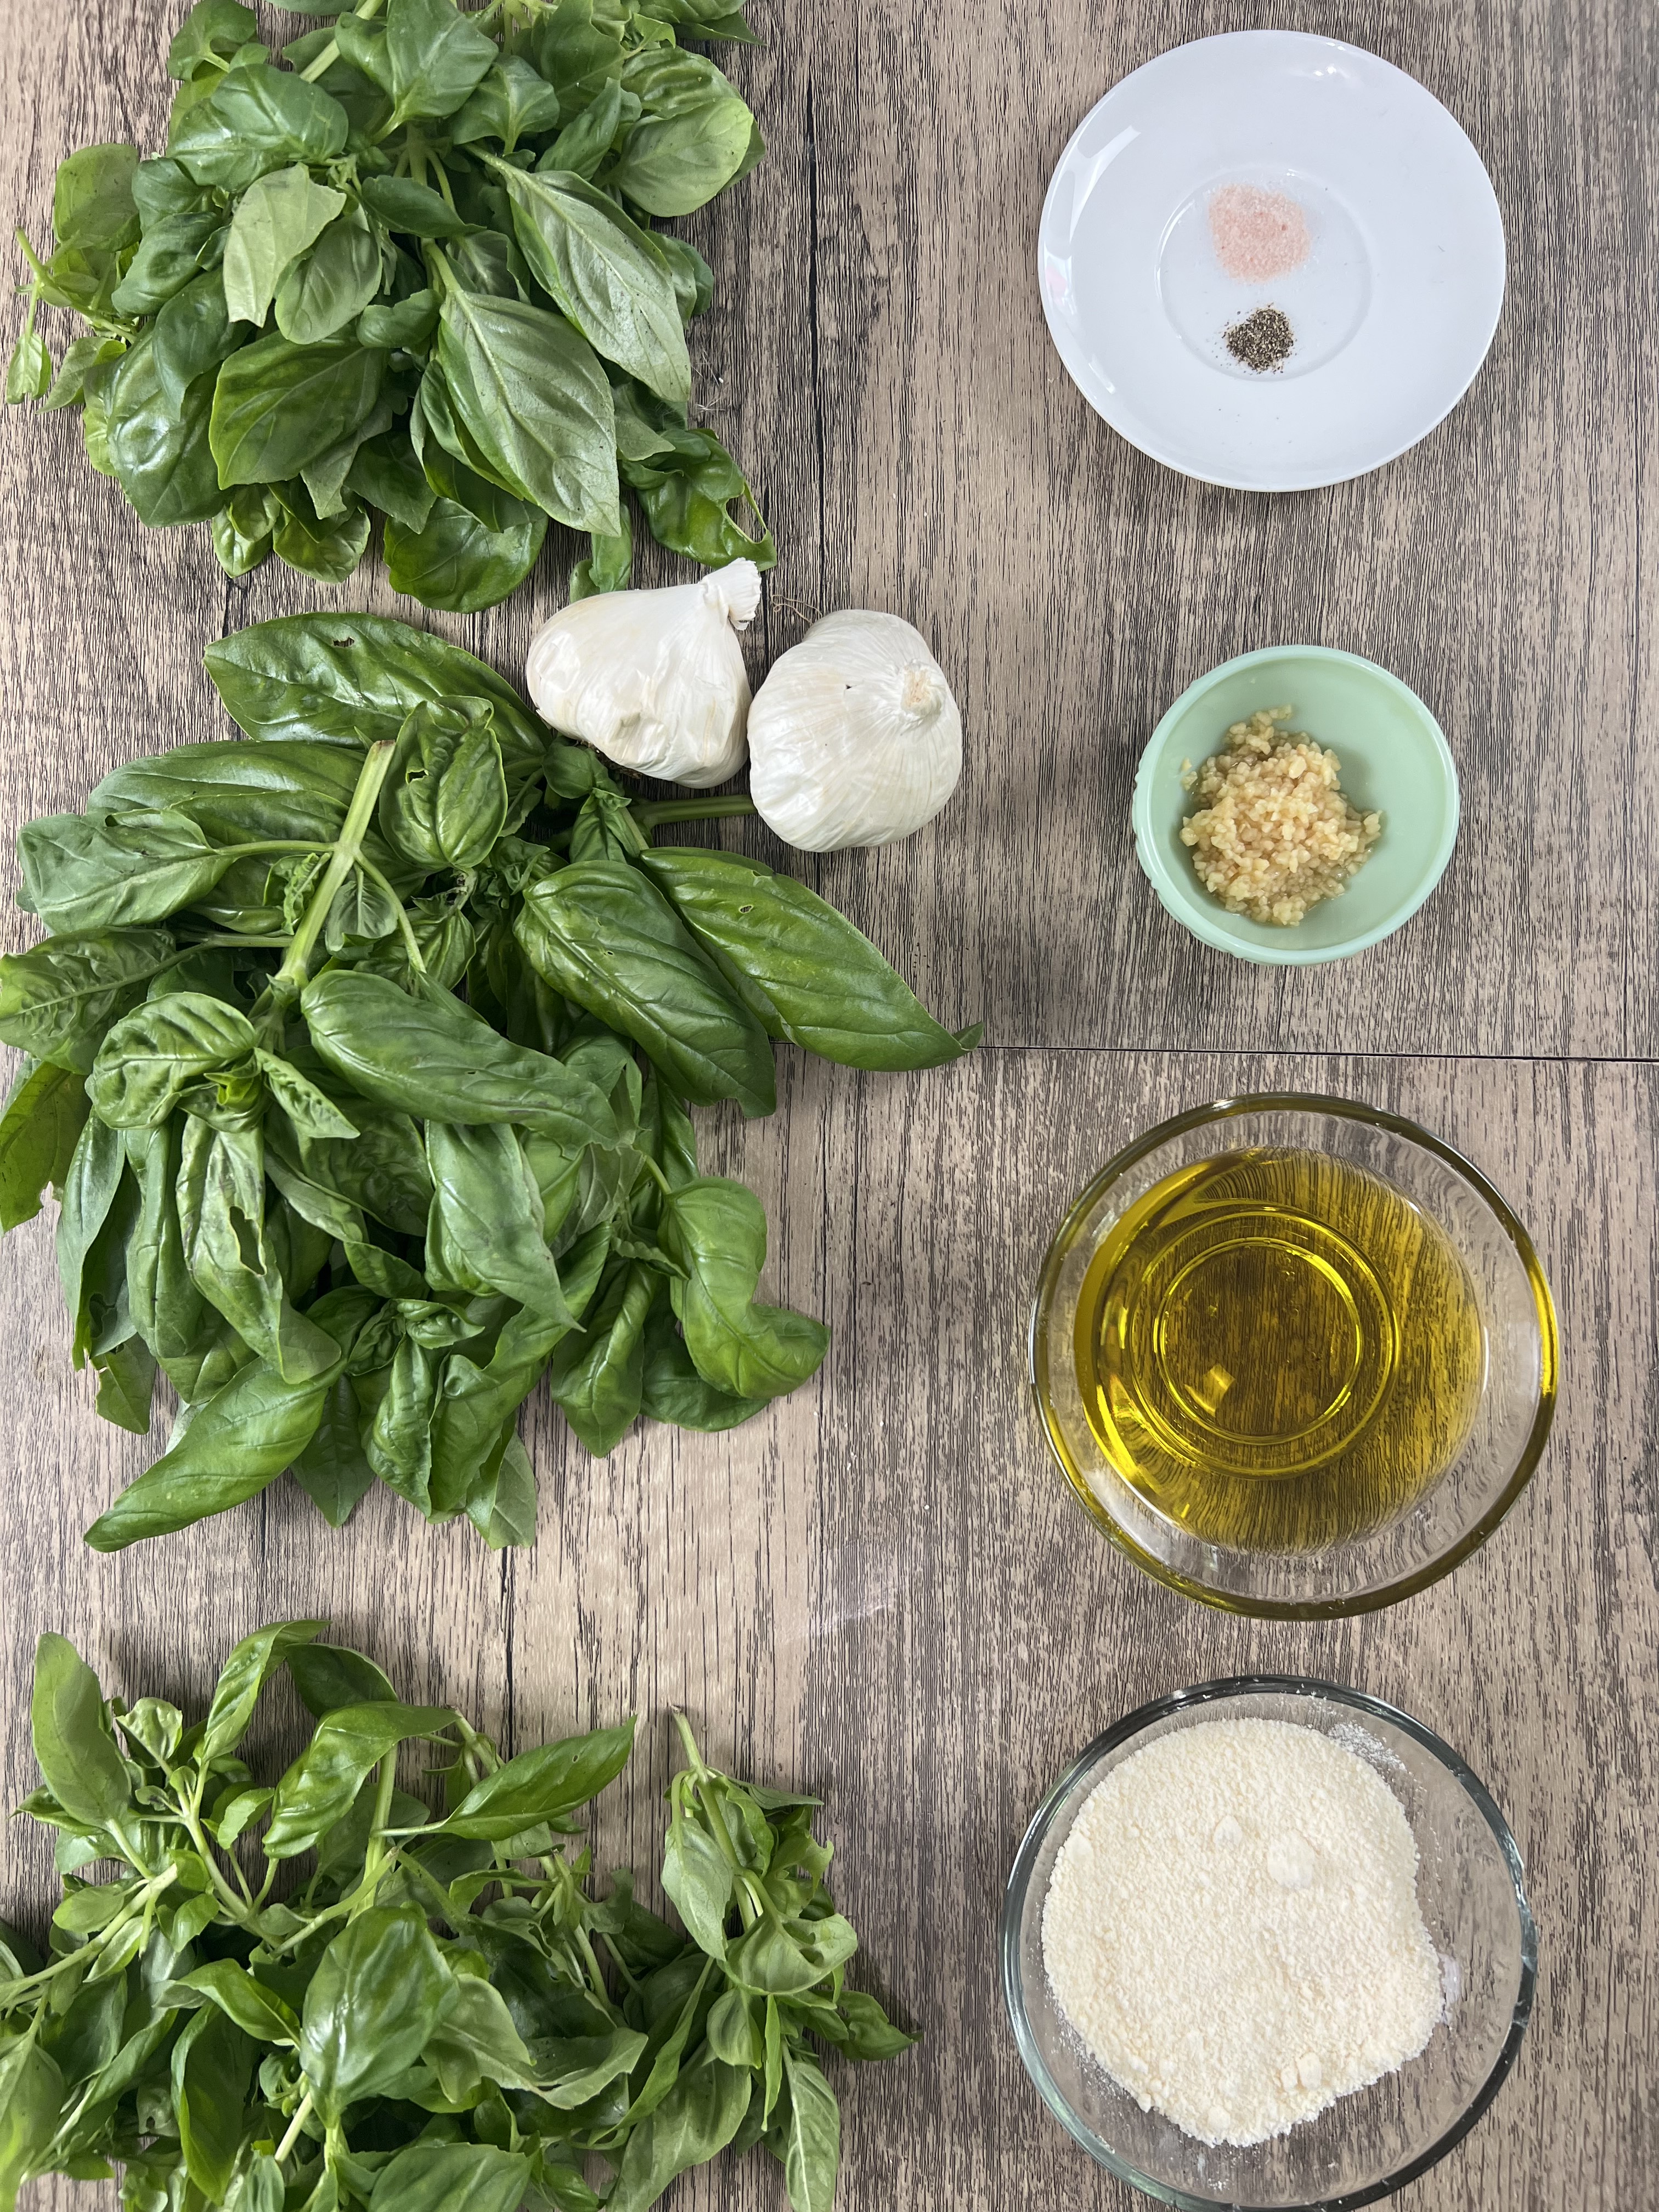
2 cups packed fresh basil leaves, with stems removed
½ cup extra virgin olive oil
½ cup grated parmesan cheese
3 to 5 fresh garlic cloves with outer skin and root end removed or 3 to 5 tsp minced
¼ tsp pink Himalayan salt
¼ tsp fresh ground black pepper
1. In a food process pulse basil and garlic. If you are using fresh cloves, no need to mince first~ just toss in the whole cloves with the skin and hard root end removed: pulse on high until completely shredded and is like a paste.
2. Add parmesan cheese, salt and pepper; pulse on high until completely blended. It will be a paste.
3. Add 2 TBSP of the oil at a time pulsing on high until smooth and all oil is added.
4. Remove to a bowl, cover and refrigerate for at least an hour before use to allow flavors to blend.
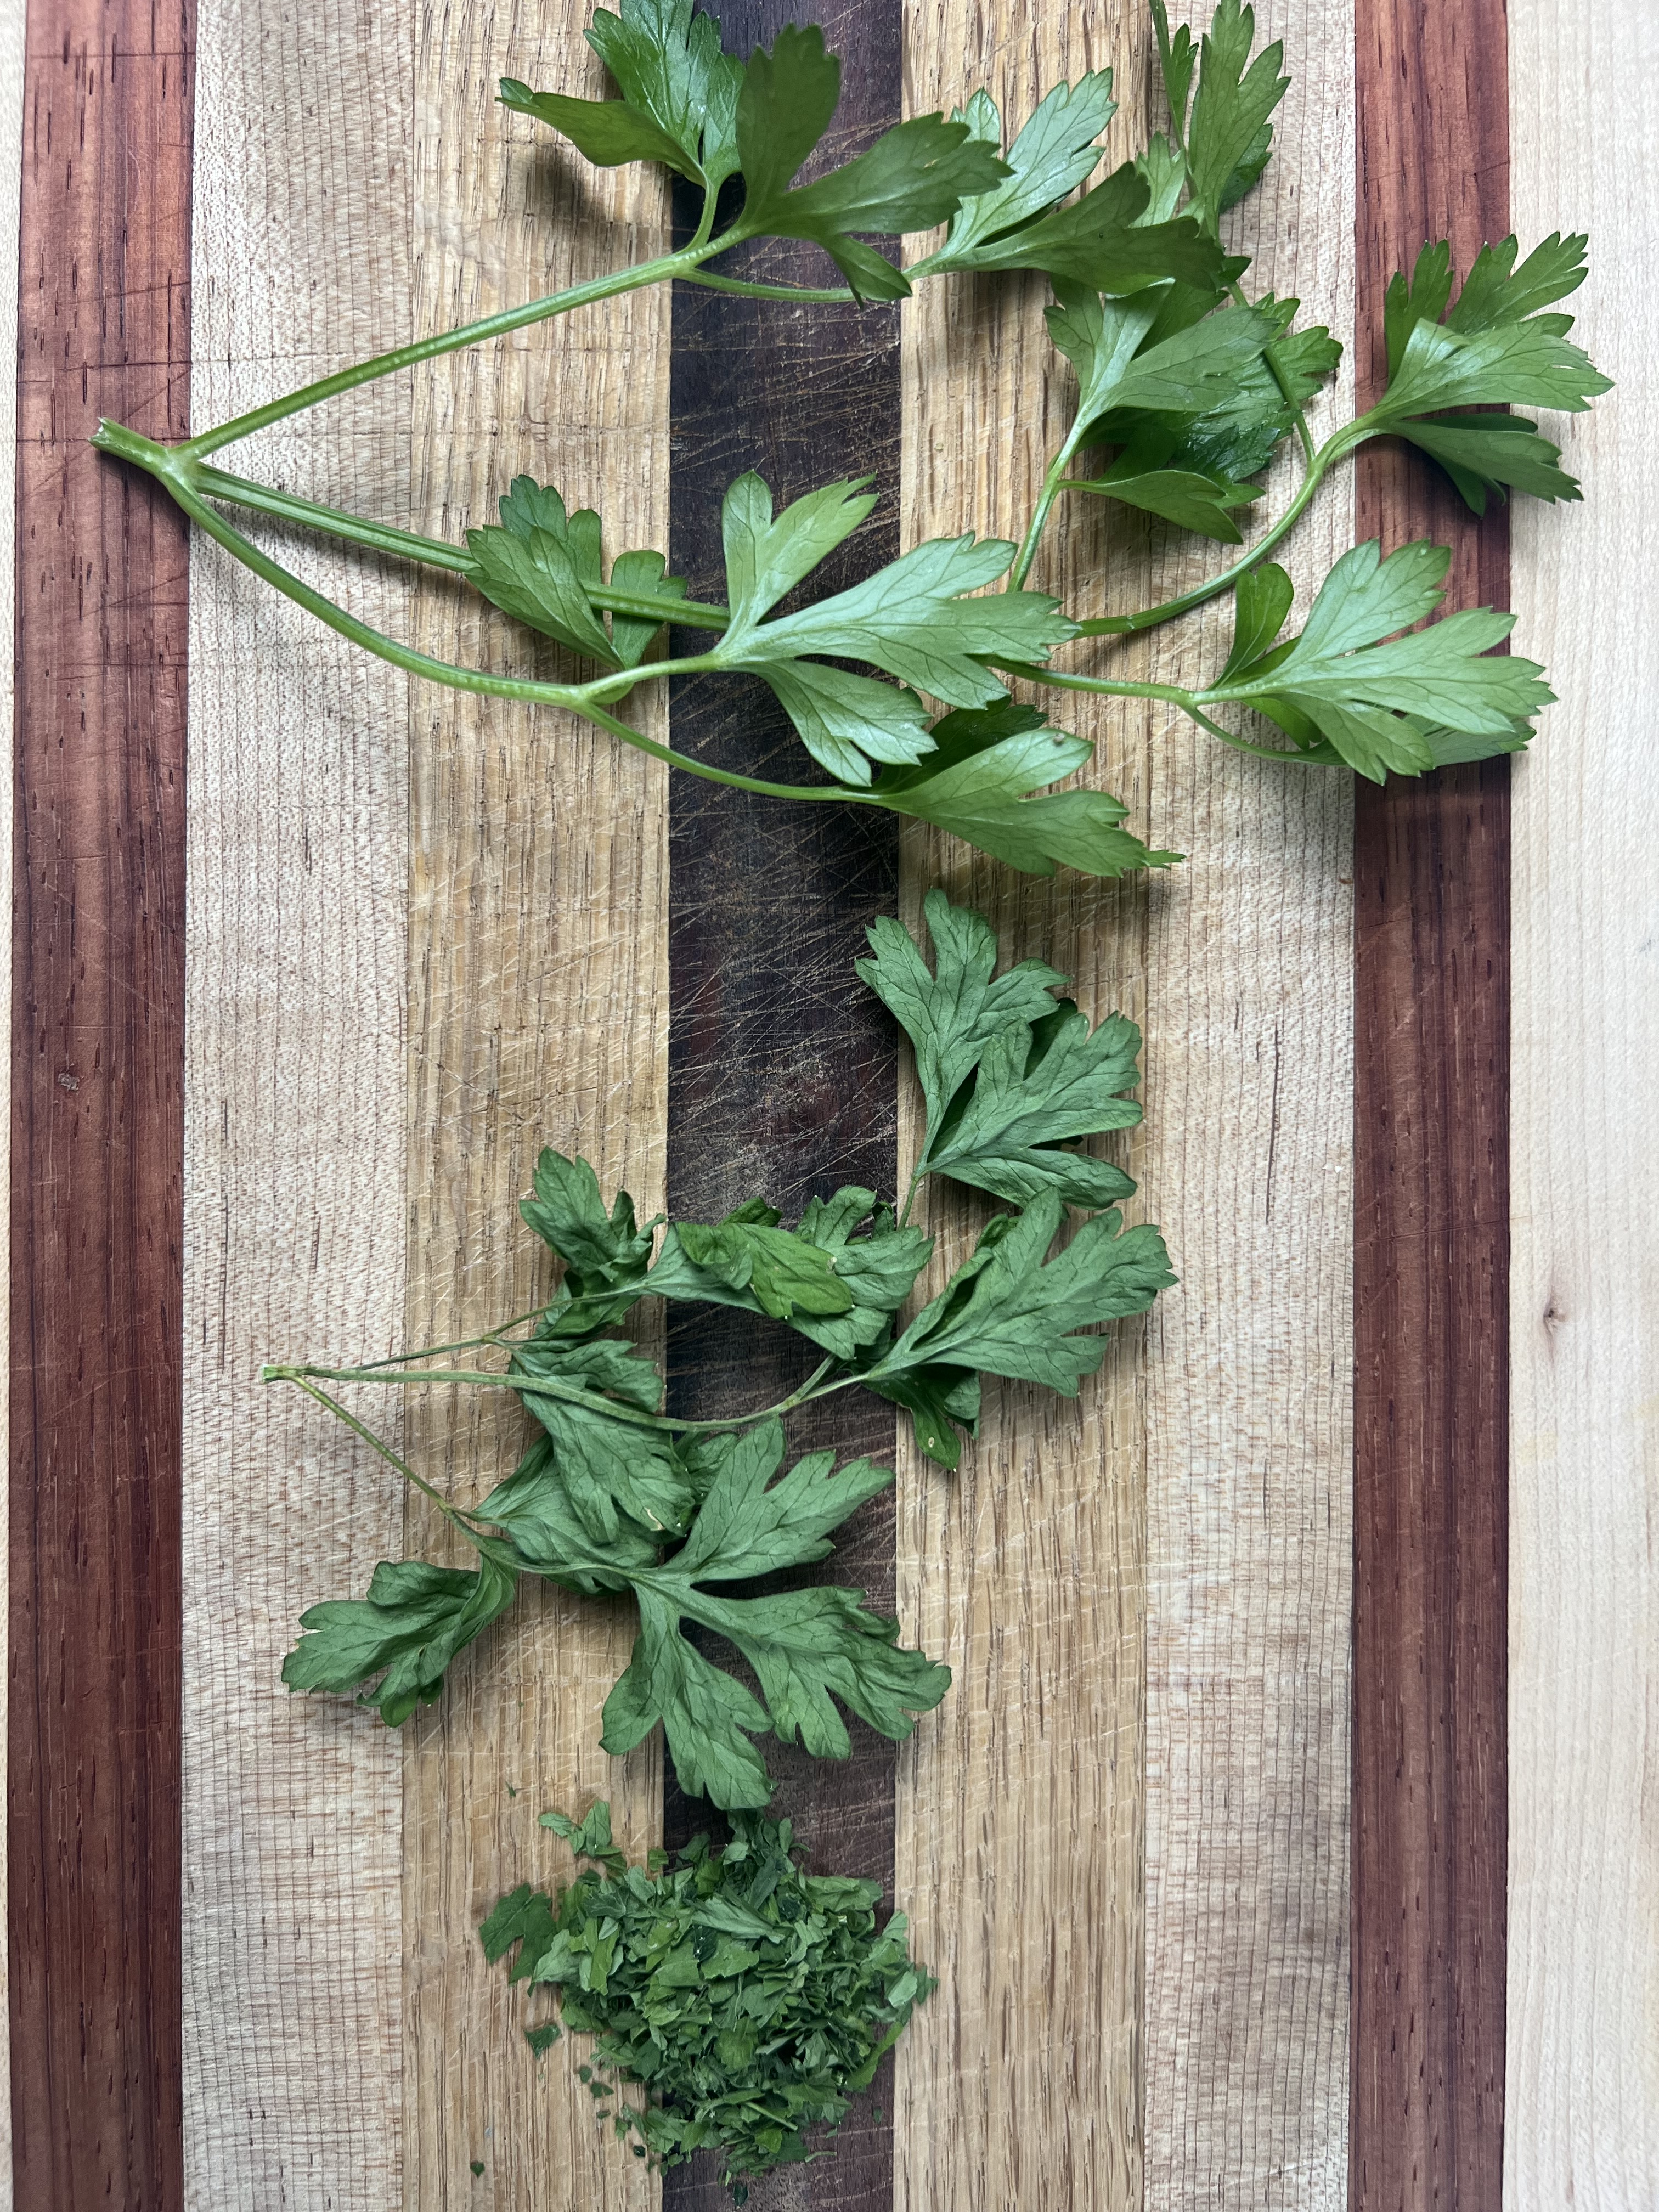
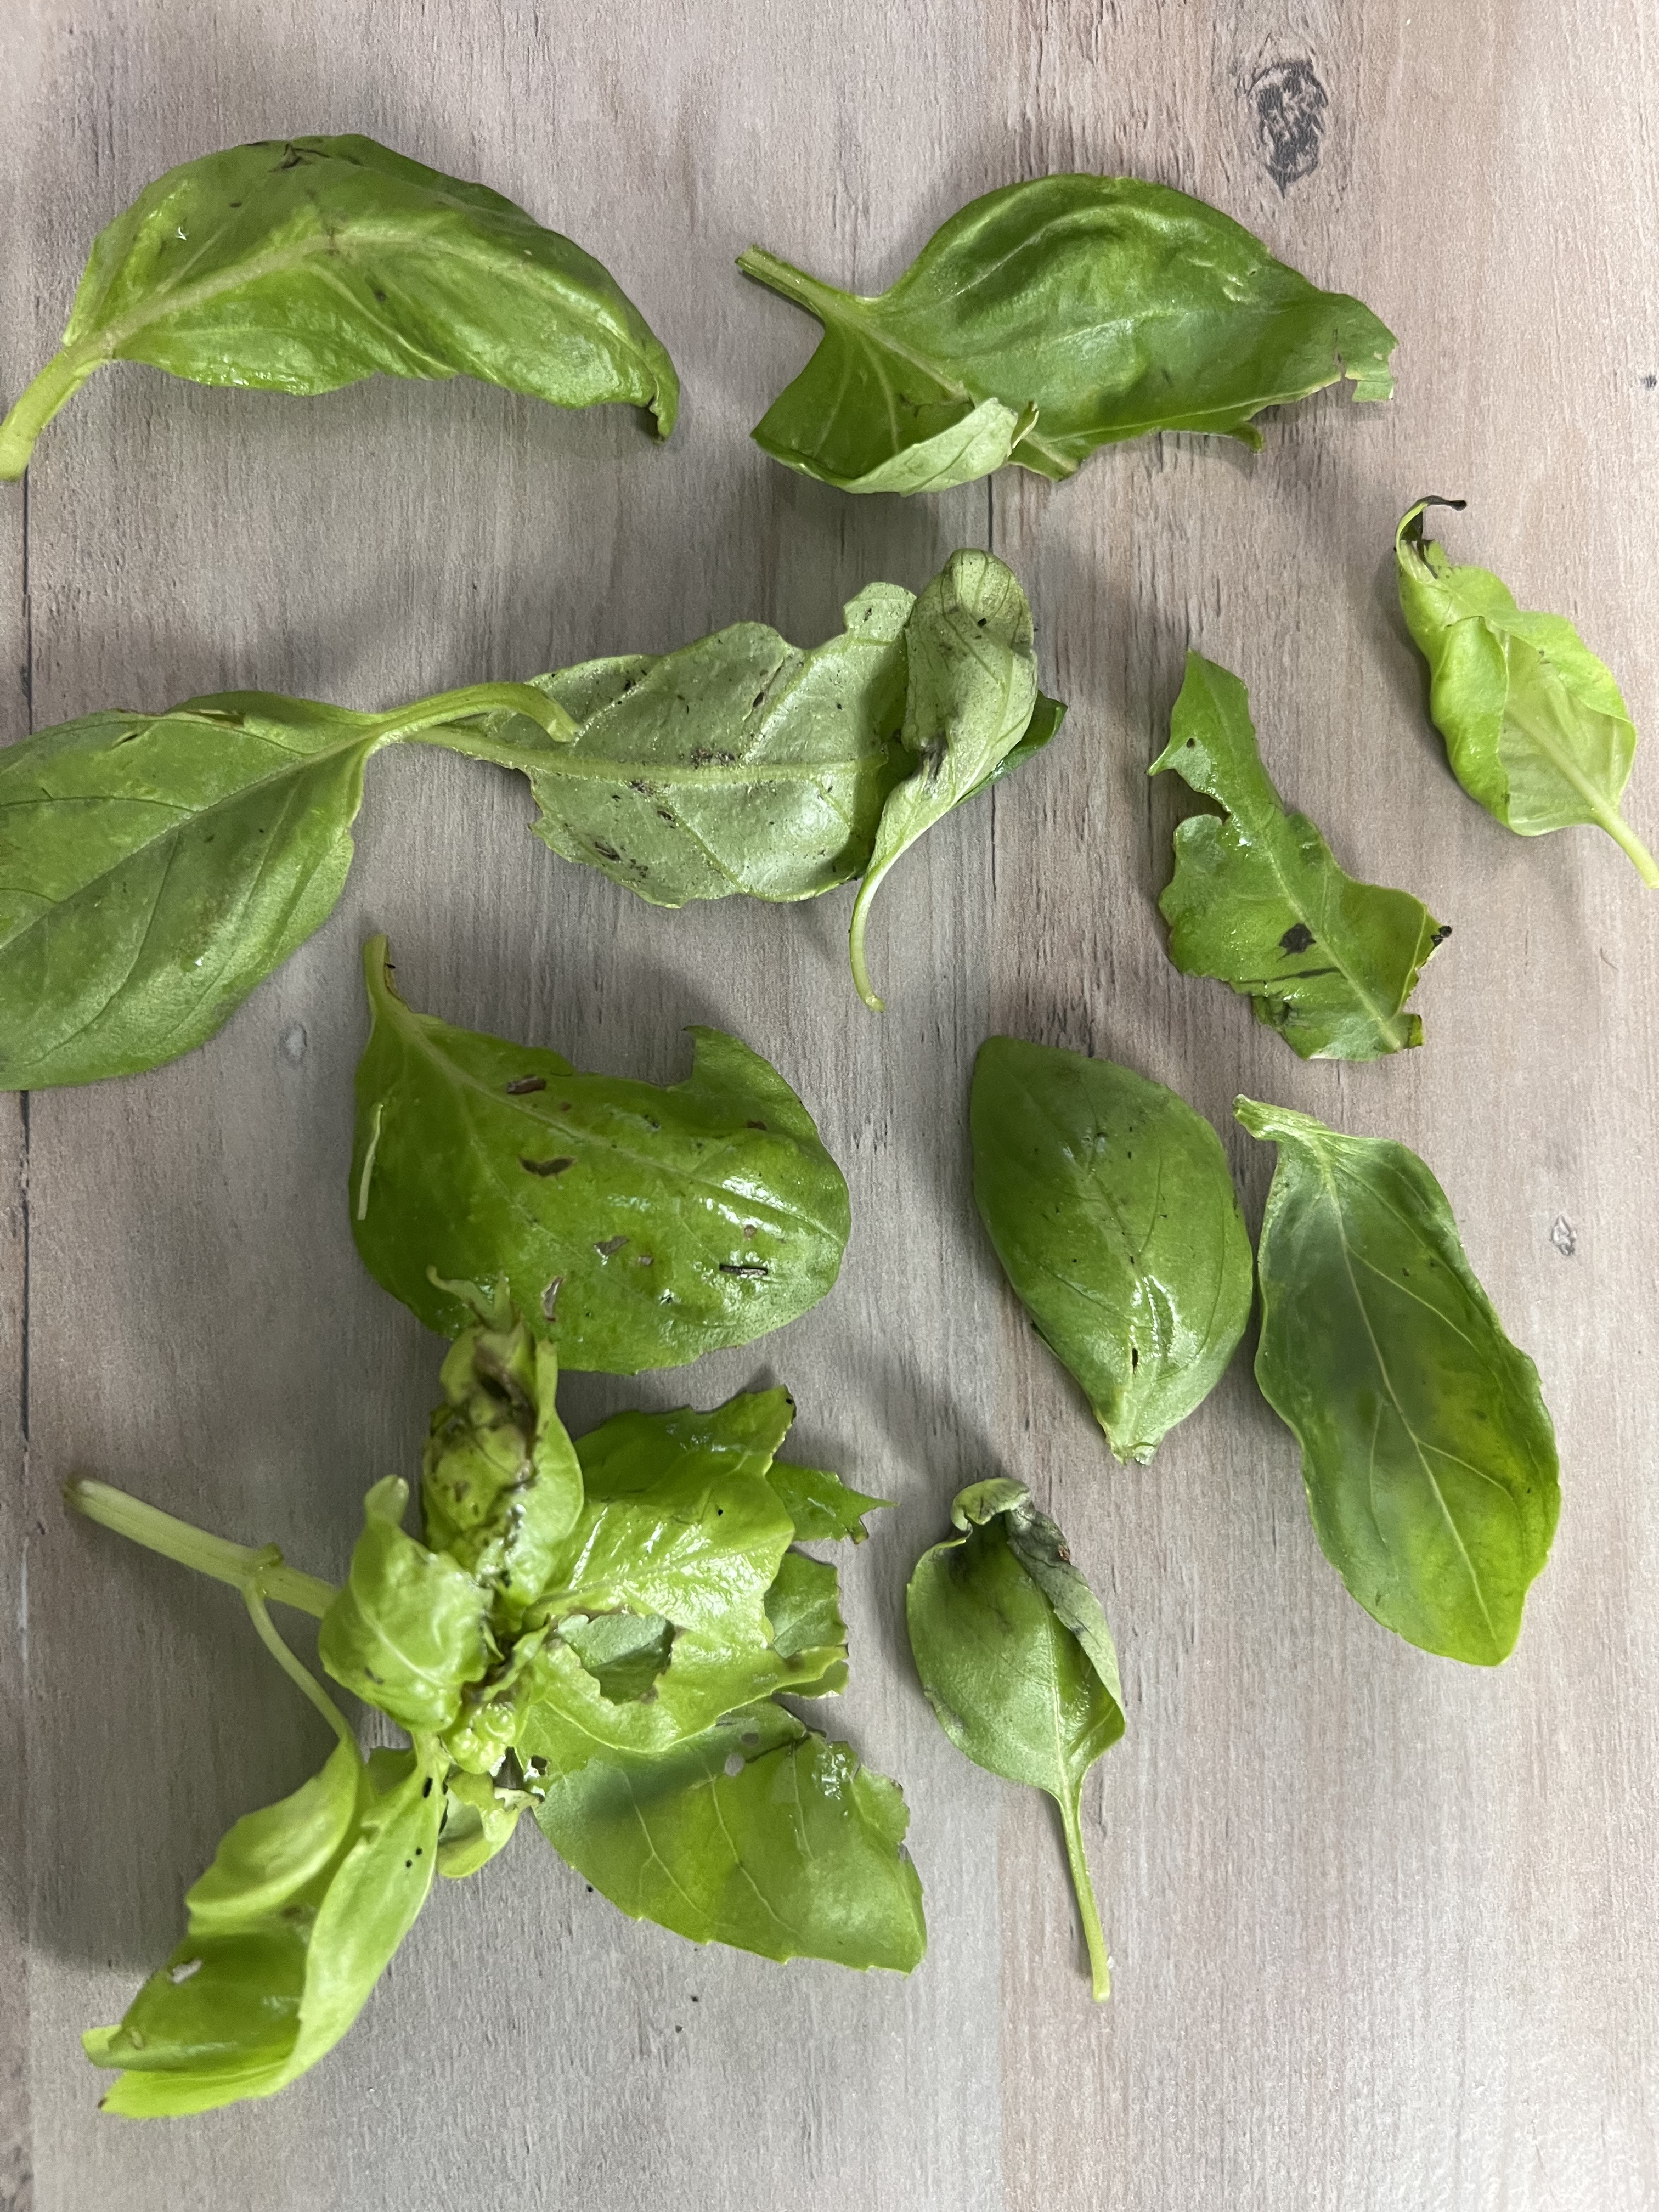
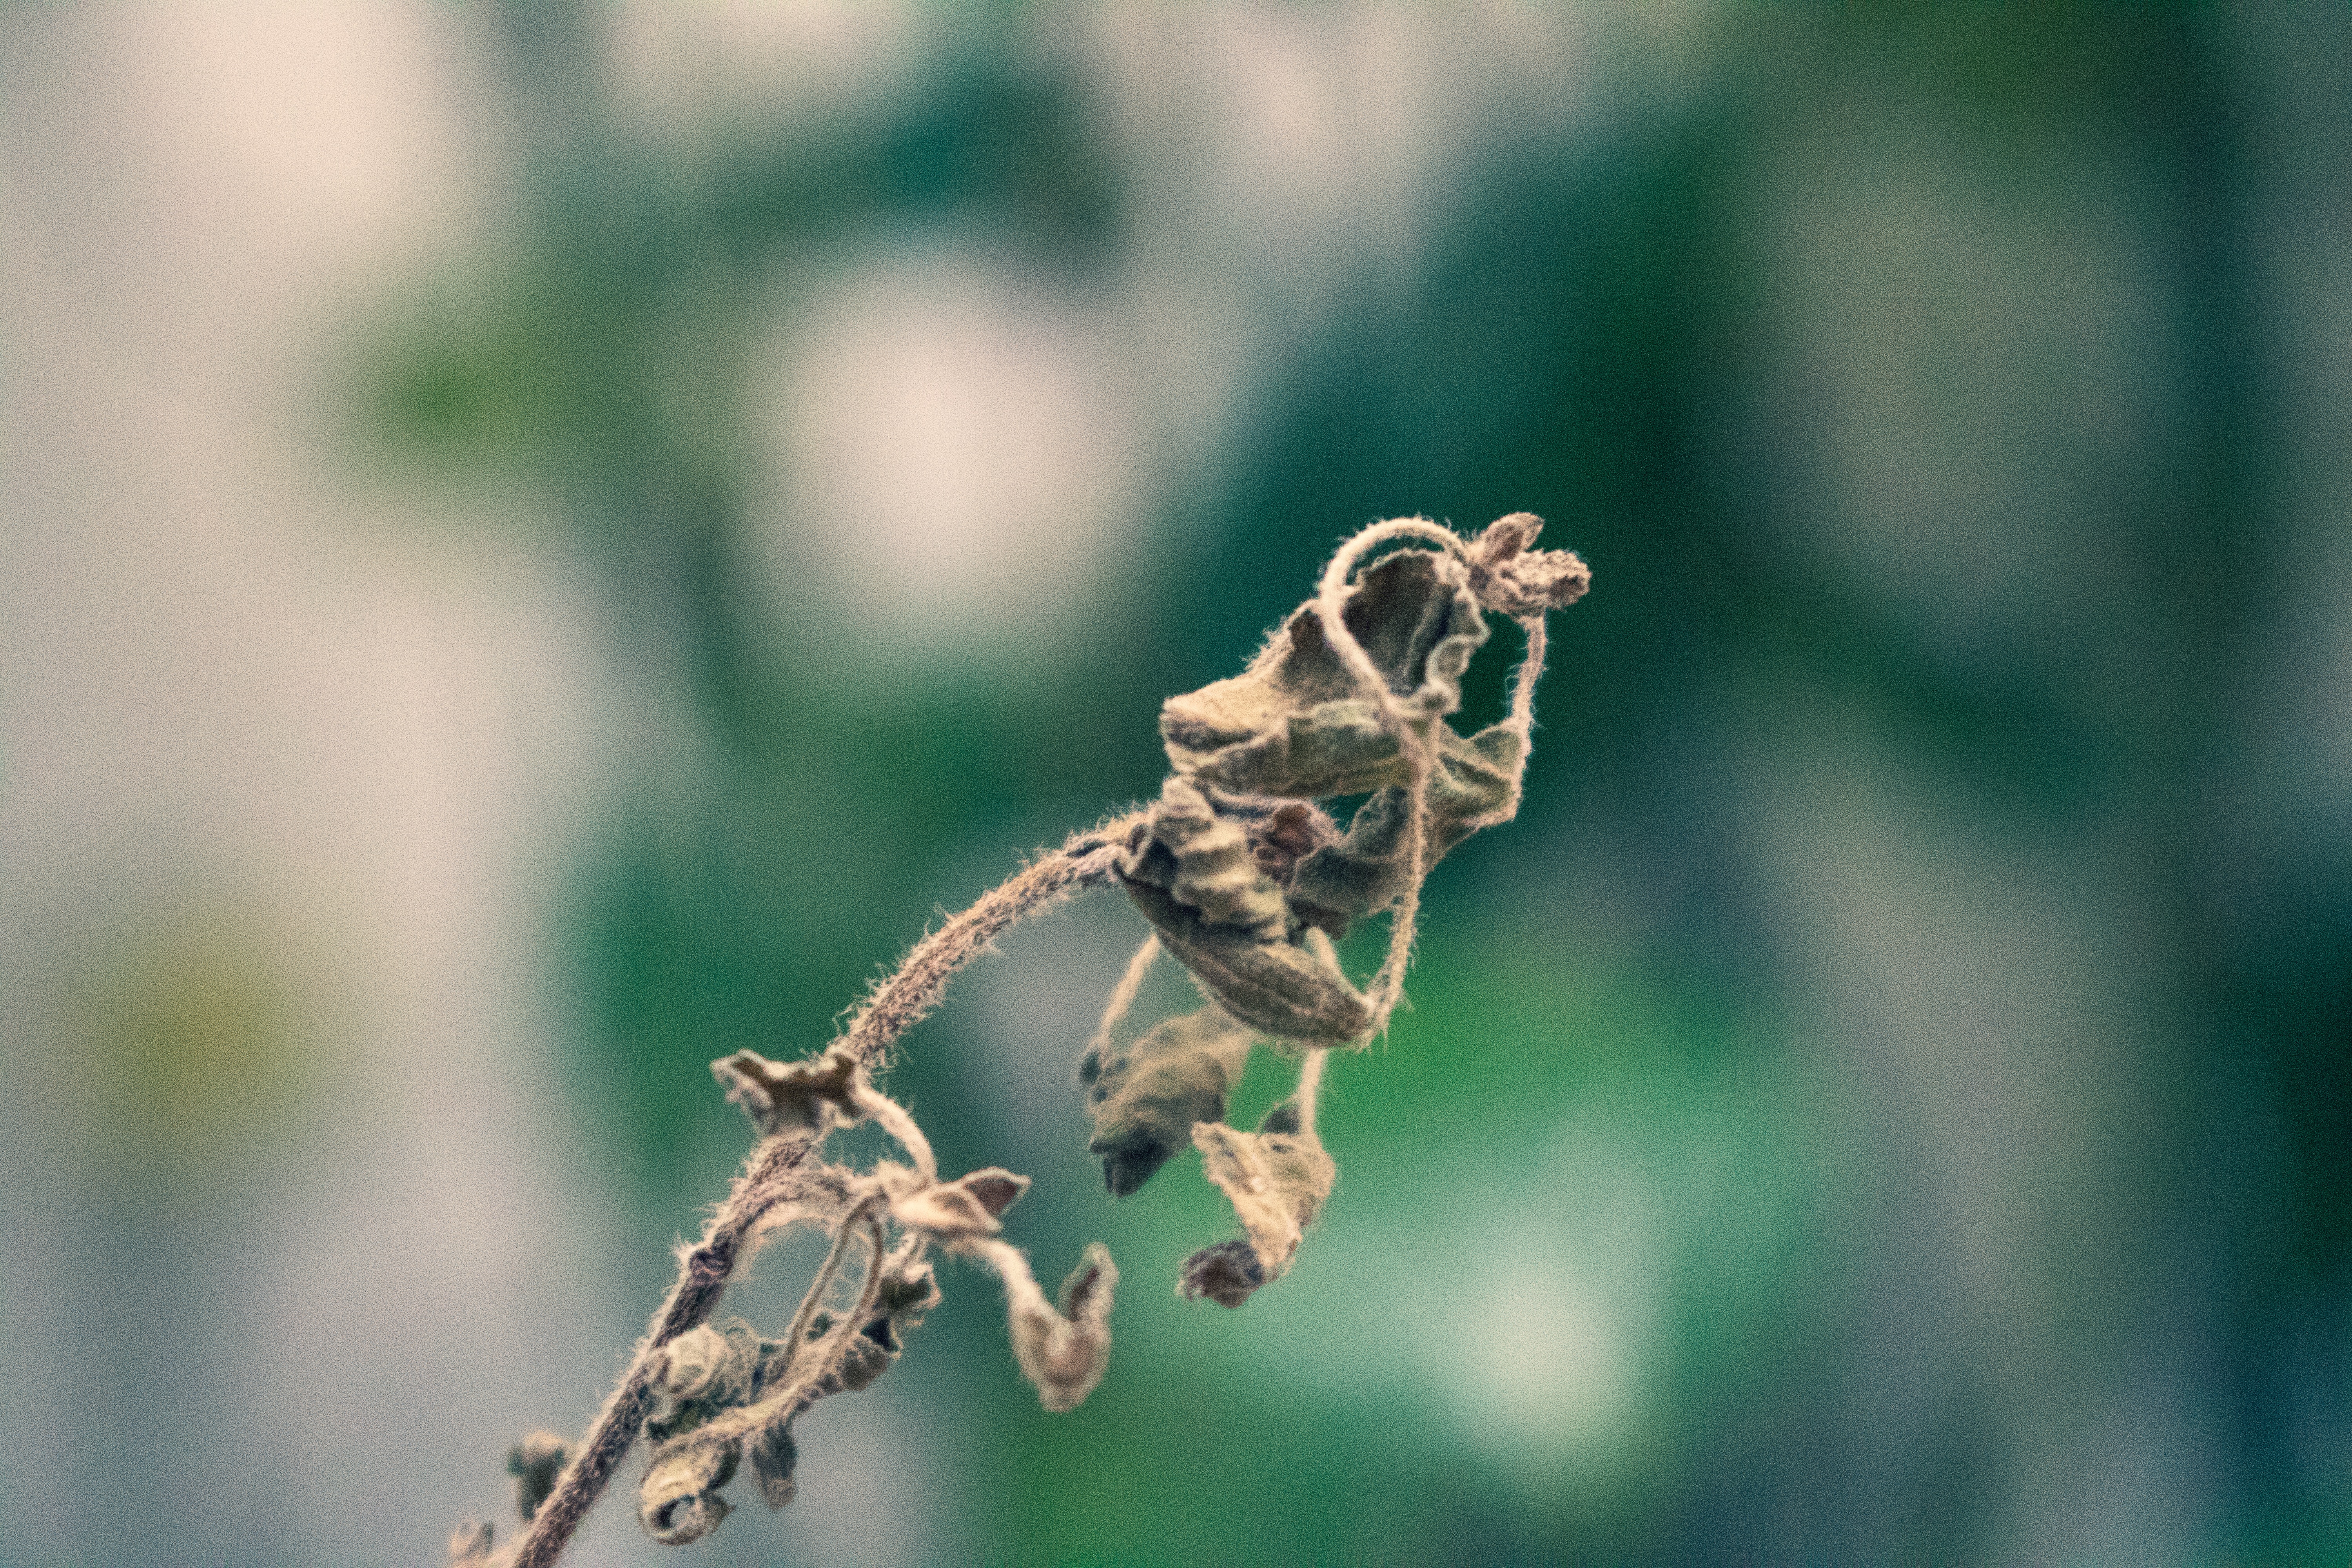
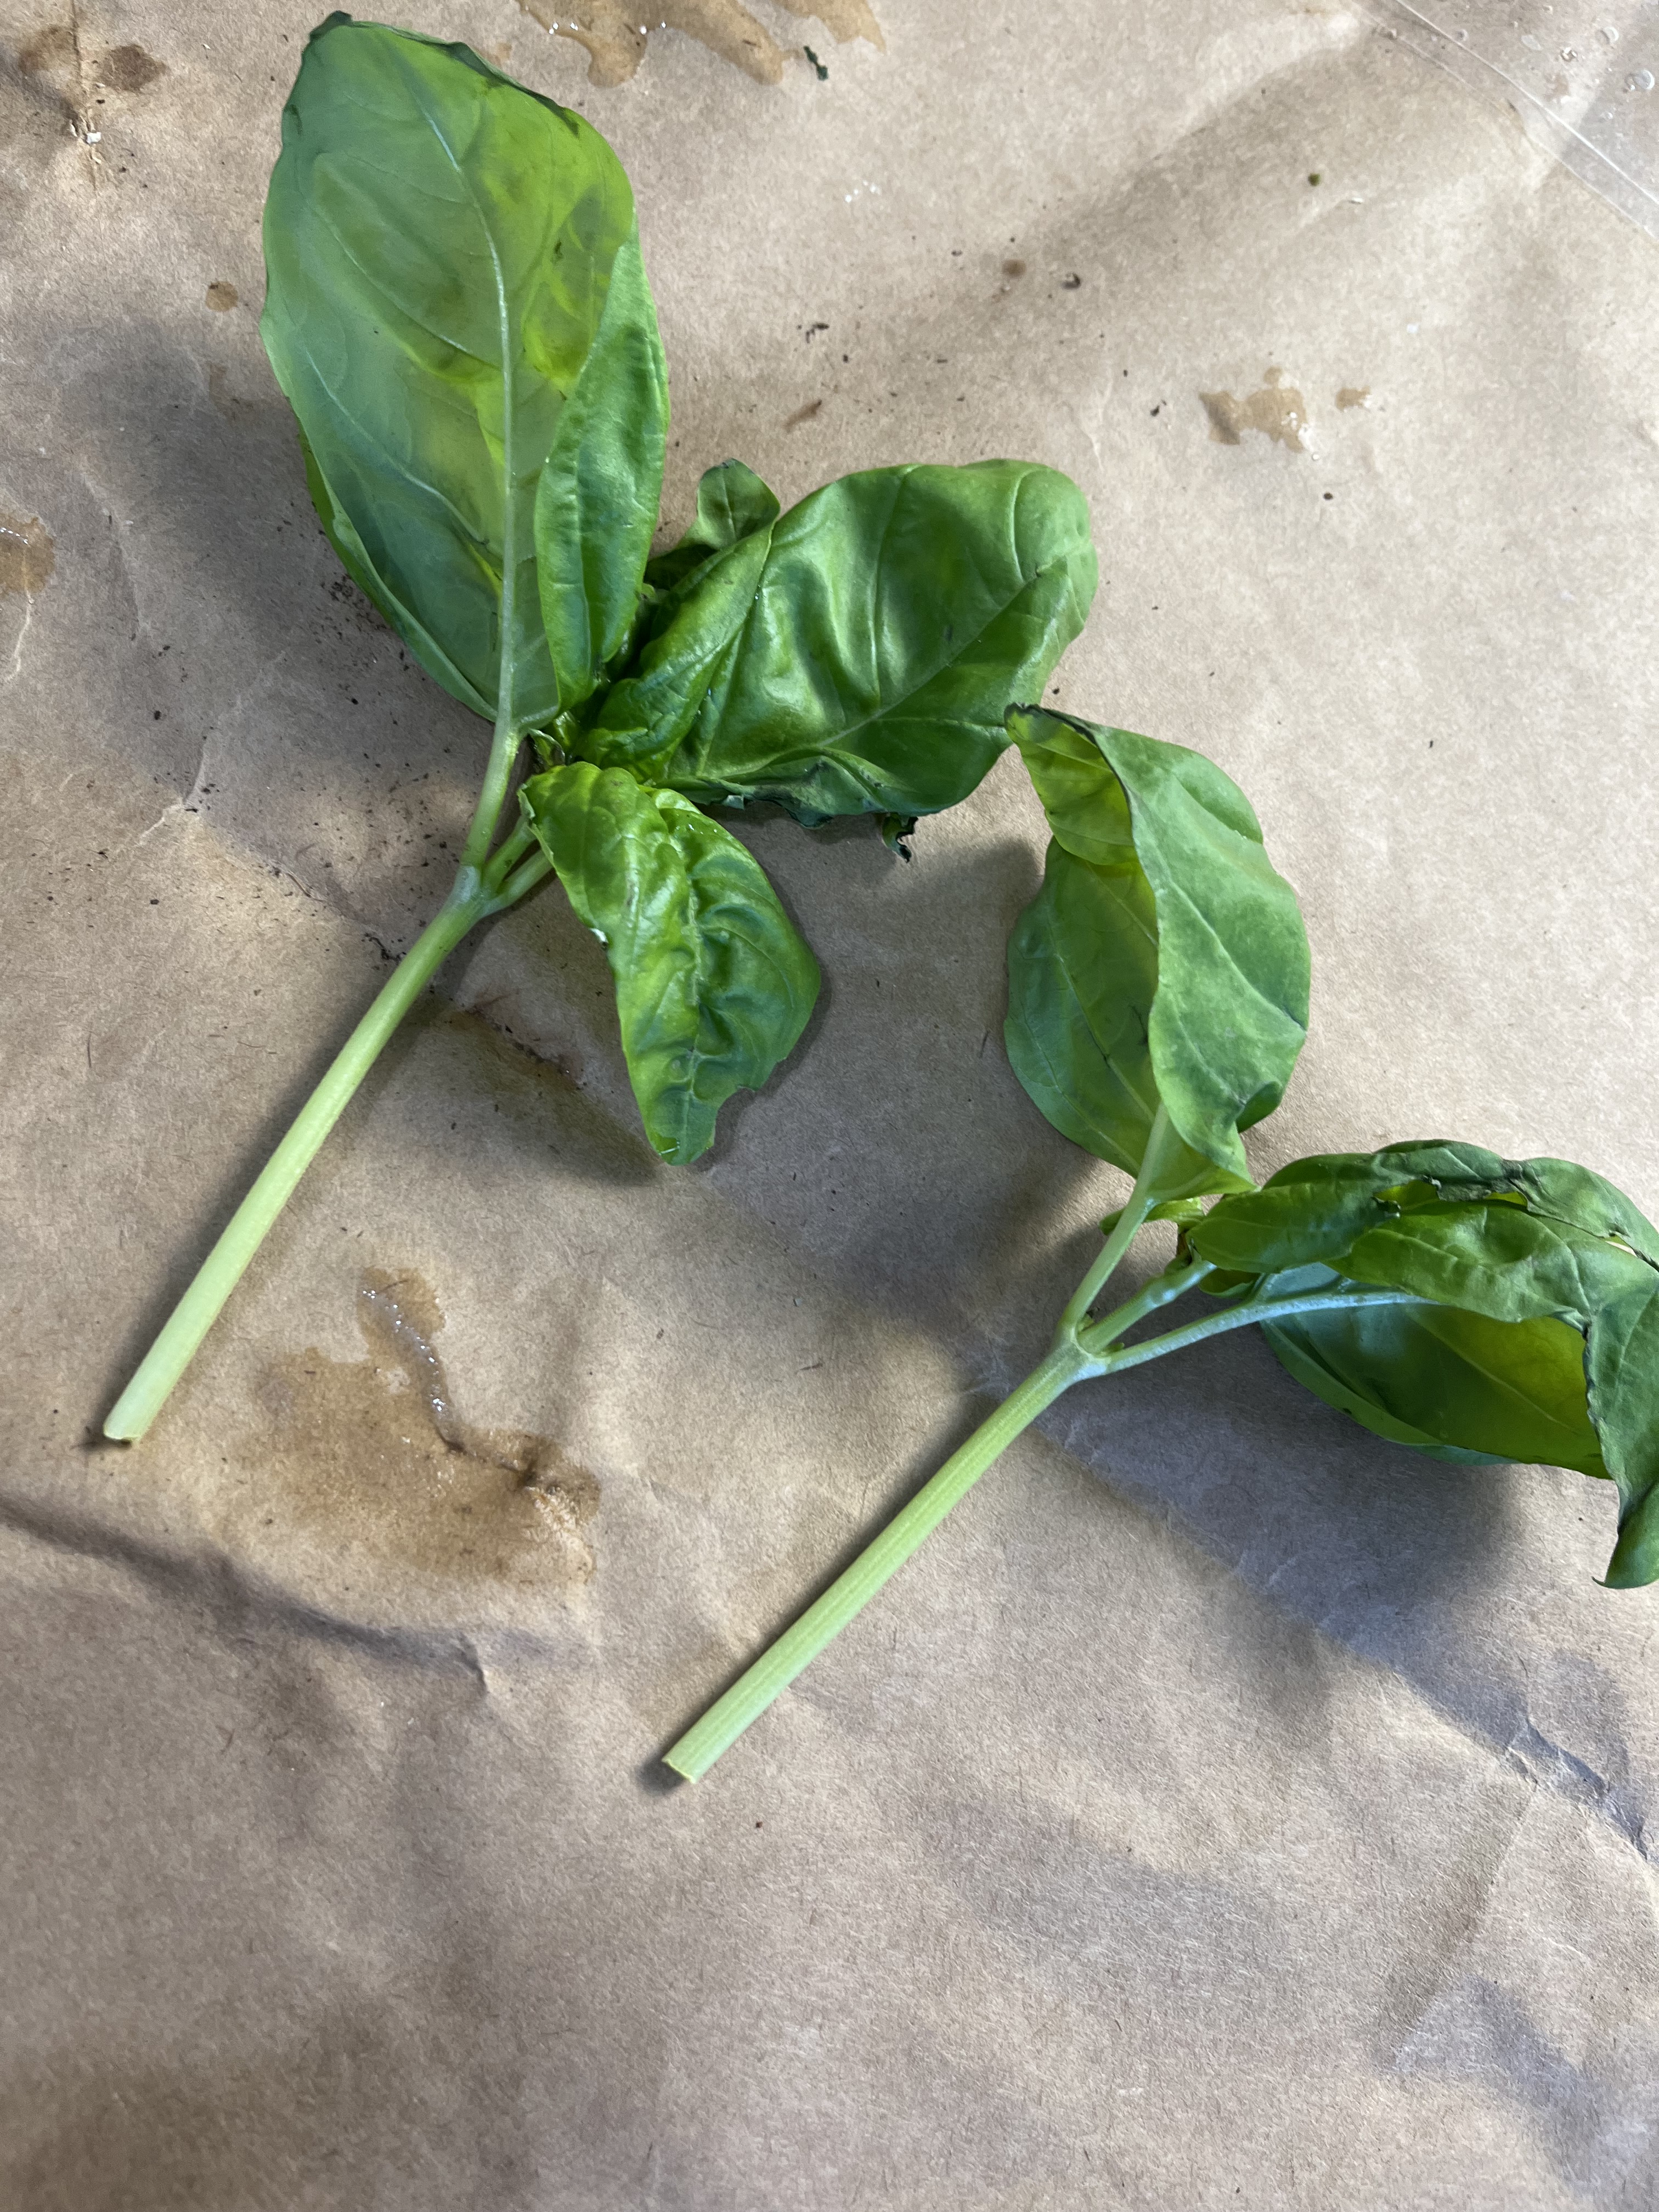
PRO TIP: When harvesting your basil leaves, you want to make sure you only use the best leaves. Avoid using any leaves which have black spots on them or if they have been damaged by an insect eating it. See above leaves for examples of insect damage.
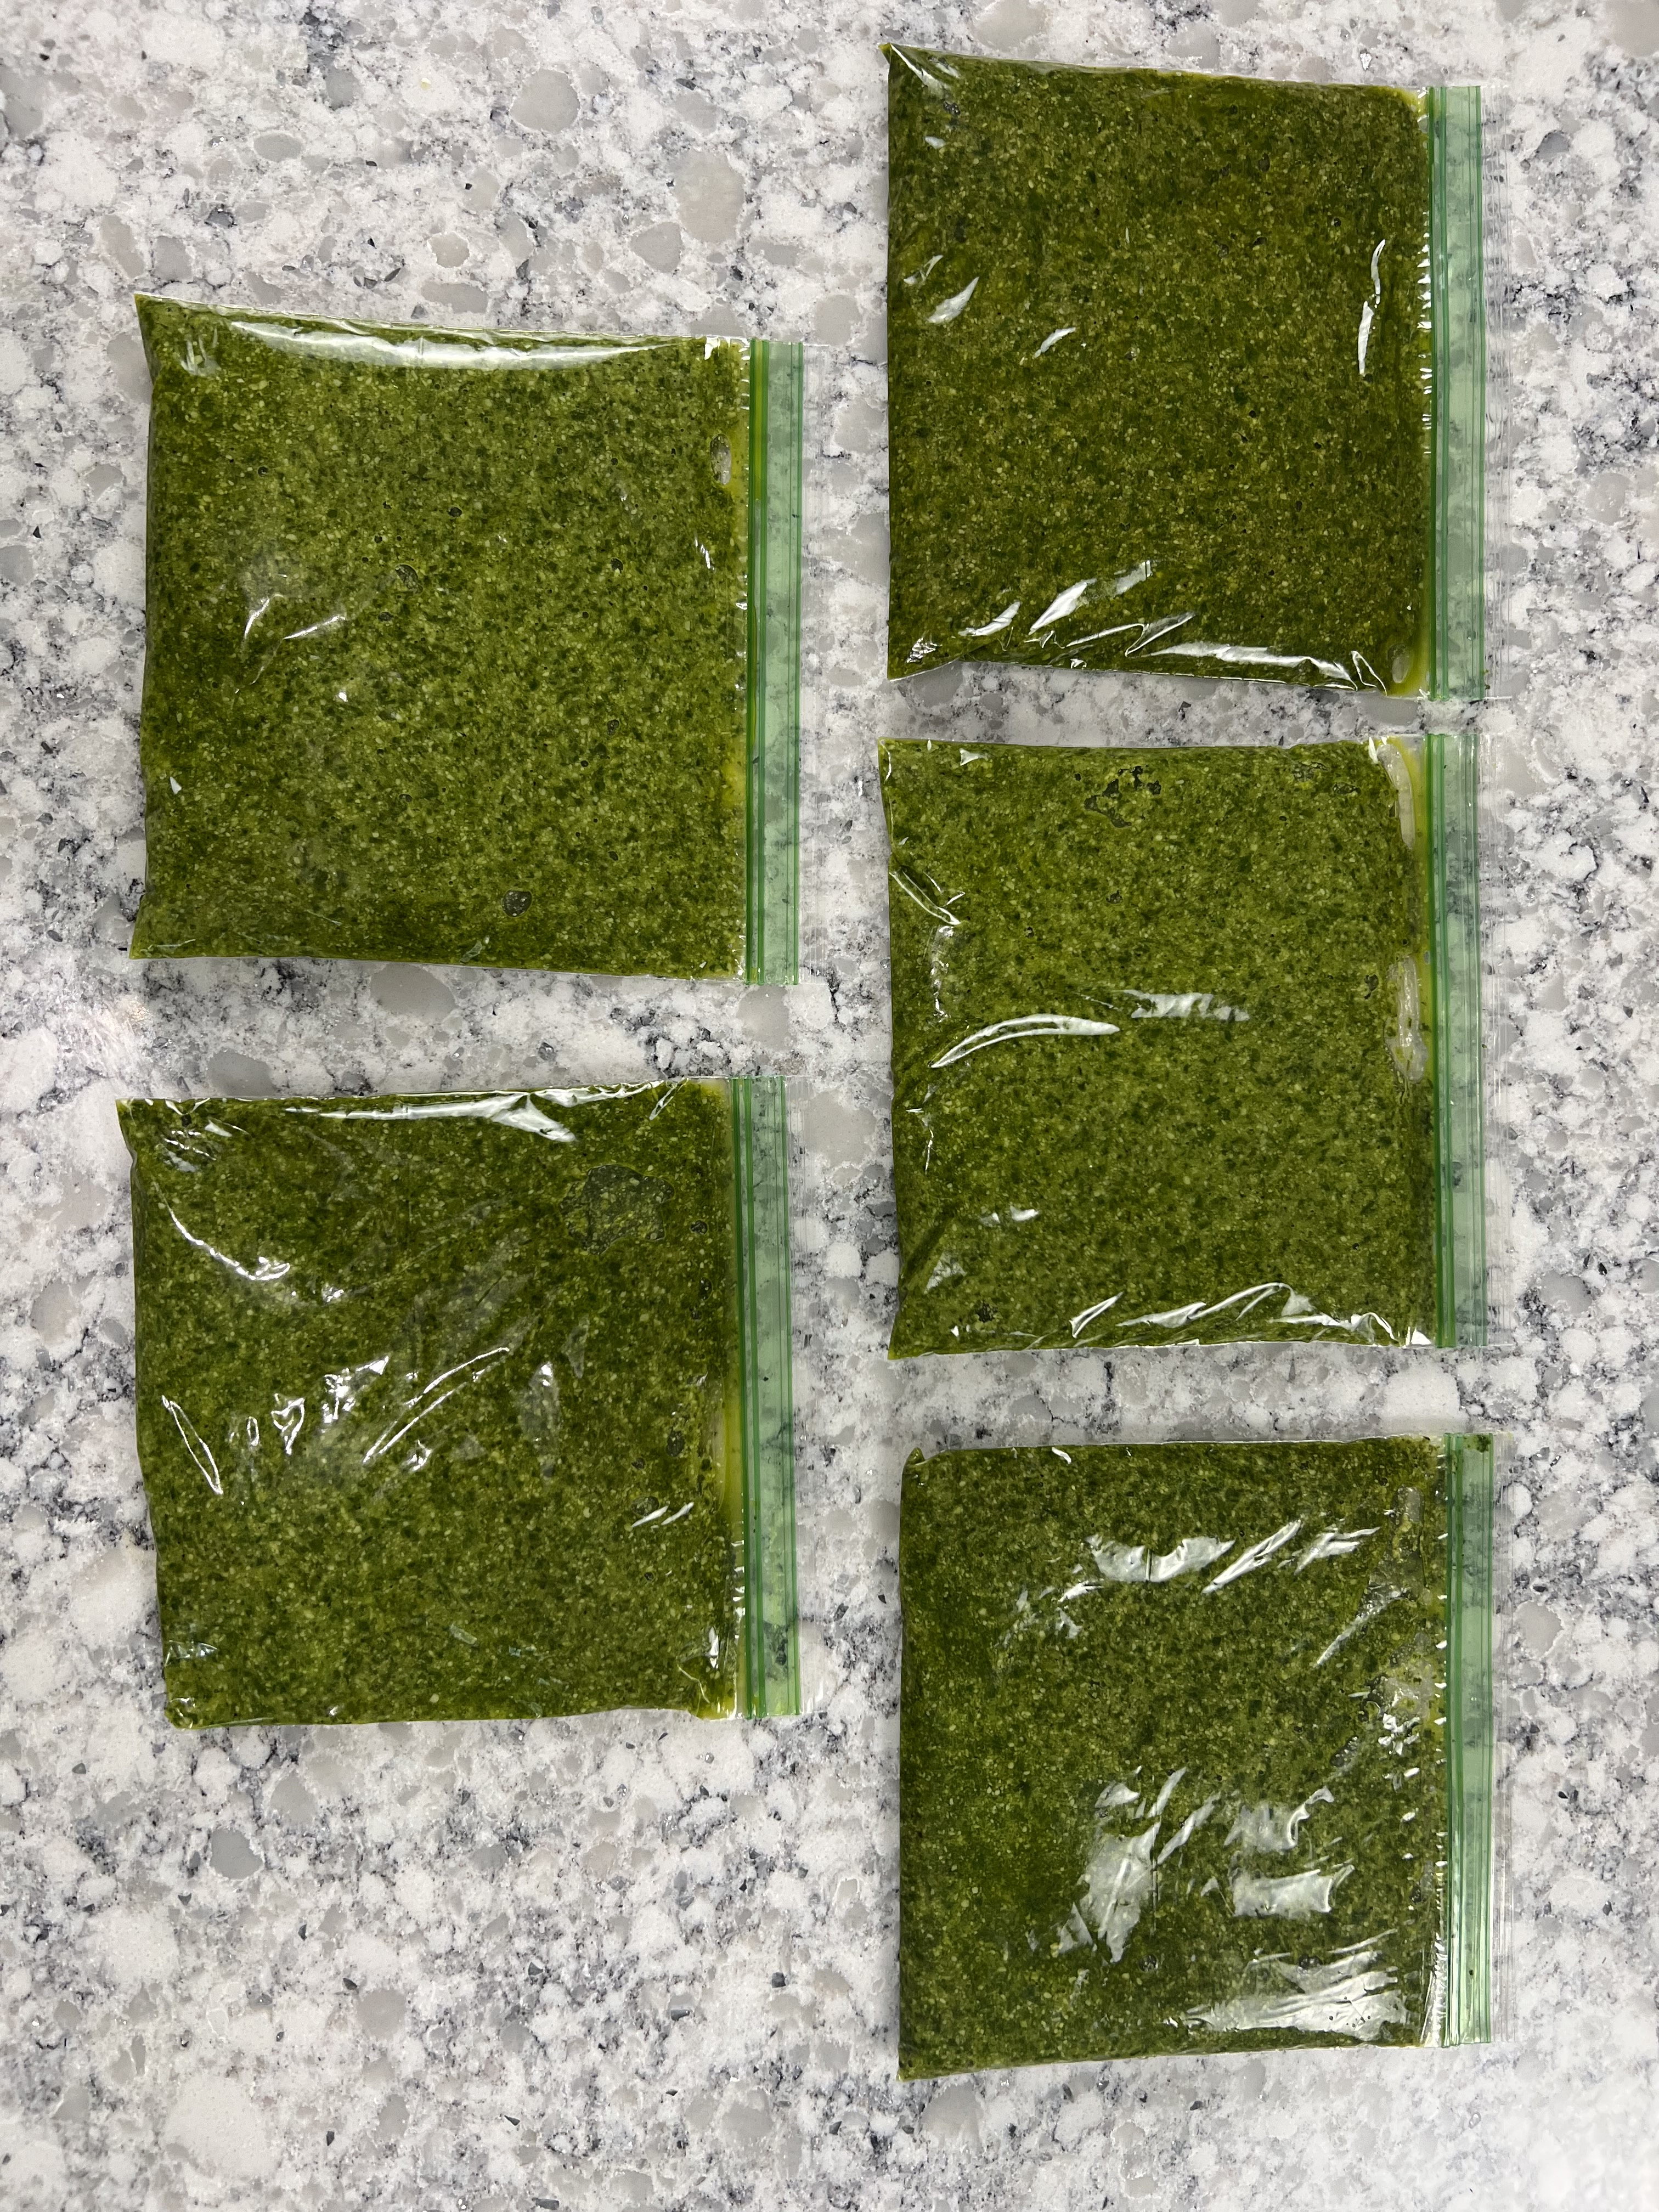
From 10 cups of fresh packed basil leaves I was able to make 5~ 1 cup bags of finished product.
These will be stored in the freezer.
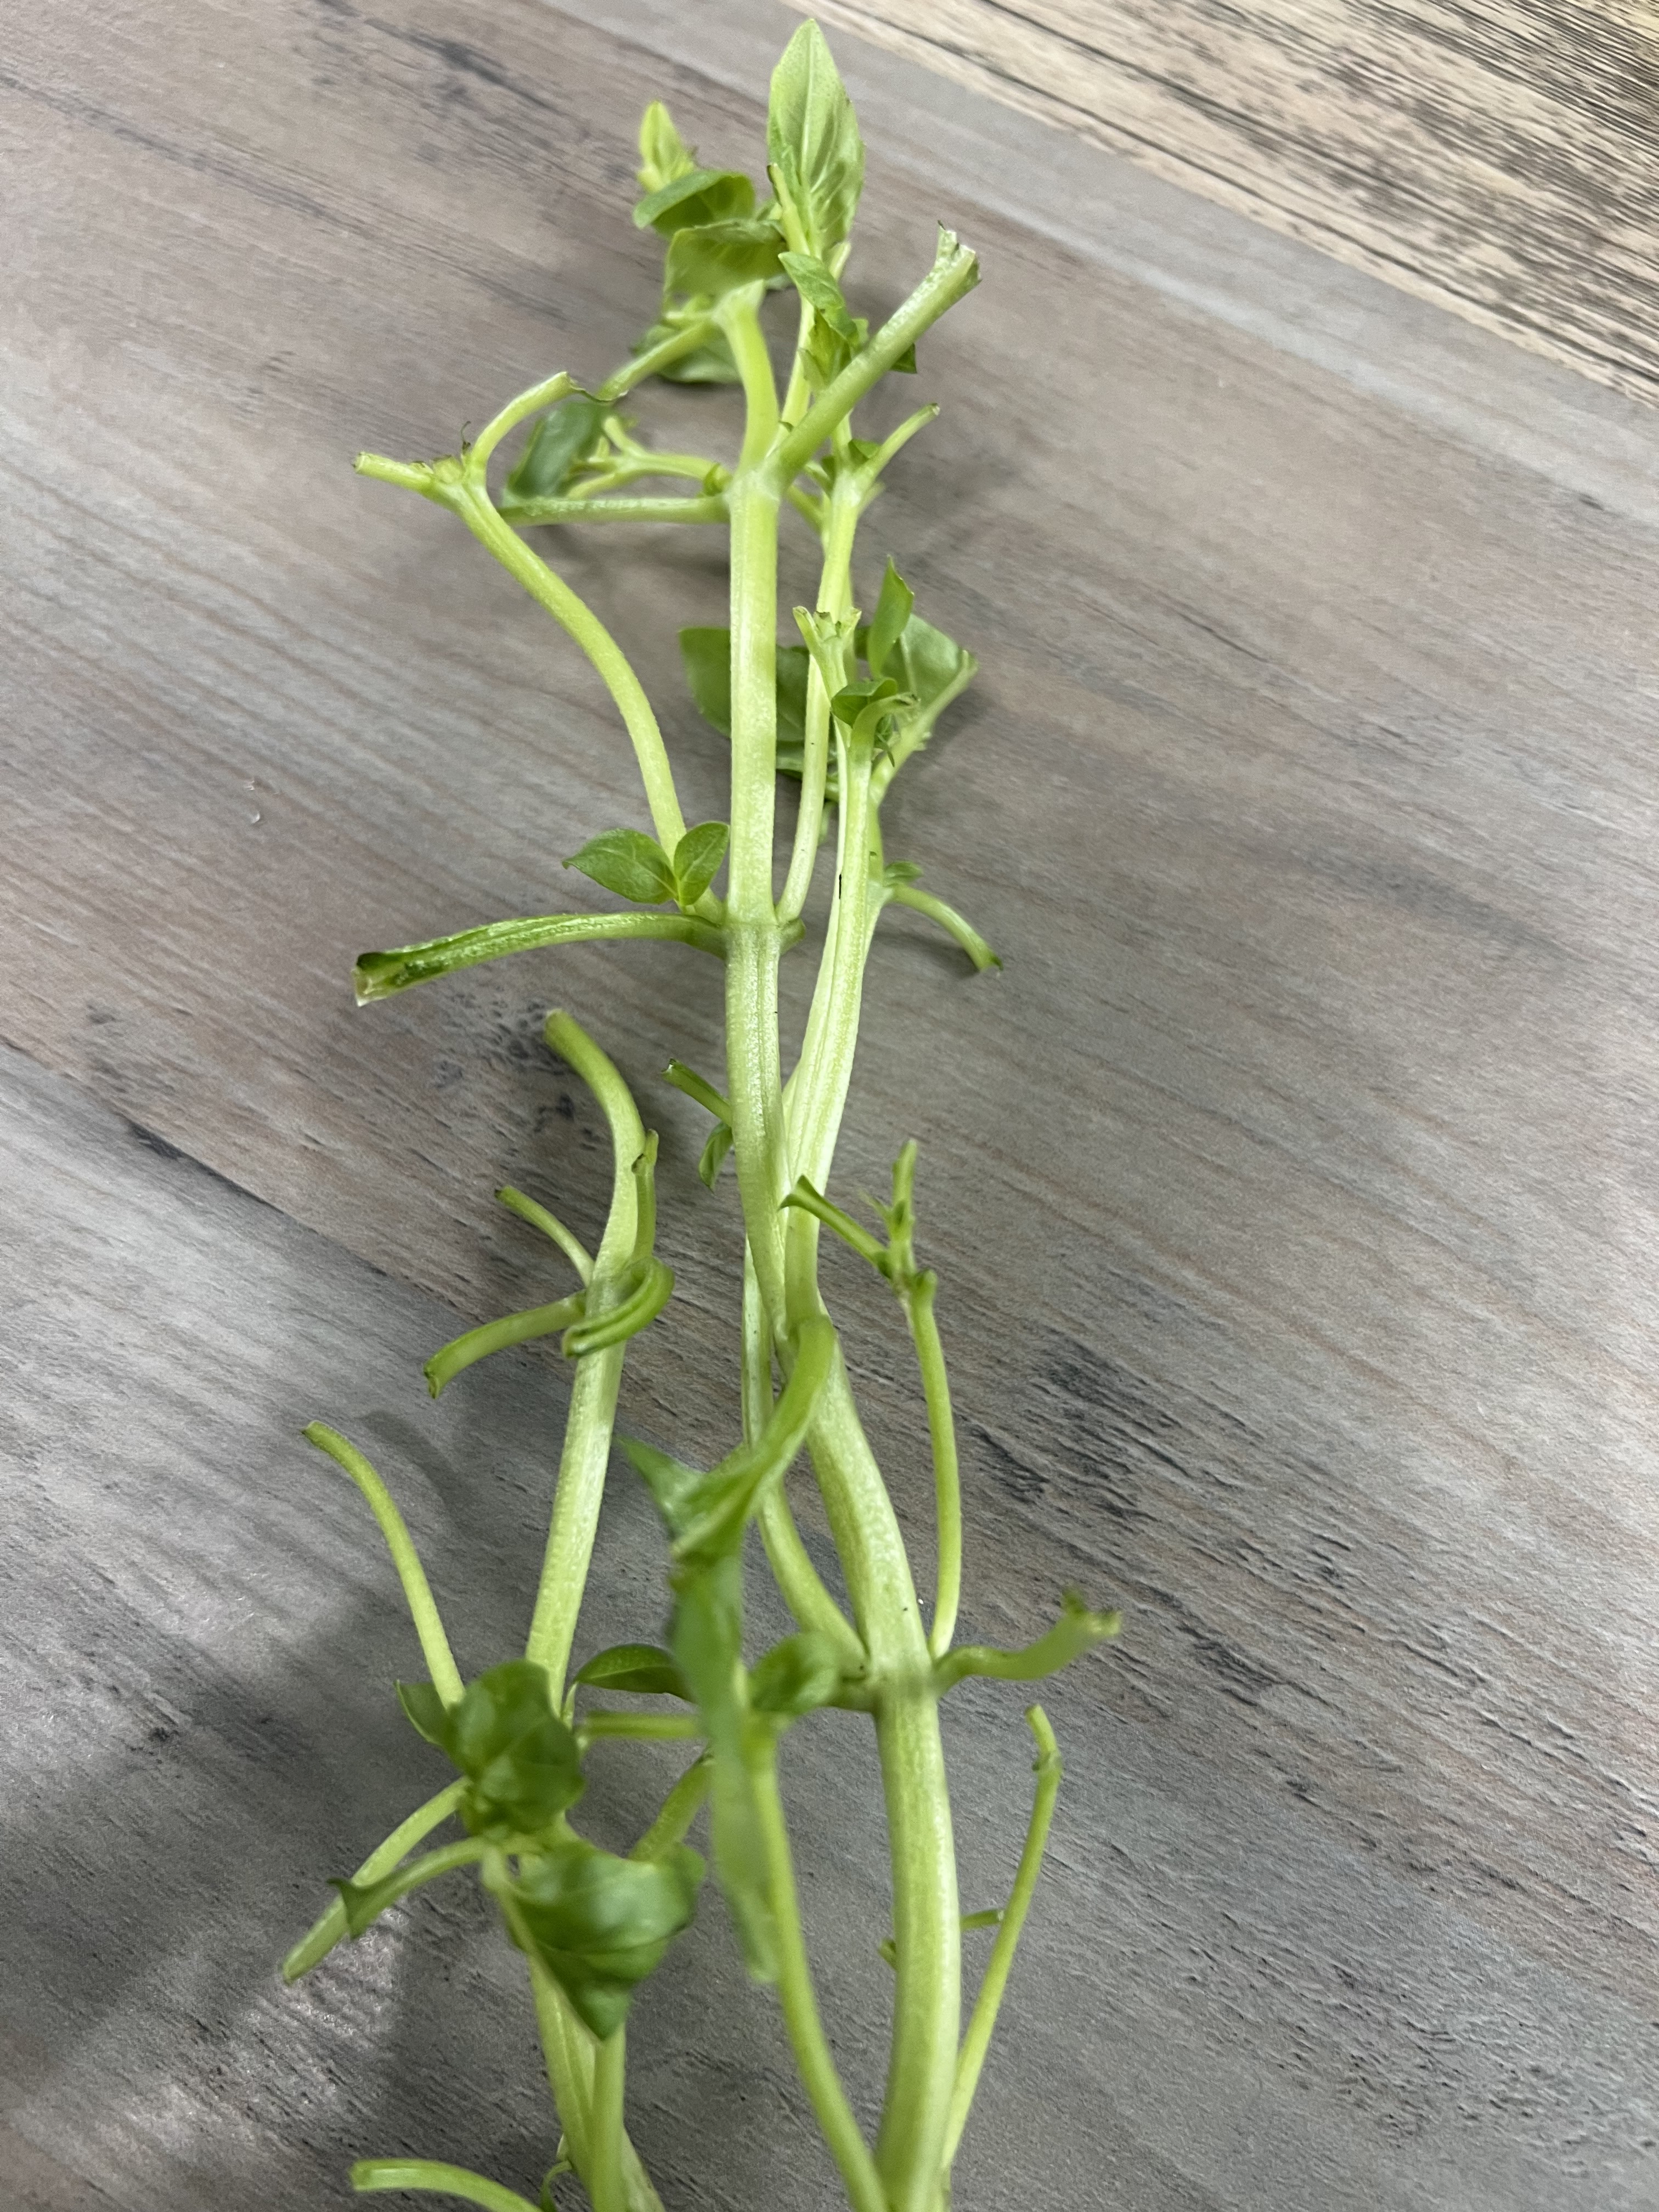
PRO TIP: This is what your stems should look like after you’ve harvested the leaves.
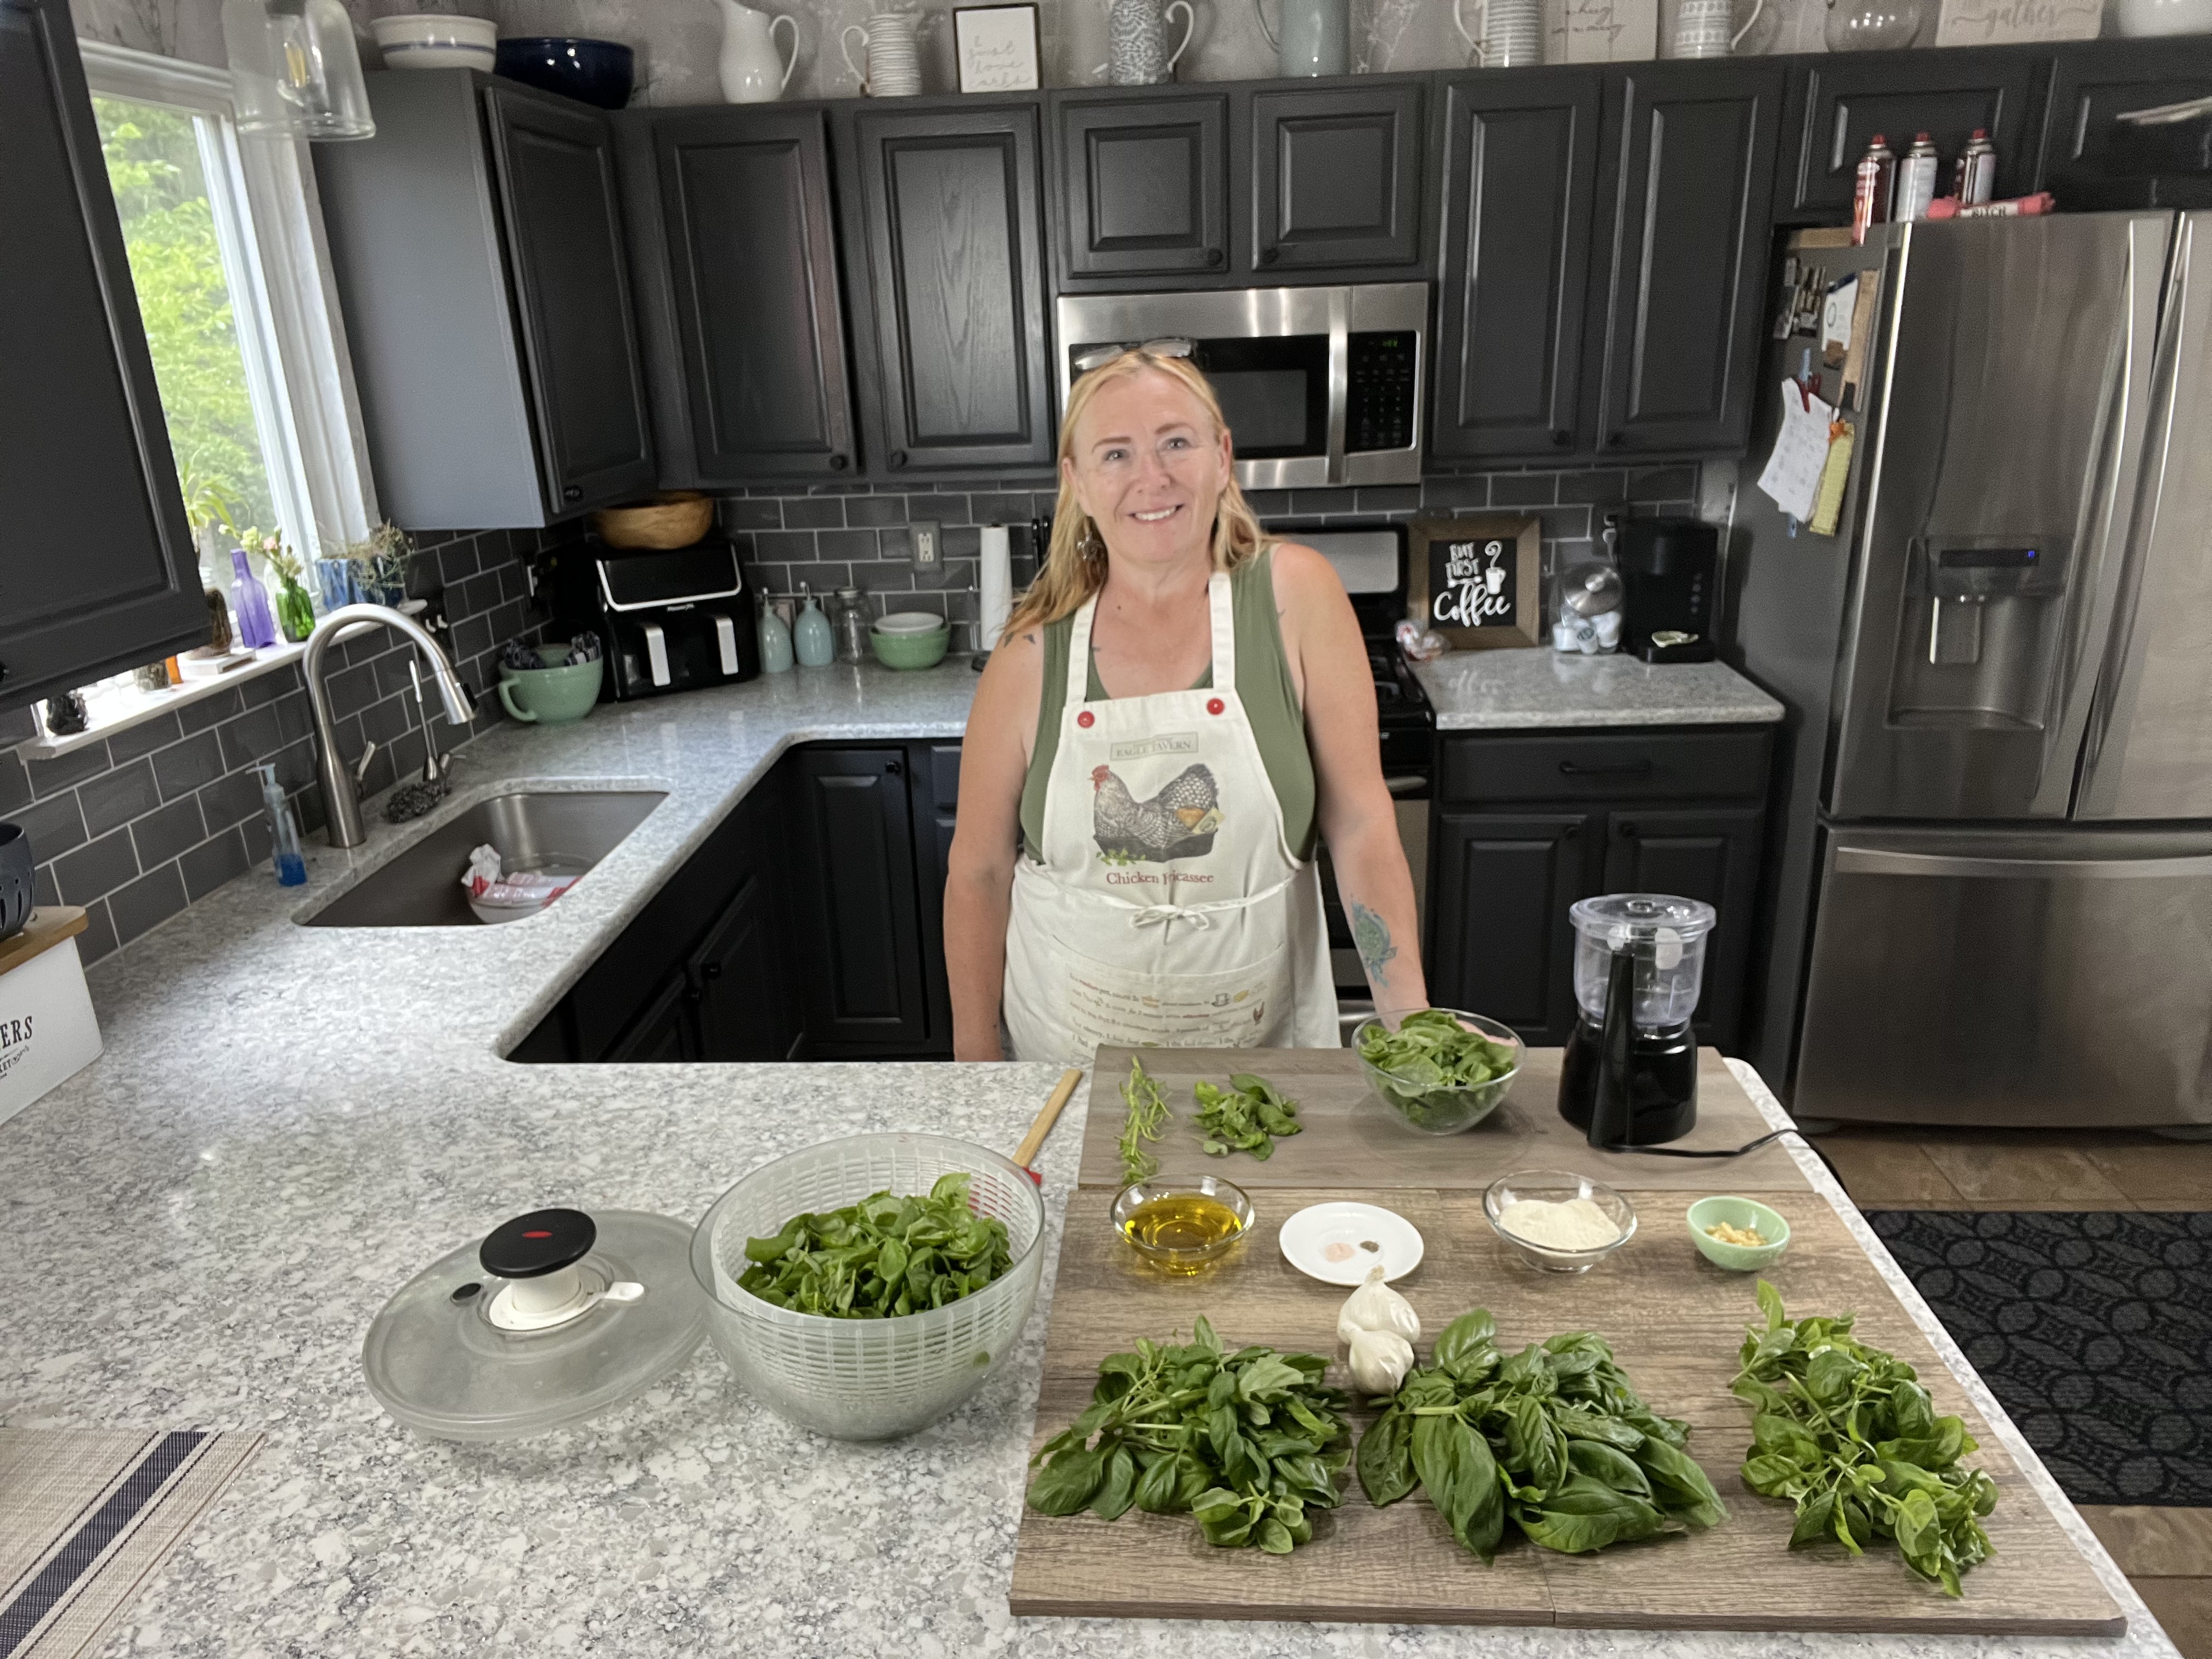
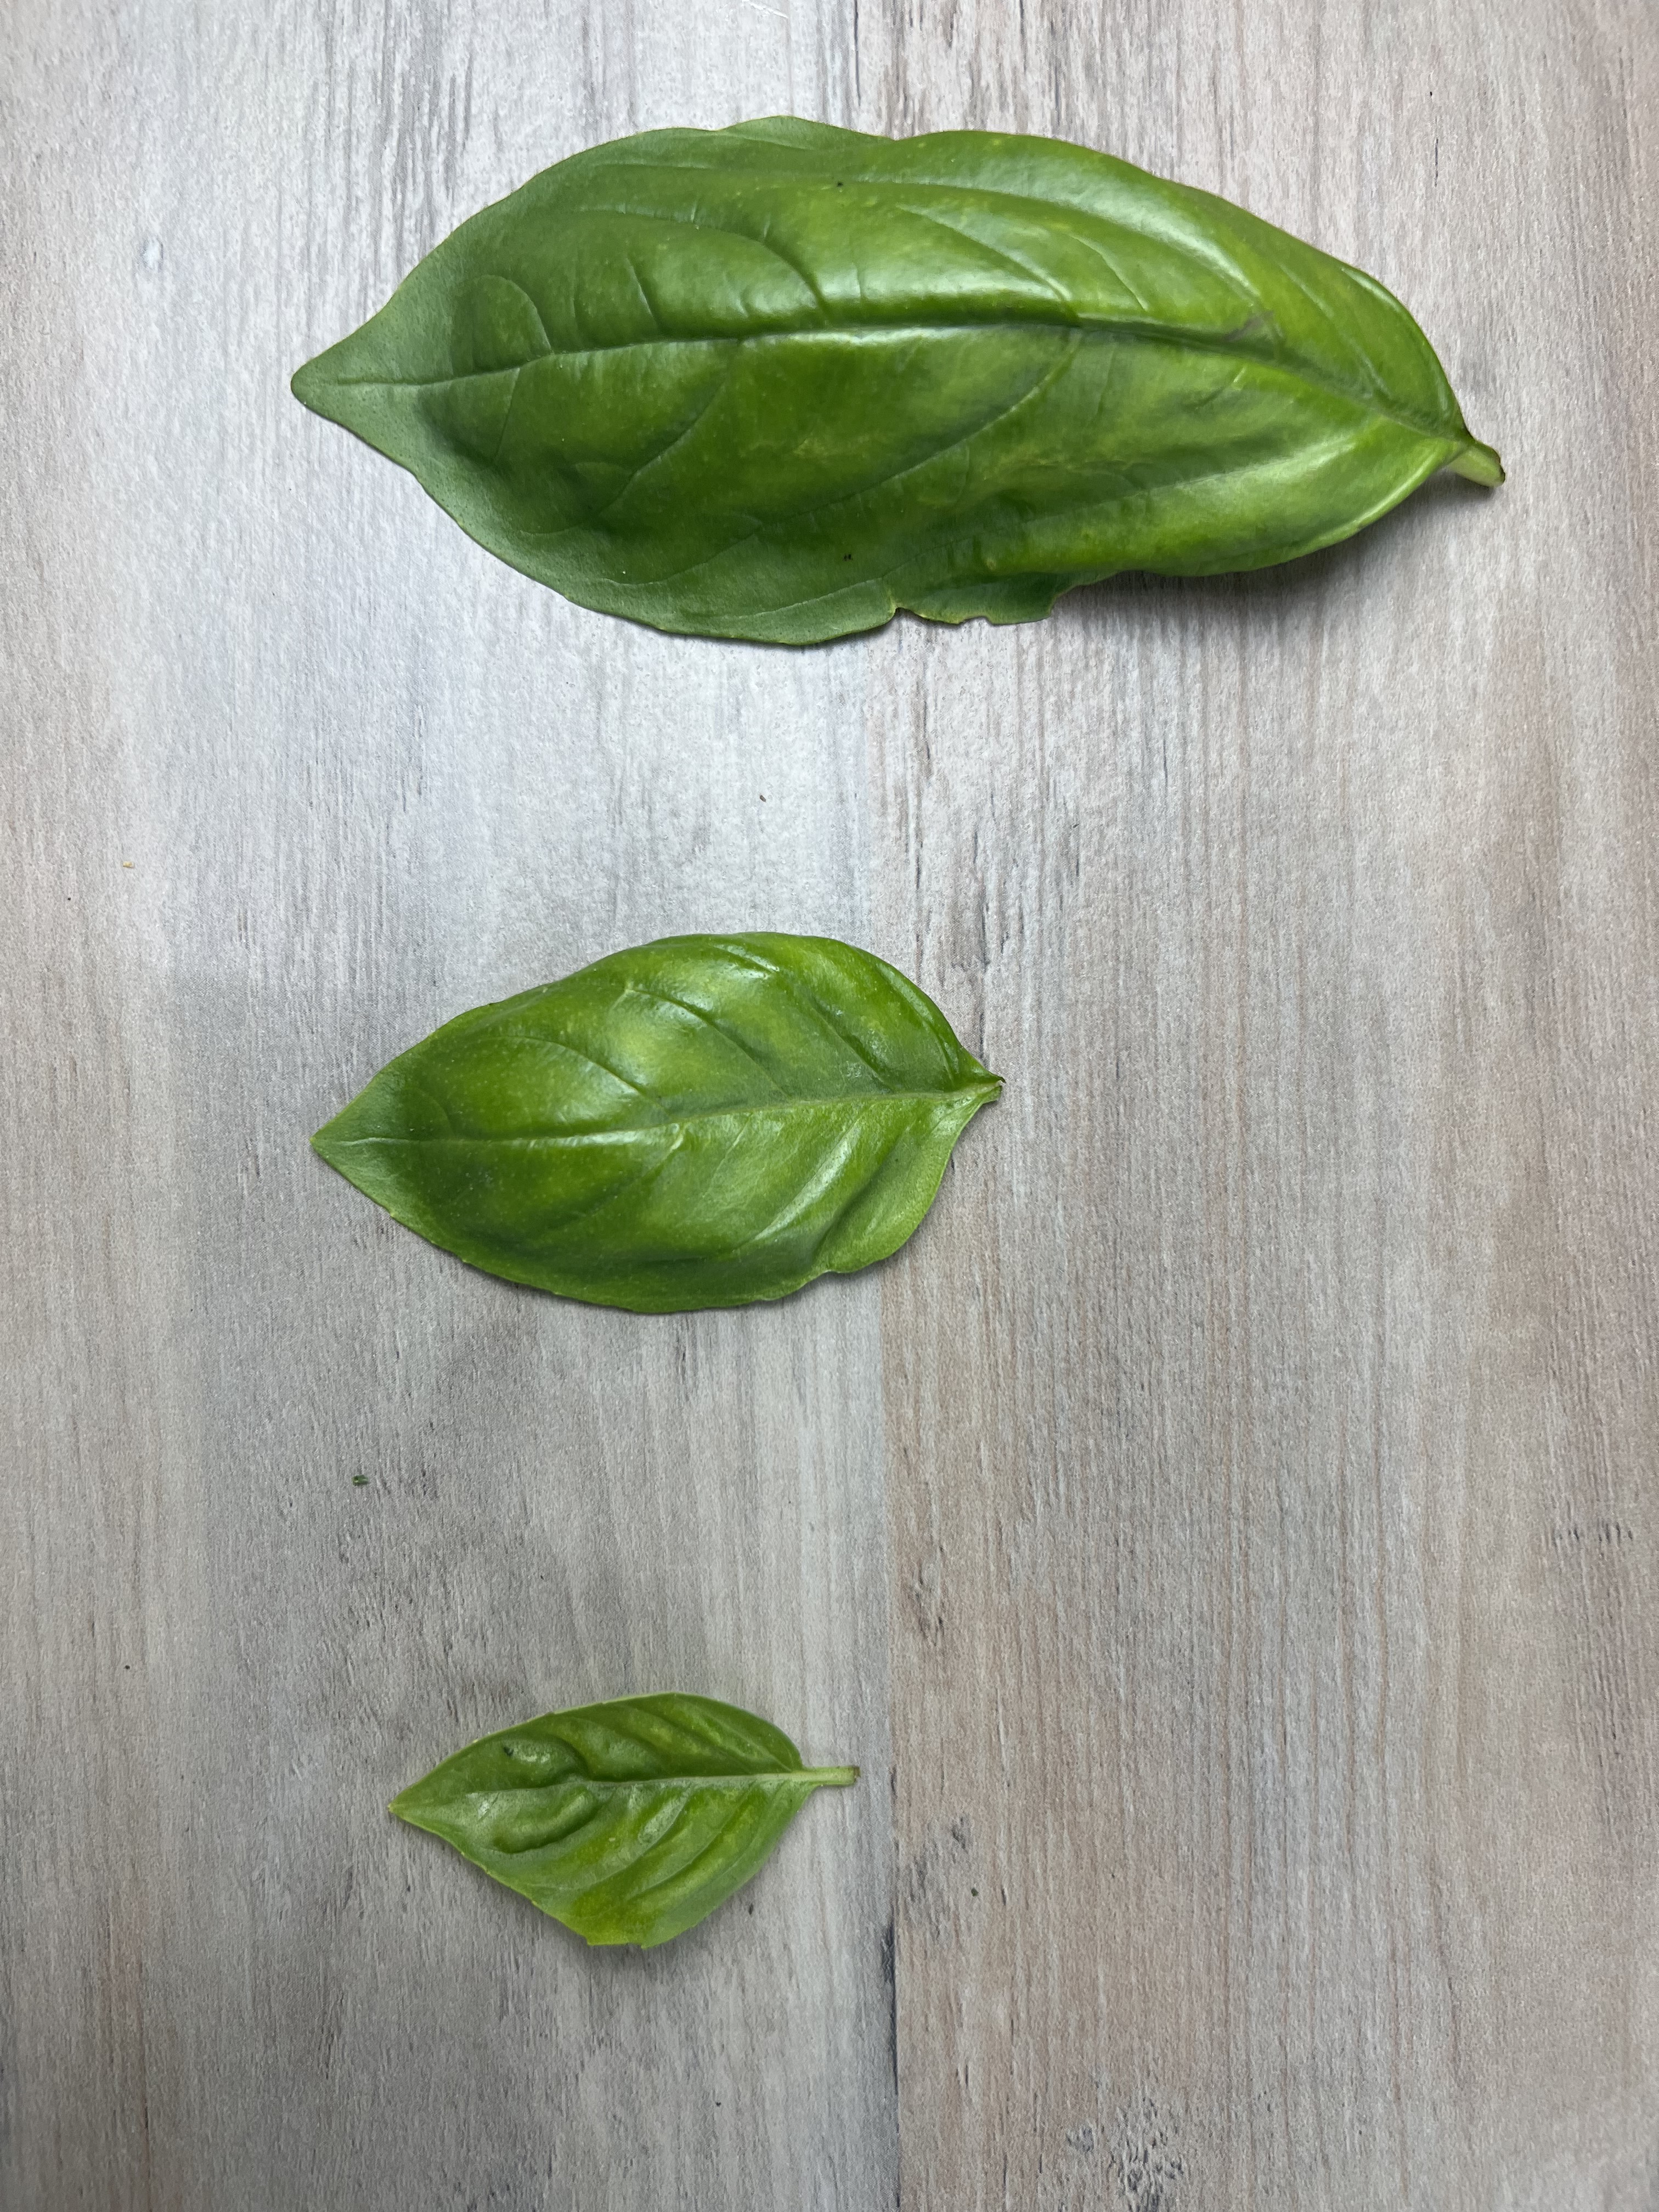
Did you know there are dozens of varieties of basil? Just a few are Thai which has a spicy hint to it, purple basil is very similar to Genovese.
The 3 types of basil in the photo above are in order from left to right: Sweet, Genovese, and my personal favorite Mammoth.
Processing…
Success! You're on the list.
Whoops! There was an error and we couldn't process your subscription. Please reload the page and try again.
If you aren’t following me on Facebook & Instagram go on over & give a LIKE & Follow me for daily tips & tricks for your home & garden!
For more Pesto recipes check out my previous blogs here:
Until next time remember to, Eat fresh, shop local & have a happy day, Jean
Copyright Policy
All text and images on this site are copyright of For Dragonflies And Me. Unless otherwise noted, you may not use this content.
This post may contain affiliate links. If you choose to purchase through an affiliate link, I may receive a small commission at no additional cost to you. You can see my full disclaimer here.
If you haven’t been following me on my Facebook page, well then you’ve been missing a load of fun. I share links to all my blog posts, YouTube videos, Podcast recordings, Facebook live moments when I’m out & about.
Be sure to stop by so you don’t miss a beat! See you there friends, and be sure to “Hi!” in the comments!
CLICK each photo to see the blog post that goes with it!
If you enjoyed this blog, please LIKE, Follow, Share & leave me a comment! I love your feedback!
If you aren’t following me on Facebook & Instagram go on over & give a LIKE & Follow me for daily tips & tricks for your home & garden!
“Change the food in the schools and we can influence how children think. Change the curriculum and teach them how to garden and how to cook and we can show that growing food and cooking and eating together give lasting richness, meaning, and beauty to our lives.” ― Alice Waters
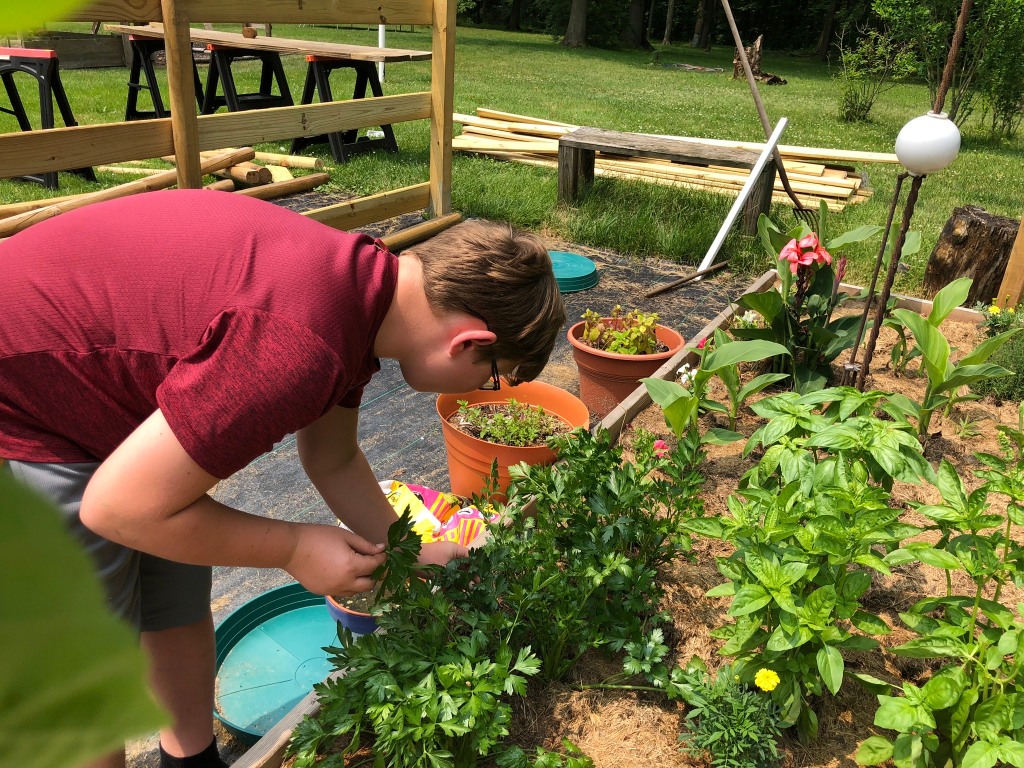
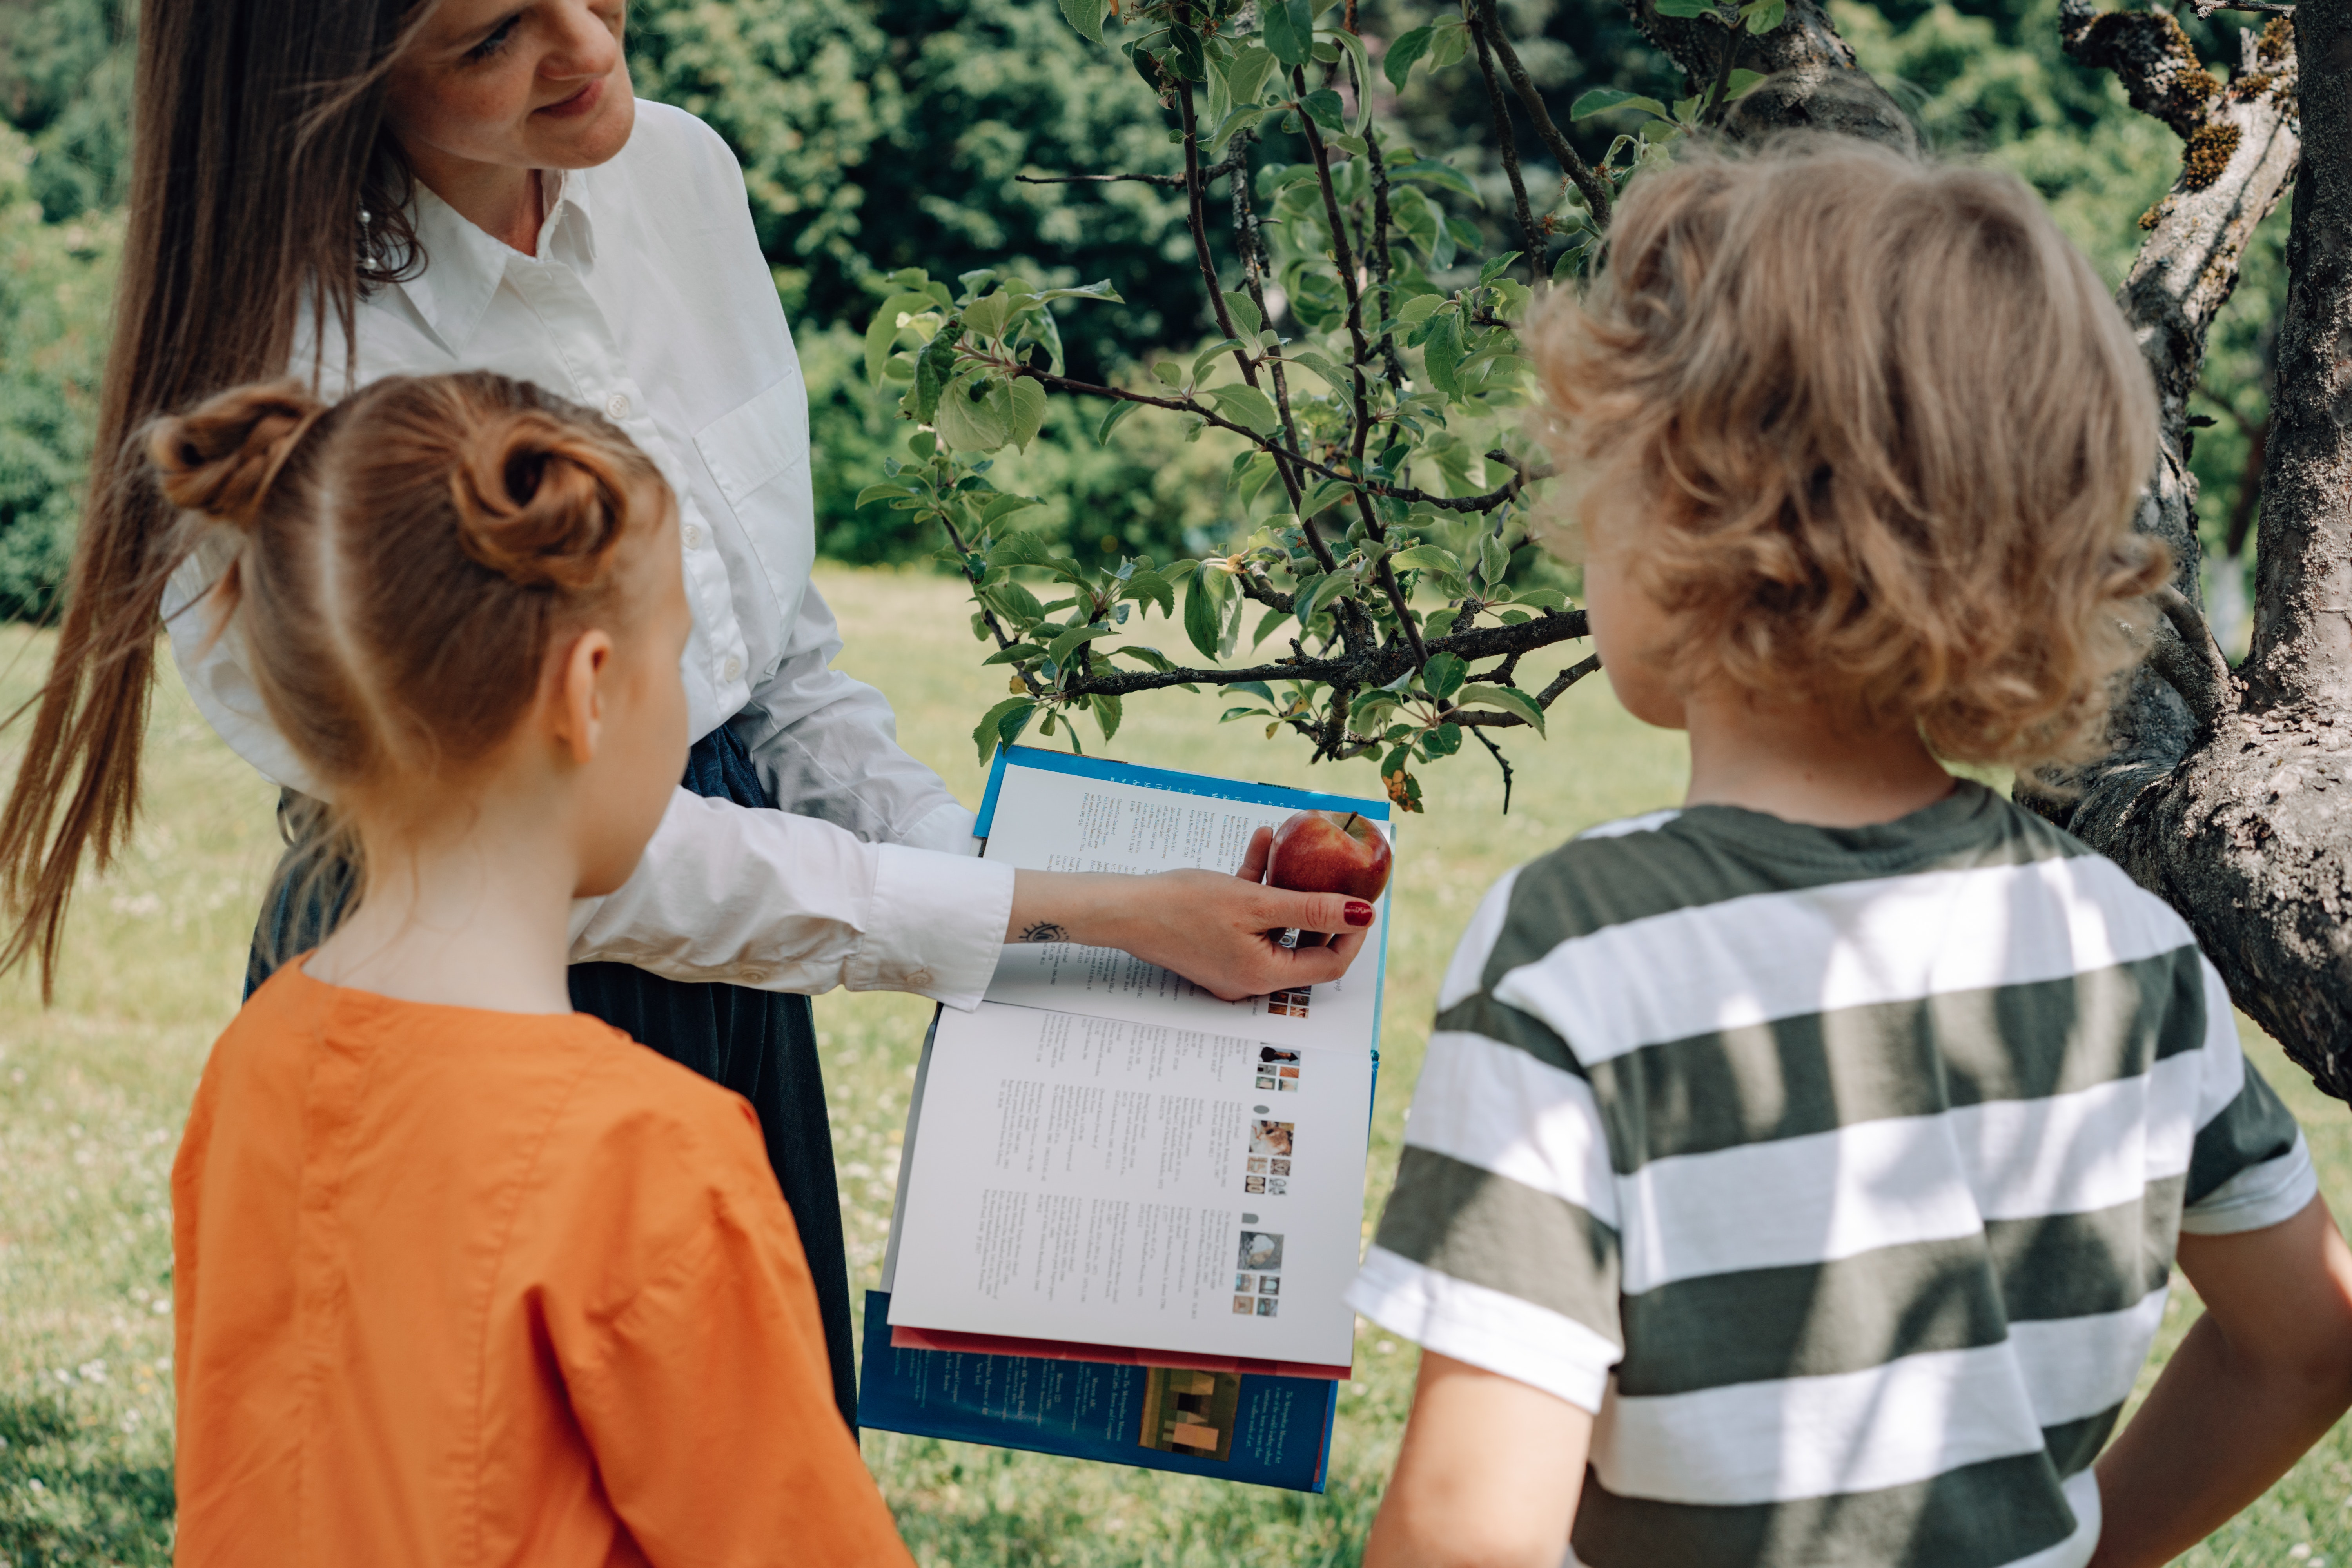
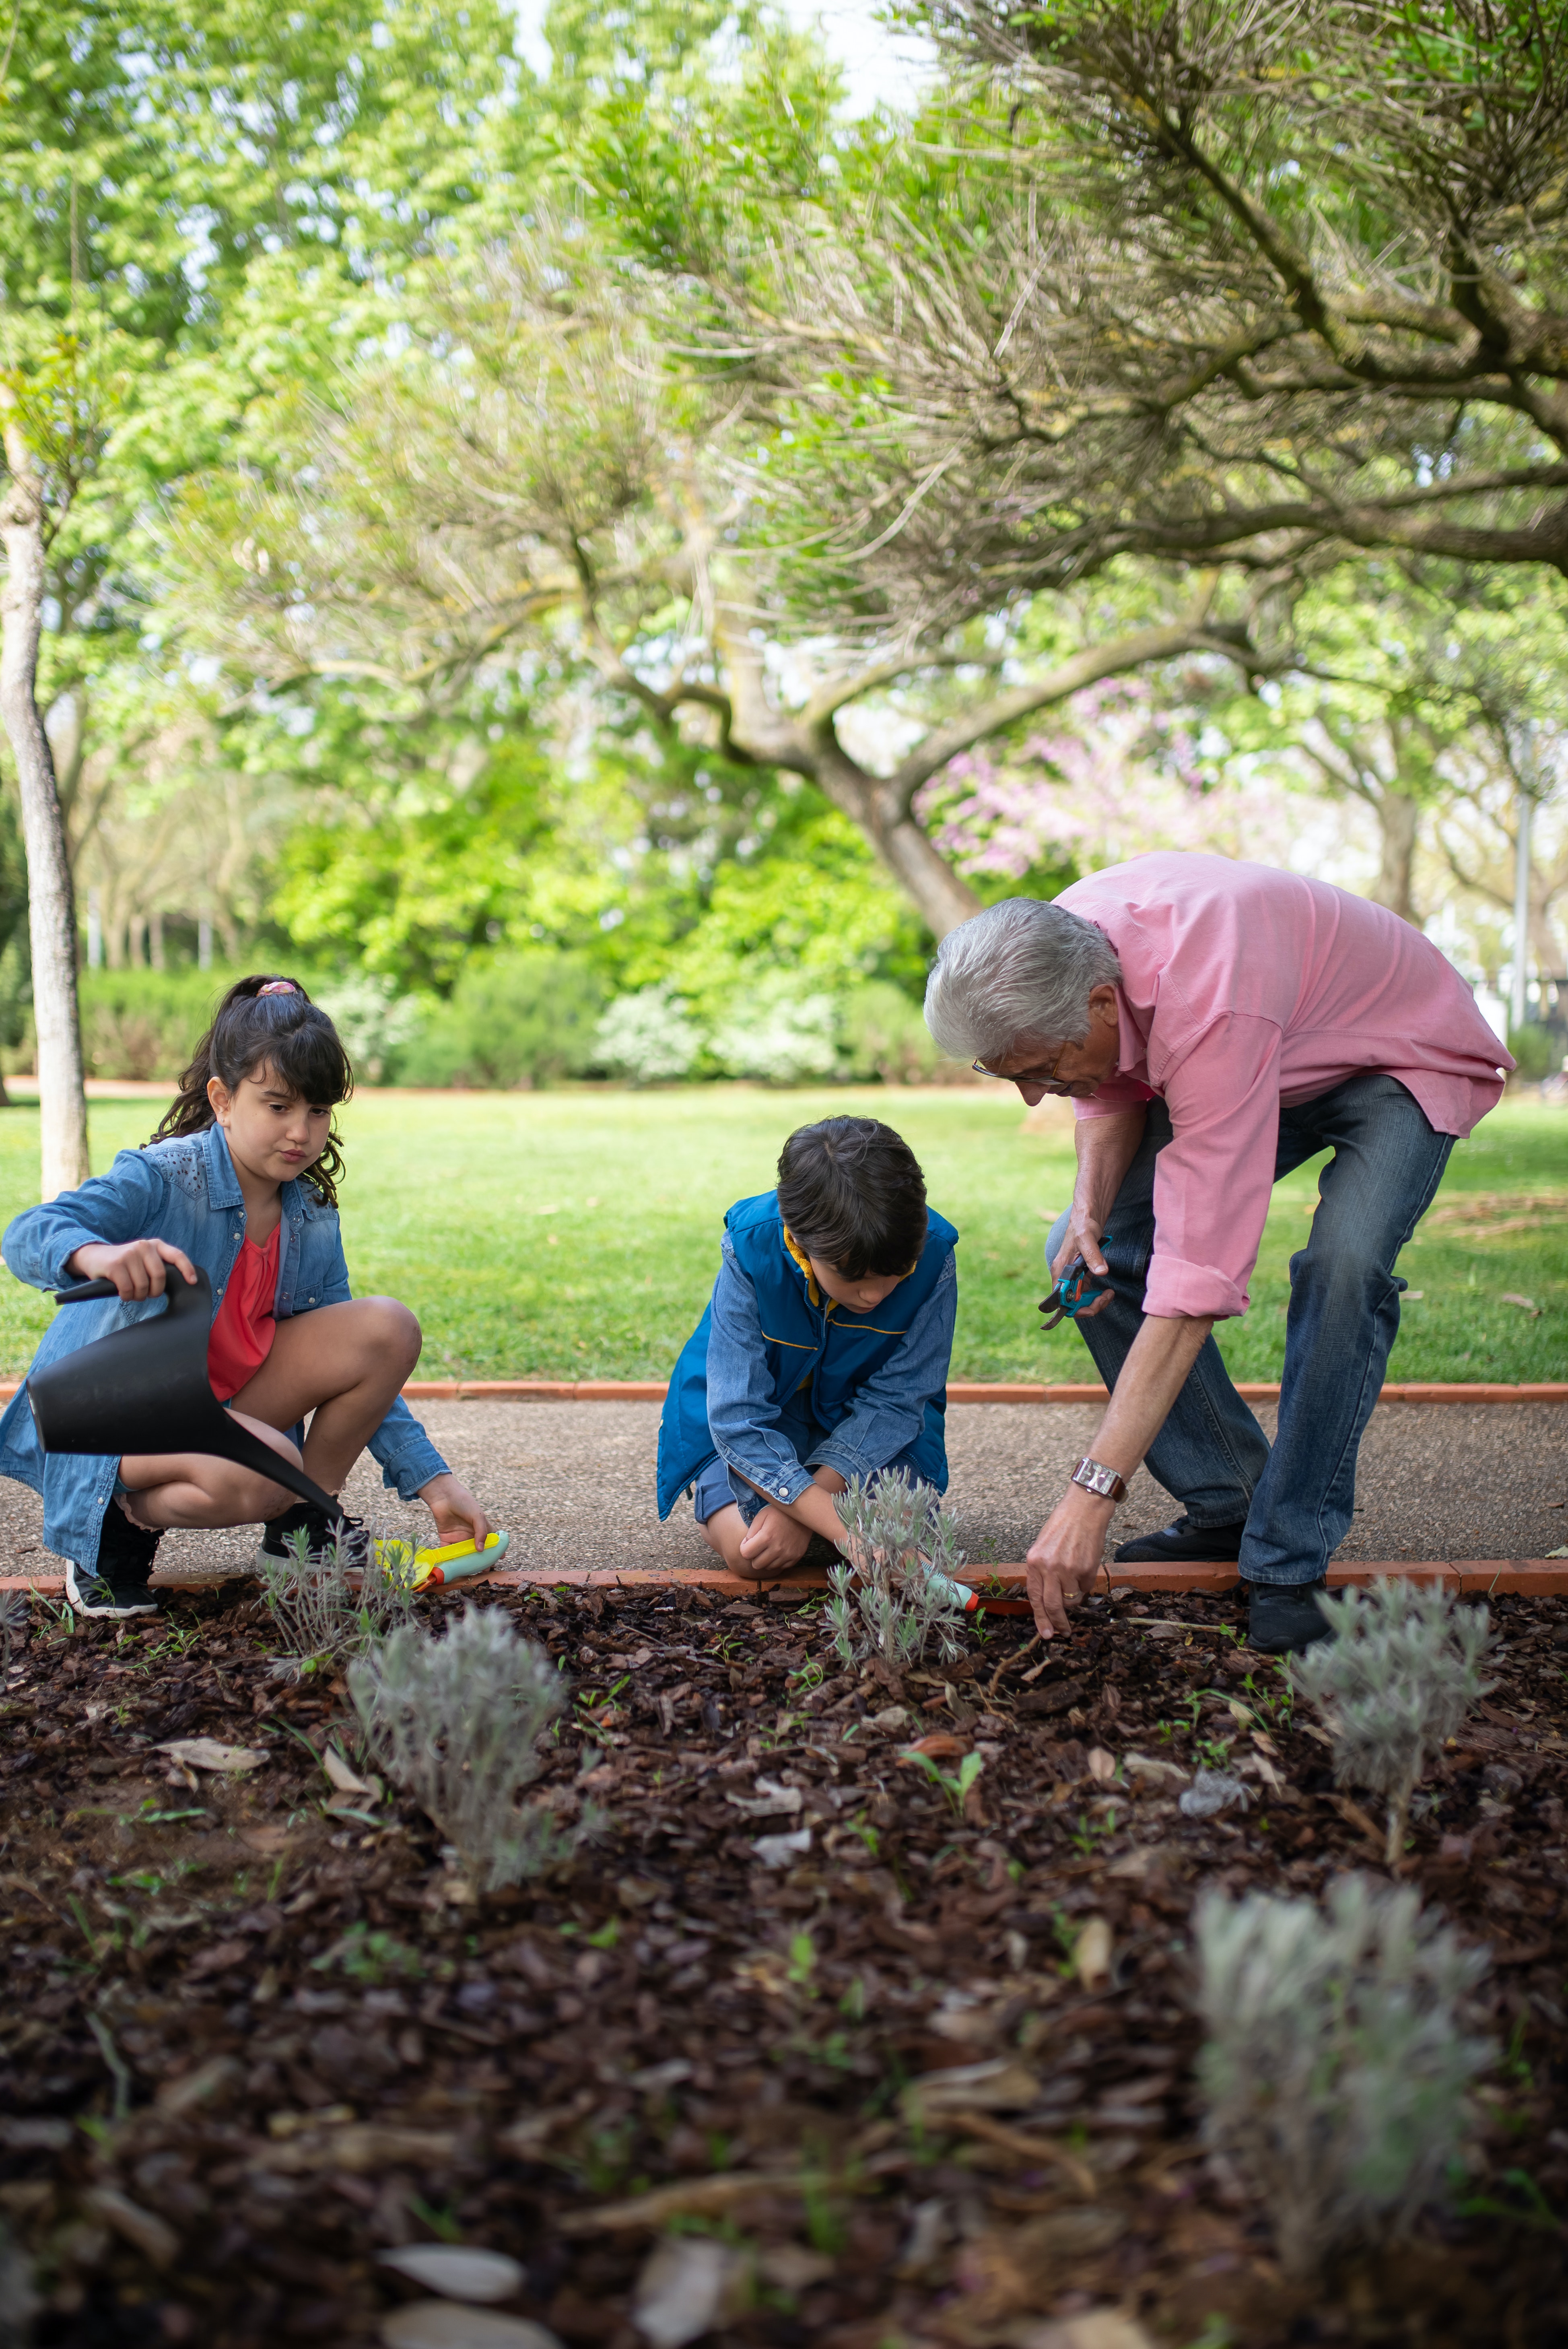
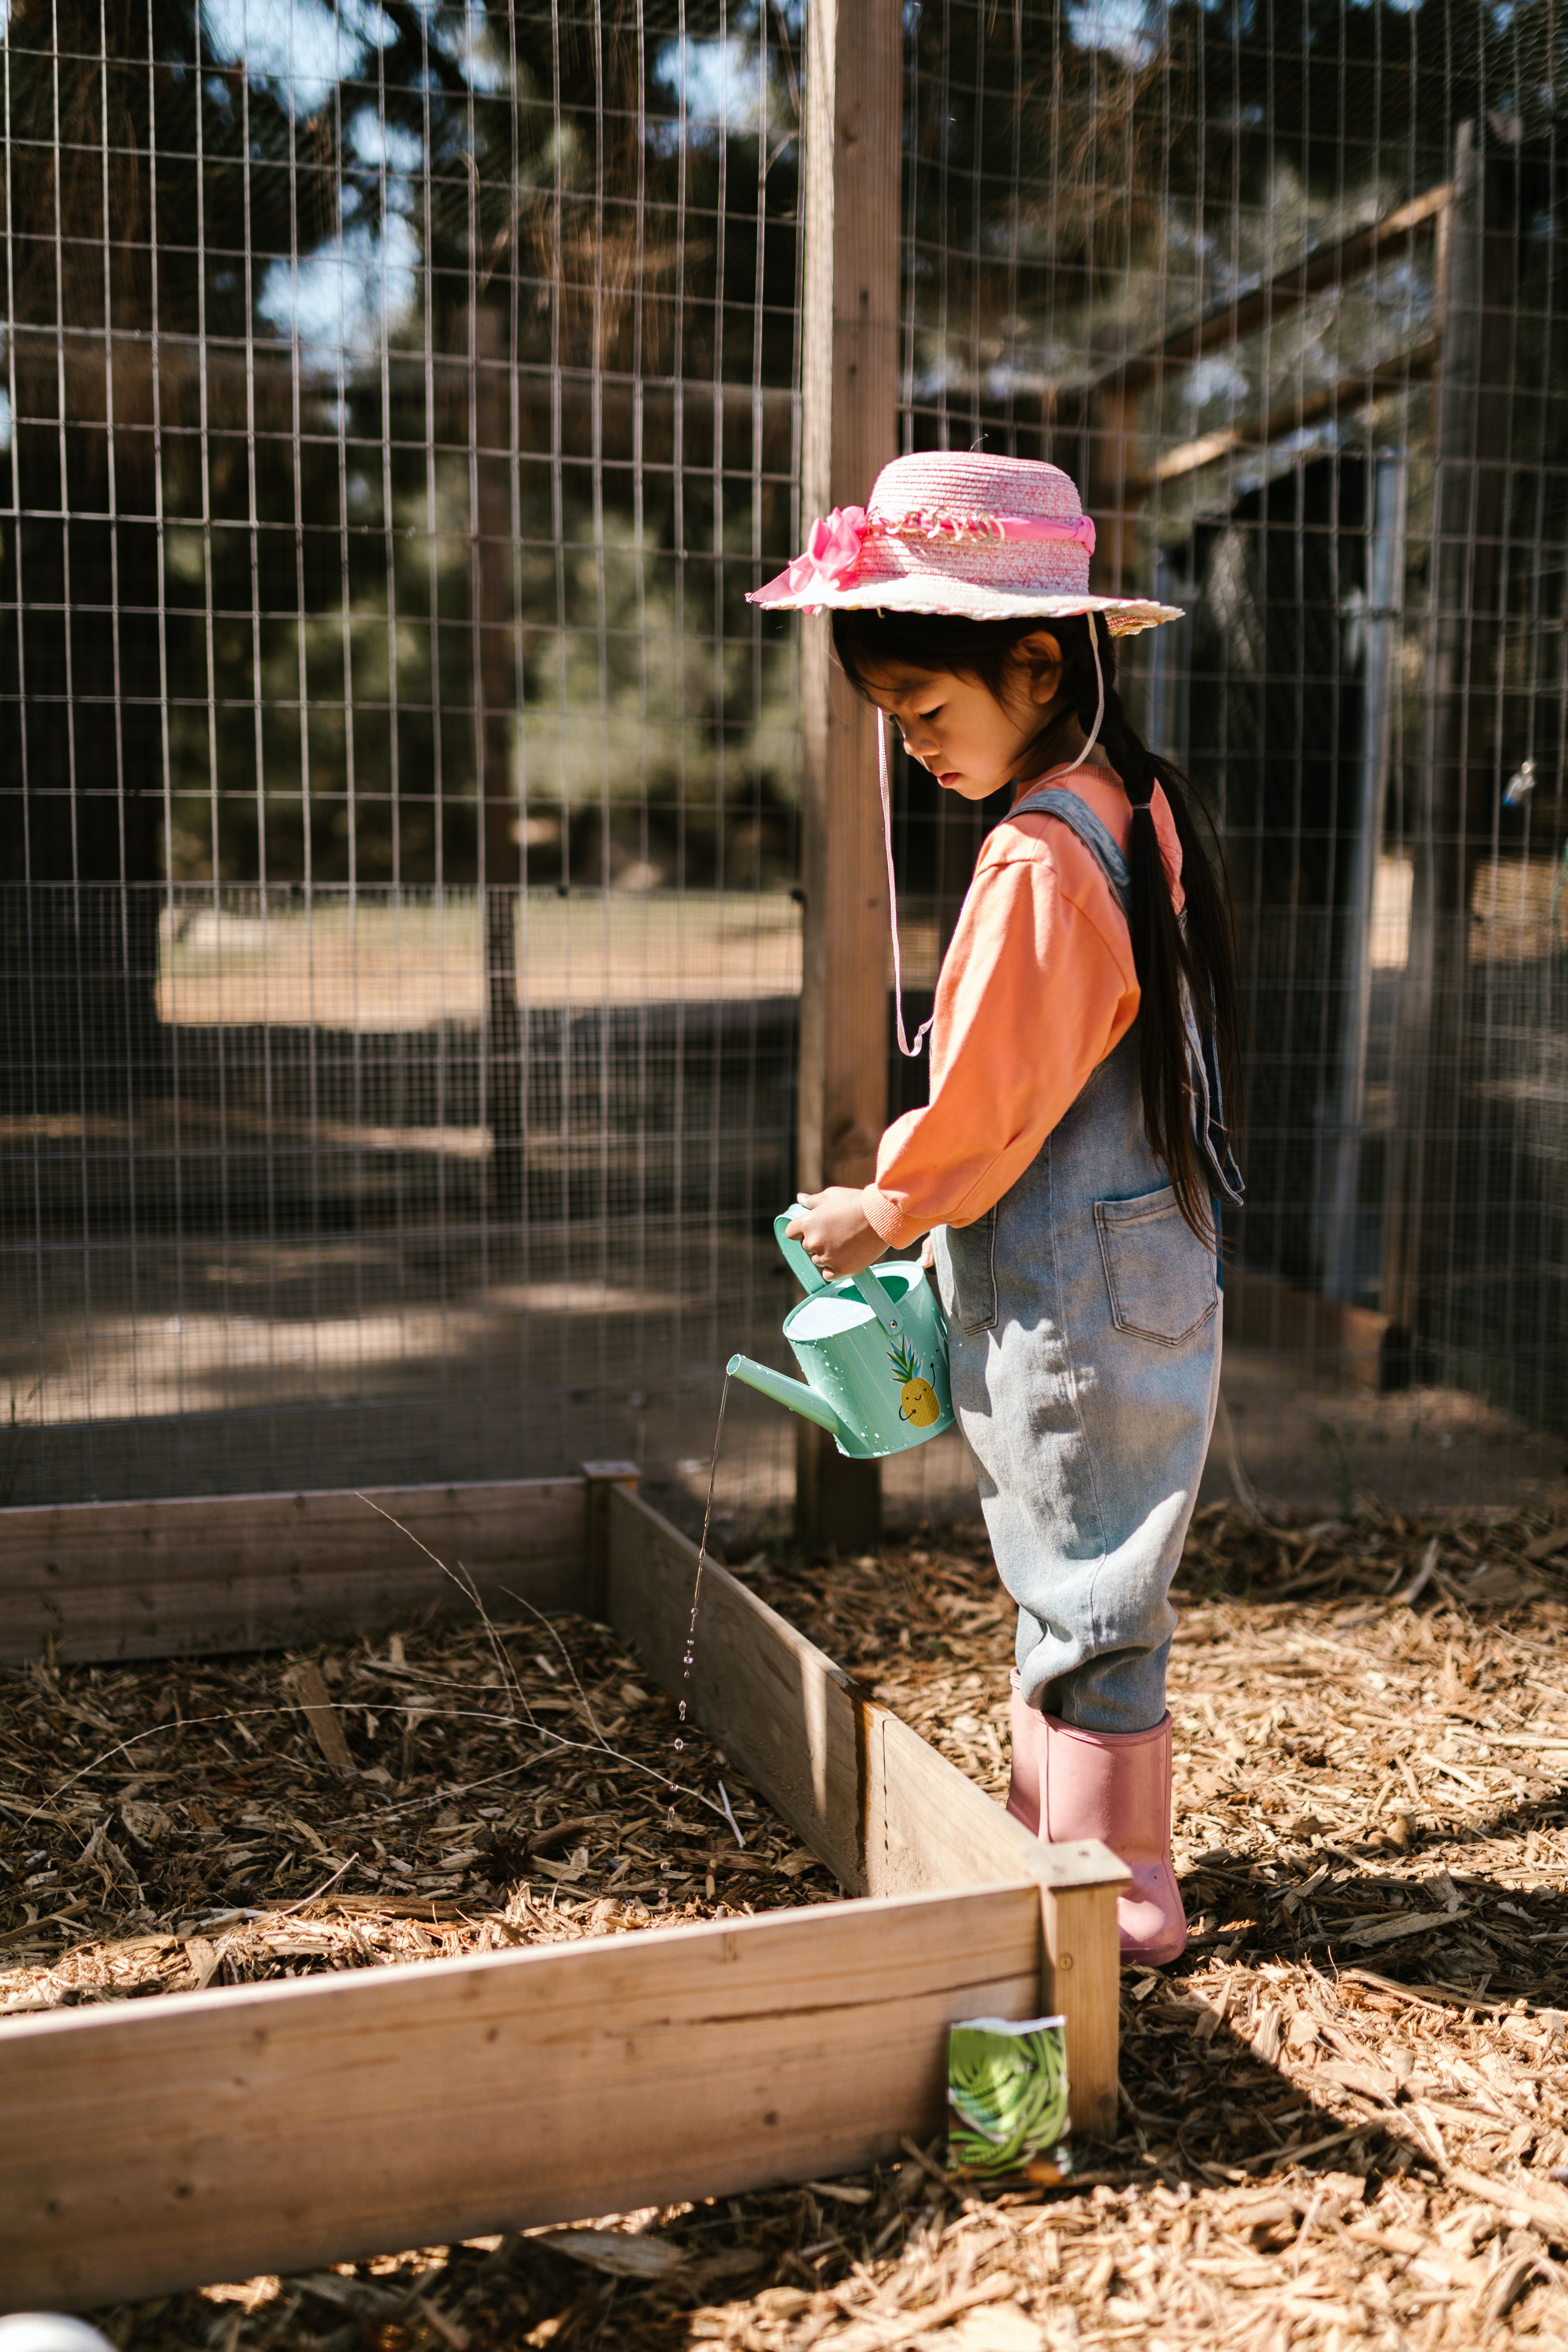
If you have been following me for any length of time, you know I am an advocate for kids in the garden. Over the years, you’ve watched my children grow in my gardens helping to build new raised beds, harvesting the crops, and finally helping prepare the fruits of our labors in the kitchen.
I believe every school in the country should have a school garden in order to teach our children where food comes from. I will be discussing in upcoming blogs how to incorporate kids in the garden, as well as the anonymity of food in our culture today. This is the main reason why I think it is crucial to incorporate school gardens!’
Thankfully, school gardens have become increasingly popular in recent years, and for good reason. Incorporating a garden into a school’s curriculum can have a range of benefits for students, teachers, and the wider community.
In today’s blog post, I am going to provide you with the many benefits of incorporating a school garden and why it’s a worthwhile investment for any educational institution.
Now let’s look at the many benefits school gardens can have!
Let’s Look at the Academic Benefits of School Gardens!
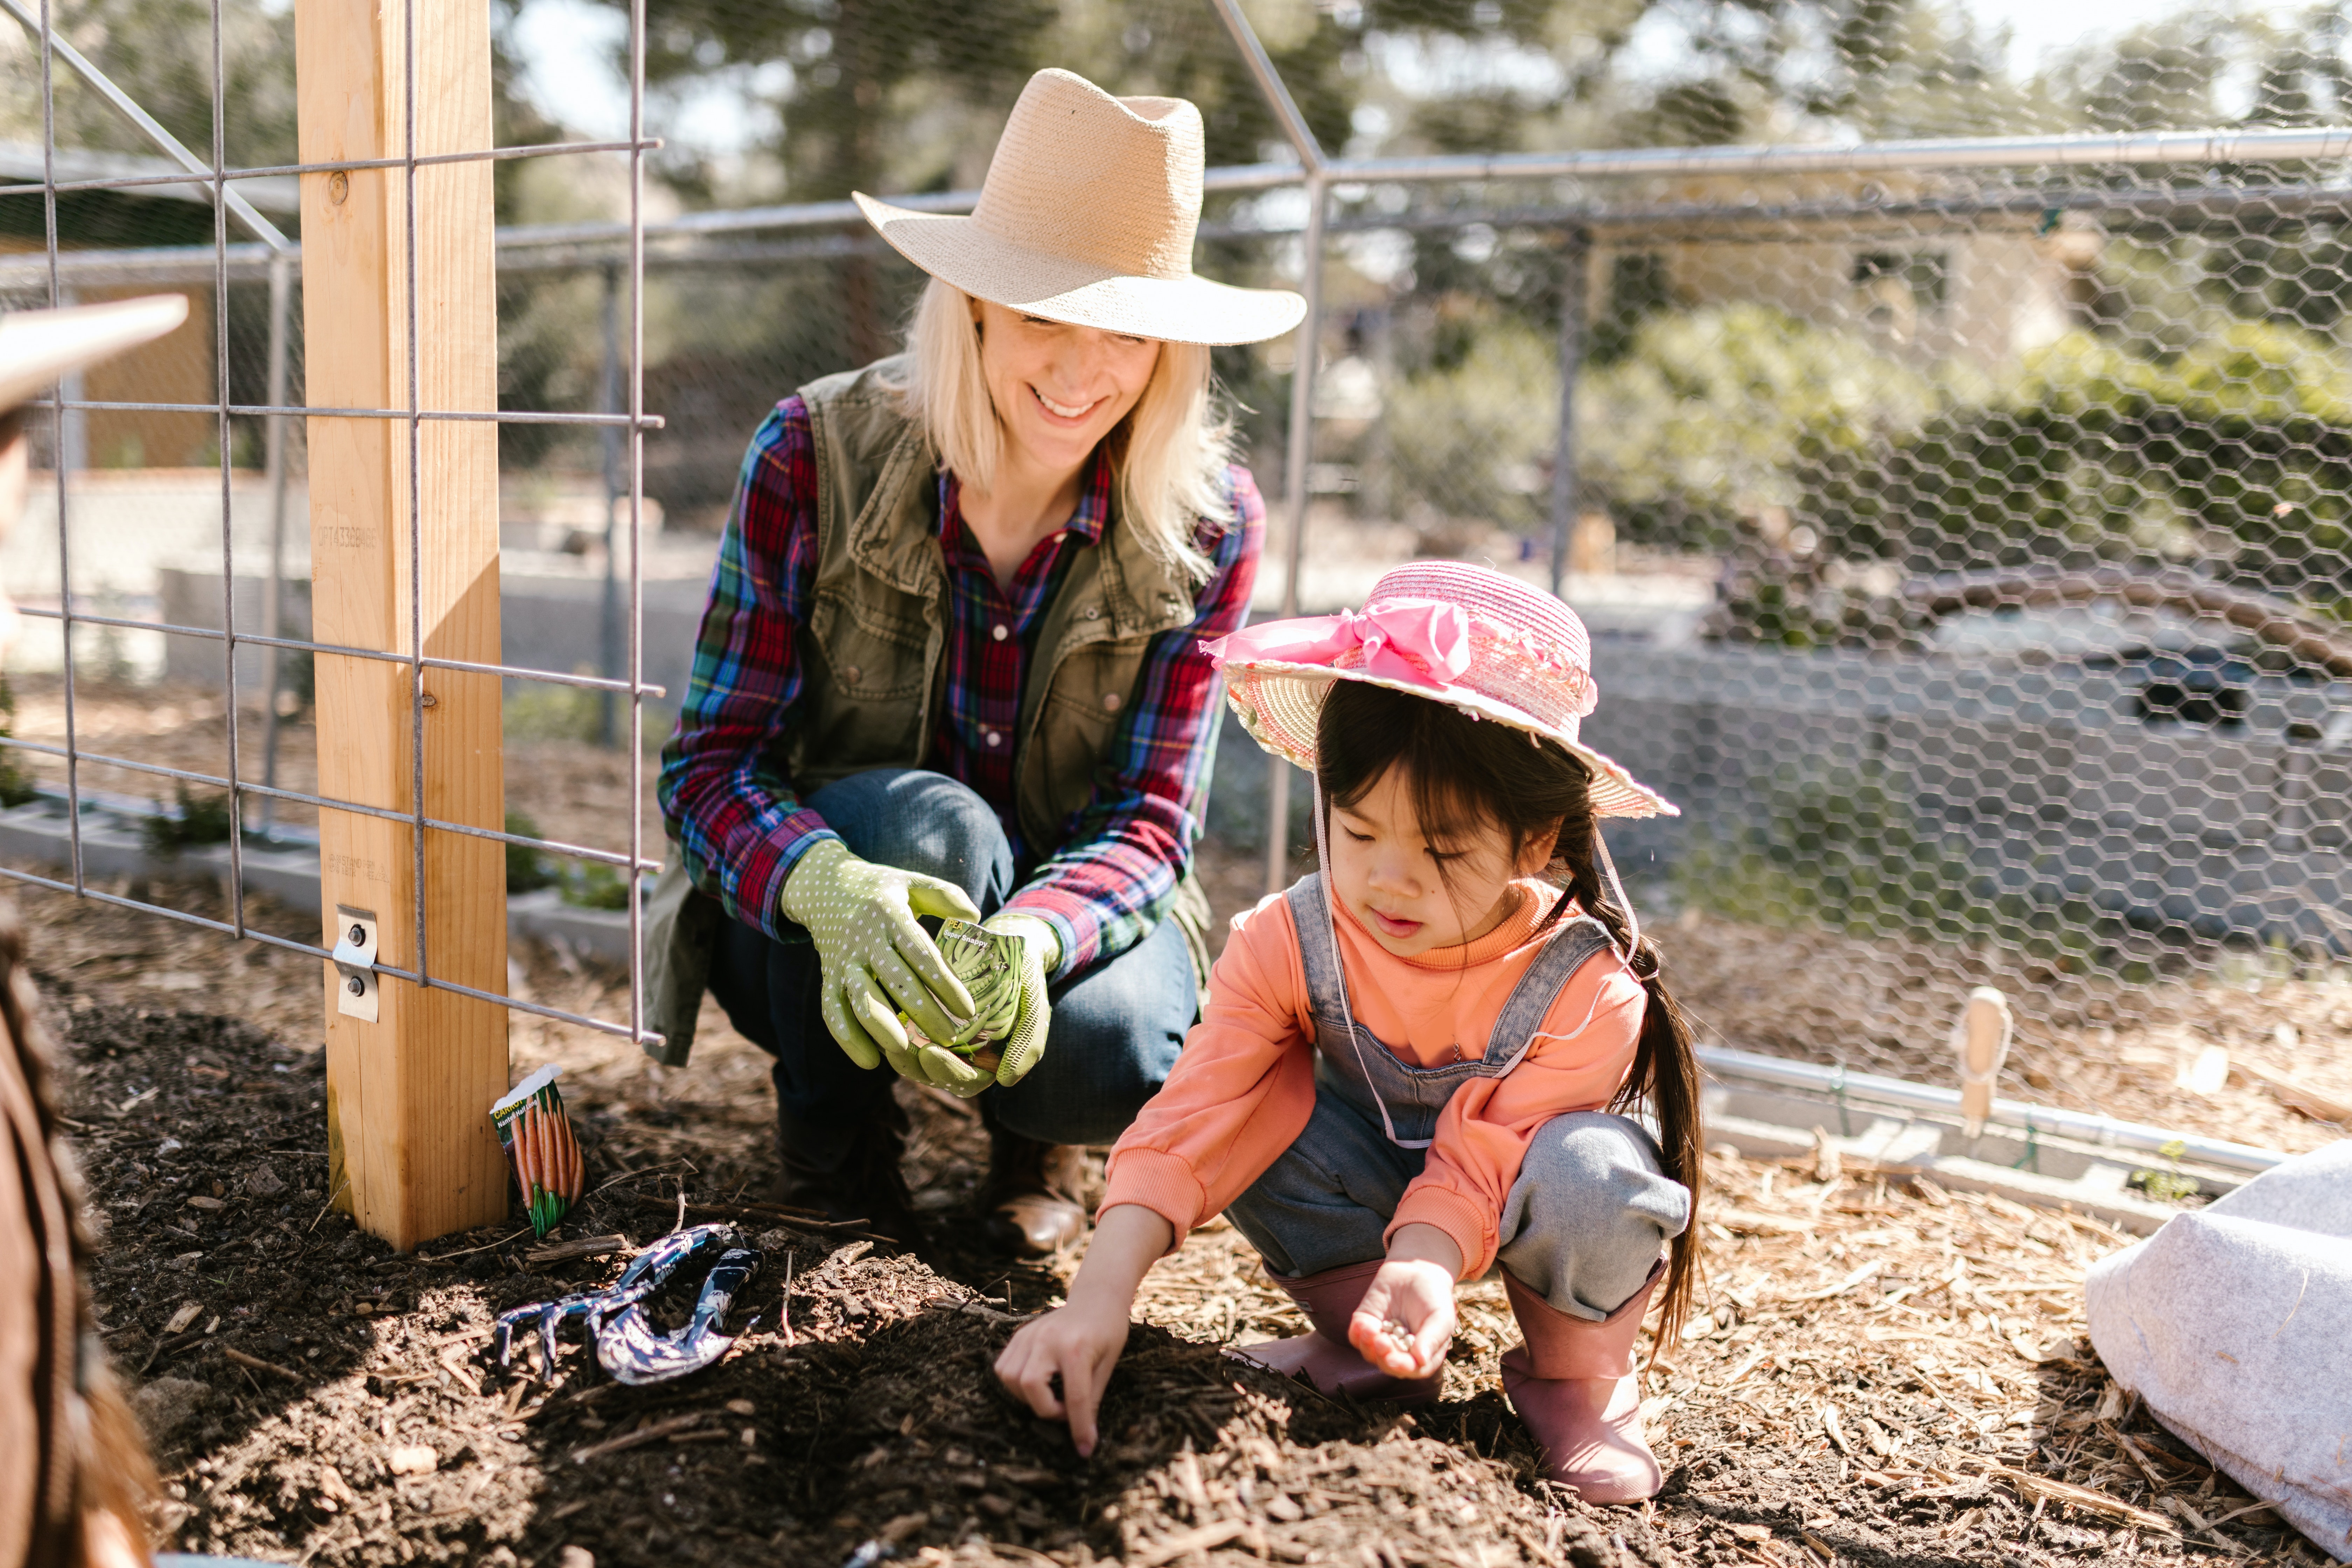
School gardens have the ability to provide a hands-on and engaging way for students to learn about science, math, and other subjects. For example, students can learn about the life cycle of plants, the importance of pollination, and the role of soil nutrients in plant growth. They can also use math skills to measure the growth of plants and calculate the amount of water and fertilizer needed.
School gardens also provide an opportunity to help students develop critical thinking skills as they problem-solve and make decisions about garden design, plant selection, and pest management.
Besides enhancing academic learning, school gardens can also foster teamwork, leadership, and communication skills. Students can work in groups to plan and plant the garden, share responsibilities for watering and weeding, and harvest the produce. They can also take on leadership roles by leading garden tours, organizing fundraising events, and teaching younger students about gardening. Through these activities, students can develop a sense of responsibility, confidence, and teamwork.
What are Some of the Potential Health Benefits of School Gardens?
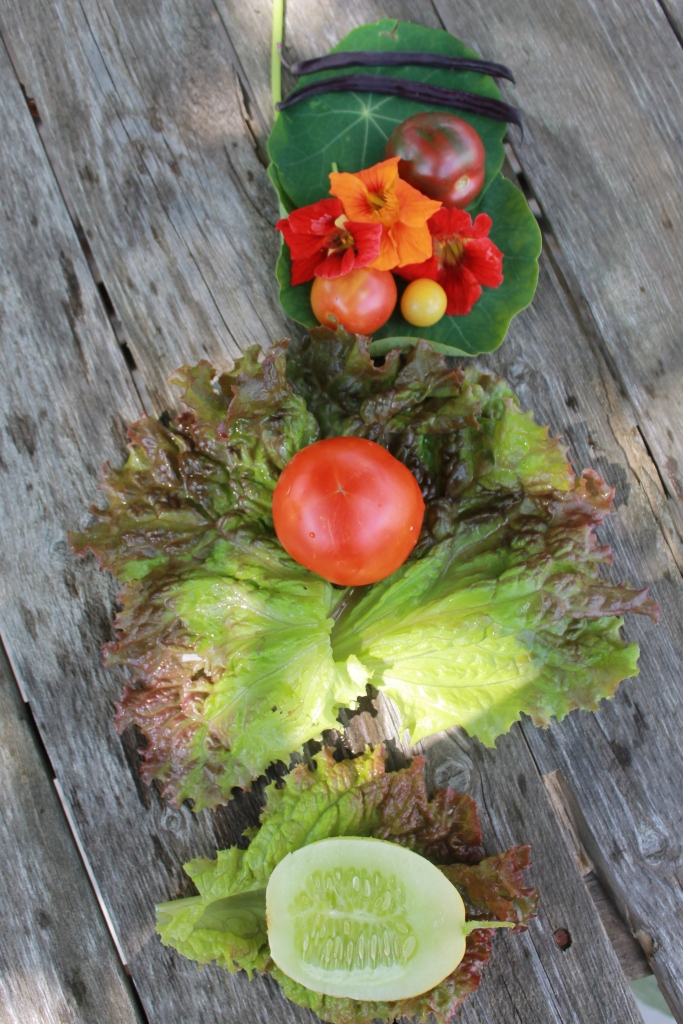
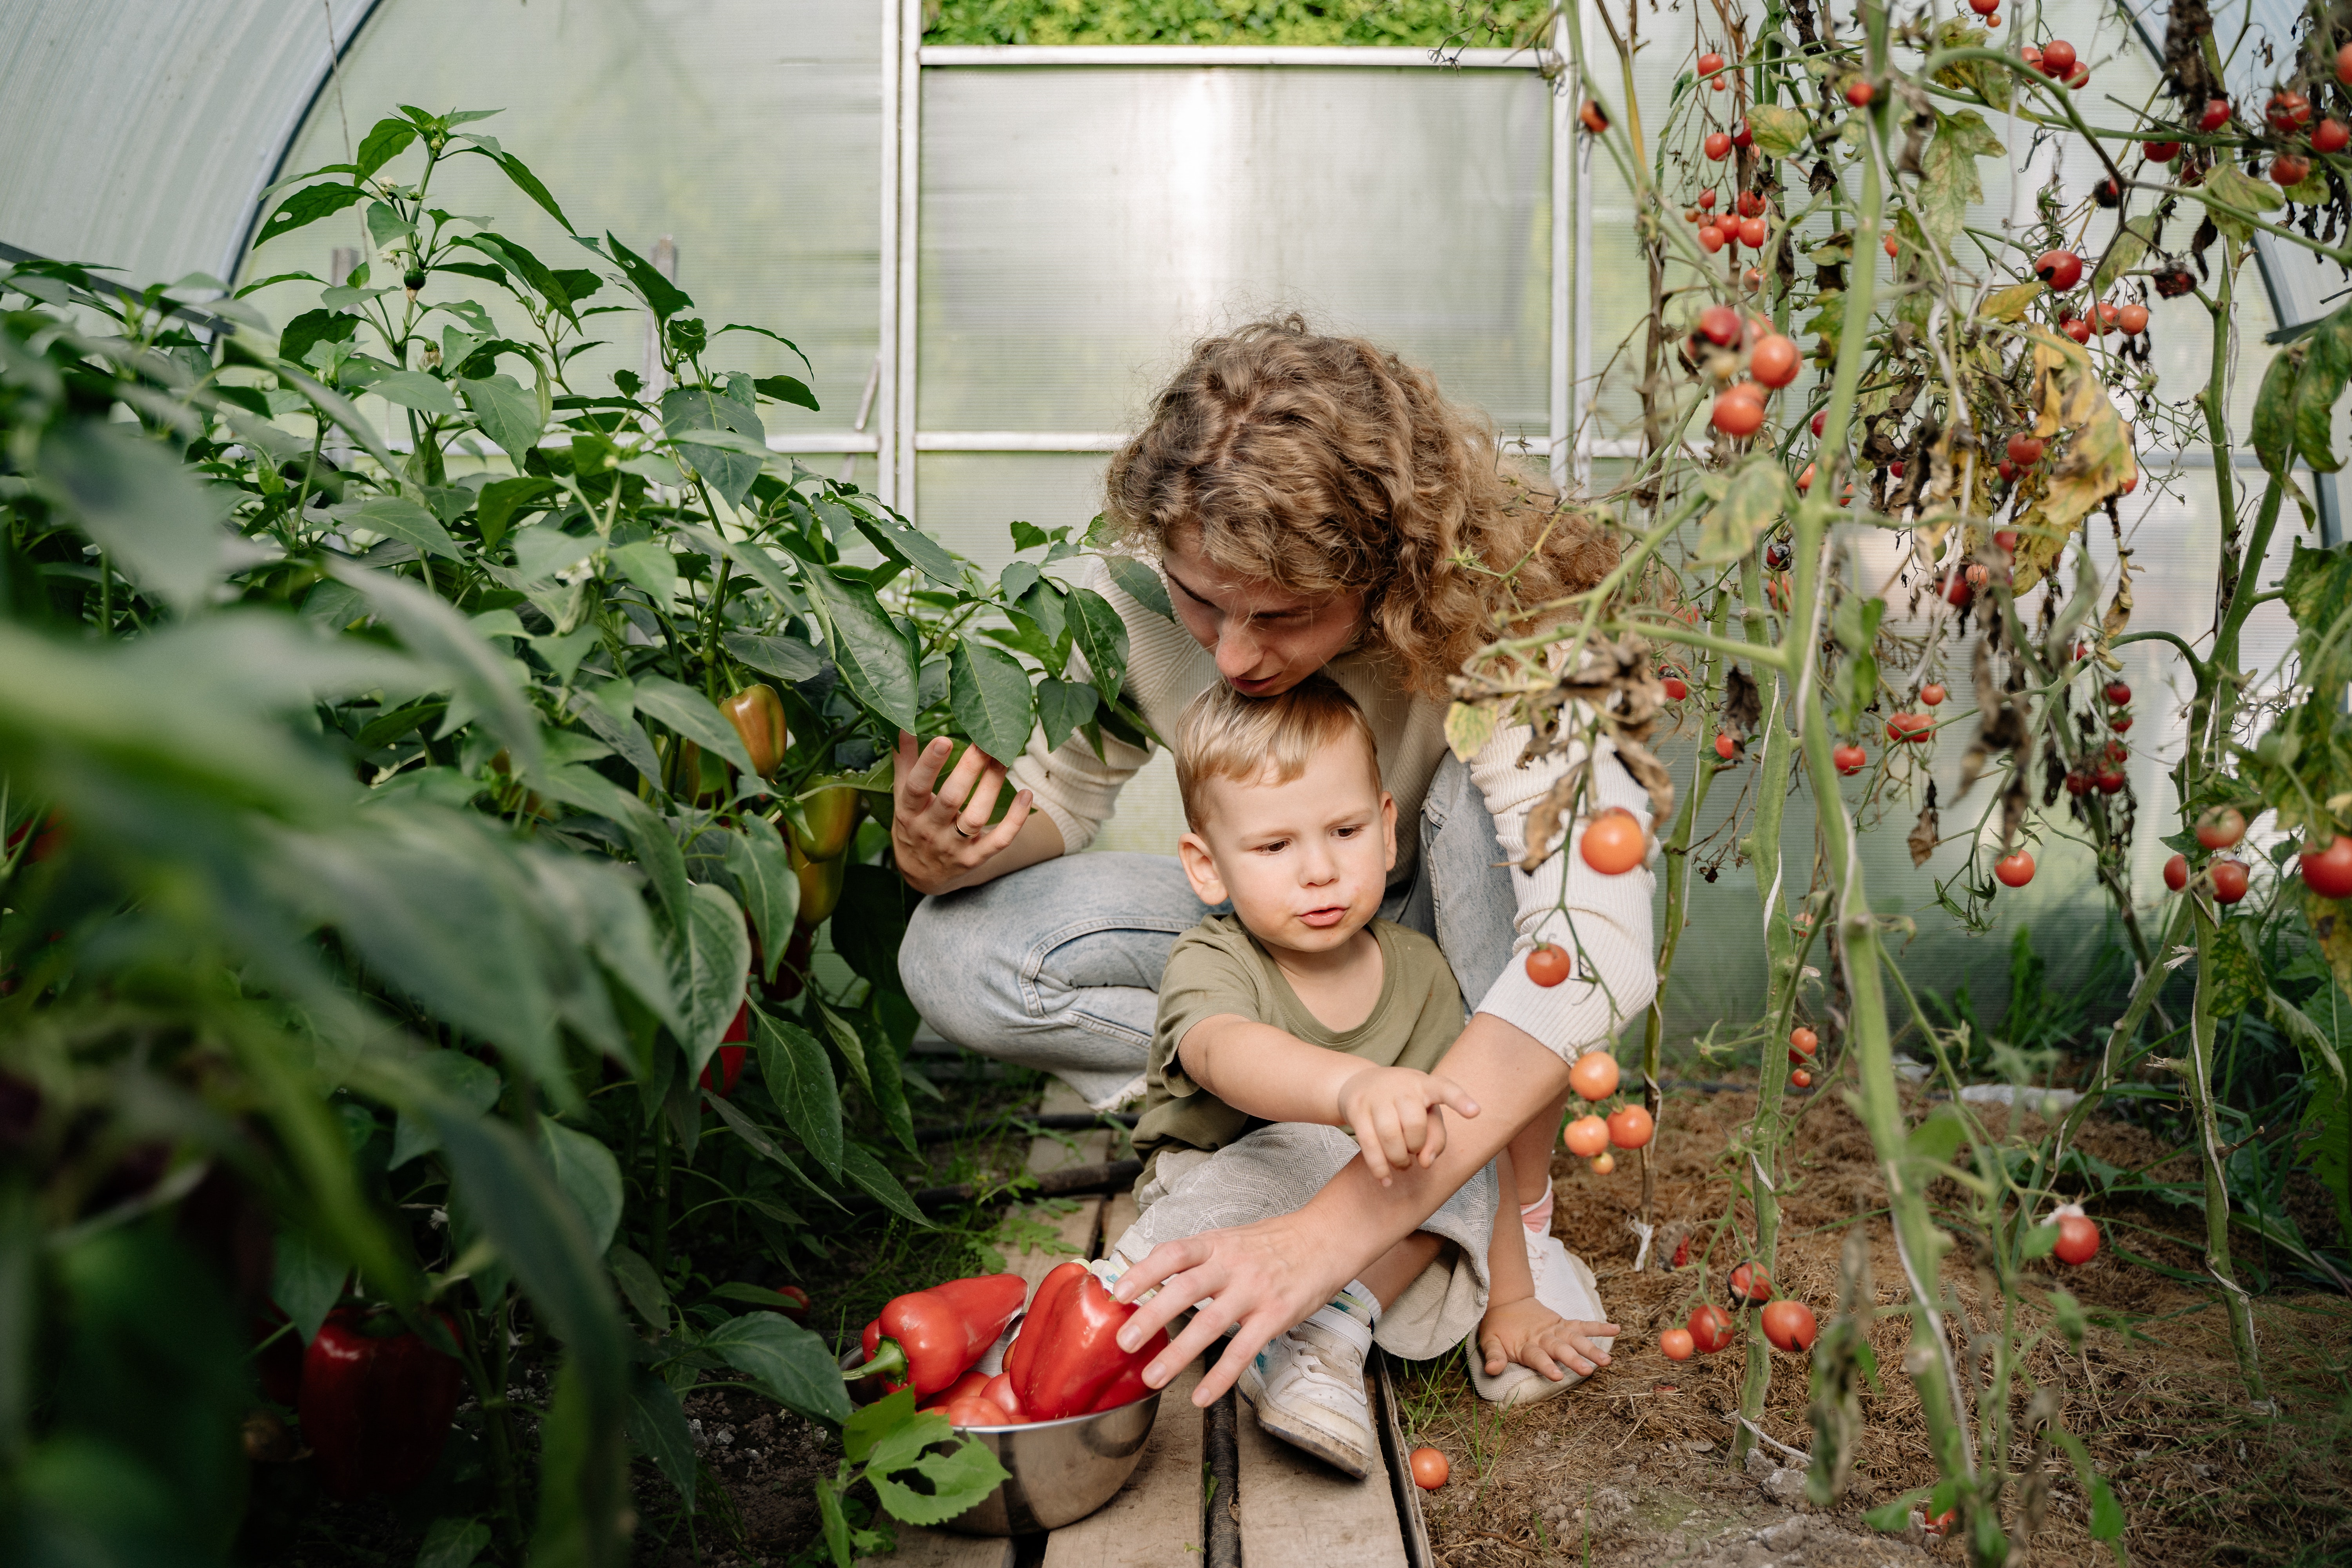
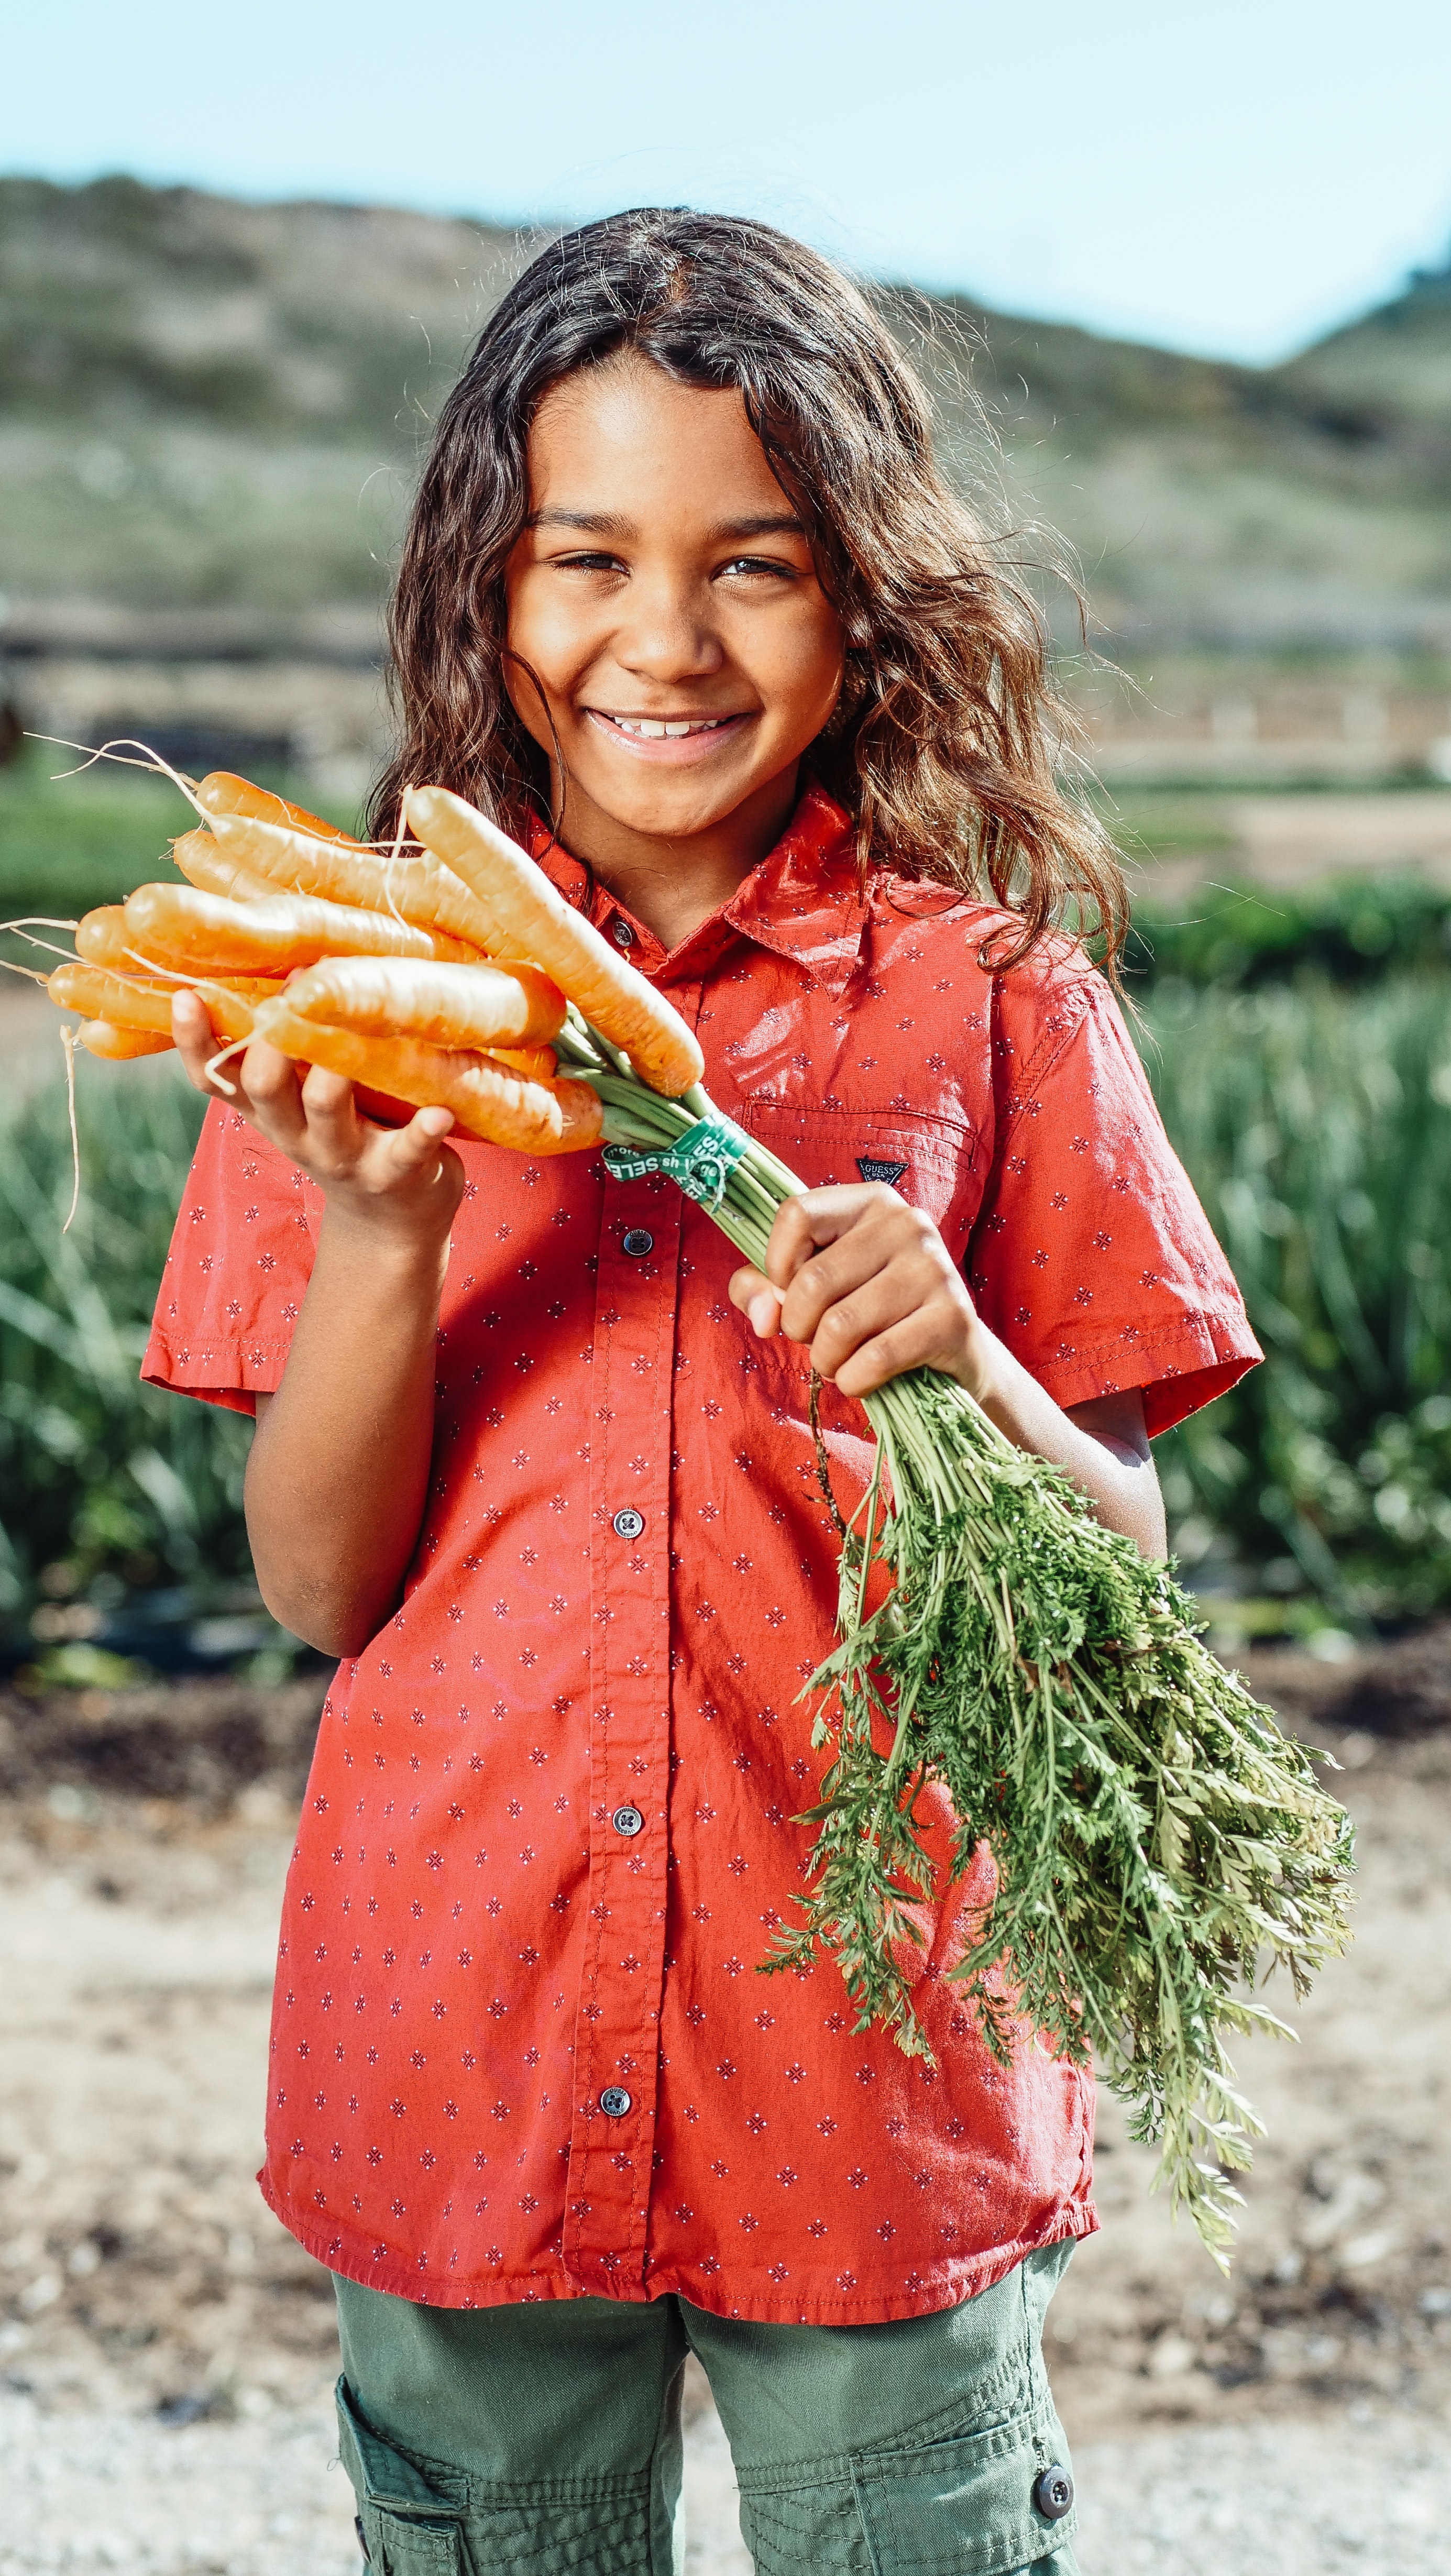
School gardens can promote healthy eating habits and improve overall health. When kids can grow their own fruits and vegetables, they now have the opportunity to learn about the nutritional value of different foods and develop a taste for fresh, healthy produce. They can also learn about the benefits of eating a variety of fruits and vegetables and the importance of balanced diets.
School gardens can help address issues of food insecurity and promote healthy eating habits among students and their families. The produce grown in the garden can be used in school meals or donated to local food banks, providing fresh and nutritious food to those in need. By involving families in the garden project, schools can also encourage parents and caregivers to incorporate healthy foods into their own meals.
And let’s face it… kids are more likely to try something they decided to grow!
What are Some of the Potential Environmental Benefits of School Gardens?
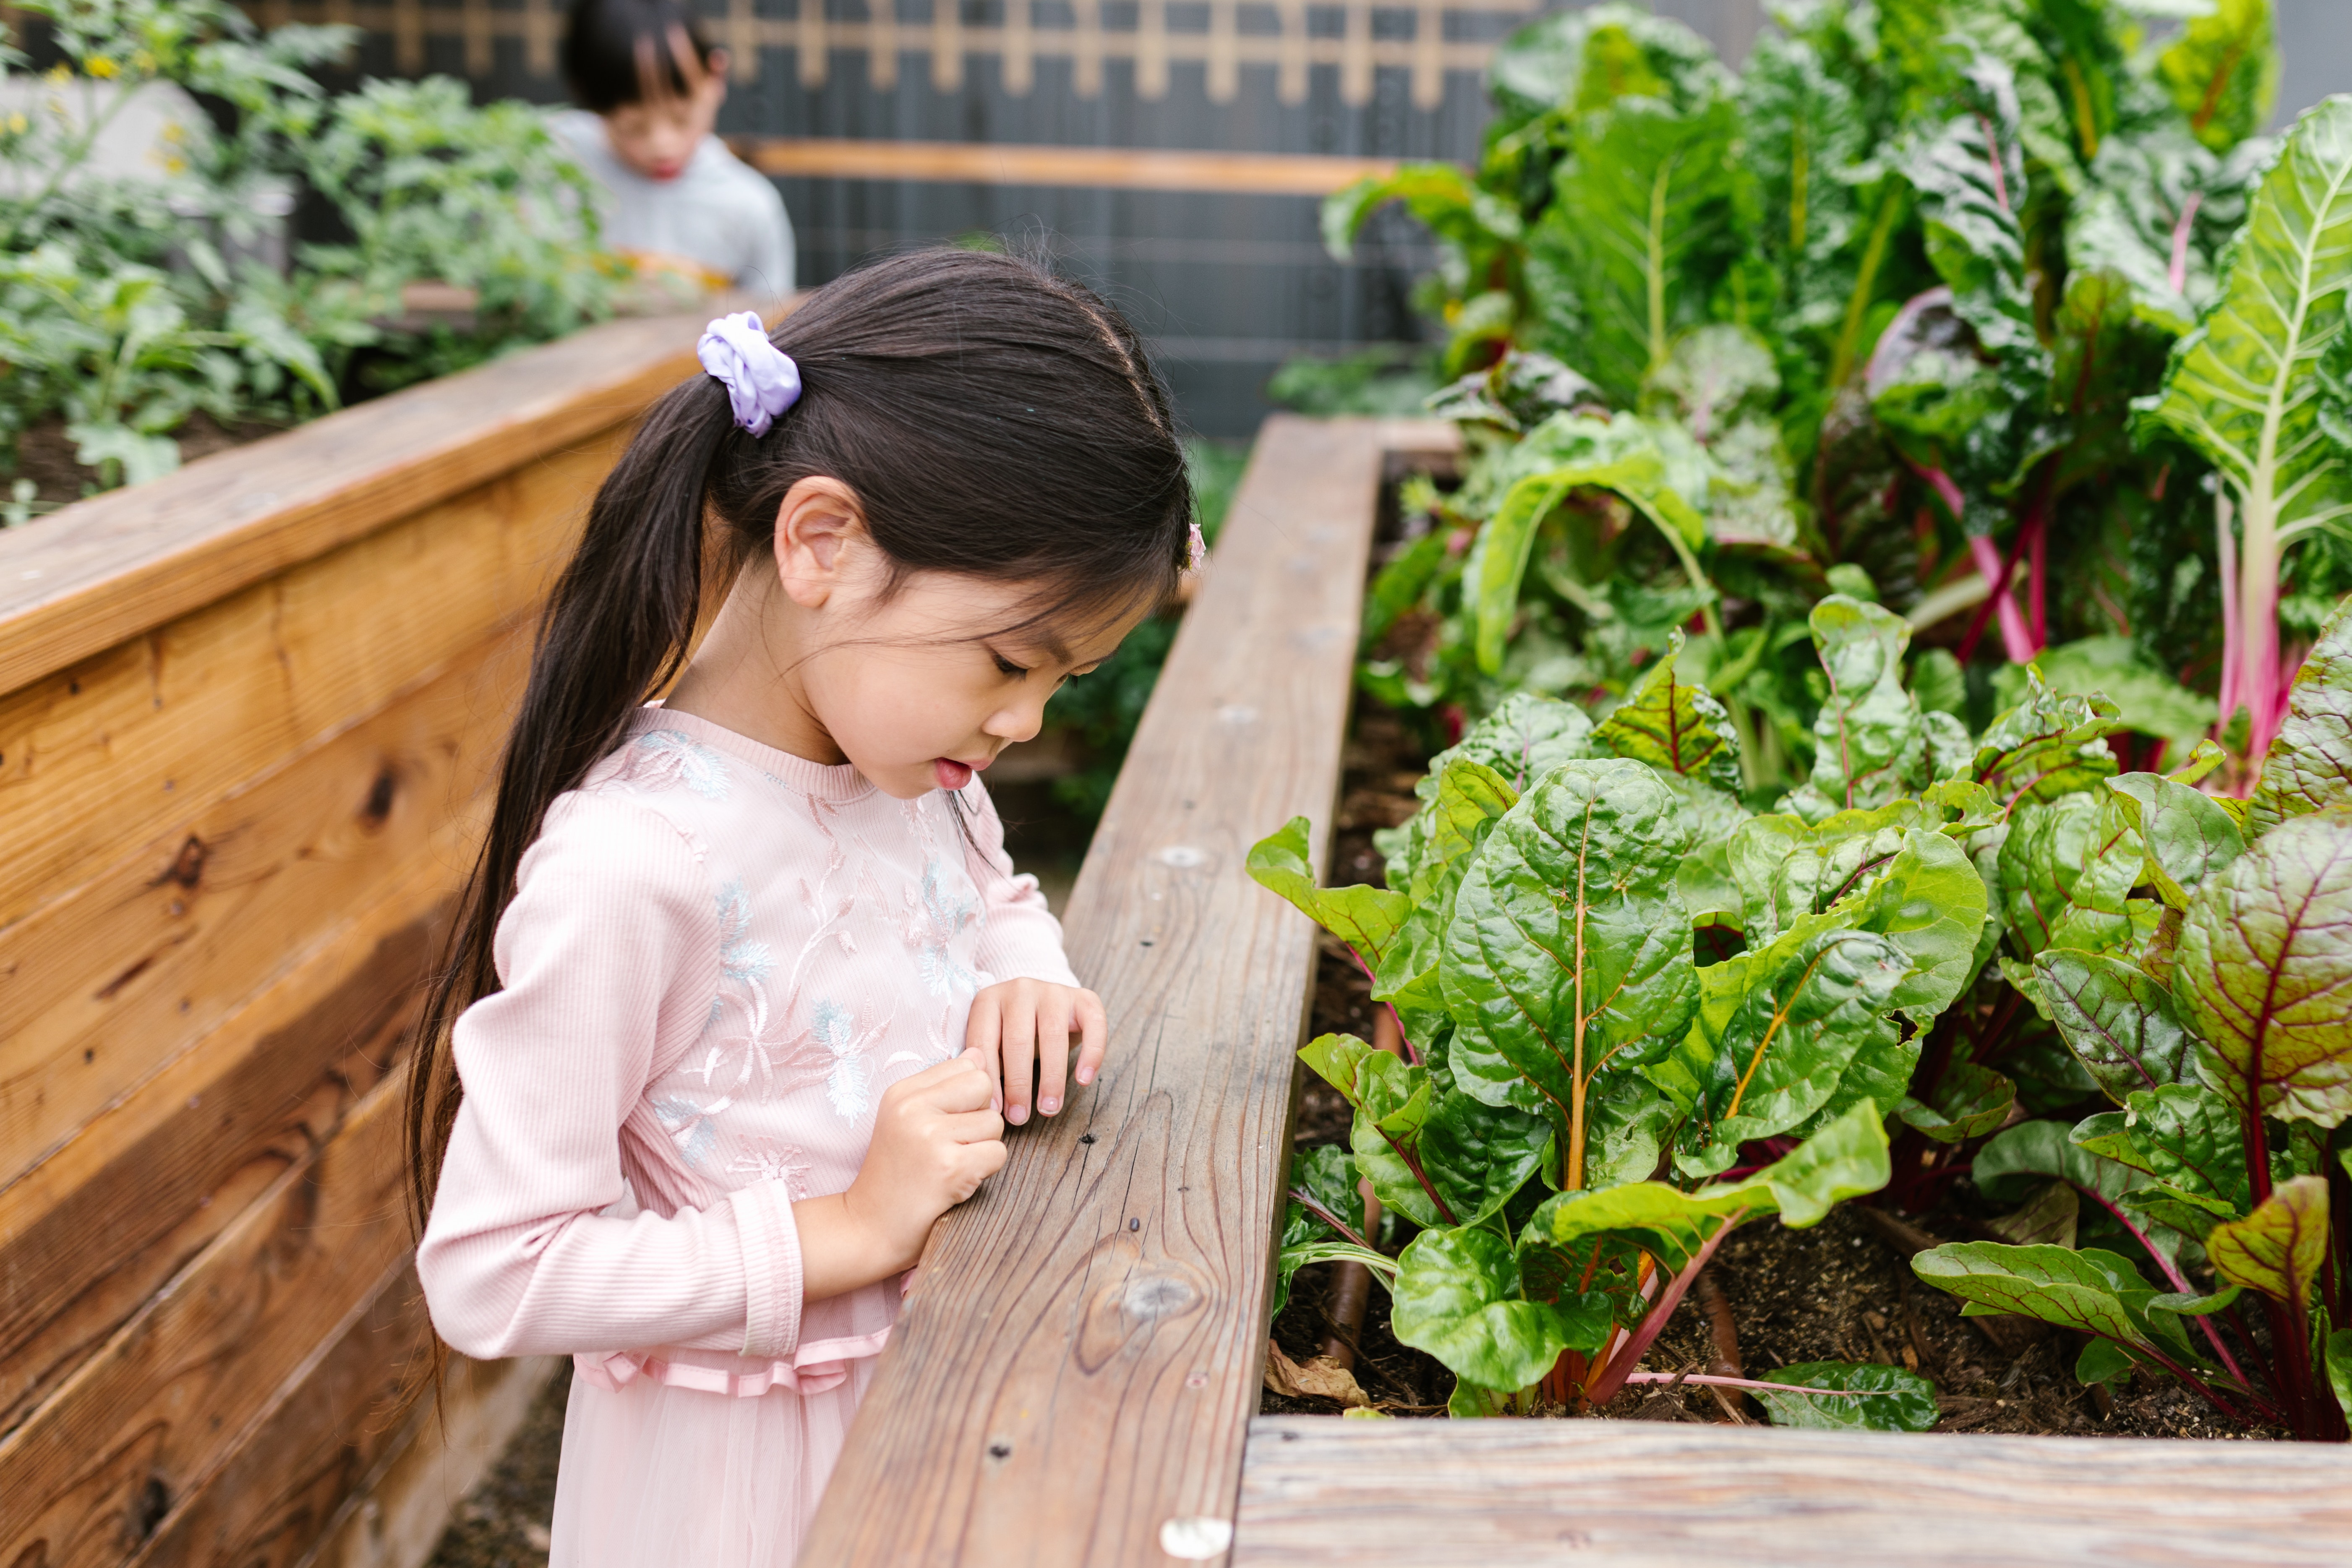
School gardens can promote environmental awareness and encourage sustainable practices. By learning about the importance of soil health, water conservation, and biodiversity, students can develop a sense of stewardship for the environment. They can also learn about the impact of human activities on the environment and ways to reduce their ecological footprint.
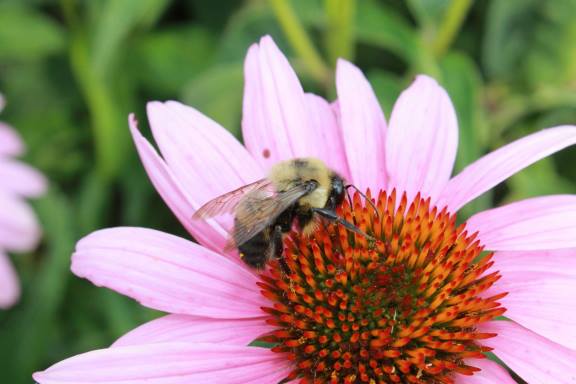
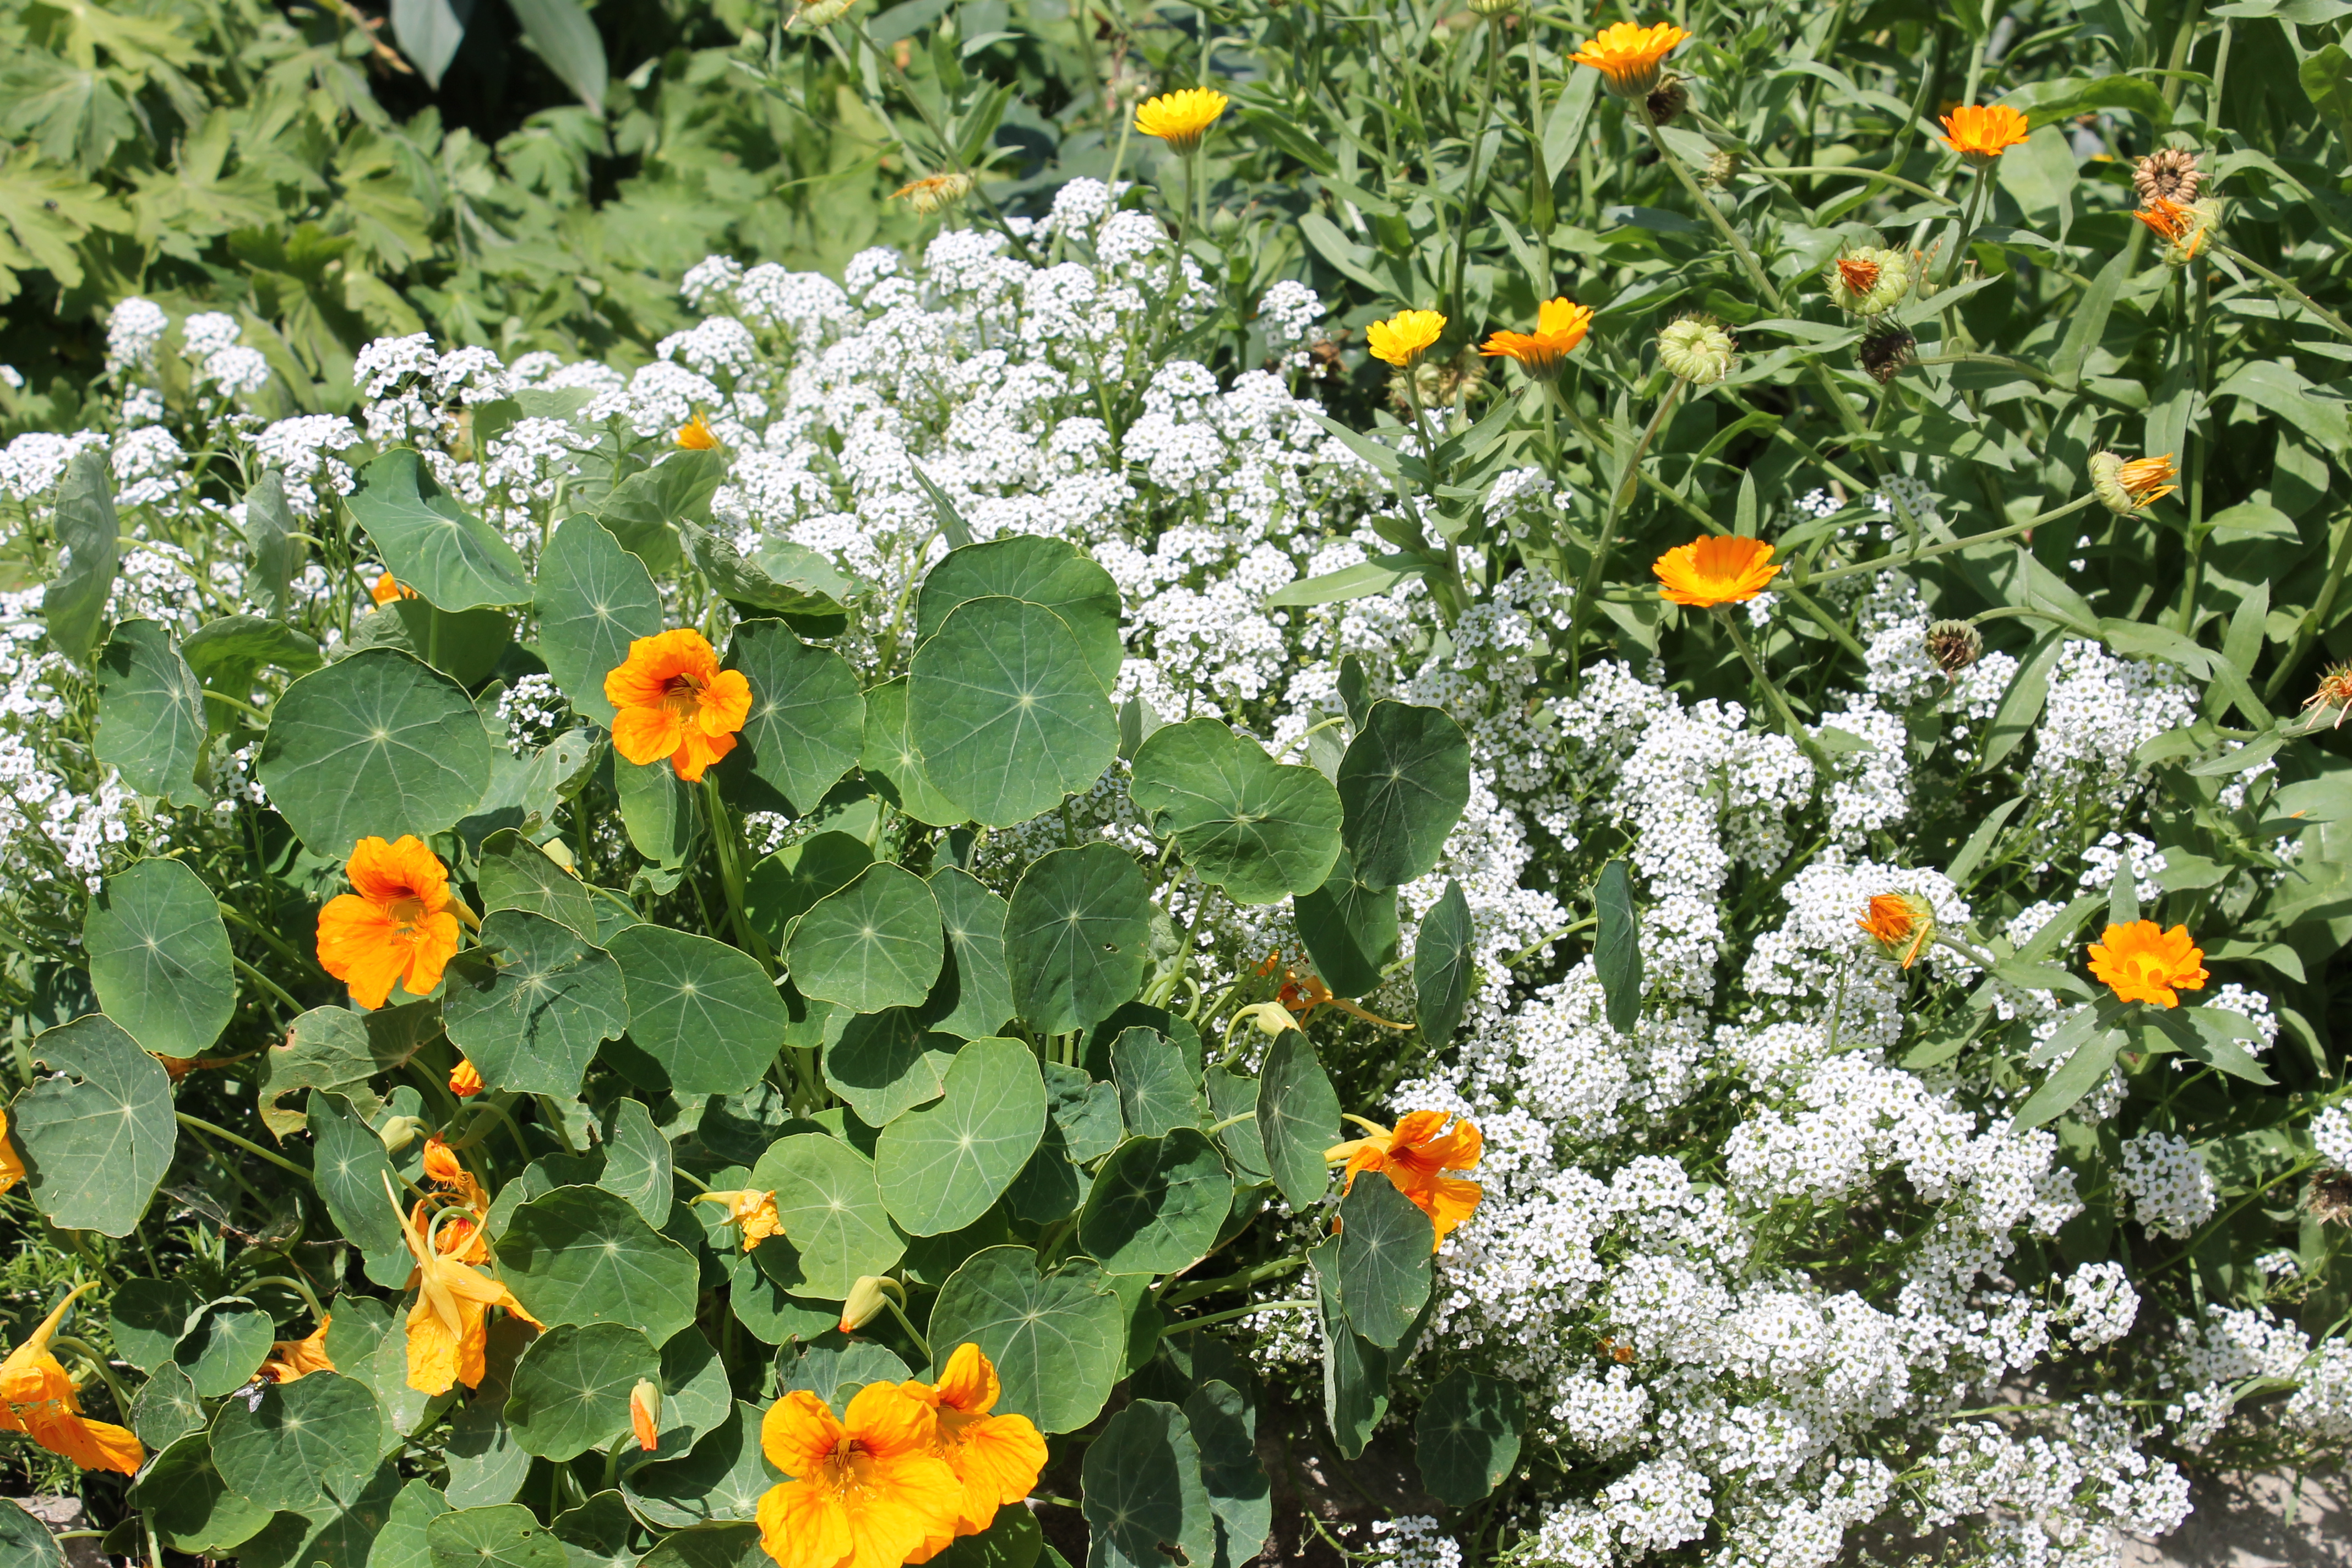
Moreover, school gardens can provide habitat for wildlife and attract pollinators such as bees and butterflies. By planting native species and avoiding the use of pesticides and herbicides, school gardens can help support local ecosystems and promote biodiversity.
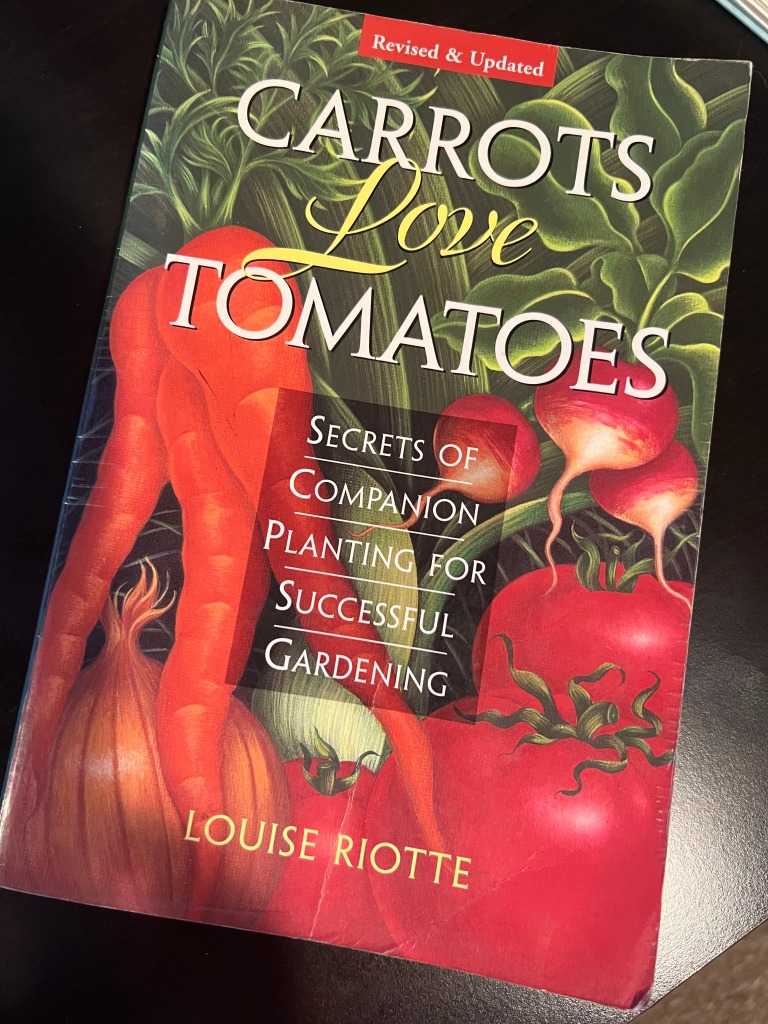
This is another opportunity to teach kids about the benefits of organic gardening and incorporating companion planting, rather than using harmful chemicals.
Can the Local Community Benefit From School Gardens?
The answer to this question is a responding YES! School gardens have the ability to serve as a valuable resource for the wider community. By donating produce to local food banks or hosting community events such as farmers’ markets or garden tours, schools can help promote healthy eating habits and support local food systems.
They can also serve as a gathering place for community members, fostering social connections and community involvement.
School gardens can also provide opportunities for intergenerational learning and mentorship. By involving older adults or community members with gardening experience, schools can create meaningful connections between generations and promote lifelong learning.
That Sounds Great! Now, How can I Help Start a School Garden in my Community?
Starting a school garden can seem daunting, but with the right resources and support, it can be a rewarding and successful project. Here are some steps to get started:
Get support from school administrators, teachers, and parents. Starting a school garden requires buy-in from all stakeholders, as well as support for funding and maintenance.
Find a suitable location for the garden. Look for a sunny, well-drained area with access to water and close to the school. Ensure that the site is safe and accessible for students.
Develop a garden plan. Consider the garden’s size, layout, and design, as well as the types of plants to grow. Involve students in the planning process to ensure that the garden reflects their interests and needs.
Secure funding and resources. Look for grants, donations, or partnerships with local organizations or businesses to support the garden’s development and maintenance.
Involve students in the garden project. Encourage students to take ownership of the garden by involving them in the planning, planting, and maintenance. Provide opportunities for leadership and teamwork.
Integrate the garden into the curriculum. Use the garden as a teaching tool to support academic learning and promote healthy lifestyles.
We Have Our School Garden! Now, How Do We Maintain It?
Maintaining a school garden requires ongoing care and attention. Here are some tips to keep the garden healthy and productive:
Develop a maintenance plan. Create a schedule for watering, weeding, fertilizing, and pest management. Involve students in the maintenance activities to ensure that they take ownership of the garden.
Provide ongoing support and training for teachers and volunteers. Ensure that they have the knowledge and skills to maintain the garden and address any issues that may arise.
Use sustainable practices. Avoid the use of pesticides and herbicides, and use organic methods for weed and pest control. Compost garden waste to improve soil health.
Involve the wider community. Encourage families and community members to volunteer in the garden and participate in events such as harvest festivals or farmers’ markets.
What are Some Curriculum Ideas for School Gardens?
School gardens can be integrated into a range of subjects and learning activities. Here are some curriculum ideas for school gardens:
Science: Learn about plant growth, soil health, and the life cycle of plants.
Math: Use the garden to teach measurement, geometry, and data analysis.
Language arts: Write garden journals, poetry, or stories about the garden.
Social studies: Learn about the history of agriculture, food systems, and cultural traditions related to gardening.
Art: Use the garden as inspiration for art projects such as painting, sculpture, or photography.
Nutrition: Learn about the nutritional value of different fruits and vegetables, and use the garden to prepare healthy meals and snacks.
If you enjoyed this blog, please LIKE, Follow, Share & leave me a comment! I love your feedback!
If you aren’t following me on Facebook & Instagram go on over & give a LIKE & Follow me for daily tips & tricks for your home & garden!
“Cookery is not chemistry. It is an art. It requires instinct and taste rather than exact measurements.” – Marcel Boulestin
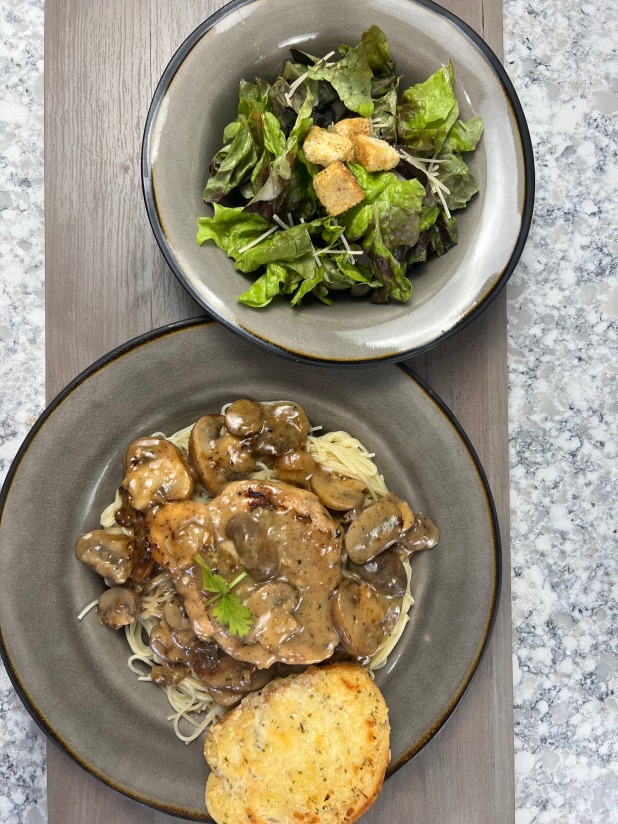
Our favorite cuisines are by far Italian and Mexican… so yum! I had this recipe at a wonderful little Italian restaurant, and of course I thought, “I can make this better!” So I found a basic recipe and adjusted it according to my family’s tastes and what we enjoy.
What is your family’s favorite dish? Let me know if you make this & how you enjoyed it. Any tips & tricks from you? Leave your comments below, I love your feedback!
Enjoy friends!
You can watch me make it at my YouTube channel. Click the link below!
Our Favorite Recipes
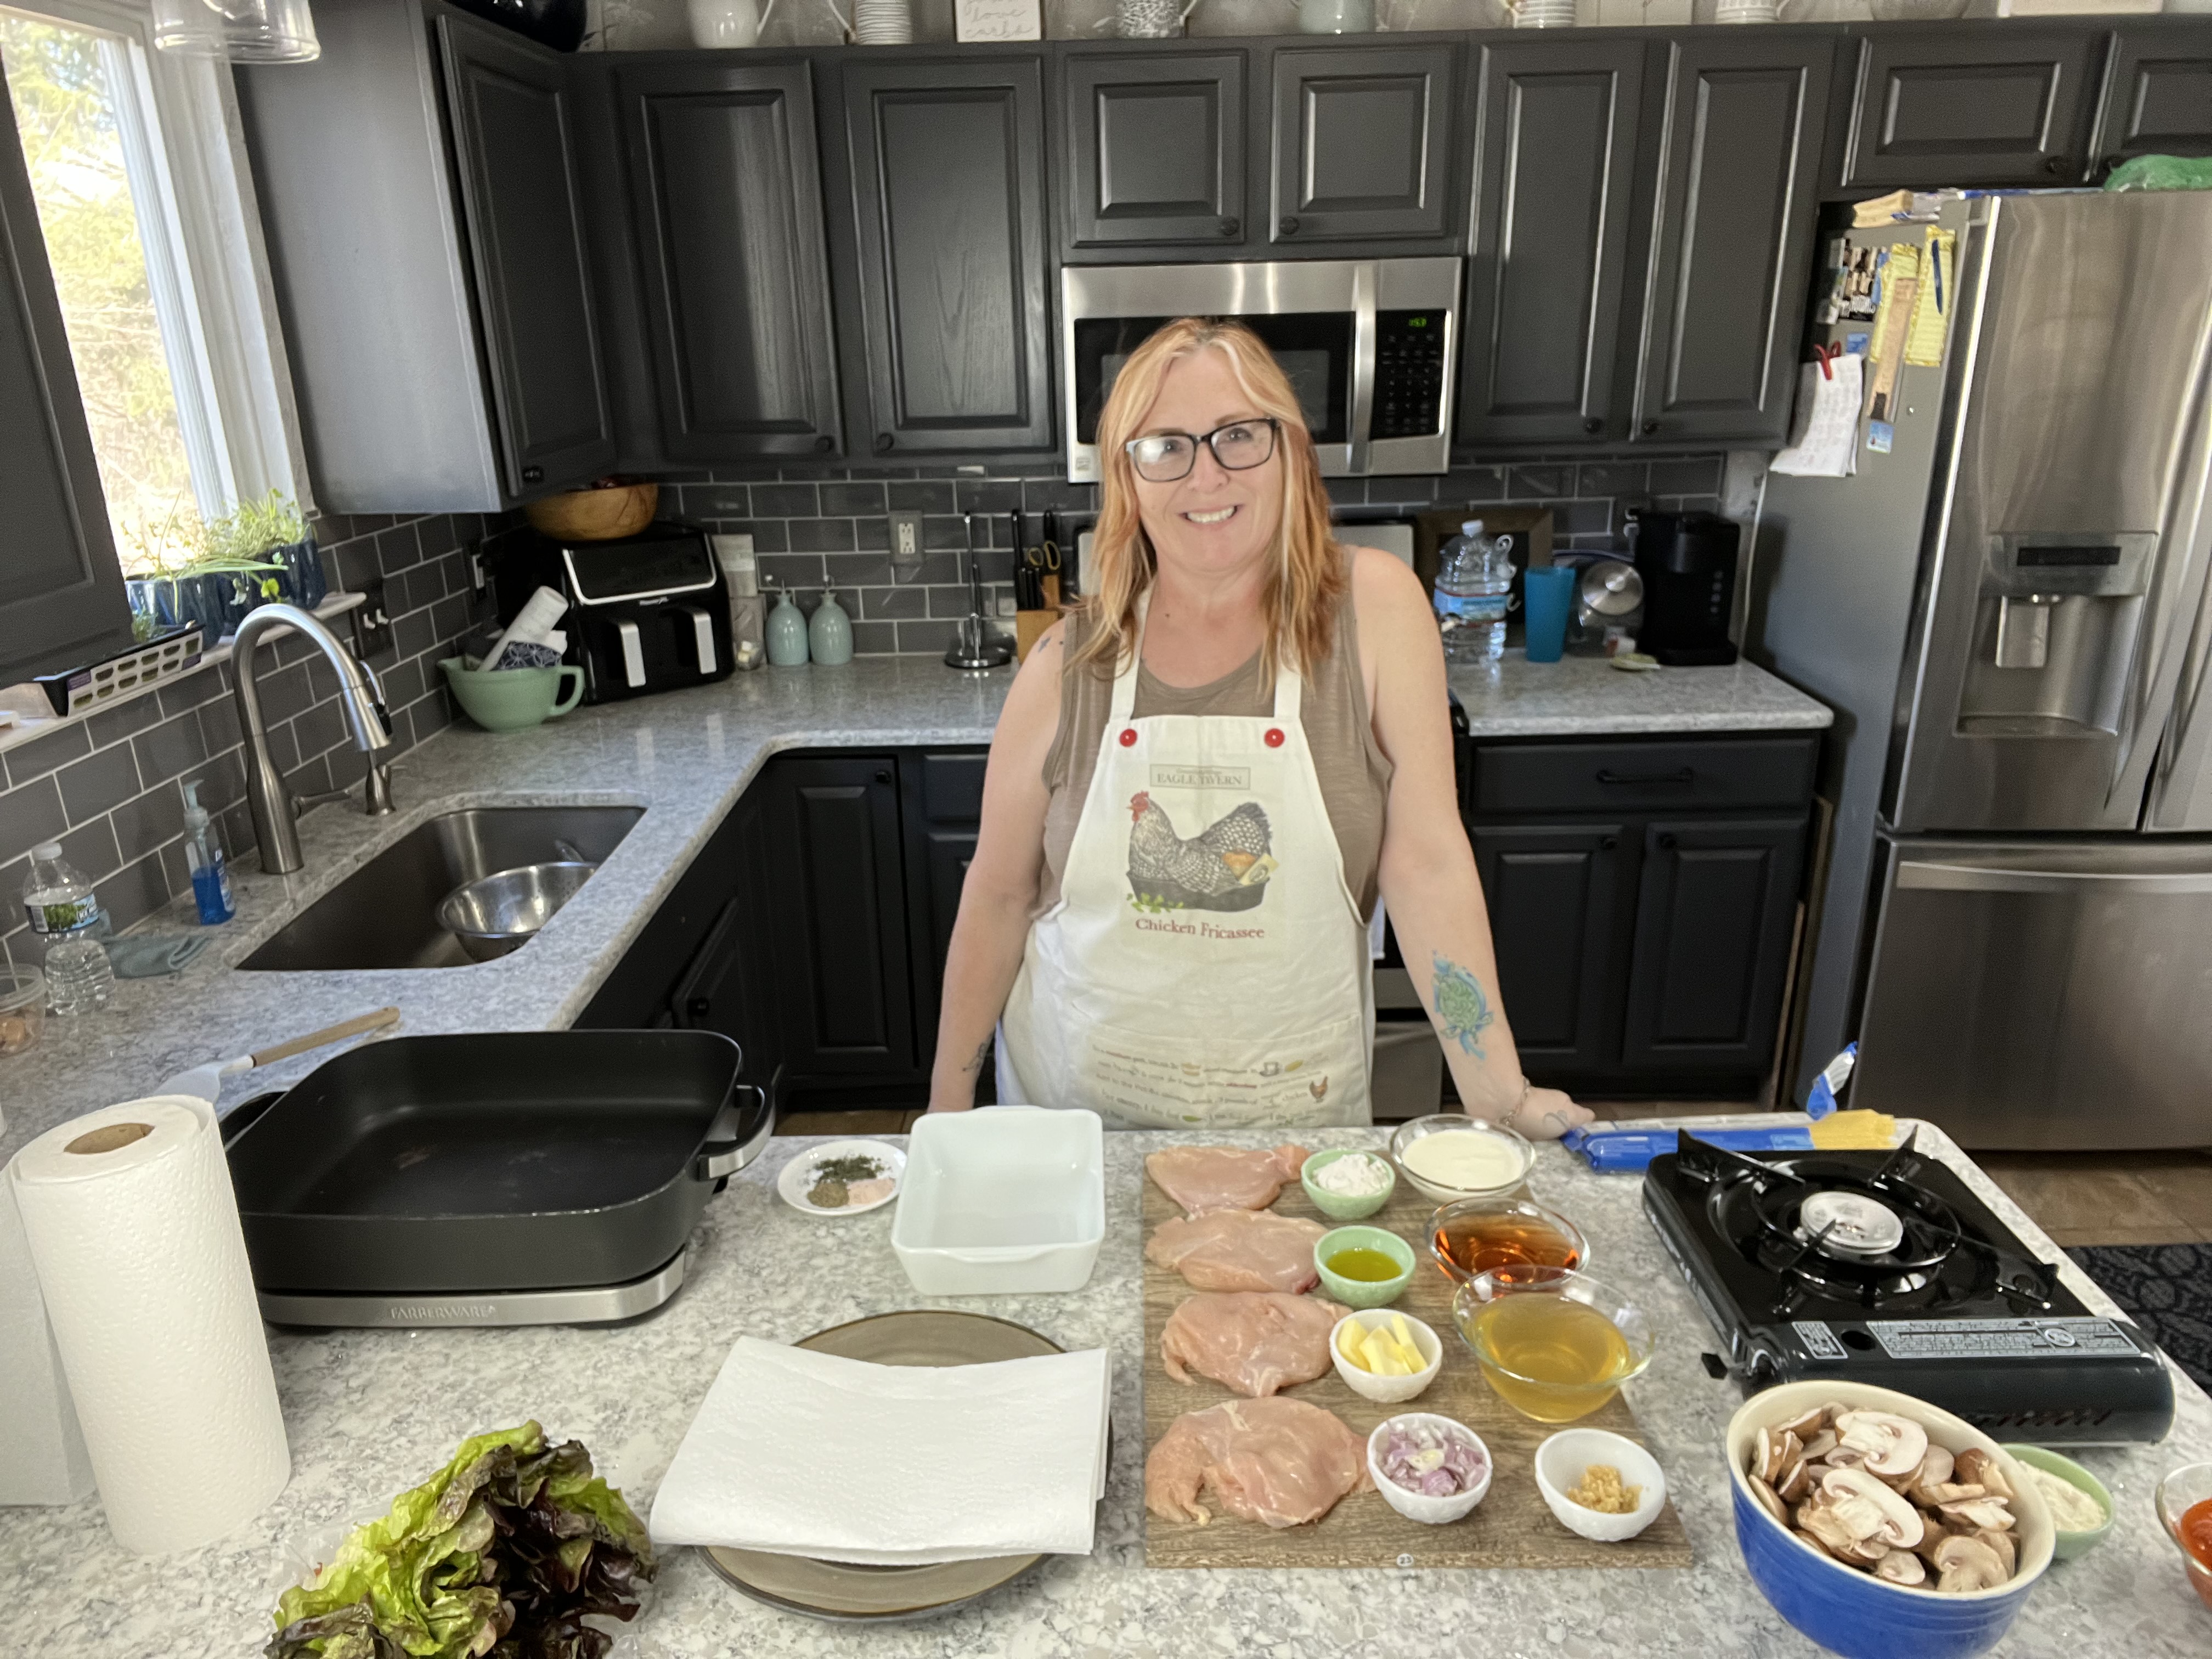
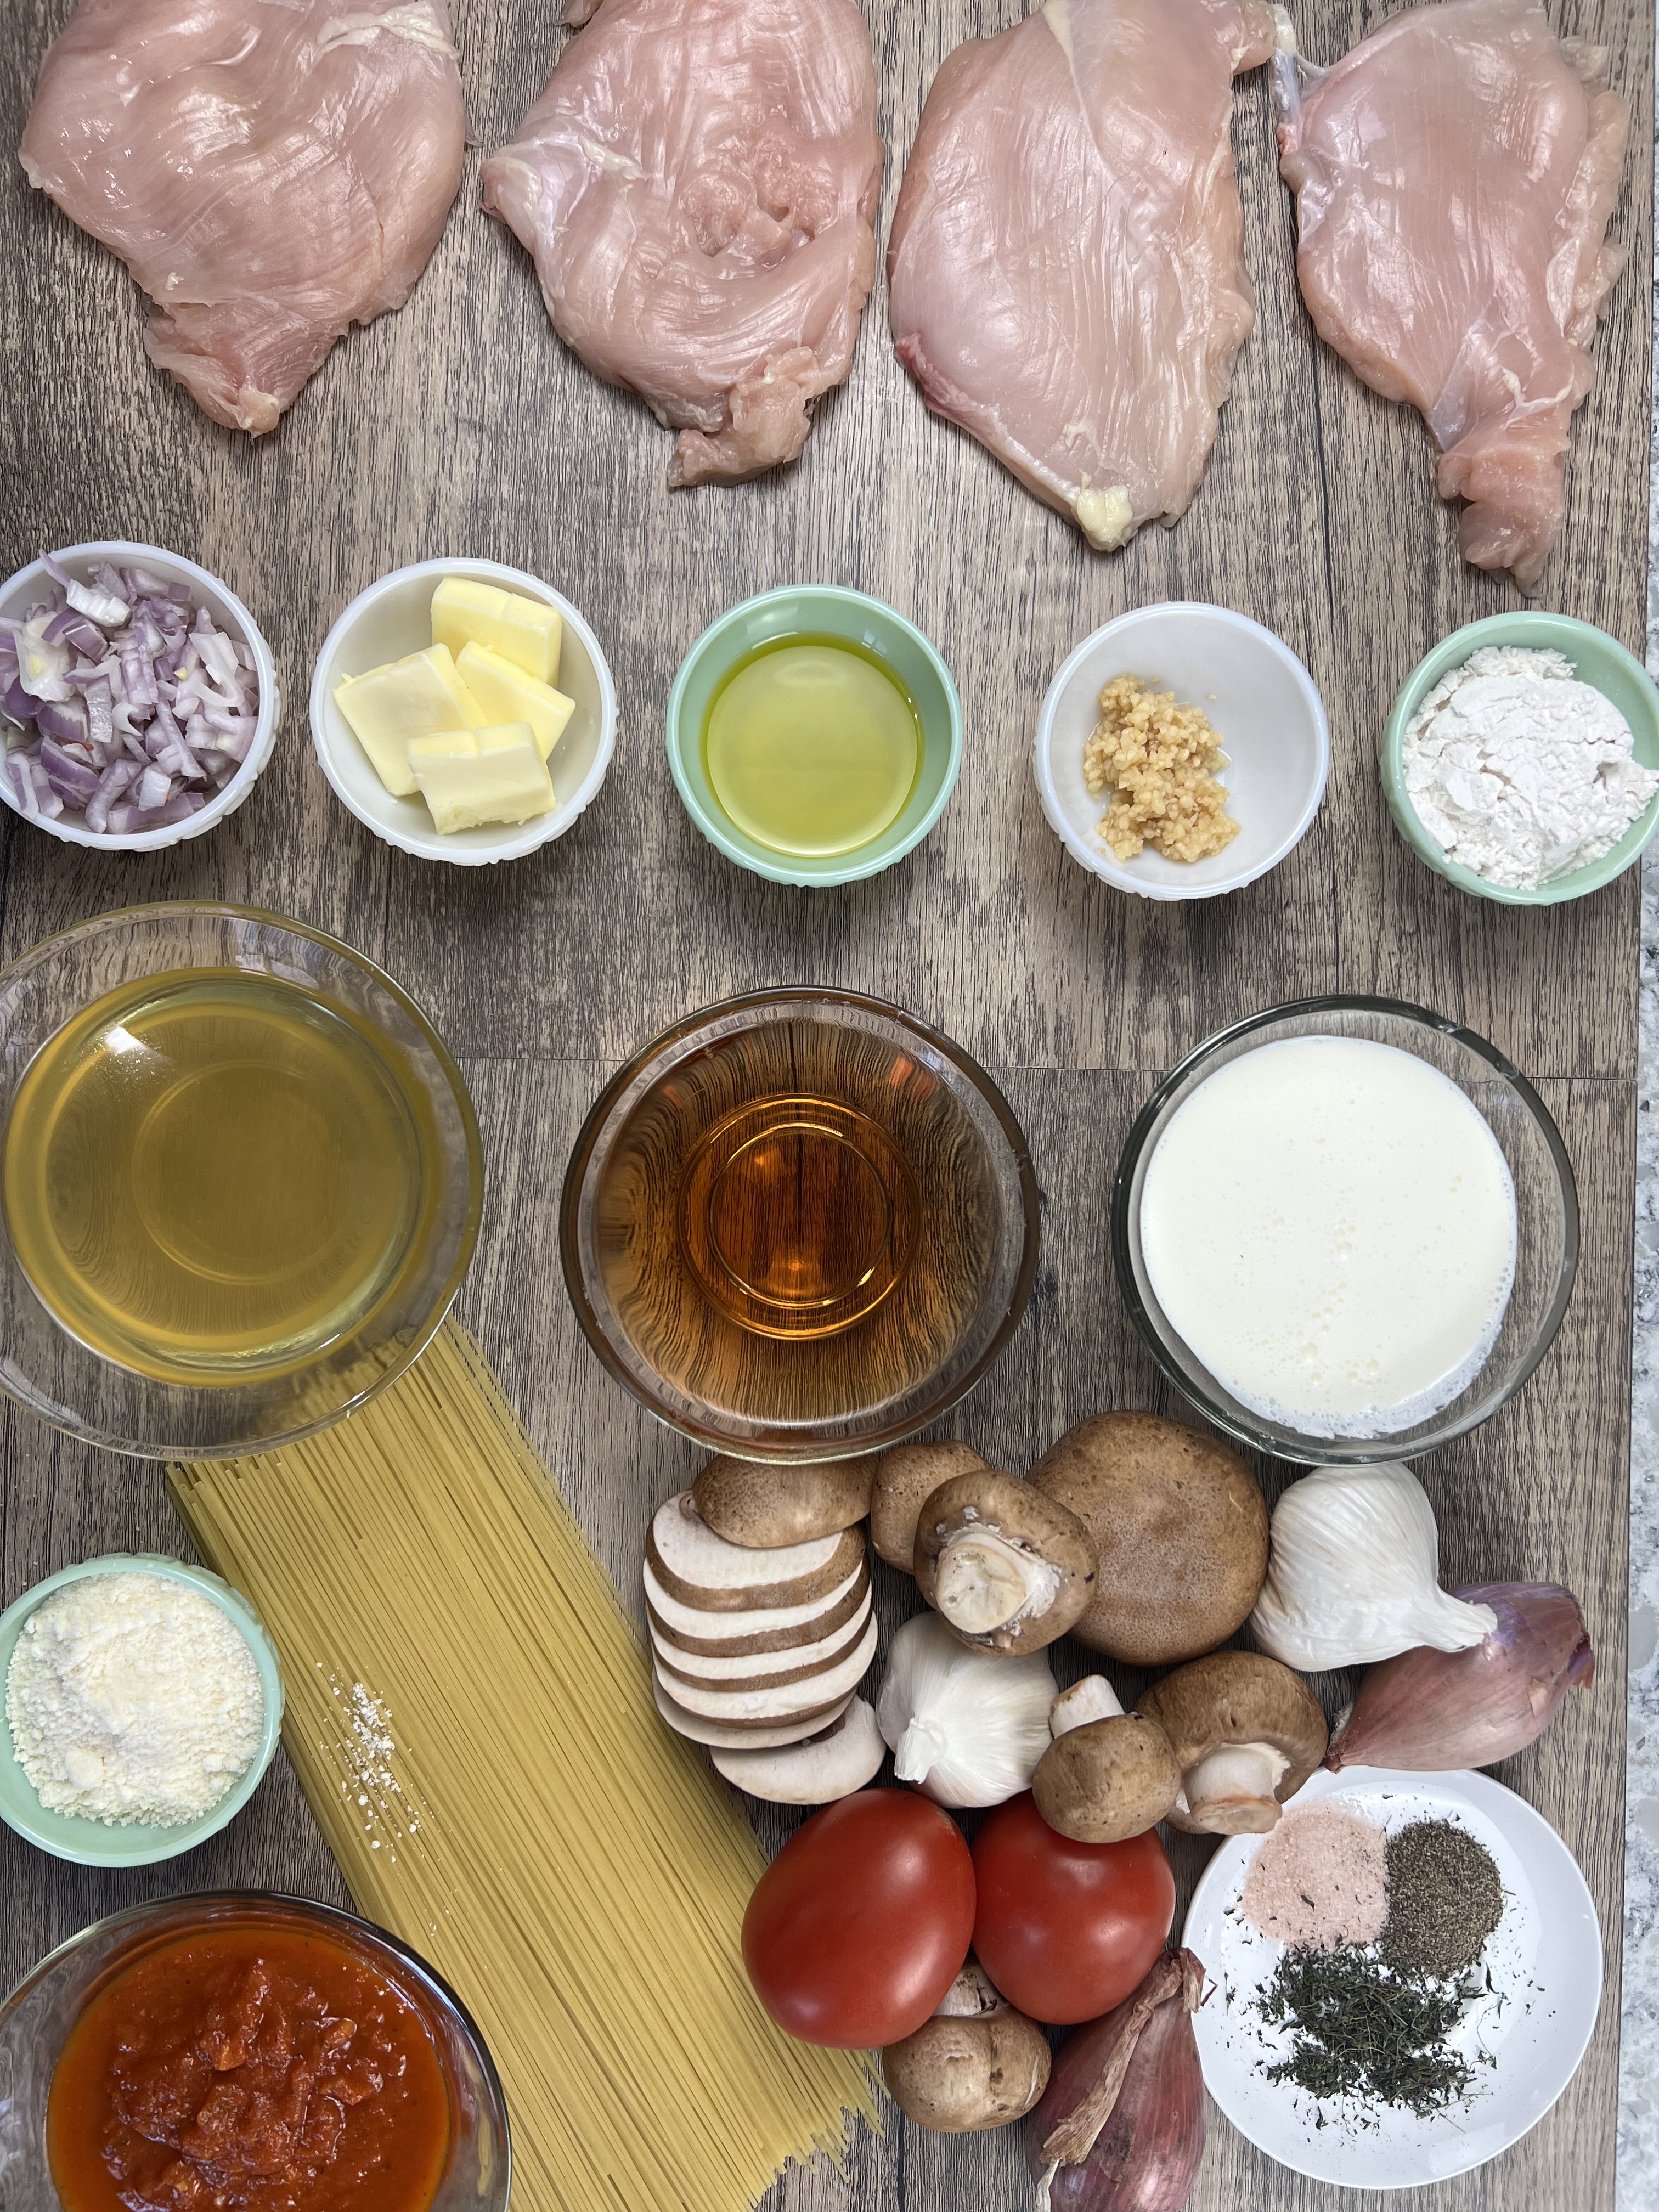
Ingredients: Yields 4 Servings
2 large boneless, skinless chicken breasts
¼ cup all purpose white flour
2 cups chicken broth
1 cup Marsala wine
1 cup heavy whipping cream
1~ 16 ounce container of crimini mushrooms, sliced
½ cup shallots, diced
2 fresh garlic cloves minced OR 2 tsp jarred
3 TBSP extra virgin olive oil
3 TBSP salted butter
1 tsp pink Himaylean salt
1 tsp fresh ground black pepper
1 tsp fresh thyme leaves
1 pound angel hair pasta
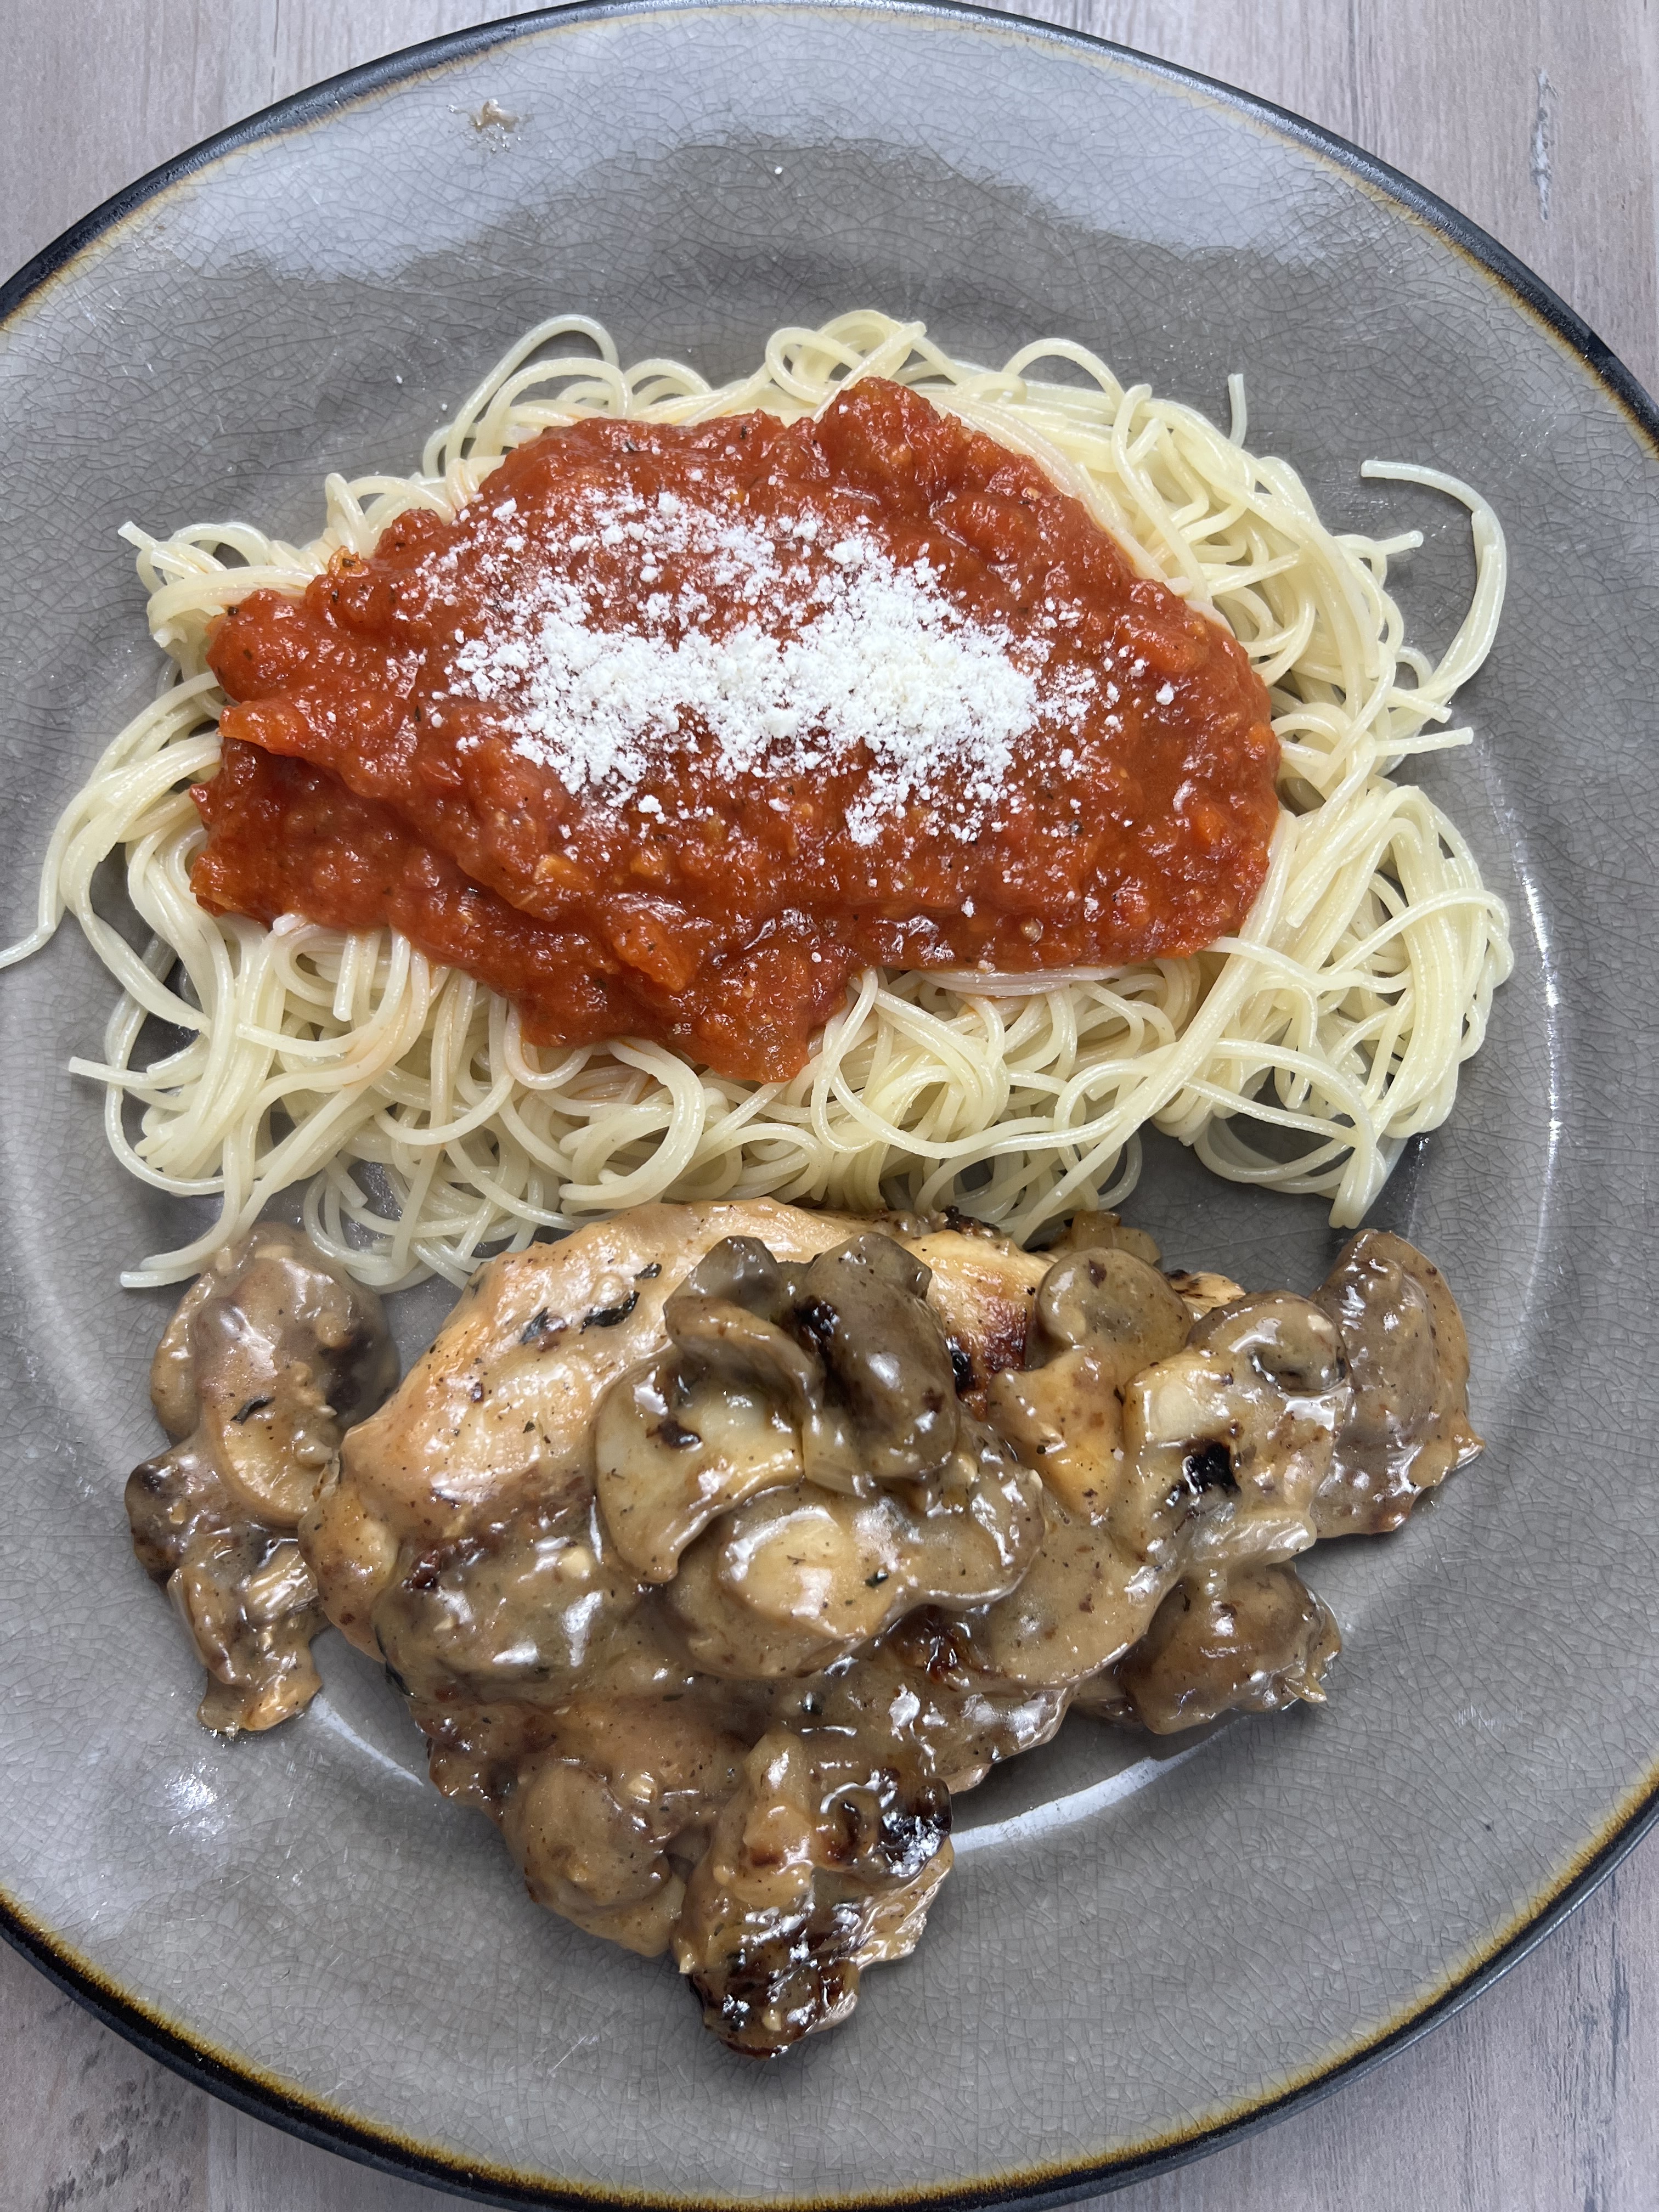
If you’d like to have pasta sauce over your noodles, rather than the Marsala gravy, use your favorite brand or here is the recipe for my super delish & easy to make Marinara Sauce!
Enjoy friends!
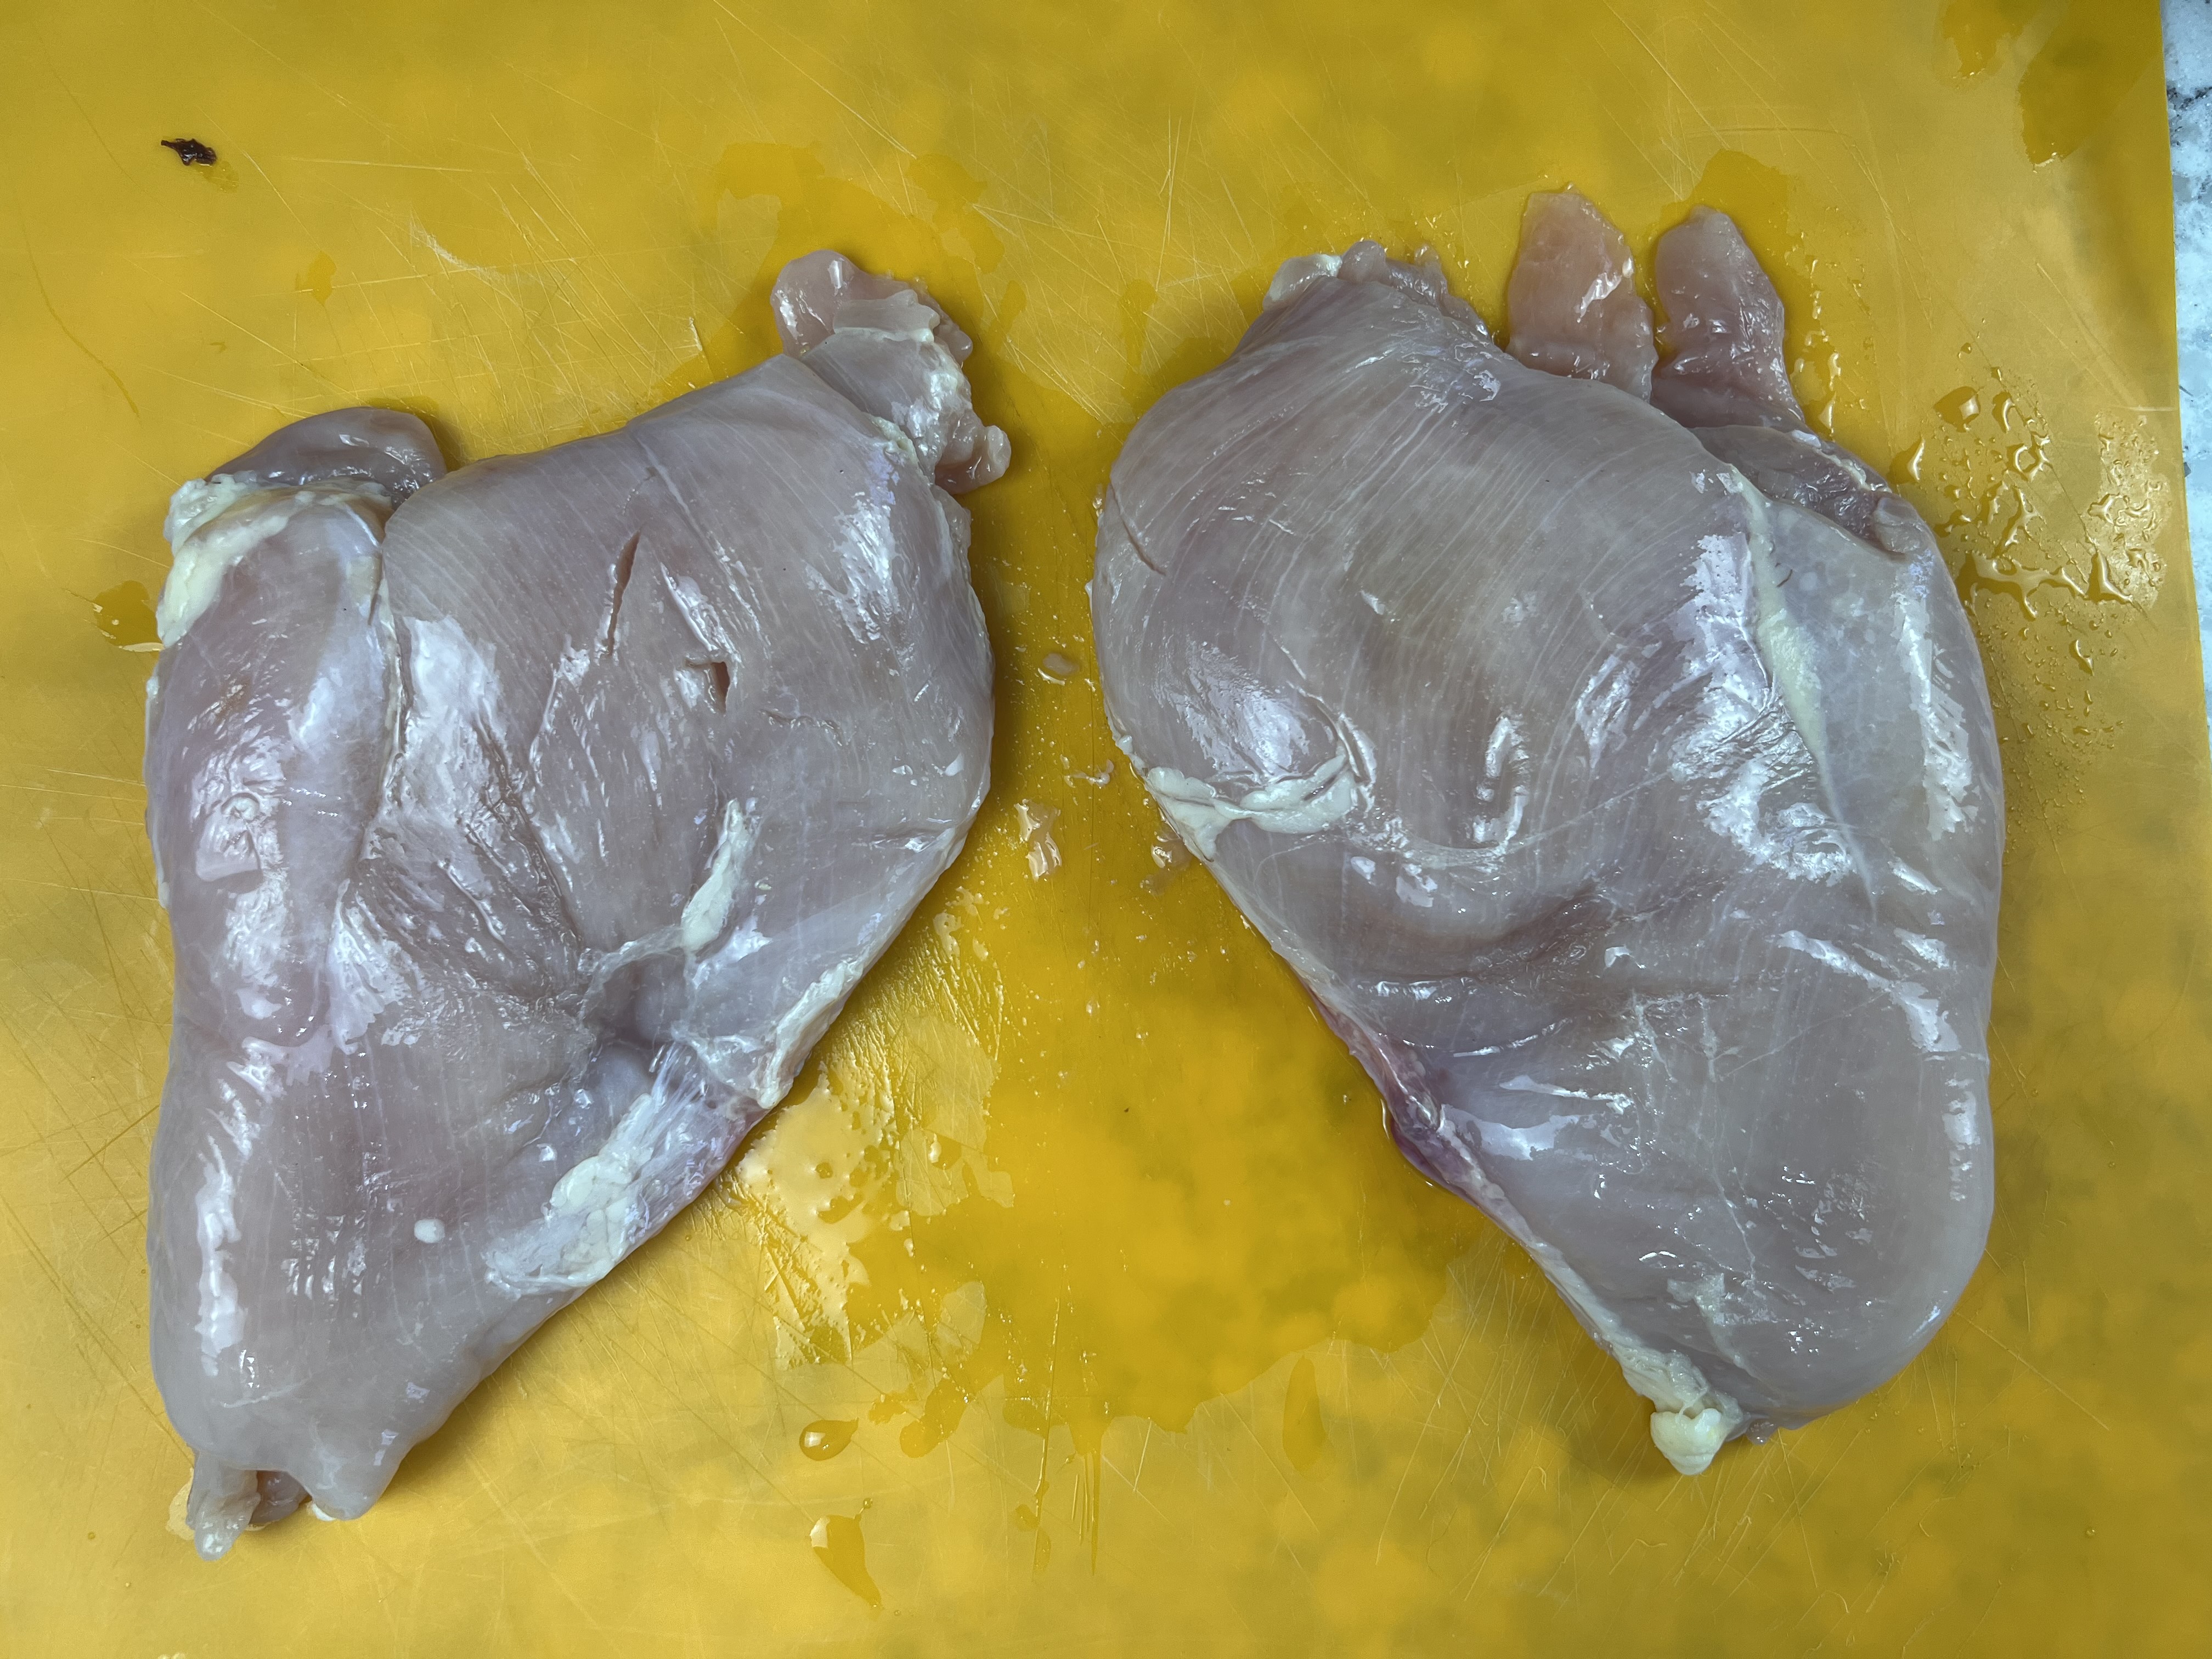
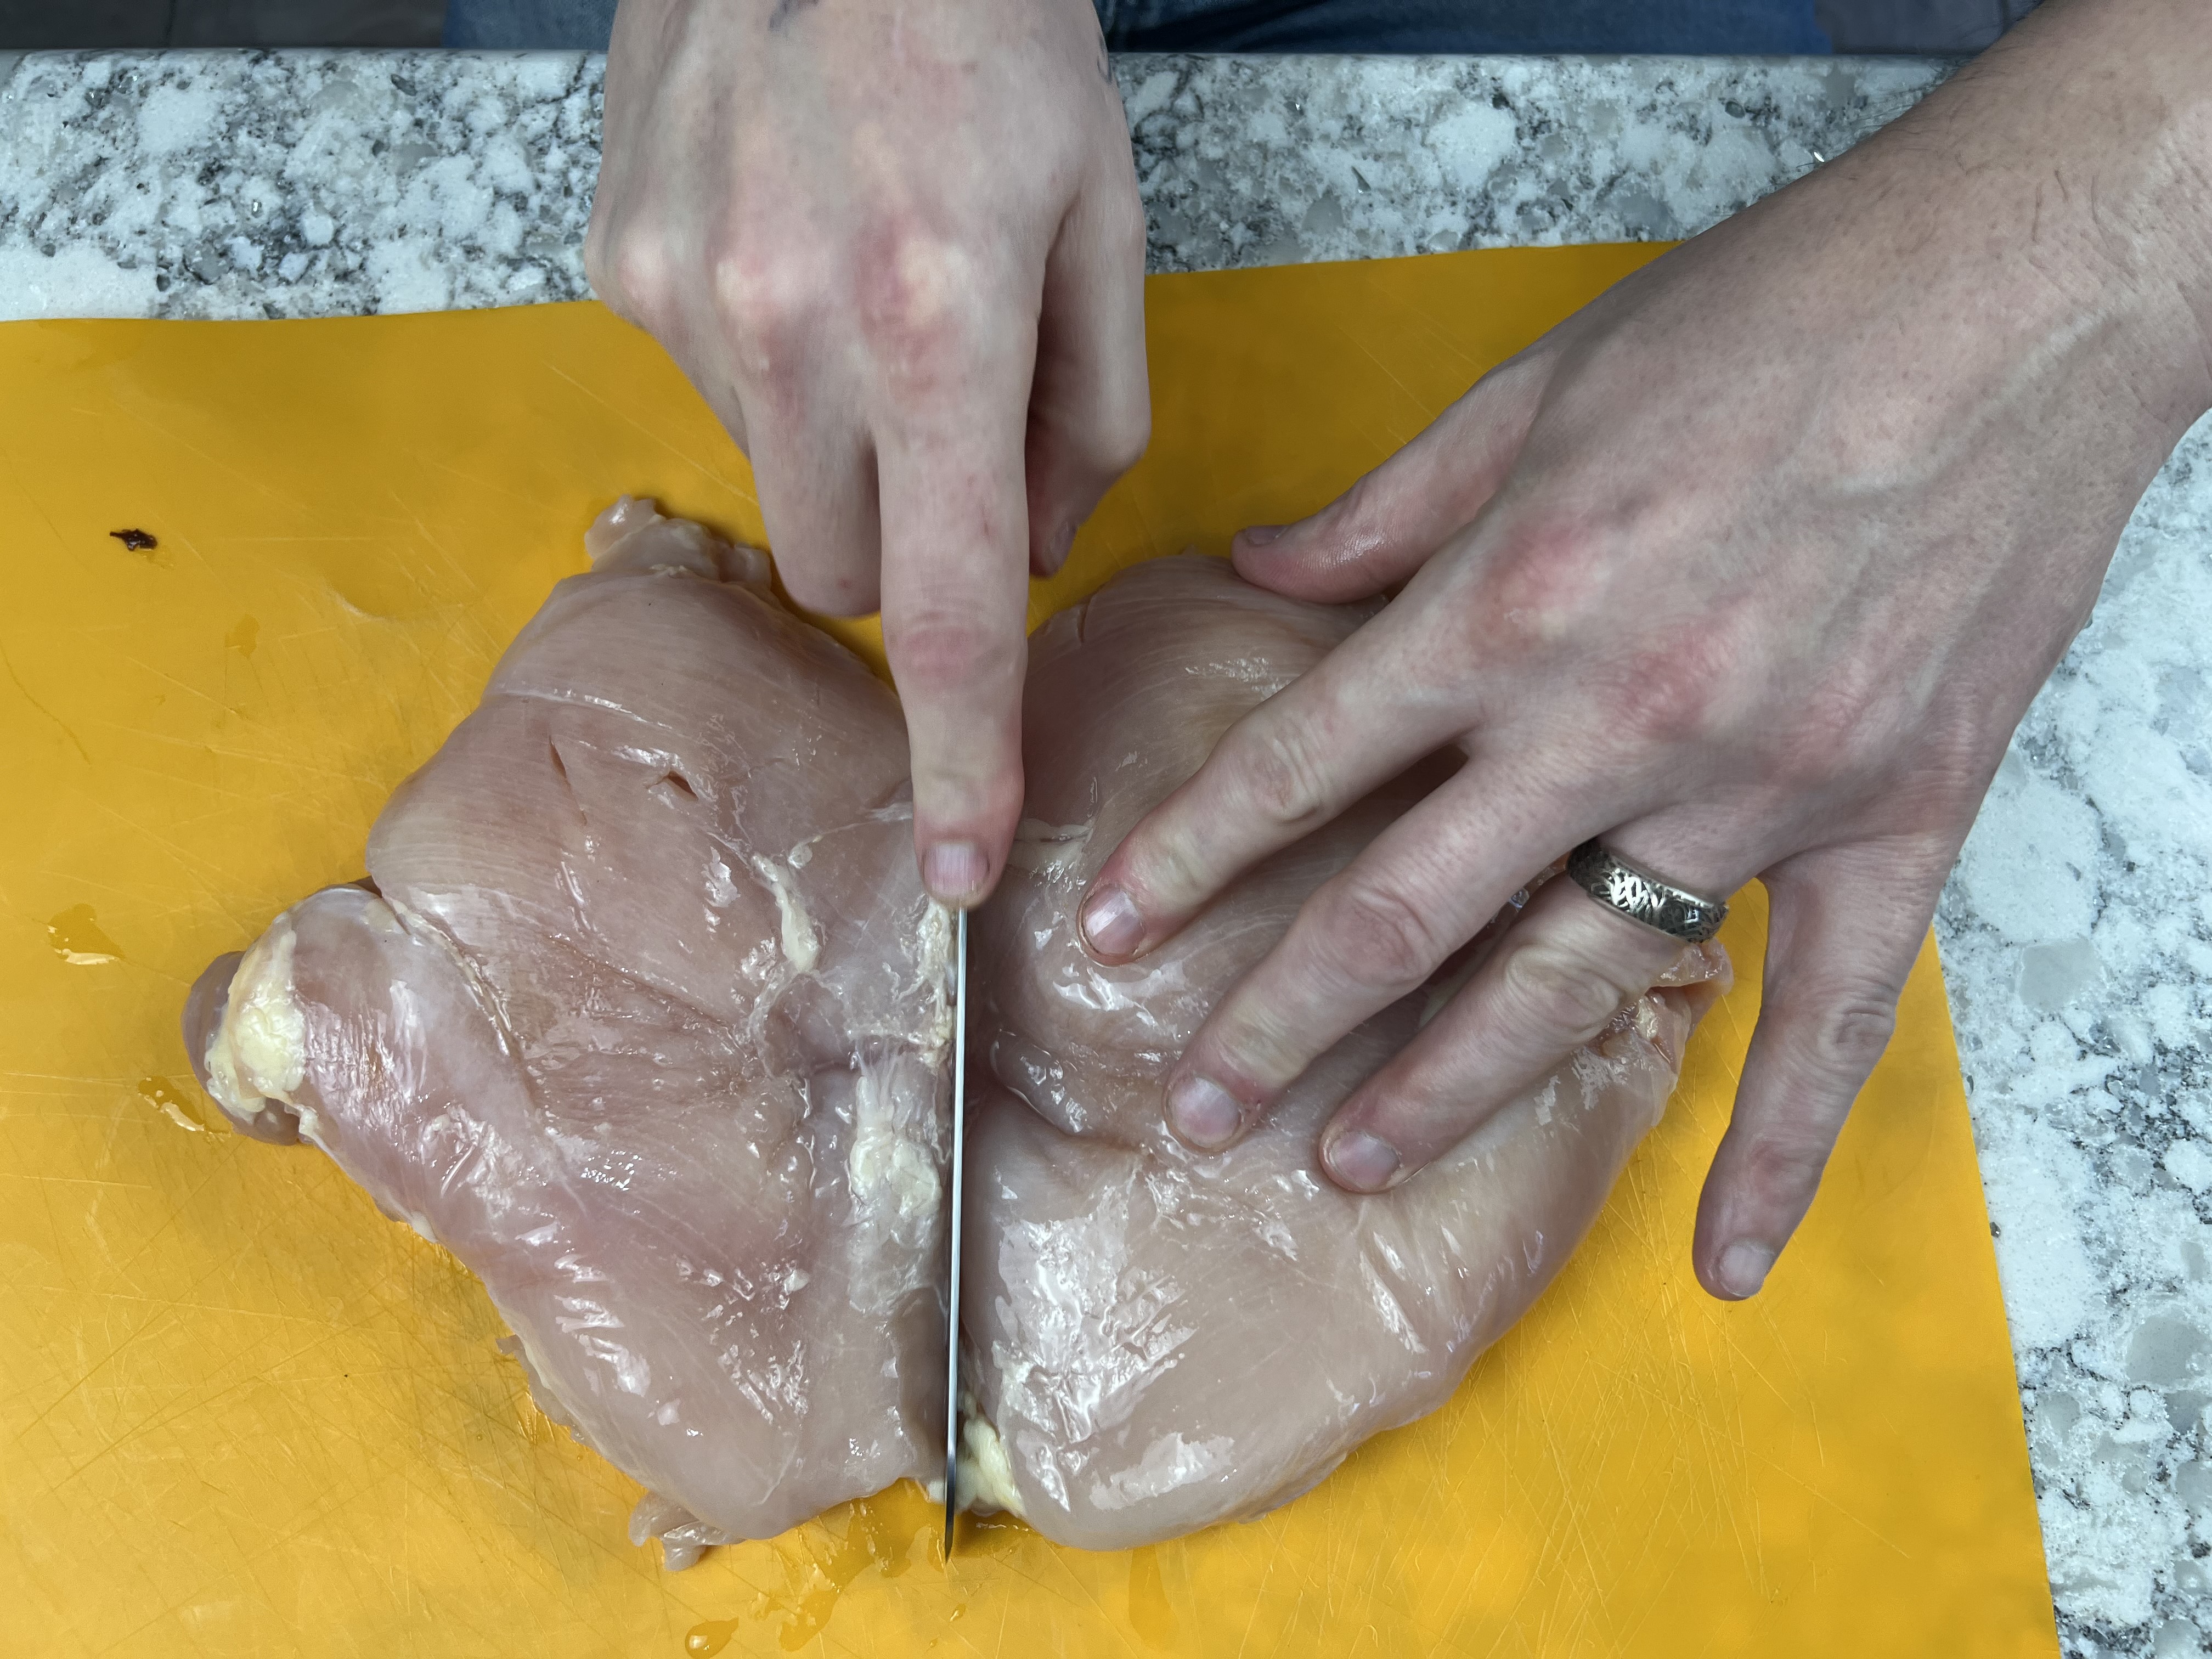
1. Cut chicken breasts in half if attached, then horizontally.
2. Tenderize until about ½ inch thick.
If you don’t have a meat tenderizer, no worries. Watch Dave demonstrate with a simple kitchen item!
3. In a bowl, add flour and seasonings; coat each breast on both sides. Reserve the remaining seasoned flour.
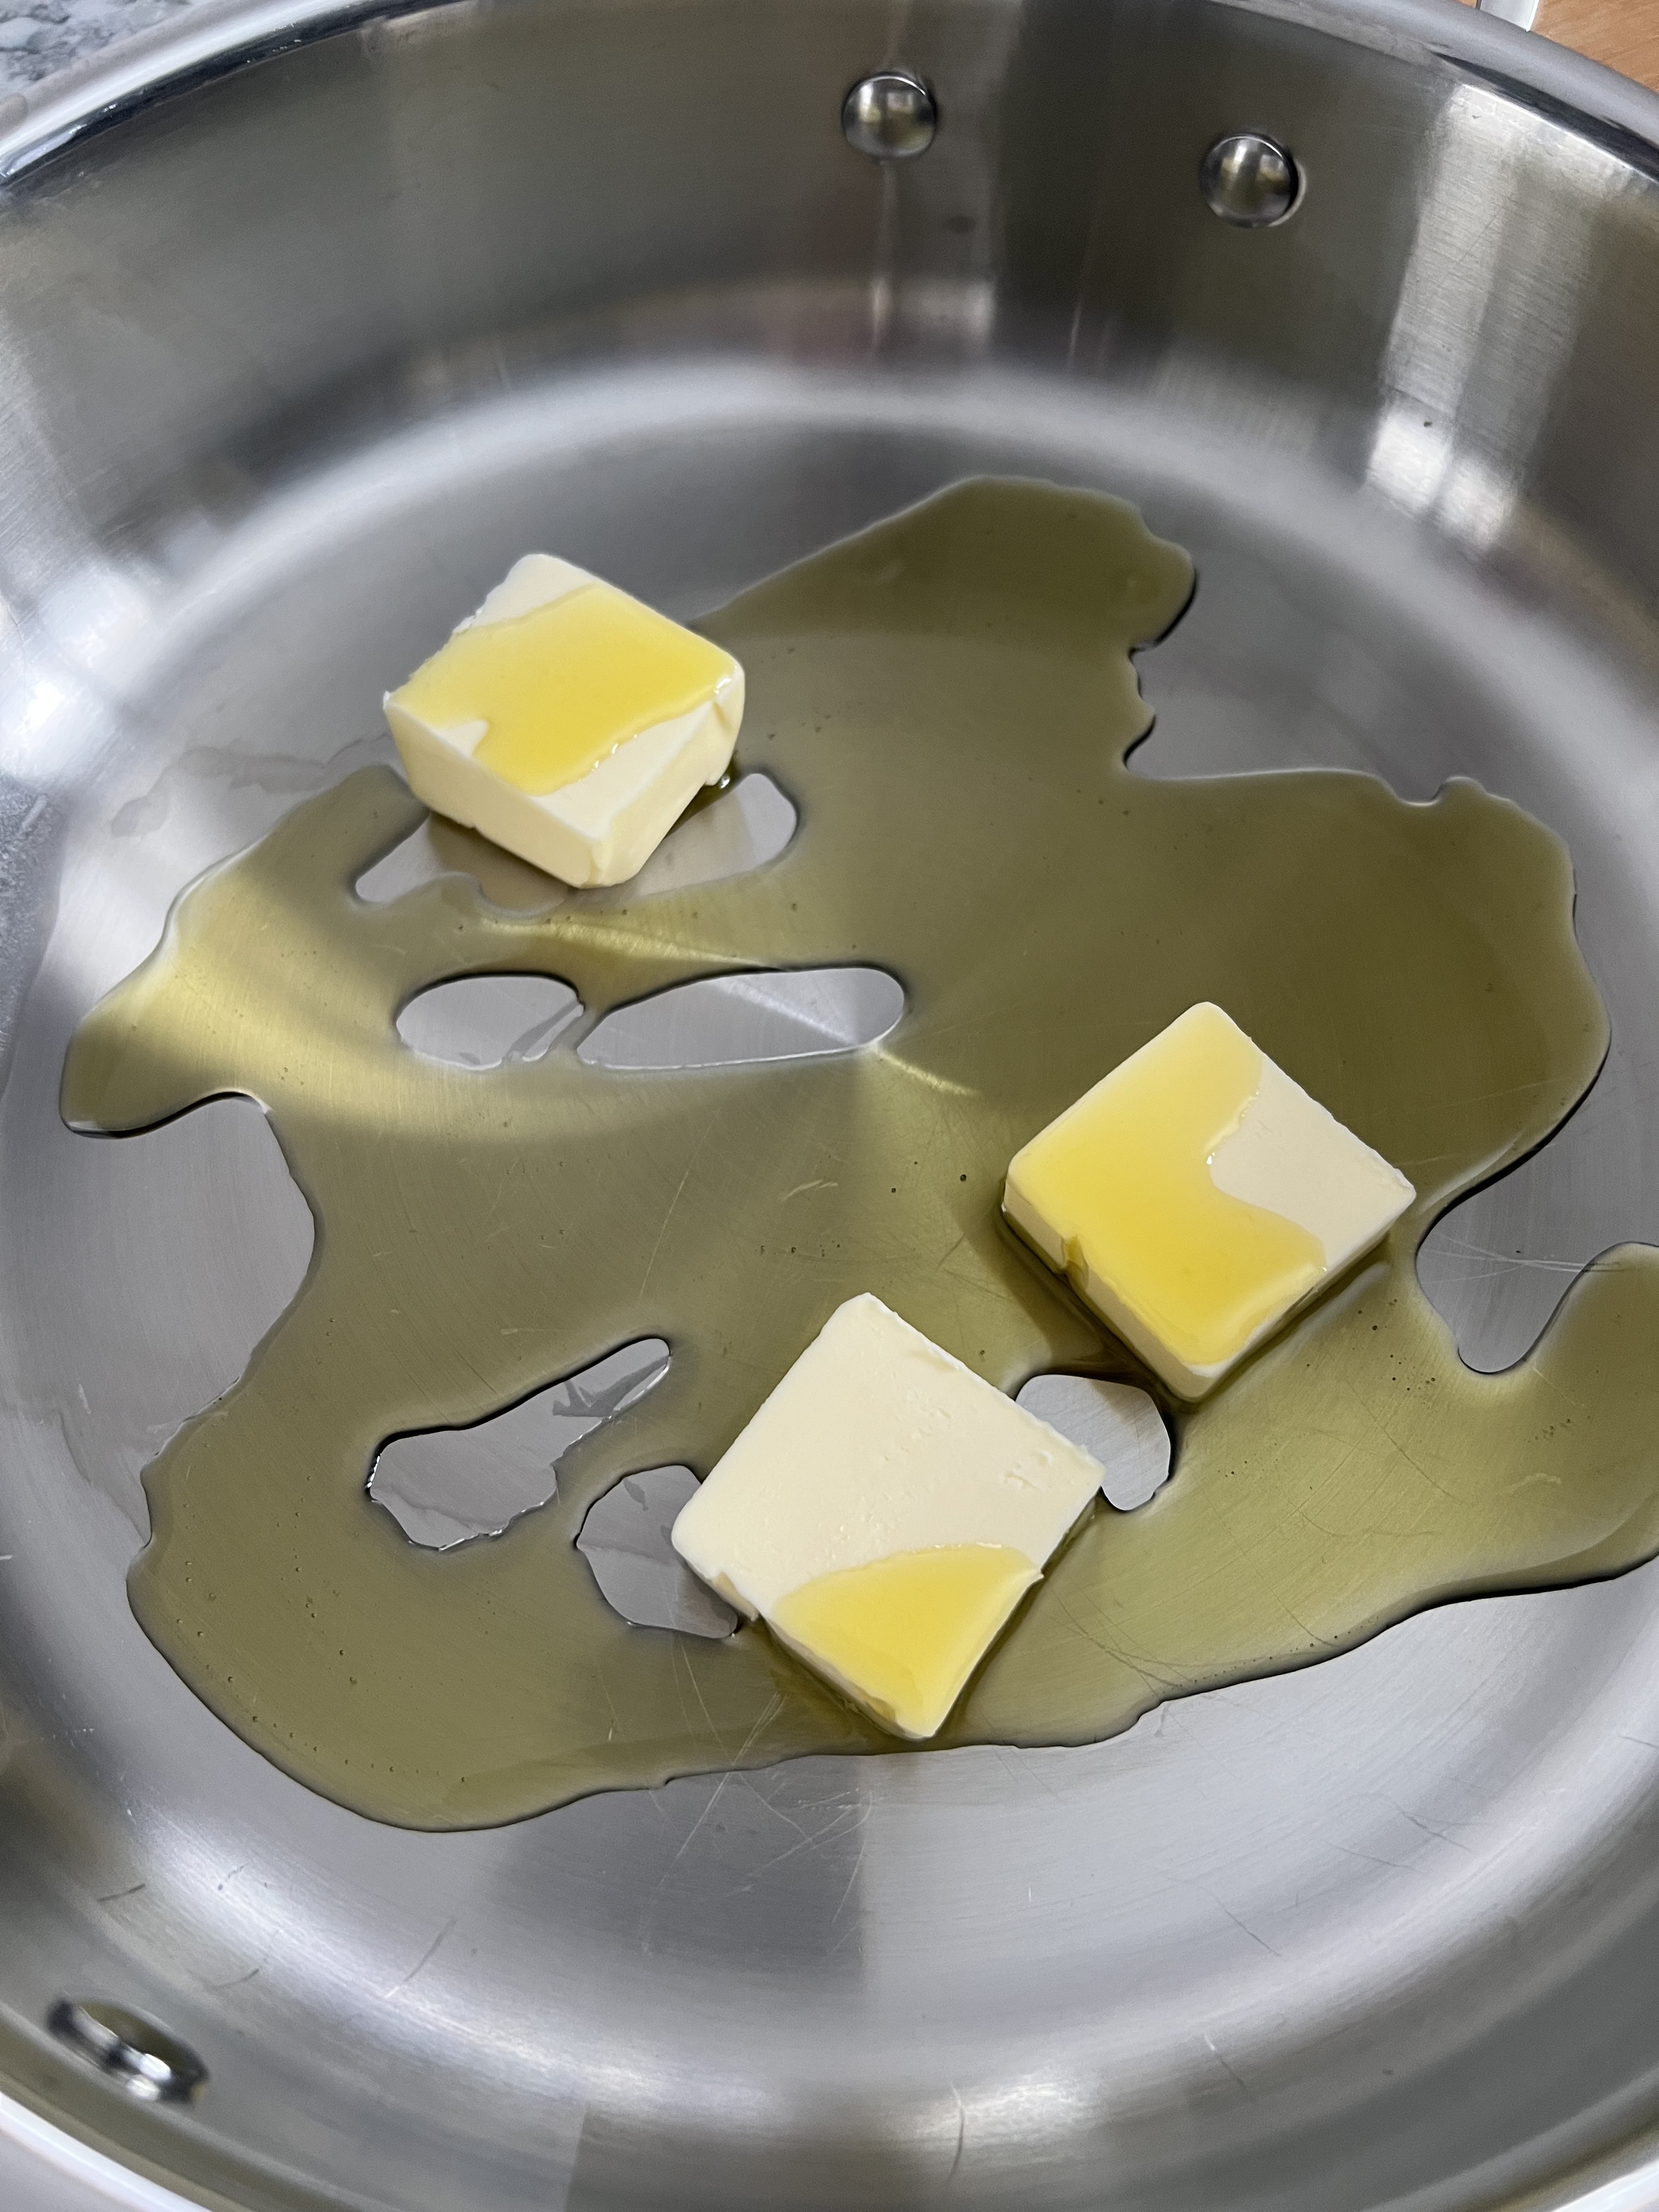
4. In an electric skillet, add half the butter and half the olive oil; heat in the skillet and then add the chicken breasts; cook on each side for 3 minutes until golden; remove to a plate
5. Add the remaining butter and olive oil into the skillet; add mushrooms and reserved seasoned flour, cook for about 6-8 minutes covered stirring occasionally; add shallots and garlic; cook an additional 1-2 minutes.
Add broth, cream, wine; stir until well blended.
6. Add chicken breasts into the mixture; cover and cook for 15 minutes. Turn chicken breasts and cook for an additional 15 to 20 minutes.
Get new recipes delivered to your inbox.
If you enjoyed this blog, please LIKE, Follow, Share & leave me a comment! I love your feedback!
If you aren’t following me on Facebook & Instagram go on over & give a LIKE & Follow me for daily tips & tricks for your home & garden!
“Cooking is about passion, so it may look slightly temperamental in a way that it’s too assertive to the naked eye.” – Gordon Ramsay
Spaghetti can be as simple as noodles with butter, or as elegant as a delicious meat sauce with sautéed vegetables and freshly grated parmesan cheese. In my home, we like them both, and everything in between.
Today I’m going to show you how to make my personal favorite, along with offering a few variations. I of course use my marinara sauce as the base, and then add several ingredients. If you have my cookbook, Lovingly Seasoned Eats & Treats, you can find this recipe on page 414. I’ll also provide the link to the recipe here at my blog. What is your favorite sauce? Let me know in the comments below.
Get new recipes delivered to your inbox.
Our Favorite Recipes
Ingredients: Yields approximately 8 to 10 cups of sauce.
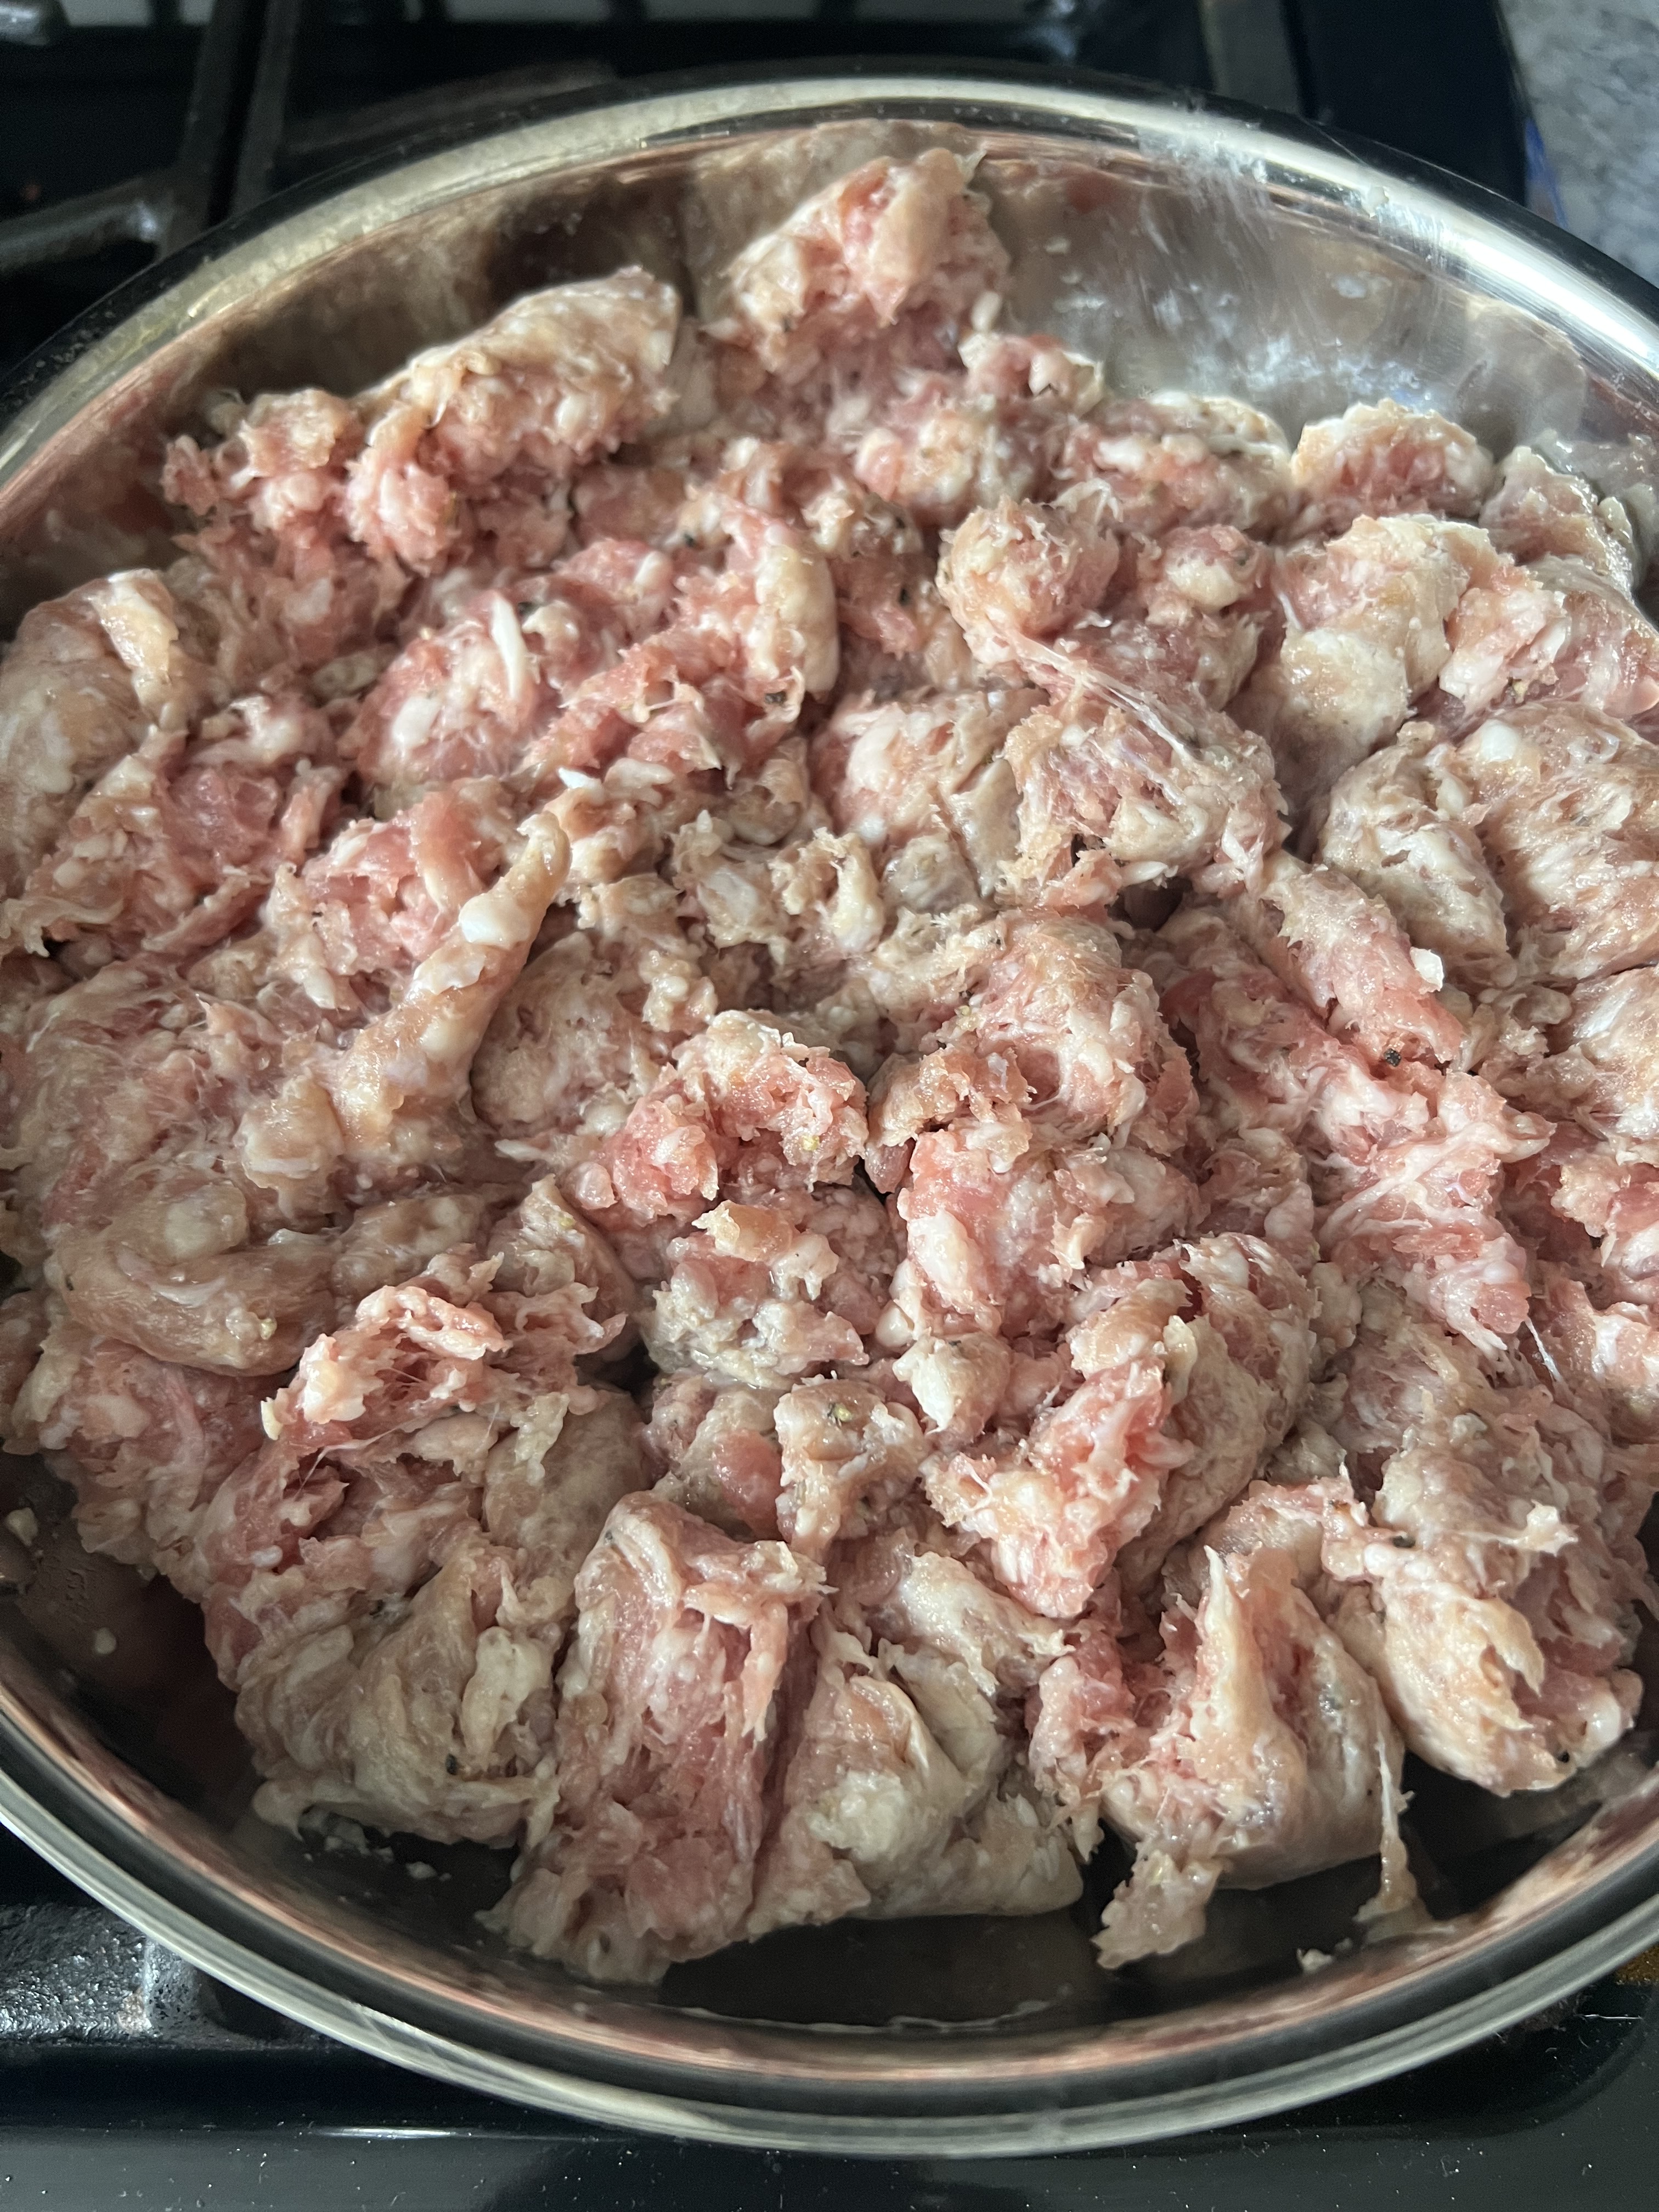
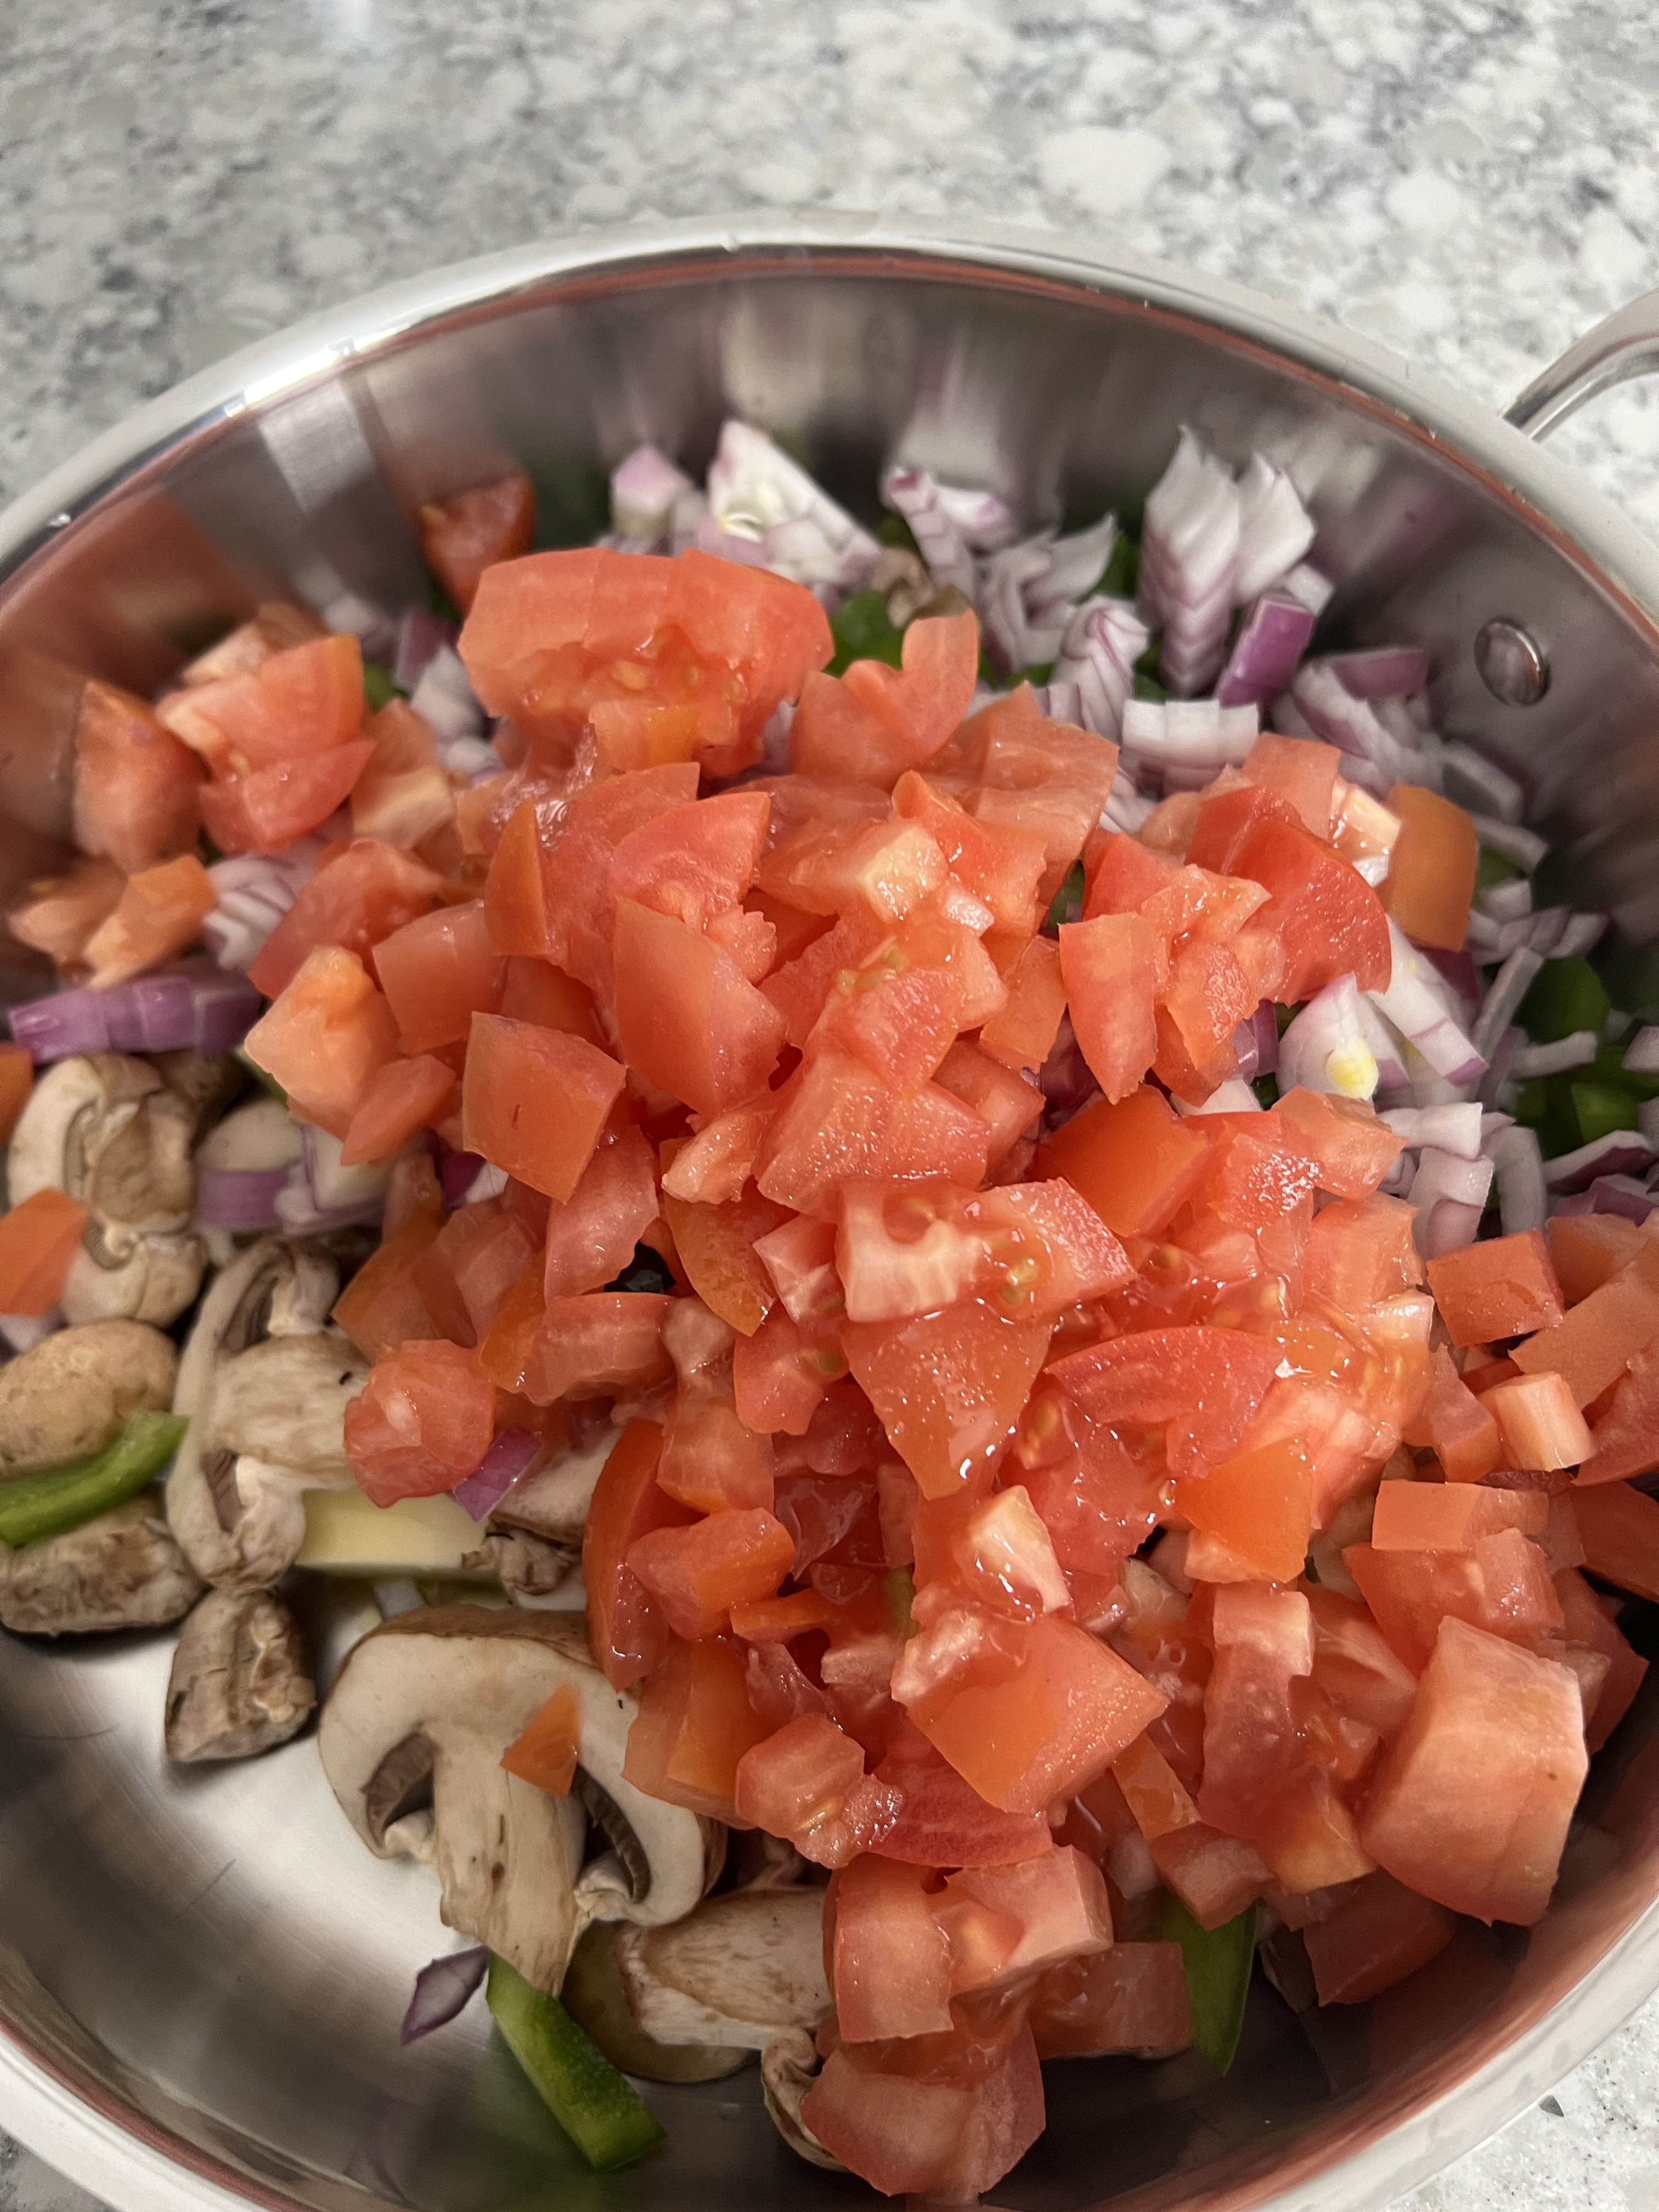
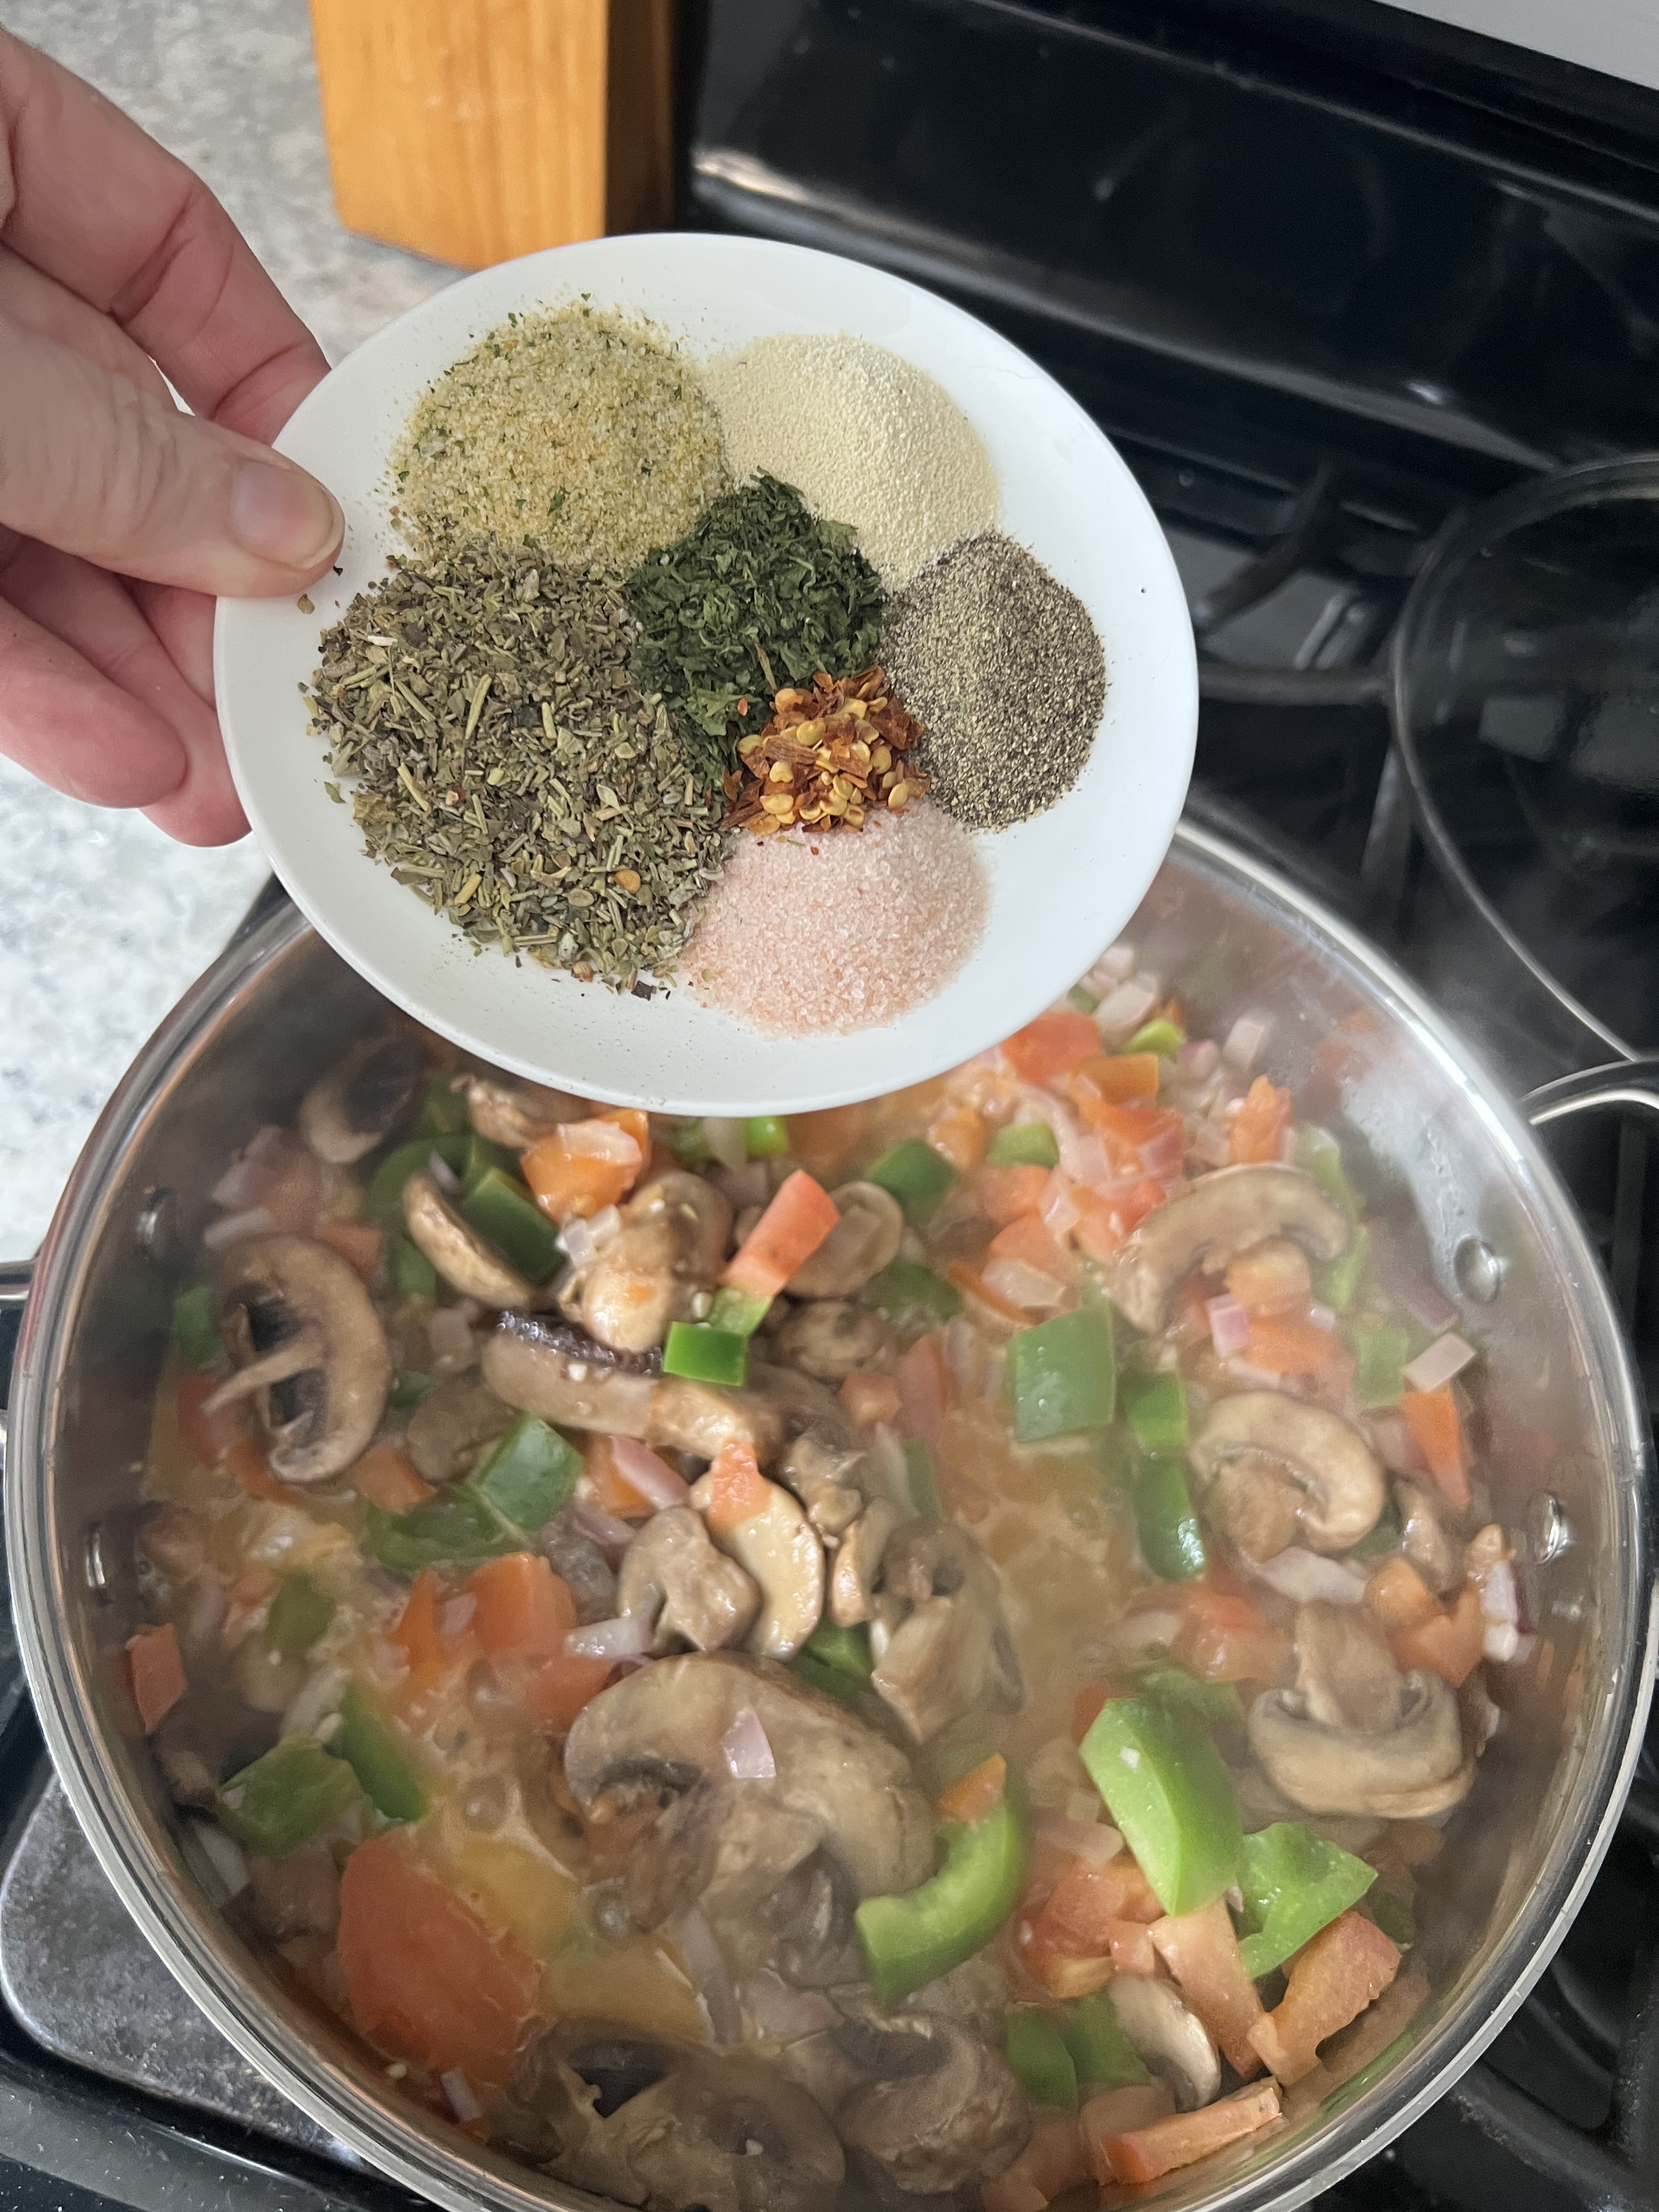
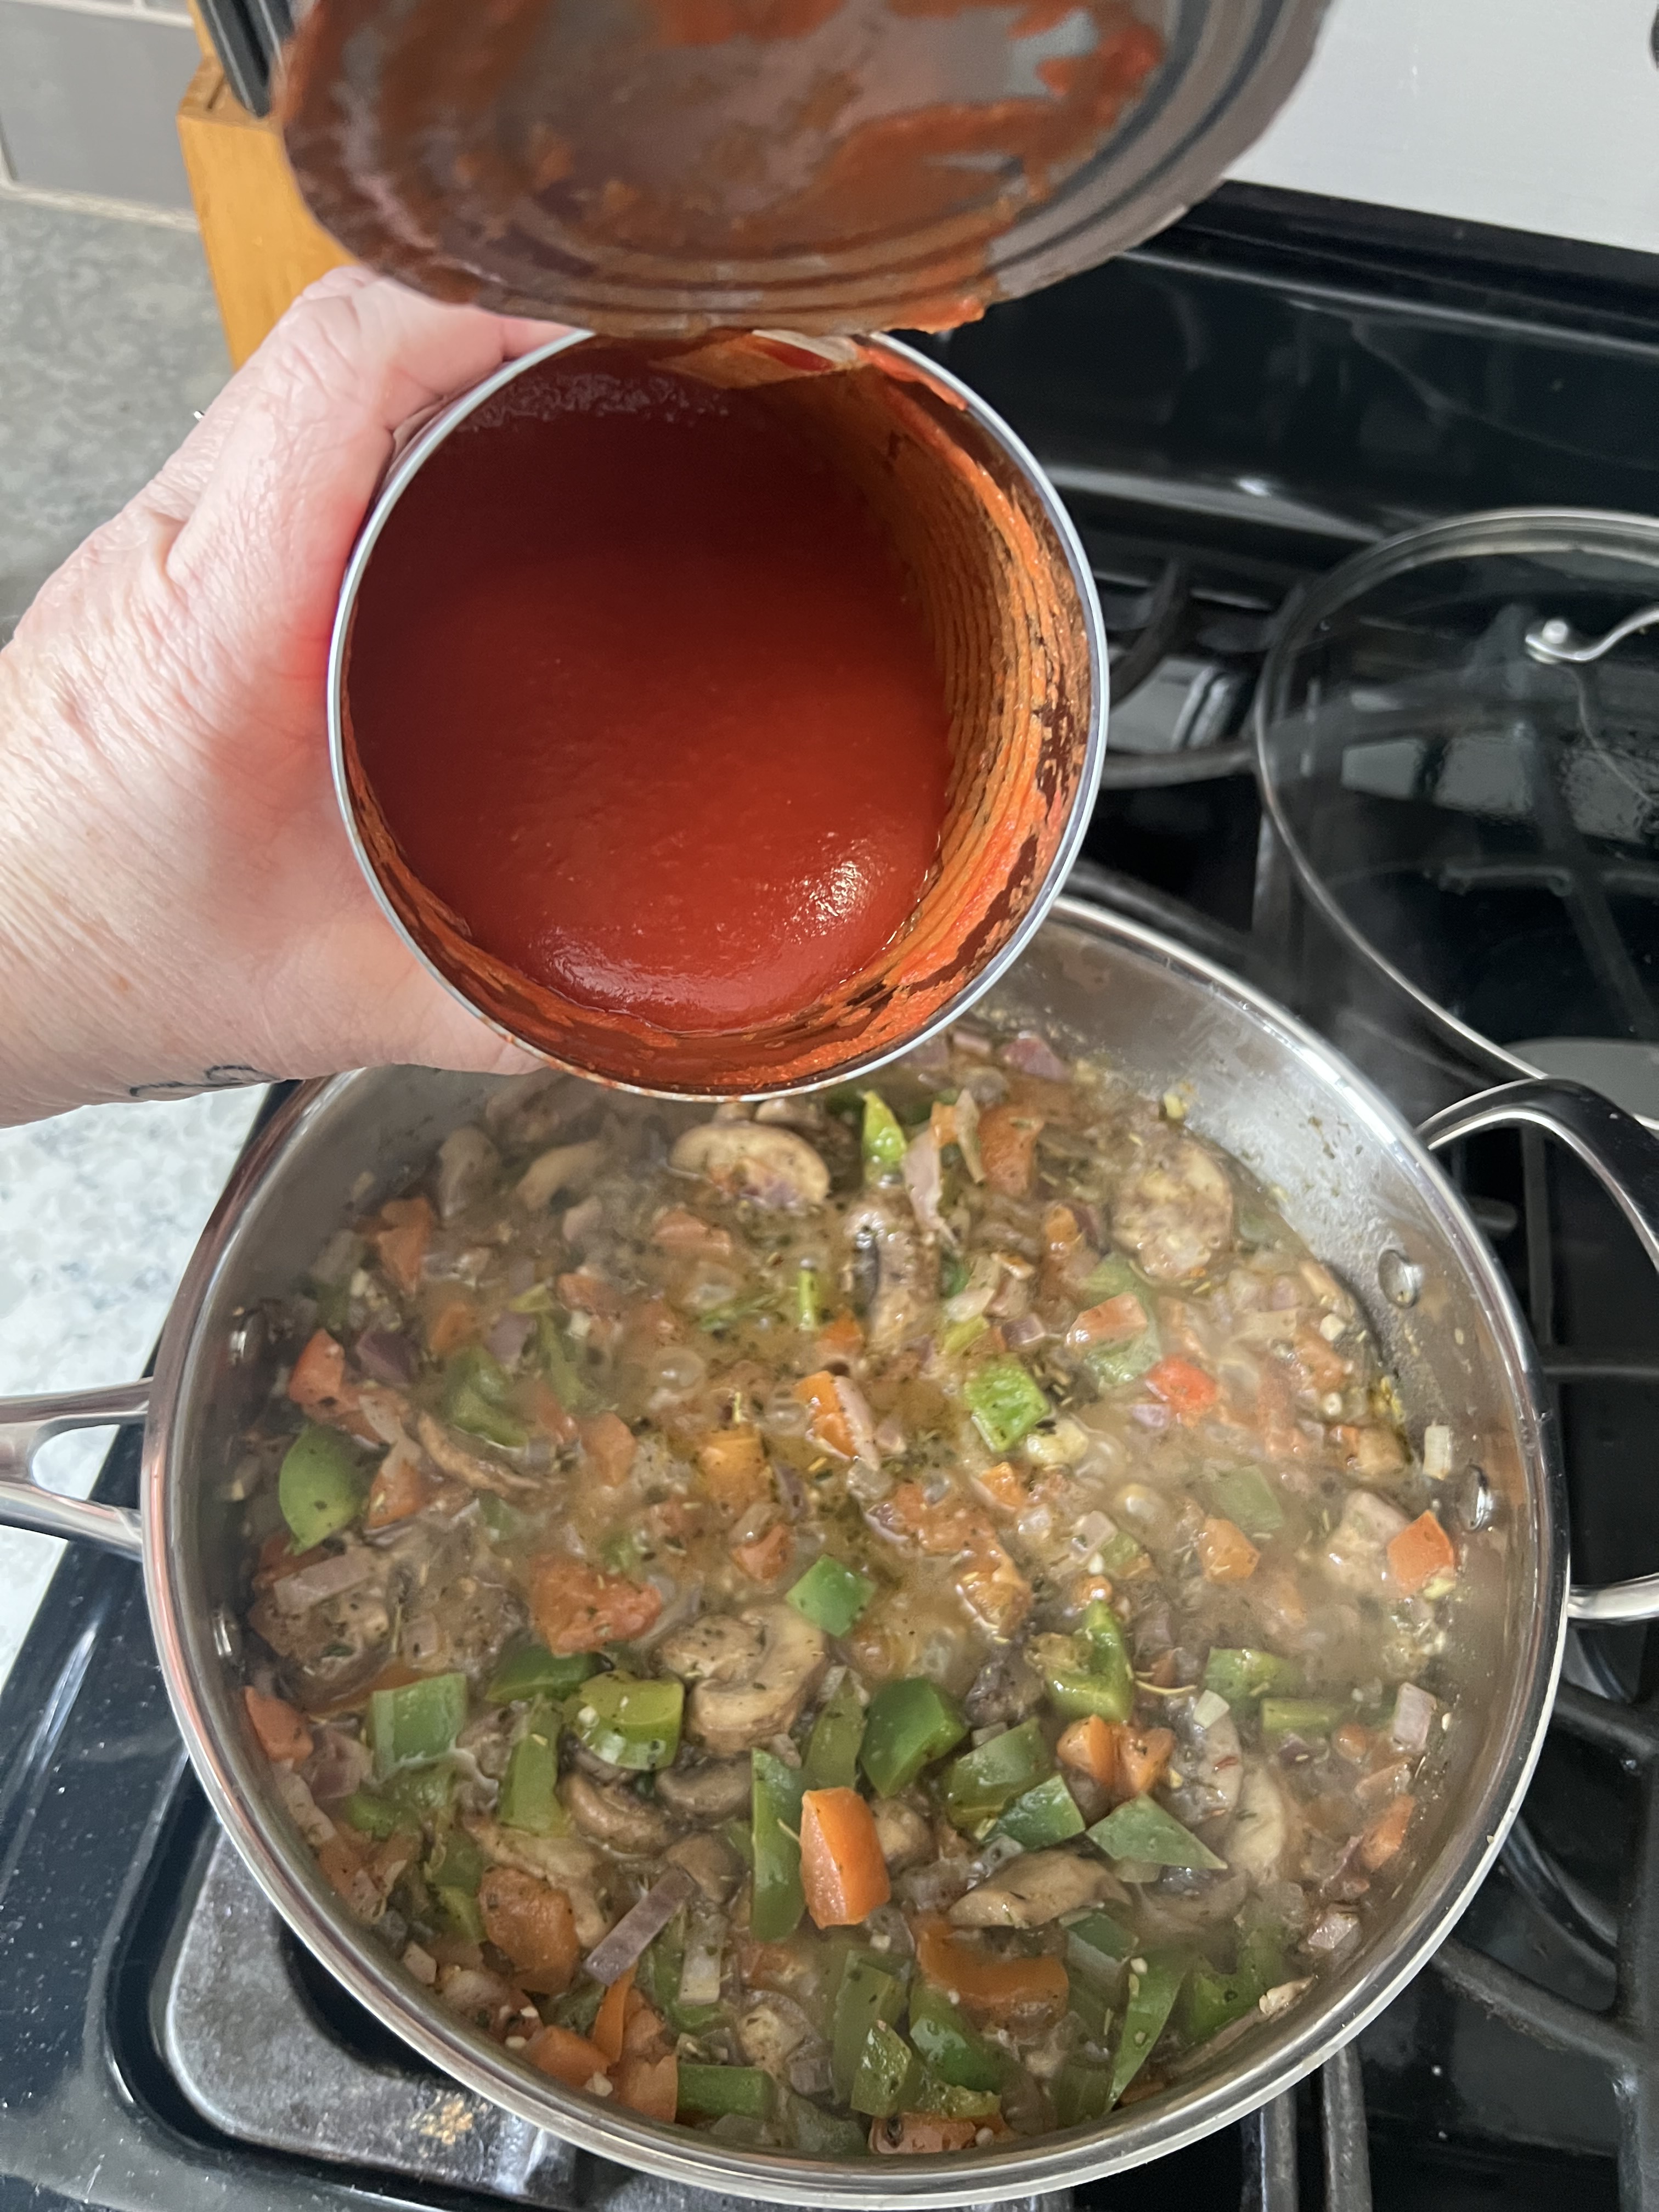
2 pounds ground meat: I used fresh ground pork here, but you can use beef or chicken or a combination of either 6 cups of my Marinara sauce or your favorite spaghetti sauce 1~ 16 ounce can of tomato sauce 8 ounce container of fresh cremini mushrooms, sliced 1 green pepper, diced 3 Roma tomatoes, diced 1 medium red onion, diced 2 fresh garlic cloves minced OR 2 tsp jarred 1 TBSP Italian seasoning 1 tsp onion powder 1 tsp garlic salt 1 tsp pink Himalayan salt 1 tsp fresh ground black pepper ¼ tsp red pepper flakes 2 TBSP Extra virgin olive oil 4 TBSP salted butter
You can serve this with my delicious Bruschetta as well!
SCROLL DOWN TO SEE MY YOUTUBE VIDEO!
Here is the LINK for my Marinara Sauce Recipe. Enjoy friends!
PRO TIP: When trying to figure out how much sauce, remember that 1 cup = 8 ounces. This will help you if you are purchasing pre-jarred sauce. It’s fine to go over or under an ounce or two.
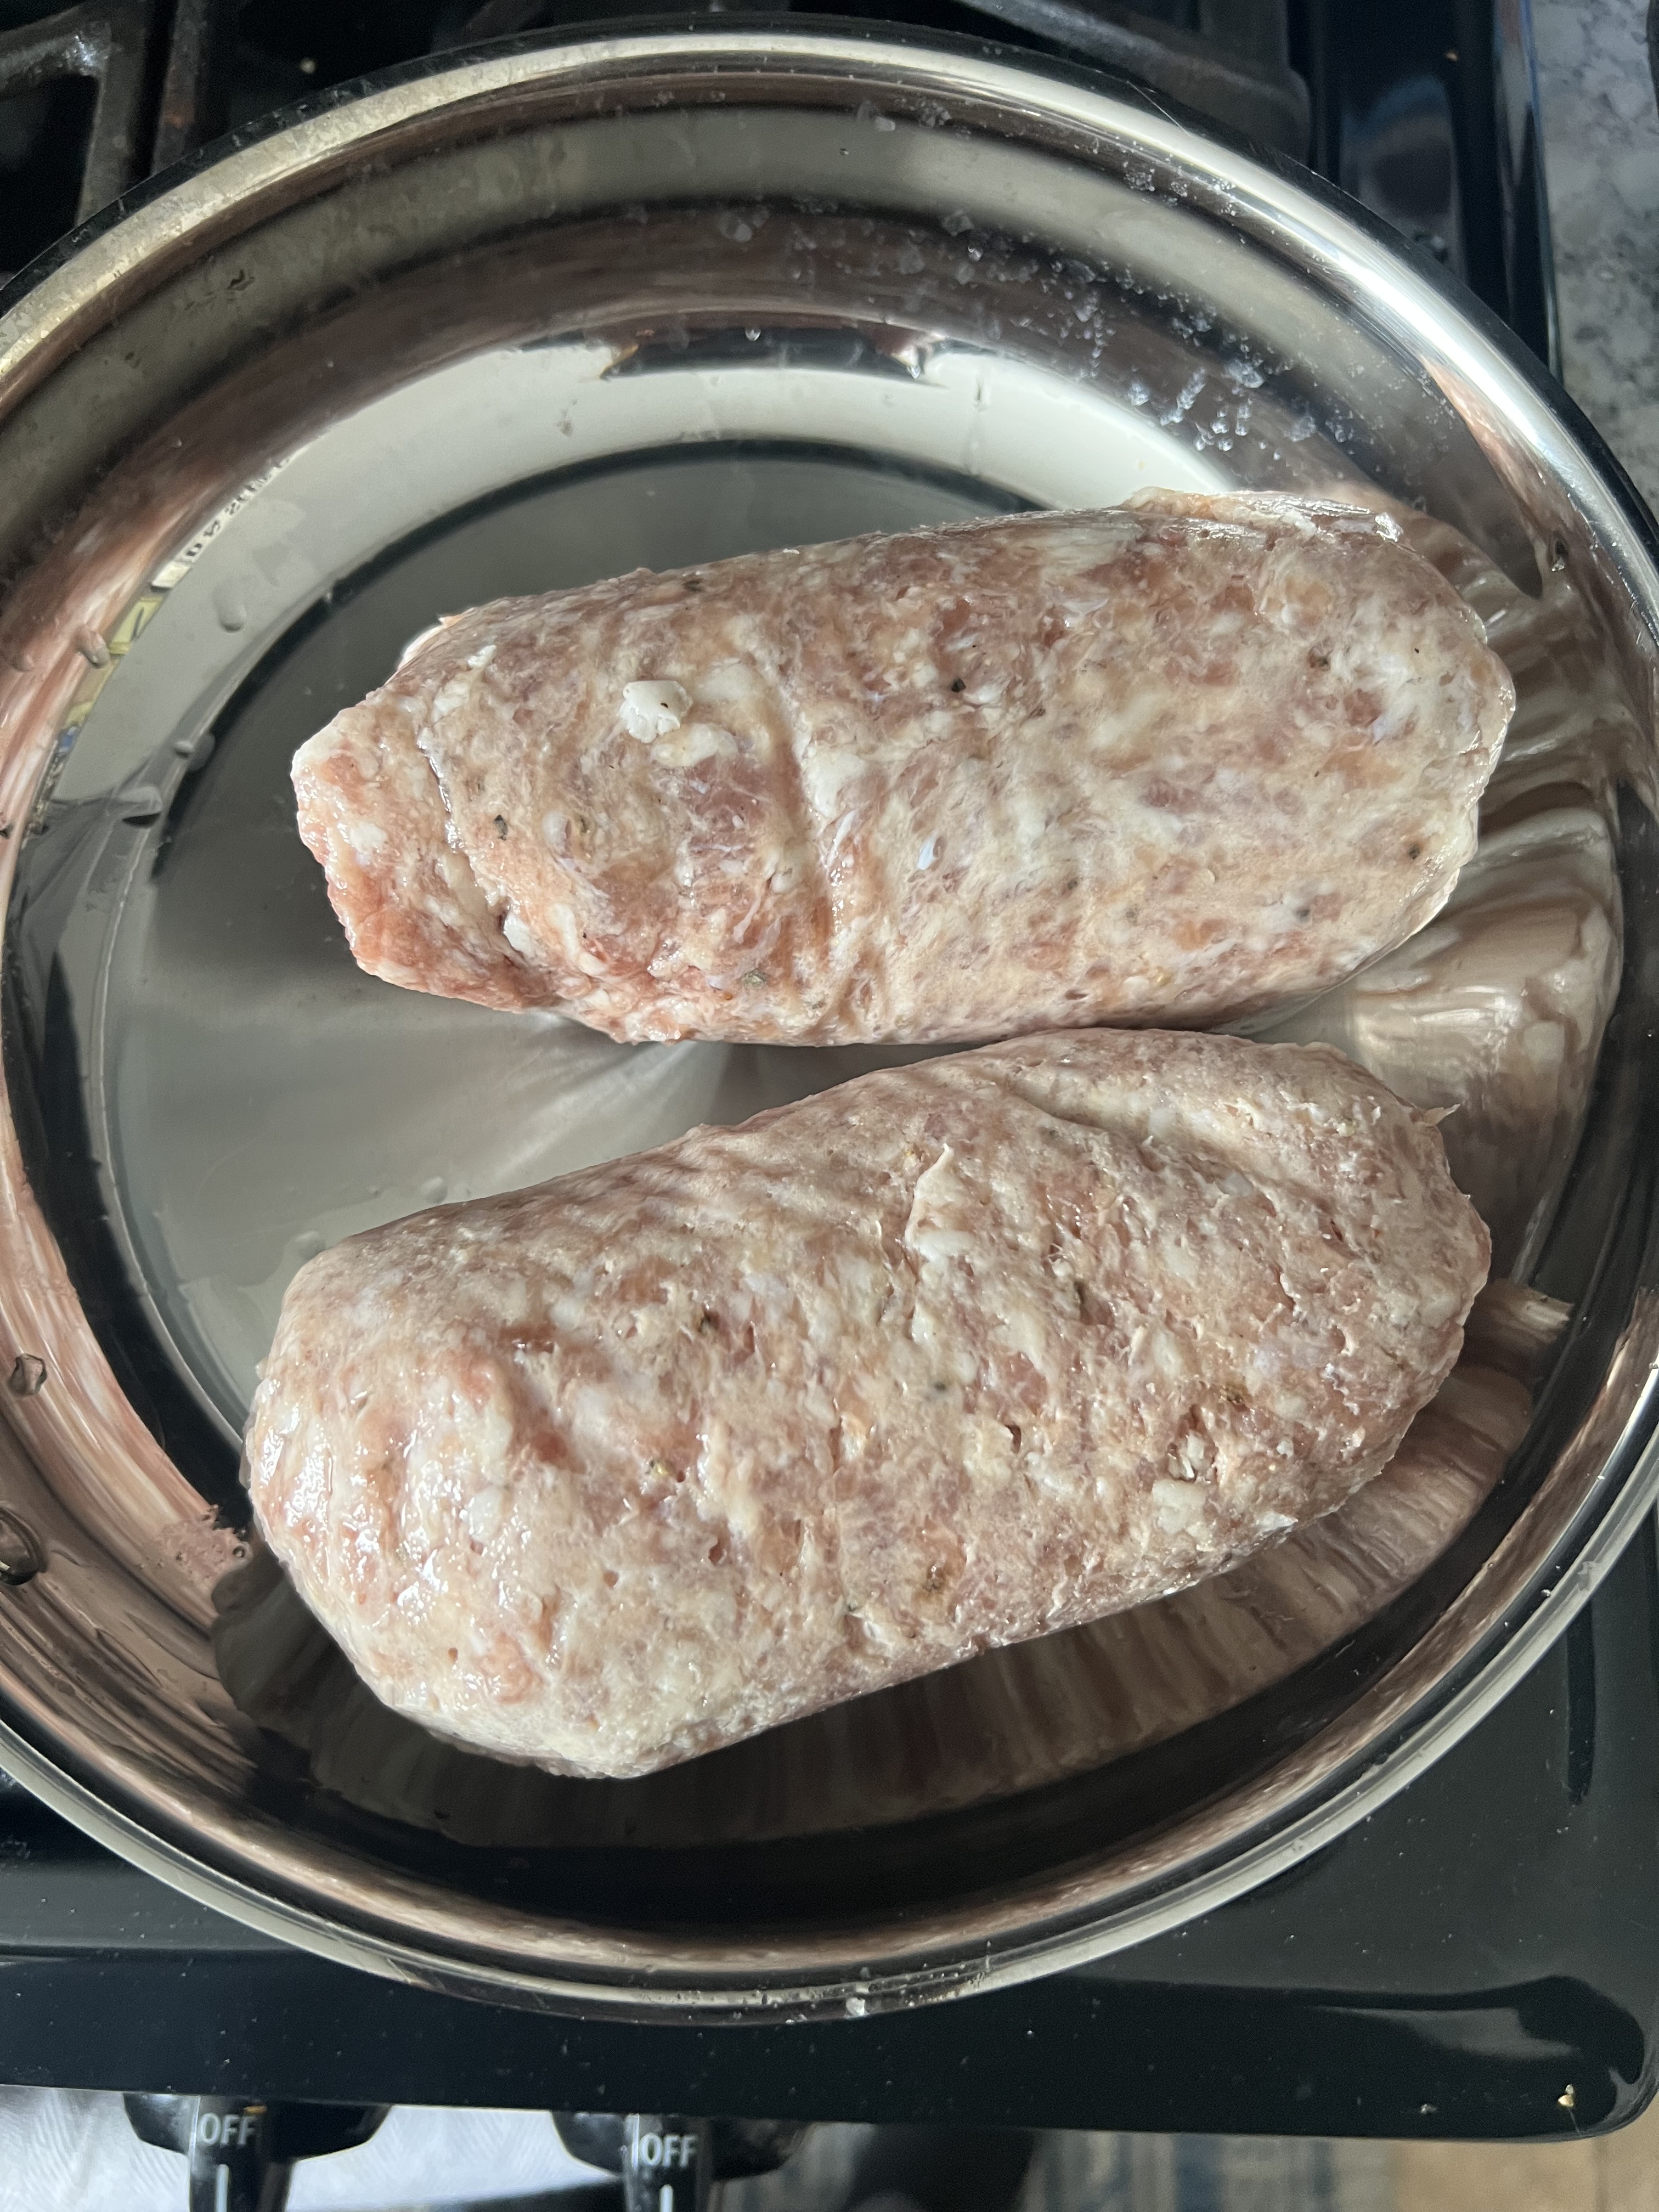
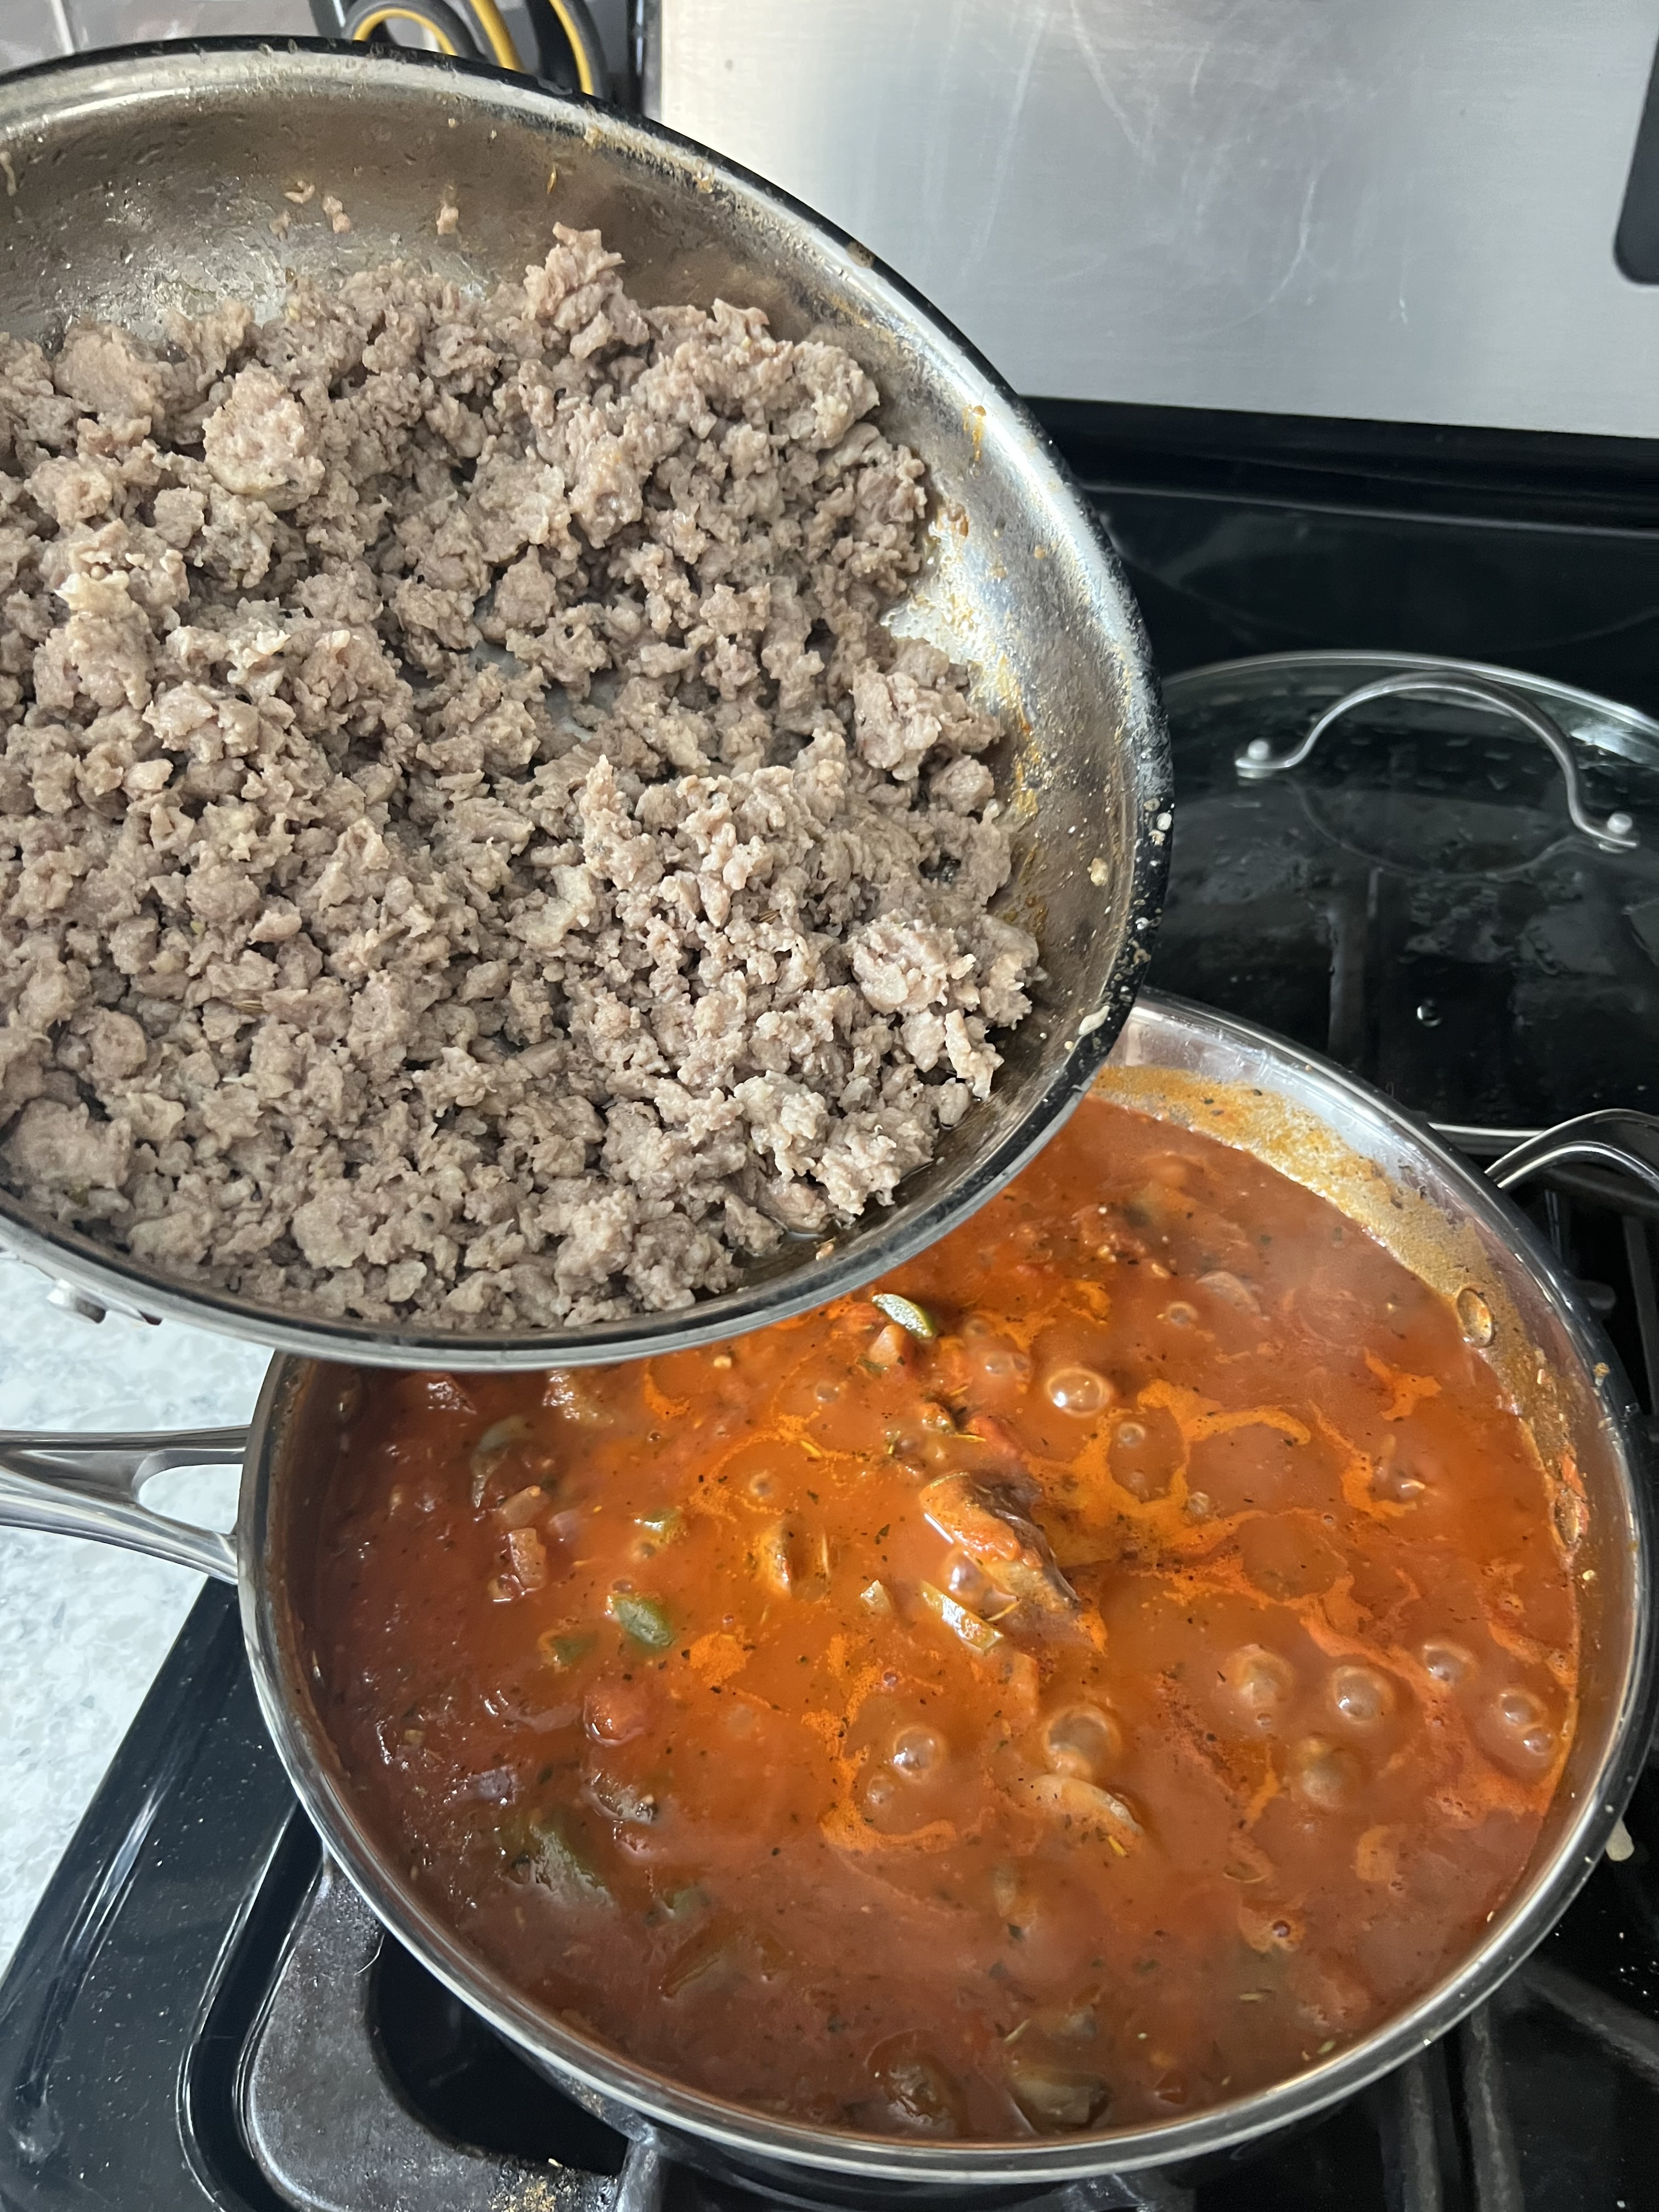
1. Heat a large skillet; add 1 TBSP oil, 2 TBSP of the butter, and meat; fry until crumbly.
Fry on medium heat until crumbly.
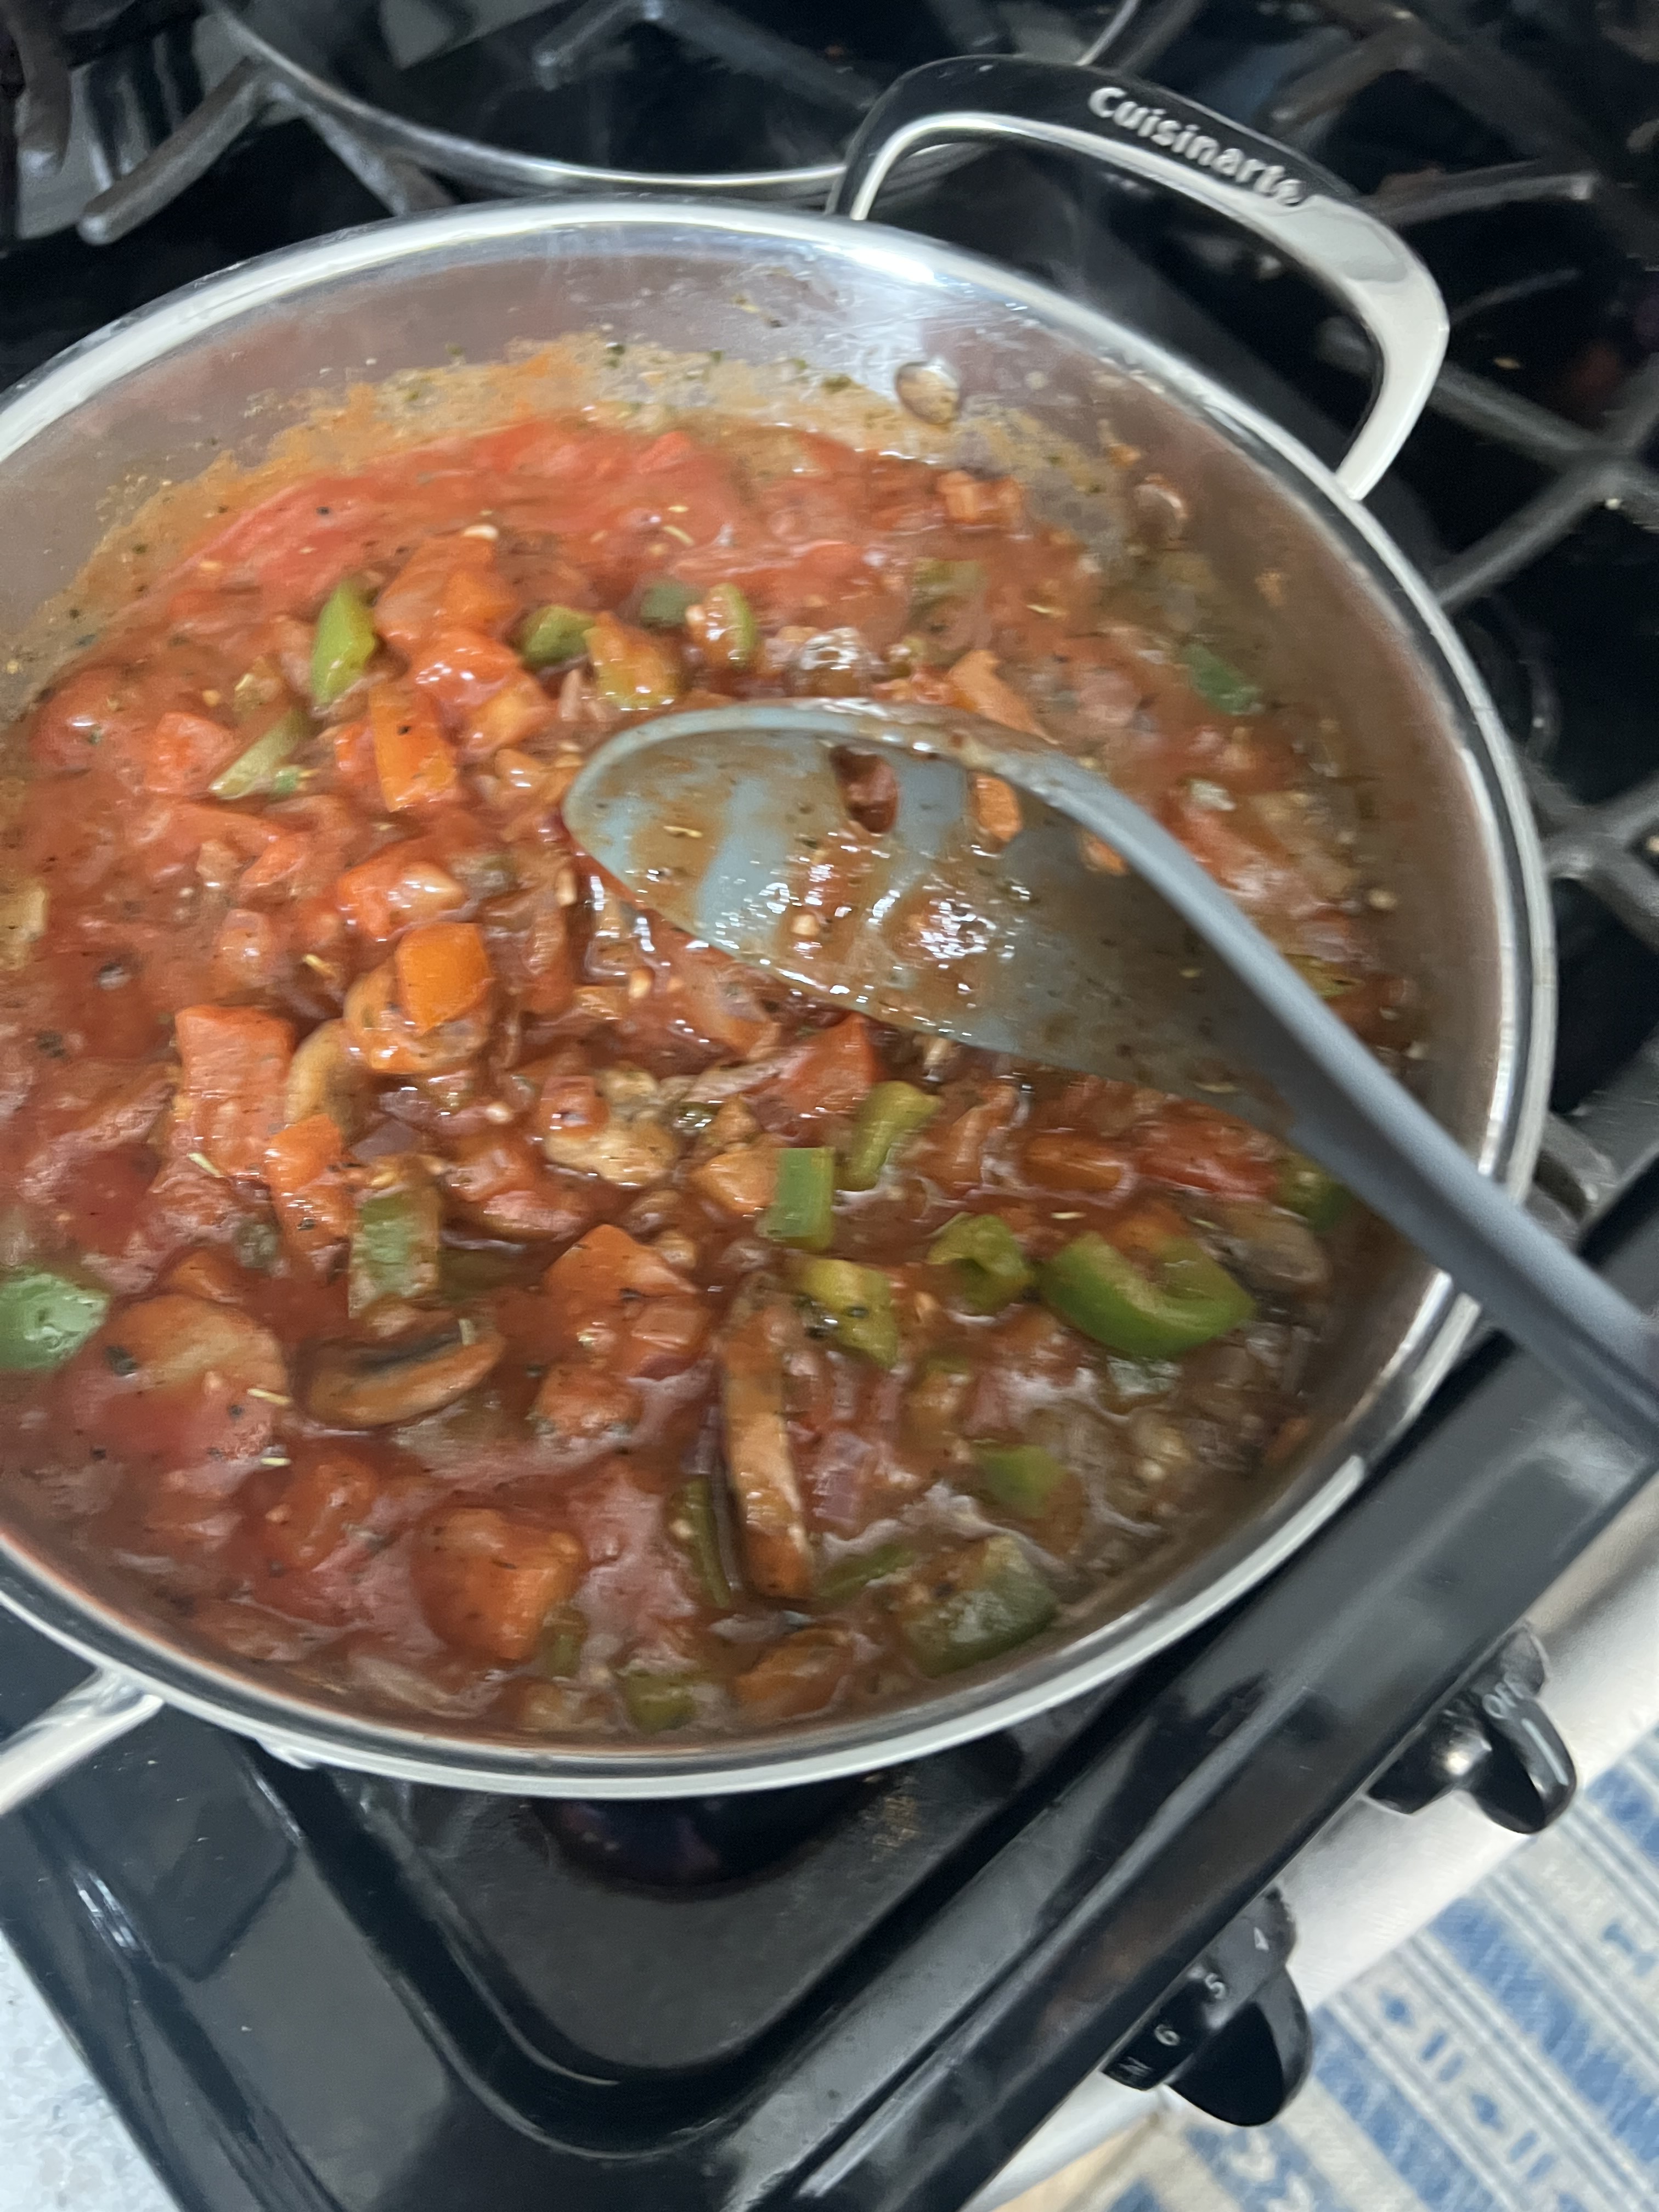
2. In another skillet, add all veggies, spices, and garlic, sauté covered until tender, about 5-7 minutes, stirring occasionally;
3. Next add tomato sauce and blend.
4. Next add cooked meat and blend.
5. Simmer for at least 1 hour covered, stirring occasionally.
6. In a large stock pot heat about ¾ full pot of water to a boil; cook noodles according to package instructions.
Serve with a salad and my delicious Bruschetta. Watch my YouTube Video here!
If you enjoyed this blog, please LIKE, Follow, Share & leave me a comment! I love your feedback!
If you aren’t following me on Facebook & Instagram go on over & give a LIKE & Follow me for daily tips & tricks for your home & garden!
“It is a good idea to be alone in a garden at dawn or dark so that all its shy presences may haunt you and possess you in a reverie of suspended thought.” James Douglas
You all know how much I love my herbs, so taking care of them and ensuring they continue to grow & thrive is essential to a bountiful harvest. Dividing them helps to keep them from getting too crowded, which can lead to poor growth and disease.
In this guide, I’ll be taking you through the benefits of dividing overgrown herbs, signs that your herbs need dividing, the best time to divide overgrown herbs, tools needed for dividing herbs, steps for dividing overgrown herbs, tips for planting and caring for divided herbs, common mistakes to avoid when dividing herbs, and recommended herbs to divide. So now lets get rolling friends!
Dividing overgrown herbs is a great way to keep your herbs looking and tasting their best. When you divide your herbs, you’re essentially creating new plants from one plant. This means that the new plants will have fresh, healthy roots and plenty of space to grow. Dividing your herbs can also help to promote new growth and increase the yield of your herb garden. And that’s what we want right friends… more herbs!
What are some of the signs that my herbs need dividing?
So, how do you know when it’s time to divide your herbs? There are a few signs to look out for. If your herbs are looking crowded or are starting to wilt, it’s probably time to divide them. You may also notice that your herbs are not growing as well as they used to, or that they are producing fewer leaves or flowers.
When is the best time to divide my overgrown herbs?
The best time to divide overgrown herbs is in the early spring or fall. This is when the plants are not actively growing, which makes it easier to divide them without causing too much stress. It’s also important to divide your herbs when the soil is moist, as this will help to minimize shock to the plants. If the soil is dry, I advise watering the soil and letting it set for about an hour before you divide.
Some of the tools you’ll need to divide your herbs!
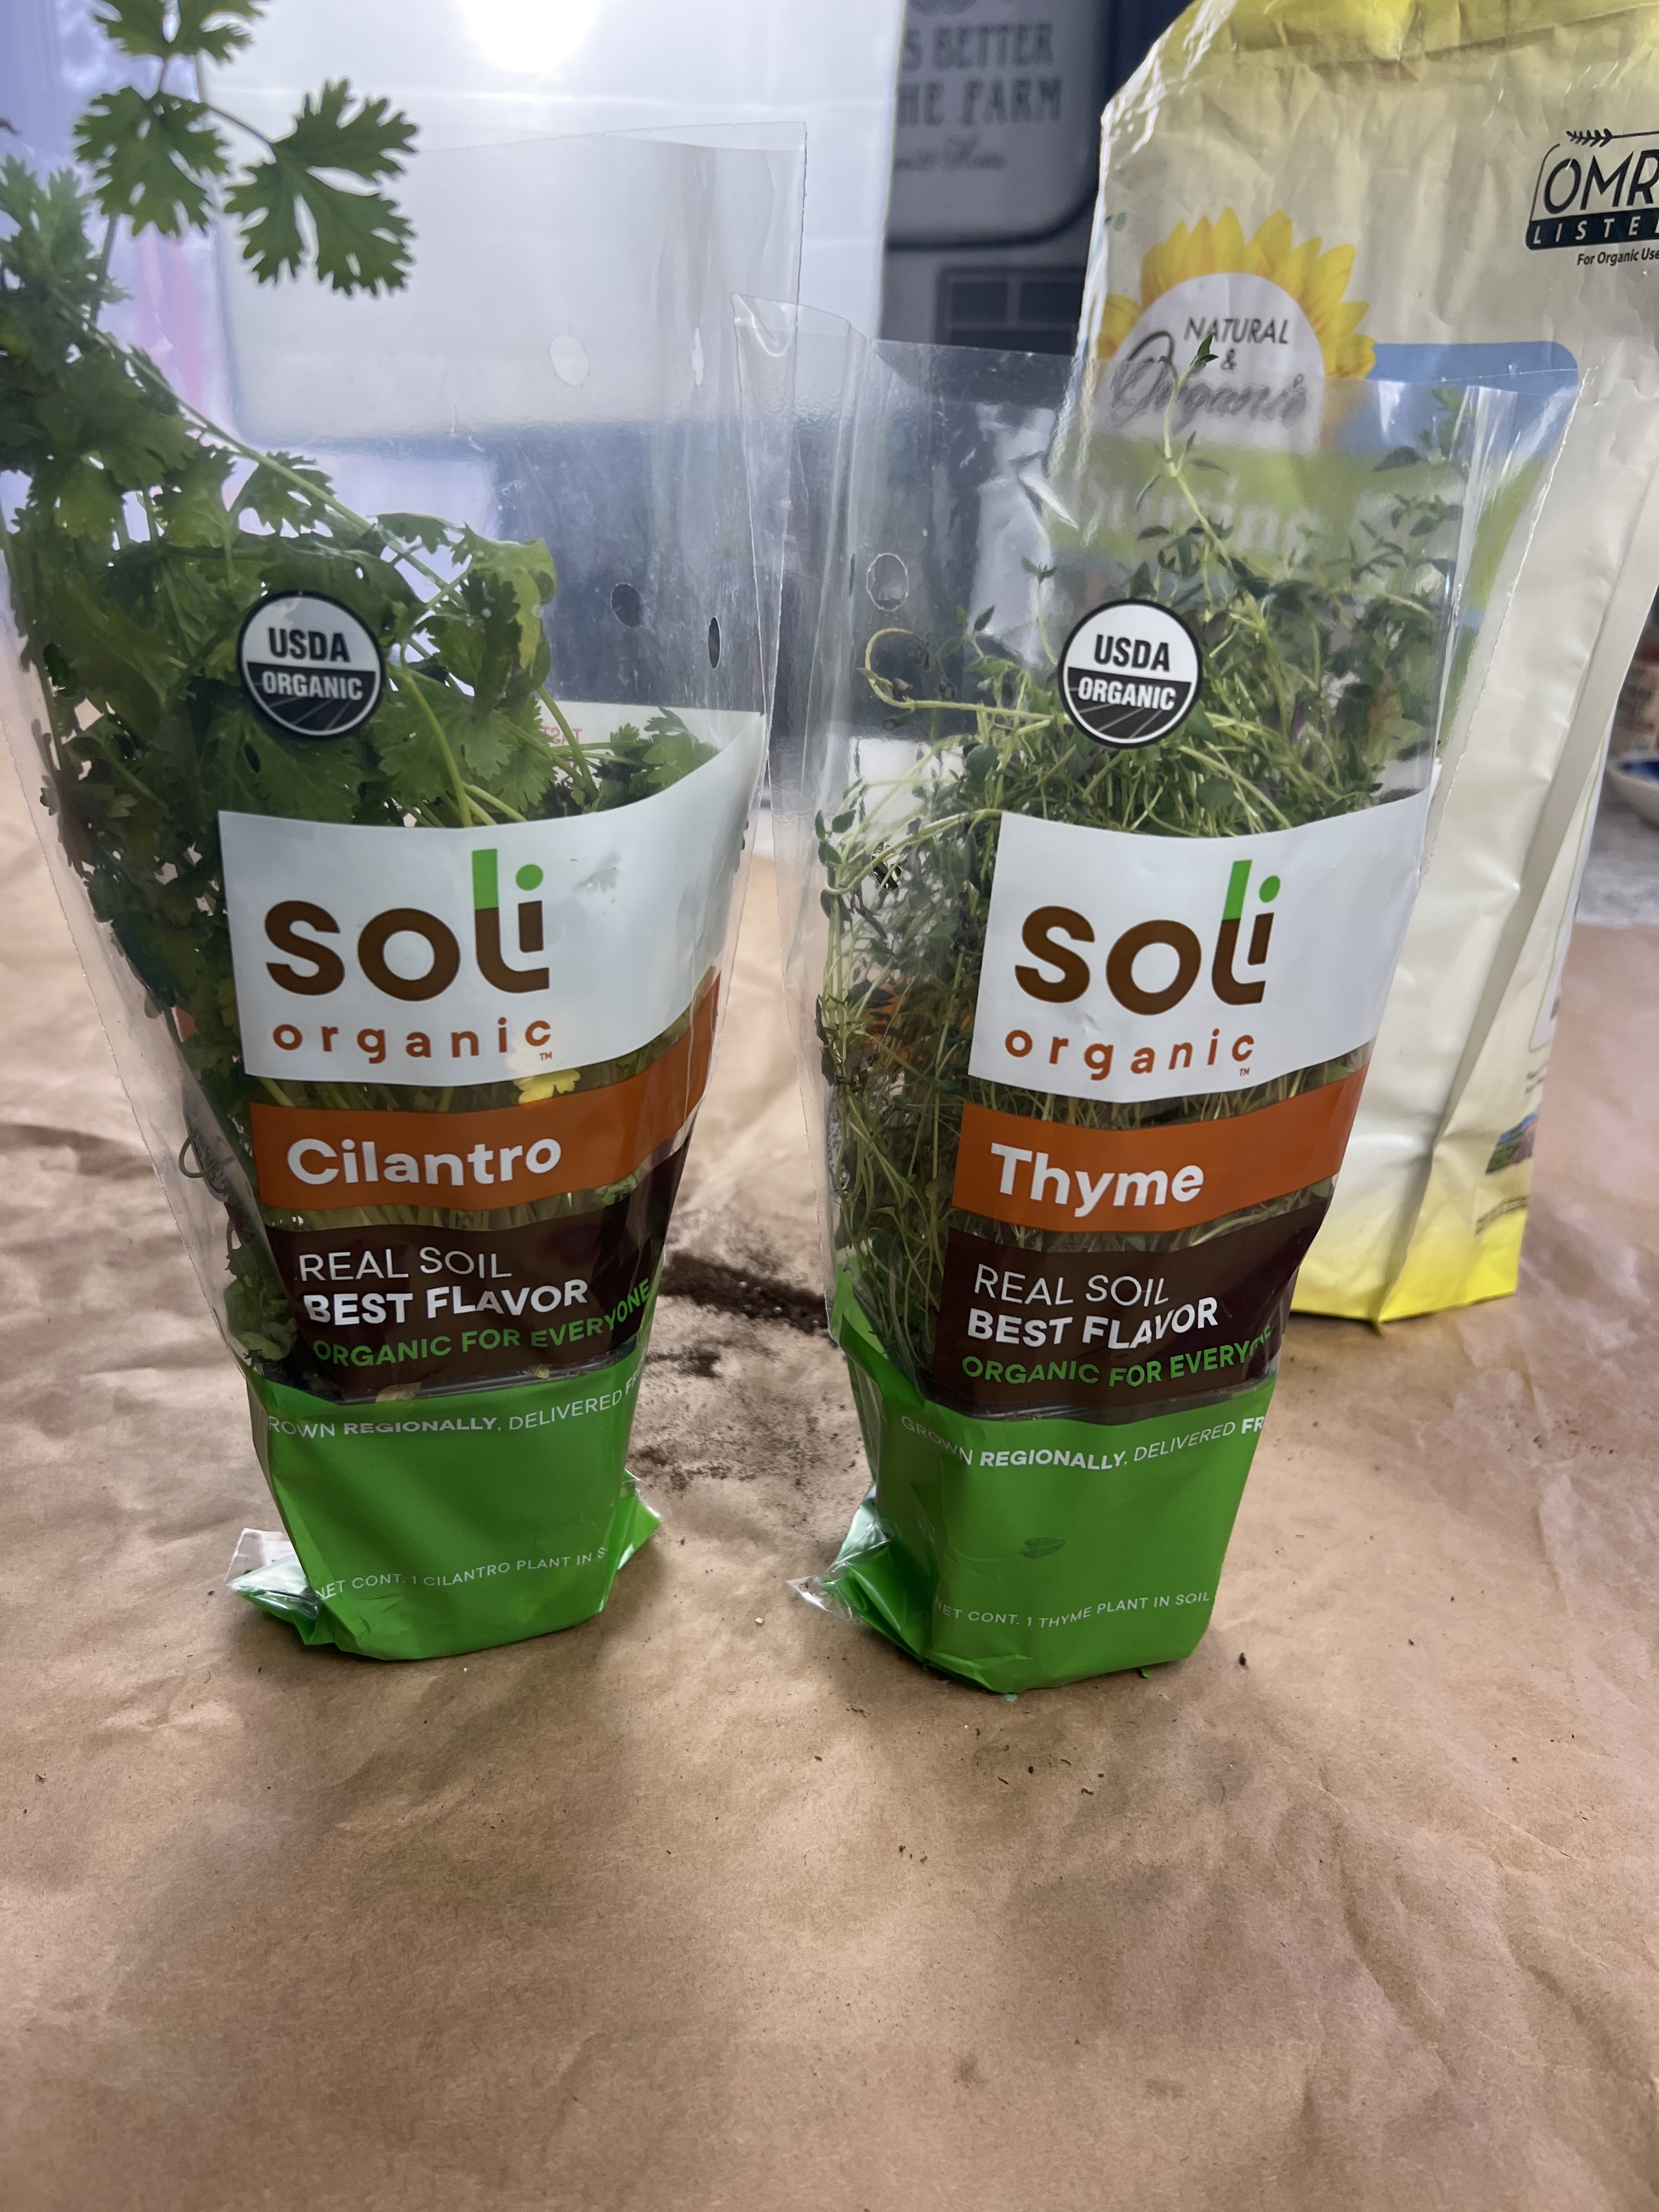
To divide your herbs, you’ll need a few tools. These include a sharp pair of pruning shears or scissors, a garden fork or spade, and a container or pot for your new plants. You may also want to have some compost or fertilizer on hand to give your new plants a boost. If you are dividing herbs you purchased from a garden center still in its original planter, then you’ll need to carefully remove the plant and separate. See my video.
Here are the herbs I recommend that divide easily!
Not all herbs need to be divided, but some do better when they are divided regularly. Here are a few herbs that are great candidates for dividing:
Mint
Oregano
Thyme
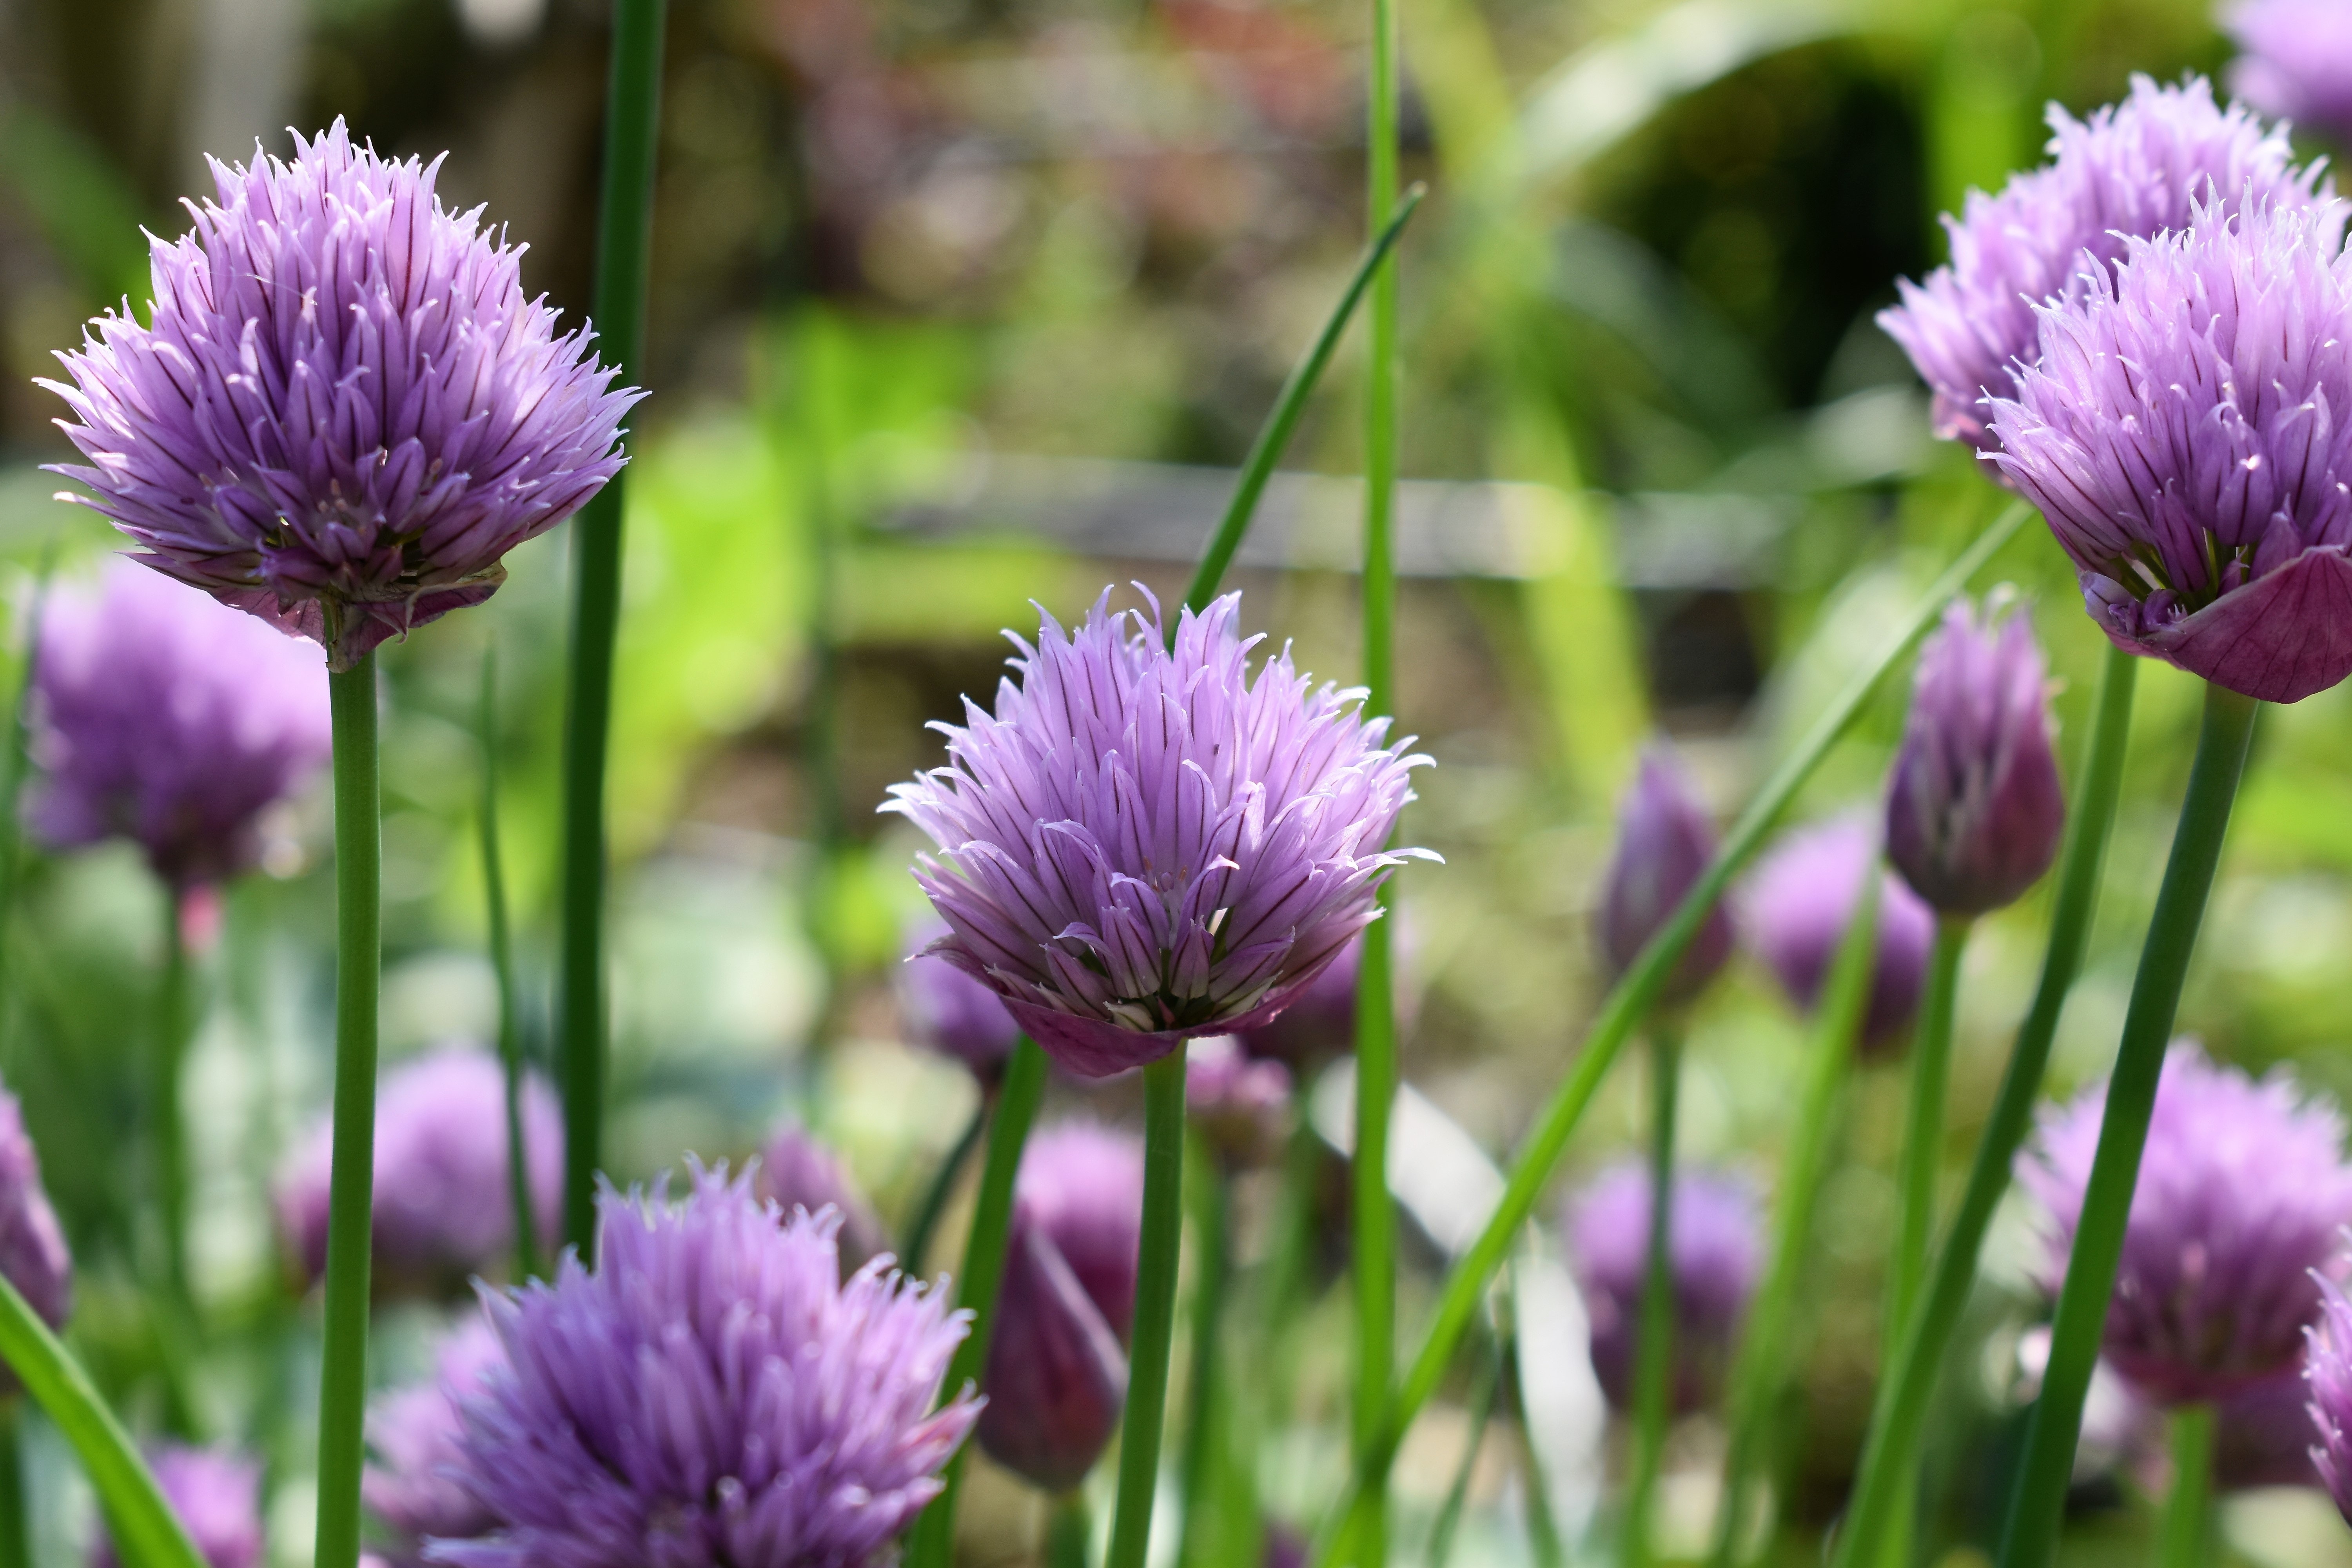
Chives
Sage
5 Easy Steps to Dividing Your Overgrown Herbs!
Now that you have all of your tools ready, it’s time to start dividing your overgrown herbs. Follow these steps if you are dividing plants you already have planted or if you are dividing plants still in their original container:
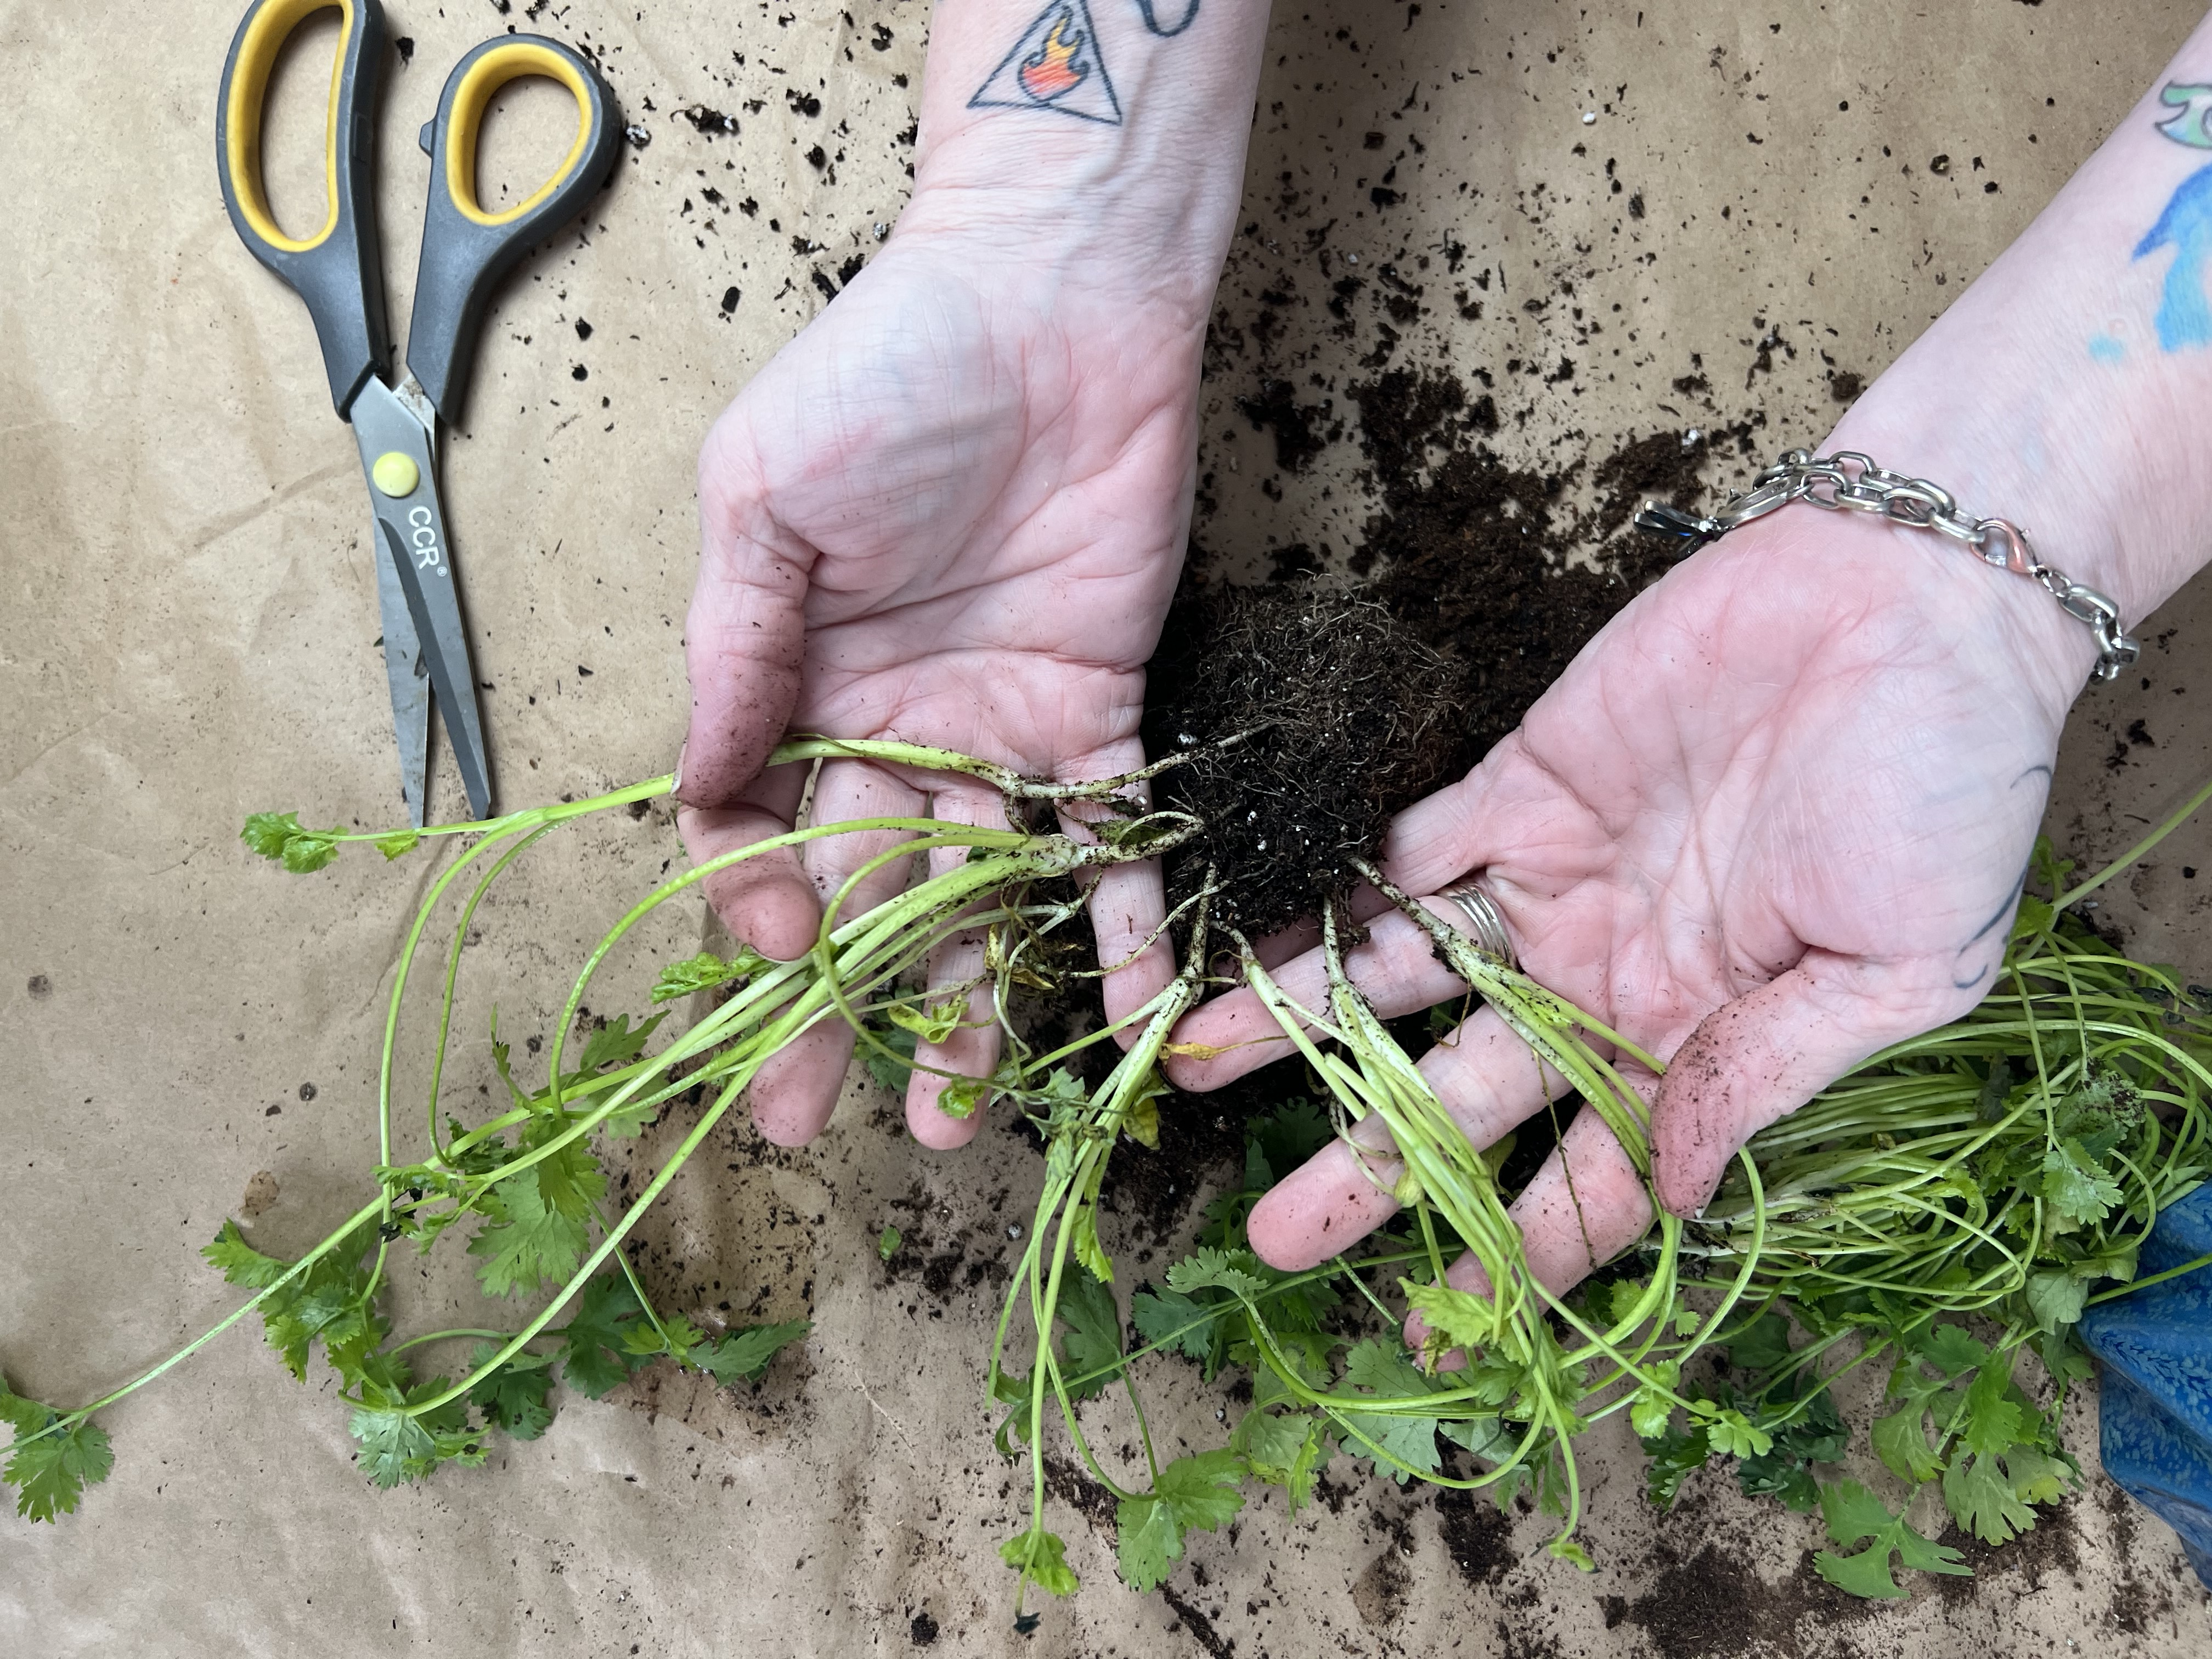
Start by gently digging up the entire plant using your garden fork or spade. Be careful not to damage the roots. If you have a new plant in it’s original container, simply slide the whole plant out of the container.
Once the plant is out of the ground or container, gently shake off any excess soil. You can gently pull apart roots if they are root bound in the container.
Use your pruning shears or scissors to cut the plant into smaller sections. Make sure that each section has a healthy root system and a few leaves or stems.
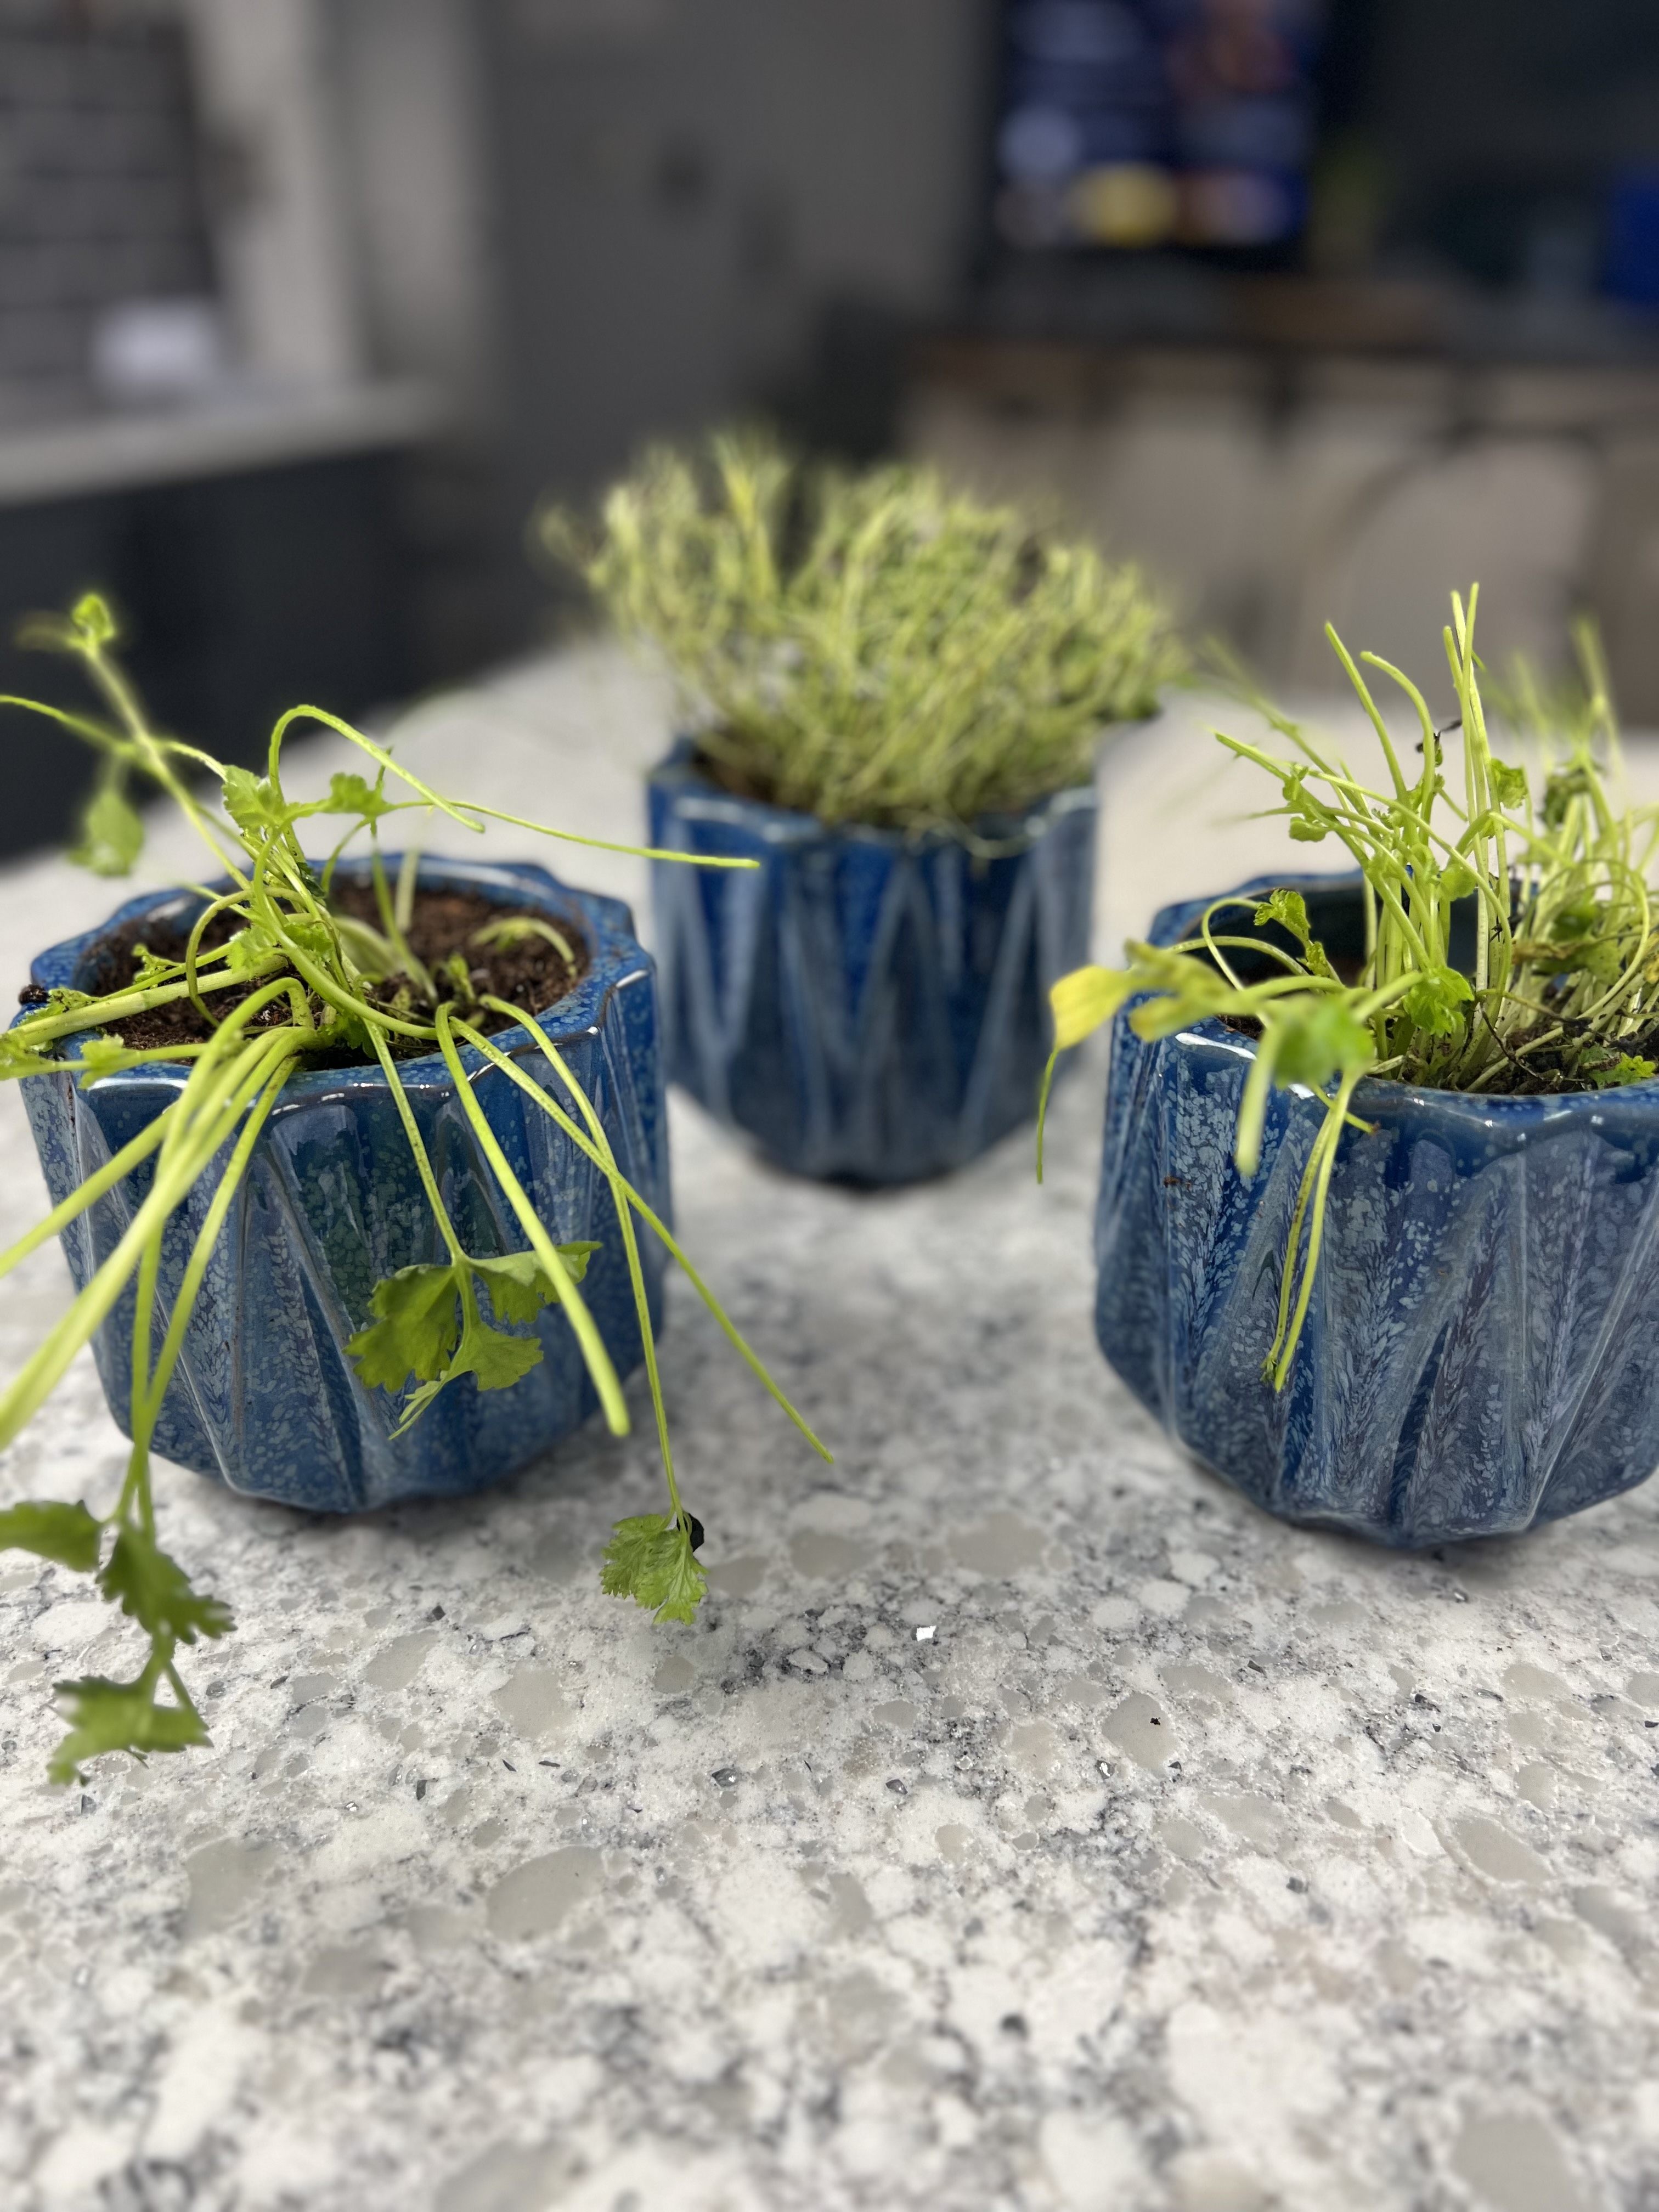
Replant each section in a new container or pot, making sure to space them out evenly.
Water your new plants well and add some compost or fertilizer to give them a good start.
Here are a few tips & tricks for planting & caring for your newly divided herbs~
After dividing your herbs, it’s important to give them the proper care to ensure that they thrive. Here are a few tips to help you out:
Water your new plants regularly, but be careful not to over-water them. Herbs prefer well-drained soil, so make sure that your containers have drainage holes.
Place your new plants in a sunny spot. Most herbs prefer at least 6 hours of sunlight a day.
Pinch back any flowers or buds that appear during the first few weeks after dividing. This will help your plants to focus on growing healthy roots and leaves.
Fertilize your new plants every 2-3 weeks with a balanced, all-purpose fertilizer.
Harvest your herbs regularly to encourage new growth.
Avoid these common mistakes when you divide your herbs!
Dividing overgrown herbs is a relatively simple process, but there are a few common mistakes that you’ll want to avoid. These include:
Dividing your herbs too often. Most herbs only need to be divided every 2-3 years.
Don’t divide your herbs in the middle of the growing season. This can stress the plants and make it harder for them to recover.
Not giving your new plants enough space. Make sure that each new plant has enough room to grow and develop a healthy root system.
Over-watering your new plants. Herbs prefer well-drained soil, so make sure that your containers have drainage holes.
Dividing overgrown herbs is an important task for any herb gardener. By dividing your herbs, you’ll be able to keep them healthy and productive year after year. Remember to divide your herbs in the early spring or fall, and be sure to give them the proper care and attention they need to thrive. With a little bit of effort, you’ll be rewarded with a bountiful harvest of fresh, flavorful herbs that you can use in all of your favorite recipes.
If you enjoyed this blog, please LIKE, Follow, Share & leave me a comment! I love your feedback!
If you aren’t following me on Facebook & Instagram go on over & give a LIKE & Follow me for daily tips & tricks for your home & garden!
“The lesson I have thoroughly learnt, and wish to pass on to others, is to know the enduring happiness that the love of a garden gives. ” Gertrude Jekyll
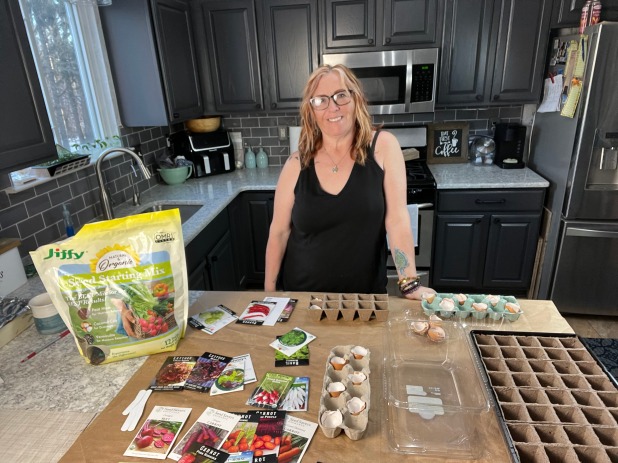
If you’ve been following me for any amount of time, you know my passion for gardening & cooking. Of course in mind, they go hand in hand. Recently on both my Facebook & Instagram I shared starting my seeds! Well, here is the blog to go along with it!
Whether you’re a novice or experienced gardening enthusiast, you know that starting seeds indoors is a great way to get a head start on the growing season, although if you’re new to this process, it can seem overwhelming. There are so many different brands of seeds, seed starting soil mixes, and containers to choose from, where do you even begin?
Fear not, fellow green thumbs! Today, I’ll take you through the basics of starting seeds indoors, from selecting the right seeds to caring for your seedlings as they grow. Whether you’re a seasoned gardener looking to refine your skills or a newbie looking to dip your toes into the world of gardening, I’ve got you covered. So, roll up your sleeves, grab some dirt, and let’s get started on our journey from seed to sprout!
Now lets chat about how to successfully start your seeds indoors!
1. What are the benefits of starting seeds indoors?
There are several benefits to gardeners when starting seeds indoors.
First, it allows you to get a head start on the growing season, and who doesn’t want that! When you start your seeds indoors, you provide them the optimal conditions they need to germinate & grow before the weather outside is warm enough for outdoor planting. This allows you the opportunity to enjoy fresh produce earlier in the season.
Another benefit of starting seeds indoors is it gives you more control over the growing conditions. When you plant seeds outdoors, you’re at the mercy of the weather and the soil, & if you live in an area with cold winters, you know this is definitely a benefit. By starting seeds indoors, you can control the temperature, humidity, and light levels to ensure your seedlings get off to a good start.
Last, but certainly not least, starting seeds indoors can save you money. Buying seedlings from a nursery can be expensive, especially if you need to buy a large quantity. By starting your own seeds, you can save money and have more control over the varieties you grow.
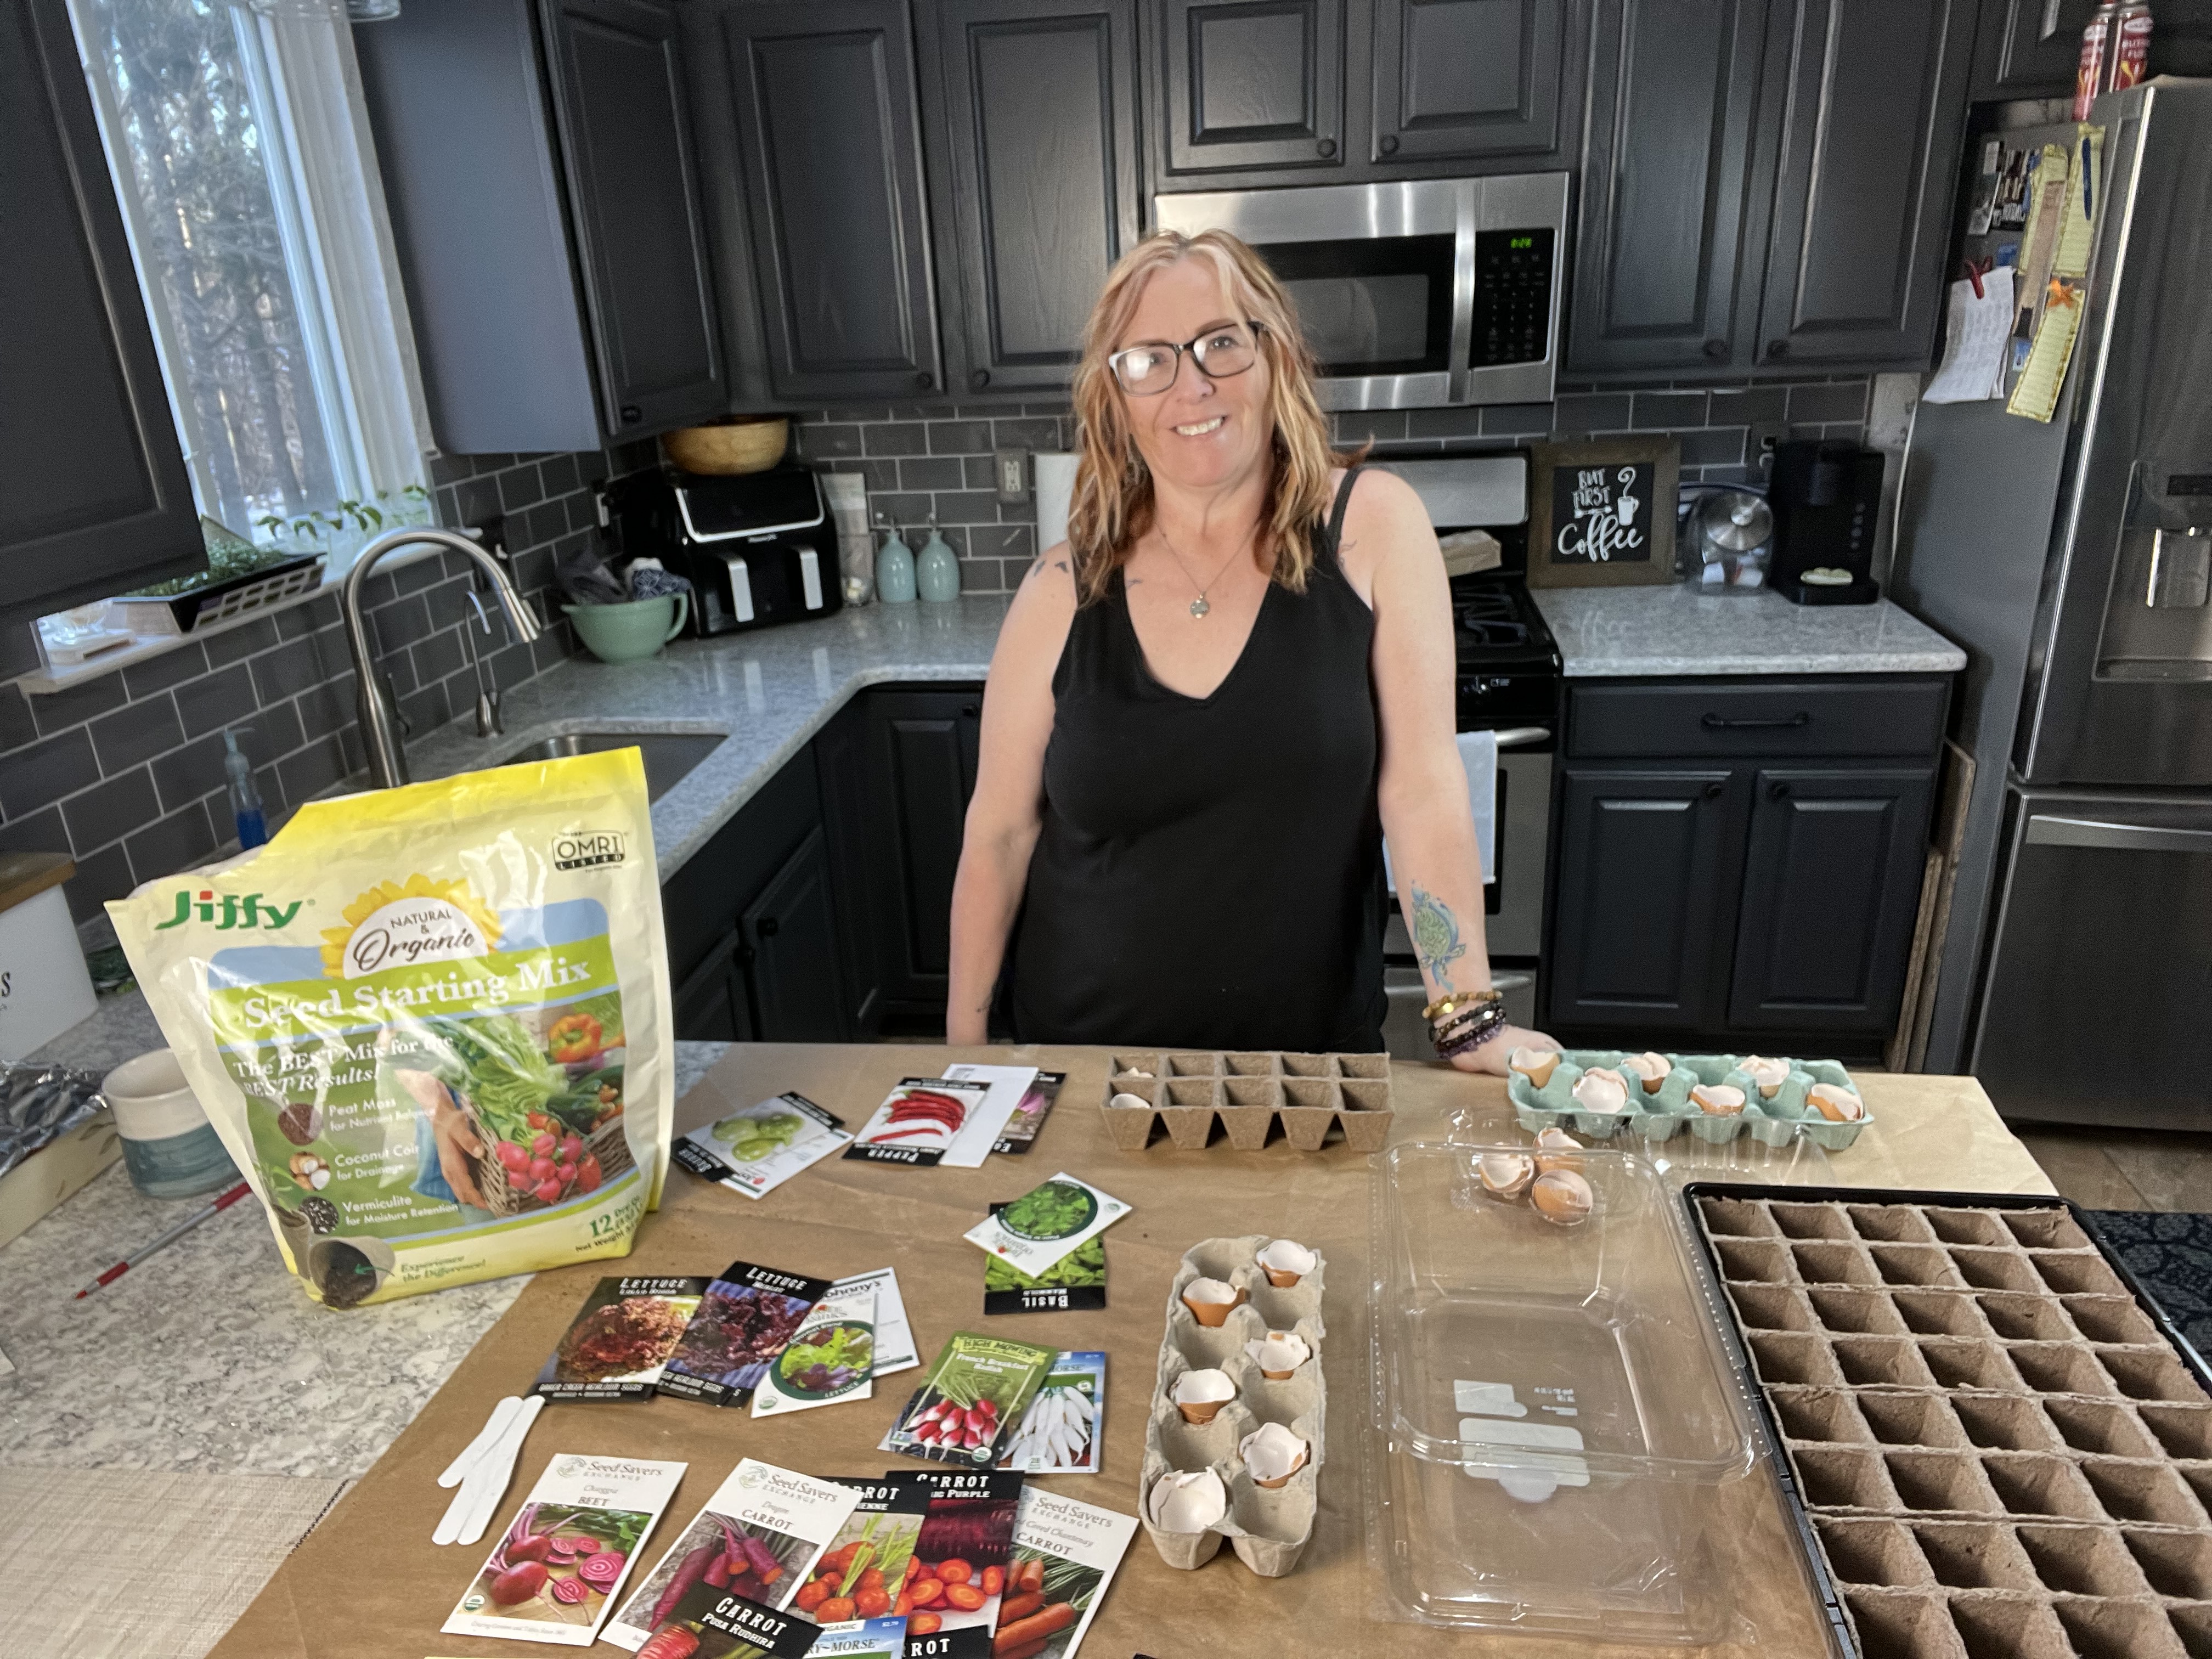
2. What materials do I need to start my own seeds indoors?
Before you get started, you’ll need a few basic materials. Here’s a list of what I suggest you start with:
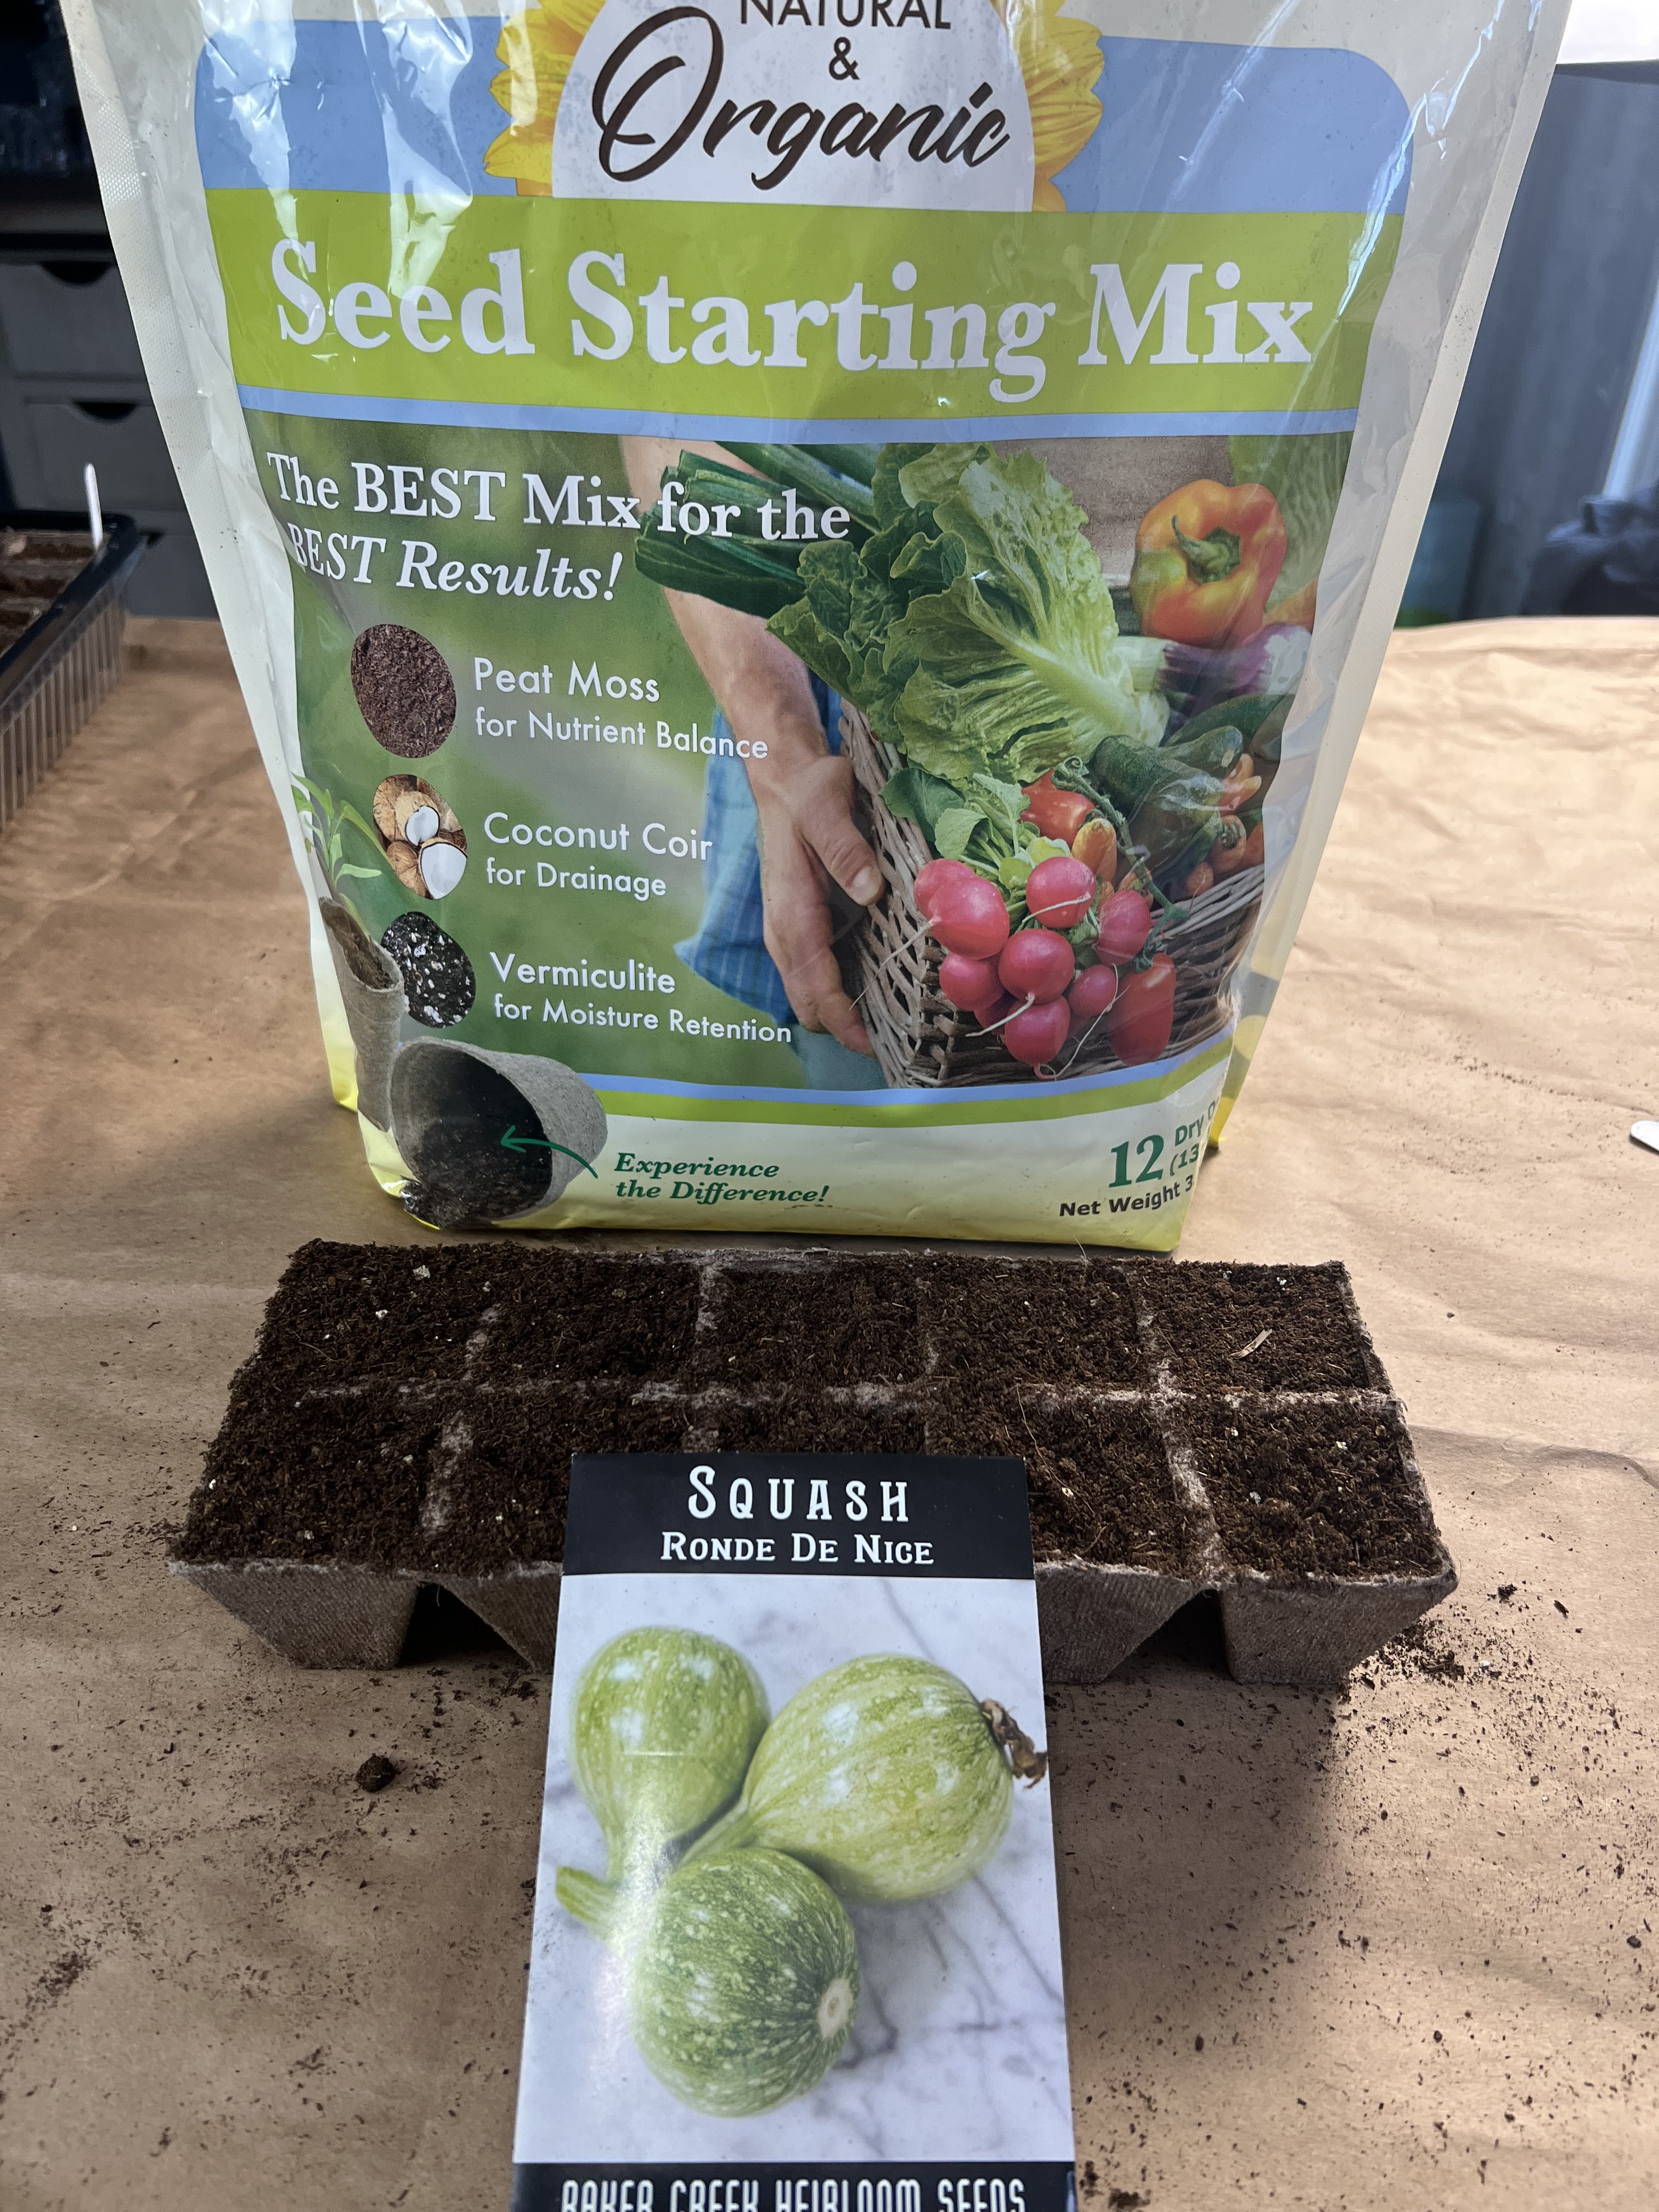
Seeds: Choose the seeds you want to start indoors. Make sure to choose varieties that are well-suited to your area. Like I always say, be sure to read the package instructions and guidelines for planting.
Seed starting containers: You can use plastic or biodegradable pots, trays, or cell flats. Make sure they have drainage holes. I save all my plastic salad, grape tomatoes, and even carry out containers to make great containers to start seeds in.
Soil mix: Use a soil mix that’s specifically formulated for seed starting. It should be light, well-draining, and nutrient-rich.
Watering can or spray bottle: You’ll need a way to water your seedlings. Be sure all your containers, no matter what you use, have proper drainage holes & a tray of some sort to catch water under the container.
Grow lights: If you don’t have access to natural sunlight, you’ll need grow lights to provide your seedlings with enough light. If you have your containers in a window, be sure to turn them everyday once they sprout to avoid becoming leggy due to ‘reaching’ for the sunlight.
Thermometer and humidity gauge: If you want to go the whole nine yards, you can invest in a way to monitor the temperature and humidity levels in your growing area. I personally don’t use this.
3. How do I know what seeds to choose for indoor planting?
Unfortunately not all seeds are well-suited to indoor planting. Some seedlings require more light and space than you can provide indoors. If you have a four season room, this would make a great grow house, but it must be heated.
Here are some tips for choosing the right seeds:
Choose seeds that are well-suited to indoor growing conditions. Look for varieties that are compact, disease-resistant, and can be grown in containers.
Consider the space you have available. If you have limited space, choose seeds that can be grown in small pots or trays.
Think about the amount of light you have available. Some seeds require more light than others. If you don’t have access to natural sunlight, choose seeds that can be grown under grow lights.
5. You really need the right soil for seed starting!
Soil preparation is key to successful indoor seed starting. Here are some tips:
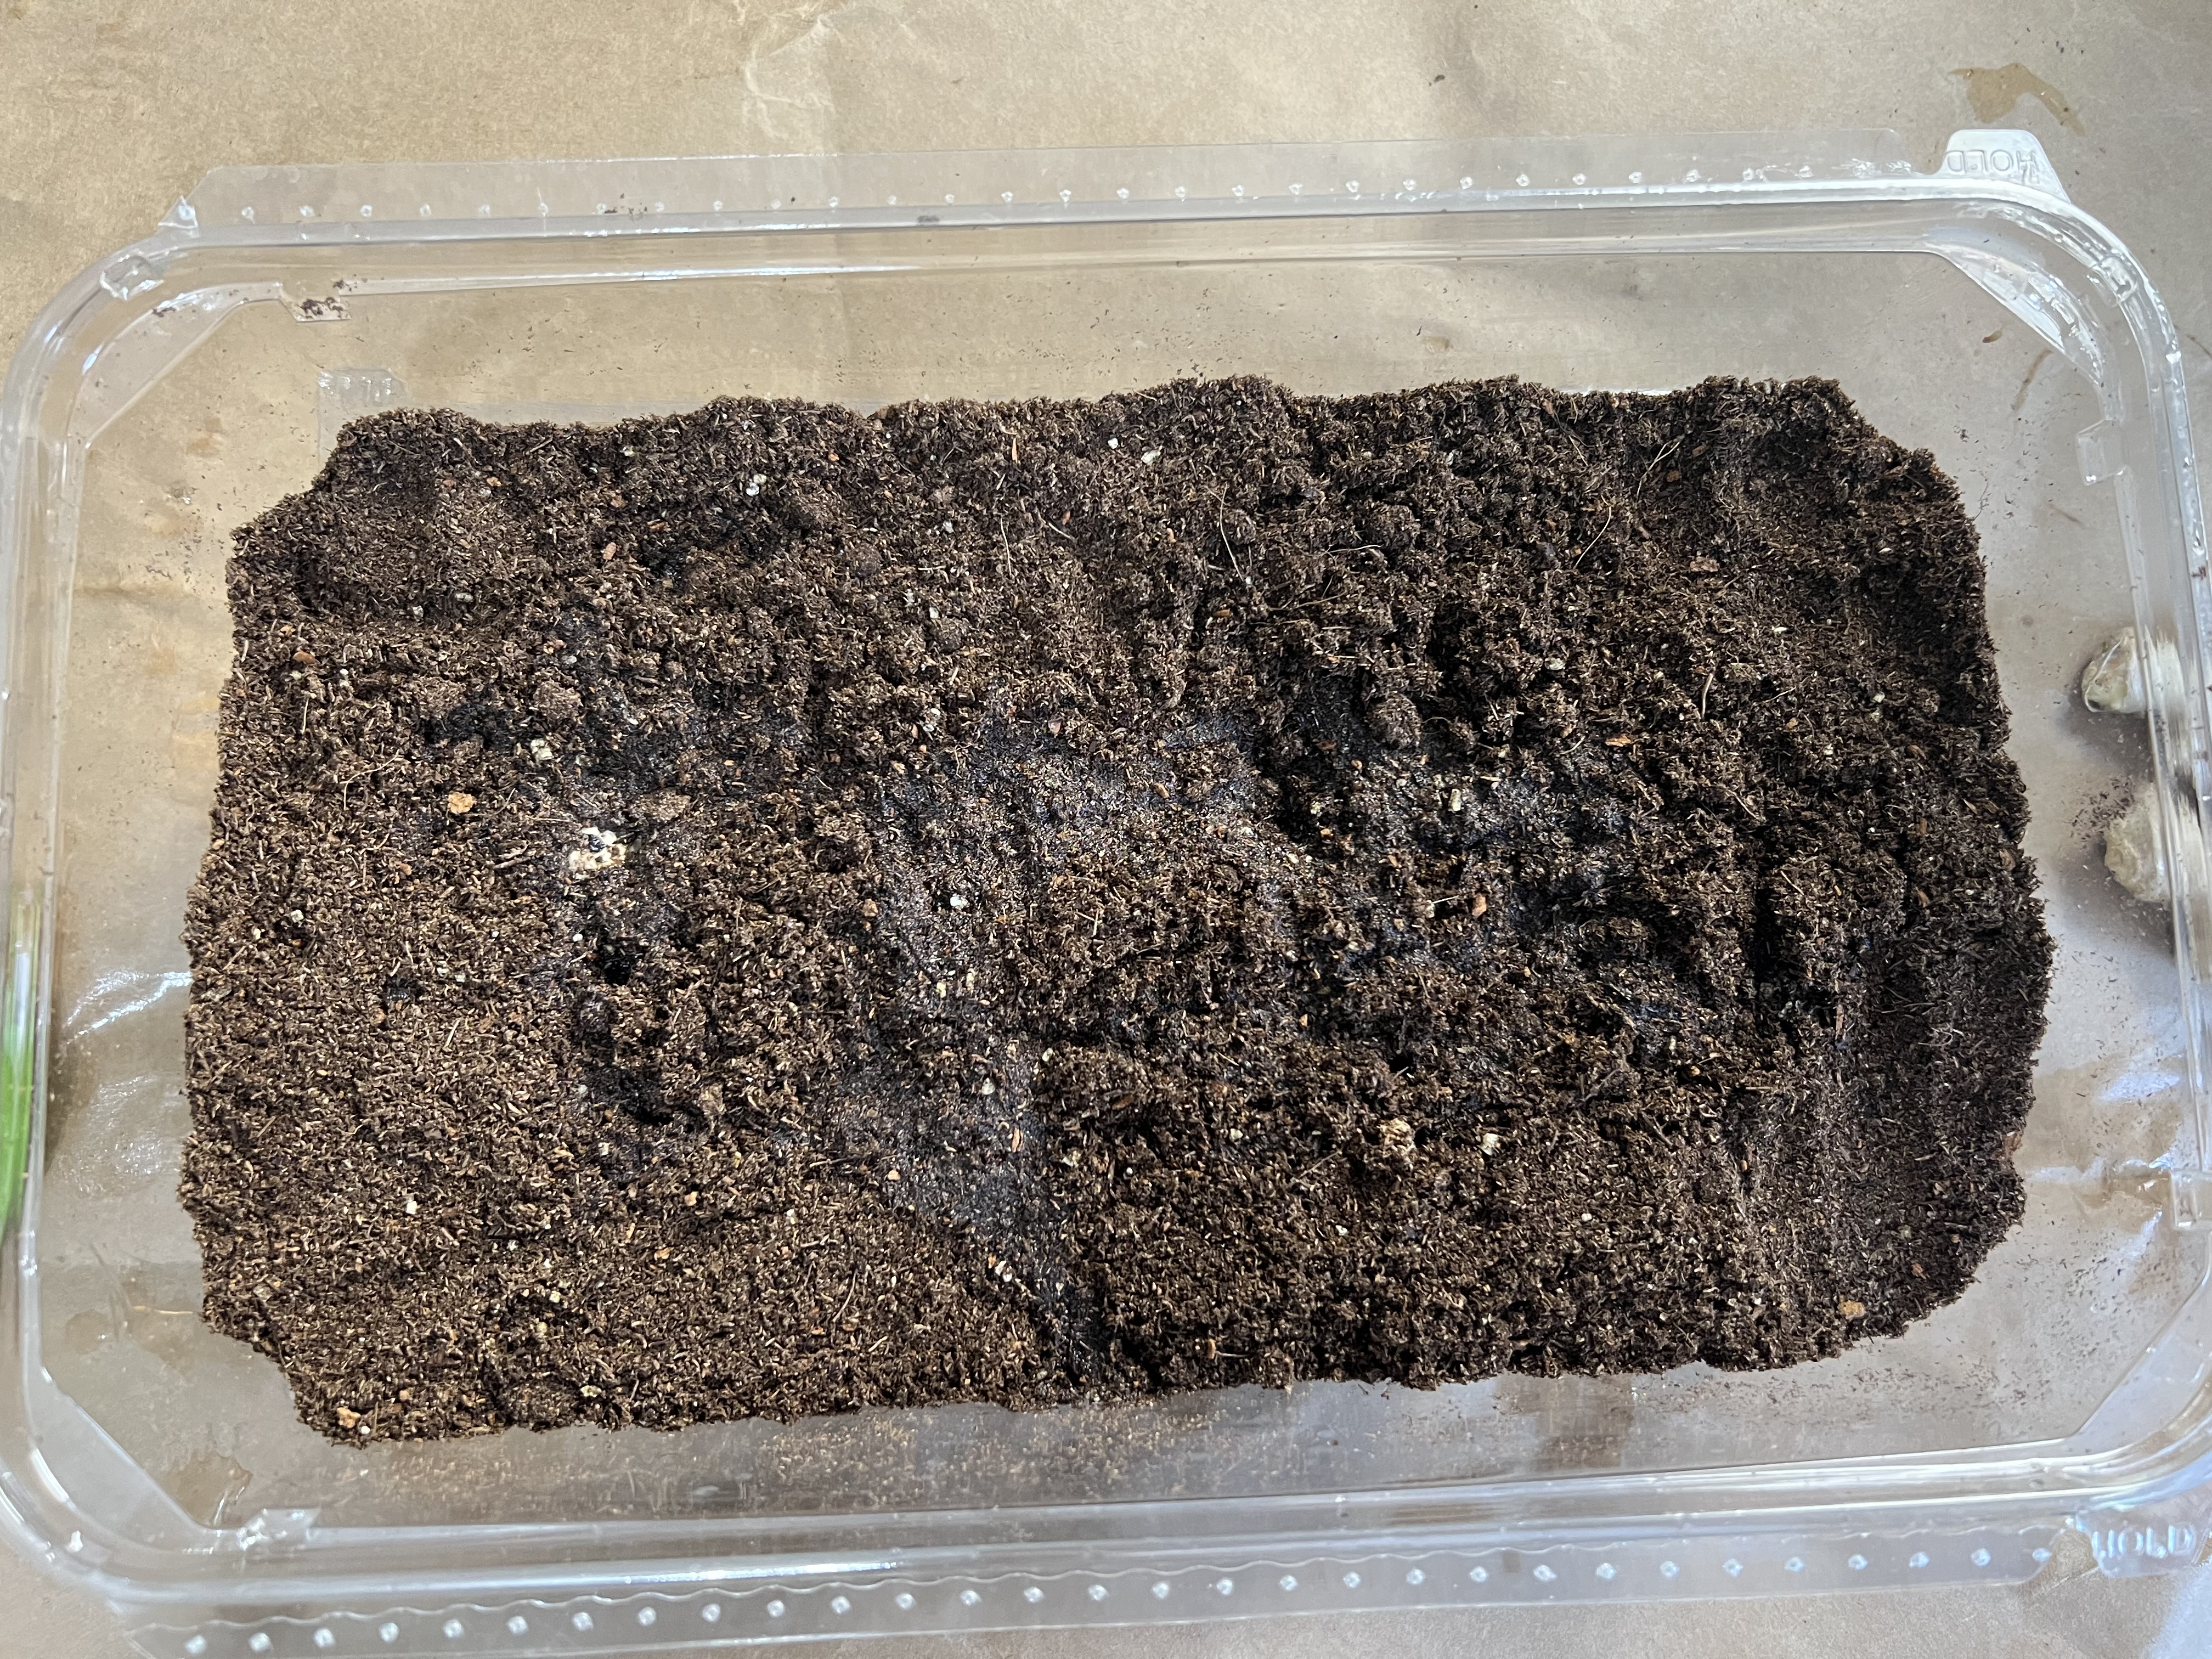
Use a soil mix that’s specifically formulated for seed starting. These mixes are light, well-draining, and nutrient-rich.
Moisten the soil before planting. Use a spray bottle or watering can to moisten the soil mix before planting your seeds.
Avoid using garden soil for indoor seed starting. Garden soil is too heavy and can contain diseases and pests that can harm your seedlings.
7. Proper watering and fertilization are important for the health of your seedlings.
Here’s what you need to know:
Water your seedlings regularly, but don’t overwater them. Overwatering can lead to root rot and other problems.
Use a spray bottle or watering can with a fine rose to water your seedlings gently.
Fertilize your seedlings with a diluted liquid fertilizer once they’ve developed their first set of true leaves.
Follow the instructions on the fertilizer package for dilution rates and frequency of use.
4. Now it’s time to prepare your seed starting containers!
Once you’ve chosen your seeds, it’s time to prepare your containers. Here’s how:
Clean your containers: If you’re reusing containers from a previous growing season, make sure to clean them thoroughly with soap and water.
Add drainage holes: Make sure your containers have drainage holes in the bottom. This will allow excess water to drain away and prevent your seedlings from sitting in water, otherwise they will rot, or seedlings will drown. Watch my video for a simple how-to.
Fill containers with soil mix: Fill your containers with your chosen soil mix, leaving about 1/2 inch of space at the top. I always recommend an organic blend.
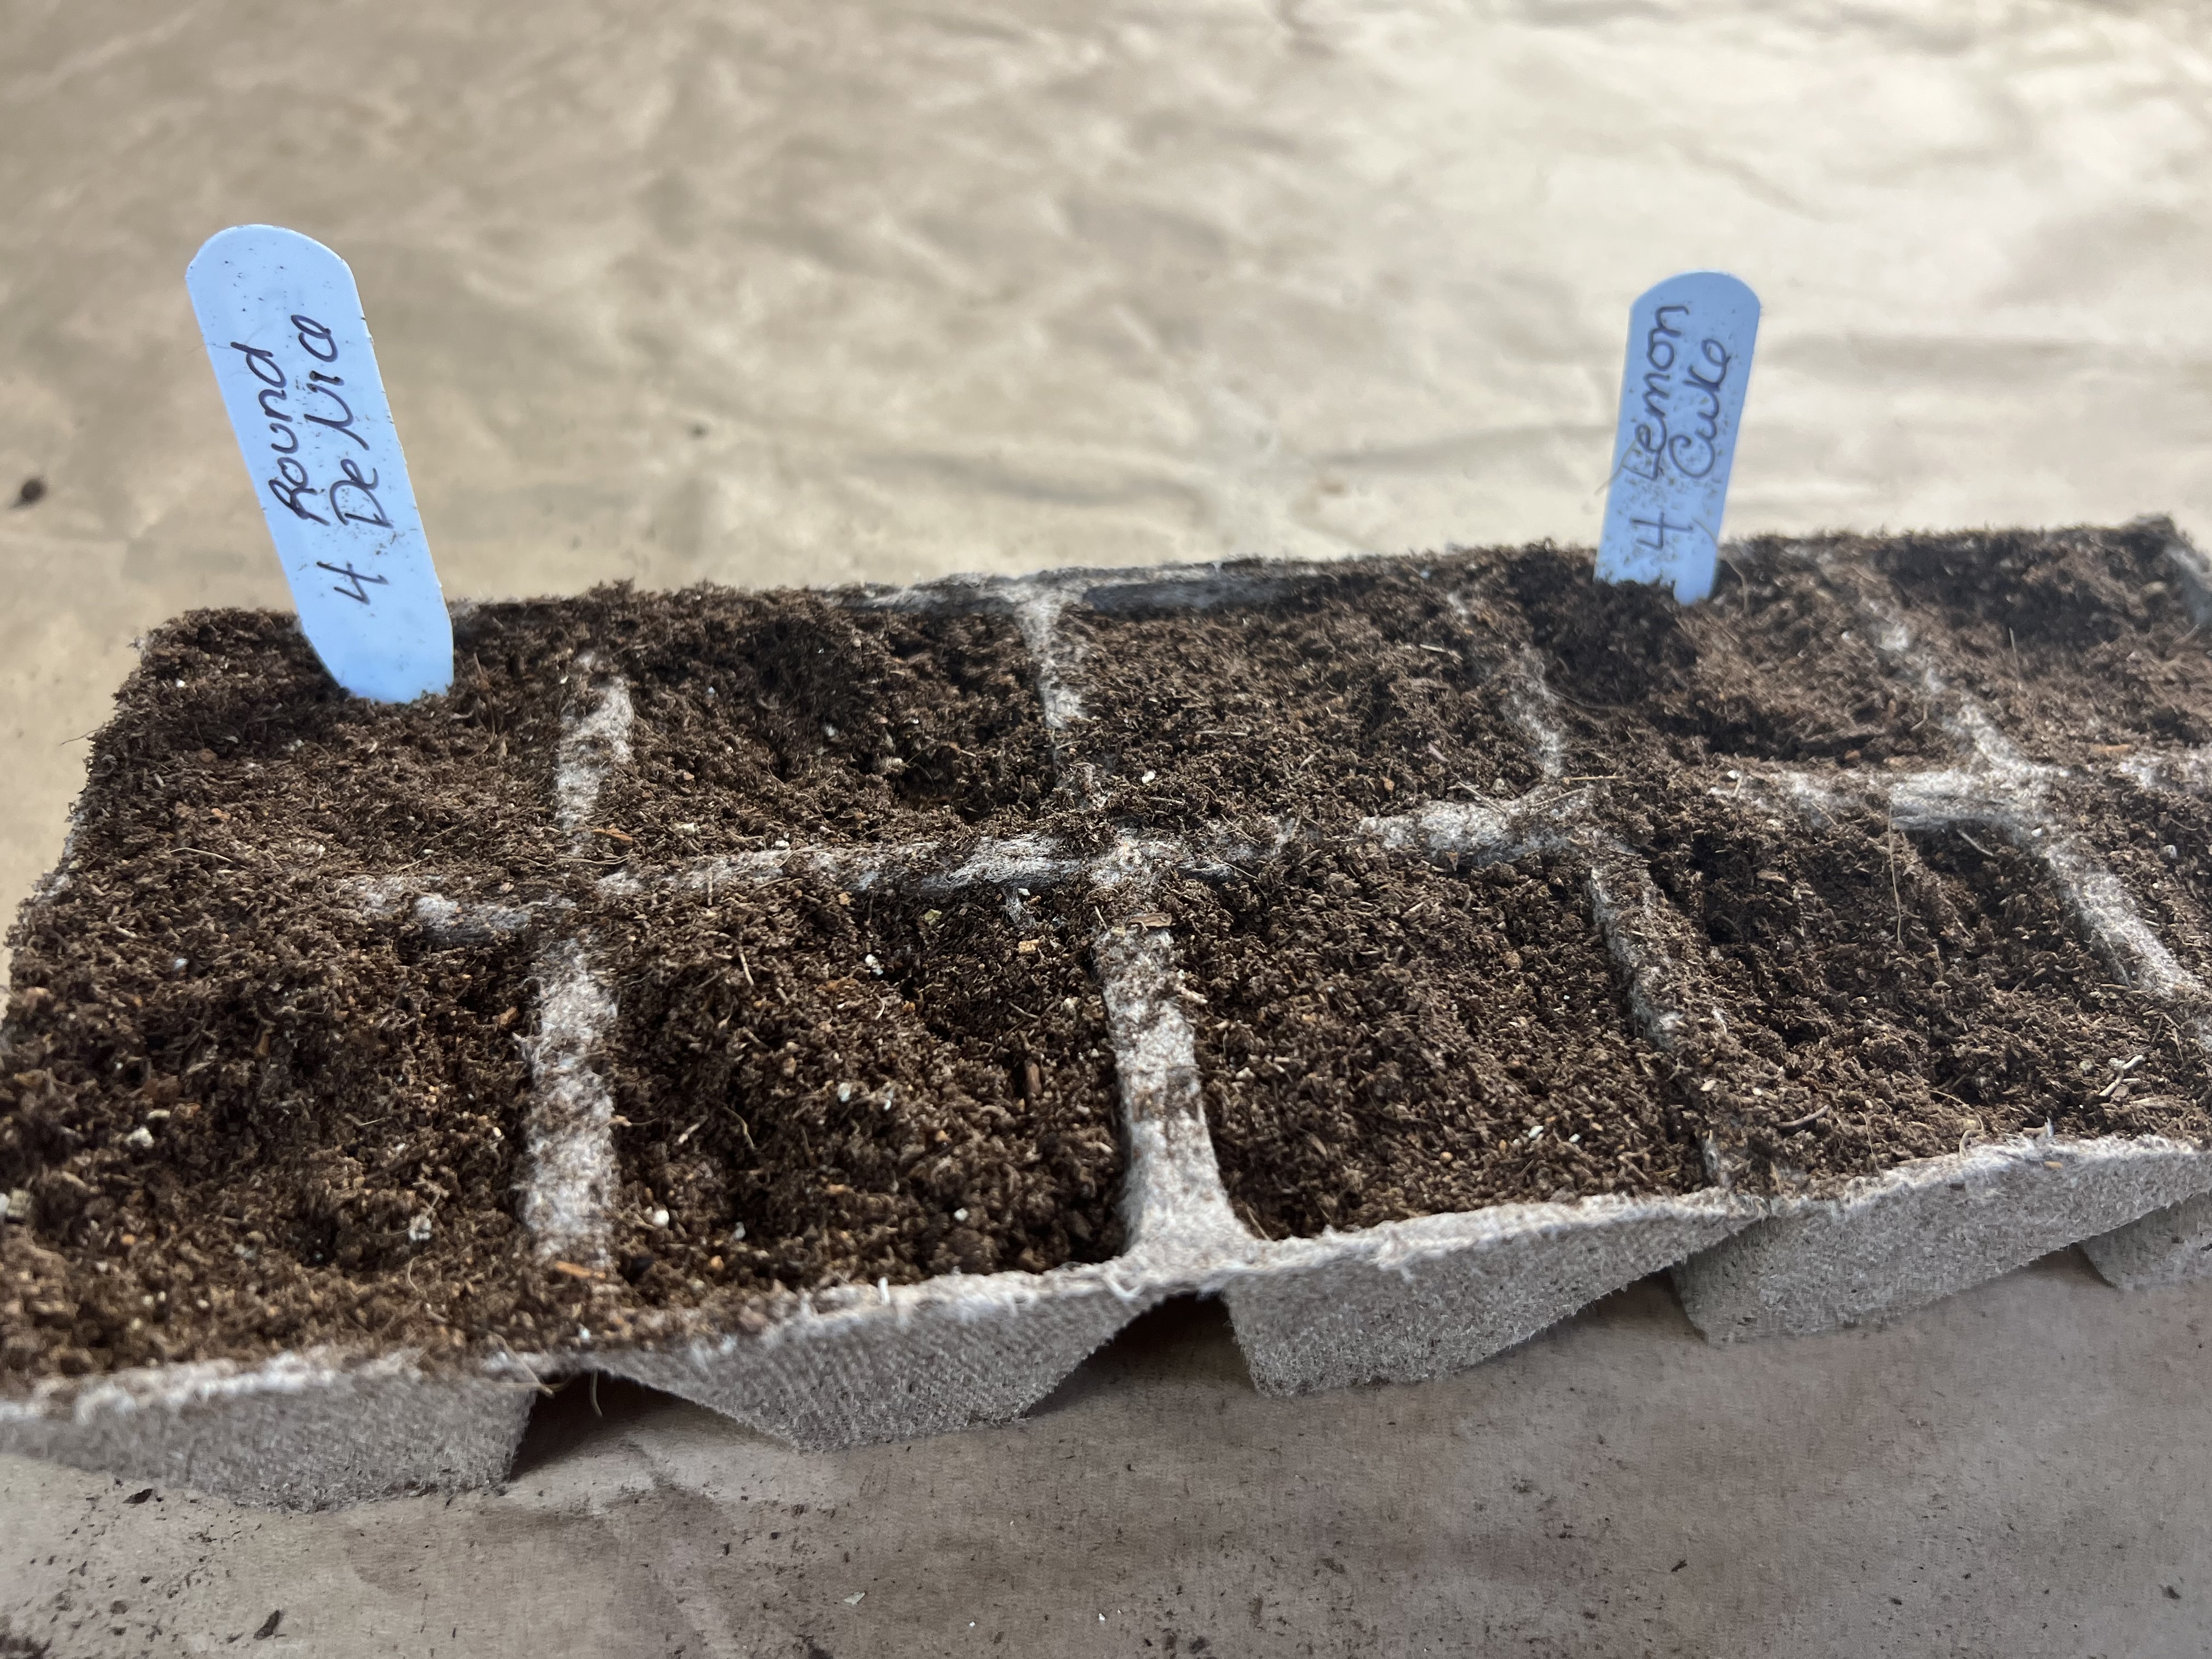
Label your containers: Use plant labels to identify the type of seed you’re planting and the date you planted it. Don’t believe you will remember… you won’t! Trust me!
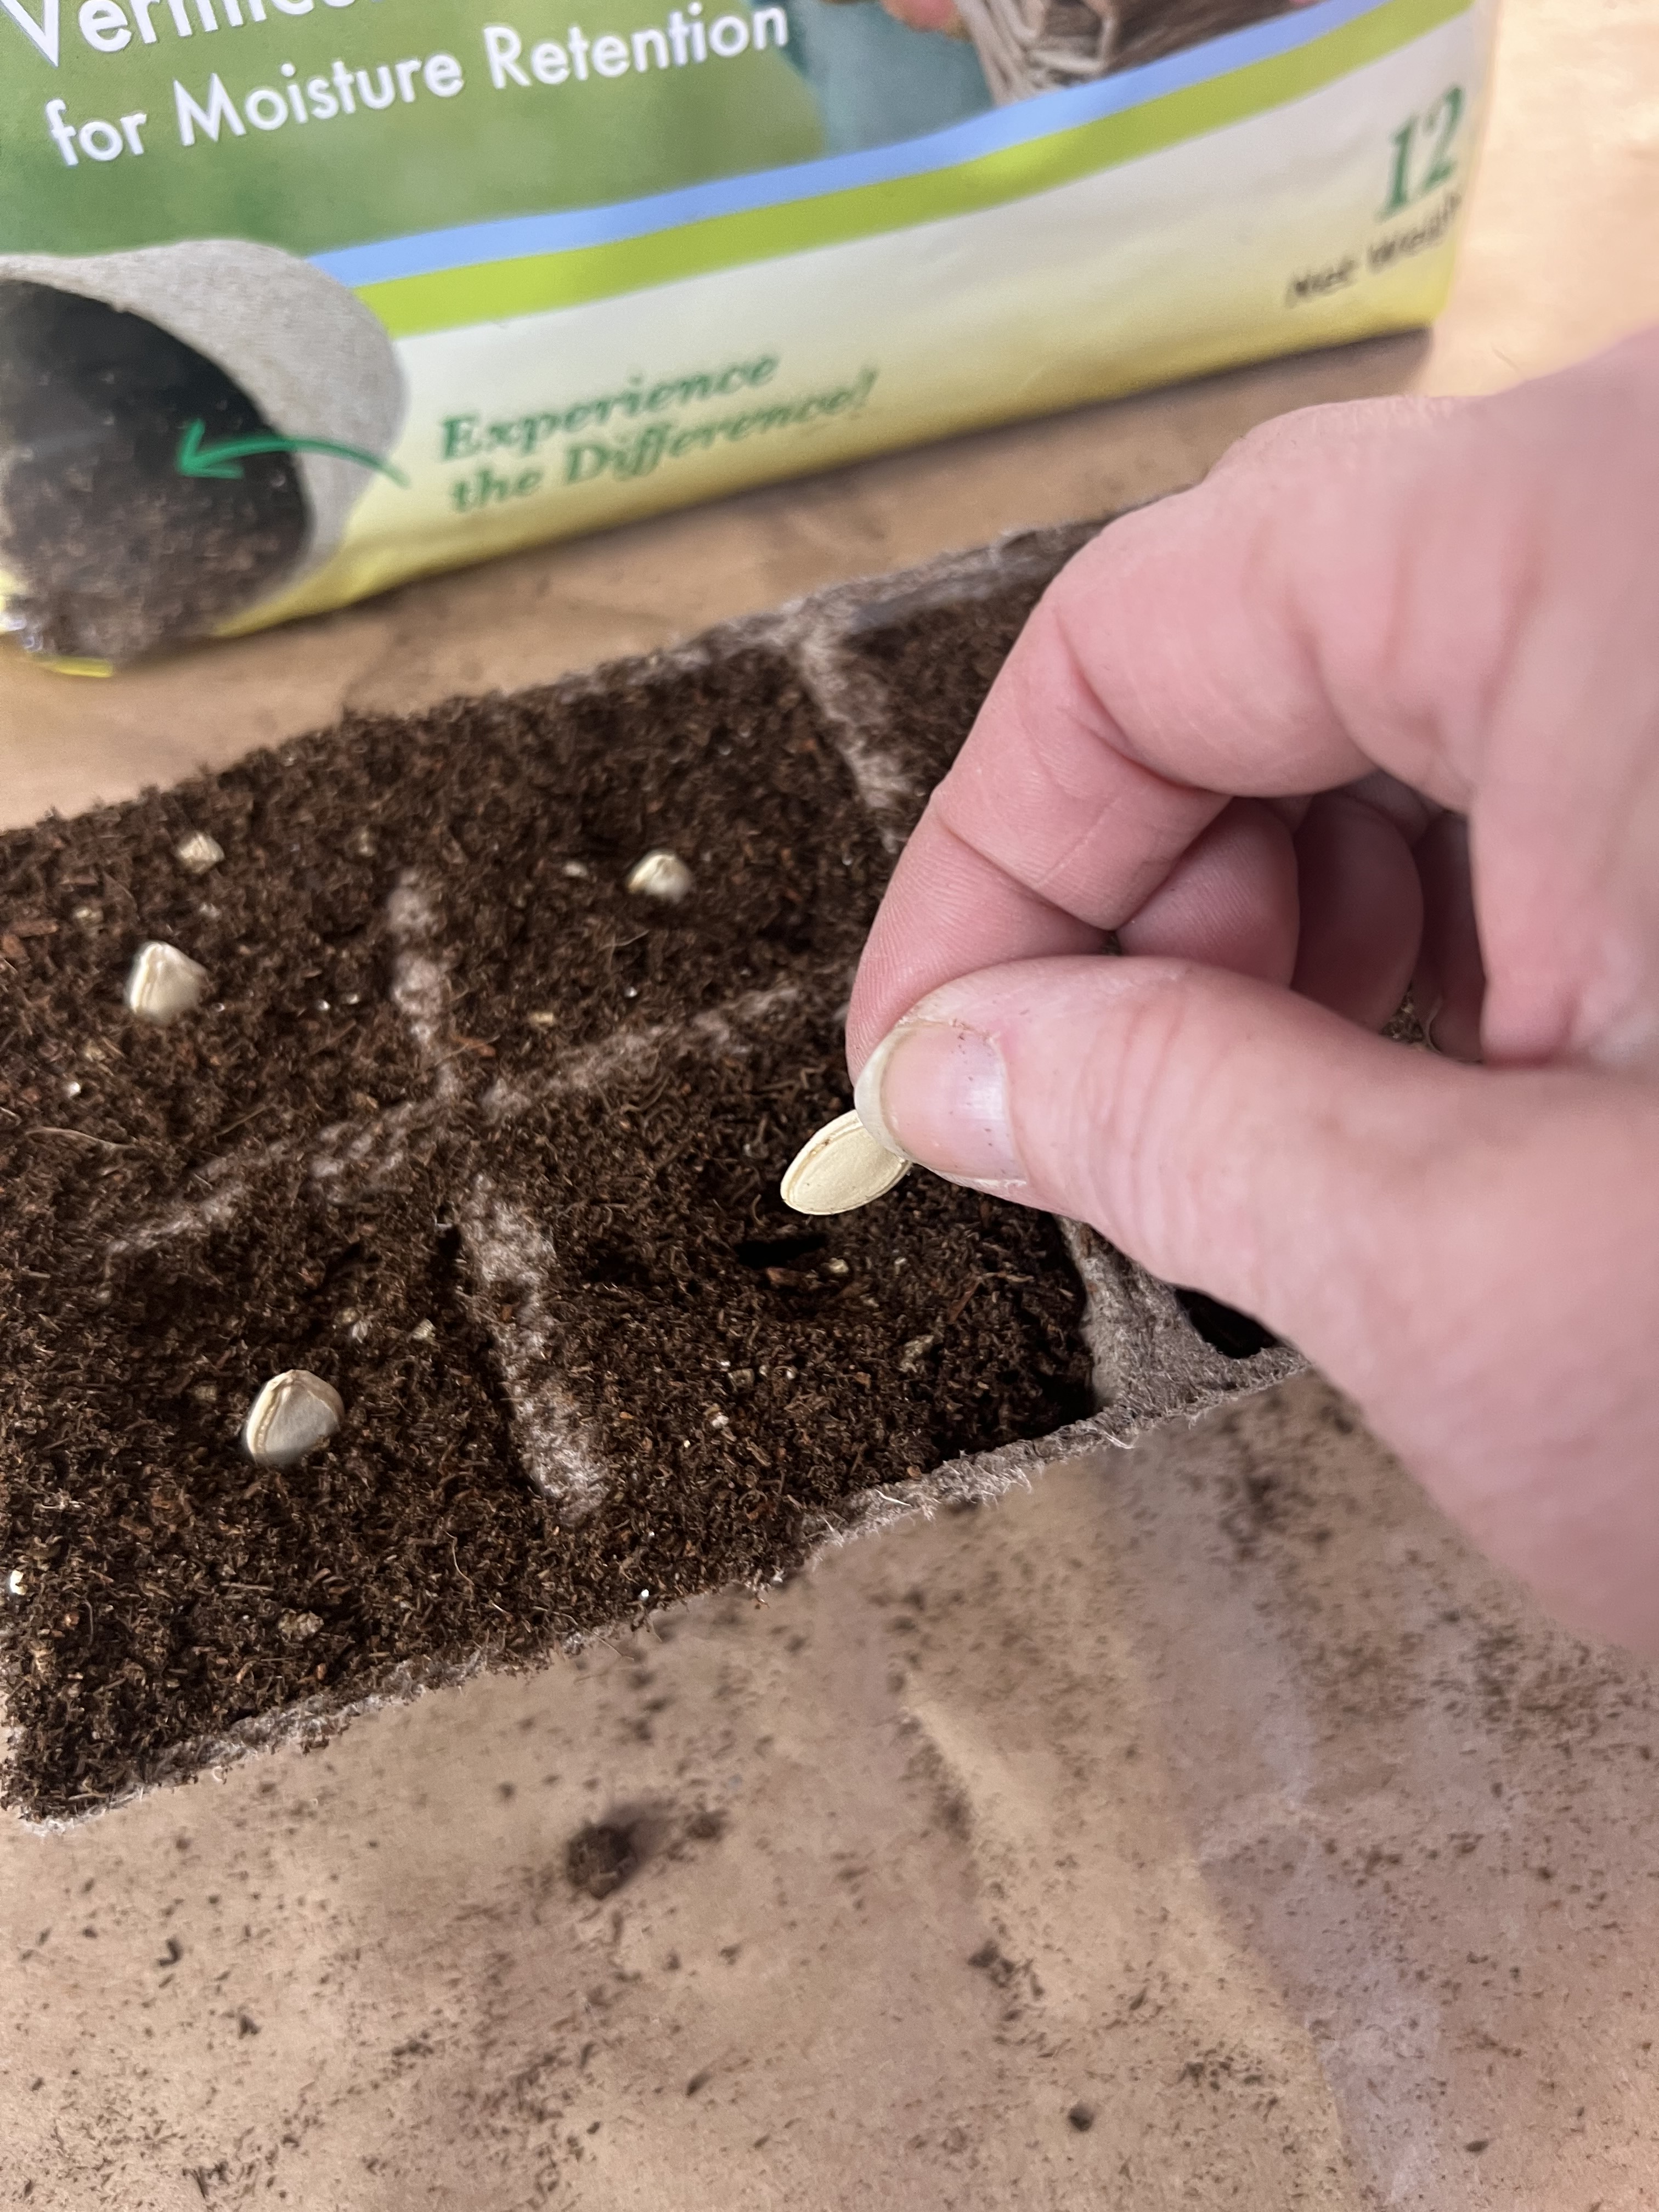
6. Sowing your seeds properly is crucial to success!
Now the fun begins, it’s time to sow your seeds. Here’s how:
As I constantly say, be sure to read the seed packet for specific instructions on planting depth and spacing both when direct sowing, and when you transplant out to your garden.
Plant your seeds at the recommended depth. This is usually two to three times the diameter of the seed.
Space your seeds according to the instructions on the seed packet.
Cover the seeds with soil mix and gently ‘tamp’ down to ensure good seed-to-soil contact. I use a similar sized container so I don’t accidentally get a seed stuck to my hand! Yes it can happen!
Water your seeds gently using a spray bottle or watering can.
Lighting and temperature are crucial factors!
Light and temperature are critical factors for successful indoor seed starting. Here’s what you need to know:
Place your seedlings in a location that receives plenty of natural sunlight. If you don’t have access to natural sunlight, use grow lights.
Keep the temperature in your growing area between 60 and 75 degrees Fahrenheit.
If you have one, or choose to purchase one, use a thermometer and humidity gauge to monitor the temperature and humidity levels in your growing area.
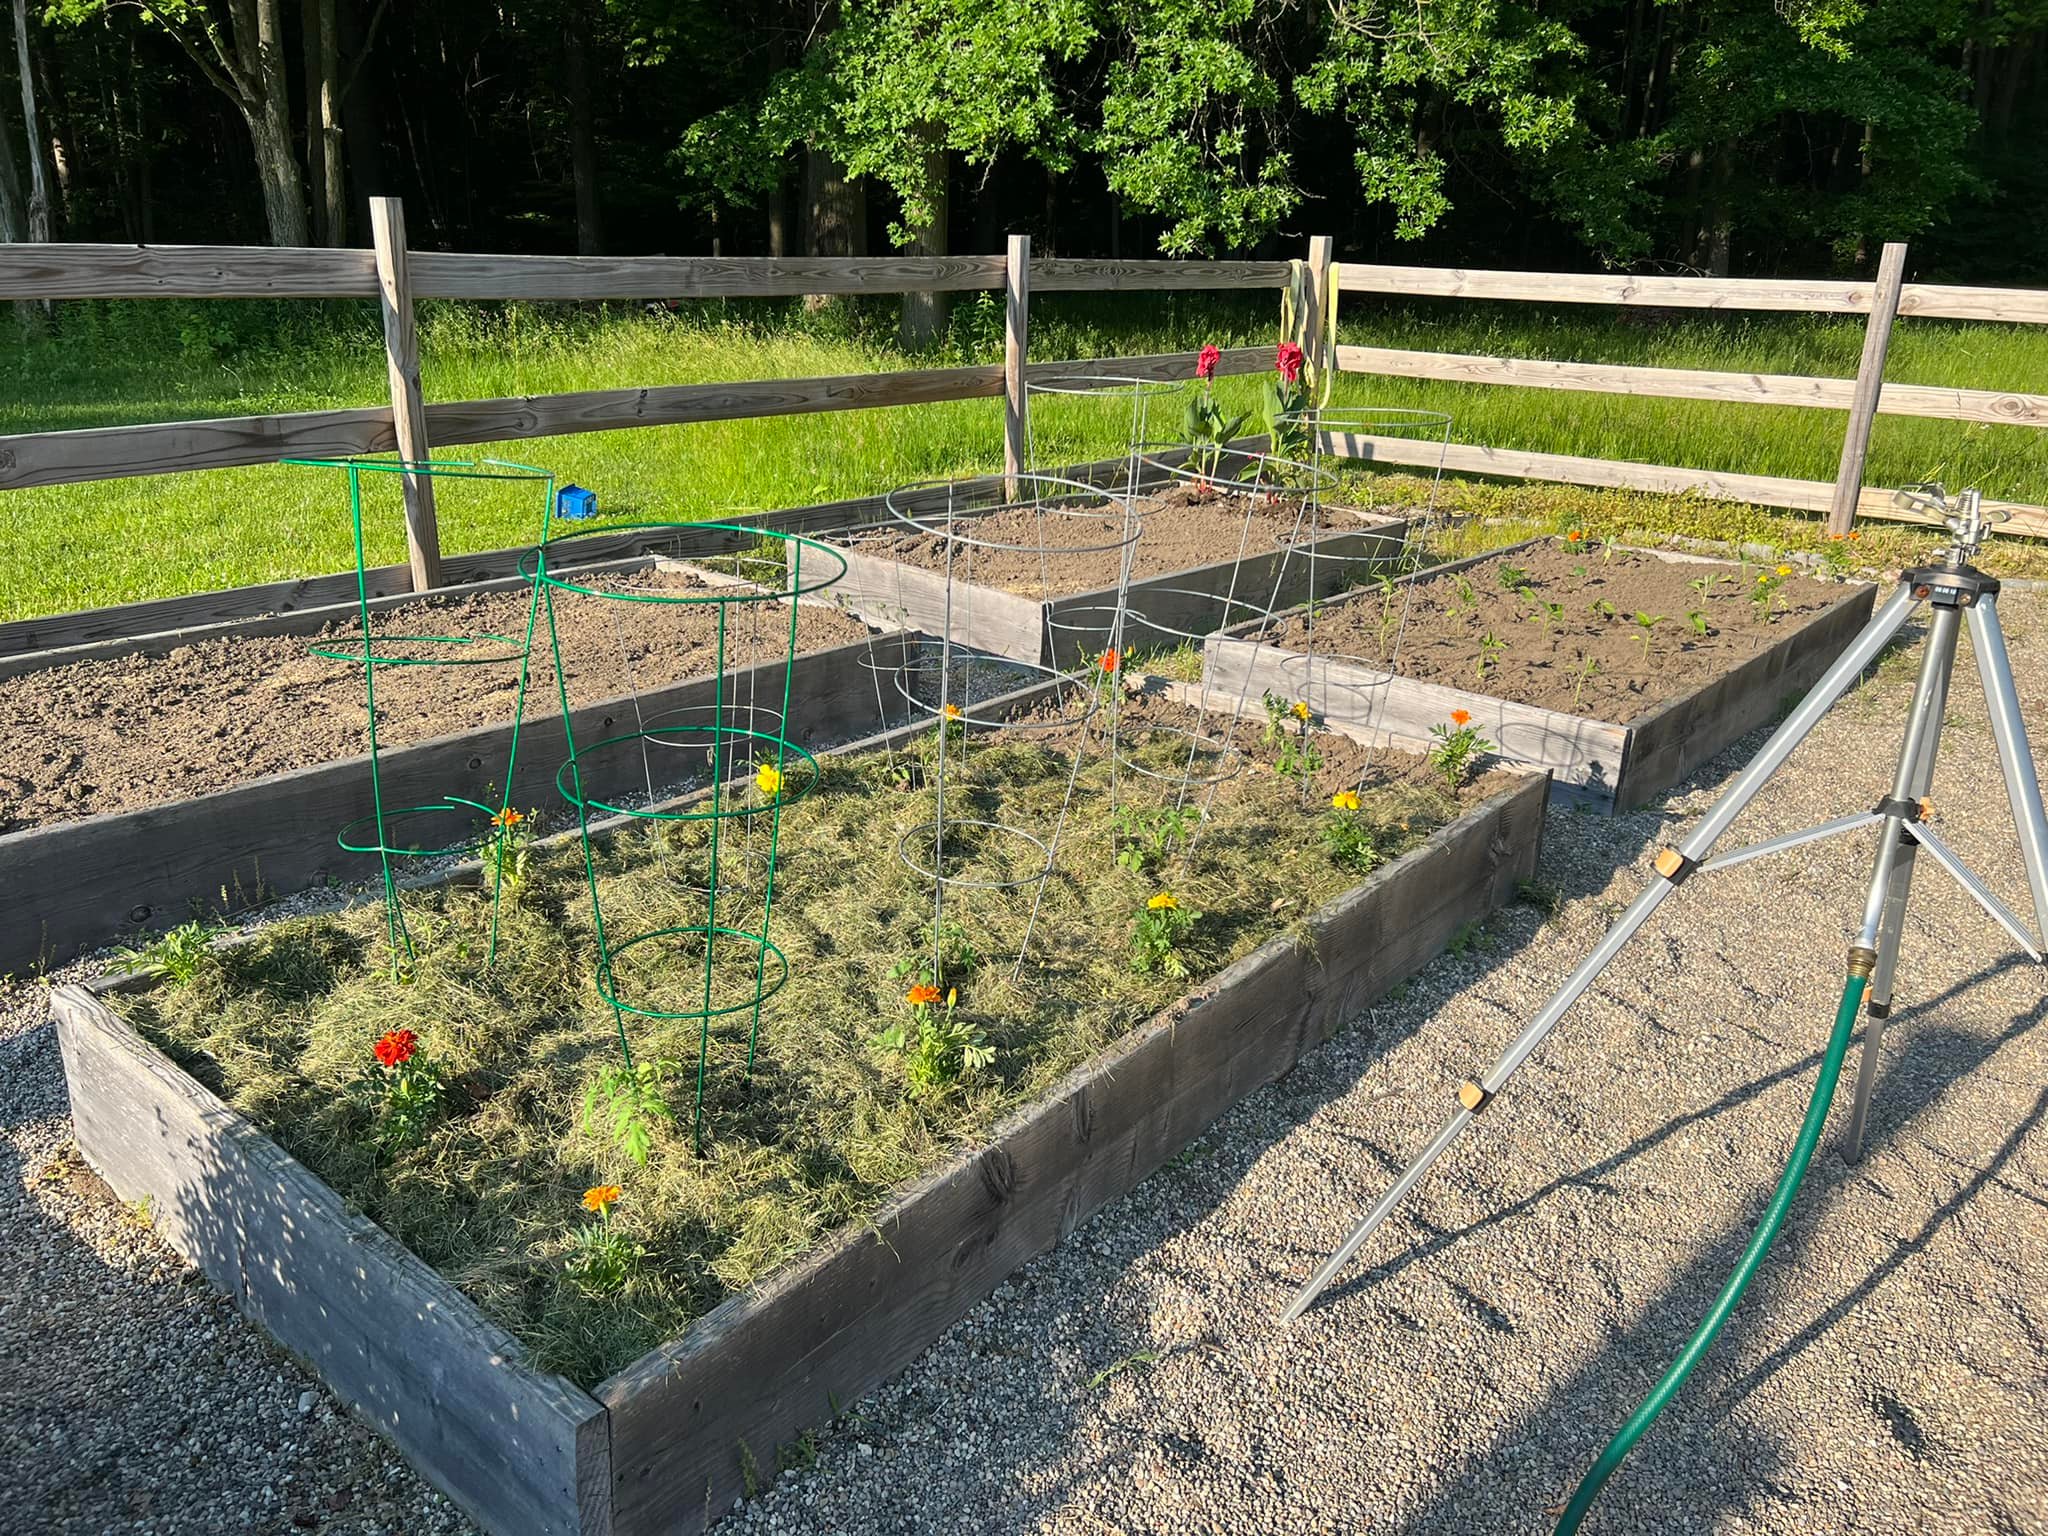
8. Let fun really begin~ How & when to transplant your seedlings outdoors!
Once your seedlings have developed their second set of true leaves, they’re ready to be transplanted outdoors. Here’s what you need to know:
Harden off your seedlings by gradually exposing them to outdoor conditions over the course of a week.
Choose a location that receives plenty of sunlight and has well-draining soil.
Dig a hole that’s slightly larger than the root ball of your seedling.
Gently remove the seedling from its container and place it in the hole.
Backfill the hole with soil and water your seedling gently.
Indoor seed starting can be tricky, and there are several common problems that can arise.
Here are some tips for solving them:
Damping off: This is a fungal disease that can cause seedlings to wilt and die. To prevent damping off, make sure your containers have good drainage and avoid overwatering.
Leggy seedlings: If your seedlings are growing tall and spindly, they’re not getting enough light. Move them to a location that receives more sunlight or use grow lights.
Mold or mildew: If you see mold or mildew growing on your soil or seedlings, it’s a sign of too much moisture. Reduce watering and improve air circulation.
Starting seeds indoors can be a rewarding and cost-effective way to get a head start on the growing season. By following these tips and tricks, you’ll be well on your way to growing healthy, productive seedlings.
If you enjoyed this blog, please LIKE, Follow, Share & leave me a comment! I love your feedback!
If you aren’t following me on Facebook & Instagram go on over & give a LIKE & Follow me for daily tips & tricks for your home & garden!
“The glory of gardening: hands in the dirt, head in the sun, heart with nature. To nurture a garden is to feed not just on the body, but the soul. ” Alfred Austin
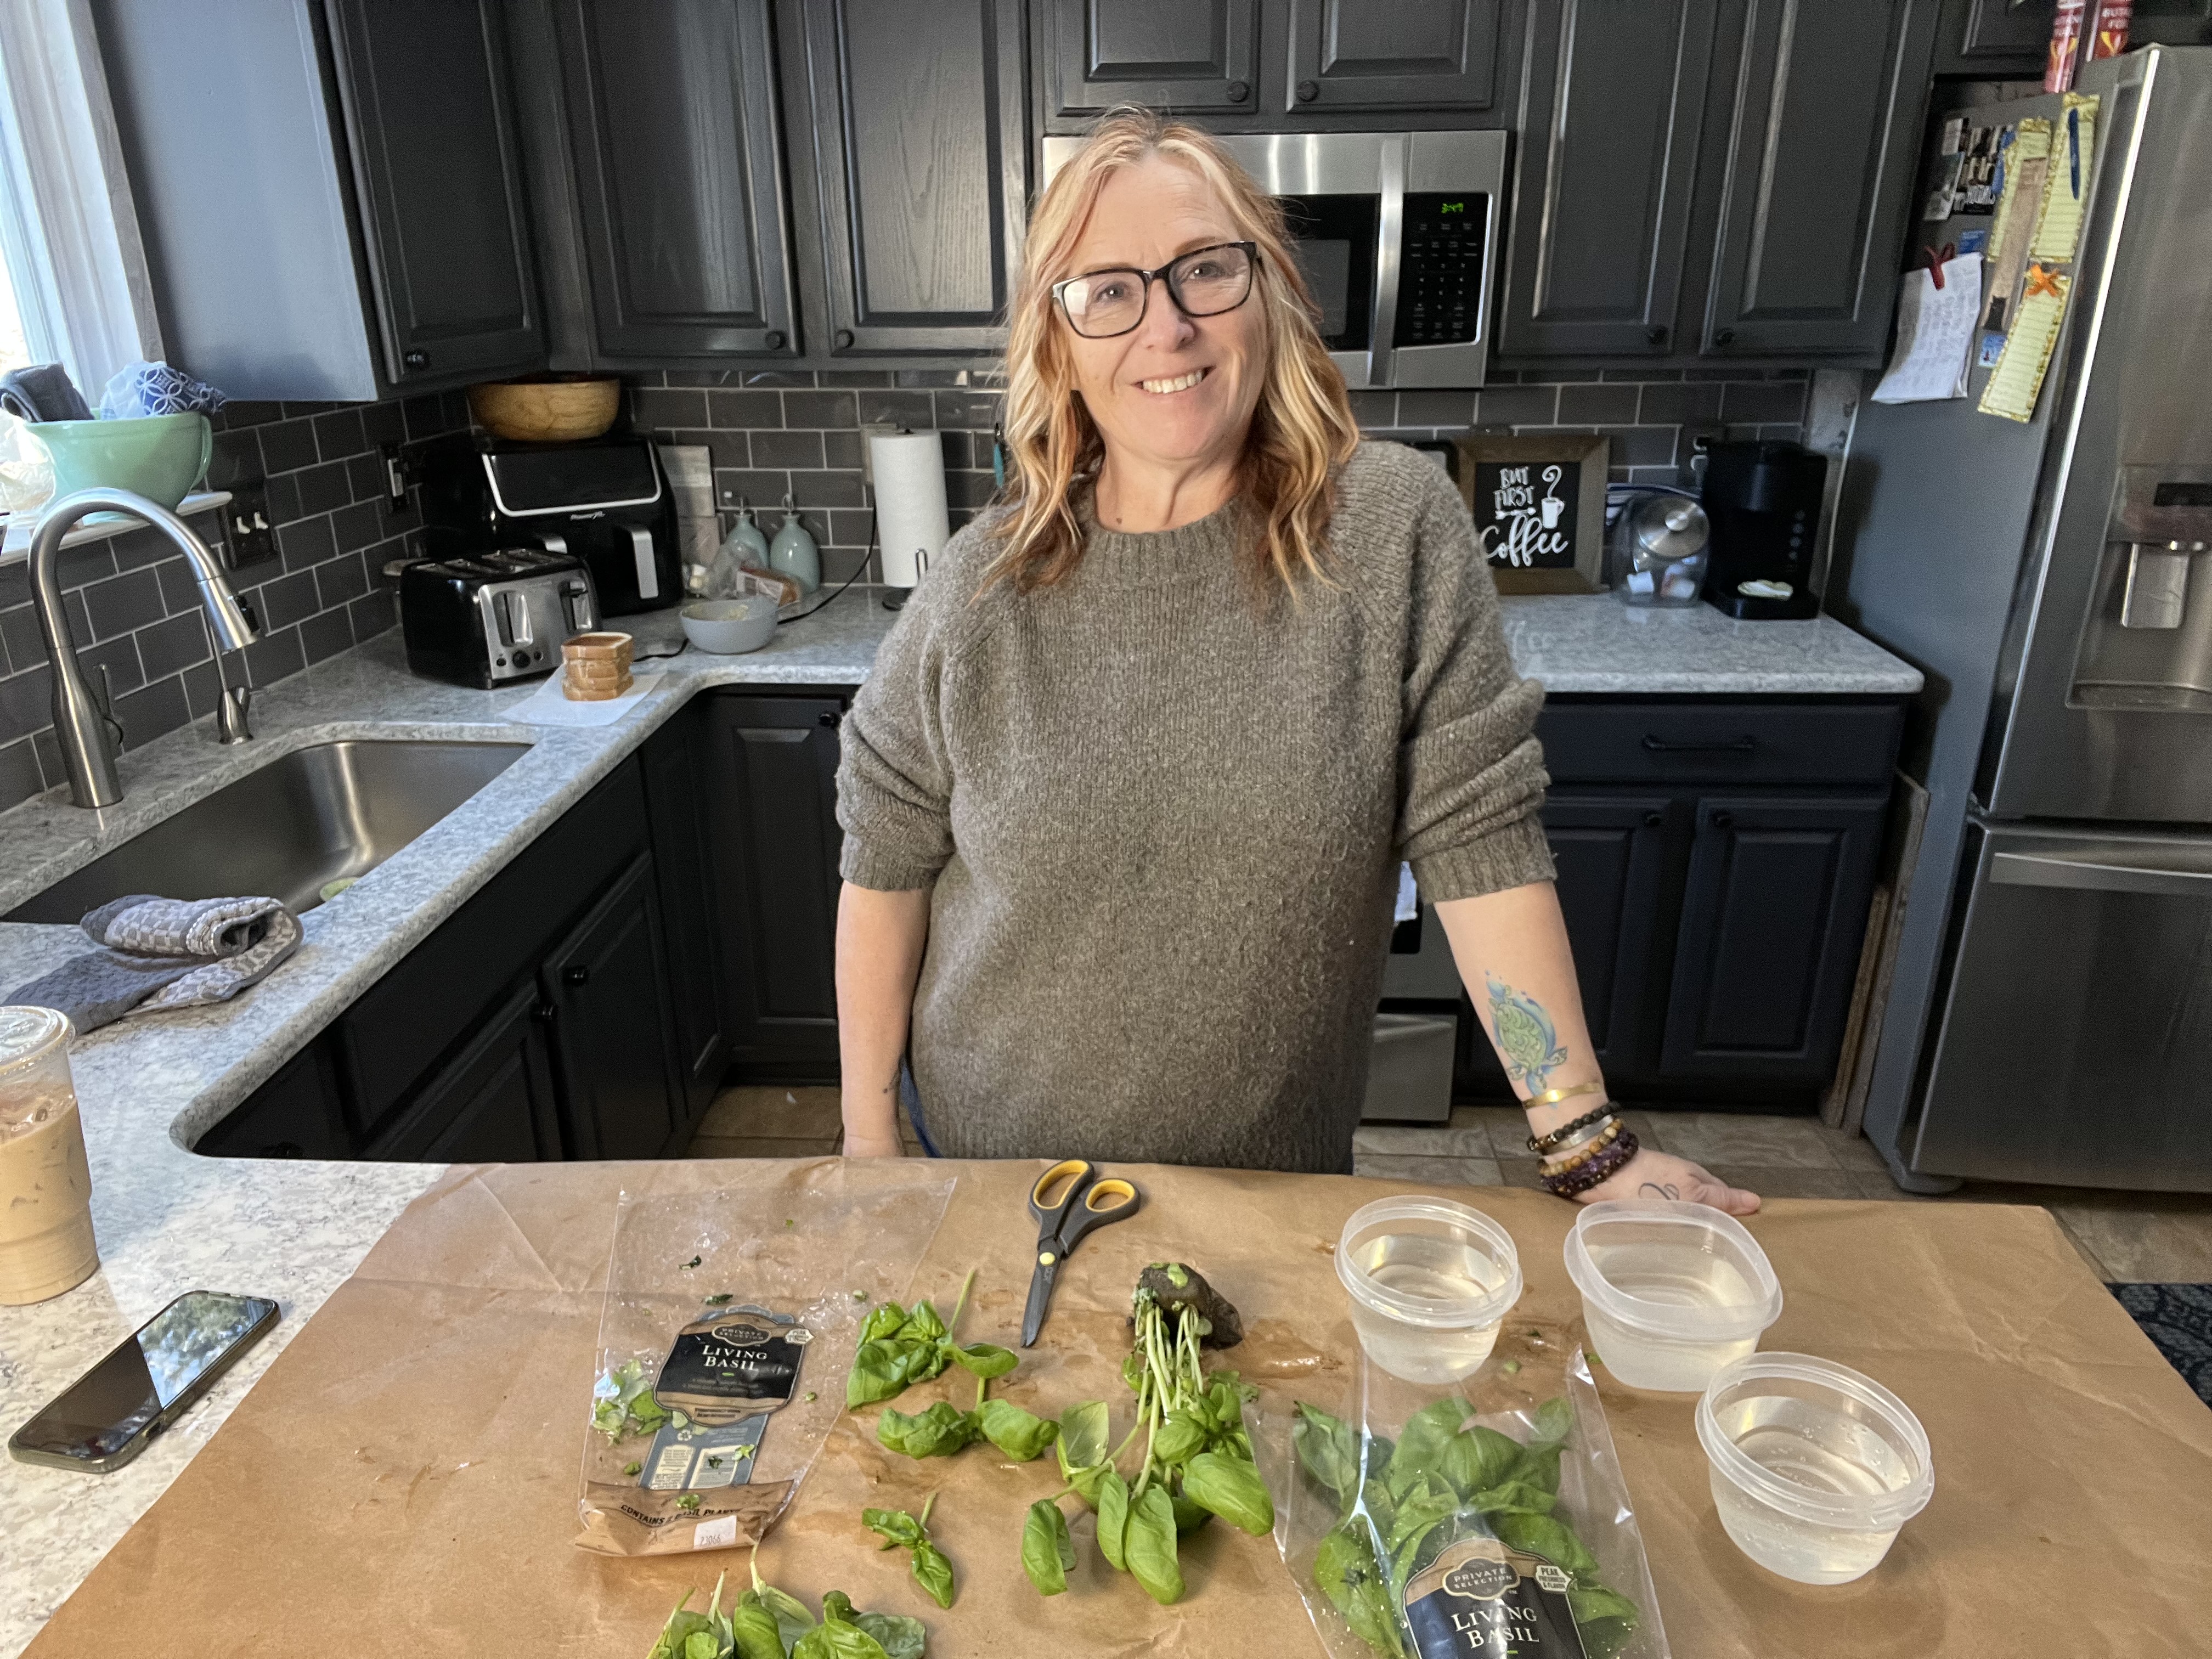
This is a really handy dandy way to get the most bang for your buck when purchasing basil plants. If you notice, when you purchase a planter with basil, there are multiple stems. Sometimes as many as 10. That in reality means there are 10 basil plants in that container. You have a couple options depending on how many plants you would like to have.
First, you can simply and very carefully separate each of the stems, be careful not to harm the roots and replant each one. I advise trimming back some of the larger leaves so the plant’s energy will go into root development rather than trying to keep those leaves alive.
The second is what I am going to show you how to do. Let’s roll friends! Check out my easy tutorial here at my YouTube Channel!
Here’s the how to for growing basil from stem cuttings!
Step 1:
Carefully remove the plants from the container and separate each stem as best as possible.
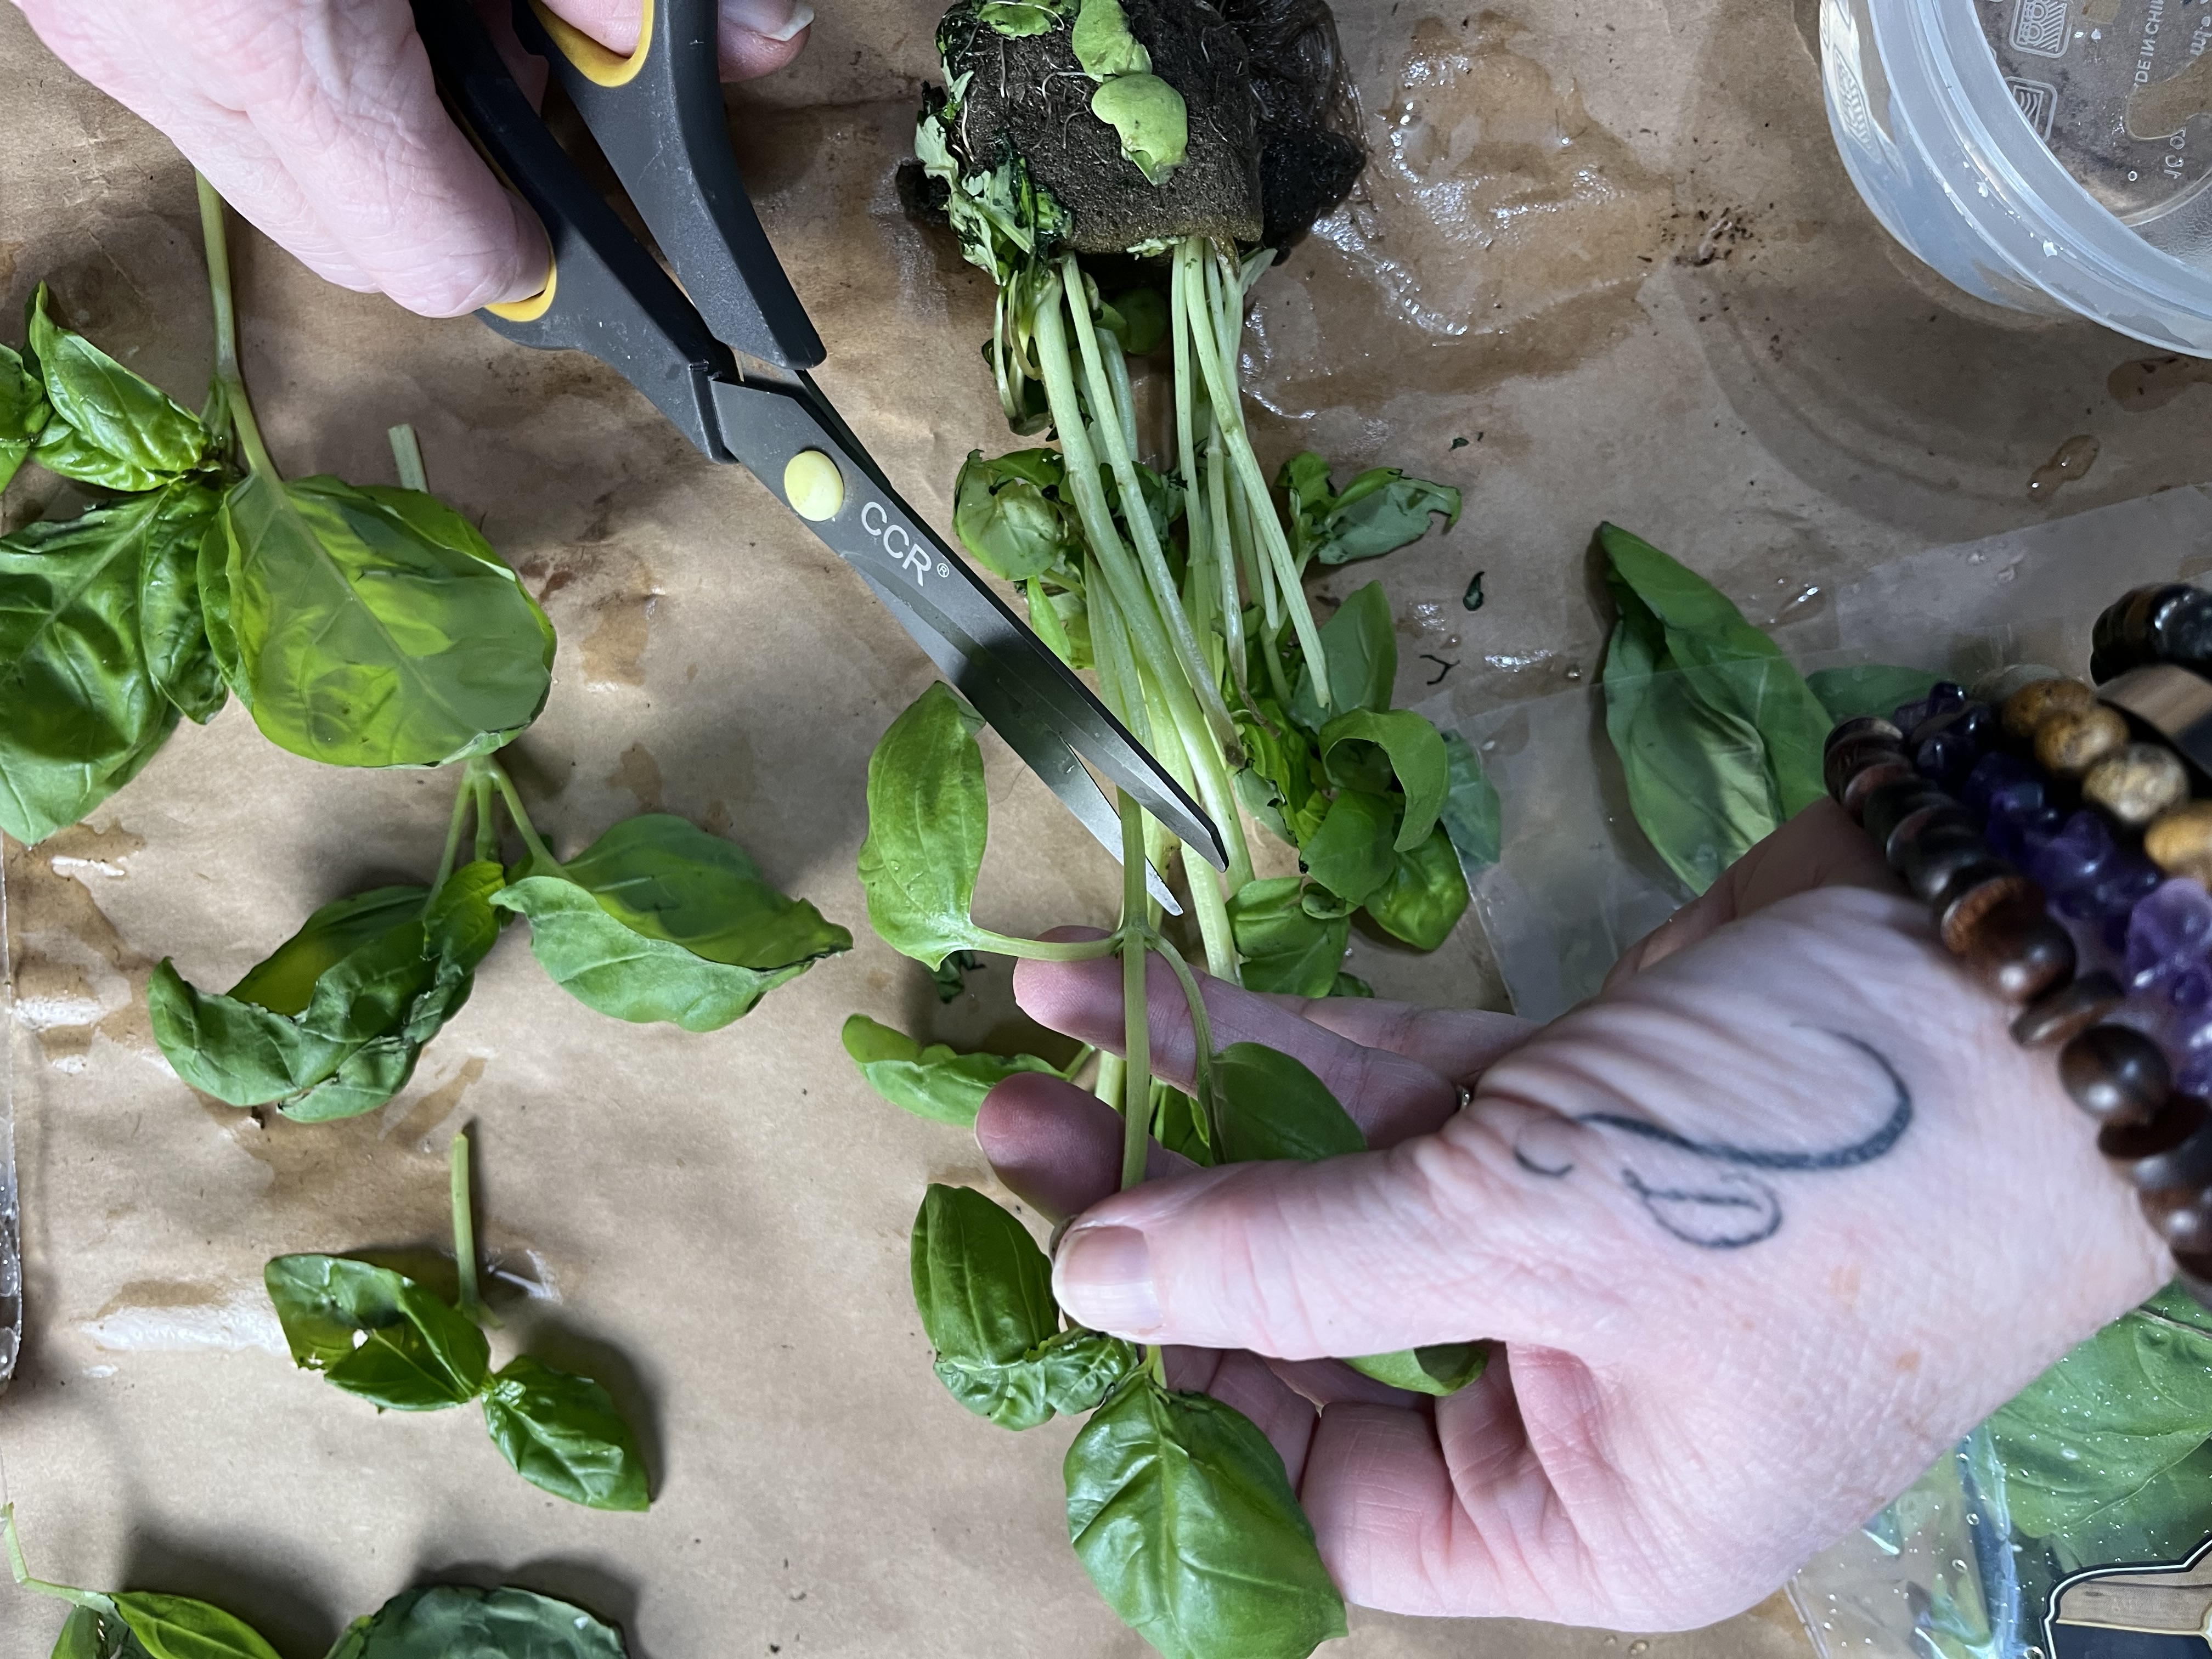
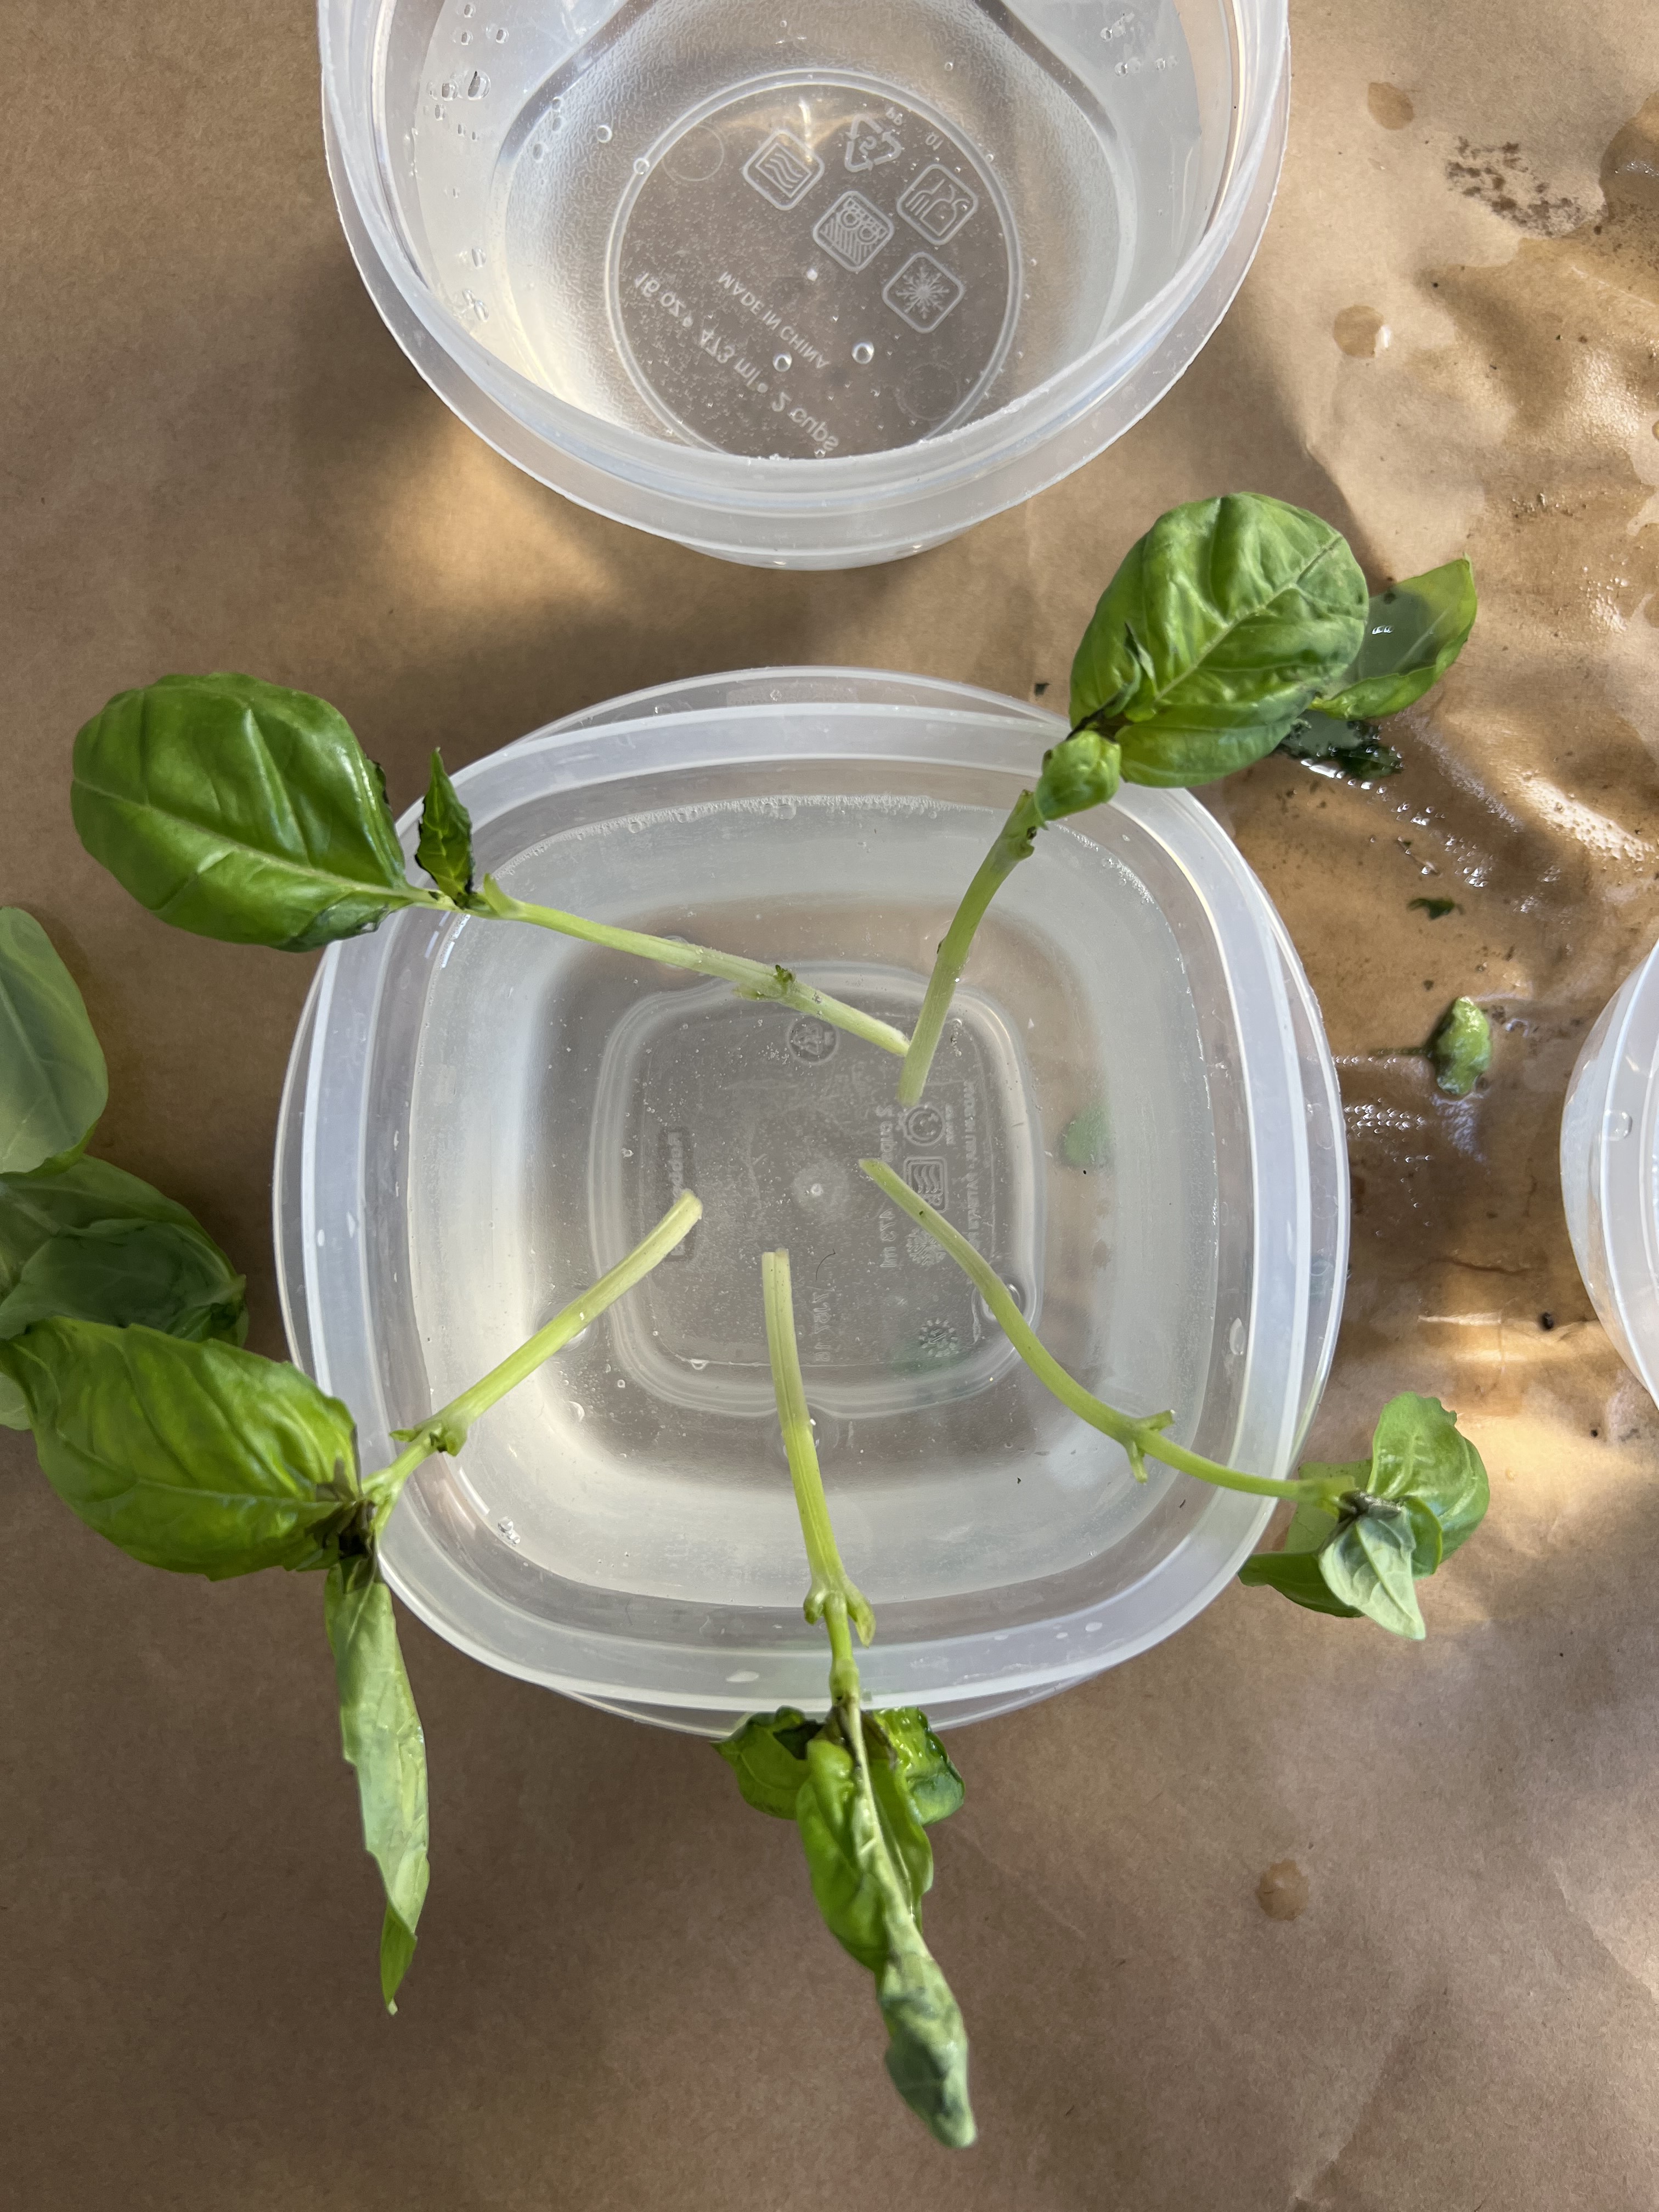
Step 2:
Take each stem and cut it on an angle below the second set of true leaves; place in a container of water; repeat this process with each stem until you have them all done. You may need several containers of water to hold each one. I used food storage containers but anything will work as long as it is at least 2 inches deep. Be sure to keep fresh water for your stem cutting. Change the water or add every couple days as you see is needed.
2019
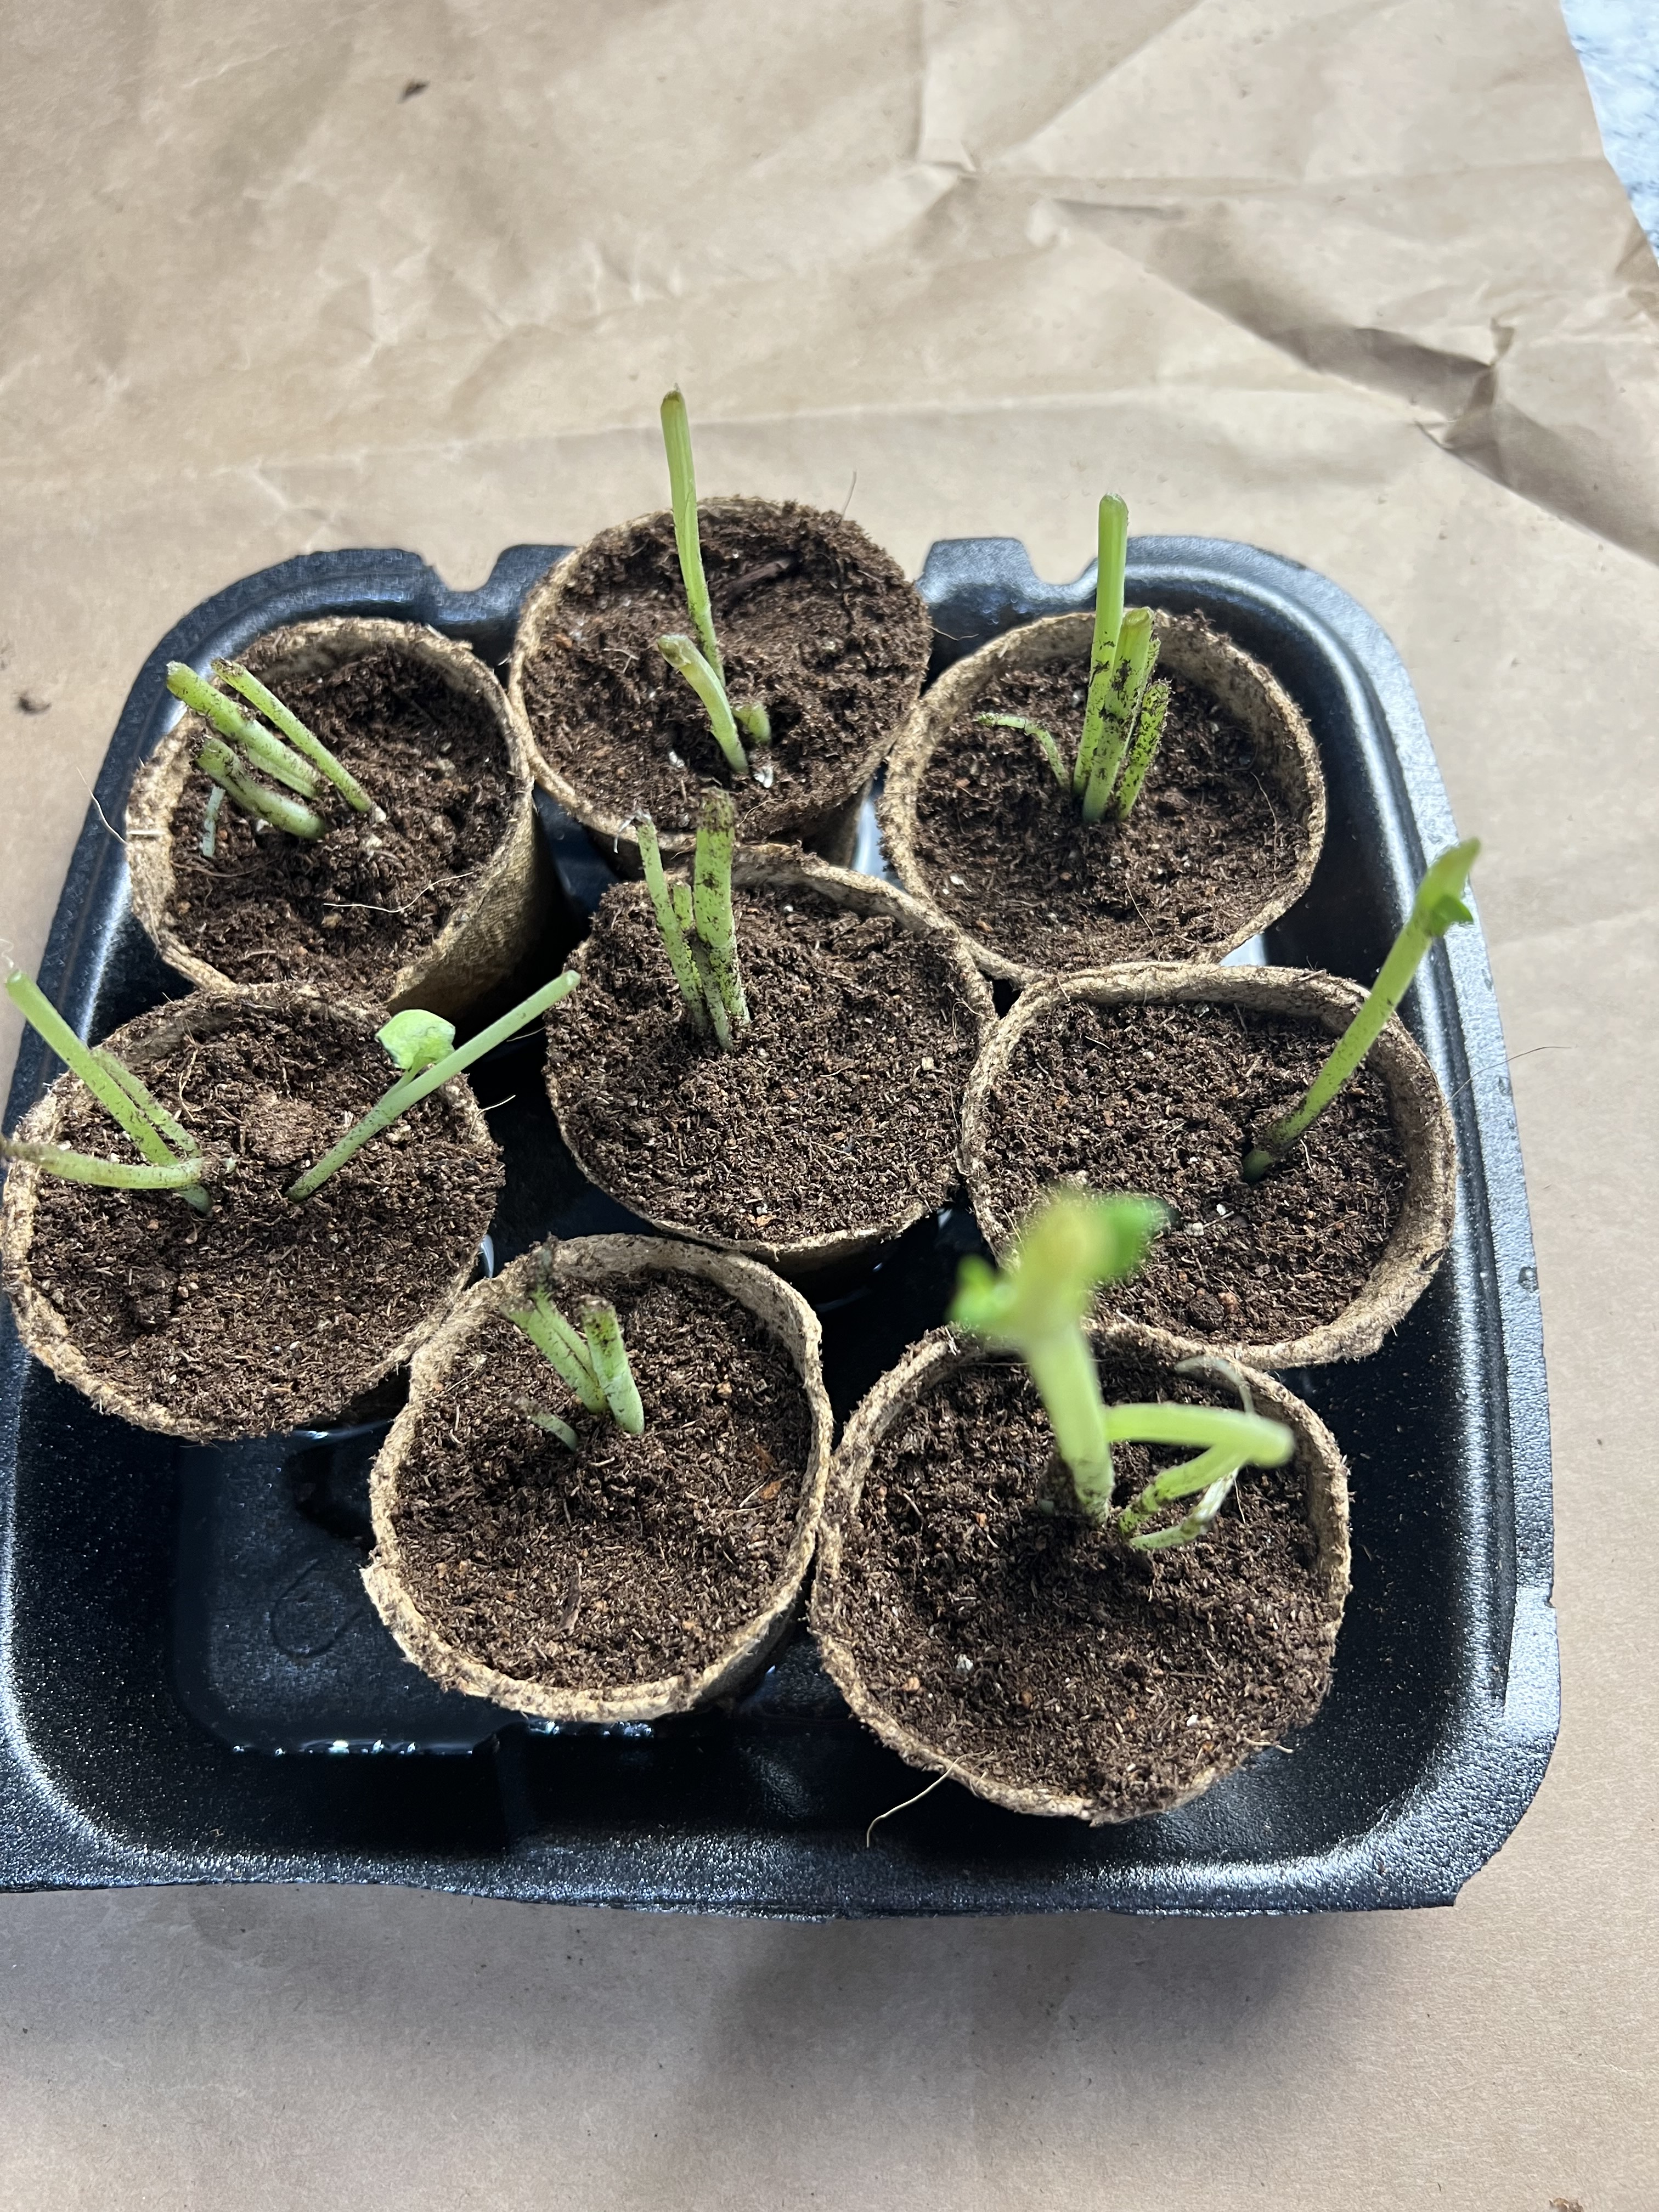
Step 3:
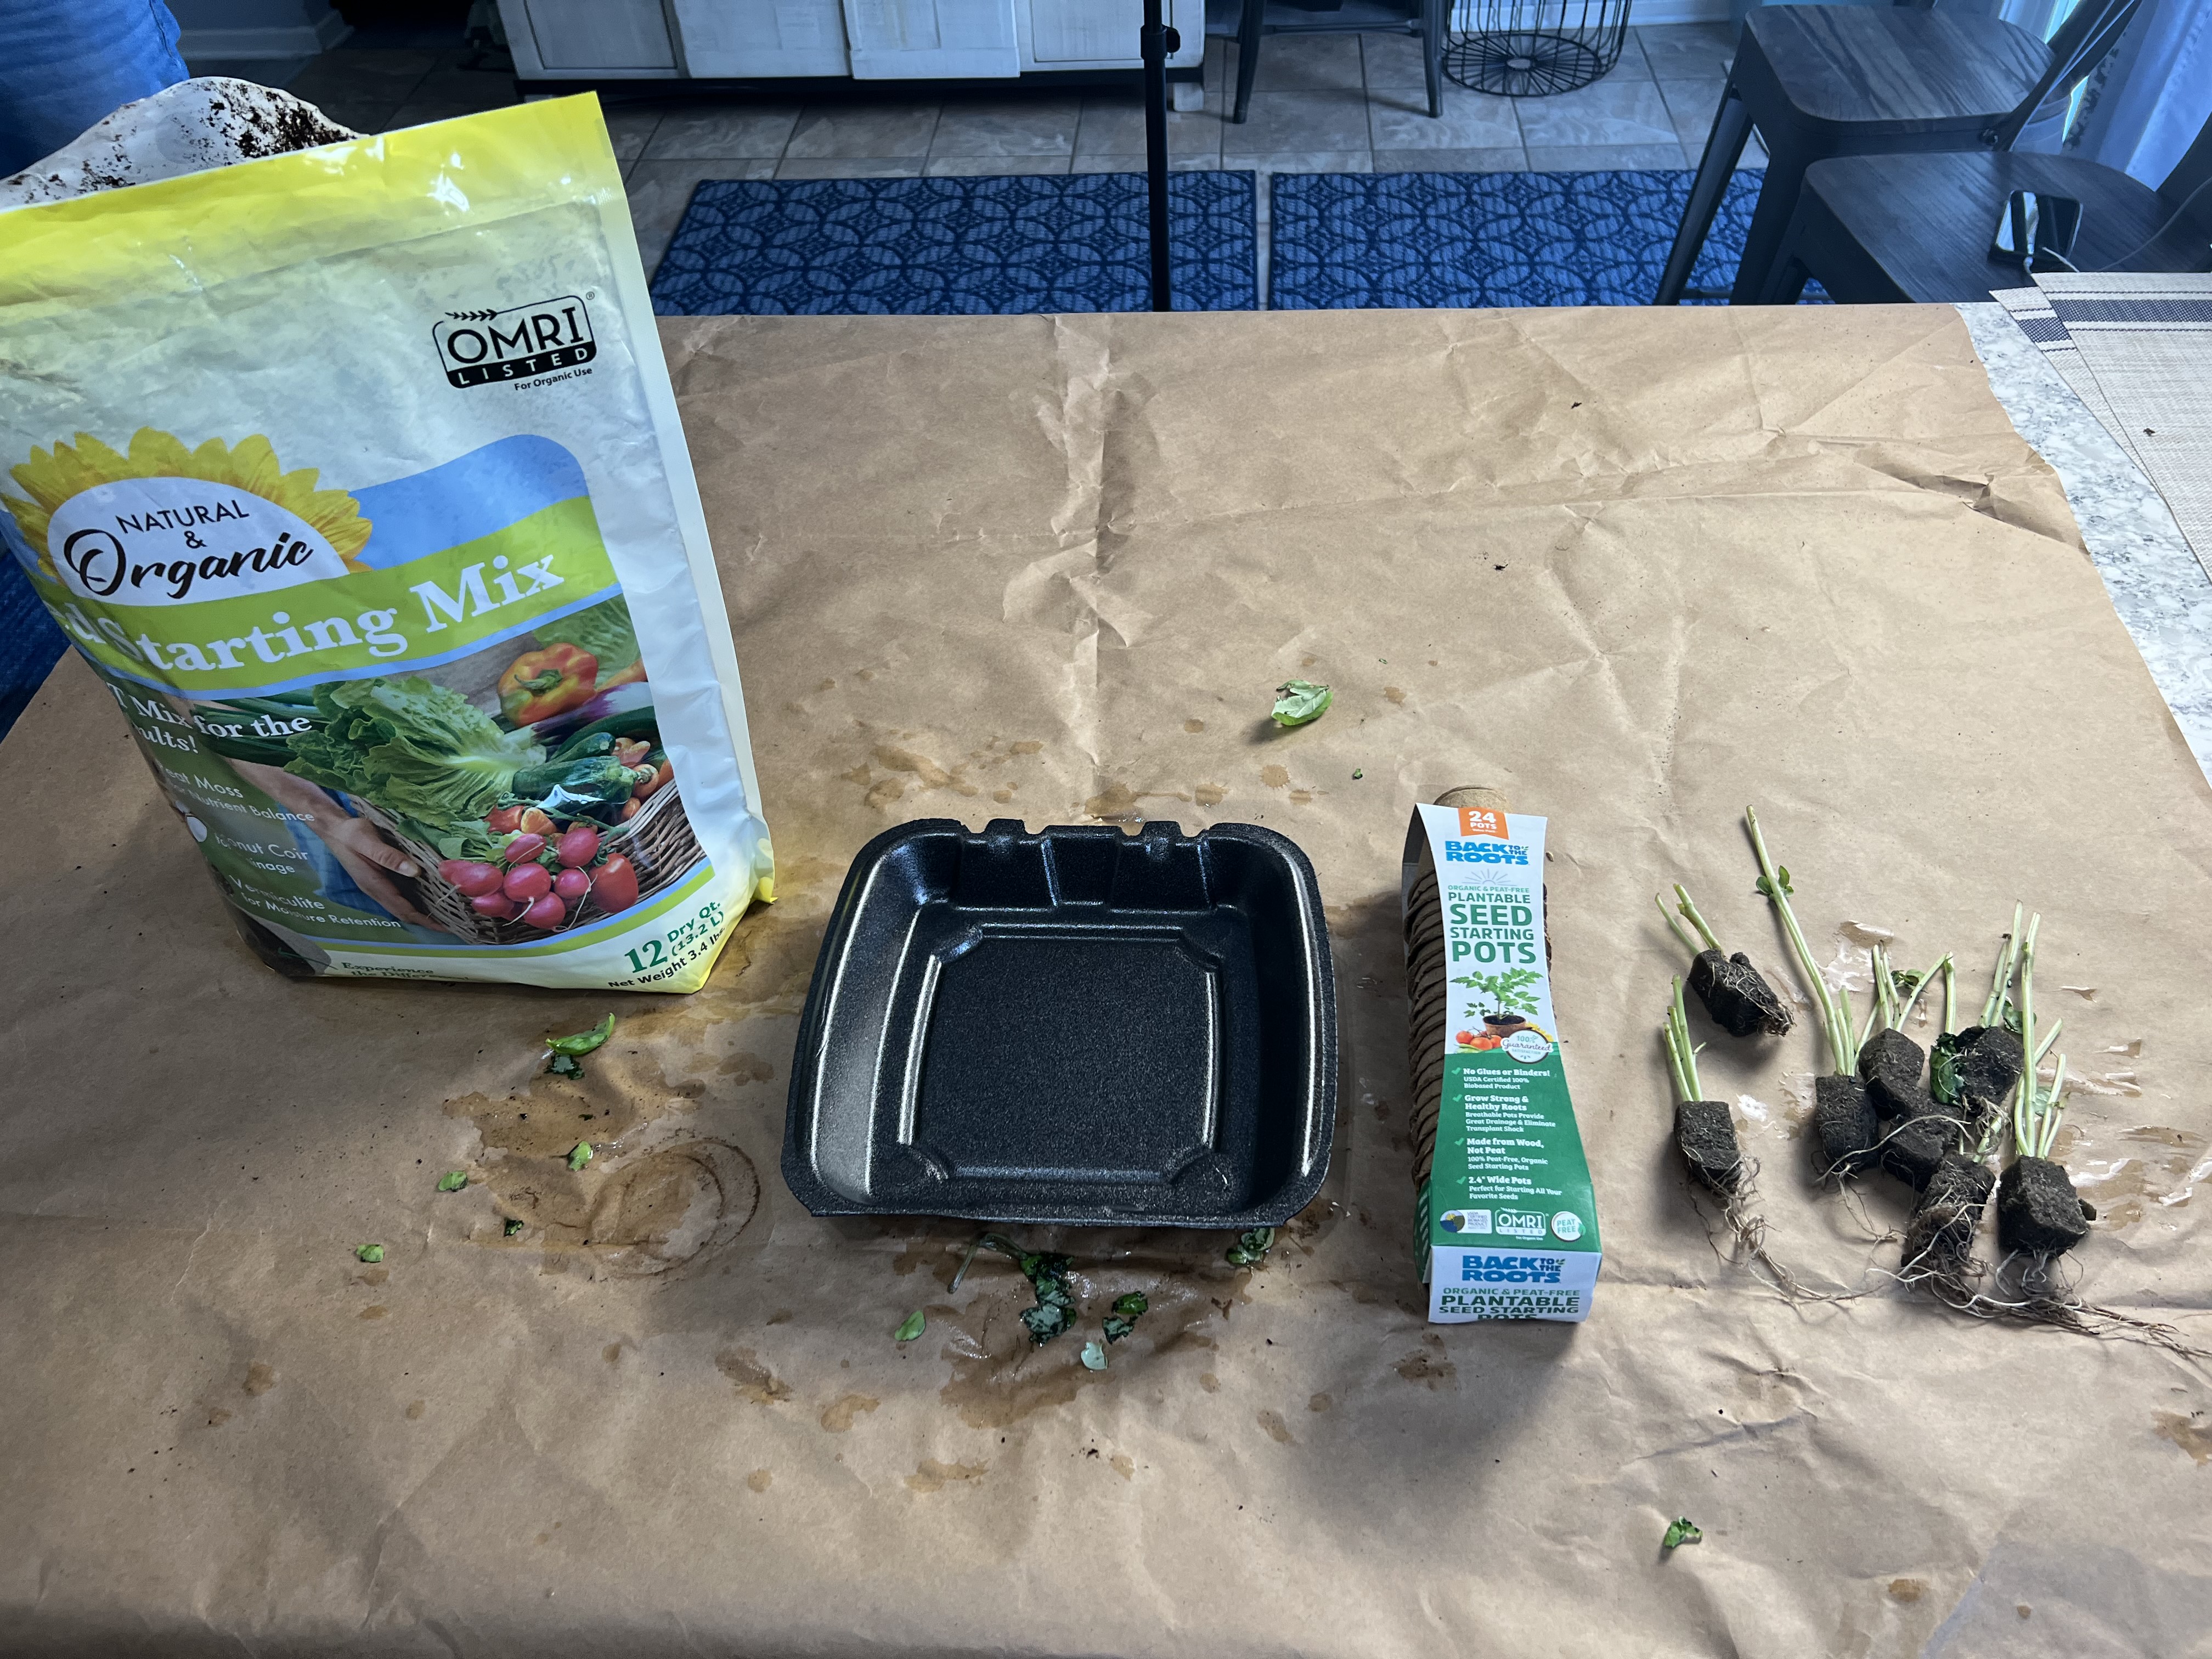
Take the remaining stems with roots attached and plant in organic soil; water regularly until new growth appears.
Step 4:
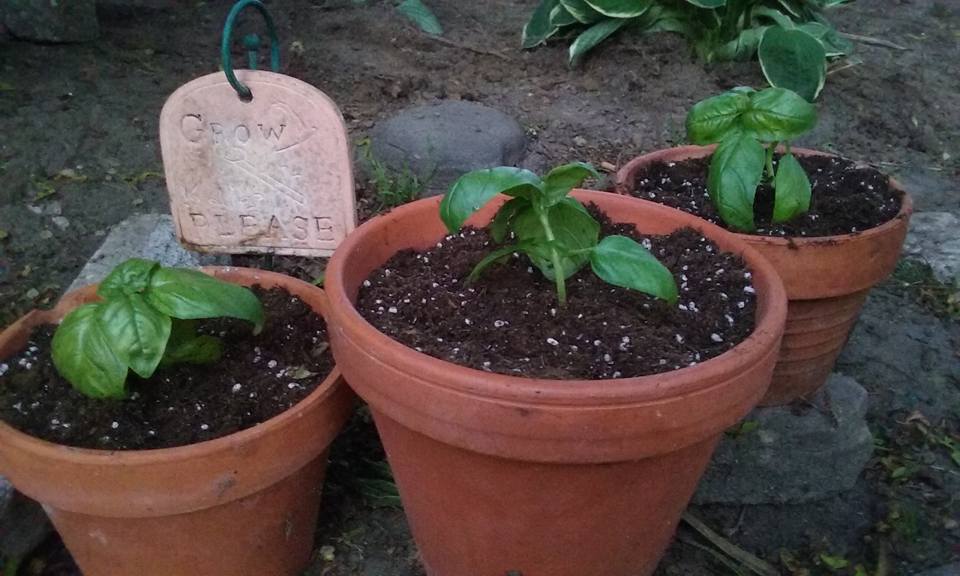
After a root system begins to appear, you will transplant them into containers with a good organic planting medium.
PRO TIP: Other containers you could use are yogurt containers, sour cream or chip containers, etc.
When you are ready to start gardening, simply transplant your seedlings into their summer homes.
If you enjoyed this blog, please LIKE, Follow, Share & leave me a comment! I love your feedback!
If you aren’t following me on Facebook & Instagram go on over & give a LIKE & Follow me for daily tips & tricks for your home & garden!