Easy How-to Dry Herbs Using an Elite Gourmet Food Dehydrator

“It’s really important to teach people how to get food, how to grow it, how to pick it, how to prepare it and what’s safe to eat.” ― Arthur Potts Dawson
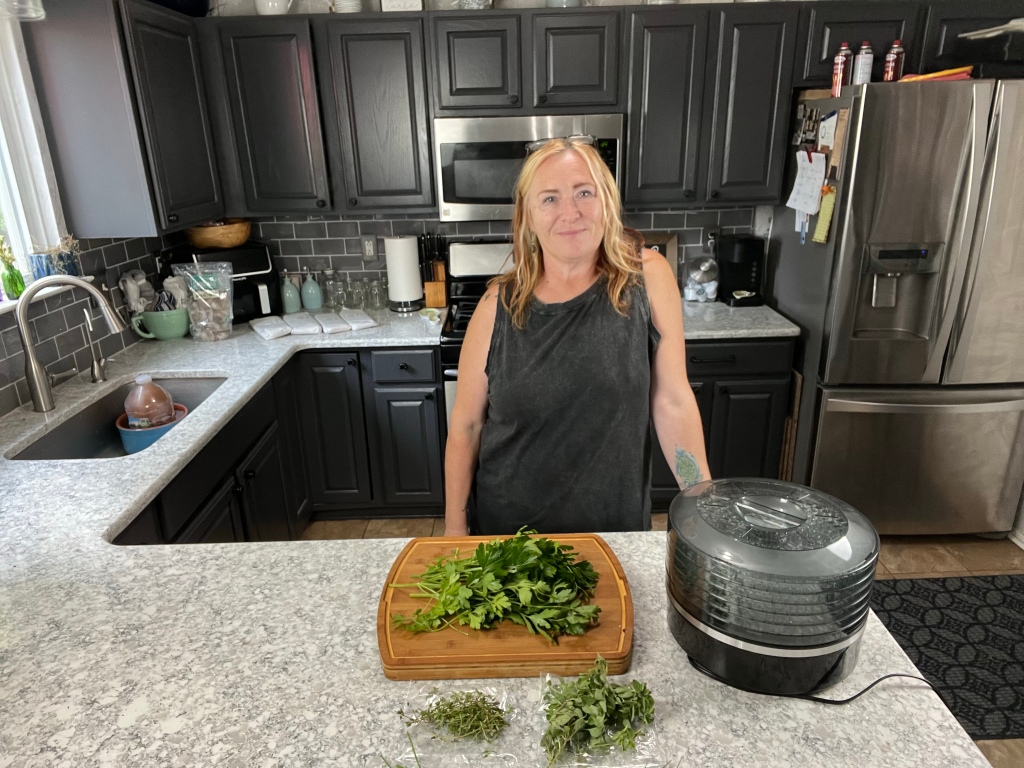
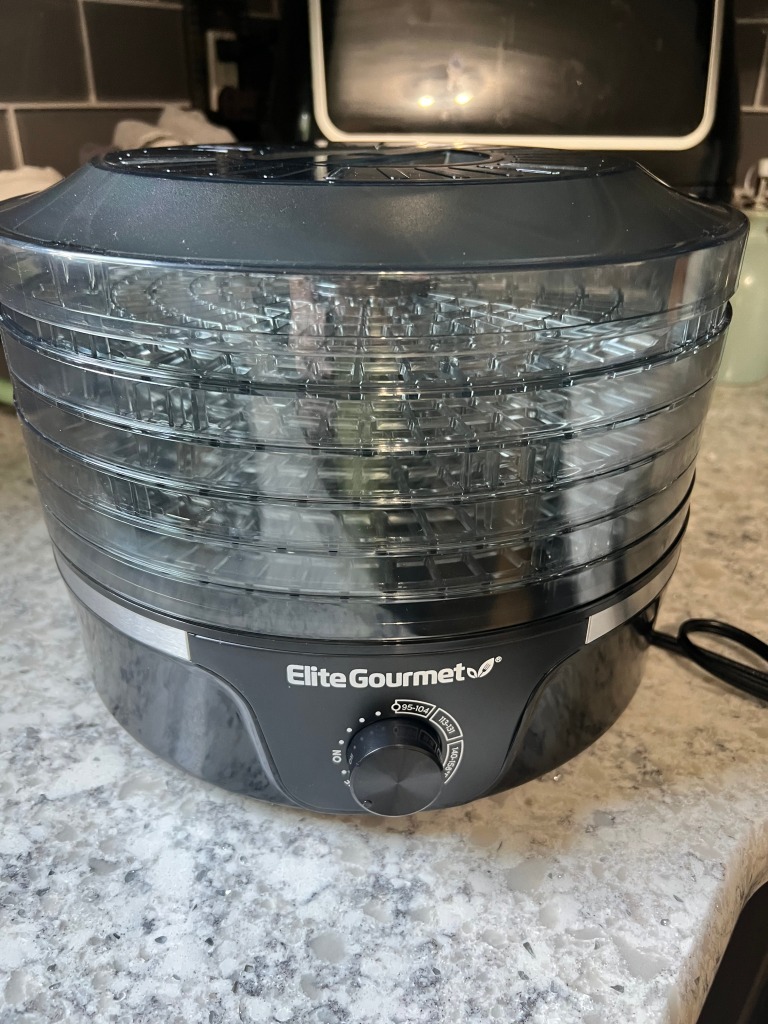
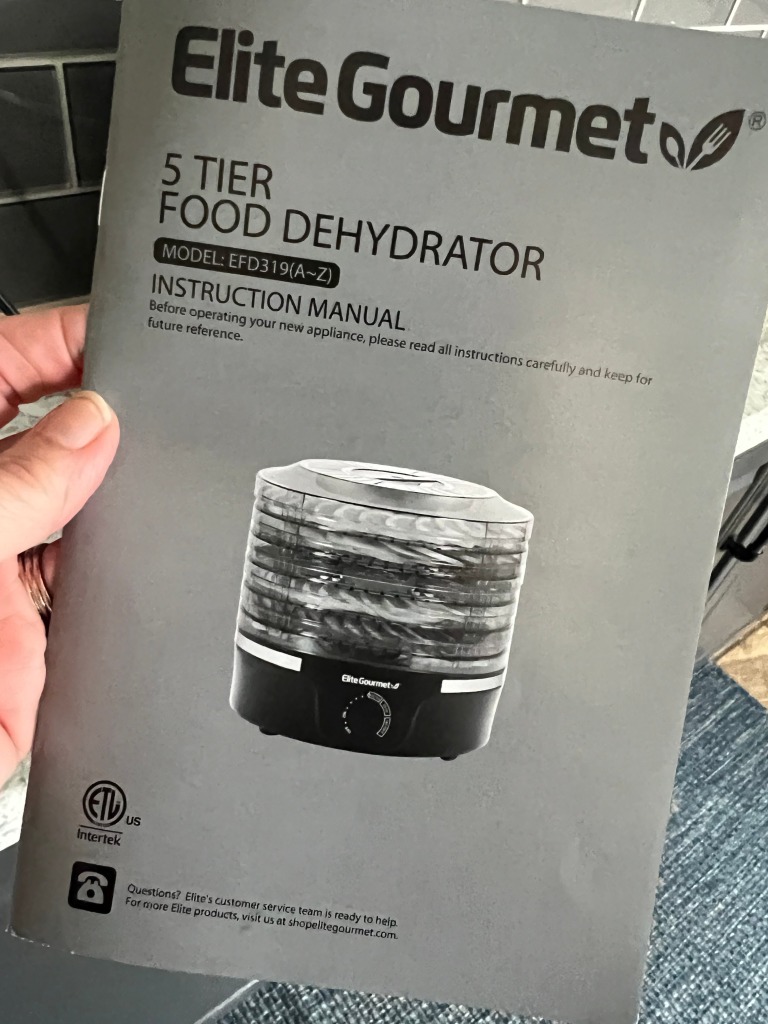
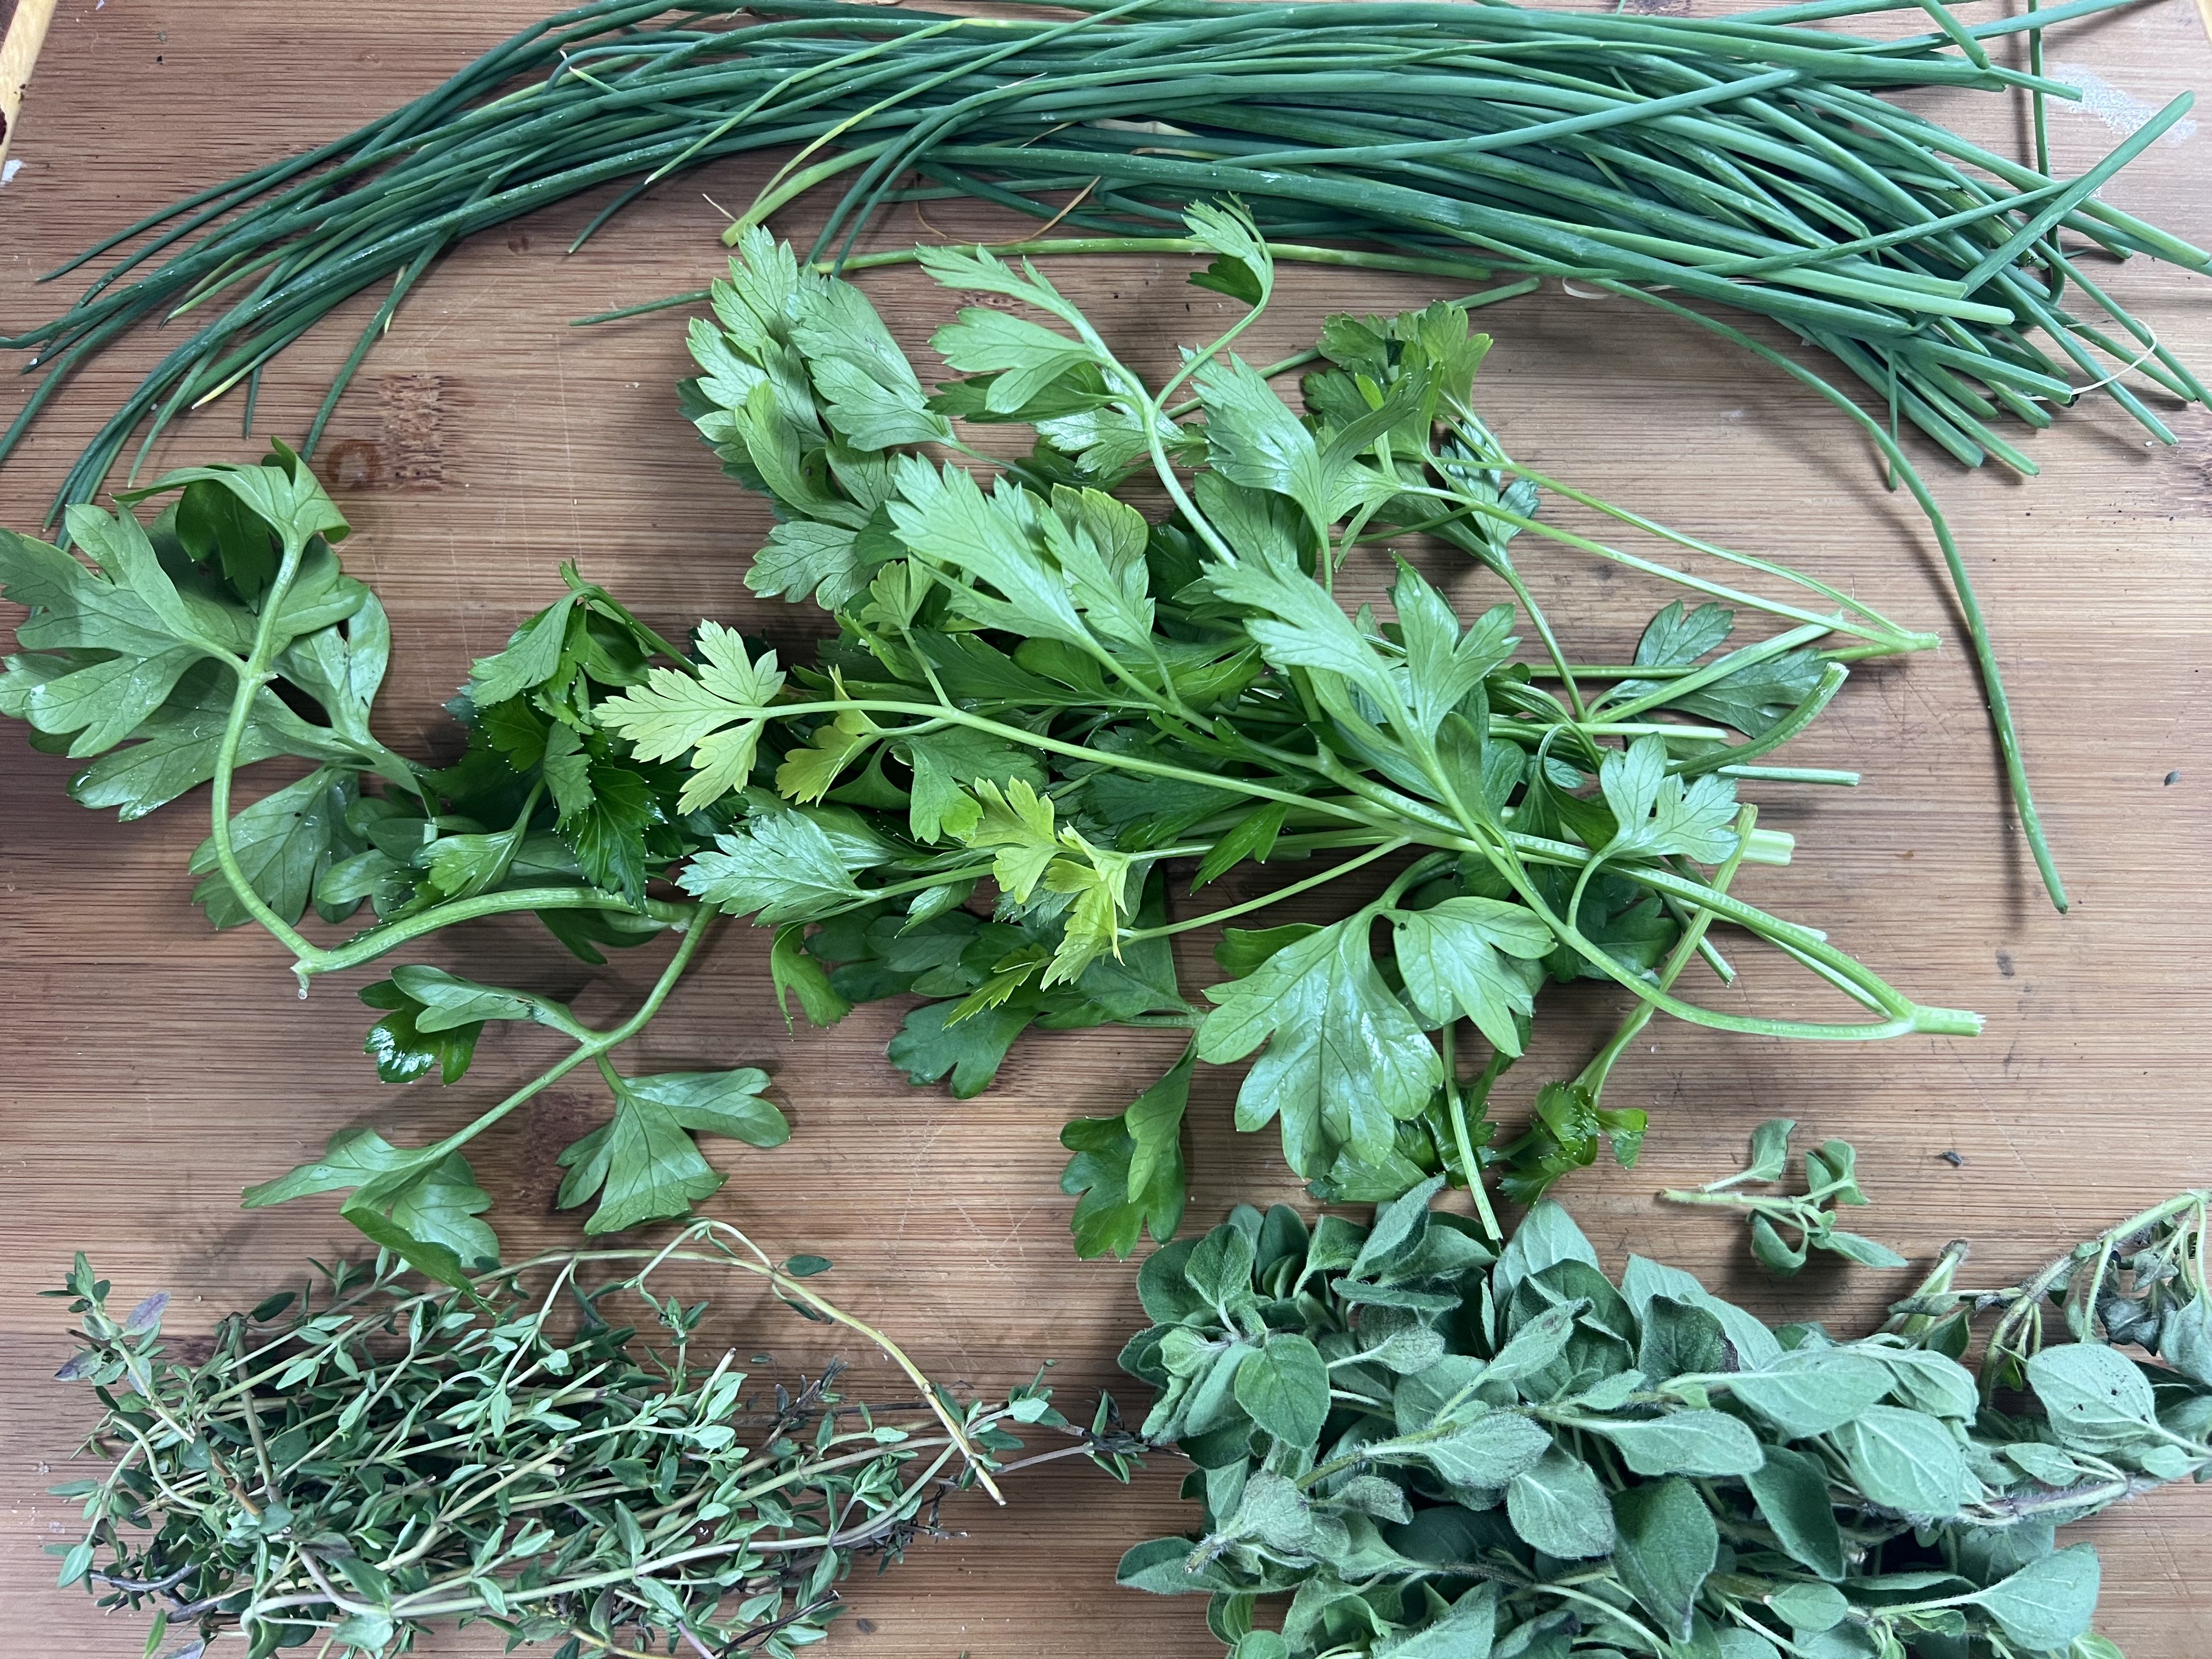
Do you grow your own herbs? Well, if you do, this is a video you won’t wanna miss! Over the years, I have owned several Elite Gourmet Food Dehydrators! I just got my new one and I’m so excited to start using it.

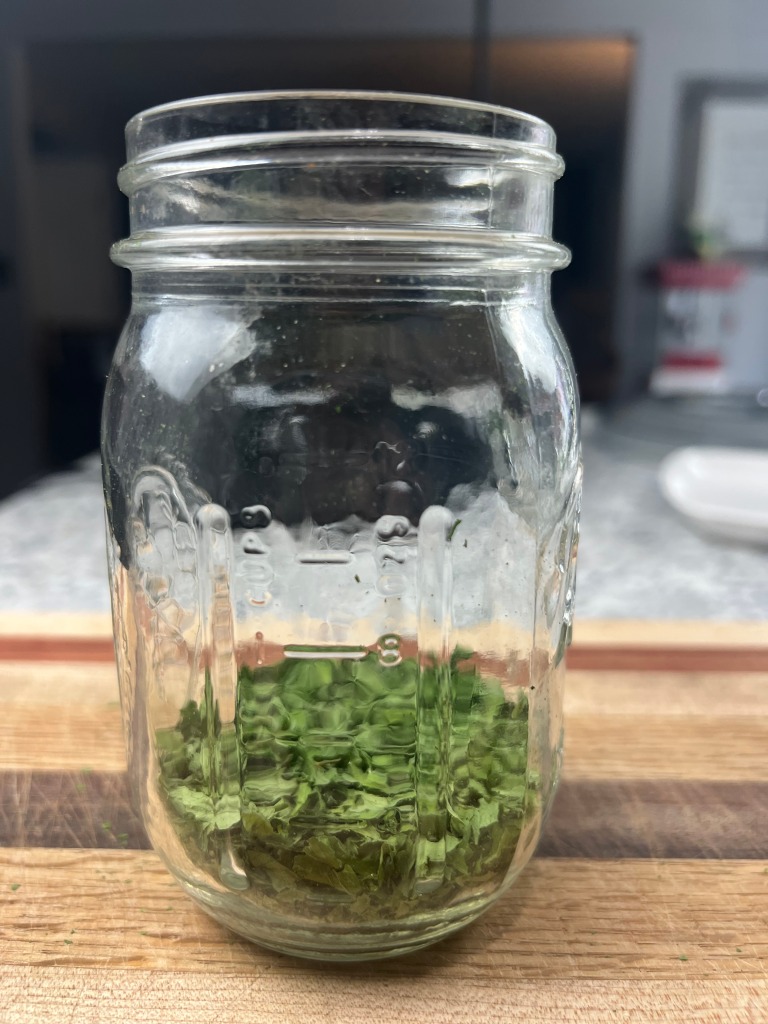
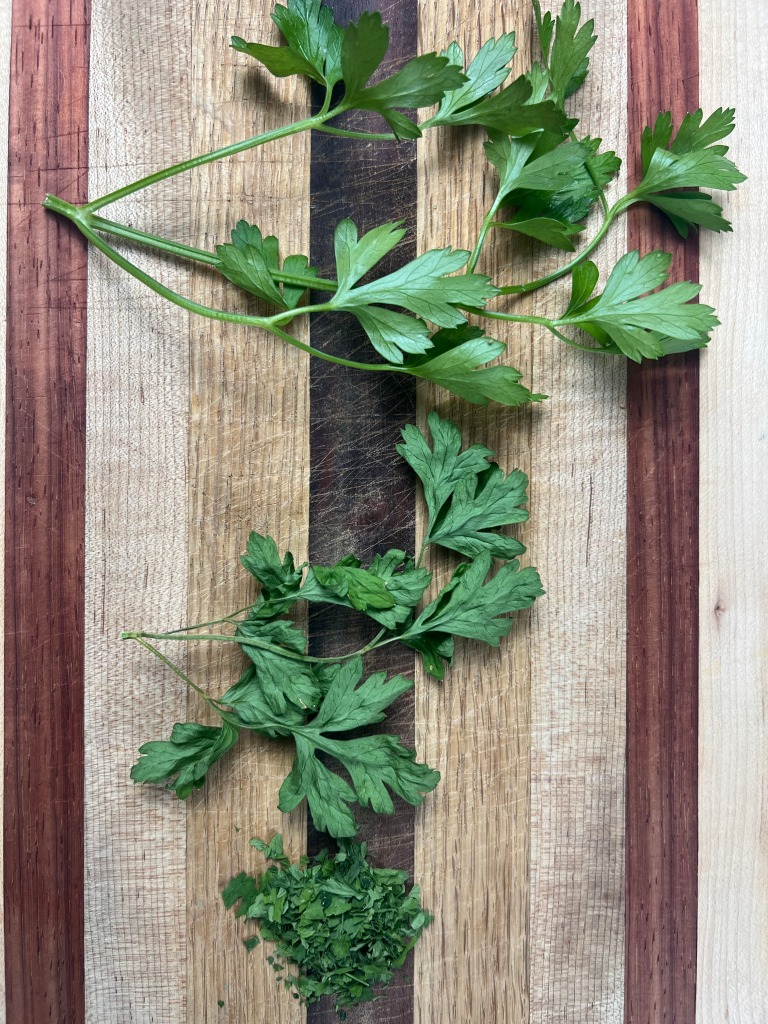
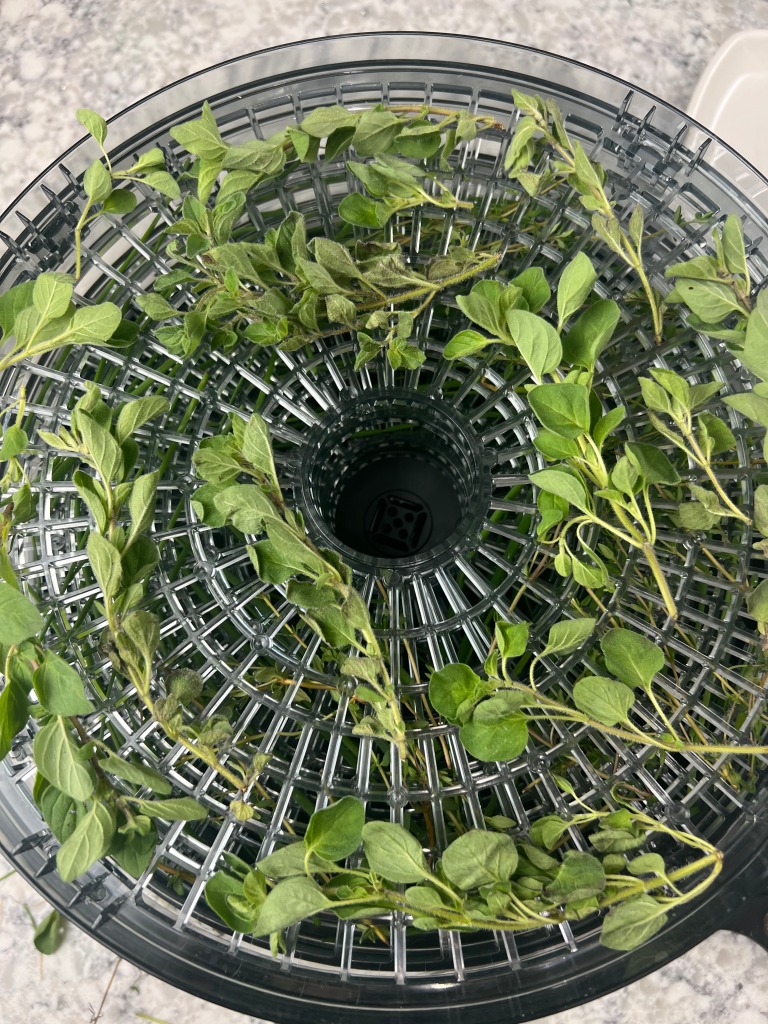
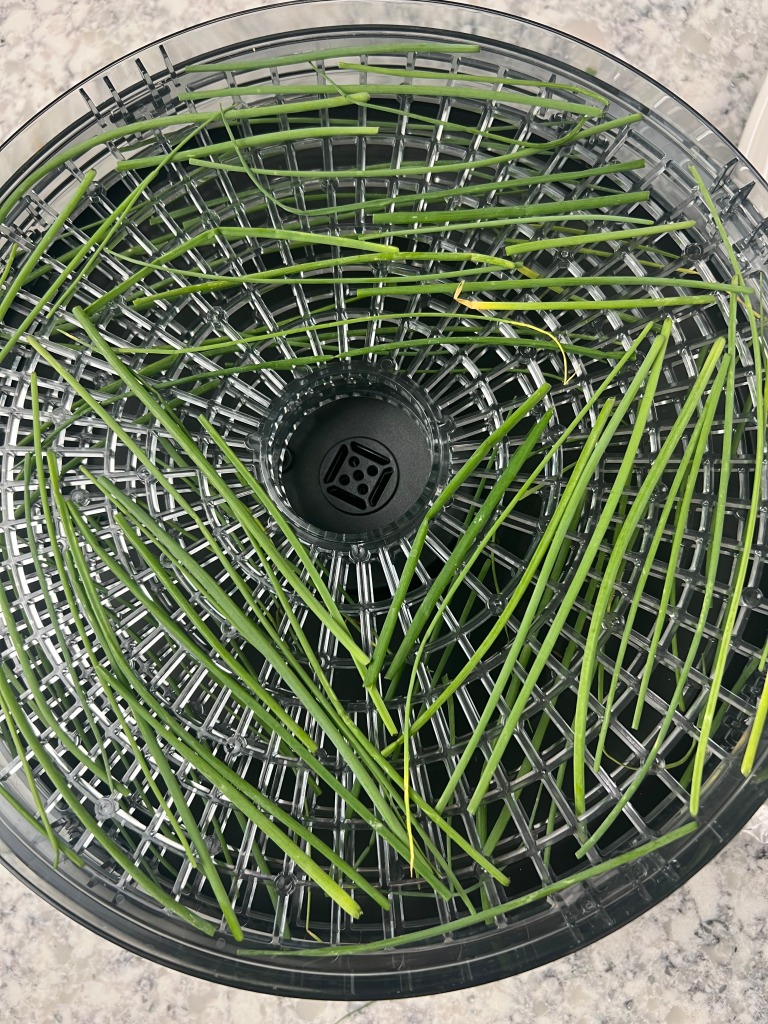
In today’s video, I’m going to show you how easy it is to use this dehydrator to dry your homegrown or purchased herbs.

If you are interested in purchasing your own Elite Gourmet Food Dehydrator, if you click the link here, I will receive a small financial compensation. Thanks in advance you won’t regret purchasing this item!

Check out my YouTube video below for this easy how to and then scroll down for recipes on how to create your own spice blends, including Italian seasoning and taco seasoning!

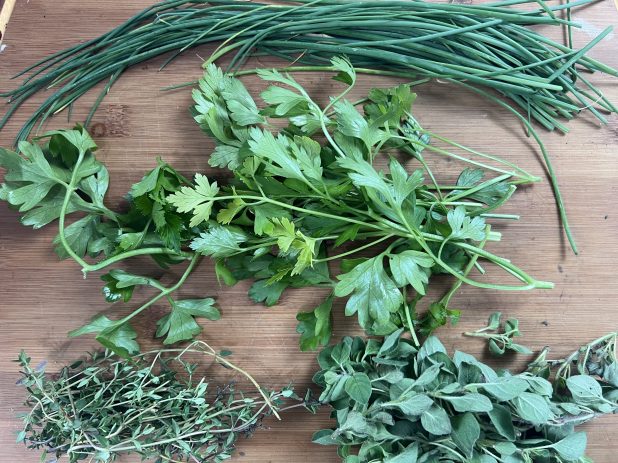
Keep scrolling to see how I processed my herbs and how to store them.

Now check out how I tried my herbs!

Check out these past blog posts for herb spice blends and more!

Dry Spice Blend Recipes: Easy to make salad dressings and dips

I also mentioned there were a few other ways to dry your herbs, here it is along with more recipes for Herb Salts! How-to preserve your herbs, & bonus recipes!

Would you like to learn how to get the most out of your herbs? Well check out this post, Harvesting Herbs: Tips to get the most yield from your herbs, yummy herb butter recipes

Subscribe to our newsletter to get the latest stories in your inbox.


Processing…
Success! You're on the list.

If you enjoyed this blog, please LIKE, Follow, Share & leave me a comment! I love your feedback~

Added bonus: You can go to my blog at http://www.fordragonfliesandme.com to purchase my original cookbook, Lovingly Seasoned Eats and Treats in either a spiral bound soft cover OR NEW, a Downloadable PDF version. The cookbook has almost 1000 recipes on almost 500 pages! Check out the Cookbook Testimonials while you’re there!

Until next time remember to,
Eat fresh, shop local & have a happy day,
Jean

Copyright Policy

All text and images on this site are copyright of For Dragonflies And Me. Unless otherwise noted, you may not use this content.

This post may contain affiliate links. If you choose to purchase through an affiliate link, I may receive a small commission at no additional cost to you. You can see my full disclaimer here.

How to Properly Harvest Green Beans: Here’s how to stimulate continual production

A garden is a grand teacher. It teaches patience and careful watchfulness; it teaches industry and thrift; above all it teaches entire trust. — Gertrude Jekyll

If you’re new to gardening, you may not know there is a proper way to harvest beans. This technique is also related to harvesting peas as well. In order to ensure a bountiful harvest, you must harvest your beans properly.

Check out my easy tutorial at my YouTube channel!

Happy gardening friends!

I certainly hope you are encouraged to garden. Even if you start with only two or three of these things, that’s a great start! 

To learn more on how to freeze your garden produce, check out my blog: Freezing Vegetables: A simple guide to freezing your gardens bounty

Be sure to check out my Blog Post on my Top 10 Favorite & Easy Vegetables to Grow for the Home Gardener!

Subscribe to our newsletter to get the latest stories in your inbox.

If you enjoyed this episode, please LIKE, Follow, Share & leave me a comment! I love your feedback!

Processing…
Success! You're on the list.

If you aren’t following me on Facebook or Instagram, go on over & give a LIKE & Follow me for daily tips & tricks for your home & garden!

Until next time friends, eat fresh, shop local, & have a happy day,
Jean

Copyright Policy

All text and images on this site are copyright of For Dragonflies And Me. Unless otherwise noted, you may not use this content.

This post may contain affiliate links. If you choose to purchase through an affiliate link, I may receive a small commission at no additional cost to you. You can see my full disclaimer here.
The Best Homemade Pesto: and you don’t need pine nuts!

“Cooking is one of the greatest gifts you can give to those you love.” – Ina Garten

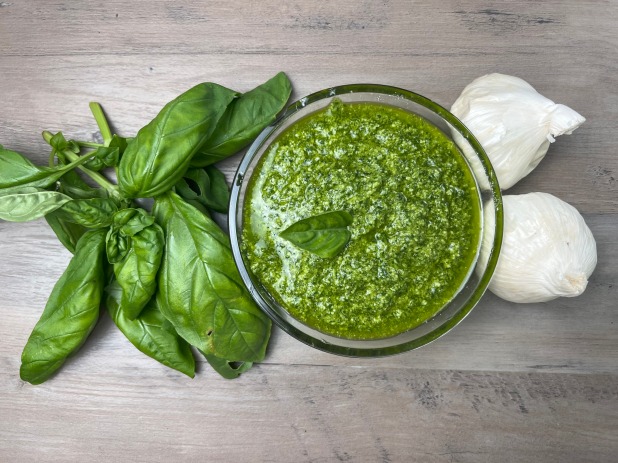
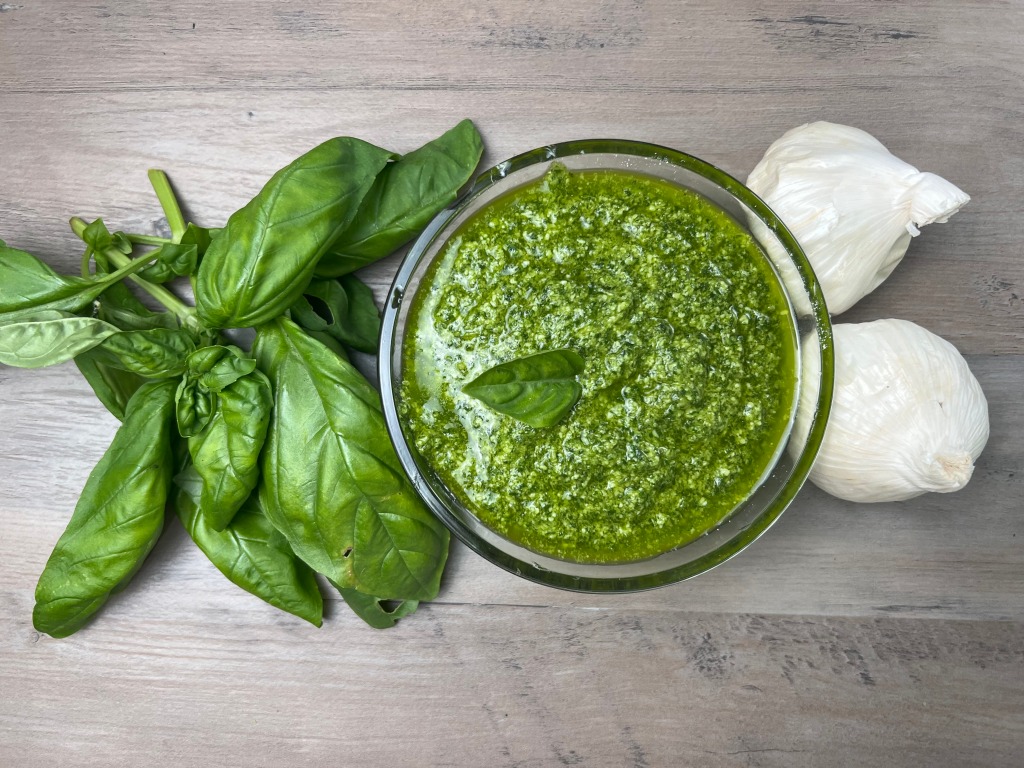
Pesto is one of our family favorites! Fresh basil from the garden is one of summer’s more wonderful gifts! Here is a very simple recipe for my homemade pesto without pine nuts!

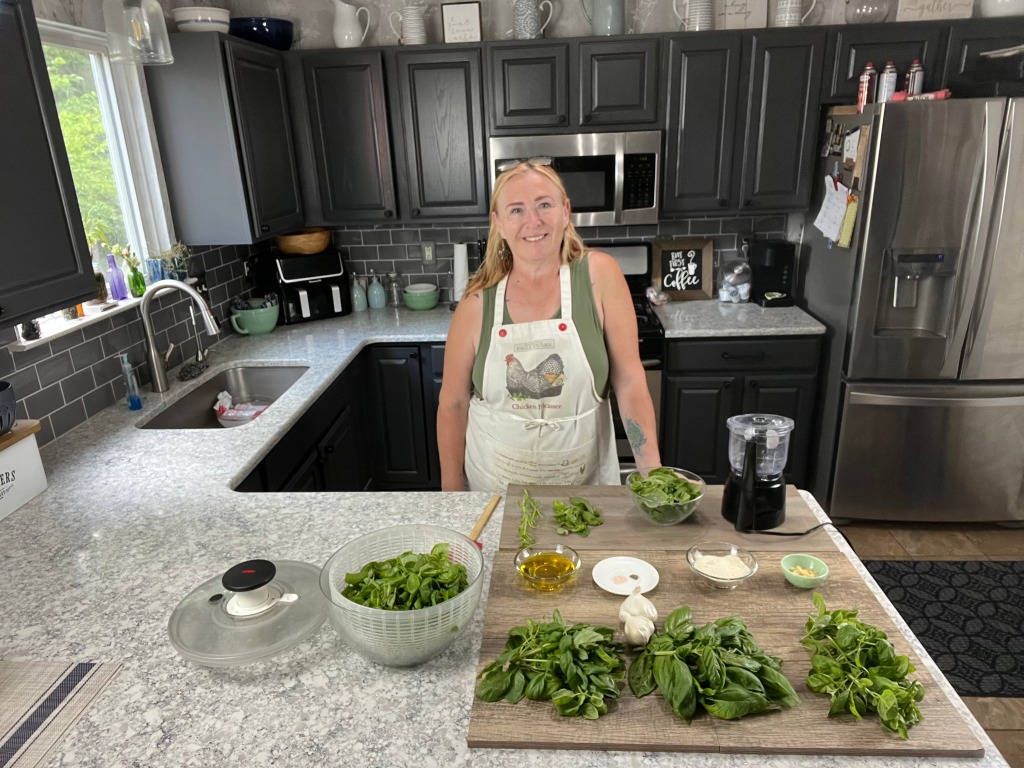
Check out my YouTube Video on how and scroll down to see the complete list of ingredients and directions with a few additional Pro Tips!

To see more homemade pesto recipes check them out below!

Our Favorite Recipes

Yields: 1 cup finished product

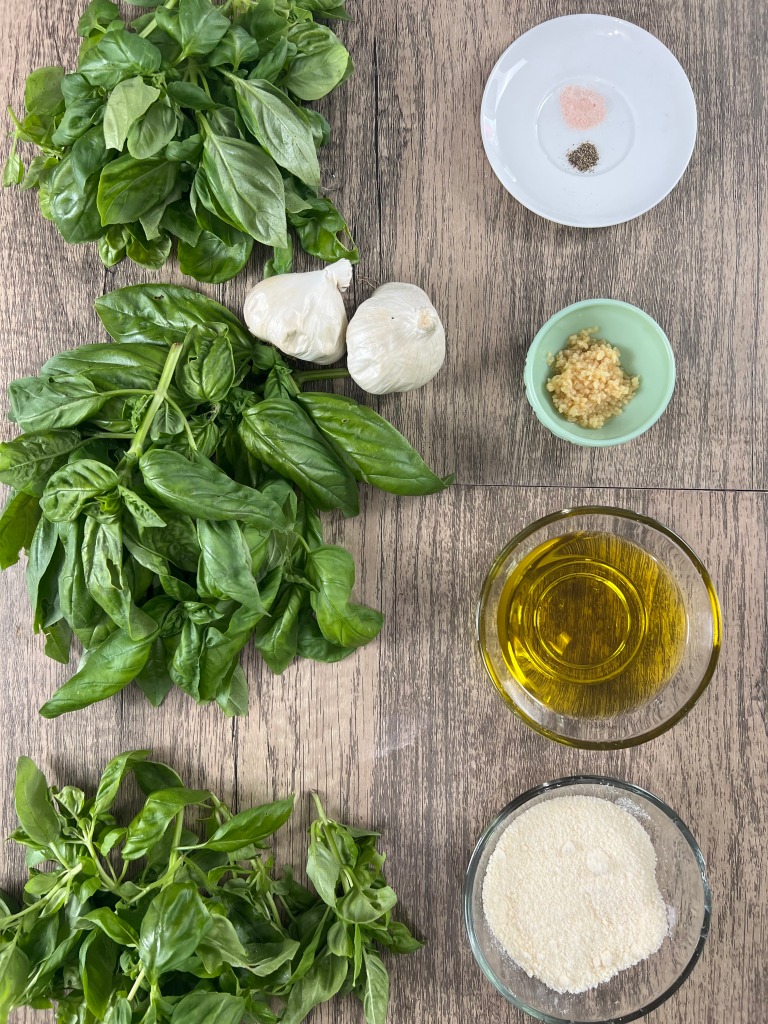
2 cups packed fresh basil leaves, with stems removed

½ cup extra virgin olive oil

½ cup grated parmesan cheese

3 to 5 fresh garlic cloves with outer skin and root end removed or 3 to 5 tsp minced

¼ tsp pink Himalayan salt

¼ tsp fresh ground black pepper

1. In a food process pulse basil and garlic. If you are using fresh cloves, no need to mince first~ just toss in the whole cloves with the skin and hard root end removed: pulse on high until completely shredded and is like a paste.

2. Add parmesan cheese, salt and pepper; pulse on high until completely blended. It will be a paste.

3. Add 2 TBSP of the oil at a time pulsing on high until smooth and all oil is added.

4. Remove to a bowl, cover and refrigerate for at least an hour before use to allow flavors to blend.

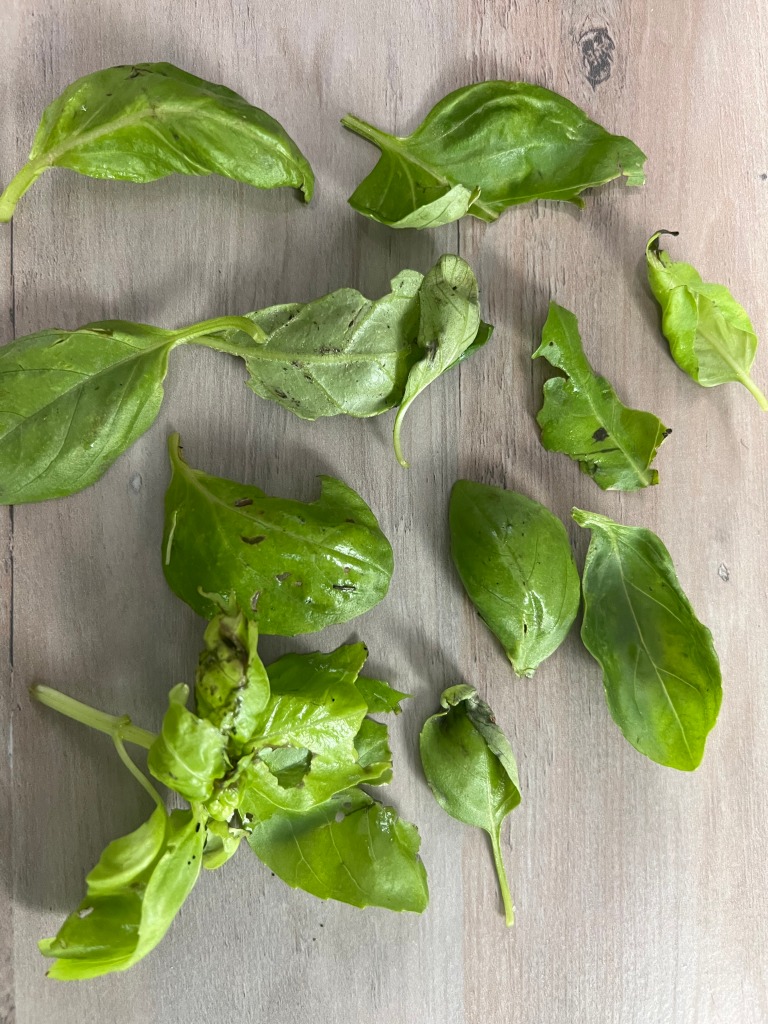
PRO TIP: When harvesting your basil leaves, you want to make sure you only use the best leaves. Avoid using any leaves which have black spots on them or if they have been damaged by an insect eating it. See above leaves for examples of insect damage.

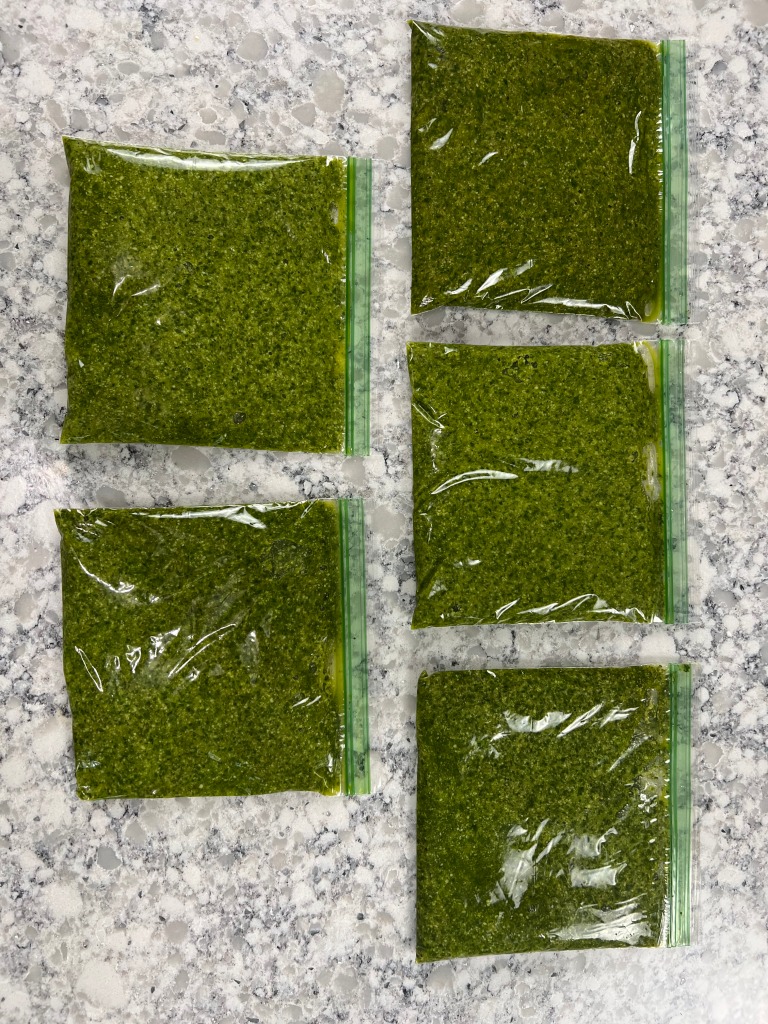
From 10 cups of fresh packed basil leaves I was able to make 5~ 1 cup bags of finished product.

These will be stored in the freezer.

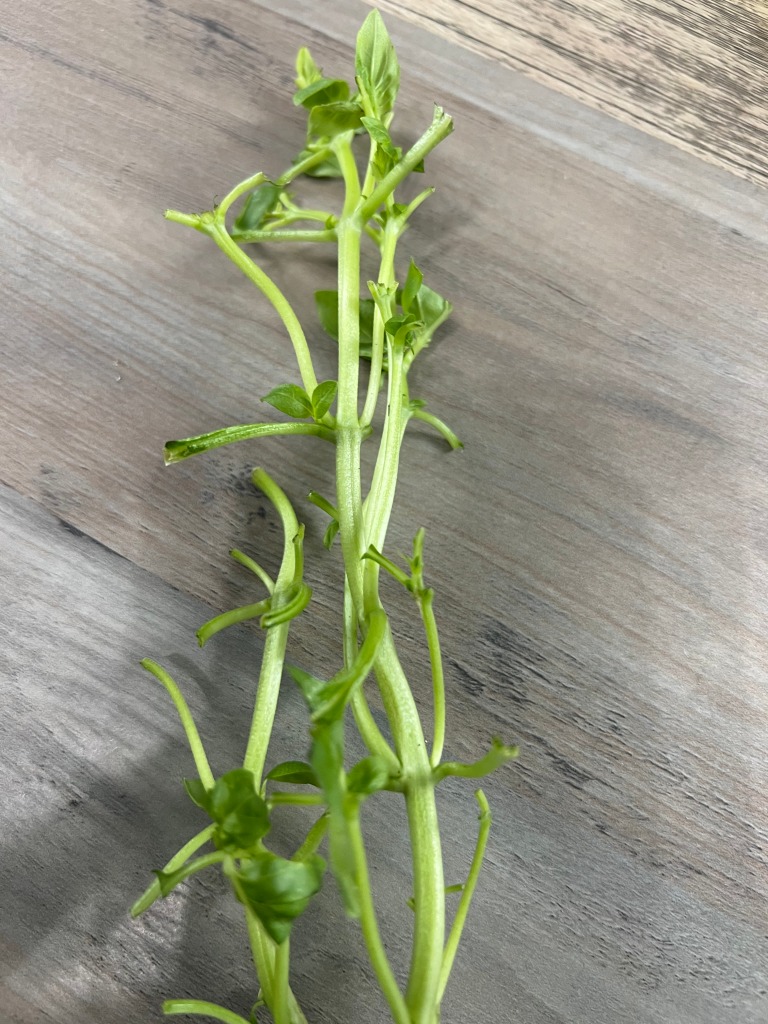
PRO TIP: This is what your stems should look like after you’ve harvested the leaves.

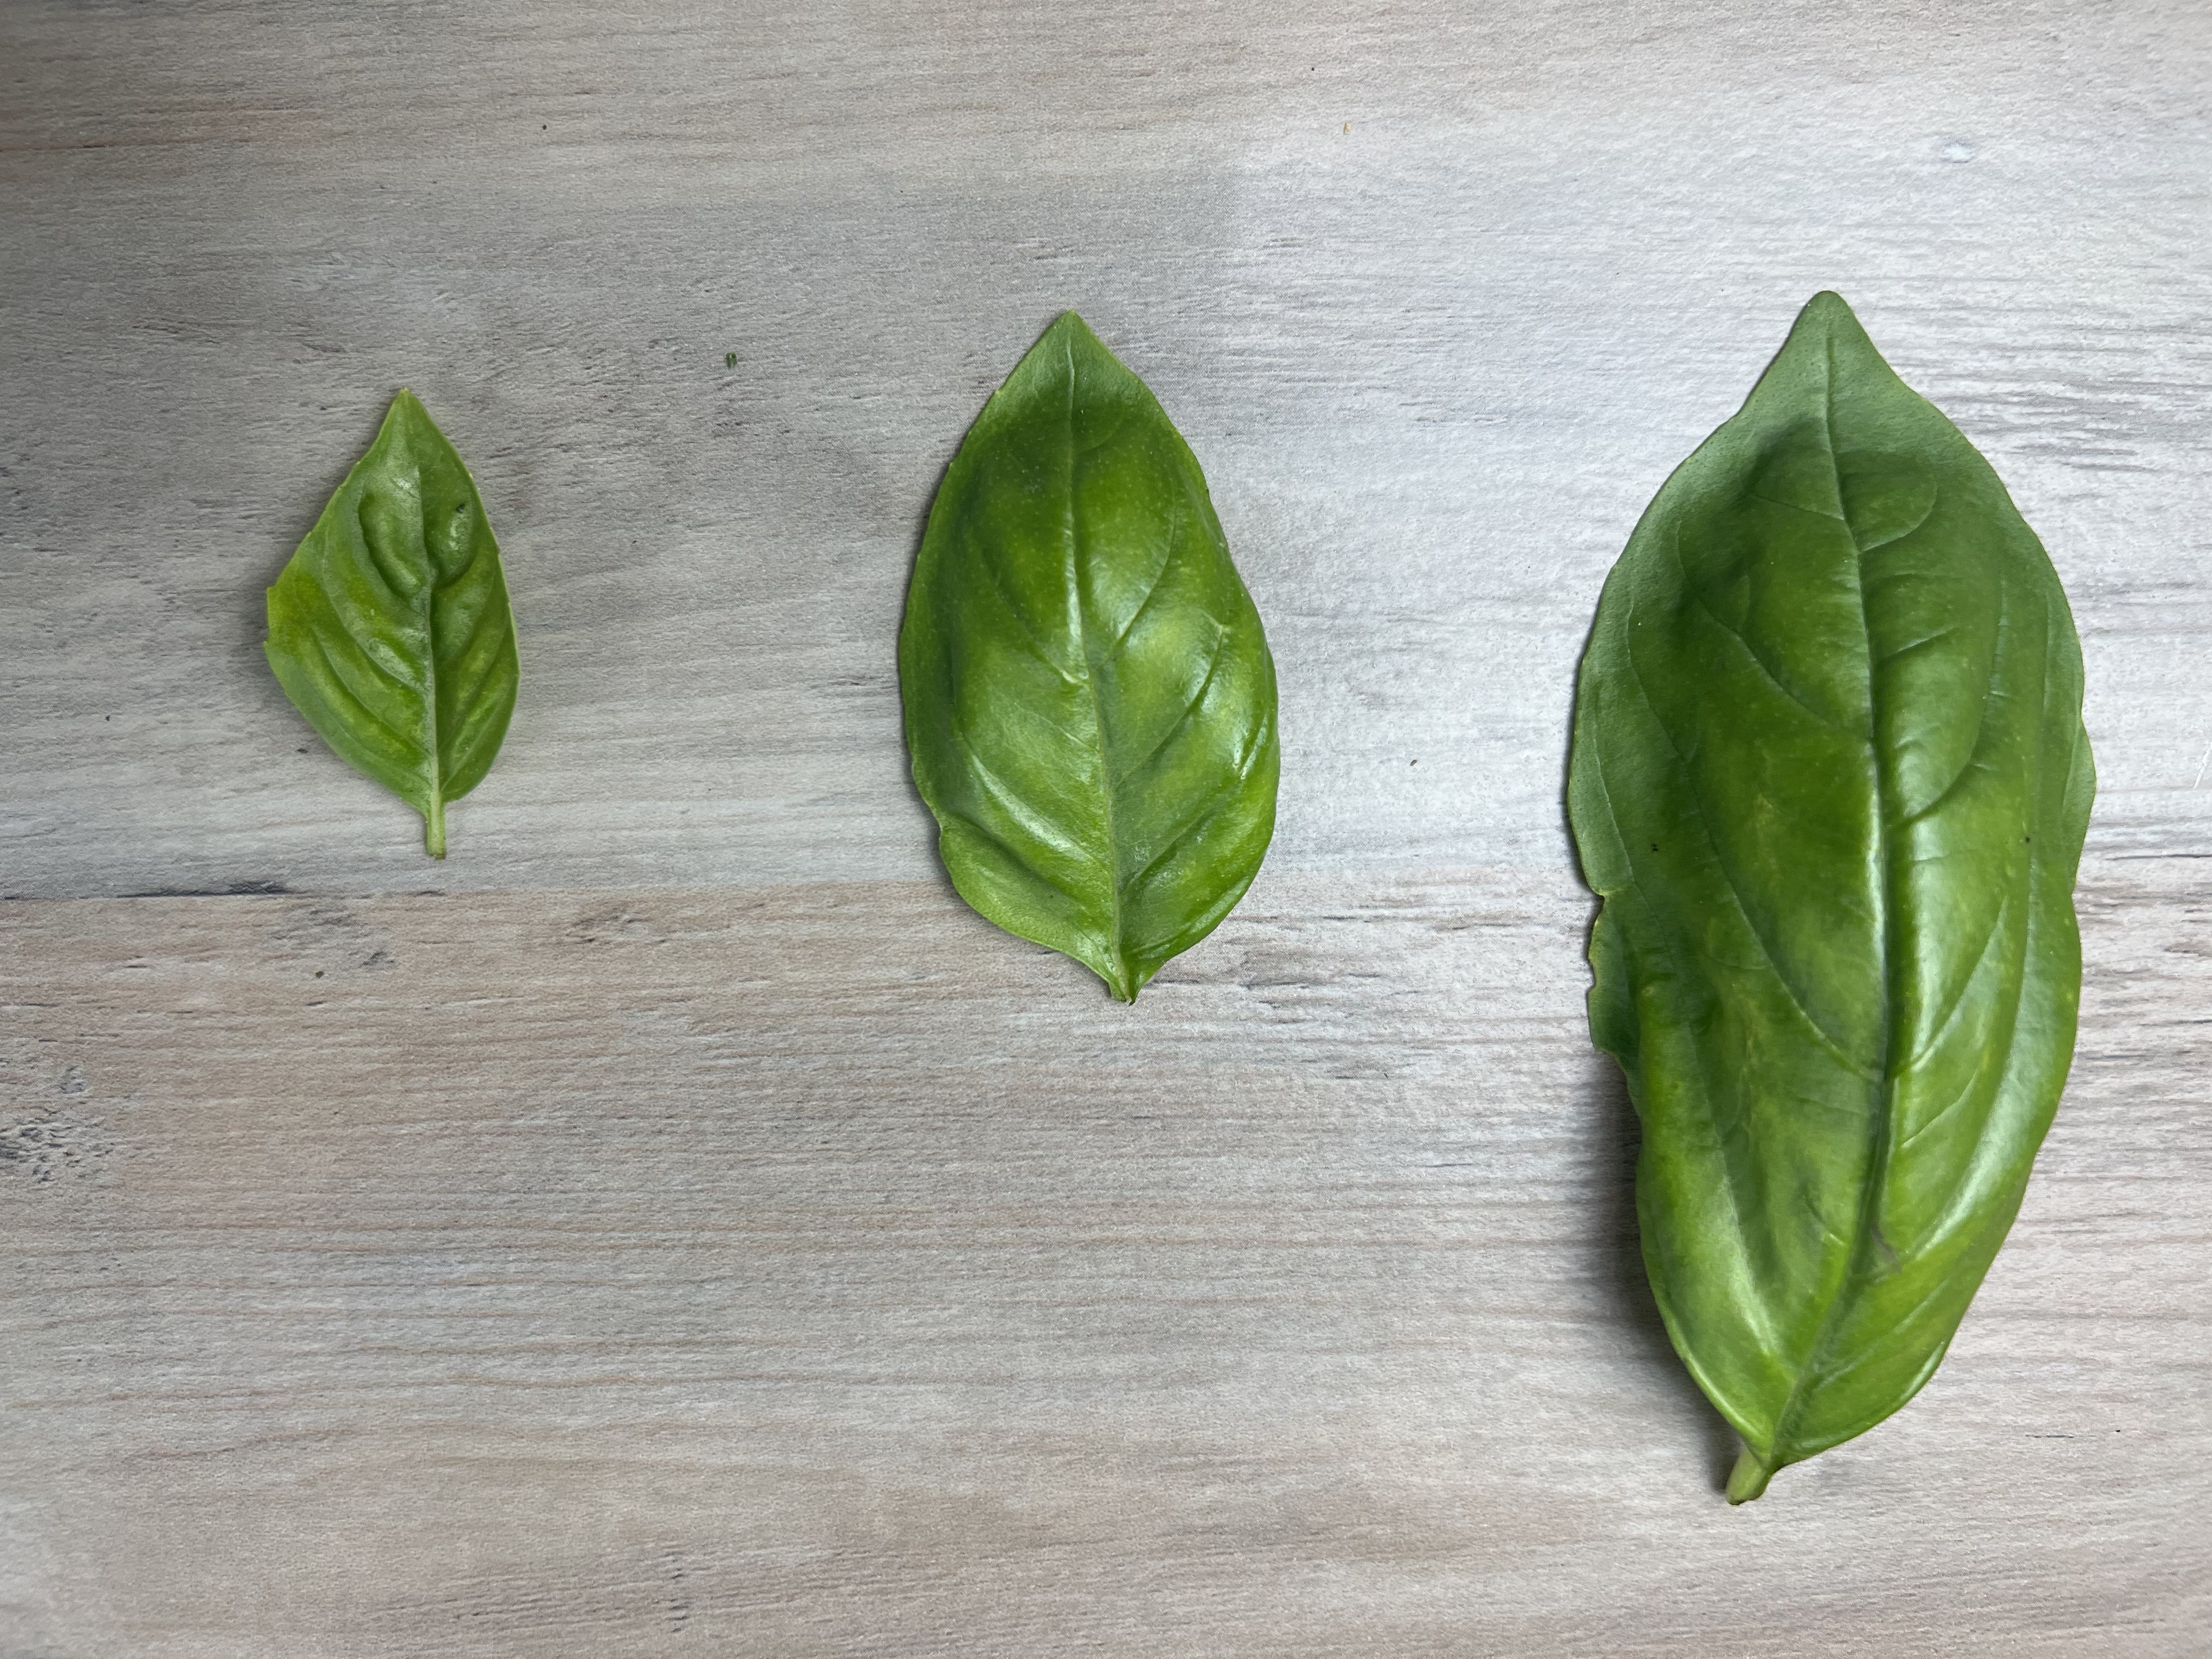
Did you know there are dozens of varieties of basil? Just a few are Thai which has a spicy hint to it, purple basil is very similar to Genovese.

The 3 types of basil in the photo above are in order from left to right: Sweet, Genovese, and my personal favorite Mammoth.

Processing…
Success! You're on the list.

If you aren’t following me on Facebook & Instagram go on over & give a LIKE & Follow me for daily tips & tricks for your home & garden!

For more Pesto recipes check out my previous blogs here:

Jean’s Kale and Toasted Walnut Pesto Recipe!

More on Herbs: Basil and Lavender, Yummy Pesto Recipes

Grilled Chicken Pesto Pasta

Get new recipes delivered to your inbox.

Added bonus: You can go to my blog at http://www.fordragonfliesandme.com to purchase my original cookbook, Lovingly Seasoned Eats and Treats in either a spiral bound soft cover OR NEW, a Downloadable PDF version. The cookbook has almost 1000 recipes on almost 500 pages! Check out the Cookbook Testimonials while you’re there!

Until next time remember to,
Eat fresh, shop local & have a happy day,
Jean

Copyright Policy

All text and images on this site are copyright of For Dragonflies And Me. Unless otherwise noted, you may not use this content.

This post may contain affiliate links. If you choose to purchase through an affiliate link, I may receive a small commission at no additional cost to you. You can see my full disclaimer here.
Easy Recipe How-to Make Strawberry Rhubarb Jam~ Freezer or Canned

“Cooking is therapy: Making meals helps to reduce stress, heal a broken heart, among other benefits.” Author Unknown

Spring abounds with good stuff! The first treats from the garden are asparagus and rhubarb along with lettuces, scallions, and other greens. Shortly after we receive a bounty of strawberries… all is good in the garden!

Today’s recipe has been a long time favorite with my kids, and I’m super excited to be able to share it with all of you! You can either can or freeze this recipe.

Check out my YouTube Video below to watch me make this super easy & delicious recipe!

Would you like to have your own rhubarb? Easy peasy friends, CLICK HERE for my tutorial on to grow your own & care for, PLUS BONUS YouTube Video on how to properly harvest rhubarb!

Our Favorite Recipes

Ingredients: Yields approximately 8 cups of jam

4 cups of fresh or frozen strawberries, mashed to make 2 cups exactly

2 cups chopped fresh or frozen rhubarb

1~ 3.5 ounce package regular pectin 

¼ cup lemon juice

5 ½ cups sugar

Directions:

  1. In a large kettle add everything except the sugar; cook on high. Using a potato masher, stir and mash the mixture so the rhubarb will break down; bring to a boil. 
  2. When the mixture comes to a boil add the sugar and stir into mixture until dissolved. 
  3. Continue stirring and mashing until the mixture comes to a hard rolling boil~ one that won’t stop even when being stirred.
  4. Boil for 1 minute stirring constantly.

Canning Instructions:

  1. Fill ½ pint jars leaving a half inch head space; place a clean lid on making sure there is none of the mixture on the rim of the glass. If there is, it will not seal. Put a ring on tightly. Do this for all the jam.
  2. Place jars in a water bath canner following instructions and bring water to a rolling boil on high heat.
  3. Set a timer for 10 minutes; remove from heat onto a cooling rack.
  4. Let stand on the counter for 24 hours.

If any jars didn’t seal, simply freeze them.

Freezing Instructions:

  1. Fill freezer containers leaving a half inch headspace for expansion when freezing.
  2. Let stand on the counter for 24 hours.

You can freeze for up to 1 year.

If you enjoyed this blog, please LIKE, Follow, Share & leave me a comment! I love your feedback~

Click here to watch my Strawberry Rhubarb Dump Cake recipe!

Get new recipes delivered to your inbox.

If you aren’t following me on Facebook & Instagram go on over & give a LIKE & Follow me for daily tips & tricks for your home & garden! 

Processing…
Success! You're on the list.

Added bonus: You can go to my blog at http://www.fordragonfliesandme.com to purchase my original cookbook, Lovingly Seasoned Eats and Treats in either a spiral bound soft cover OR NEW, a Downloadable PDF version. The cookbook has almost 1000 recipes on almost 500 pages! Check out the Cookbook Testimonials while you’re there!

Until next time remember to,
Eat fresh, shop local & have a happy day,
Jean

Easy How-to Make Freezer Strawberry Jam

“We’re only truly secure when we can look out our kitchen window and see our food growing and our friends working nearby.” ― Bill Mollison

Strawberry Jam is one of the first things I preserve each year.. and all the men in my home are so happy when I do! I am making this first small batch using store bought strawberries so I can get the recipe out before the Michigan strawberry season starts for all of you.

Fresh strawberry jam is by far superior to canned, in my opinion and my boys lol! Check out my YouTube video for a step by step tutorial and then read on below for the complete list of ingredients & directions. Enjoy friends!

Do you know the difference between jam or preserves, jelly, & marmalade? Well friends, there is a difference. In the coming weeks & throughout the summer and fall, I’ll be showing you how-to make all of the above, but here is a quick differentiation~ Jam or preserves generally have chunks or bits of fruit in it, jelly is made just from the juice, marmalade generally made with citrus using the whole fruit with or without some of the rind in it.

You’ll have the opportunity to watch me prepare this recipe live at both The Farmington Farmers & Artisans Market on June 17th, 2023 at 10am. Check out my complete list of classes with more being added regularly at my Where’s Jean page.

Our Favorite Recipes

Ingredients: Yields 5 Cups Finished Jam

4 cups or 1 quart of fresh strawberries

4 cups sugar

1~ 1.75 ounce box of Sure-Jel Premium Fruit Pectin
THIS RECIPE IS NOT FOR SUGAR FREE OR LOW SUGAR JAM!

3/4 cup cold water

What you will need:

  • 1 medium saucepan
  • Whisk
  • Large bowl
  • 1 dry ingredients measuring cup that holds at least 4 cups

1. Destem and cut off any bad spots from the strawberries, cut in half or quarter depending on how large the berries are.

2. Using a dry measuring cup to measure the exact amount of prepared fruit to 2 cups.

Reserve any extra crushed berries to the side.

3. Place in a large bowl; mash fruit to desired consistency of chunkiness.

4. Measure EXACT amount of sugar and add the crushed berries stirring until thoroughly blended to a soupy consistency;

Let set for 10 minutes stirring a couple times in between.

5. After your berry and sugar mixture has been setting for approximately 4 to 5 minutes begin the water and pectin mixture.

6. Place the ¾ cup of water into a saucepan and add pectic stirring constantly; bring to a boil on high heat stirring constantly; boil on high heat for 1 minute.

7. Add pectin mixture to the berry mixture and stir constantly for 3 to 4 minutes. The heat of the pectin and stirring motion will work at dissolving the sugar.

If there is still a bit of grainy texture to the mixture you can stir it for an additional minute or so. It will continue to dissolve as it sets up.

8. Ladle the mixture into plastic freezer containers or glass canning jars, leaving 1 inch head space from the top of the container; cover with lids.

9. Let stand at room temperature for 24 hours and then refrigerate for up to 3 weeks or freeze for up to 1 year.

You can find a similar recipe for a larger quantity in my cookbook on page 425 along with many other super yummy jam & jelly recipes!

Check out my delicious Peach Marmalade recipe here!

If you enjoyed this blog, please LIKE, Follow, Share & leave me a comment! I love your feedback~

Get new recipes delivered to your inbox.

If you aren’t following me on Facebook & Instagram go on over & give a LIKE & Follow me for daily tips & tricks for your home & garden! 

Added bonus: You can go to my blog at http://www.fordragonfliesandme.com to purchase my original cookbook, Lovingly Seasoned Eats and Treats in either a spiral bound soft cover OR NEW, a Downloadable PDF version. The cookbook has almost 1000 recipes on almost 500 pages! Check out the Cookbook Testimonials while you’re there!

Until next time remember to,
Eat fresh, shop local & have a happy day,
Jean


Copyright Policy
All text and images on this site are copyright of For Dragonflies And Me. Unless otherwise noted, you may not use this content.