Introduction to March gardening
The warmer days of spring are finally arriving and I couldn’t be more elated! This is the time of year where I start to get very antsy to get out into the raised beds… commune with nature… and breath in that fresh, crisp spring air. If you’re a gardener, you know exactly what I’m talking about.
March brings renewal of life. Buds start to pop on the trees and spring blooming plants. There is new life abounding around us!
As the winter frost begins to thaw and the days gradually lengthen, March marks the beginning of an exciting time for us gardeners. It’s a month filled with anticipation and the promise of a bountiful season ahead. In this guide, I’ll explore the essential tasks to prep your garden for a successful and productive year. Let’s get our hands dirty friends!

Essential tasks for March gardening
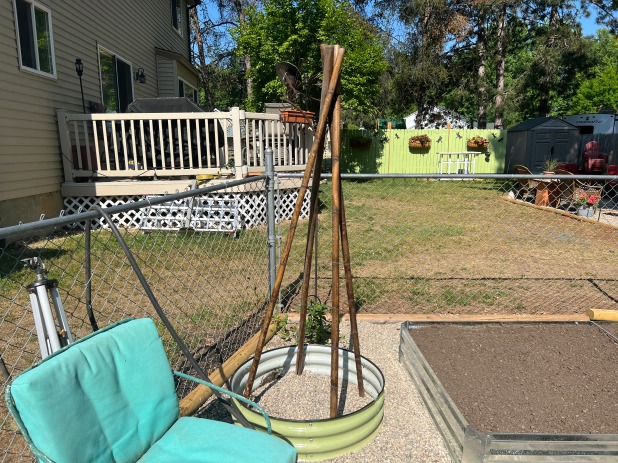
Preparing the soil for planting
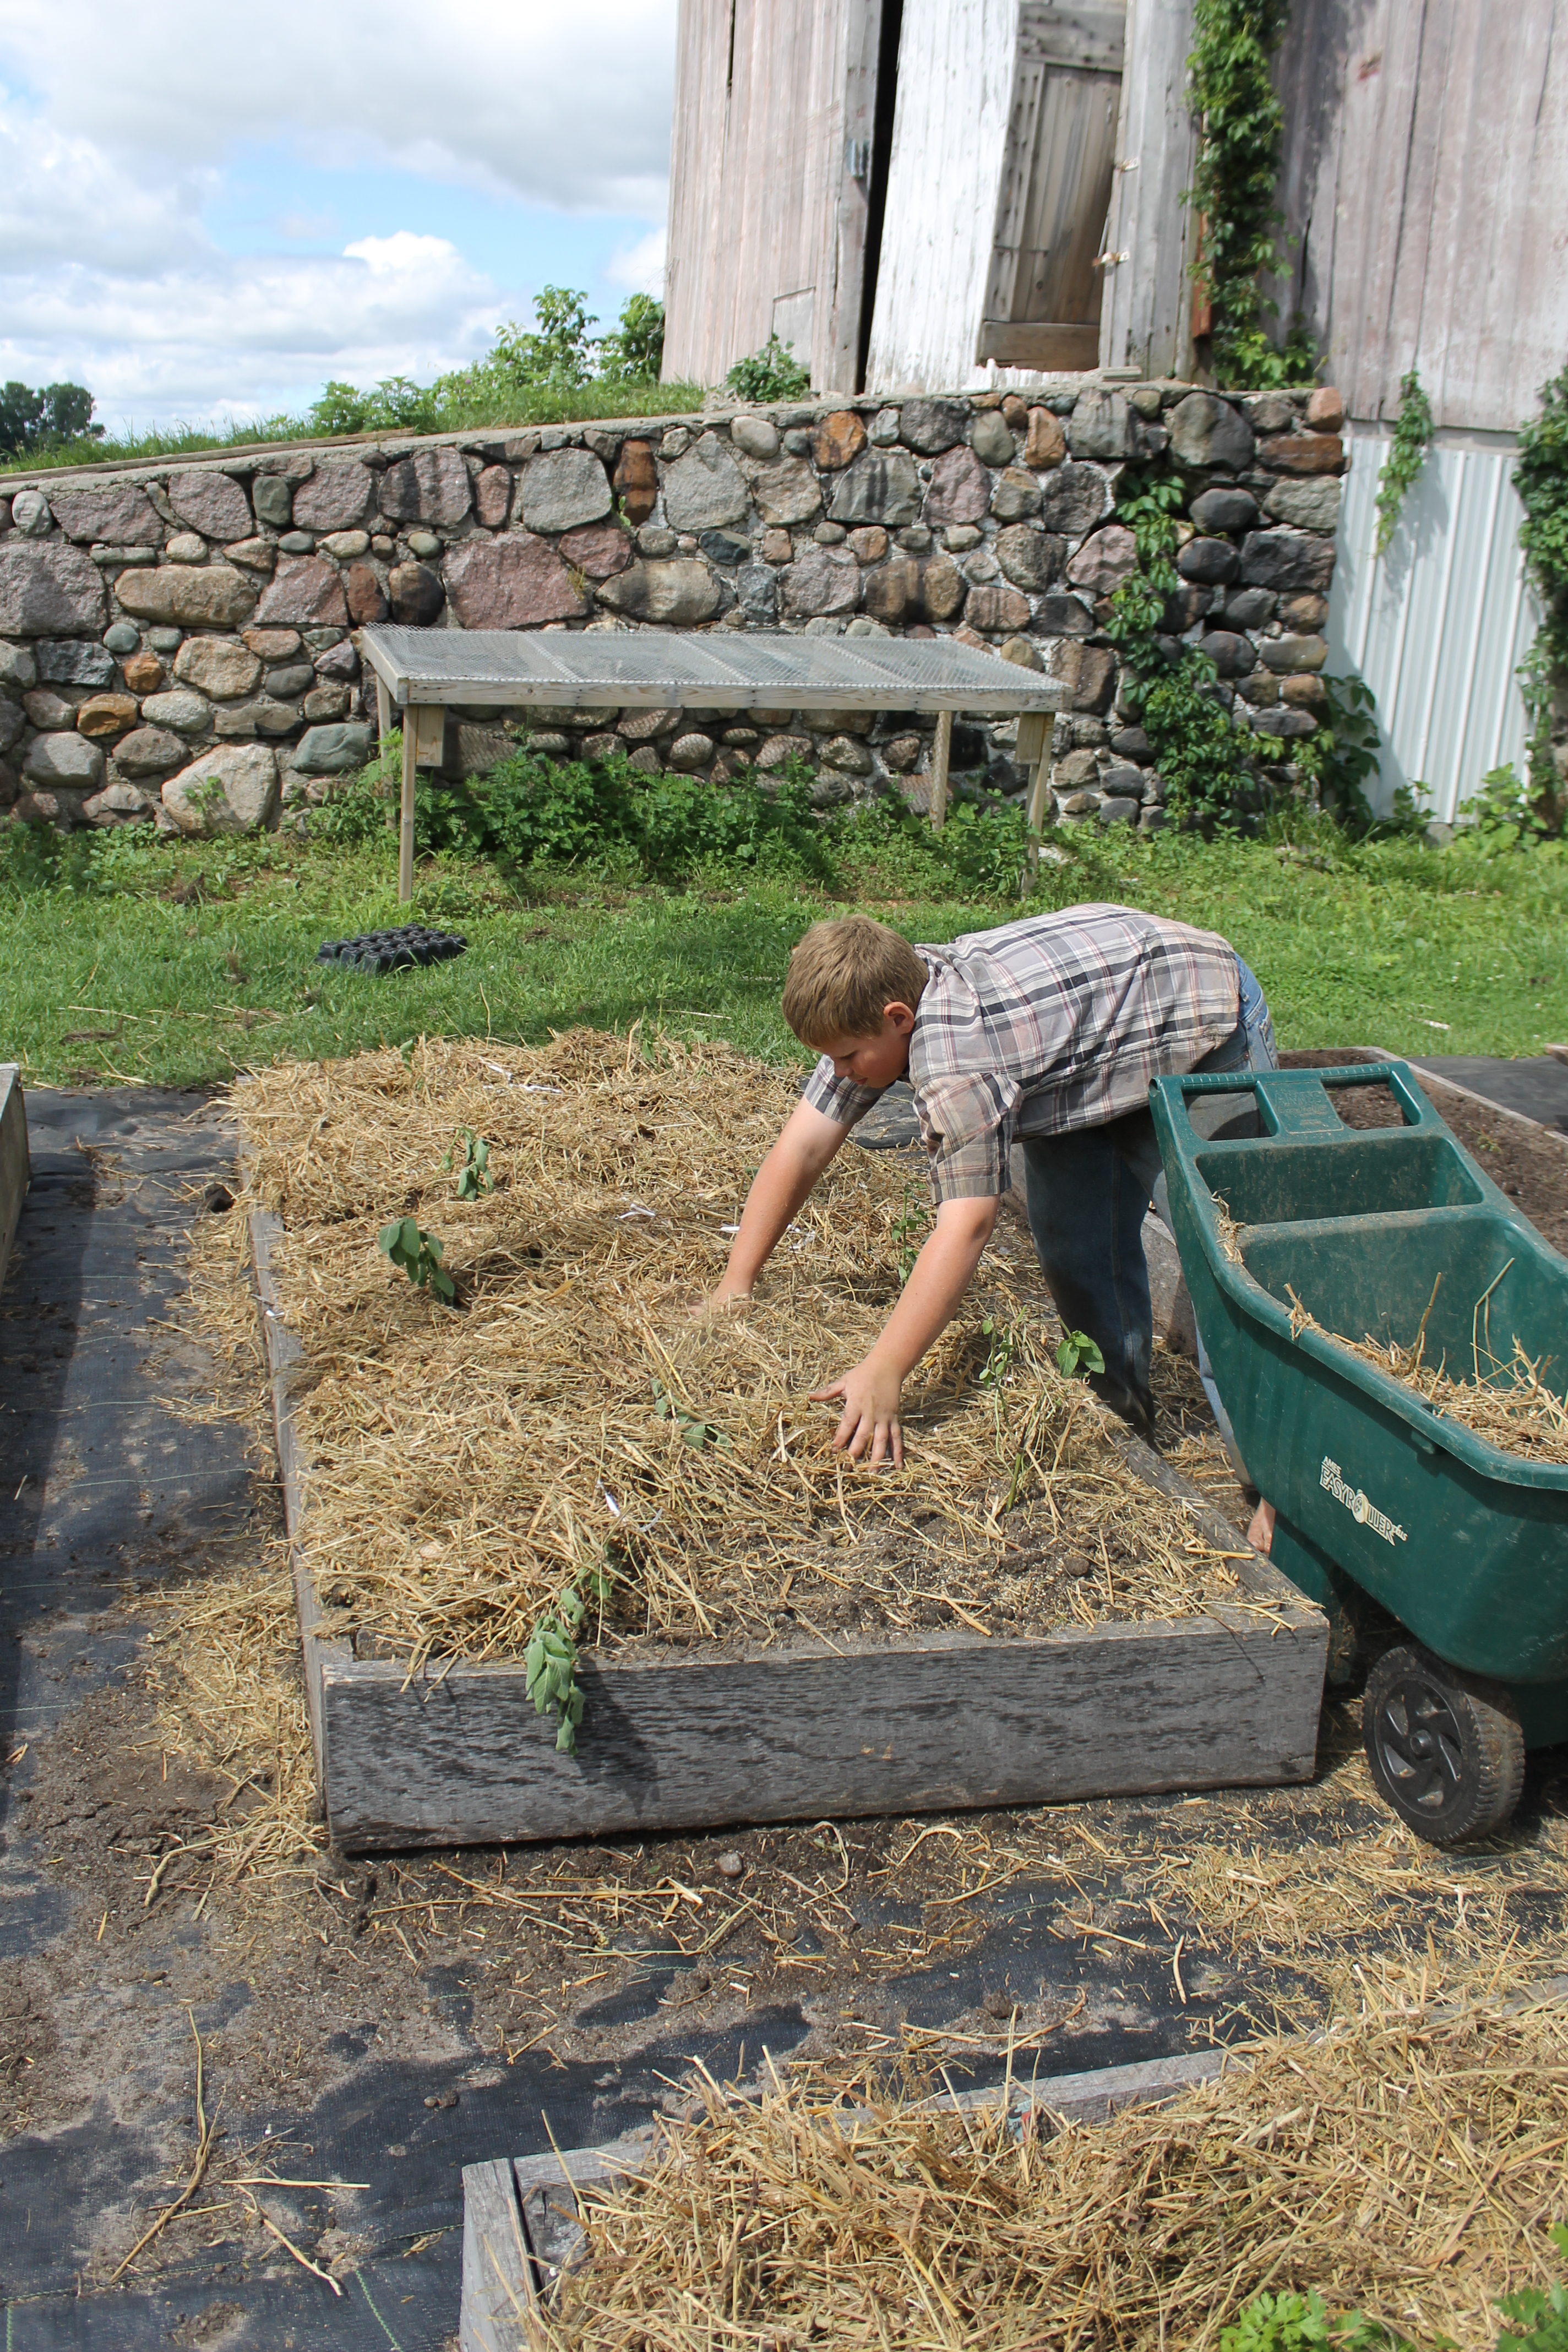
One of the most crucial tasks in March gardening is preparing the soil for planting. Start by removing any debris, such as fallen leaves or weeds, from the garden beds. Clearing the soil allows for better air circulation and prevents the growth of harmful pathogens. Once the area is cleared, it’s time to improve the soil’s fertility. Add compost or well-rotted manure to enrich the soil with essential nutrients. Work the organic matter into the soil using a garden fork or tiller, ensuring it is evenly distributed.

Join the list
Join hundreds of our subscribers and be the first to know about new content and special offers.
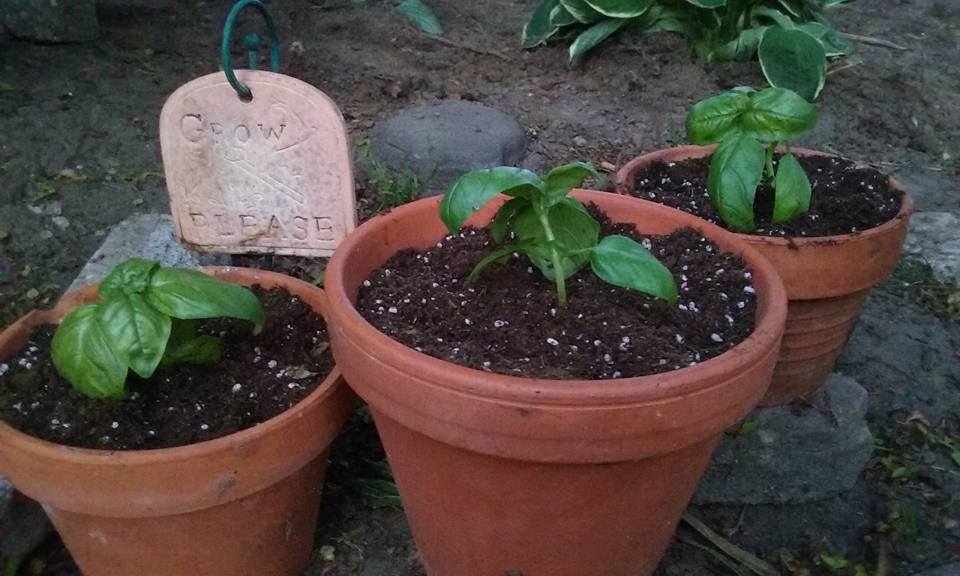
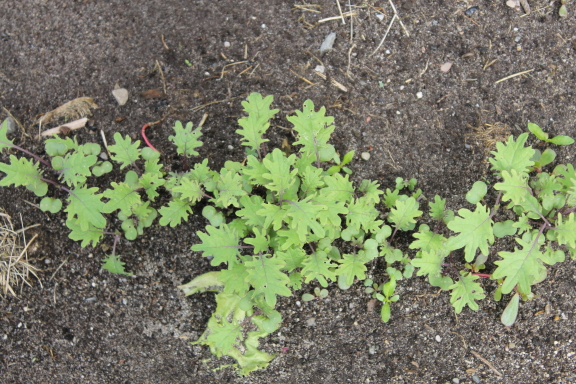
Planting and transplanting in March
March presents an excellent opportunity to start sowing seeds and transplanting seedlings into the garden. Begin by identifying the plants suitable for early planting. These include cool-season vegetables like lettuce, spinach, peas, and radishes. Follow the instructions on the seed packets for proper sowing depth and spacing. Additionally, consider starting seeds indoors for warm-season vegetables like tomatoes, peppers, and eggplants. Transplant these seedlings into larger containers once they have developed a few sets of true leaves, and gradually acclimate them to outdoor conditions before planting them in the garden.

March gardening maintenance tips
To ensure a thriving garden throughout the season, it’s important to stay on top of maintenance tasks in March. Regularly water your plants, especially newly sown seeds and transplants, as they require consistent moisture to establish strong roots. Mulching is another essential maintenance practice. Apply a layer of organic mulch, such as straw or wood chips, around your plants to conserve moisture, suppress weed growth, and regulate soil temperature. Regularly inspect your garden for signs of pests or diseases, and take appropriate measures to prevent or control them. Finally, keep an eye on the weather forecast and protect tender plants from unexpected late frosts by covering them with frost blankets or cloths.
Pest and weed control in March

As the garden comes to life in March, so too do the pests and weeds. Vigilance in pest and weed control is essential to maintain a healthy and thriving garden. Start by practicing good garden hygiene. Remove any dead plant material, as it can harbor pests and diseases. Handpick larger pests, such as caterpillars or slugs, and dispose of them. Consider using organic pest control methods, such as insecticidal soaps or neem oil, to target specific pests while minimizing harm to beneficial insects. When it comes to weed control, prevention is key. Apply a layer of mulch to suppress weed growth, and promptly remove any weeds that do emerge to prevent them from competing with your plants for nutrients and water.
March gardening challenges and how to overcome them
While March brings excitement and anticipation for the gardening season, it also comes with its fair share of challenges. Erratic weather conditions, such as late frosts or heavy rains, can pose a threat to young and tender plants. To overcome this challenge, stay informed about the local weather forecast and take proactive measures to protect your plants when necessary. Cover them with frost blankets or cloths during cold nights, and provide temporary shelter during heavy rains to prevent waterlogging. Another challenge in March gardening is the emergence of persistent weeds. Regularly inspect your garden and promptly remove any weeds before they have a chance to establish and spread. Remember, early intervention is key to preventing weed infestations.
Check out the Farmers Almanac for guidance on weather!

March gardening calendar
To help you stay organized and make the most of your time in the garden, here’s a gardening calendar for March:
- Clear garden beds and prepare the soil for planting.
- Sow cool-season vegetables like lettuce, spinach, peas, and radishes.
- Start warm-season vegetable seeds indoors.
- Transplant seedlings into larger containers.
- Water newly sown seeds and transplants regularly.
- Apply organic mulch around plants to conserve moisture and suppress weeds.
- Monitor the garden for pests and diseases, and take appropriate measures for control.
- Stay informed about the local weather forecast and protect plants from late frosts or heavy rains.
- Regularly inspect and remove weeds to prevent infestations.
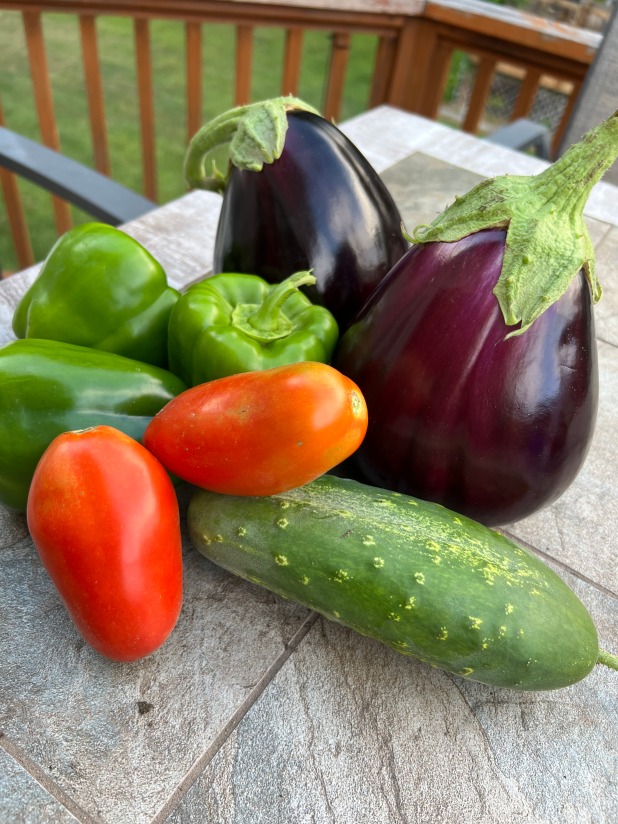
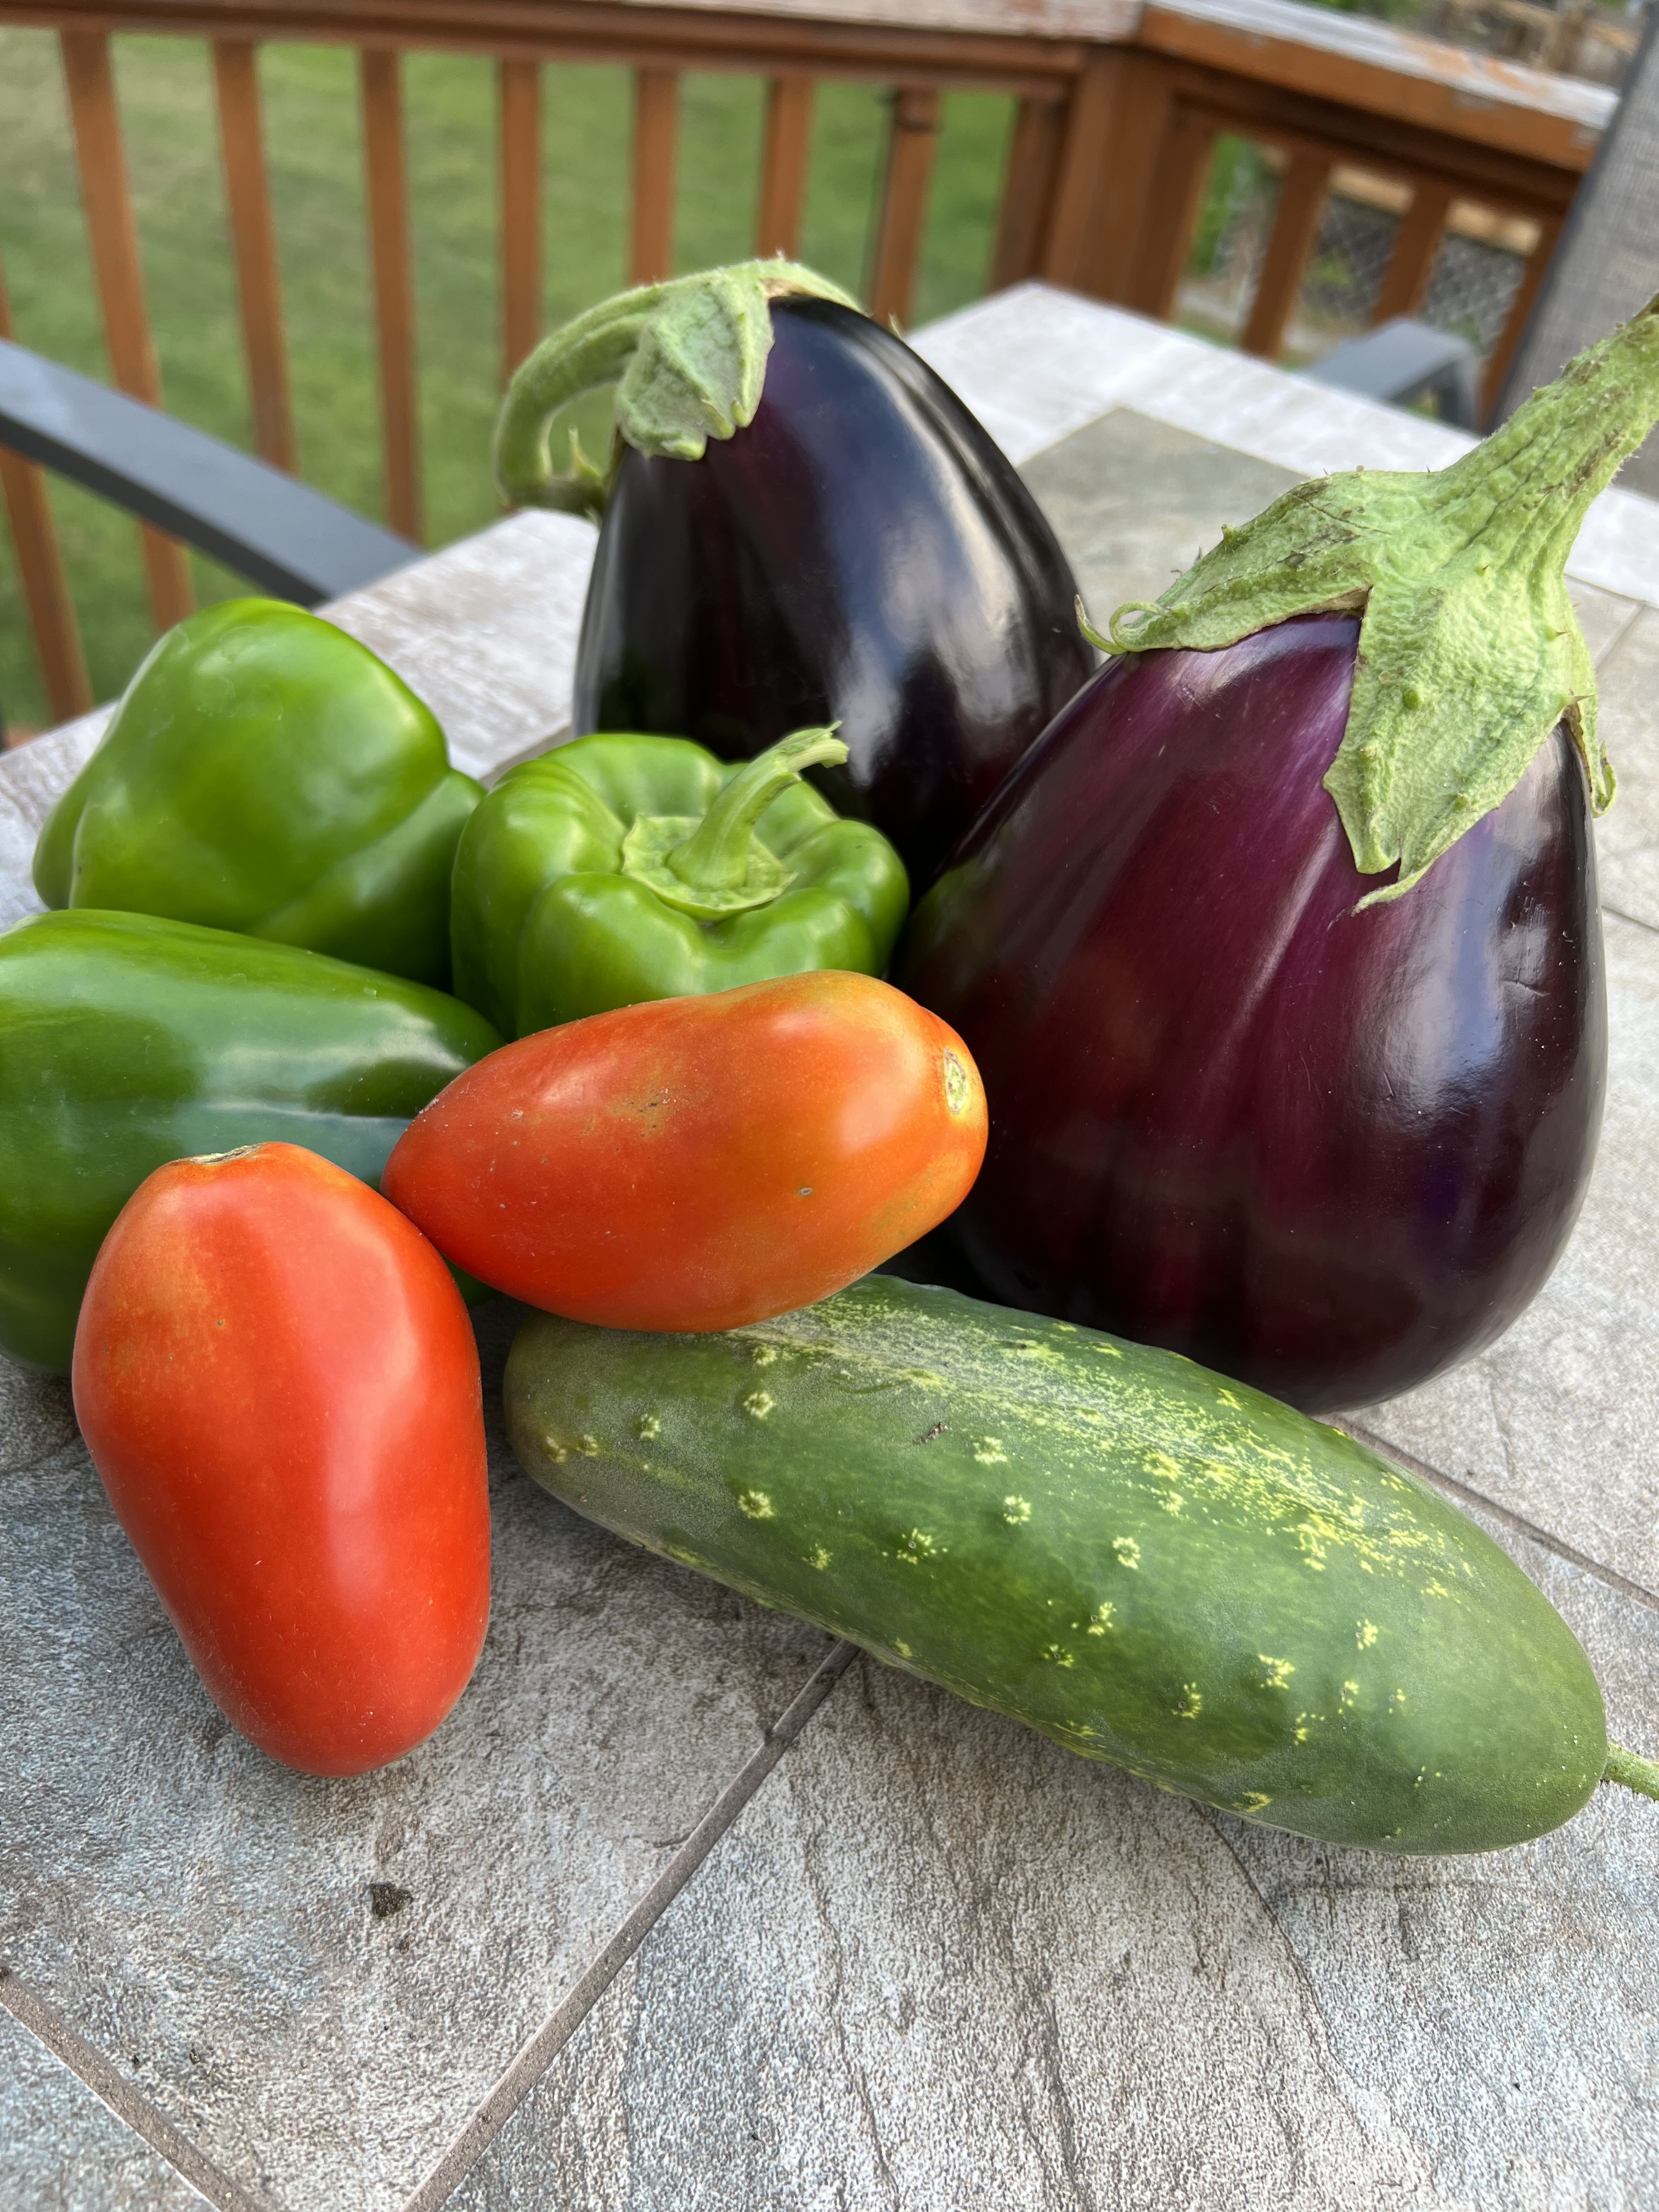
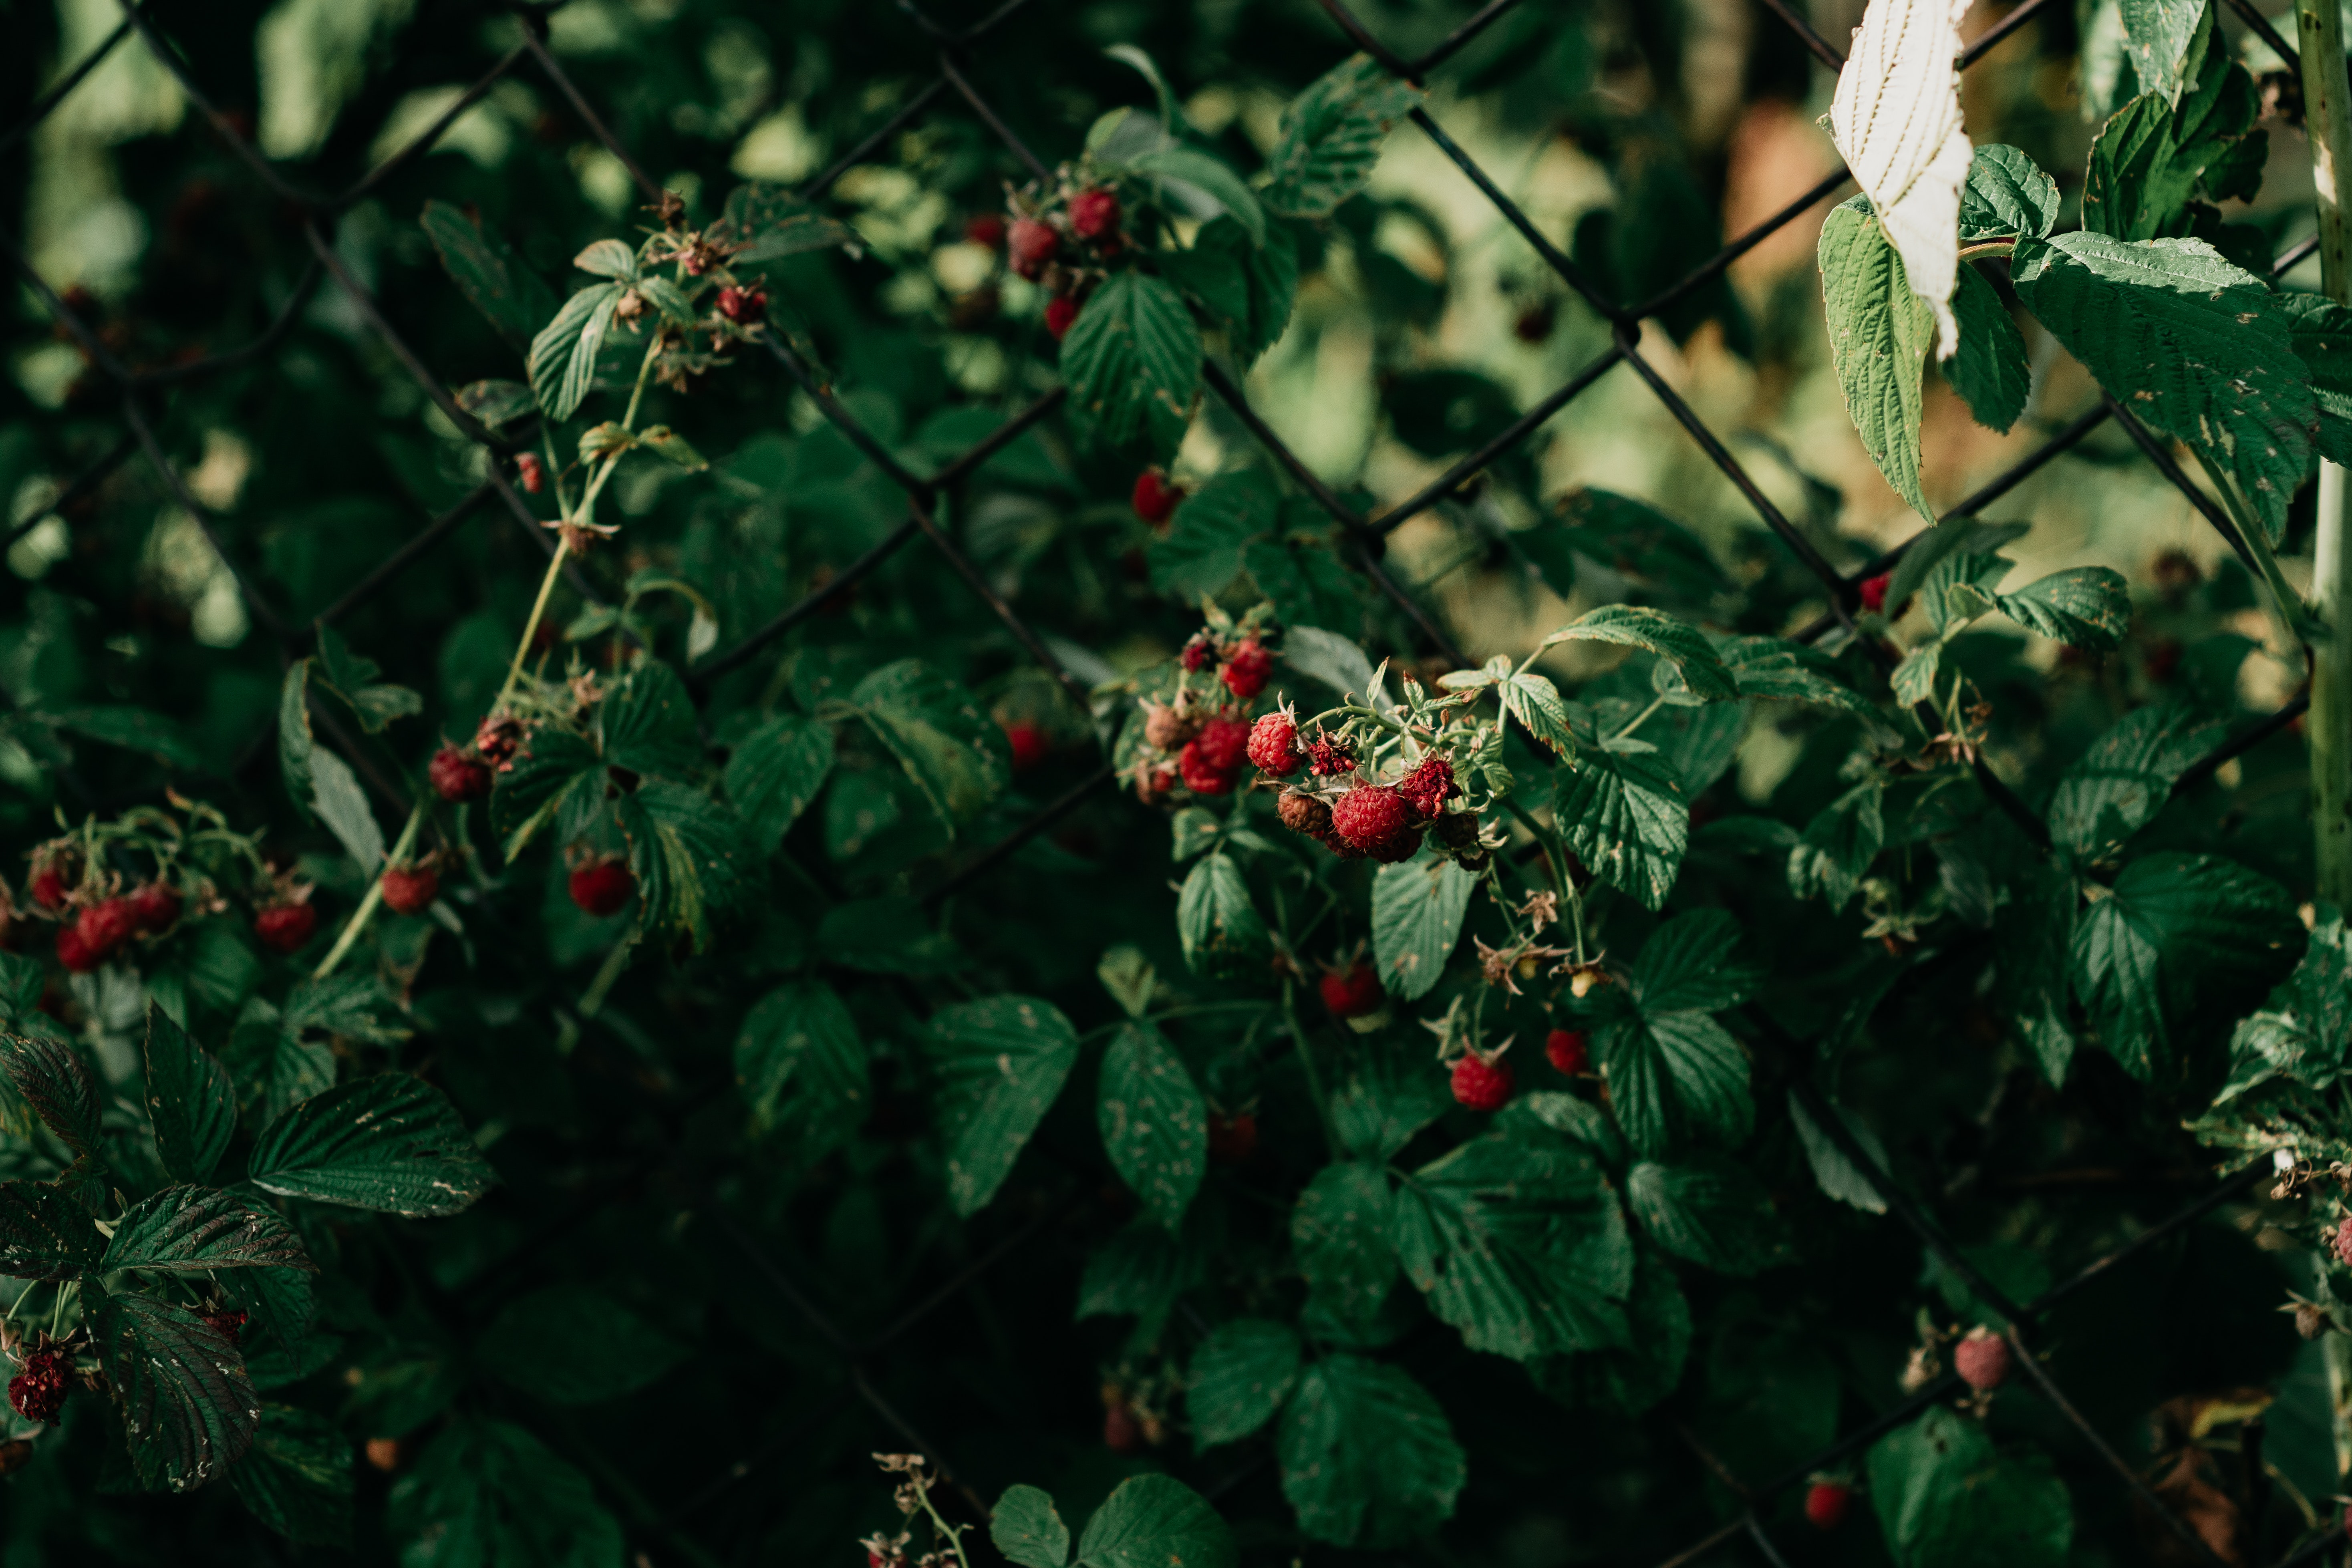
Harvesting and using March produce

As the gardening season progresses, you’ll soon be rewarded with an abundance of fresh produce. In March, you can start harvesting cool-season vegetables like lettuce, spinach, and radishes. Harvest leafy greens when they reach the desired size, and pick radishes when they are firm and vibrant in color. These fresh vegetables can be used in salads, stir-fries, or as garnishes. Additionally, consider preserving your harvest through methods such as freezing or canning to enjoy the flavors of your garden throughout the year.
Check out my super easy Homemade Ranch Dressing YouTube video below! Be sure to also check out my Homemade Thousand Island Dressing & Creamy Parmesan Dressing videos!
Looking ahead to the next gardening season
As we conclude this March gardening guide, it’s important to reflect on the progress made in preparing your garden for a bountiful season. By following the essential tasks outlined, you have set a solid foundation for a successful year of gardening. As the season progresses, continue to adapt and learn from the challenges and joys that gardening brings. Stay observant, maintain regular care, and celebrate each harvest as a testament to your efforts. With each passing month, your garden will flourish, and you will be rewarded with the fruits of your labor. Happy gardening!

CTA: Share your favorite March gardening tips and experiences in the comments below. Let’s grow together!
If you enjoyed this blog , please LIKE, Follow, Share & leave me a comment! I love your feedback!
If you aren’t following me on Facebook & Instagram, go on over & give a LIKE & Follow me for daily tips & tricks for your home & garden!
Remember to eat fresh, shop local, & have a happy day,
Jean
Copyright Policy
All text and images on this site are copyright of For Dragonflies And Me. Unless otherwise noted, you may not use this content
This post may contain affiliate links. If you choose to purchase through an affiliate link, I may receive a small commission at no additional cost to you. You can see my full disclaimer here.