Gardening 101 Day 22 ~From Seed to Sprout: How to Tips and Tricks for Successfully Starting Seeds Indoors

“The lesson I have thoroughly learnt, and wish to pass on to others, is to know the enduring happiness that the love of a garden gives. ” Gertrude Jekyll
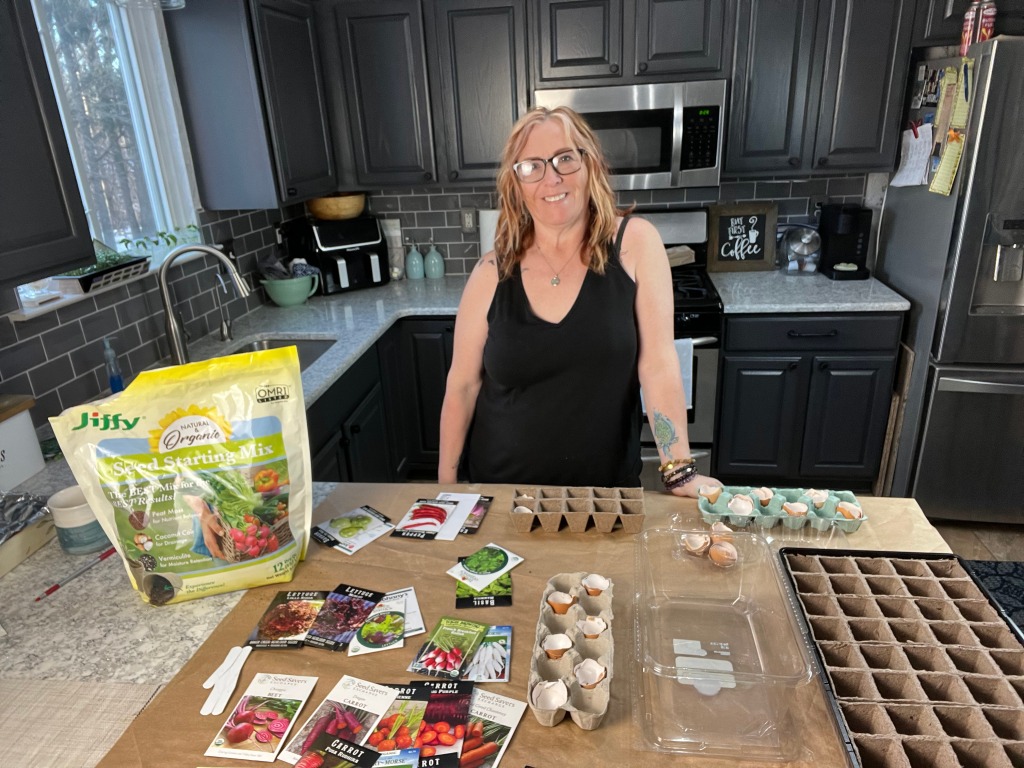
If you’ve been following me for any amount of time, you know my passion for gardening & cooking. Of course in mind, they go hand in hand. Recently on both my Facebook & Instagram I shared starting my seeds! Well, here is the blog to go along with it! 

Whether you’re a novice or experienced gardening enthusiast, you know that starting seeds indoors is a great way to get a head start on the growing season, although if you’re new to this process, it can seem overwhelming. There are so many different brands of seeds, seed starting soil mixes, and containers to choose from, where do you even begin? 

Fear not, fellow green thumbs! Today, I’ll take you through the basics of starting seeds indoors, from selecting the right seeds to caring for your seedlings as they grow. Whether you’re a seasoned gardener looking to refine your skills or a newbie looking to dip your toes into the world of gardening, I’ve got you covered. So, roll up your sleeves, grab some dirt, and let’s get started on our journey from seed to sprout!

Now lets chat about how to successfully start your seeds indoors!
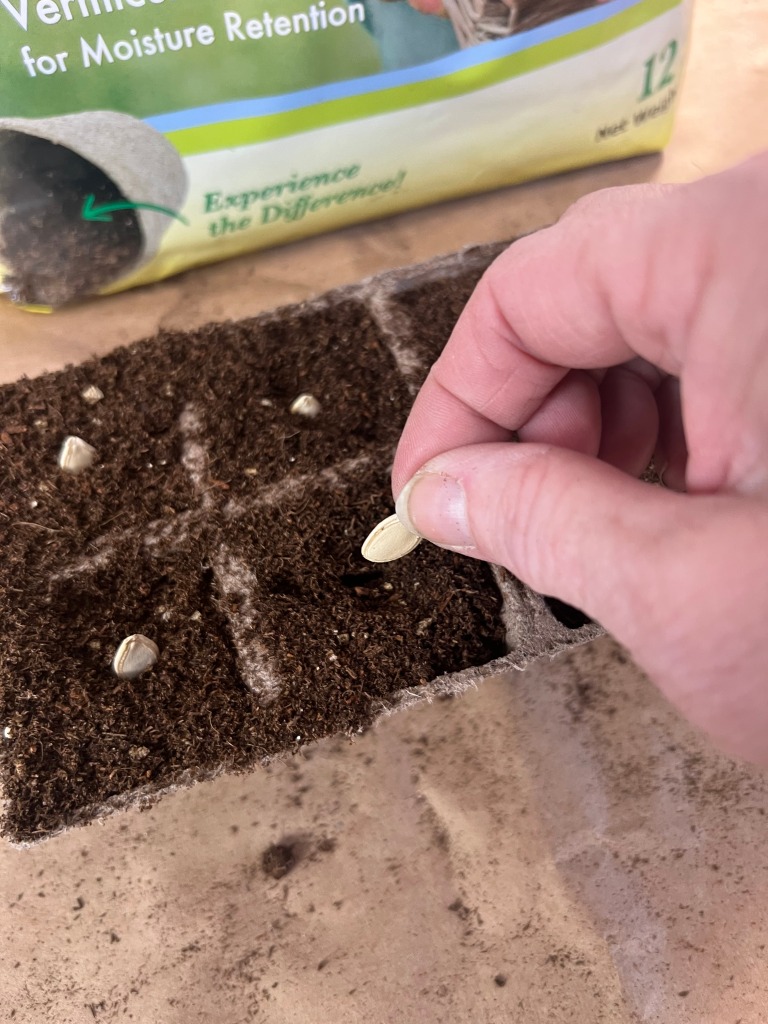
1. What are the benefits of starting seeds indoors?

There are several benefits to gardeners when starting seeds indoors. 

  • First, it allows you to get a head start on the growing season, and who doesn’t want that! When you start your seeds indoors, you provide them the optimal conditions they need to germinate & grow before the weather outside is warm enough for outdoor planting. This allows you the opportunity to enjoy fresh produce earlier in the season.
  • Another benefit of starting seeds indoors is it gives you more control over the growing conditions. When you plant seeds outdoors, you’re at the mercy of the weather and the soil, & if you live in an area with cold winters, you know this is definitely a benefit. By starting seeds indoors, you can control the temperature, humidity, and light levels to ensure your seedlings get off to a good start.
  • Last, but certainly not least, starting seeds indoors can save you money. Buying seedlings from a nursery can be expensive, especially if you need to buy a large quantity. By starting your own seeds, you can save money and have more control over the varieties you grow.
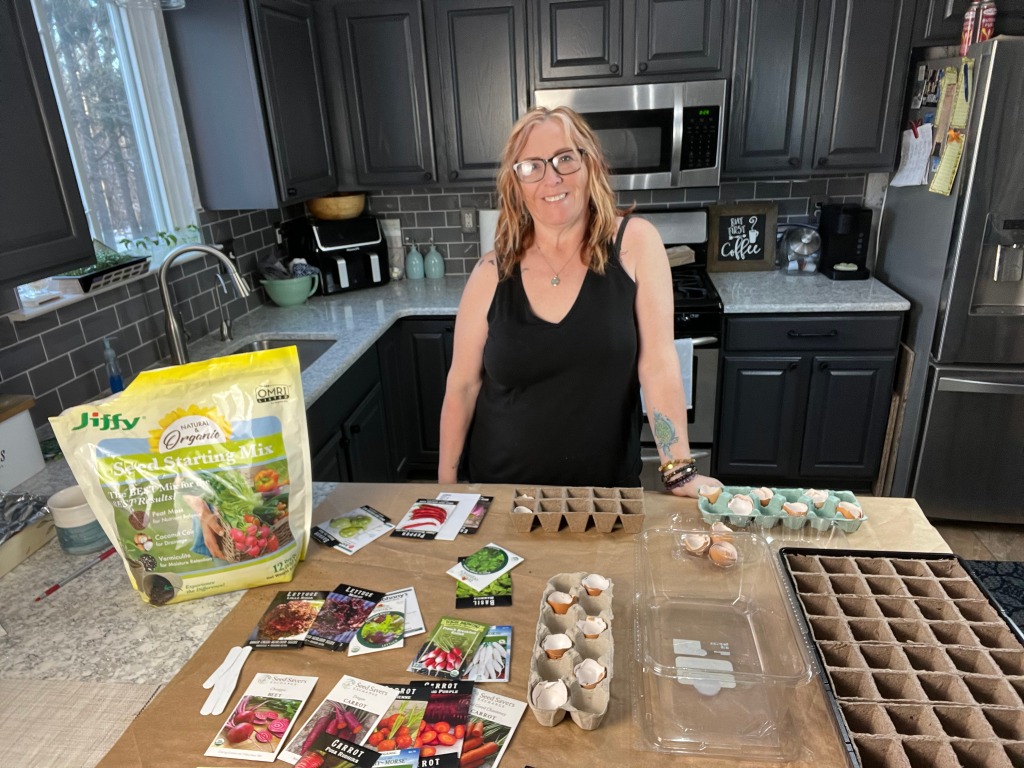
2. What materials do I need to start my own seeds indoors?

Before you get started, you’ll need a few basic materials. Here’s a list of what I suggest you start with:

  • Seeds: Choose the seeds you want to start indoors. Make sure to choose varieties that are well-suited to your area. Like I always say, be sure to read the package instructions and guidelines for planting.
  • Seed starting containers: You can use plastic or biodegradable pots, trays, or cell flats. Make sure they have drainage holes. I save all my plastic salad, grape tomatoes, and even carry out containers to make great containers to start seeds in. 
  • Soil mix: Use a soil mix that’s specifically formulated for seed starting. It should be light, well-draining, and nutrient-rich.
  • Watering can or spray bottle: You’ll need a way to water your seedlings. Be sure all your containers, no matter what you use, have proper drainage holes & a tray of some sort to catch water under the container.
  • Grow lights: If you don’t have access to natural sunlight, you’ll need grow lights to provide your seedlings with enough light. If you have your containers in a window, be sure to turn them everyday once they sprout to avoid becoming leggy due to ‘reaching’ for the sunlight.
  • Thermometer and humidity gauge: If you want to go the whole nine yards, you can invest in a way to monitor the temperature and humidity levels in your growing area. I personally don’t use this.
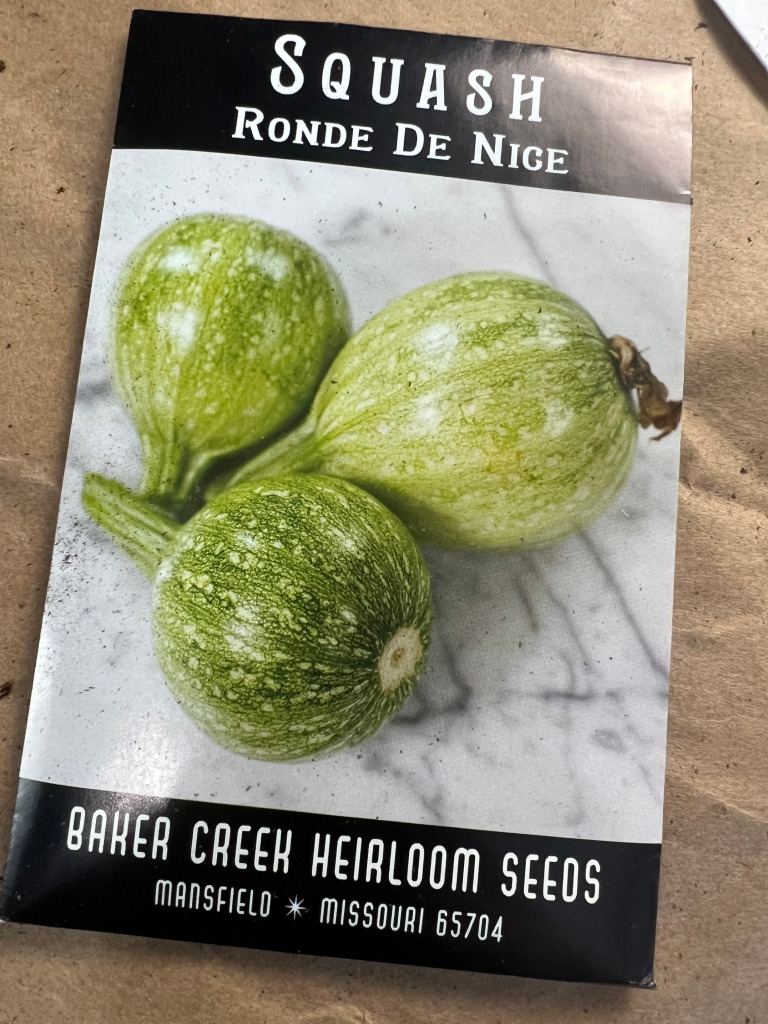
3. How do I know what seeds to choose for indoor planting?

Unfortunately not all seeds are well-suited to indoor planting. Some seedlings require more light and space than you can provide indoors. If you have a four season room, this would make a great grow house, but it must be heated. 

Here are some tips for choosing the right seeds:

  • Choose seeds that are well-suited to indoor growing conditions. Look for varieties that are compact, disease-resistant, and can be grown in containers.
  • Consider the space you have available. If you have limited space, choose seeds that can be grown in small pots or trays.
  • Think about the amount of light you have available. Some seeds require more light than others. If you don’t have access to natural sunlight, choose seeds that can be grown under grow lights.
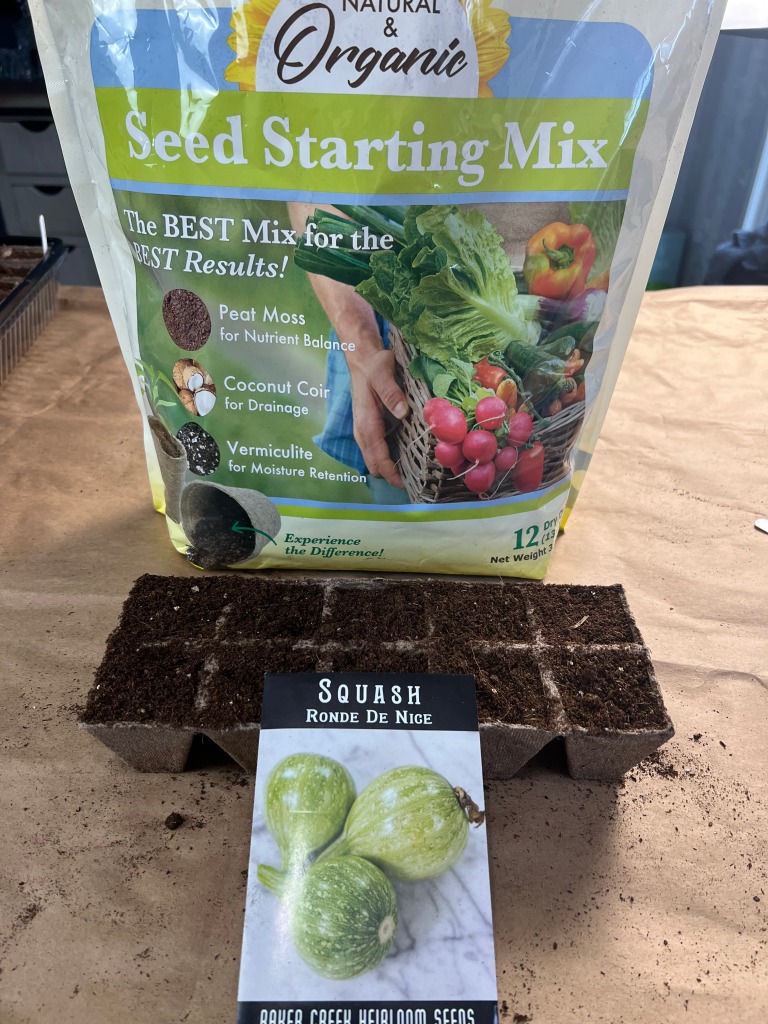
5. You really need the right soil for seed starting!

Soil preparation is key to successful indoor seed starting. Here are some tips:

  • Use a soil mix that’s specifically formulated for seed starting. These mixes are light, well-draining, and nutrient-rich.
  • Moisten the soil before planting. Use a spray bottle or watering can to moisten the soil mix before planting your seeds.
  • Avoid using garden soil for indoor seed starting. Garden soil is too heavy and can contain diseases and pests that can harm your seedlings.

7. Proper watering and fertilization are important for the health of your seedlings.

Here’s what you need to know:

  • Water your seedlings regularly, but don’t overwater them. Overwatering can lead to root rot and other problems.
  • Use a spray bottle or watering can with a fine rose to water your seedlings gently.
  • Fertilize your seedlings with a diluted liquid fertilizer once they’ve developed their first set of true leaves.
  • Follow the instructions on the fertilizer package for dilution rates and frequency of use.

4. Now it’s time to prepare your seed starting containers!

Once you’ve chosen your seeds, it’s time to prepare your containers. Here’s how:

  • Clean your containers: If you’re reusing containers from a previous growing season, make sure to clean them thoroughly with soap and water.
  • Add drainage holes: Make sure your containers have drainage holes in the bottom. This will allow excess water to drain away and prevent your seedlings from sitting in water, otherwise they will rot, or seedlings will drown. Watch my video for a simple how-to.
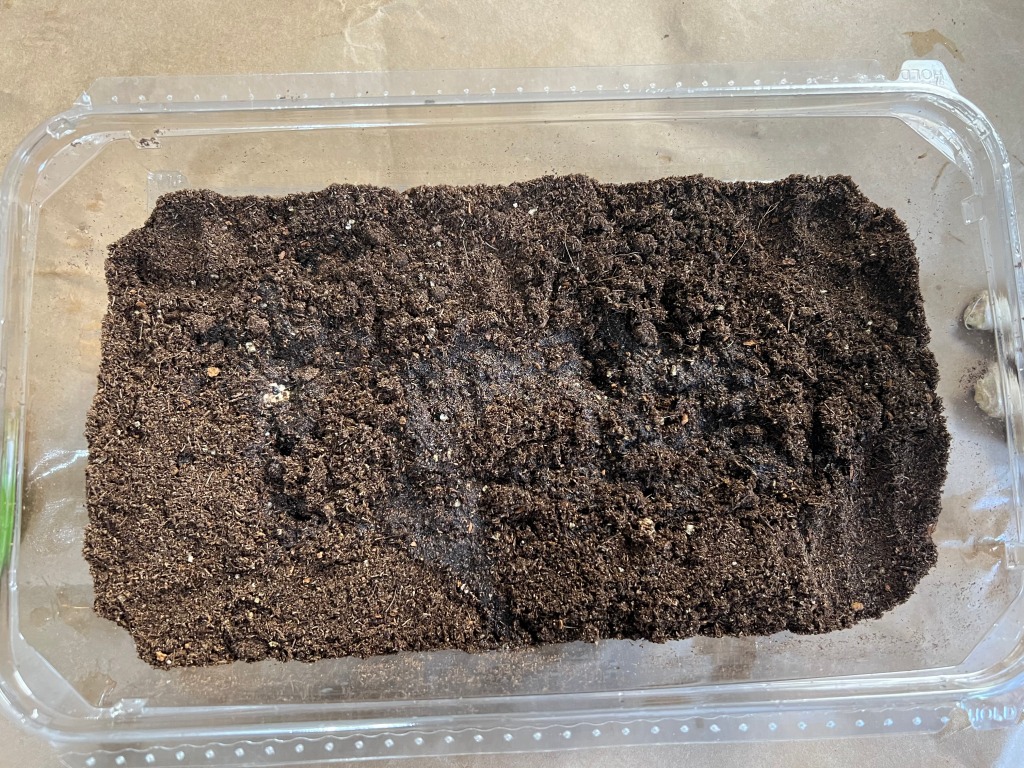
  • Fill containers with soil mix: Fill your containers with your chosen soil mix, leaving about 1/2 inch of space at the top. I always recommend an organic blend.
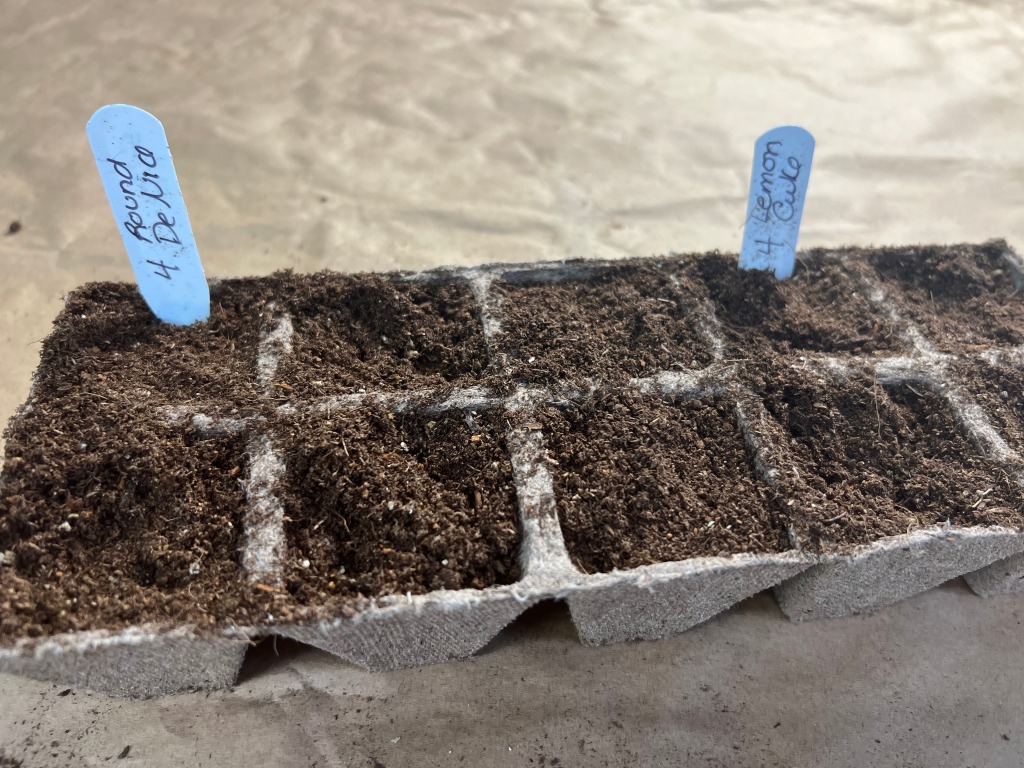
  • Label your containers: Use plant labels to identify the type of seed you’re planting and the date you planted it. Don’t believe you will remember… you won’t! Trust me!
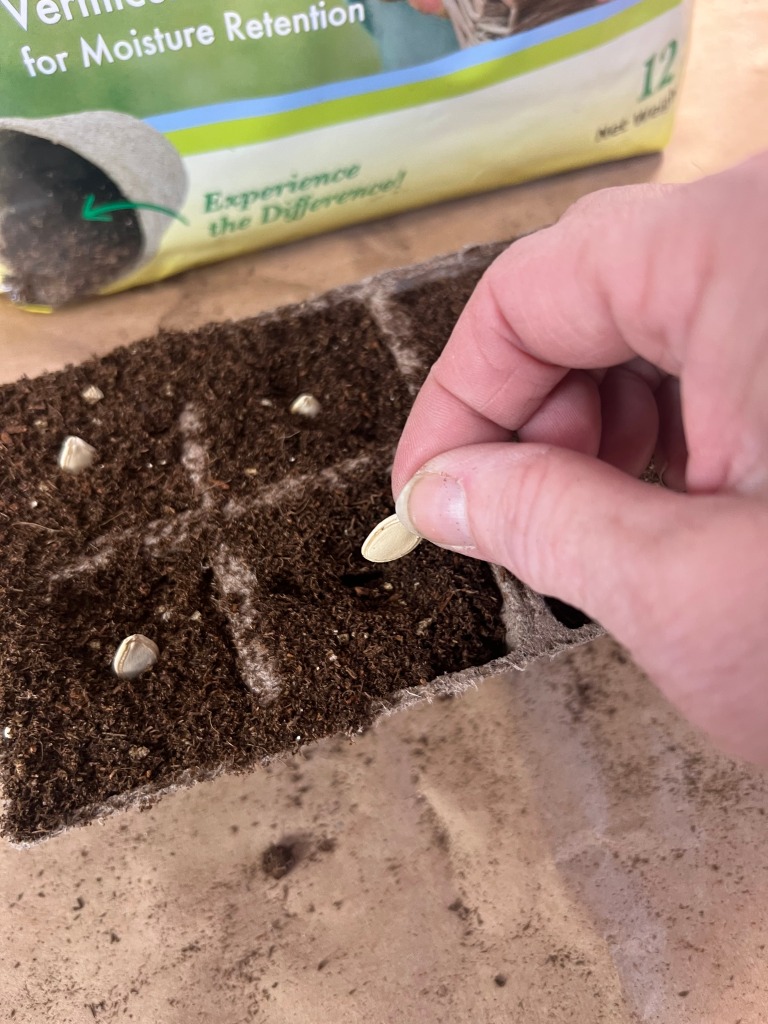
6. Sowing your seeds properly is crucial to success!

Now the fun begins, it’s time to sow your seeds. Here’s how:

  • As I constantly say, be sure to read the seed packet for specific instructions on planting depth and spacing both when direct sowing, and when you transplant out to your garden.
  • Plant your seeds at the recommended depth. This is usually two to three times the diameter of the seed.
  • Space your seeds according to the instructions on the seed packet.
  • Cover the seeds with soil mix and gently ‘tamp’ down to ensure good seed-to-soil contact. I use a similar sized container so I don’t accidentally get a seed stuck to my hand! Yes it can happen!
  • Water your seeds gently using a spray bottle or watering can.
Lighting and temperature are crucial factors!

Light and temperature are critical factors for successful indoor seed starting. Here’s what you need to know:

  • Place your seedlings in a location that receives plenty of natural sunlight. If you don’t have access to natural sunlight, use grow lights.
  • Keep the temperature in your growing area between 60 and 75 degrees Fahrenheit.
  • If you have one, or choose to purchase one, use a thermometer and humidity gauge to monitor the temperature and humidity levels in your growing area.
8. Let fun really begin~ How & when to transplant your seedlings outdoors!

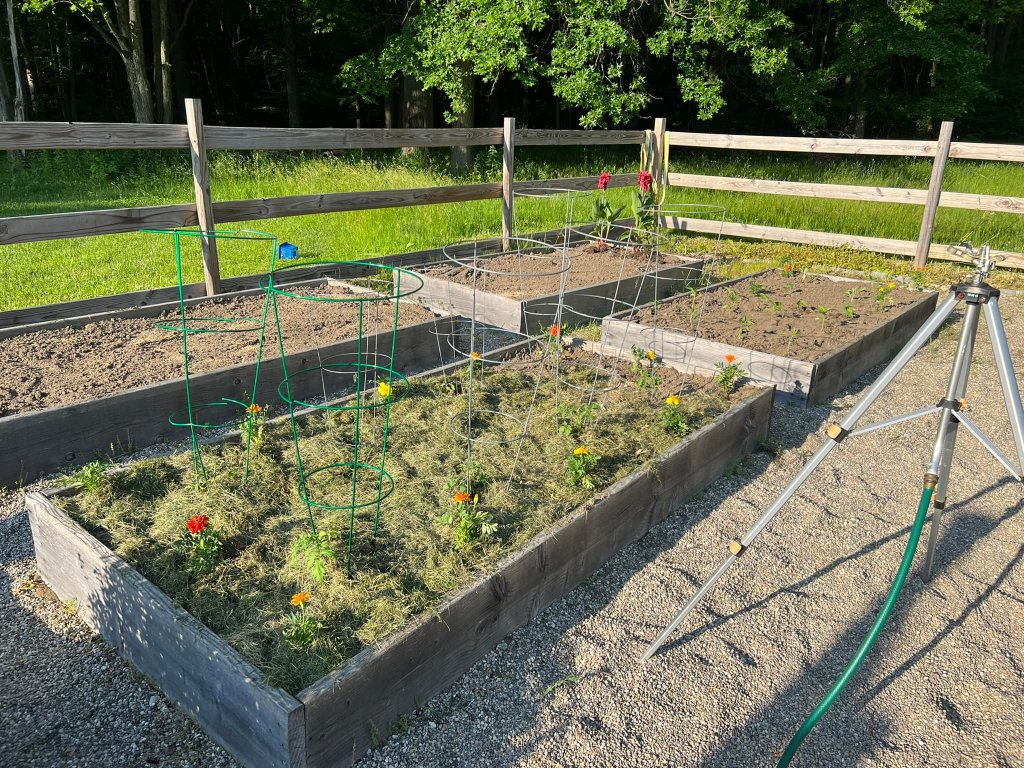
Once your seedlings have developed their second set of true leaves, they’re ready to be transplanted outdoors. Here’s what you need to know:

  • Harden off your seedlings by gradually exposing them to outdoor conditions over the course of a week.
  • Choose a location that receives plenty of sunlight and has well-draining soil.
  • Dig a hole that’s slightly larger than the root ball of your seedling.
  • Gently remove the seedling from its container and place it in the hole.
  • Backfill the hole with soil and water your seedling gently.
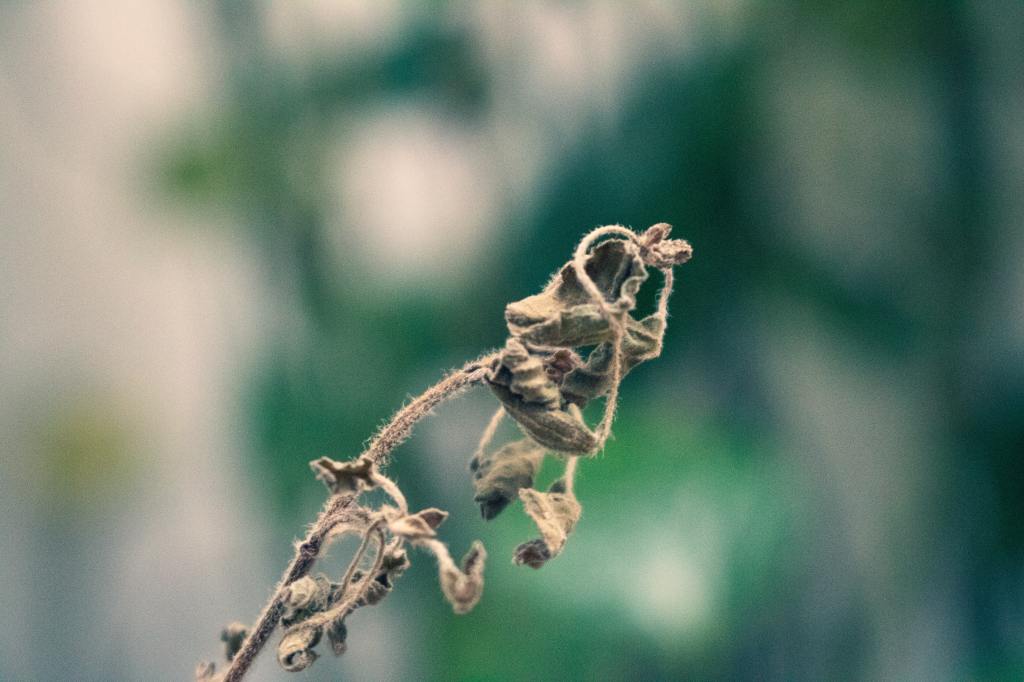
Indoor seed starting can be tricky, and there are several common problems that can arise.

Here are some tips for solving them:

  • Damping off: This is a fungal disease that can cause seedlings to wilt and die. To prevent damping off, make sure your containers have good drainage and avoid overwatering.
  • Leggy seedlings: If your seedlings are growing tall and spindly, they’re not getting enough light. Move them to a location that receives more sunlight or use grow lights.
  • Mold or mildew: If you see mold or mildew growing on your soil or seedlings, it’s a sign of too much moisture. Reduce watering and improve air circulation.

Starting seeds indoors can be a rewarding and cost-effective way to get a head start on the growing season. By following these tips and tricks, you’ll be well on your way to growing healthy, productive seedlings.

If you enjoyed this blog, please LIKE, Follow, Share & leave me a comment! I love your feedback!

If you aren’t following me on Facebook & Instagram go on over & give a LIKE & Follow me for daily tips & tricks for your home & garden! 

Added bonus: You can go to my blog at http://www.fordragonfliesandme.com to purchase my original cookbook, Lovingly Seasoned Eats and Treats in either a spiral bound soft cover OR NEW, a Downloadable PDF version. The cookbook has almost 1000 recipes on almost 500 pages! Check out the Cookbook Testimonials while you’re there!

Until next time remember to,
Eat fresh, shop local & have a happy day,
Jean

Copyright Policy

All text and images on this site are copyright of For Dragonflies And Me. Unless otherwise noted, you may not use this content

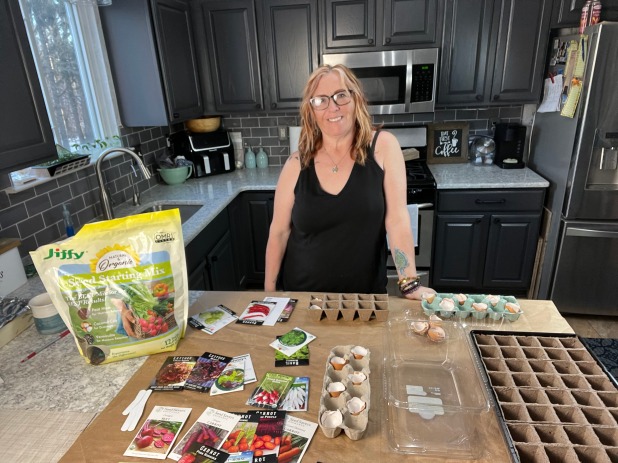
Gardening 101 Day 2: Where do I order my Heirloom seeds from? See how-to on my YouTube Channel!

“Seeds are a gift of nature, of past generations and diverse cultures. It is our inherent duty and responsibility to protect them and to pass them on to future generations. They are the first link in the food chain, the embodiment of biological and cultural diversity and the repository of life’s future evolution.” — Manifesto on the Future of Seed

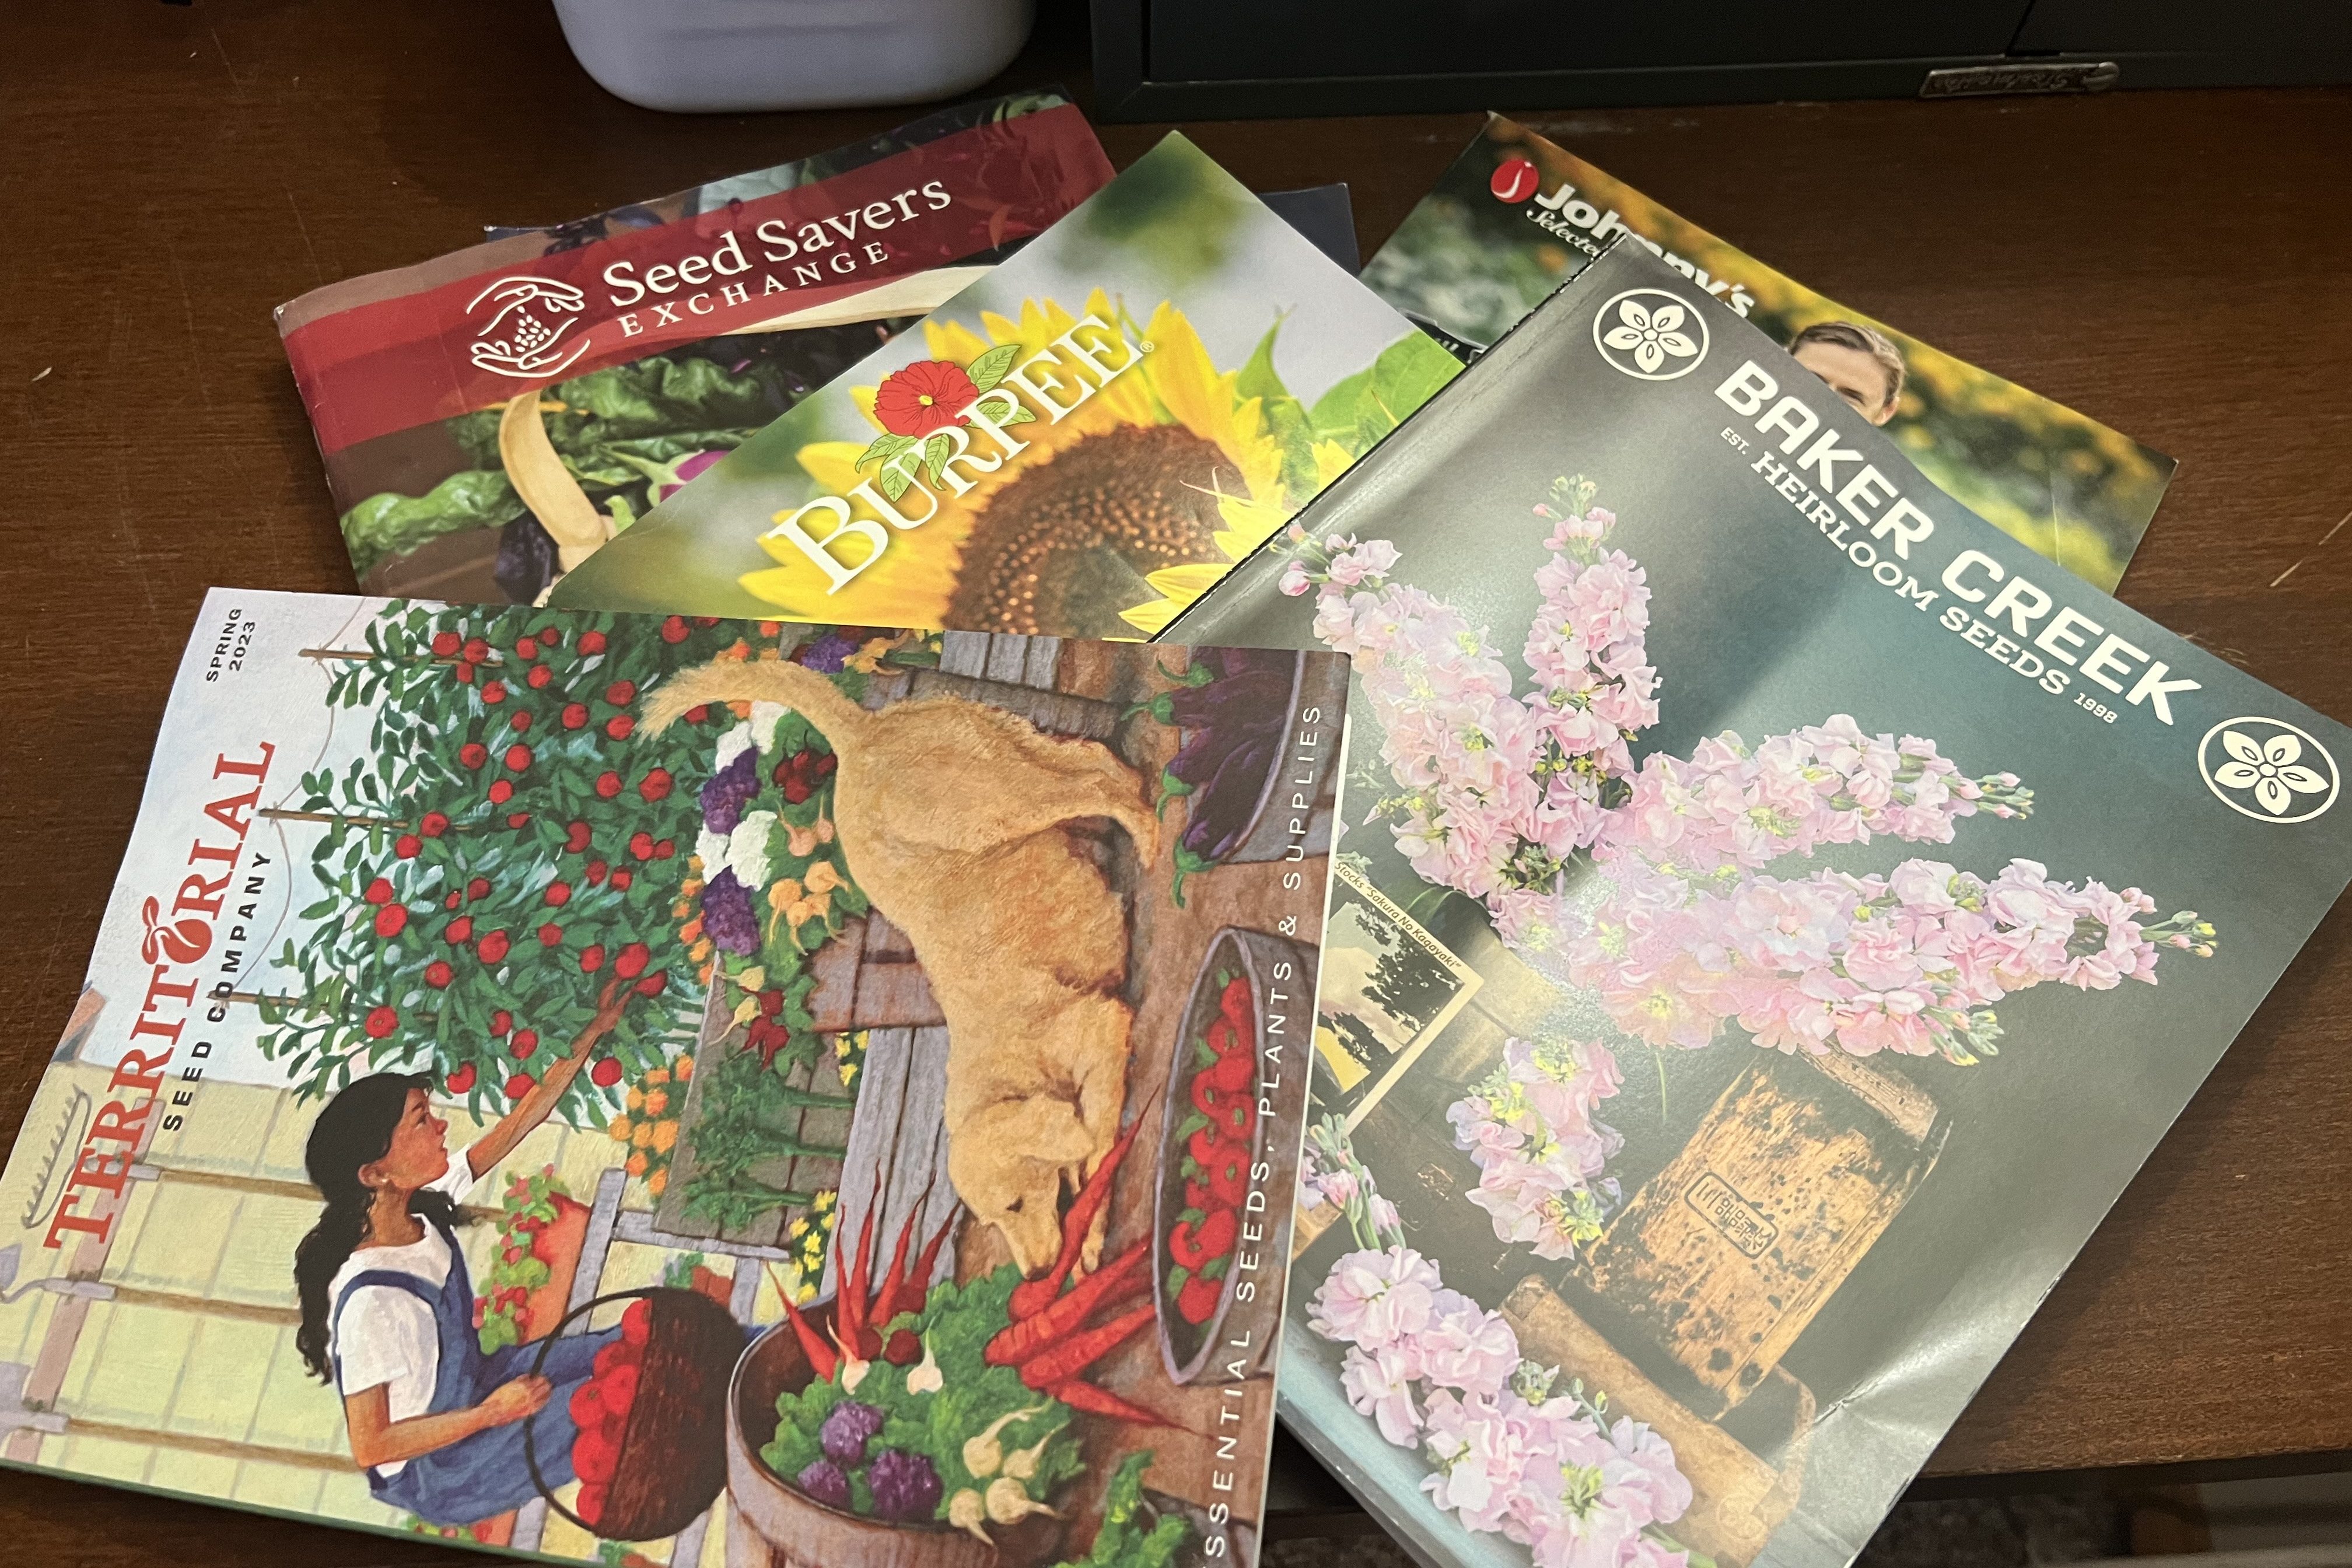
Now is the time when gardeners yearn and long for the arrival of those beautiful seed catalogs! As they begin to appear in our mailboxes we gather them together, cozy up with a fuzzy blanket on our favorite chair,  a cup of java and notebook ready to start making our lists of ‘new’ varieties!

We flip the pages longing  for the life that spring and summer bring. We pine away for the first shoots of rhubarb, then all too soon the green stalks of asparagus spring forth.  Memories of summer…  prickly cucumbers, the scratchy leaves of that notorious zucchini plant and getting our hands stained green from picking those luscious Heirloom tomatoes… those wonderful memories. Super Italian Paste for our homemade spaghetti sauces… Green Zebra, Pineapple, Paul Robeson and Yellow Brandywine to create a festive fresh salsa…oh my!

Would you like a chance to win a FREE copy of my popular cookbook, Lovingly Seasoned Eats and Treats? Well, head over to my YouTube Channel and watch to learn how you can win a copy! It will be loads of fun!

Join me at my YouTube Channel to watch this great video on Where to order your Heirloom seeds from. Be sure to SUBSCRIBE to my blog here, at at my YT Channel so you don’t miss a beat!

Until next time friends,
Eat Fresh, Shop Local, & Have a Happy Day,
Jean

Start Planting Your Fall Garden Now!

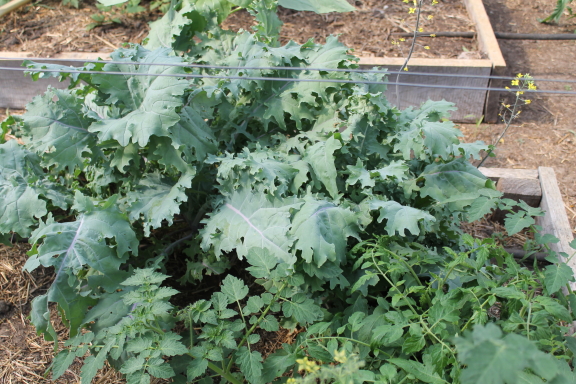
Russian Red Kale- Baker Creek Heirloom Seeds

Did you know August is ideal for planting lettuces, spinach & other greens along with beets, broccoli, kale, and peas?

These crops are cold-weather hardy and even love a light frost- it makes them sweeter!

Most of you know I am a die-hard for heirloom varieties. The flavors, textures, and overall hardiness is incomparable. 

I thought I’d share some of my favorite seed companies along with varieties to get you excited to plant your fall garden!

As the scent of autumn begins to fill the air, most gardeners are dreading the season’s end to their garden. But don’t despair! If you’re a newbie gardener or a die-hard, I’m sure there’s a few tips I can share here to help you get your fall garden going!

My favorite seed catalog is Baker Creek Heirloom Seed Company. They have seeds from all over the world, and varieties that will tickle any gardener’s fancy! To see their catalog click this link https://www.rareseeds.com/

Kale Variety- Russian Red- 1885 Russian red is very tender & mild with a wonderful nutty flavor. This variety is delicious at all stages, but makes a great addition to a salad as a baby green. 60 Days.

Sugar Ann Peas- Annie’s Heirloom Seeds

This is an extraordinary early and sweet pea with edible pods. The compact plants require very little garden space and don’t need to be staked. 3” pods are tender and crisp! 50 days.

Chioggia BeetSeed Savers Exchange

This beautiful & unique French Heirloom is good for both eating fresh or canning. 50 Days

Pro tip: If you decide to can these, be warned as they don’t stay striped!

Forellenschluss- Speckled Like a Trout Lettuce- Baker Creek Heirloom Seeds

An old Austrian heirloom; the name means “speckled like a trout.” This is a remarkably beautiful romaine type lettuce with speckles in deep red on large leaves! My personal favorite! 60 Days.

Giant Winter Spinach- Annie’s Heirloom Seeds

A cold hardy, winter warrior with huge semi-savoyed leaves. Giant Winter is a flavor packed cool climate favorite. Unfazed by nasty weather, this hardy heirloom is perfect for overwintering. 50 days.

De Cicco Brocolli- Seed Savers Exchange

This Italian Heirloom will produce a nice center head & several off shoots. You will need to start these seeds indoors & transplant. 48-60 days from transplant.

Bellezia Arugula- High Mowing Seeds

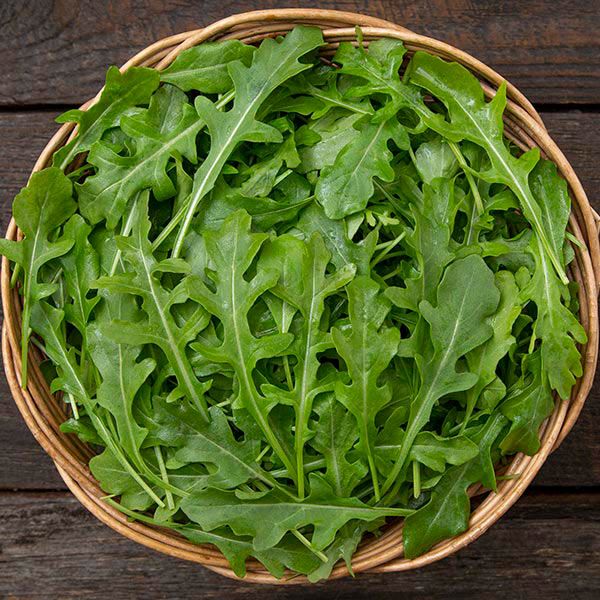
This beautiful arugula is tender with a lovely spice flavor & will be a delicious addition to fall salads. Direct sow into your garden. 50 days.

Thanks for taking the time to read my blog. Please LIKE, comment, and Follow so you don’t miss out on future blogs!
P.S. It’s almost time to plant your garlic. Keep posted for that upcoming blog! 

Happy Day,
Jean

Early Herbs, Edible Flowers and Yummy Edible Flower Recipes!

 Only 59 more days till Spring…. ahh! Yes, that doesn’t sound so long at all. The sun is shining midst the cold air bringing happiness to my day.  I long for that warm feeling that only a bright sunny day can give.  I am a firm believer that too many cloudy days start to make people feel just like the day looks.  The birds are chirping outside my window right now and it just feels good! The hoop house is growing beautifully despite the cold and snow that surrounds it outside.  The spinach’s should be just about ready to cut along with the chard… oh yum! After I am done writing this that is my destination along with green house.  I am excited about getting all the seeds started for this summers bounty in the fields… oh the dirt… that beautiful dirt that I long to dig into!

Be sure to check out my Facebook designated just for ‘For Dragonflies And Me’ and like it.  Follow this link to see daily photo’s and extra recipes through the week! See you there
http://www.facebook.com/pages/For-Dragonflies-And-Me/550000798362651

Most of you who have been readers of Dragonflies know my love of Herbs… gardening offers so many options for those who love the dirt. You don’t have to love veggie gardening to have exquisite flower gardens… you don’t have to want a Potager Garden to experiment with the world of Herbs. Even within the herbs that are available you can choose between Medicinal or Culinary. Gardening is a world filled with options for anyone who wants to take the time to explore his or her passions.  Persoanly I don’t mess too much with medicinal herbs, other than a few like Comfry and mints.  It’s just not my thing. Don’t get me wrong, I am very thankful for those that do, because I do utilize them in my life, but I prefer to grow the culinary ones… basil, oh the love of my life in the herb world and parsley, what would I do without her? There is also the world of house plants and cacti… I also don’t get into that very much.  I love to be outside too much probably.  But now is the time that you too can start a small herb garden right in your own kitchen on a sunny window sill! I would recommend using a window box planter because this will allow the plants more room to grow and spread their roots out! Get out those beautiful seed catalogs, cozy up with a cup of tea or coffee and peruse them until you find a few new and exciting things you want to try.
Here are a few varieties of Basil and Parsley that I love and recommend!
~Basil- Most people grow Genovese because that is what is more commonly found in stores. But if you do a bit of research, the best basil out there is called Pesto (can be found at Territorial Seed Company). It is a large leaf basil that explodes with true basil flavor.  I also like Large leaf or sometimes referred to as Lettuce Leaf, this is a bit more common. The world of Basil is extrordinary! Baker Creek Heirloom Seeds (www.rareseed.com) has over 15 varieties… and there are more!
Try Lemon Basil as well… superb on fish and chicken dishes!
Purple Ruffles is both beautiful and delicious and looks stunning in a fresh garden or in a bouquet! When she blooms she is just magnificant.
~Parsley- Giant of Italy… that is all you need. She is a large leafed, tall prolific plant that will grow will into the cold winter months.
Most common is Italian Flat Leaf and Curly. Curly is not really for cooking, more for garnishment.
Other
Right now I am feeling pretty anxious about getting into that beautiful dirt and handling those tiny little seeds… little miracles each in their own right! So I thought today I would tempt all of you with some new ideas to try.  What about Edible Flowers? These are scary to some… flowers belong in the flower beds or in a vase, not on a plate some would say. But flowers don’t just add beauty to a dish, they really can be yummy. Here are some ideas along with a few varieties to get you going!
~Nasturtiums: Not all edible flowers allow the luxury of having both the leaves and blossoms to eat, but nasturtiums do!  They add a peppery flavor to any garden salad not to mention how beautiful they look sitting on the top! My personal favorite is Moonglow (in some catalogs referred to as Moonbeam or Moonlight). This buttery yellow vining nasturtium can become a mass of 7′-8′ vines that fill in a space. I have already planted one in a large crate or barrel and elevated on a cute garden chair and let it literally just pour out. It is simply stunning (see photo).  Saving seeds from these plants is extremely easy as well. The beauty about this plant is that it continually blooms all summer long well into the first hard freeze. As the flowers die off, they quickly turn into a seed pod, drop off and can be collected quite easily after the frost. Keep the pea size seeds in a glass jar or in a plastic freezer container and sow liberally next season. They can be started in the green house or sown into the ground after the last frost date for your area.  I do it the cheater way… I just leave several seeds where I want them to grow back, scratch a bit of dirt over them, place a marker there so I don’t forget in the spring and wait to see those cute little sprouts in the spring! I grow many for market to sell as companions with my tomato, basil & marigolds. They will help ward off some bad bugs from your tomatoes.  This plant really is a hard worker! If you’ve never given her a chance, this is the year for it. 
Some other varieties that are superb are Peach Melba, Cherries Jubilee, Empress of India. Some nasturtiums are mounding types while others are vining. Be sure to read type descriptions so you don’t end up with something you don’t want! They also love being in containers including window boxes! 

~Day Lily: Just the flower here folks. Be sure to take the stamens out, they are bitter and could make you sick. Try stuffing them with a cream cheese and bacon mixture, deep fry

for an appetizer.Very good!

~Pansy & Viola: Not really much of a definite flavor. More simply for the beauty they add to a salad. 
Take viola’s and freeze in your ice cubes for a very pretty effect for special guests.
  salad.
Take viola’s and freeze in your ice cubes for a very pretty effect for special guests.

~Squash Blossoms: Many of us plant a zucchini or yellow squash plant with the anticipation of that first grilling of them, I know I do. We love to take some fresh Thyme and soak in olive oil and then brush on while grilling… oh I can’t wait for summer!!!! Anyway, we too also get to a point where we may be getting tired of it and our friends no longer answer the phone when they see our name on the caller I.D. LOL! Well, don’t yank the plant out, give the blossoms a try. See below for a great recipe. Be sure to take the stamens out. After you have your fill of the blossoms, you’ll be ready to start back on the squash!

Be sure to check out this http://www.gardenguilds.com for lots of more info and more great recipes! Follow this link for a comprehensive list to edibles!
http://www.gardenguides.com/daylily-flower-marjoram.html

~Squash Blossoms: Many of us plant a zucchini or yellow squash plant with the anticipation of that first grilling of them, I know I do. We love to take some fresh Thyme and soak in olive oil and then brush on while grilling… oh I can’t wait for summer!!!! Anyway, we too also get to a point where we may be getting tired of it and our friends no longer answer the phone when they see our name on the caller I.D. LOL! Well, don’t yank the plant out, give the blossoms a try. See below for a great recipe.  Be sure to take the stamens out.  After you have your fill of the blossoms, you’ll be ready to start back on the squash!

Be sure to check out this http://www.gardenguilds.com for lots of more info and more great recipes!  Follow this link for a comprehensive list to edibles!
http://www.gardenguides.com/daylily-flower-marjoram.html

Here are some yummy recipes that will help you to incorporate some of those edible flowers! Enjoy Friends!
Rose Geranium Cake

There are two preparations that must be done the night before making this cake and frosting… wrapping sticks of butter with leaves AND making the rose geranium sugar for the frosting.

PREPARE the night before:

24 Rose geranium leaves
4 1/4 cup sticks butter (1 pound)
Rinse leaves and wrap 5 or 6 leaves around each stick of butter. Wrap butter in foil or plastic wrap, refrigerate overnight.

Rose Geranium Frosting Sugar
– prepared the night before as well
1 1/2 cups raw organic sugar, divided
3 or 4 fresh rose geranium leaves
Use a container with a tightly fitted lid and pour 3/4 cup sugar into container. Wash rose geranium leaves, add to sugar container. Cover with another 3/4 cup sugar. Cover container and let stand overnight. Remove leaves before using sugar.

NEXT DAY:  

Cake: 
1 3/4 cup sugar
6 egg whites
3 cup cake flower, sifted
4 tsp. baking powder
1/2 tsp. salt
3/4 cup milk
1/2 cup water
1 tsp. vanilla extract

1. Remove leaves from butter (save leaves); gradually add sugar, creaming until light and fluffy. Add egg whites two at a time, beating well after each additions.
2. Sift together flower, baking powder and salt; combine milk, water and vanilla. Alternately add dry ingredients and milk mixture to creamed mixture, beginning and ending with dry ingredients; beat smooth after each new addition. Grease and flour two 9″ round or 8″ round layer cake pans.
3. Arrange 10-12 rose geranium leaves, including those saved from the butter) on bottom of each pan. spoon batter over leaves and bake in a 350 degree oven for 30-35 minutes or until done.
4. Cool in pans for 10 minutes. Remove layers from pans and let cool on racks. Gently remove rose geranium leaves from bottom and discard.

Frosting:
1 1/2 cup rose geranium sugar
2 egg whites
1/3 cup cold water
1/4 tsp. cream of tartar
dash of salt

1. Place rose geranium sugar, egg whites, water, cream of tartar and salt in top of double boiler, (do not over heat). Beat 1 minute with electric beater. Place over, but not touching boiling water; cook, beating constantly until frosting forms stiff peaks (about 7 minutes). Remove from boiling water, beat until spreading consistency (about 2 minutes). Frost between layers and spread frosting to cover sides and top of 2 layer cake. Garnish frosted cake with candied rose geranium leaves made by rolling dampened leaves in sugar.

HINT: If this recipe is too time consuming, but you want a special cake, just cover the bottom of a cake pan with the rose geranium leaves and pour batter fro a pound cake, or even a plain white cake, over leaves. Bake and remove leaves from bottom after baking. imparts a wonderful flavor to cakes!

Candied Violets
Candied Violets aer wonderful to top a chocolate cake. They can be used to decorate with fro a garden party or summer wedding shower. These delicate edible confredtctions can be used a sdecorations on cakes or simply put out for nibblers on a glass plate. Both scent adn flavoir are exotic.

1 egg white
perfect biolets and their leaves
granulated sugar

Whip egg white until it is frohy but does not stand in peaks. Gather perfect violets and thier leaves; wash them gently adn quickly in cold water and drip dry.
When dry, dip each vilet or leaf in the egg white and roll it quicky in the sugare to caost evenly, taking care not to get the sugar too thick.
Lay out on wasxe paper to dry well seperated.
In several hours or a day, the blossoms will be quite crisp and can keep for several months without losing fragrance or flavor.
Store in airtight tin, layered between waxed paper.
VARIATIONS: Try using mint leaves or pansies!


Lavender Sugar
In a food processor finely chop 2 bablespoons dried lavender flowers. Add 1 cup of sugar. Blend. Store in an airtight container.
A nice addition to your next tea party!

Lavender Cream

1 cup Lavender blossoms
2 cups Whipping cream

Pour whipping cream over fresh cut leavender flowers and leave overnight. Next day remove lavender and whip cream… wonderful on fruit salad or use to frost a cake!

This only touches the bottom of the ice berg! If you are interested in more on edible flowers and recipes, just google it!

Happy Day,
Jean