
“The lesson I have thoroughly learnt, and wish to pass on to others, is to know the enduring happiness that the love of a garden gives. ” Gertrude Jekyll

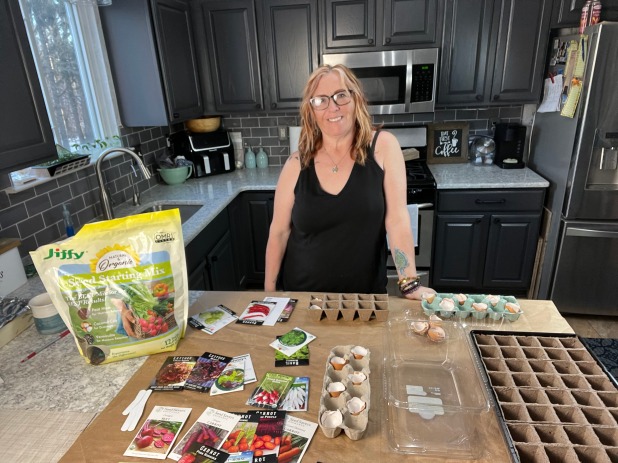
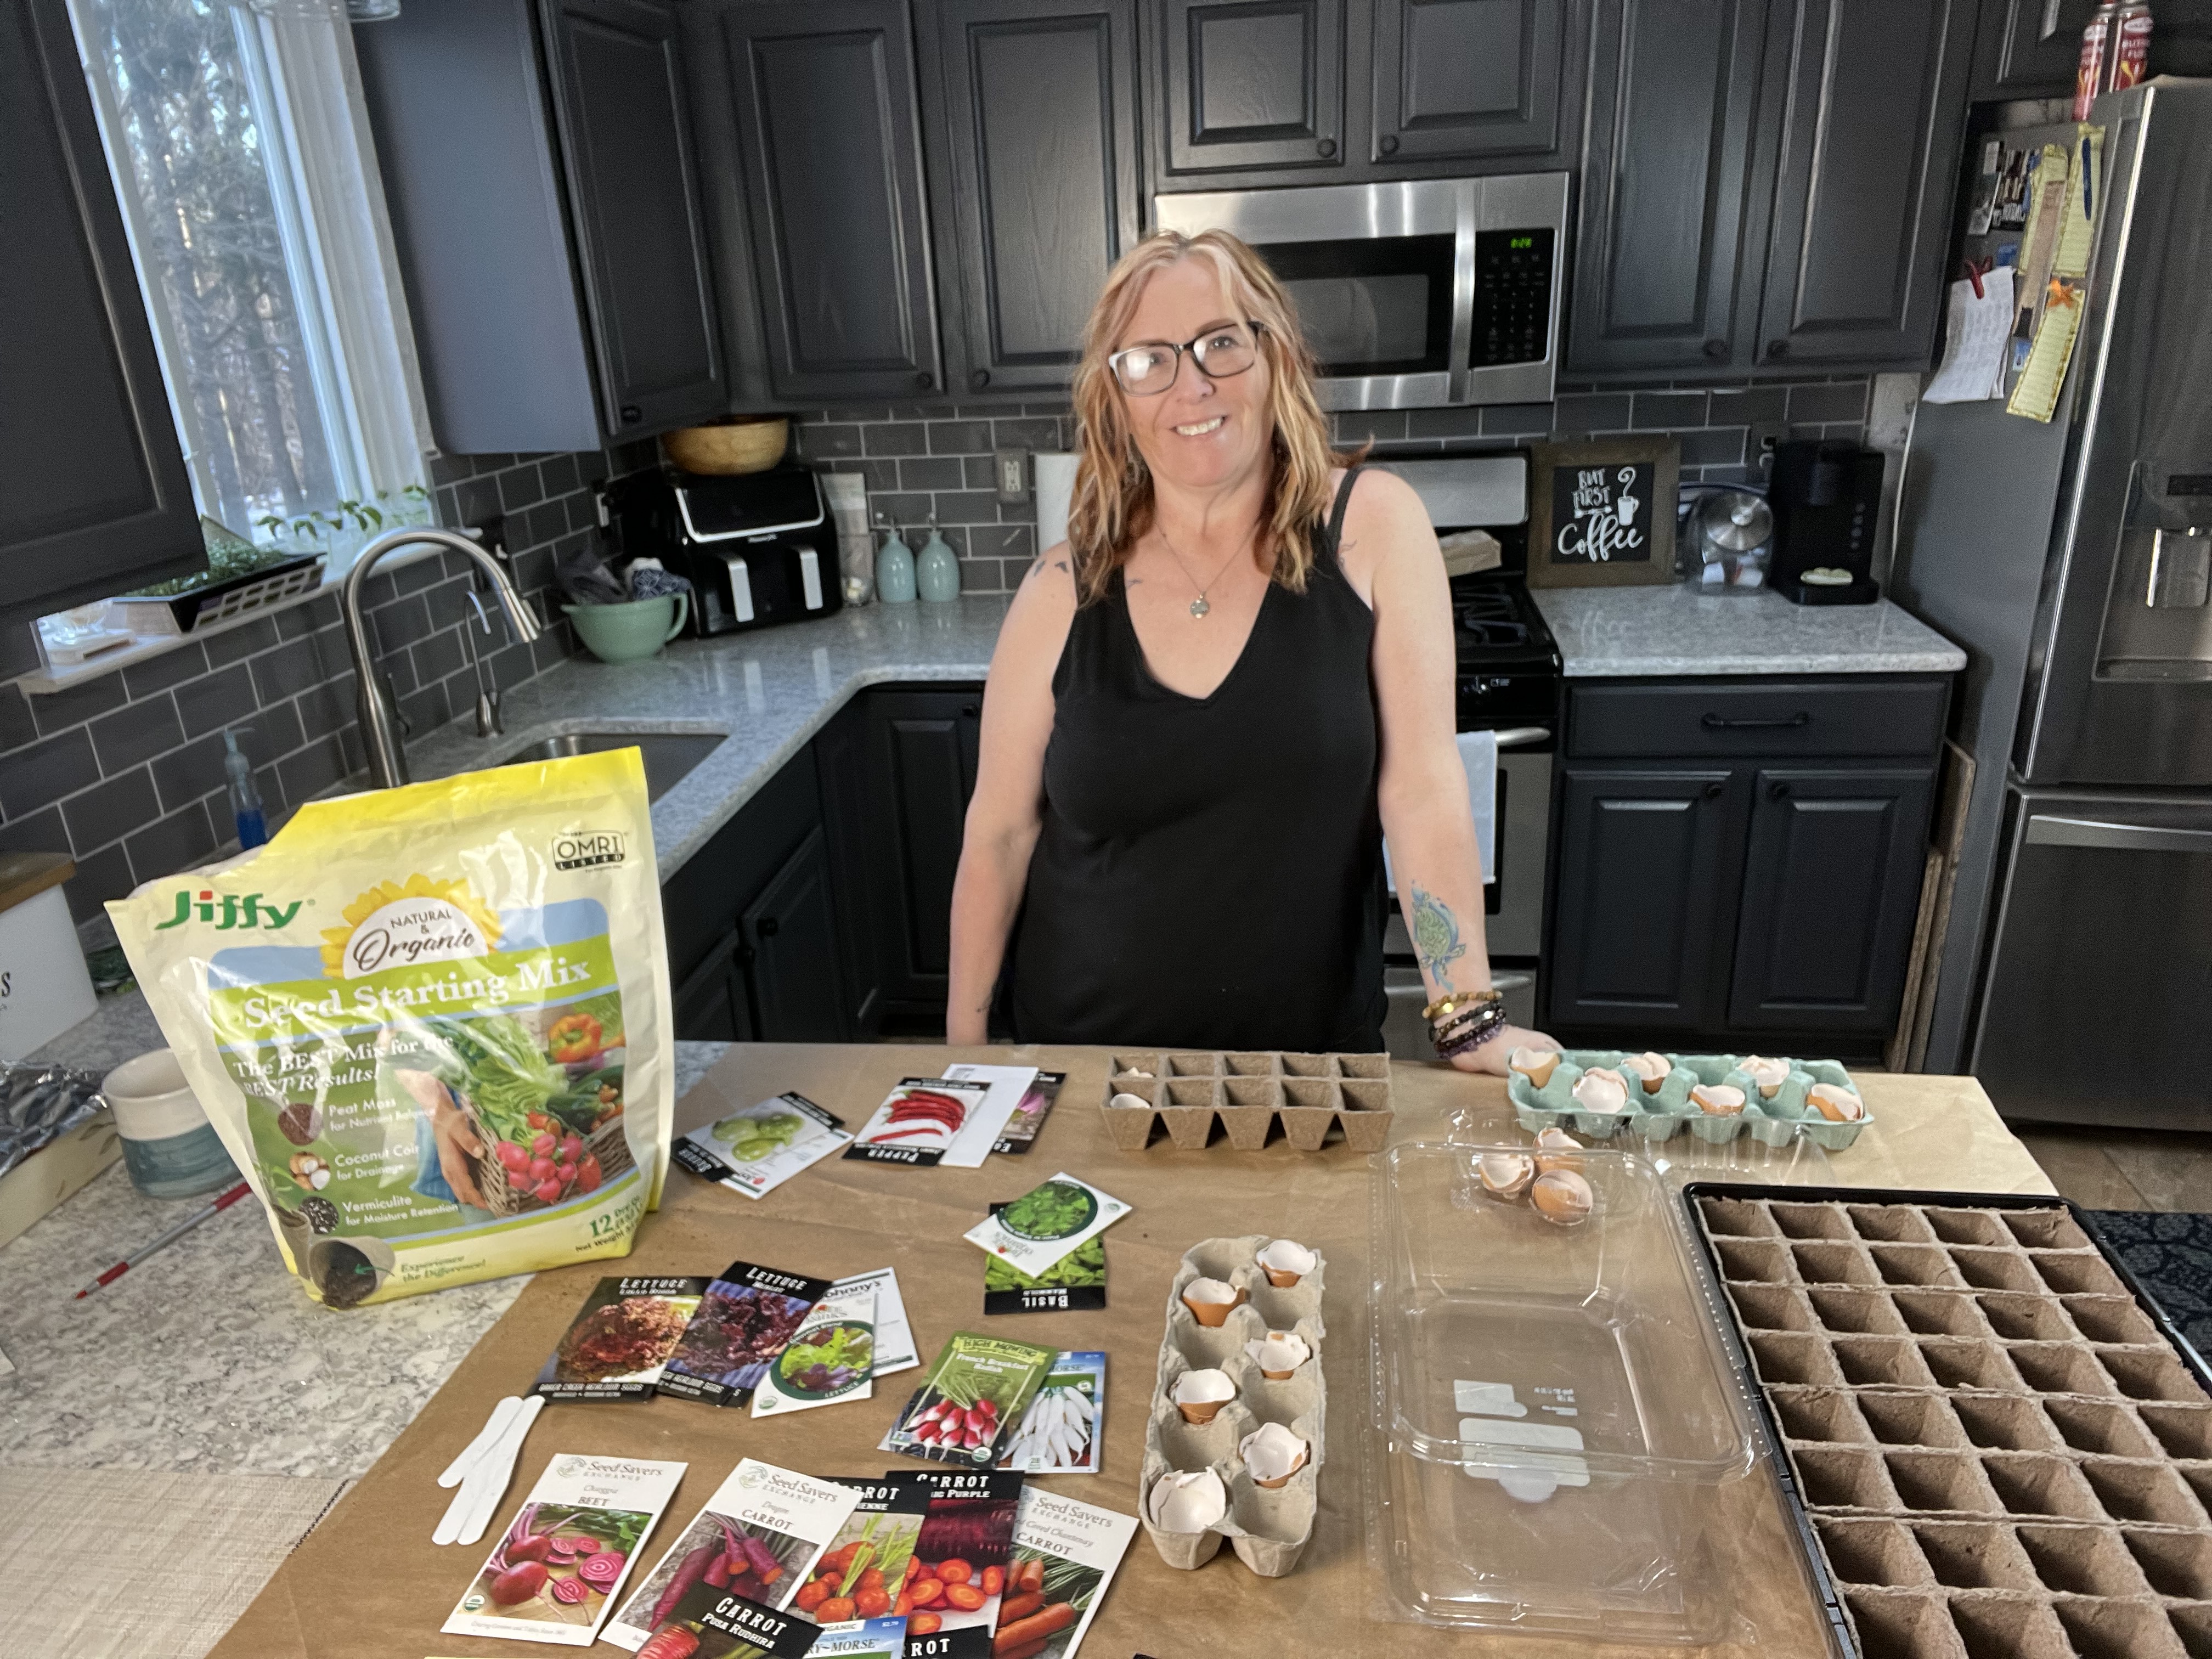
If you’ve been following me for any amount of time, you know my passion for gardening & cooking. Of course in mind, they go hand in hand. Recently on both my Facebook & Instagram I shared starting my seeds! Well, here is the blog to go along with it!
Whether you’re a novice or experienced gardening enthusiast, you know that starting seeds indoors is a great way to get a head start on the growing season, although if you’re new to this process, it can seem overwhelming. There are so many different brands of seeds, seed starting soil mixes, and containers to choose from, where do you even begin?
Fear not, fellow green thumbs! Today, I’ll take you through the basics of starting seeds indoors, from selecting the right seeds to caring for your seedlings as they grow. Whether you’re a seasoned gardener looking to refine your skills or a newbie looking to dip your toes into the world of gardening, I’ve got you covered. So, roll up your sleeves, grab some dirt, and let’s get started on our journey from seed to sprout!
Now lets chat about how to successfully start your seeds indoors!
1. What are the benefits of starting seeds indoors?
There are several benefits to gardeners when starting seeds indoors.
- First, it allows you to get a head start on the growing season, and who doesn’t want that! When you start your seeds indoors, you provide them the optimal conditions they need to germinate & grow before the weather outside is warm enough for outdoor planting. This allows you the opportunity to enjoy fresh produce earlier in the season.
- Another benefit of starting seeds indoors is it gives you more control over the growing conditions. When you plant seeds outdoors, you’re at the mercy of the weather and the soil, & if you live in an area with cold winters, you know this is definitely a benefit. By starting seeds indoors, you can control the temperature, humidity, and light levels to ensure your seedlings get off to a good start.
- Last, but certainly not least, starting seeds indoors can save you money. Buying seedlings from a nursery can be expensive, especially if you need to buy a large quantity. By starting your own seeds, you can save money and have more control over the varieties you grow.
2. What materials do I need to start my own seeds indoors?
Before you get started, you’ll need a few basic materials. Here’s a list of what I suggest you start with:
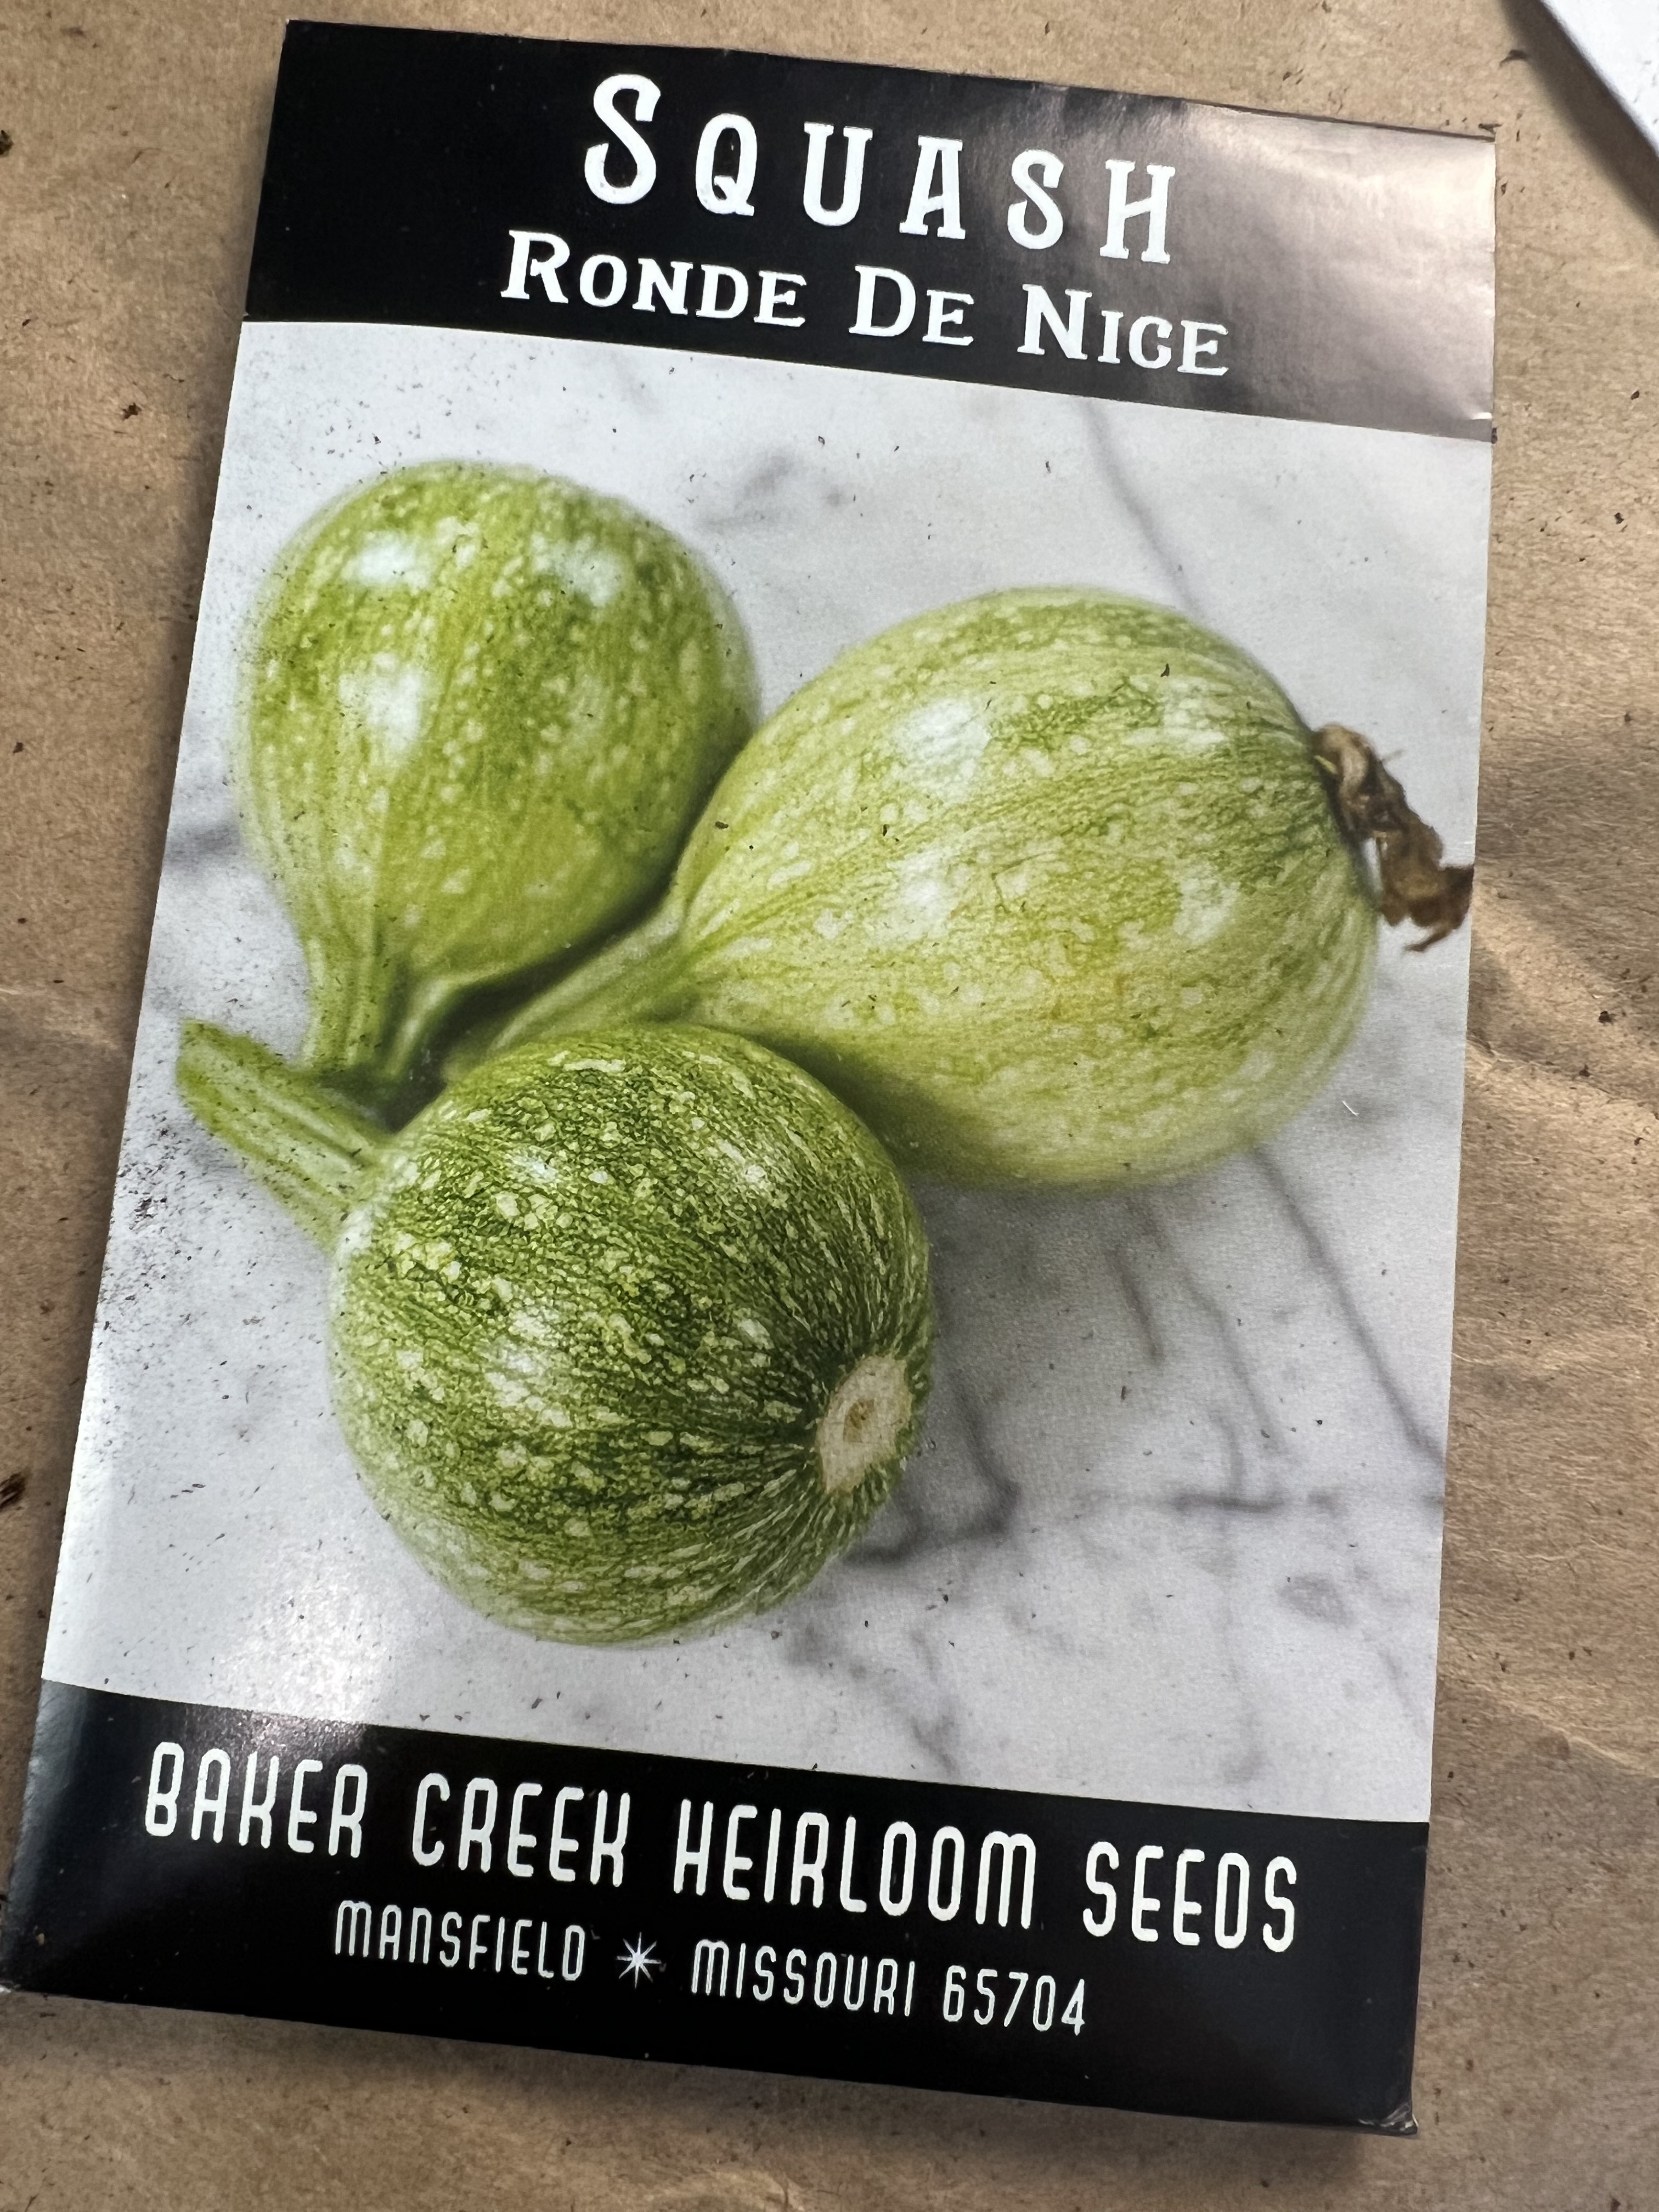
- Seeds: Choose the seeds you want to start indoors. Make sure to choose varieties that are well-suited to your area. Like I always say, be sure to read the package instructions and guidelines for planting.
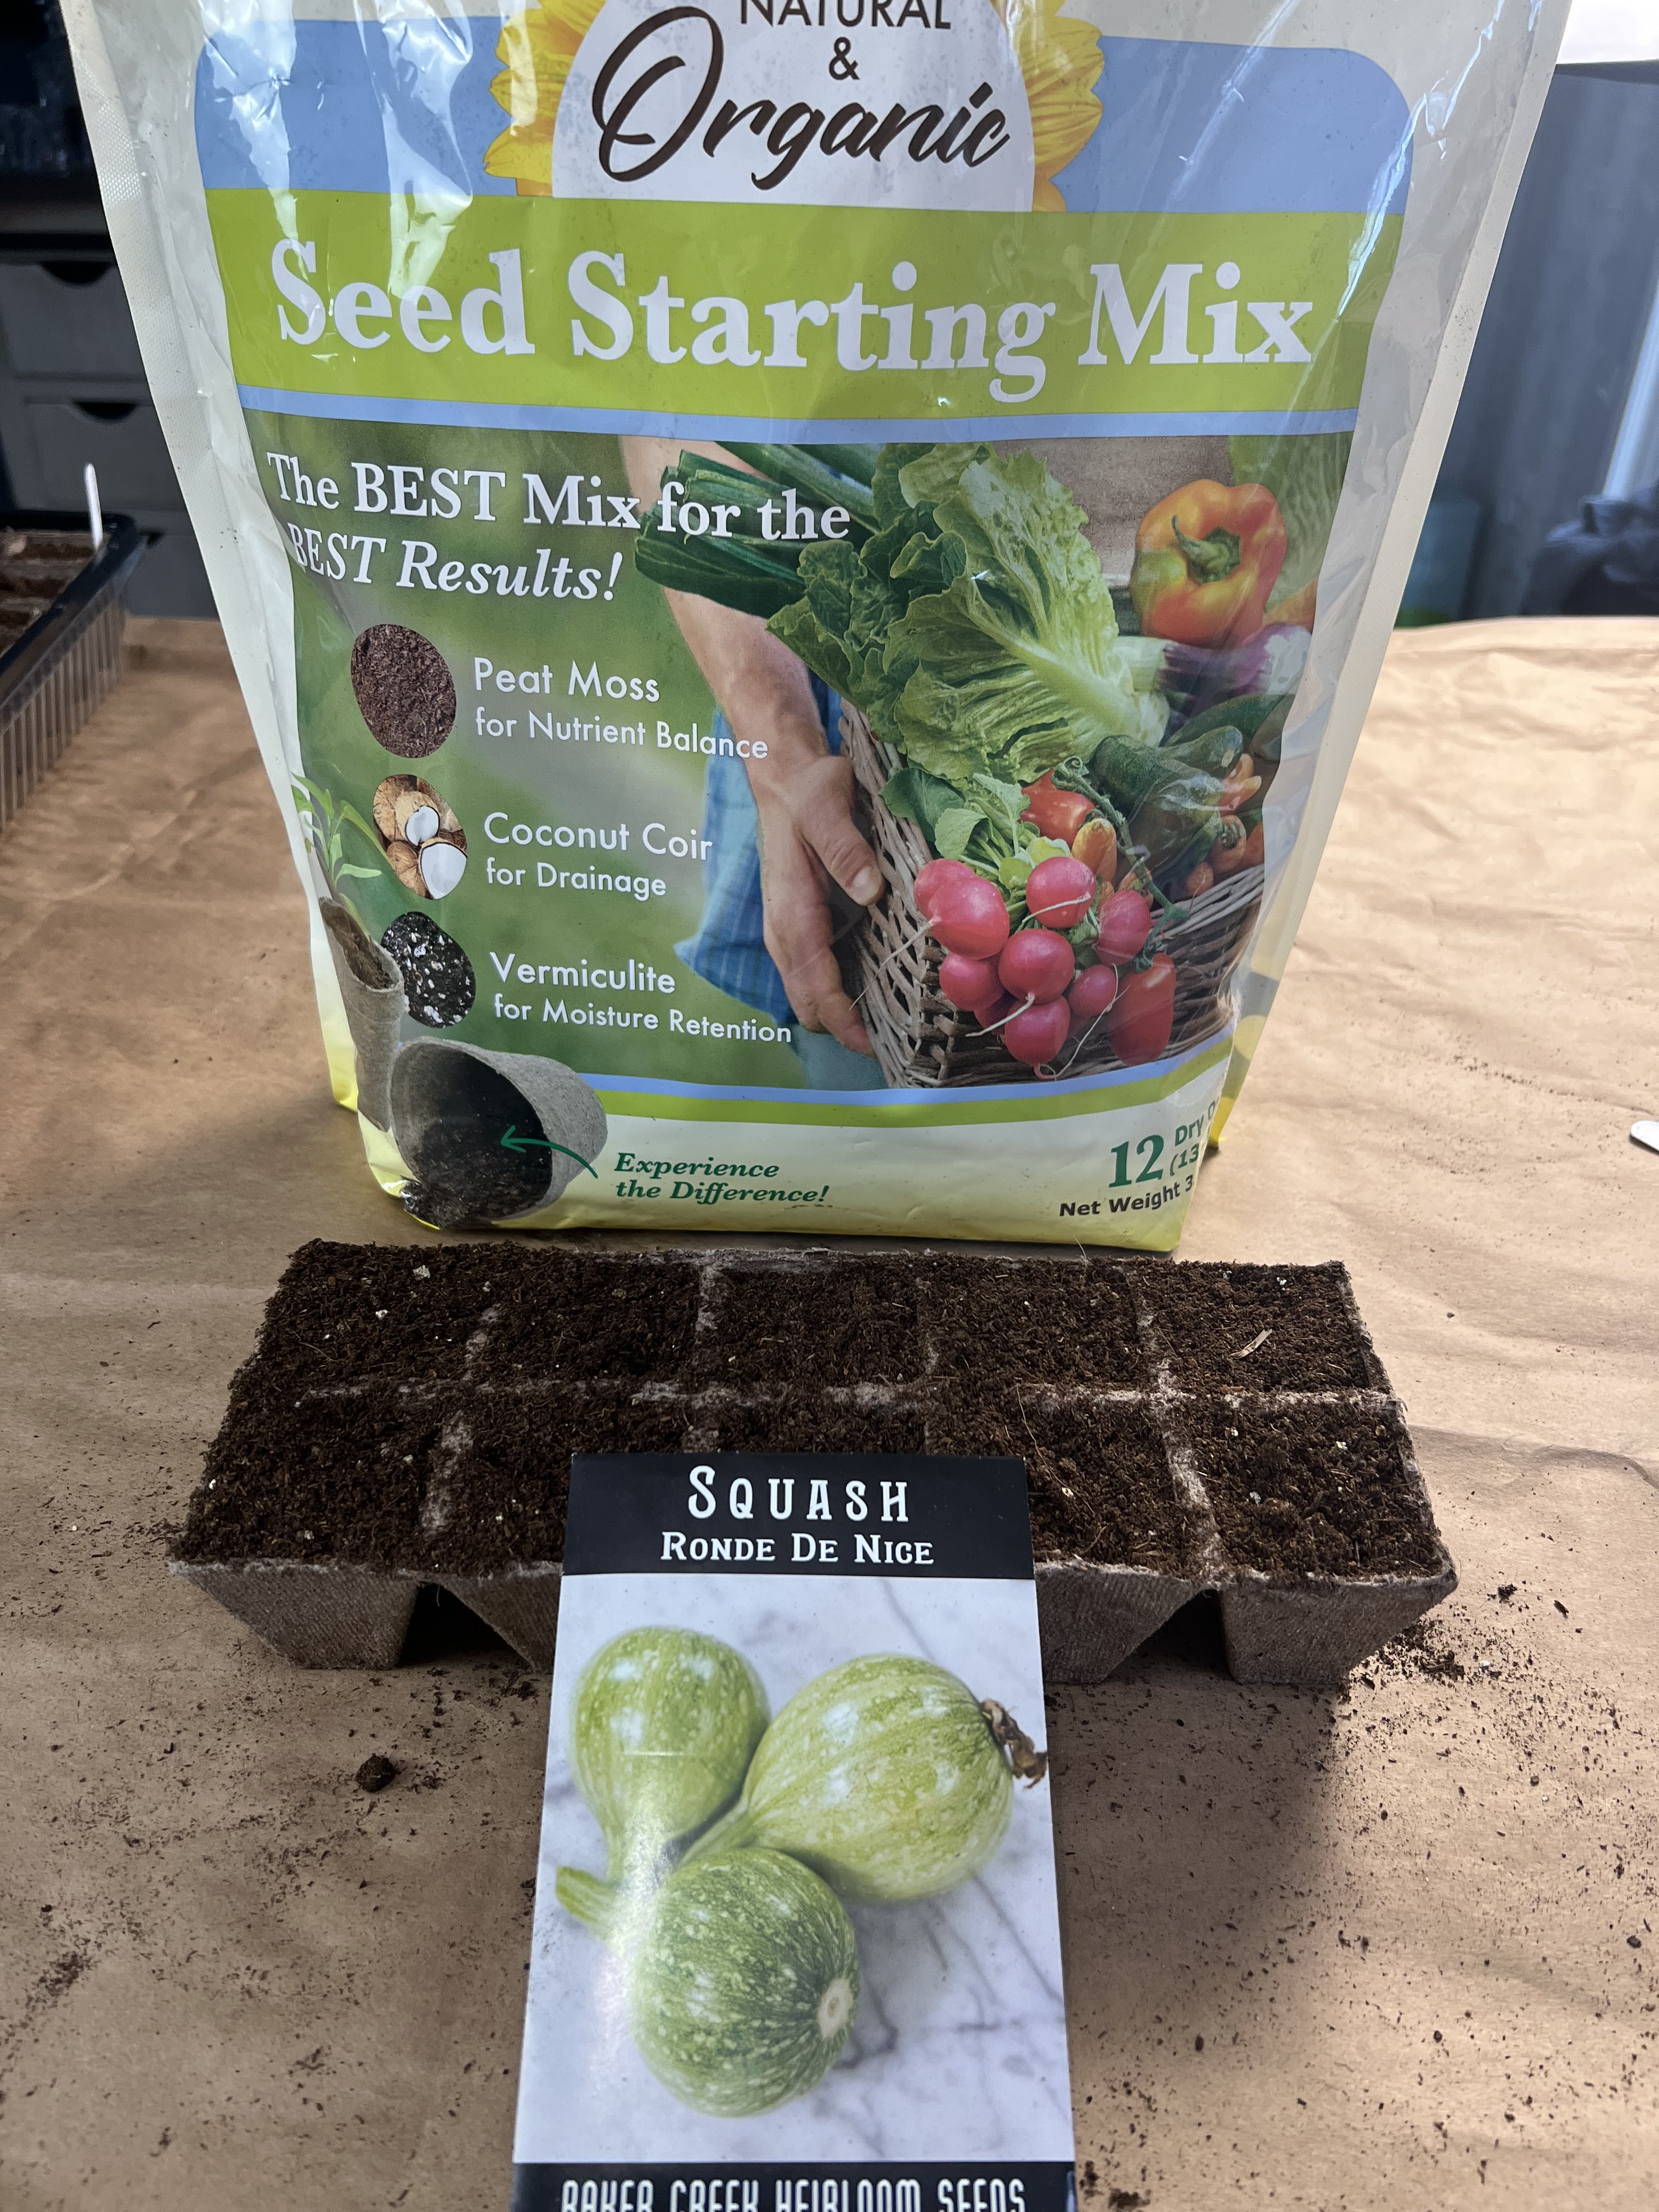
- Seed starting containers: You can use plastic or biodegradable pots, trays, or cell flats. Make sure they have drainage holes. I save all my plastic salad, grape tomatoes, and even carry out containers to make great containers to start seeds in.
- Soil mix: Use a soil mix that’s specifically formulated for seed starting. It should be light, well-draining, and nutrient-rich.
- Watering can or spray bottle: You’ll need a way to water your seedlings. Be sure all your containers, no matter what you use, have proper drainage holes & a tray of some sort to catch water under the container.
- Grow lights: If you don’t have access to natural sunlight, you’ll need grow lights to provide your seedlings with enough light. If you have your containers in a window, be sure to turn them everyday once they sprout to avoid becoming leggy due to ‘reaching’ for the sunlight.
- Thermometer and humidity gauge: If you want to go the whole nine yards, you can invest in a way to monitor the temperature and humidity levels in your growing area. I personally don’t use this.
3. How do I know what seeds to choose for indoor planting?
Unfortunately not all seeds are well-suited to indoor planting. Some seedlings require more light and space than you can provide indoors. If you have a four season room, this would make a great grow house, but it must be heated.
Here are some tips for choosing the right seeds:
- Choose seeds that are well-suited to indoor growing conditions. Look for varieties that are compact, disease-resistant, and can be grown in containers.
- Consider the space you have available. If you have limited space, choose seeds that can be grown in small pots or trays.
- Think about the amount of light you have available. Some seeds require more light than others. If you don’t have access to natural sunlight, choose seeds that can be grown under grow lights.
5. You really need the right soil for seed starting!
Soil preparation is key to successful indoor seed starting. Here are some tips:
- Use a soil mix that’s specifically formulated for seed starting. These mixes are light, well-draining, and nutrient-rich.
- Moisten the soil before planting. Use a spray bottle or watering can to moisten the soil mix before planting your seeds.
- Avoid using garden soil for indoor seed starting. Garden soil is too heavy and can contain diseases and pests that can harm your seedlings.
7. Proper watering and fertilization are important for the health of your seedlings.
Here’s what you need to know:
- Water your seedlings regularly, but don’t overwater them. Overwatering can lead to root rot and other problems.
- Use a spray bottle or watering can with a fine rose to water your seedlings gently.
- Fertilize your seedlings with a diluted liquid fertilizer once they’ve developed their first set of true leaves.
- Follow the instructions on the fertilizer package for dilution rates and frequency of use.
4. Now it’s time to prepare your seed starting containers!
Once you’ve chosen your seeds, it’s time to prepare your containers. Here’s how:
- Clean your containers: If you’re reusing containers from a previous growing season, make sure to clean them thoroughly with soap and water.
- Add drainage holes: Make sure your containers have drainage holes in the bottom. This will allow excess water to drain away and prevent your seedlings from sitting in water, otherwise they will rot, or seedlings will drown. Watch my video for a simple how-to.
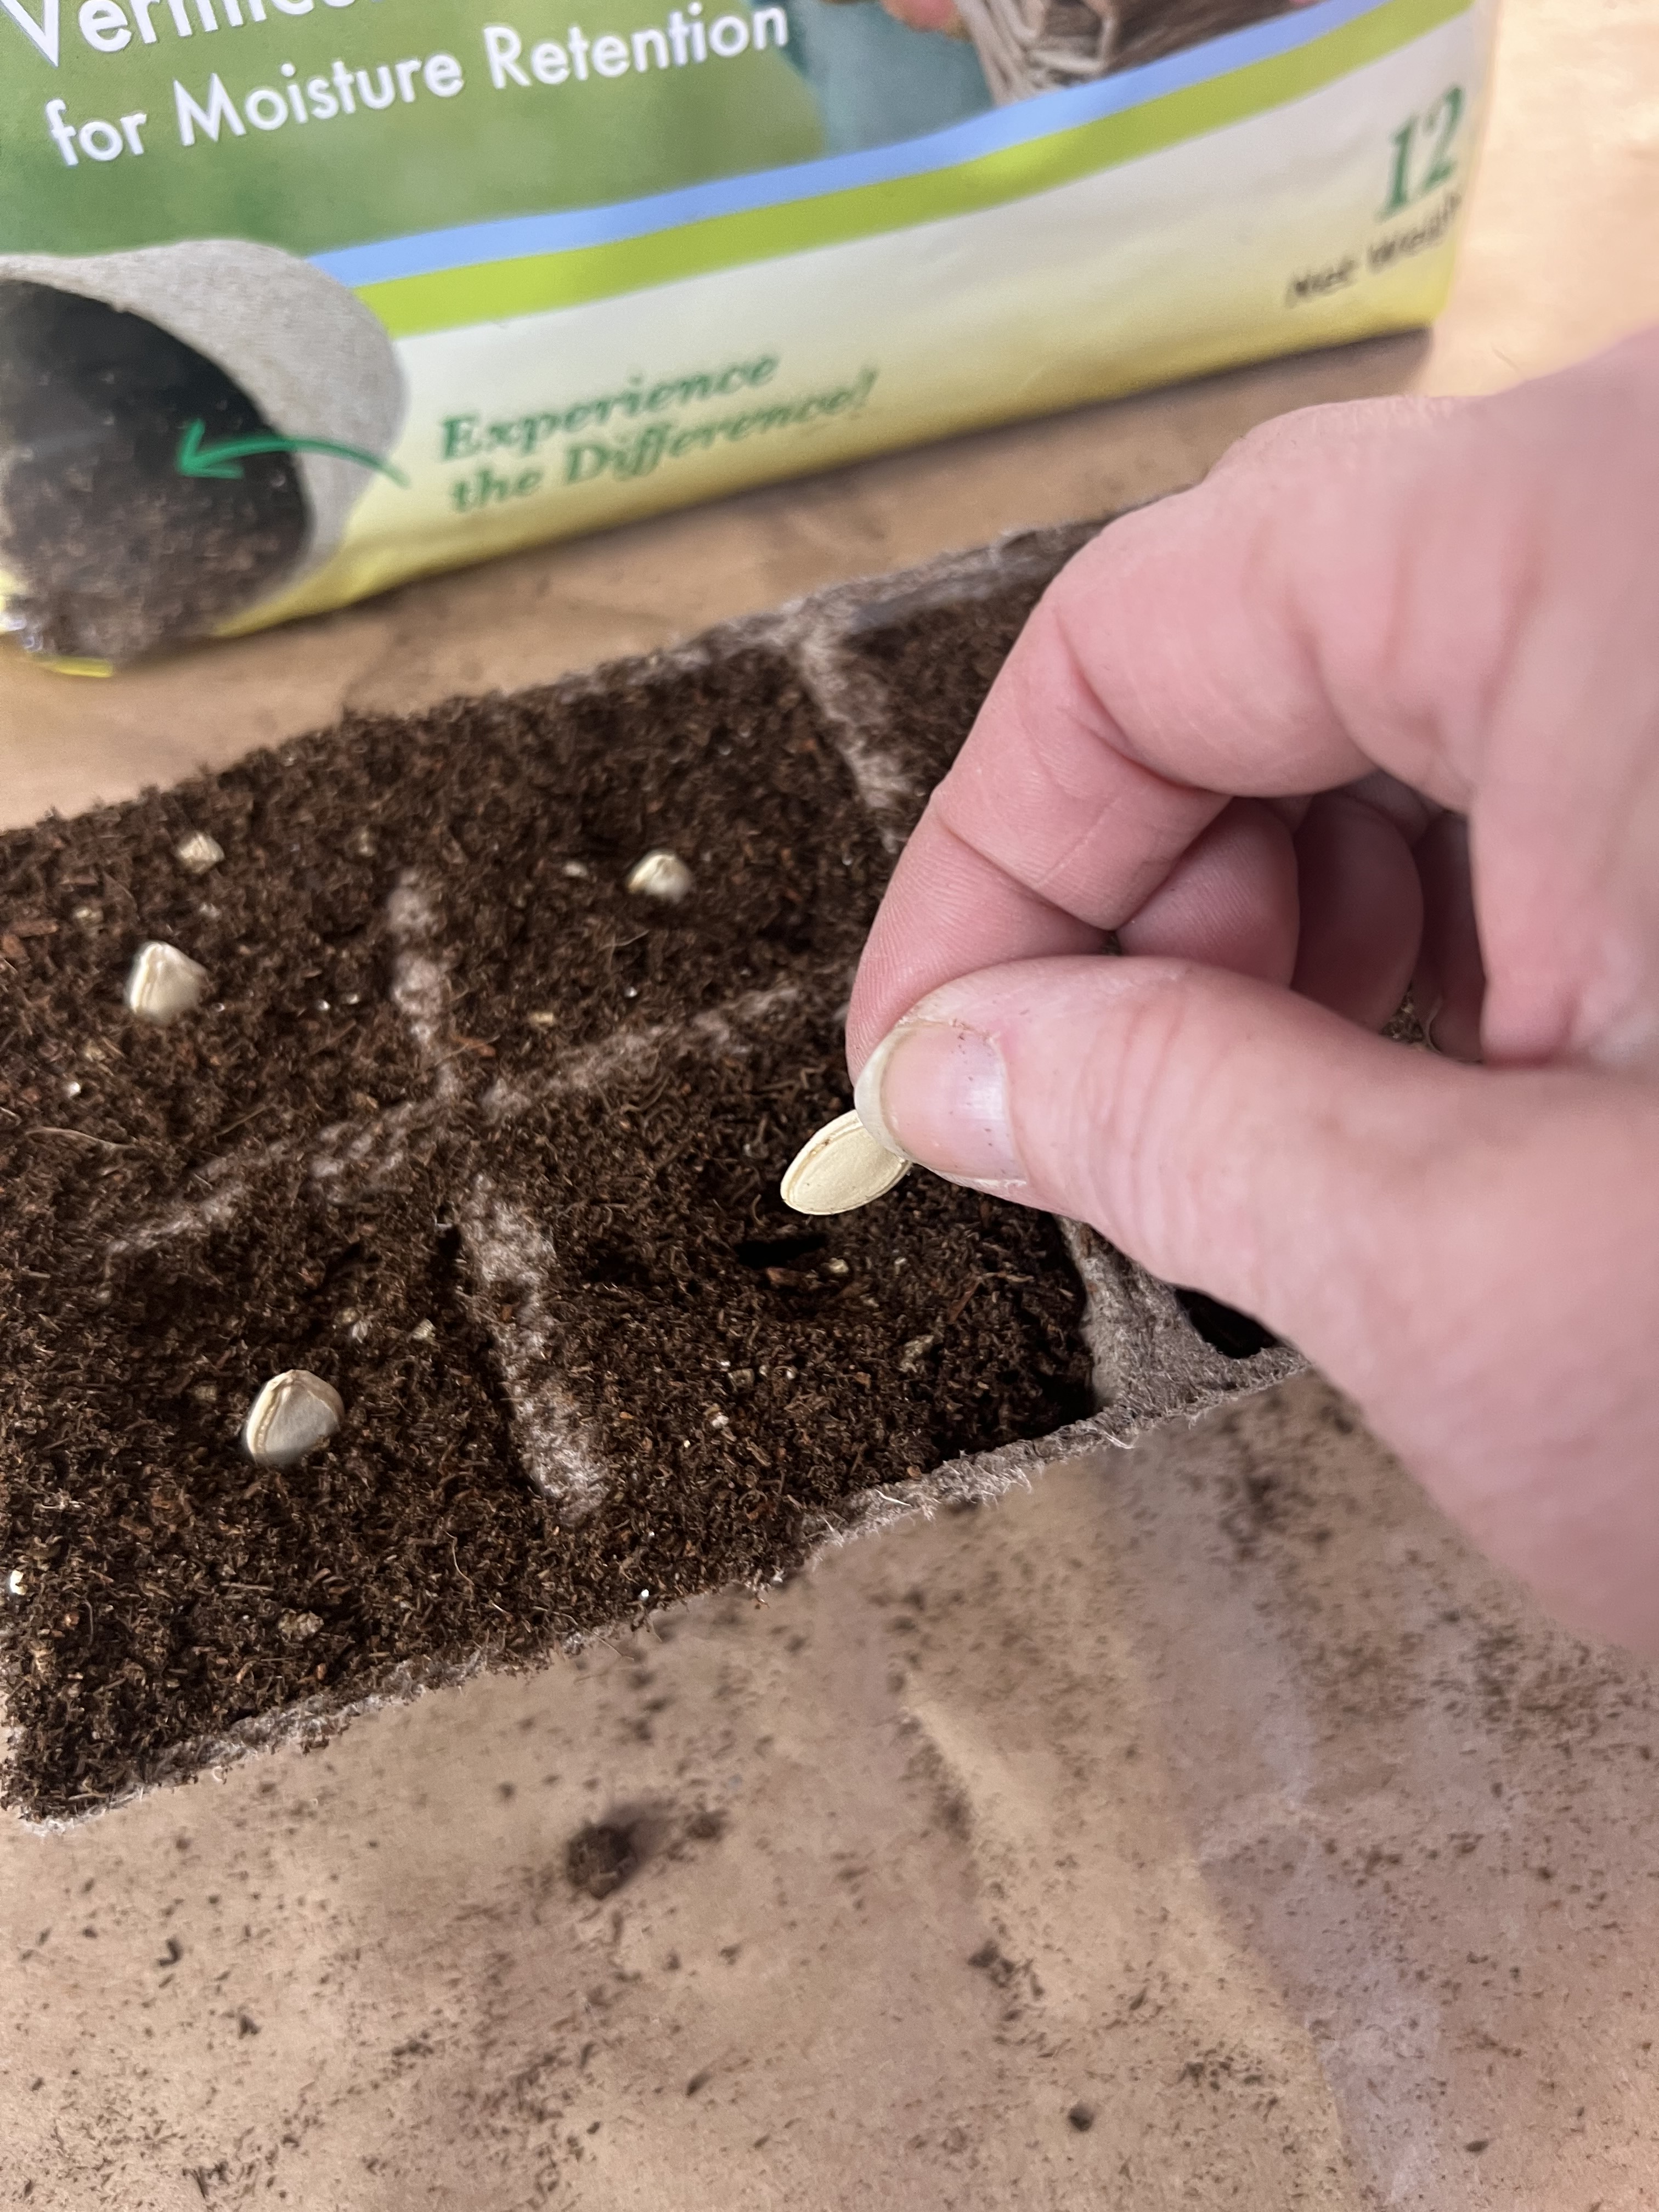
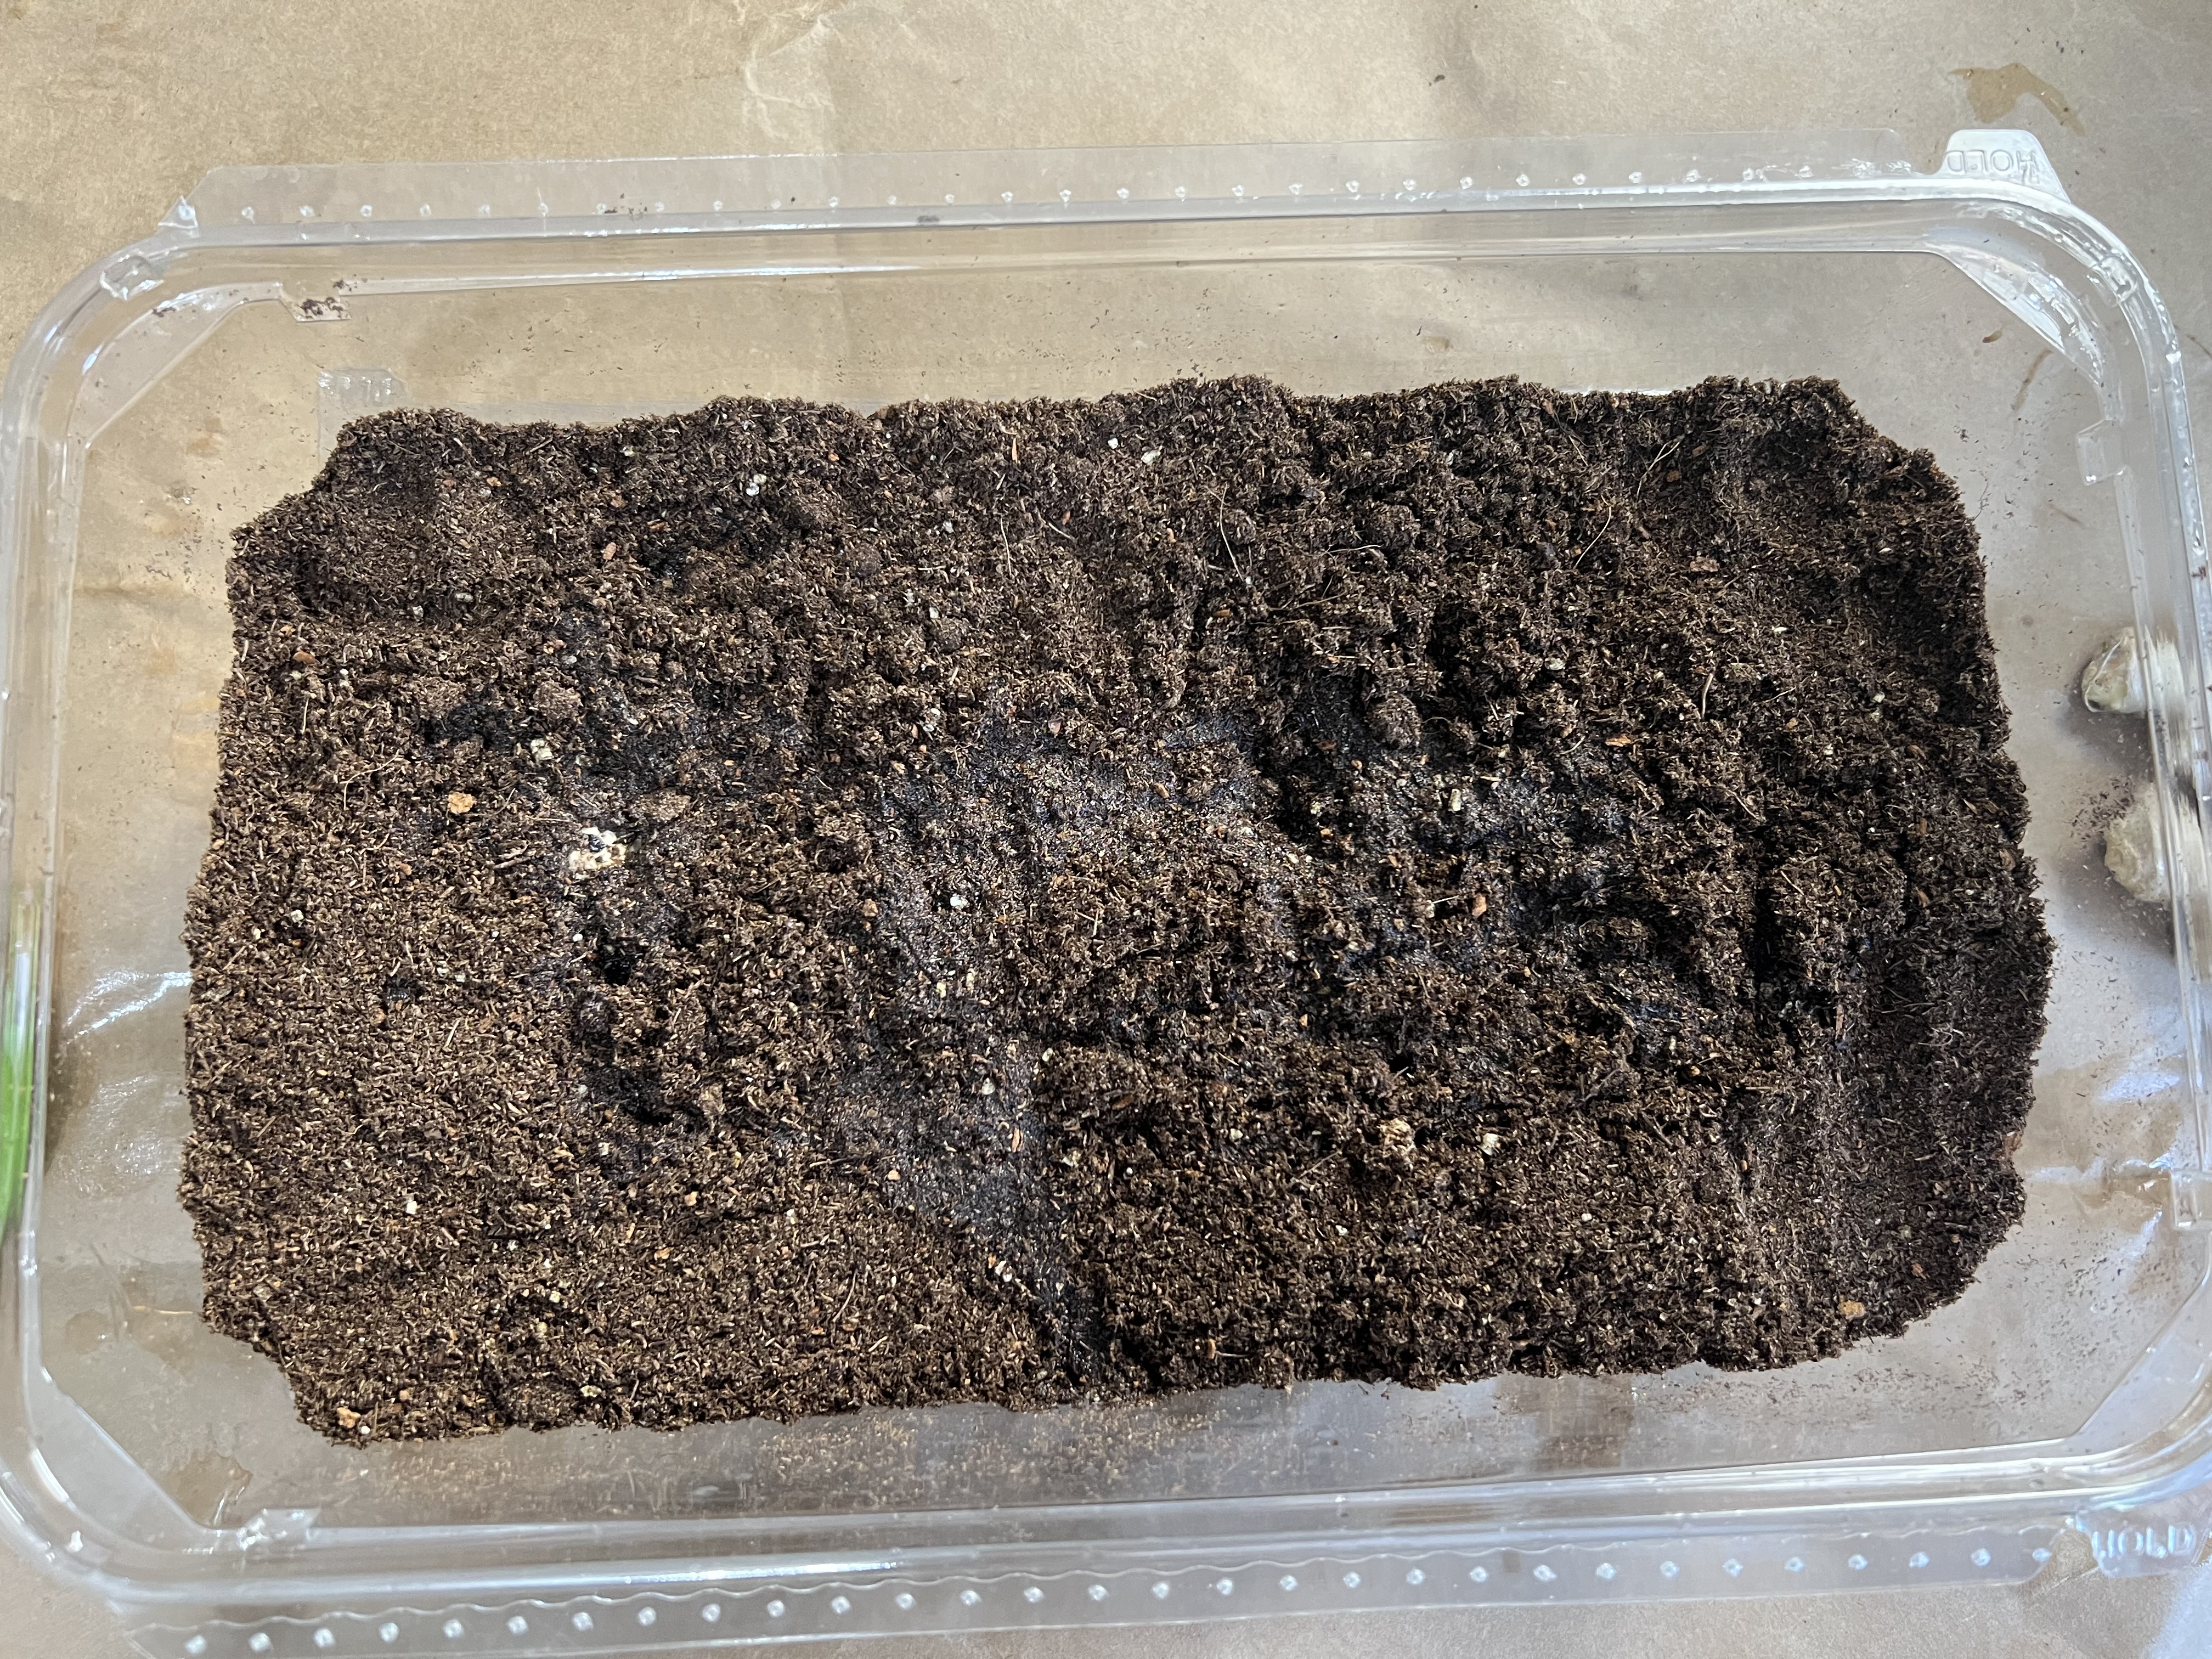
- Fill containers with soil mix: Fill your containers with your chosen soil mix, leaving about 1/2 inch of space at the top. I always recommend an organic blend.
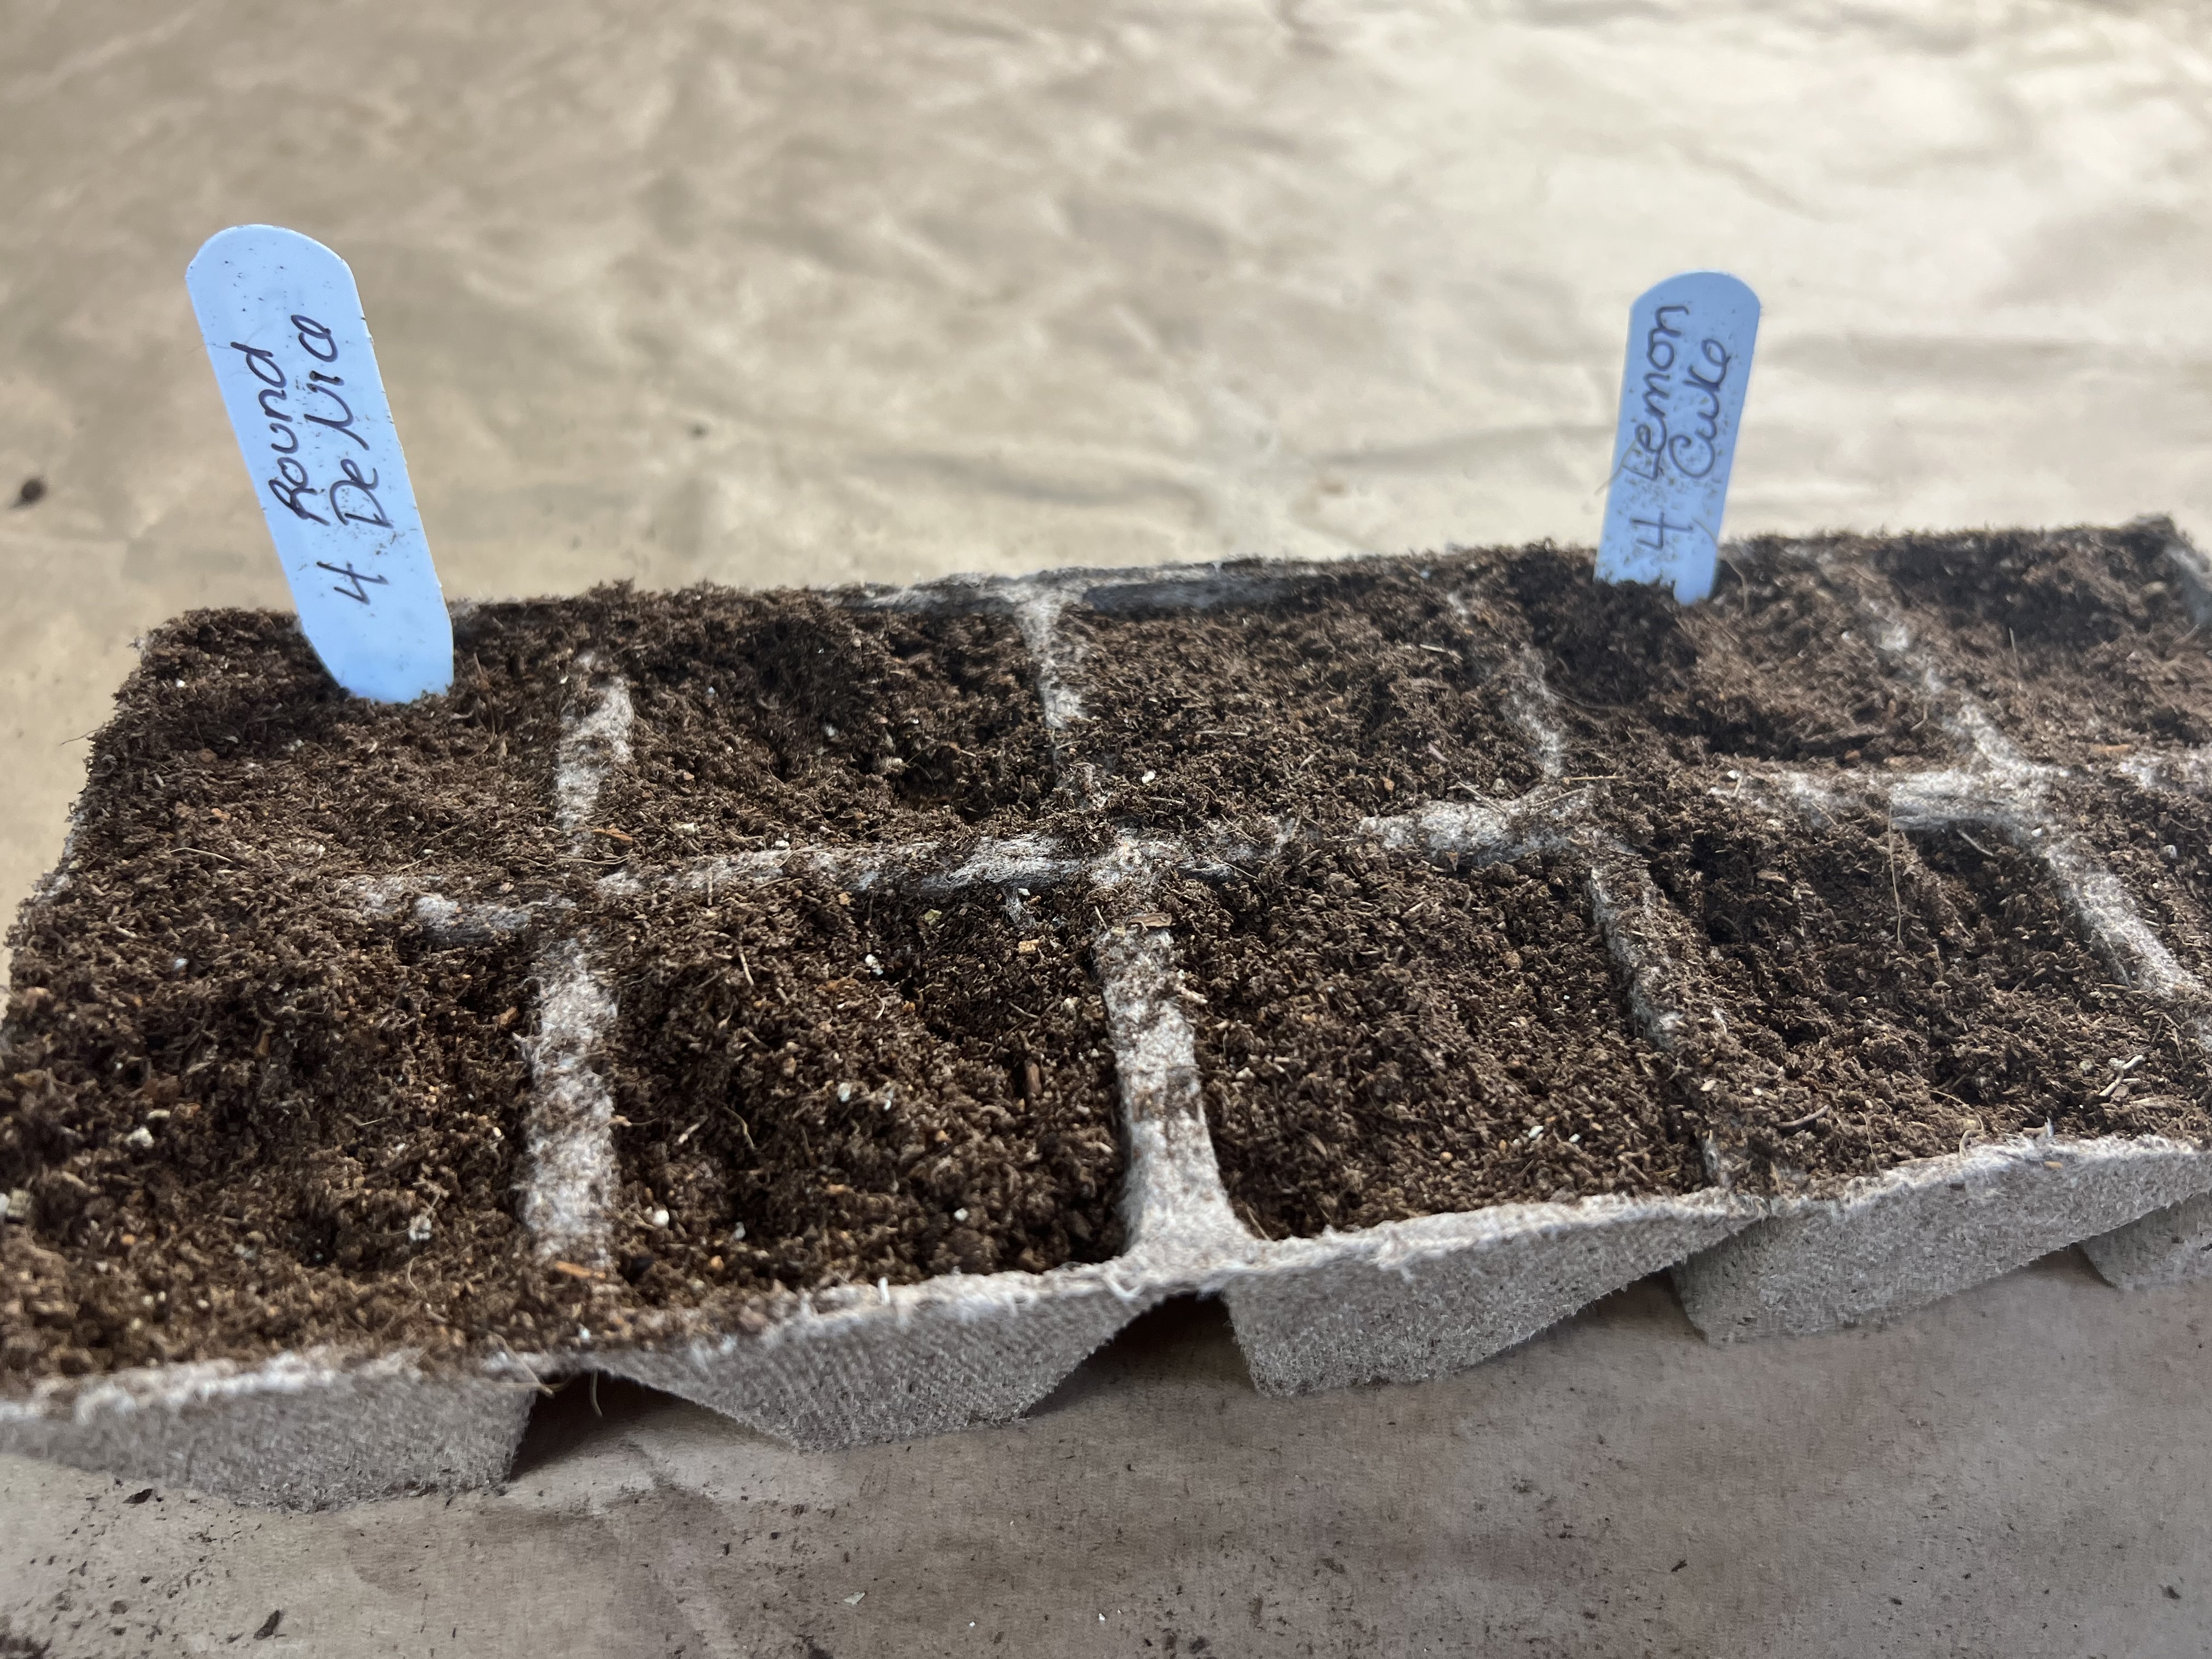
- Label your containers: Use plant labels to identify the type of seed you’re planting and the date you planted it. Don’t believe you will remember… you won’t! Trust me!

6. Sowing your seeds properly is crucial to success!
Now the fun begins, it’s time to sow your seeds. Here’s how:
- As I constantly say, be sure to read the seed packet for specific instructions on planting depth and spacing both when direct sowing, and when you transplant out to your garden.
- Plant your seeds at the recommended depth. This is usually two to three times the diameter of the seed.
- Space your seeds according to the instructions on the seed packet.
- Cover the seeds with soil mix and gently ‘tamp’ down to ensure good seed-to-soil contact. I use a similar sized container so I don’t accidentally get a seed stuck to my hand! Yes it can happen!
- Water your seeds gently using a spray bottle or watering can.
Lighting and temperature are crucial factors!
Light and temperature are critical factors for successful indoor seed starting. Here’s what you need to know:
- Place your seedlings in a location that receives plenty of natural sunlight. If you don’t have access to natural sunlight, use grow lights.
- Keep the temperature in your growing area between 60 and 75 degrees Fahrenheit.
- If you have one, or choose to purchase one, use a thermometer and humidity gauge to monitor the temperature and humidity levels in your growing area.
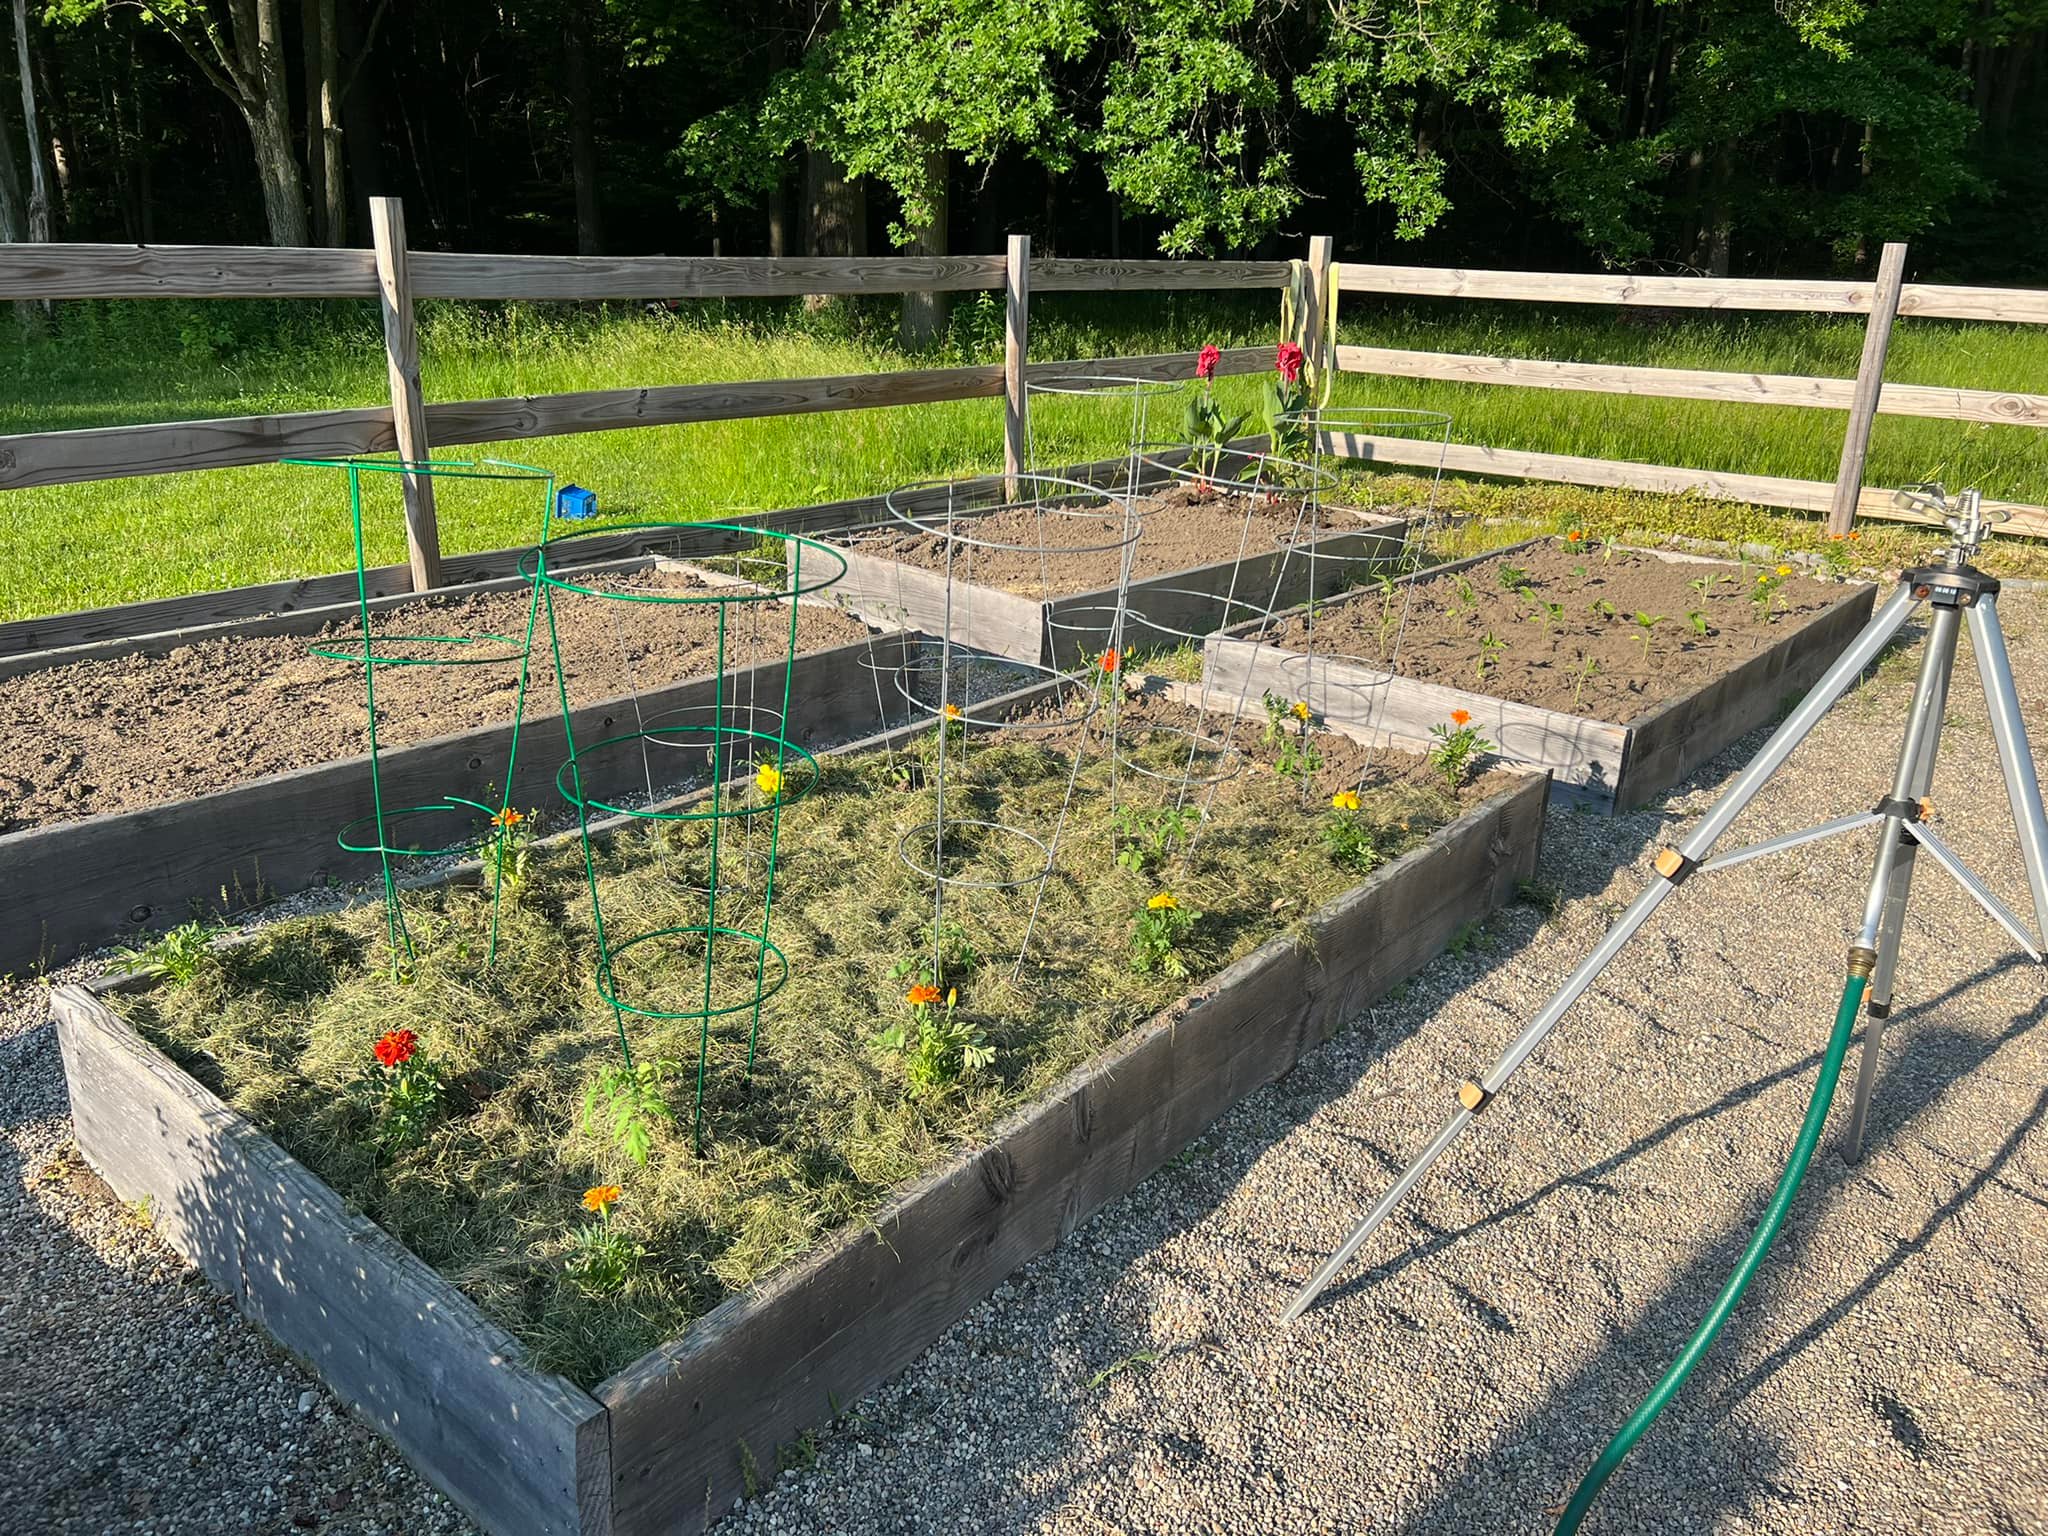
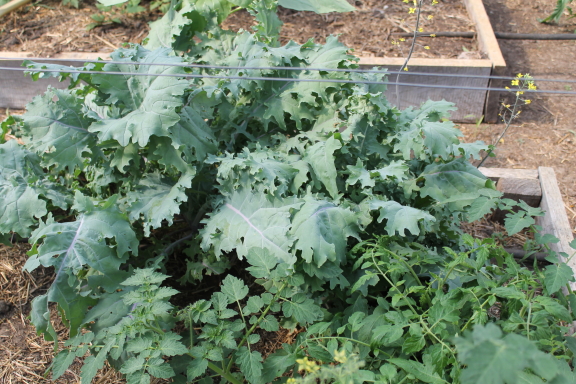
8. Let fun really begin~ How & when to transplant your seedlings outdoors!
Once your seedlings have developed their second set of true leaves, they’re ready to be transplanted outdoors. Here’s what you need to know:
- Harden off your seedlings by gradually exposing them to outdoor conditions over the course of a week.
- Choose a location that receives plenty of sunlight and has well-draining soil.
- Dig a hole that’s slightly larger than the root ball of your seedling.
- Gently remove the seedling from its container and place it in the hole.
- Backfill the hole with soil and water your seedling gently.
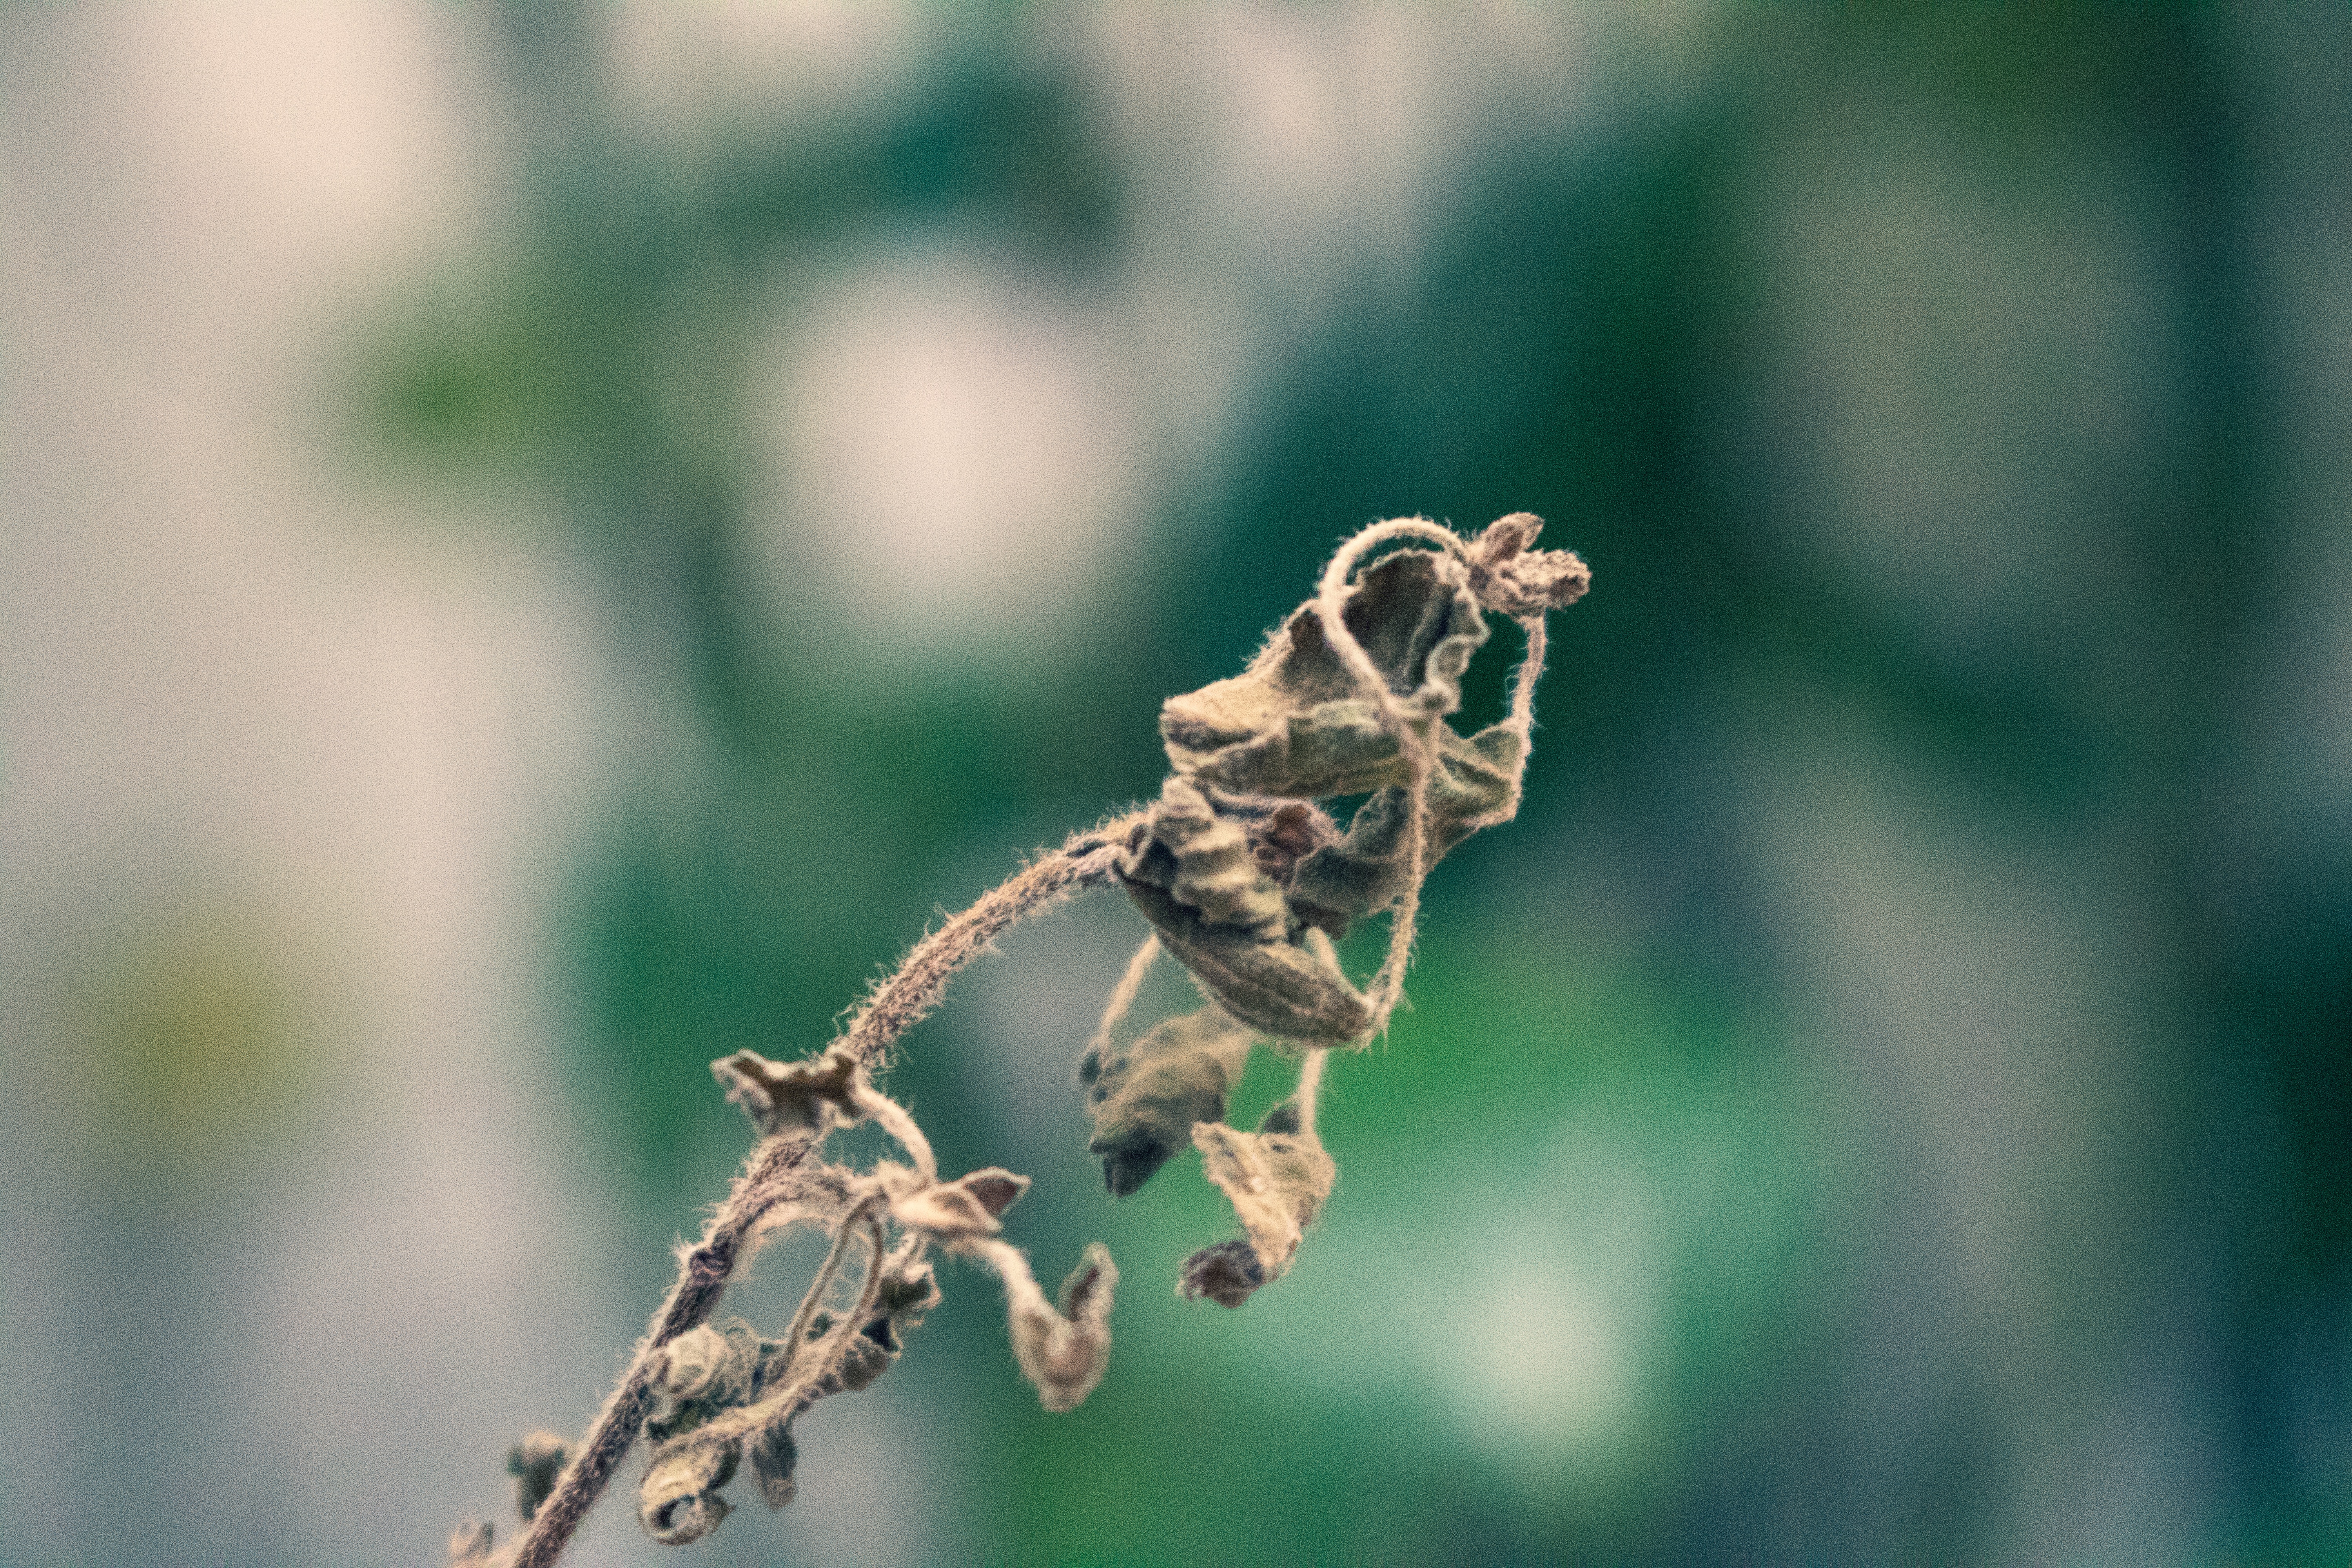
Indoor seed starting can be tricky, and there are several common problems that can arise.
Here are some tips for solving them:
- Damping off: This is a fungal disease that can cause seedlings to wilt and die. To prevent damping off, make sure your containers have good drainage and avoid overwatering.
- Leggy seedlings: If your seedlings are growing tall and spindly, they’re not getting enough light. Move them to a location that receives more sunlight or use grow lights.
- Mold or mildew: If you see mold or mildew growing on your soil or seedlings, it’s a sign of too much moisture. Reduce watering and improve air circulation.
Starting seeds indoors can be a rewarding and cost-effective way to get a head start on the growing season. By following these tips and tricks, you’ll be well on your way to growing healthy, productive seedlings.
If you enjoyed this blog, please LIKE, Follow, Share & leave me a comment! I love your feedback!
If you aren’t following me on Facebook & Instagram go on over & give a LIKE & Follow me for daily tips & tricks for your home & garden!
Added bonus: You can go to my blog at http://www.fordragonfliesandme.com to purchase my original cookbook, Lovingly Seasoned Eats and Treats in either a spiral bound soft cover OR NEW, a Downloadable PDF version. The cookbook has almost 1000 recipes on almost 500 pages! Check out the Cookbook Testimonials while you’re there!
Until next time remember to,
Eat fresh, shop local & have a happy day,
Jean
Copyright Policy
All text and images on this site are copyright of For Dragonflies And Me. Unless otherwise noted, you may not use this content

