How to Impress Your Guests with Mouthwatering Charcuterie Boards Without Breaking the Bank: PART 1

25 Genius Hacks Revealed!

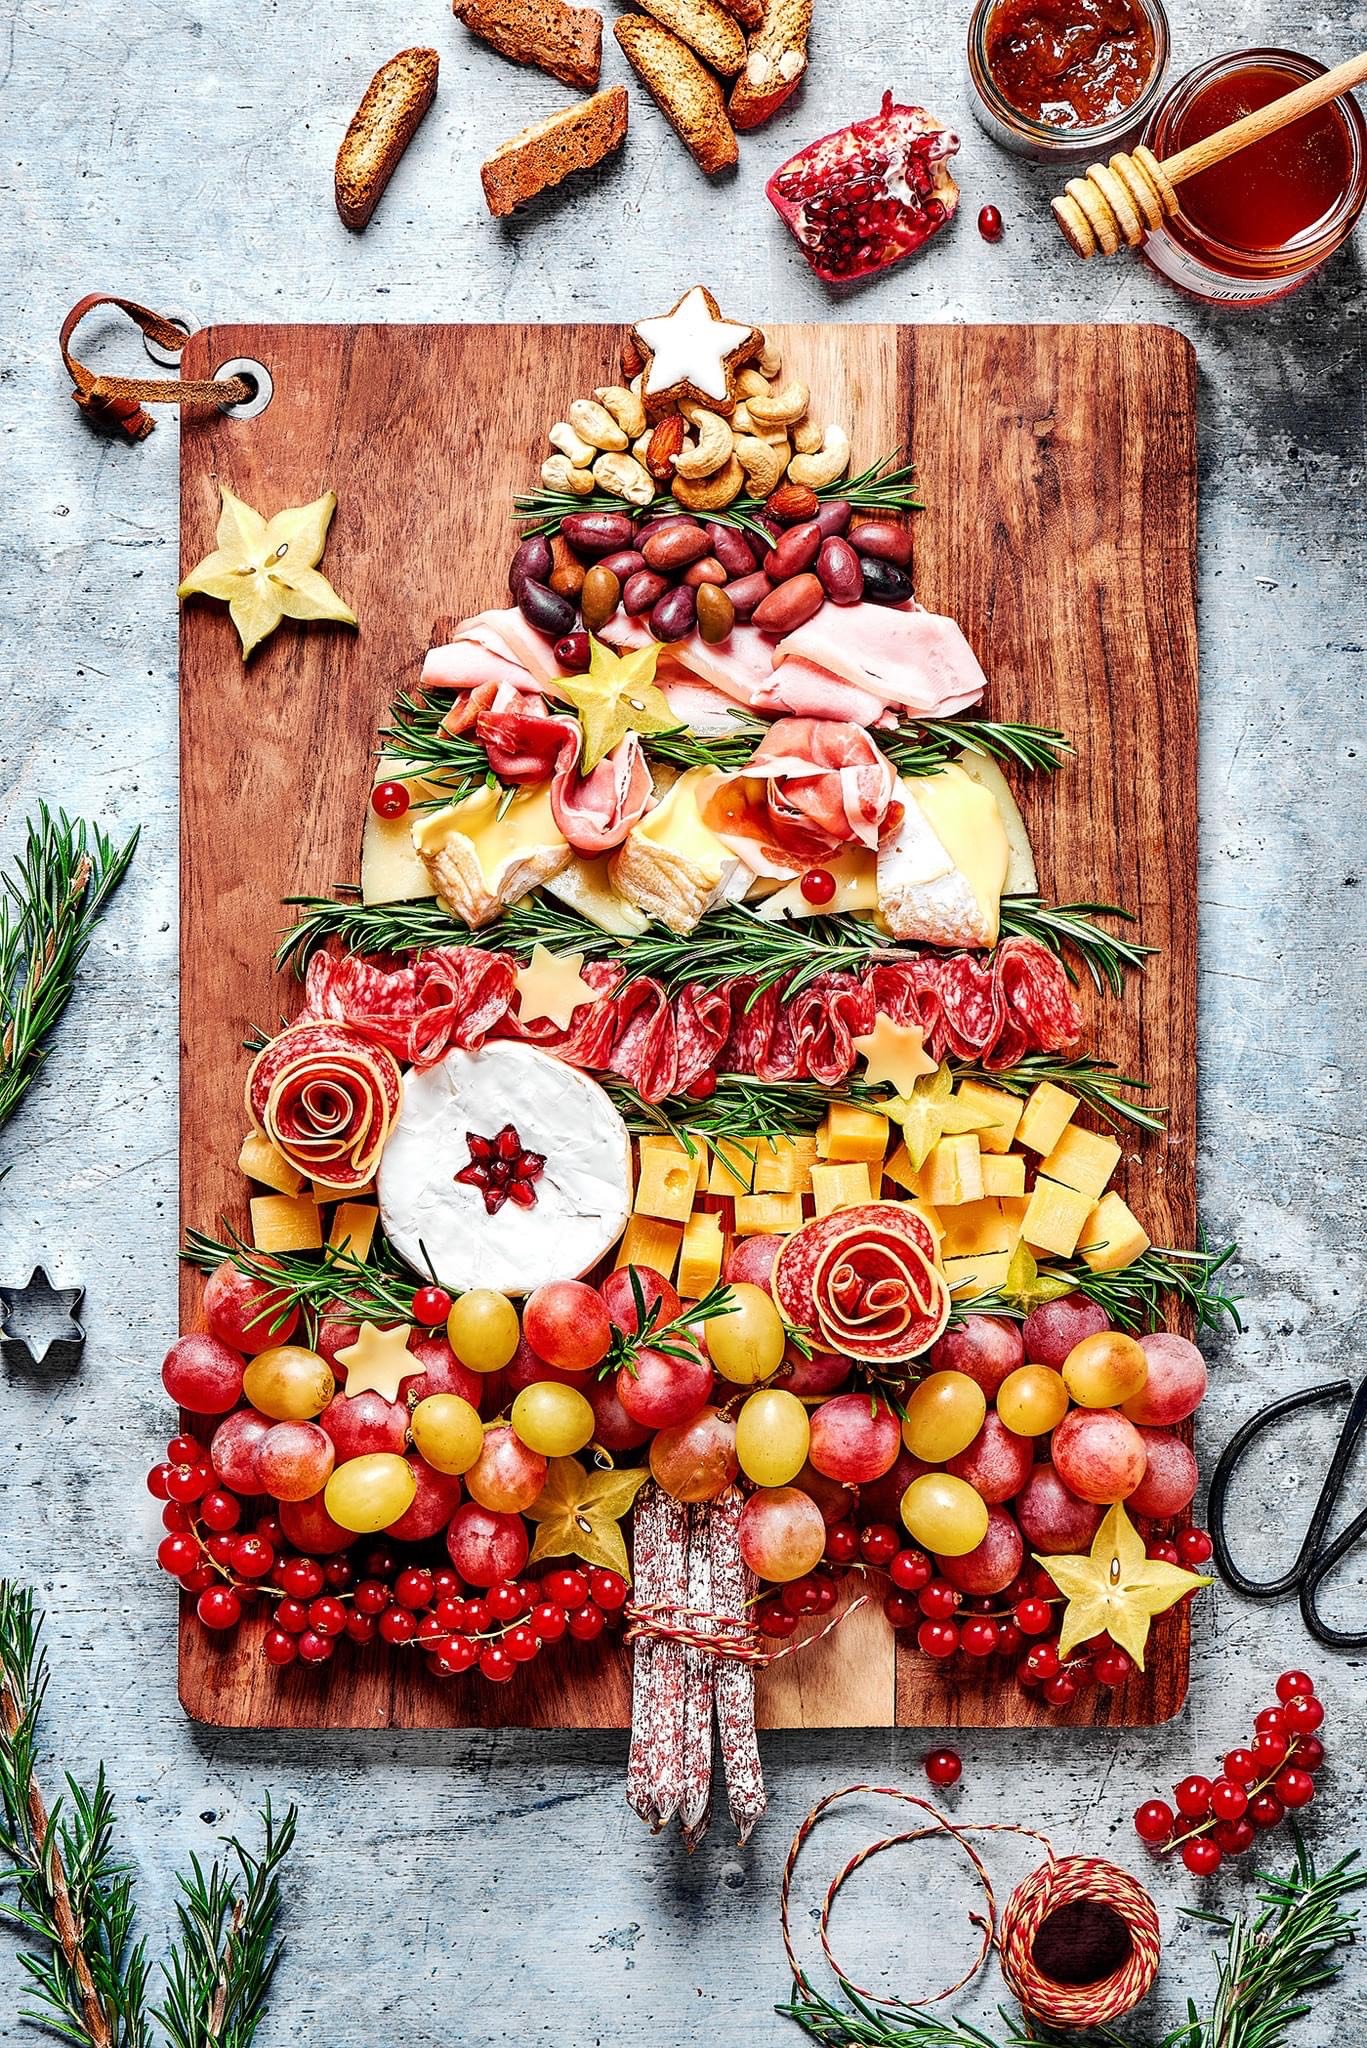
If you’ve been following me for any amount of time, you know how much I love to decorate & entertain. In the next couple posts I’ll be showing you how to create stunning holiday charcutier boards for your holiday parties on a budget.

In todays episode you ‘ll get my 25 genius hacks on how to create stunning holiday charcuterie boards. Following will be the video of me teaching a class on how to create stunning holiday charcuterie boards, and then a quick video on how to create perfect salami roses!

Impressing your guests doesn’t have to mean draining your bank account. When it comes to creating mouthwatering charcuterie boards, a little creativity and a few genius hacks can go a long way. In this article, we reveal 25 tried-and-true tricks that will have your guests begging for more.

Benefits of serving charcuterie boards

Charcuterie boards have become a popular choice for entertaining due to their versatility and ability to cater to different tastes and dietary preferences. One of the main benefits of serving charcuterie boards is the variety of flavors and textures they offer. From salty cured meats to creamy cheeses and tangy pickles, there’s something for everyone.

Another advantage of charcuterie boards is their visual appeal. The artful arrangement of colorful ingredients creates an enticing display that instantly elevates any gathering. Guests will be impressed by the thought and effort put into curating a visually stunning charcuterie board.

Additionally, charcuterie boards encourage a social and interactive dining experience. Guests can pick and choose their favorite components, creating their own unique flavor combinations. This fosters conversation and allows guests to connect over their shared enjoyment of the delicious spread.

The essential elements of a charcuterie board

To create a standout charcuterie board, it’s important to include a variety of essential elements. These elements work together to provide a balanced and satisfying culinary experience.

  1. Meats: Start by selecting a diverse range of cured meats such as prosciutto, salami, and chorizo. Opt for different textures and flavors to cater to varying preferences.
  2. Cheeses: Choose a mix of soft, semi-soft, and hard cheeses to provide a range of tastes and textures. Consider options like brie, cheddar, and gouda. Don’t forget to include a unique and adventurous cheese for those looking for something different.
  3. Accompaniments: Complementary accompaniments add depth and flavor to the charcuterie board. These can include olives, pickles, mustards, honey, and dried fruits. Experiment with different combinations to find the perfect balance.
  4. Bread and Crackers: Provide a selection of bread and crackers for guests to enjoy with their meats and cheeses. Opt for a variety of textures and flavors, such as baguette slices, crispy breadsticks, and artisanal crackers.
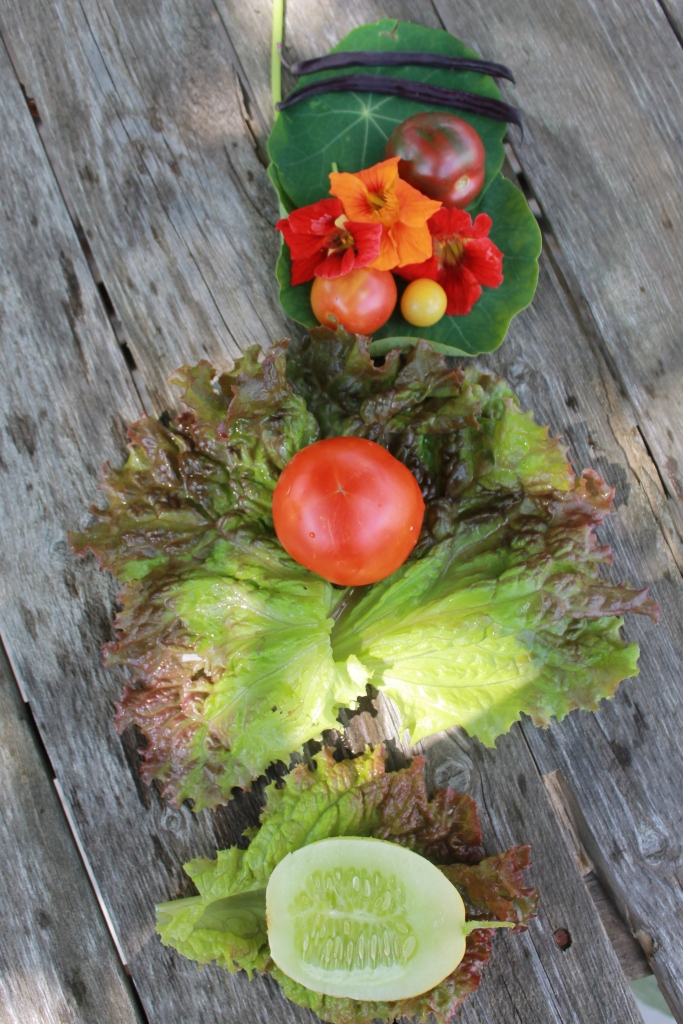
  5. Garnishes: Don’t underestimate the power of garnishes. Fresh herbs, edible flowers, and citrus slices can add a pop of color and freshness to your charcuterie board.

By including these essential elements, you’ll create a charcuterie board that is well-rounded and sure to impress your guests.

Choosing the right meats and cheeses

When it comes to selecting meats and cheeses for your charcuterie board, there are a few key considerations to keep in mind. First, it’s important to choose high-quality products that will showcase the flavors and textures you desire.

For meats, opt for a mix of cured options such as prosciutto, salami, and coppa. These meats offer a range of flavors and textures that will satisfy a variety of palates. Consider including a spicy salami or a smoky-flavored meat for an added kick.

When it comes to cheeses, diversity is key. Include a mix of soft, semi-soft, and hard cheeses to provide a range of tastes and textures. Popular choices include brie, camembert, cheddar, gouda, and blue cheese. Don’t be afraid to get adventurous and include a unique cheese that will surprise and delight your guests.

If you’re unsure about which meats and cheeses to choose, visit a local artisanal deli or specialty cheese shop. The knowledgeable staff will be able to guide you and provide recommendations based on your preferences and budget.

Remember, the key is to provide variety and cater to different tastes, so don’t be afraid to mix and match different flavors and textures to create a memorable charcuterie board.

Get new recipes delivered to your inbox.

Selecting complementary accompaniments

Accompaniments are an essential component of a well-rounded charcuterie board. They add depth and flavor, complementing the meats and cheeses to create a harmonious and satisfying culinary experience. Here are some popular accompaniments to consider:

  1. Olives: Include a variety of olives such as Kalamata, green, and stuffed olives. These briny treats offer a burst of flavor that pairs well with the richness of the meats and cheeses.
  2. Pickles: Tangy and crunchy, pickles provide a refreshing contrast to the saltiness of cured meats. Consider including a mix of dill pickles, cornichons, and pickled vegetables.
  3. Mustards: Mustards add a tangy and slightly spicy element to the charcuterie board. Opt for a variety of mustards, such as Dijon, whole grain, and honey mustard, to cater to different preferences.
  4. Honey: A drizzle of honey adds a touch of sweetness that pairs beautifully with salty meats and creamy cheeses. Choose a high-quality honey with distinct flavors to enhance the overall experience.
  5. Dried Fruits: Dried fruits like figs, apricots, and cranberries provide a chewy and sweet contrast to the savory elements of the charcuterie board. They also add a pop of color to the arrangement.

Experiment with different combinations of accompaniments to find the perfect balance of flavors. Consider your guests’ preferences and offer a variety of options to cater to different tastes. The goal is to provide a harmonious blend of flavors that will leave your guests impressed and satisfied.

Tips for arranging your charcuterie board

The presentation of your charcuterie board is just as important as the selection of ingredients. Follow these tips to create an eye-catching arrangement that will impress your guests:

  1. Start with a large board: Choose a large wooden or marble board as the base for your charcuterie spread. This will provide ample space to display all the components and allow for easy access.
  2. Create different levels: Add height and visual interest to your charcuterie board by using small bowls or ramekins to elevate certain ingredients. This will prevent the board from looking flat and create a more dynamic display.
  3. Arrange meats and cheeses first: Start by placing your selected meats and cheeses on the board. Consider folding or rolling the meats for an aesthetically pleasing look. Distribute the different types of cheeses evenly throughout the board.
  4. Fill in the gaps: Once the meats and cheeses are arranged, start filling in the empty spaces with accompaniments such as olives, pickles, and mustards. Use small bowls or jars to contain loose items and prevent them from rolling around.
  5. Add garnishes: Finish off your charcuterie board by adding fresh herbs, edible flowers, and citrus slices as garnishes. These will add a pop of color and freshness to the arrangement.

Remember to consider both aesthetics and functionality when arranging your charcuterie board. You want it to look visually appealing while also allowing guests easy access to all the delicious components.

Budget-friendly hacks for creating impressive charcuterie boards

Creating an impressive charcuterie board doesn’t have to break the bank. With a few genius hacks, you can elevate your spread without compromising on taste or quality. Here are some budget-friendly tips and tricks:

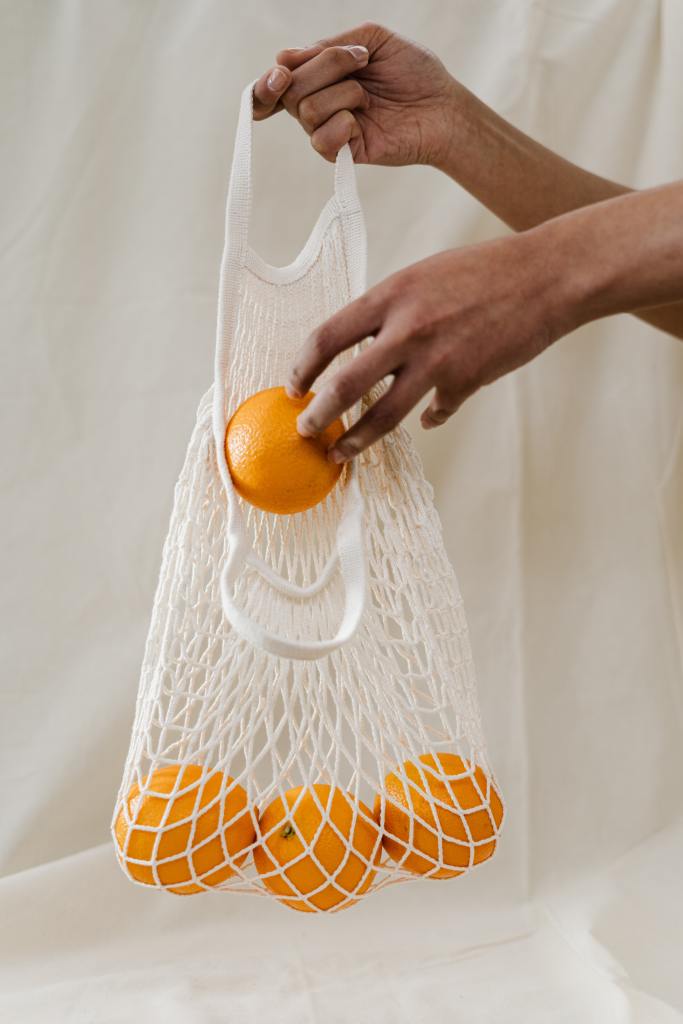
  1. Shop seasonally: Take advantage of seasonal produce when choosing accompaniments for your charcuterie board. Not only will this save you money, but it will also ensure that you’re using the freshest ingredients.
  2. Opt for local and artisanal products: Support local producers and artisans by purchasing their products for your charcuterie board. Not only will you be supporting small businesses, but you’ll also get the opportunity to showcase unique and high-quality products.
  3. Make your own pickles and condiments: Instead of buying expensive gourmet pickles and condiments, try making your own. It’s surprisingly easy and allows you to customize the flavors to your liking.
  4. Use frozen fruits: If fresh fruits are too expensive or not in season, consider using frozen fruits as a budget-friendly alternative. Thaw them before serving, and they’ll still provide the desired sweetness and texture.
  5. Repurpose leftovers: Don’t let leftovers go to waste. Incorporate them into your charcuterie board by turning them into crostini, dips, or spreads. This not only saves money but also adds variety to your spread.

By implementing these budget-friendly hacks, you can create an impressive charcuterie board without overspending. Remember, it’s the thoughtful combination of flavors and textures that will leave a lasting impression on your guests.

Creative presentation ideas for charcuterie boards

While taste is paramount, the visual presentation of your charcuterie board can take it to the next level. Consider these creative ideas to make your spread even more visually appealing:

  1. Shape it up: Instead of sticking to the traditional rectangular or circular board, think outside the box. Use a unique shape, such as a map of your favorite travel destination or the initials of your family name, to create a memorable charcuterie board.
  2. Color coordination: Arrange your ingredients in a way that creates a visually striking color palette. For example, group red meats together, white cheeses in another section, and vibrant fruits and vegetables in a third section.
  3. Theme-based boards: Tailor your charcuterie board to a specific theme or cuisine. For example, create a Mediterranean-inspired board with flavors of Greece and Italy, or go for a rustic French countryside theme with classic French cheeses and accompaniments.
  4. Mini charcuterie boards: Instead of one large board, create mini charcuterie boards for individual guests. Use small slate boards or even repurposed cutting boards for a personalized and intimate dining experience.
  5. Charcuterie cones or skewers: For a fun twist, create charcuterie cones or skewers. Thread a mix of meats, cheeses, and accompaniments onto skewers or roll them up in cones made from paper or lettuce leaves. This portable option is perfect for outdoor gatherings or cocktail parties.

Remember, the presentation of your charcuterie board should reflect your personal style and the occasion. Have fun with it and let your creativity shine through.

Pairing wines and beverages with charcuterie boards

To complete the ultimate charcuterie experience, it’s important to consider the beverages that will accompany your spread. Wine is a classic choice, but there are also other options to explore. Here are some suggestions for pairing wines and beverages with charcuterie boards:

  1. Red wine: Red wines such as pinot noir, cabernet sauvignon, and syrah pair well with bold and flavorful meats like salami and prosciutto. The tannins in red wine cut through the richness of the meats, creating a harmonious balance.
  2. White wine: White wines such as chardonnay, sauvignon blanc, and riesling are excellent choices for pairing with delicate and creamy cheeses. The acidity and freshness of white wines complement the richness of the cheeses.
  3. Rosé wine: Rosé wines offer a versatile option that can bridge the gap between red and white. They pair well with a range of meats and cheeses, providing a refreshing and vibrant accompaniment.
  4. Craft beer: If wine isn’t your preference, consider serving craft beer with your charcuterie board. Opt for a variety of styles, such as lagers, ales, and stouts, to cater to different tastes.
  5. Non-alcoholic options: Don’t forget about non-alcoholic options for guests who prefer not to drink or are under age. Offer sparkling water, flavored sodas, or mocktails that complement the flavors of the charcuterie board.

The key to successful pairing is to consider the flavors and intensities of both the charcuterie board and the beverages. Experiment with different combinations to find the perfect match that enhances the overall experience.

Conclusion and final thoughts

Impressing your guests with mouthwatering charcuterie boards doesn’t have to be expensive. By incorporating these 25 genius hacks, you can create stunning spreads that will leave your guests in awe without breaking the bank.

Remember the essential elements of a charcuterie board, choose the right meats and cheeses, and select complementary accompaniments. Use the tips for arranging your board to create an eye-catching display that is both visually appealing and functional.

Don’t be afraid to get creative with your presentation and explore different themes and shapes. And, of course, consider the perfect pairings of wines and beverages to complete the charcuterie experience.

With these tricks up your sleeve, you’re well on your way to becoming the ultimate charcuterie pro. So go ahead, impress your guests, and enjoy the delightful flavors and textures of a perfectly curated charcuterie board. Cheers to unforgettable gatherings and happy taste buds!

Processing…
Success! You're on the list.

Added bonus: You can go to my blog at http://www.fordragonfliesandme.com to purchase my original cookbook, Lovingly Seasoned Eats and Treats in either a spiral bound soft cover OR NEW, a Downloadable PDF version. The cookbook has almost 1000 recipes on almost 500 pages! Check out the Cookbook Testimonials while you’re there!

Until next time remember to,
Eat fresh, shop local & have a happy day,
Jean

Copyright Policy

All text and images on this site are copyright of For Dragonflies And Me. Unless otherwise noted, you may not use this content.

This post may contain affiliate links. If you choose to purchase through an affiliate link, I may receive a small commission at no additional cost to you. You can see my full disclaimer her

Are you looking for some fun? Well look no further…

If you haven’t been following me on my Facebook page, well then you’ve been missing a load of fun. I share links to all my blog posts, YouTube videos, Podcast recordings, Facebook live moments when I’m out & about.

Be sure to stop by so you don’t miss a beat! See you there friends, and be sure to “Hi!” in the comments!

CLICK each photo to see the blog post that goes with it!


If you enjoyed this blog, please LIKE, Follow, Share & leave me a comment! I love your feedback!

If you aren’t following me on Facebook & Instagram go on over & give a LIKE & Follow me for daily tips & tricks for your home & garden! 

Added bonus: You can go to my blog at http://www.fordragonfliesandme.com to purchase my original cookbook, Lovingly Seasoned Eats and Treats in either a spiral bound soft cover OR NEW, a Downloadable PDF version. The cookbook has almost 1000 recipes on almost 500 pages! Check out the Cookbook Testimonials while you’re there!

Until next time remember to,
Eat fresh, shop local & have a happy day,

Jean

Copyright Policy

All text and images on this site are copyright of For Dragonflies And Me. Unless otherwise noted, you may not use this content.

Where do you find inspiration?

Are you following me on my Instagram page yet? Well friends I post fun recipe and gardening reels there I don’t share anywhere else. I do regular live posts of where I’m going and what I’m doing.

Be sure to FOLLOW me there so you don’t miss out on anything! See you there friends, and be sure to say hi!

Click each of the photo’s to see the topic!


If you enjoyed this blog, please LIKE, Follow, Share & leave me a comment! I love your feedback!

If you aren’t following me on Facebook & Instagram go on over & give a LIKE & Follow me for daily tips & tricks for your home & garden! 

Added bonus: You can go to my blog at http://www.fordragonfliesandme.com to purchase my original cookbook, Lovingly Seasoned Eats and Treats in either a spiral bound soft cover OR NEW, a Downloadable PDF version. The cookbook has almost 1000 recipes on almost 500 pages! Check out the Cookbook Testimonials while you’re there!

Until next time remember to,
Eat fresh, shop local & have a happy day,

Jean

Copyright Policy

All text and images on this site are copyright of For Dragonflies And Me. Unless otherwise noted, you may not use this content.

Wholesale Case Pricing for my Cookbook, Lovingly Seasoned Eats And Treats!

Lovingly Seasoned Eats and Treats

My cookbook contains almost 1000 easy & delicious recipes gathered from the women at Bethany Mennonite Church in Michigan.

Wholesale pricing is available for either half case (10 books) or full case (22 books). Message me for more information.

Choosing Perennials, Lavender Heart Card, Easy Flavored Sugar’s Gift & Yummy Apple Pie Oatmeal

Flavored Sugars make a super cute gift.
See how to below

Lavender Heart Card… see how to below

Our gardens are filled with love, patience and long suffering… these are attributes that we as spouses, parents, co-workers and such strive to maintain and build in our personal character.  I believe that gardening helps us grow these virtues.  I always tell my my friends that God made me to love gardening because that was the only way He was sure to get these virtues instilled in me.   Perennials I believe help along with this much more than annuals.  My closer friends know how much I enjoy ‘instant gratification’ 🙂 ~ which is why I probably will always incorporate my beloved annuals… petunias, nasturtiums, pansies and the likes~ they are ever faithful!  Today we will look at perennials and the pro’s and con’s to them along with some tips & hints on maintenance.

Perennials can create a challenge for some due to the simple fact there are so many to choose from.  Several factors come into play when deciding on what, where and when.  I will touch base on what I believe to be the most important factors to take into consideration. Perennials will be where ever you place them for a long while and if they are larger plants such as shrubs and trees, you need to make sure you love what you choose!  The color of your home, whether it be dark, light or painted brick, vinyl siding or painted wood~ all play into the choices. You wouldn’t want to put a white flowering pear in front of your white house- you would loose all interest because when the tree is in full bloom you would loose the tree into your home.  A pink flowering crab on the other hand would be much more stunning.
Many of the factors listed with annuals are also relevant for perennial, for instance sun & shade tolerances.
~Size is one factor with perennials that does differ from perennials.  You will be looking at trees and shrubs as well as bush types, ground covers, small to mid-size growers. 
~I would suggest that first you go to a nursery or garden center with a note book, plan on spending some serious time there.  Go through each category of plant that you are interested in; jot down what you like and the details to that plant.  If you have a really good plant encyclopedia at home, you won’t need too much of the detail, but if you don’t be sure to get these details- sun requirements, blooming time, height & width at mature stage and any special requirements that might be listed.
~Bloom time is one factor to pay close attention to.  You will want to be sure to incorporate plants that will give you seasonal blooming.  Here are a few more common perennials and there bloom time:
*Spring bloomers: Ajuga, bergina, bleeding heart, columbine, coral bells, hellebore, lady’s mantle, peony, poppy, primrose, viola and of course bulbs such as snow drops, daffodils, crocuses, hyacinths and my favorite of all, tulips.
*Summer bloomers: Astible, baby’s breath, bee balm, coreopsis, day lily, delphinium, dianthus, helianthus, hosta, lupine, obedient plant, phlox, purple corn flower, black eyed susan, Shasta daisies, Russian sage, scabiosa, sedum, verbena, veronica and yarrow.
*Fall bloomers: Aster, chrysanthemum, lobelia, Japanese anemone and goldenrod.
The next thing to take into consideration when you are ready to purchase is, “What size plant/shrub/tree do I start with?” Well the fact of the matter here is truly how much money and patience do you have! I most often times want the biggest bang for my buck and therefore typically will go with a smaller plant and be patient with growth.  There are a few ‘slow’ growers that I don’t, like trees for instance.  I’ve done the catalog mail order and get a ‘twig’ in the mail, which has in every situation been mowed over, run over by a child, week wacked or dug up by an animal! No thanks~ too many disappointments and wasted time in this area.  What I do is wait until August and go to the garden centers when everything is typically marked down 50% and buy the 8′ to 12′ trees.  I mulch heavily and water deeply and regularly so the tree will have plenty of time to take root and make it through the cold Michigan weather I live in.  I have not lost one yet!  This is also what I do with some of my larger shrubs if they are going to be in a ‘high risk’ area. Otherwise I go for the small pots here too.  Mulching and watering is the key to success.
* A few other tips:
~Prepare the soil well- add plenty of organic matter to ensure adequate water and air circulation.
~Always plant the plant to the same depth of the size of the pot that you purchased it in.
~Water often the first season. This will aid the plant in developing a strong root base.
~Fertilize in spring- most growth happens during this time.  Choose appropriate fertilizers according to type of plant.
~Mulch year round- this aids in maintaining moisture and protecting roots.
~Get more blooms!  Dead heading certain varieties, such as roses will stimulate more blooming.
~Division of plants, especially Iris’s and bulbs are crucial to long life and better blooming.  Be sure to read on each plant before dividing, some prefer spring, others fall!
There is so much to be said and time and space would never allow me to do it all in a day’s blog.  I hope this helps you get started!

For a thoughtful gift, create on of these simple Lavender Filled Heart Cards. 
*First you will need to choose a sheet of card stock and cut to the desired size;  fold vertically in the center. Cut two heart shapes from a piece of printed muslin to fit nicely on the front of your card; stitch them together, outsides in, leaving a small opening; invert the hearts; loosely fill with dried lavender; stitch the opening closed and attach the heart to the card.  See attached photo!      

Flavored Sugars are an easy thing to make, here is a quick recipe that you can use on oatmeal or in your tea.  They make super cute gifts as well.  See attached photo!
Start with 2 cups organic raw sugar.
For Vanilla Sugar: Split 1 vanilla bean in half and scrape the seeds from the bean into the sugar; then bury the bean in the sugar.
For Cinnamon Sugar:  add 1 1/2 Tbsp. ground cinnamon and 2 sticks.
For Cardamon Sugar: add 1/4 cup whole green cardamom pods.
The sugars will stay flavorful i a sealed container for up to one year. 

To make it gift worthy put the sugar’s in pint size jelly jars; using pinking shears cut a cute piece of fabric circle 1 1/2 inch’s wider in diameter than the metal lid; place fabric circle over the lid, place on filled jar and then seal with ring.  Create a cute contents label to put on the front of jar. Happy giving!

Oatmeal doesn’t have to be the way grandma made it- goopy & thick!  This alternative to an already hearty breakfast goes a long way when it tastes like Apple Pie.  Sometimes we are really busy in the morning and getting a good breakfast can be a challenge.  Here is a quick, forget about it in the crock pot till morning meal that is sure to please!
Apple Pie Oatmeal

2 1/2 cups milk
1 cup steel cut oats, uncooked
1/4 cup brown sugar, packed
2 Tbsp. honey
2 Tbsp. butter, melted
1 Tbsp. apple pie spice
1 apple, cored, peeled and chopped
1/2 cup raisins, optional
1/2 cup chopped walnuts, optional

Place all ingredients in a slow cooker sprayed with non stick spray; stir well until well mixed. Cover and cook on low for 6-8 hours.

Happy Day,
Jean

Children’s Gardens & more themes, Butterfly Kisses & a super Yummy Apple ‘Breakfast’ Pie!

Each Spring my children get pretty enthusiastic about planting ‘their’ own garden plots.  Ryan, my soon to be 10year old is always right there ready to get going.  Last year he gathered several old bricks he discovered and made small ‘raised’ beds.  He dug around to loosen the dirt and proceeded to plant his tomato plants along side basil, nasturtiums & marigolds.  He has learned the art of Companion Planting like a true gardener!  Taylor & Kyle are usually in competition as to who’s garden shall yield the greatest bounty and there-by collect the most funds from dad ‘n’ mom! The problem most often is that the thrill doesn’t always last through till the harvest~ before the harvest is weeding & tending~ not such glamorous tasks as the planting!  But they are learning and I believe will someday have beautiful flower & veggie gardens for me to walk through!

But in the meantime here are a few more Garden Themes to dream about & work toward!
The first is a lovely *Children’s Garden~  Sunflower Houses~  A good friend of mine has a really neat book called  Roots, Shoots, Buckets & Boots by Sharon Lovejoy.  It is a book all about different children’s garden theme’s.  One that struck us most was a sunflower house. It is so fun & incredibly simple~ first find the perfect spot, a sunny corner in the far back of your veggie garden works well~ or in a flower bed if you have room~ figure about a 6’x6′ area.  You will need the Giant Grey Stripe or Mammoth Sunflower’s or even better a combo of both.  Using a stick for a marker, draw out the area in the dirt, any shape you want will do~ round, diamond, square, whatever~ then plant the seeds according to package directions.  Be sure to leave enough of an opening for an entrance.  Once the seeds start to sprout reseed where any didn’t germinate so you have a complete ‘wall’.  After your sunflowers are about six inches high plant Morning Glory seeds at the base of some of the sunflowers~ about every six would be good.  To make a roof over your hide away, take twine and go around the tops of the sunflowers to make criss~cross sections for the morning glories to climb over.  Once your sunflowers and morning glories are full grown it will be the perfect spot for picnics, story time or playing house.  Your children will love it!
other stuff for the Children to plant…. Children love to plant and if you give them something fun to grow it can even be more special! Let them plant some decorative gourds.  There are more varieties than you can shake a stick at including Swan, Bottle, Snake, Apple and even a Dinosaur Gourd.  Let them page the seed catalogs with you and have them pick what interests them.  There are books that teach the art of Gourdology which can be found at your local library.  The garden project can at harvest time become a craft project!  

Are you a crafty type of person?  Why not try growing your own Wreath Garden.  With the cost of materials these days, a package of seeds will go a long way in the savings department. Try growing these easy plants and who knows you might even be able to start a little business with your craft!
*Flowers that work well for Wreath’s include~ boxwood, sweet annie, yarrow, bay, statice, artemisias and gomphrena. 

*Ditch Garden~
Do you have a ditch in front or alongside your home that just screams ‘do something with me’? It is always an eye soar and you just don’t really have the time to tend another garden? You want something but would like a maintainence free space that looks good without a lot of effort? I did, so last year I attacked the ditch that runs along the road in the front of our yard. My ditch is often fairly wet so my choice was a day lily patch. Here are two very quick & simple solutions if you have a similar dilemma. First & foremost determine how often and to what degree the area is wet.  This will determine if you do a Wild Flower or Day Lily Garden.  Next, if tilling is a possibility rotor~till up the section to be seeded/planted.  If the area is not tillable due to moisture you will need to do a Day Lily garden.  If this is the solution, dig holes about every two feet and plant a clump of day lilies.  They can handle the early spring moisture and tolerate the dry & hot summer days that hit Michigan. If the area is not overly moist and tilling is an option,  simply scatter Wild Flower seeds in it. After a couple years you will have a breathtaking, car slowing garden that will never be an eye soar again.  Which ever you decide will best fit your space, be sure to check planting directions/requirements before you put all the work into it.  

What are Butterfly Kisses you ask? These have been shared in my gardens for many years by me & all my children.  They are the sweetest way to give that little person in your life a ‘special’ kiss & I love you.  So here are step by step instructions for those who are interested!
*First, find one or more of your favorite children.
*Next, stand them close to you and get down to their level~ face to face!
*Getting right up close in their face, put your eye up against their eye and blink as quickly as you can!  Be sure to tell the child to do the same!  The child will of course giggle and ask for tons more and of course you will gladly oblige!
That’s a Butterfly Kiss, and of course they are most fun in a garden!

Who says Apple Pie is just for desert?  This yummy Apple Pie will surprise the ones you love around the table, give it a try!

Apple ‘Breakfast’ Pie

1 beaten Egg, from Garden Gate
1/4 cup oil
1 cup milk
1 1/2 cup Pancake Mix from Taylor’s Bake Shoppe
1/2 cup plus 2 Tbsp. Vanilla Sugar
2 Granny Smith apples cored & wedged
1/2 tsp. Cinnamon
1/4 tsp. Nutmeg
2 Tbsp. butter
Add about 1/2 cup nuts is you would like!
Top it with some Whipped Cream or Ice Cream~ Yummy!

1.  Beat the egg, oil & milk together and then add Pancake mix, 1/2 cup of sugar and nuts if using.  Beat until smooth, but don’t over beat.
2. Pour into a greased 10″ pie plate. 
3. Arrange the apples evenly over batter.  Combine the 2 Tbsp. of sugar with cinnamon & nutmeg; sprinkle over the apples.  Dot with butter.
4.  Bake at 375 degrees for about 30- 35 minutes or until apples when poked feel tender.  Serve warm with your choice of topping.

Happy Day,
Jean