Unlocking the Secrets: Understanding the Differences in Measuring Liquids and Solids in the Kitchen

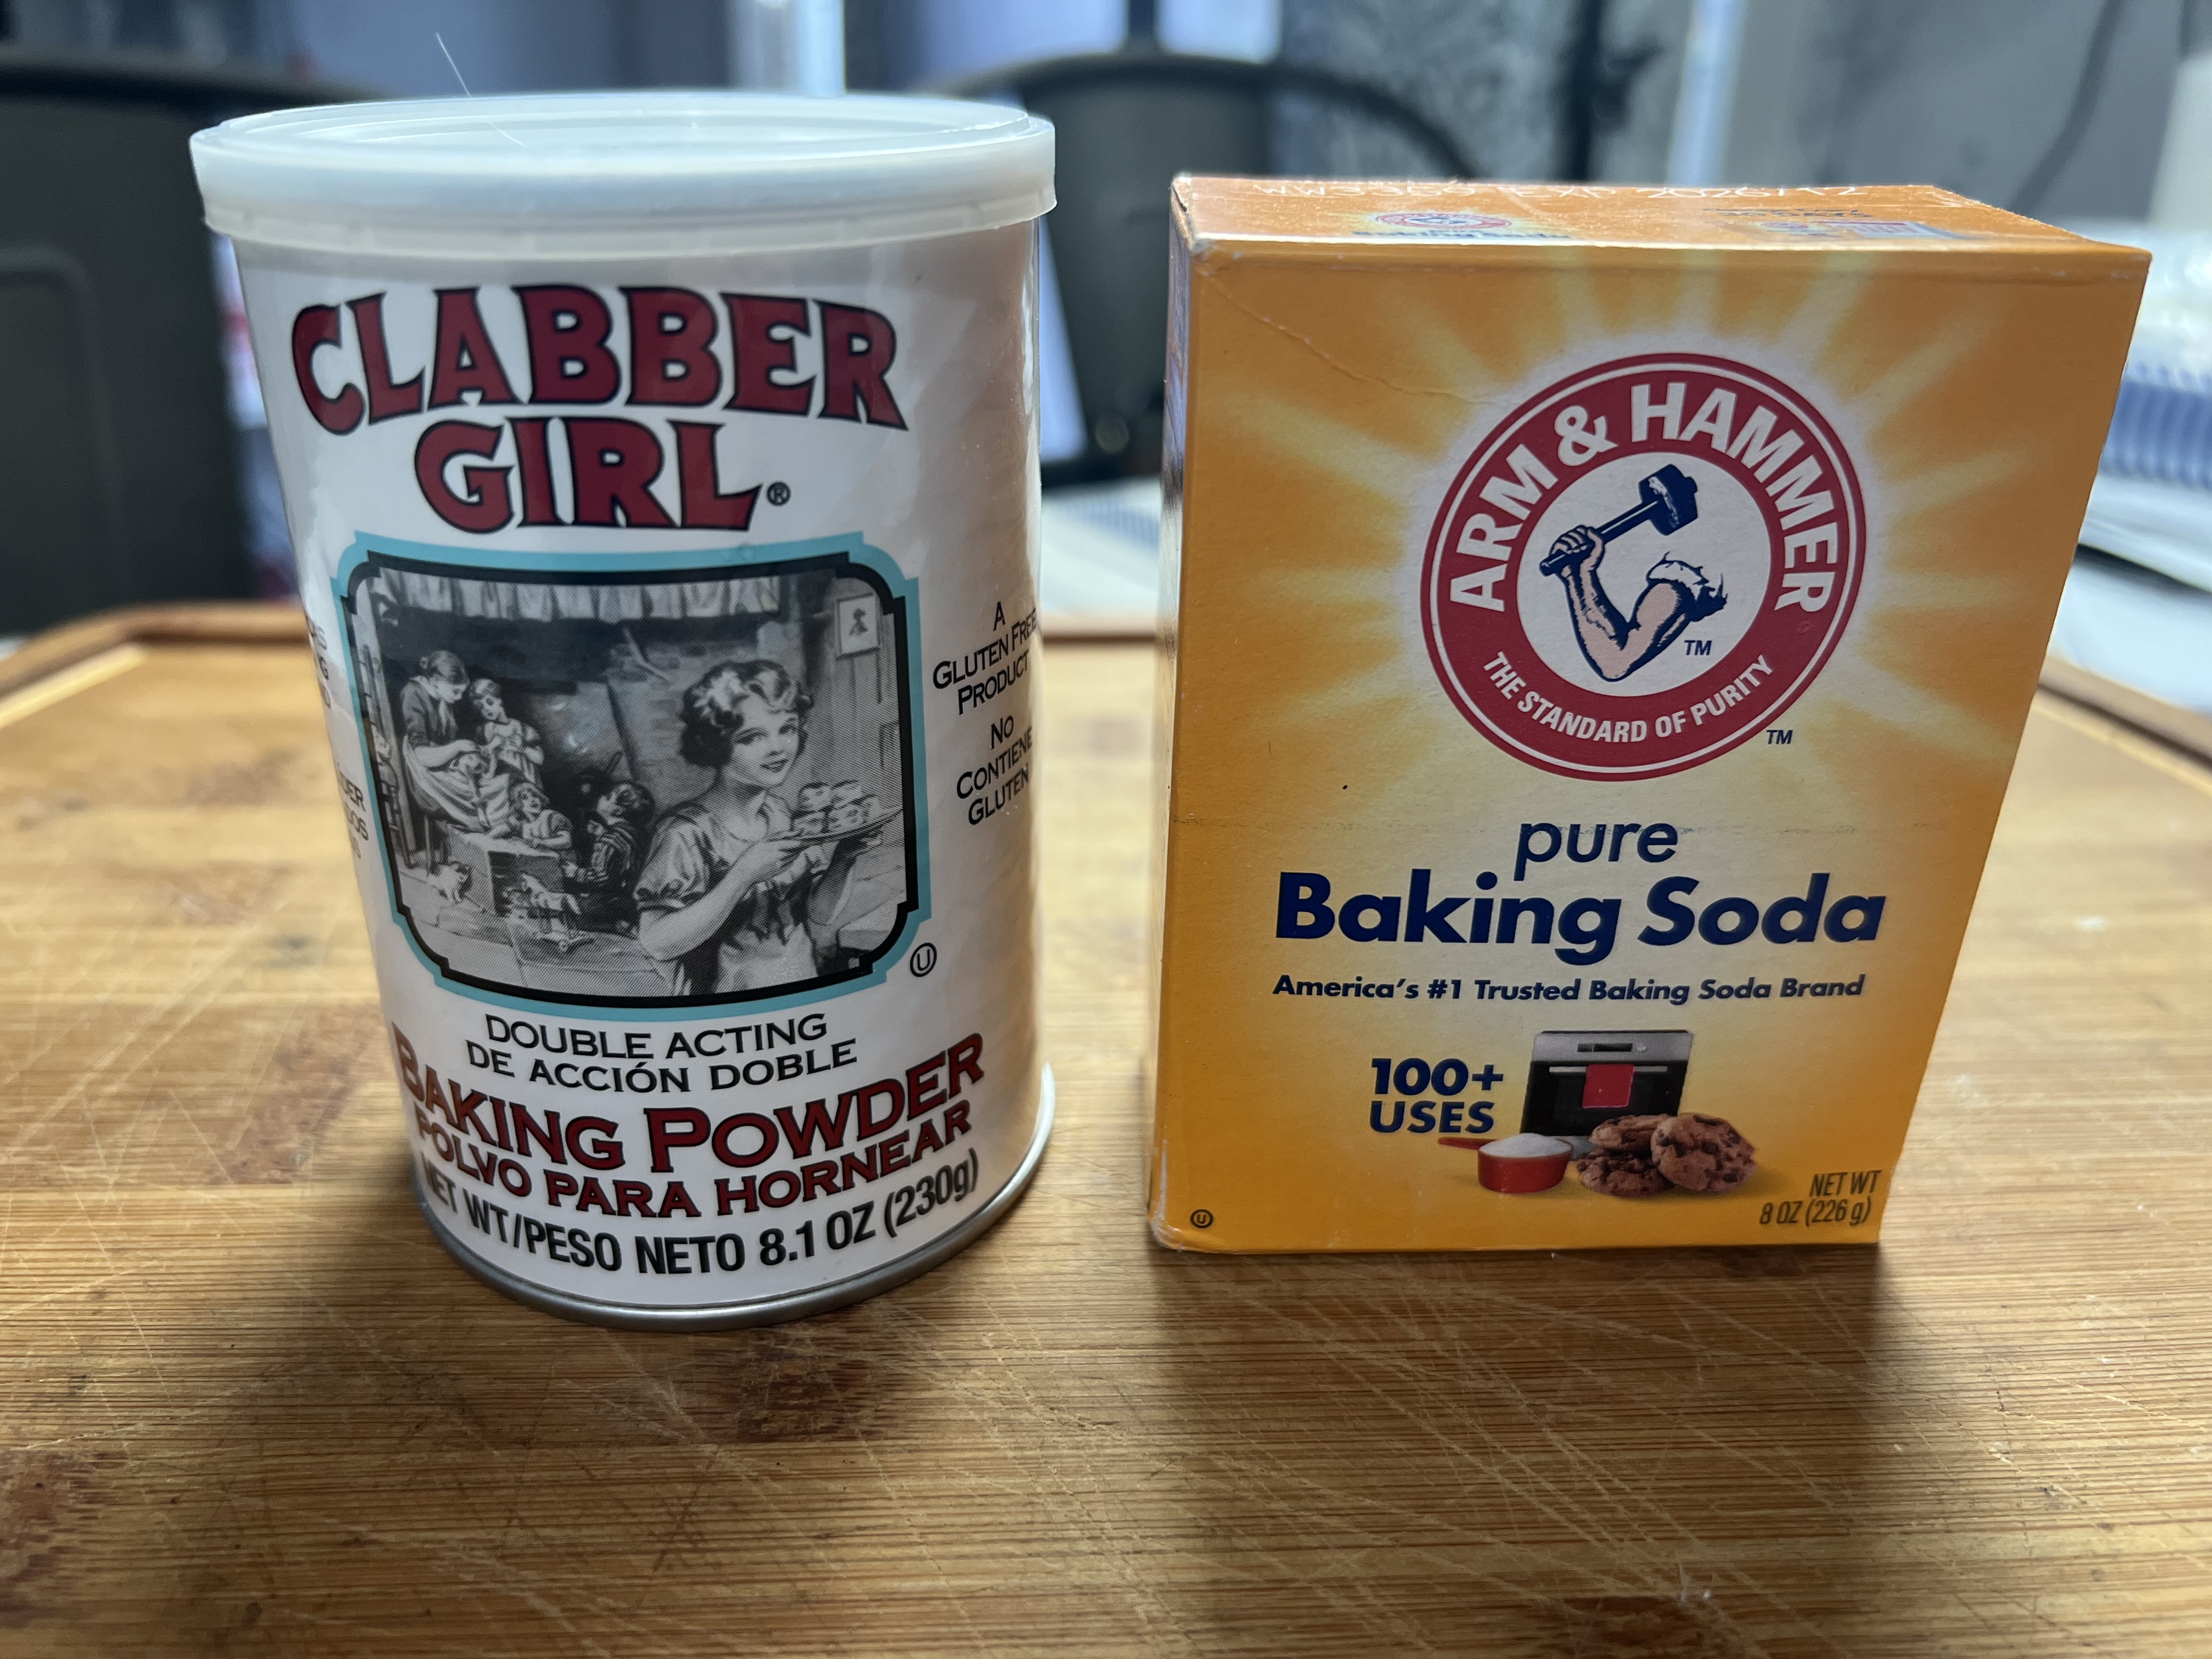
In yesterdays blog post I discussed what the difference between baking powder and baking soda is. Today’s let’s look at another puzzling question in the world of baking & cooking, the difference between liquid and solid measuring.

In the culinary realm, precision is key. Whether you are a seasoned chef or a passionate home cook, the importance of accurate measurements cannot be overstated. However, when it comes to measuring liquids and solids, there are certain nuances that often go unnoticed. Unlocking the secrets behind these differences can elevate your cooking and baking to a whole new level. So let’s dive in friends!

Importance of Accurate Measurements in Cooking

Before diving into the specifics of measuring liquids and solids, it’s essential to understand why accuracy matters in the kitchen. Cooking is a delicate balance of flavors and textures, and precise measurements ensure that you achieve the desired outcome. Whether you’re following a recipe or experimenting with your own creations, accurate measurements provide consistency. A slight variation in the amount of an ingredient can significantly alter the taste, texture, and overall success of a dish.

Accurate measurements also play a vital role in baking, where ingredients like flour, sugar, and leavening agents must be carefully balanced. Baking is a science, and even a small discrepancy in measurements can lead to flat cakes, dense breads, or cookies that spread too much. By understanding the differences in measuring liquids and solids, you can avoid these pitfalls and create culinary masterpieces with confidence.

Measuring Liquids in the Kitchen

Join the list

Join hundreds of our subscribers and be the first to know about new content and special offers.

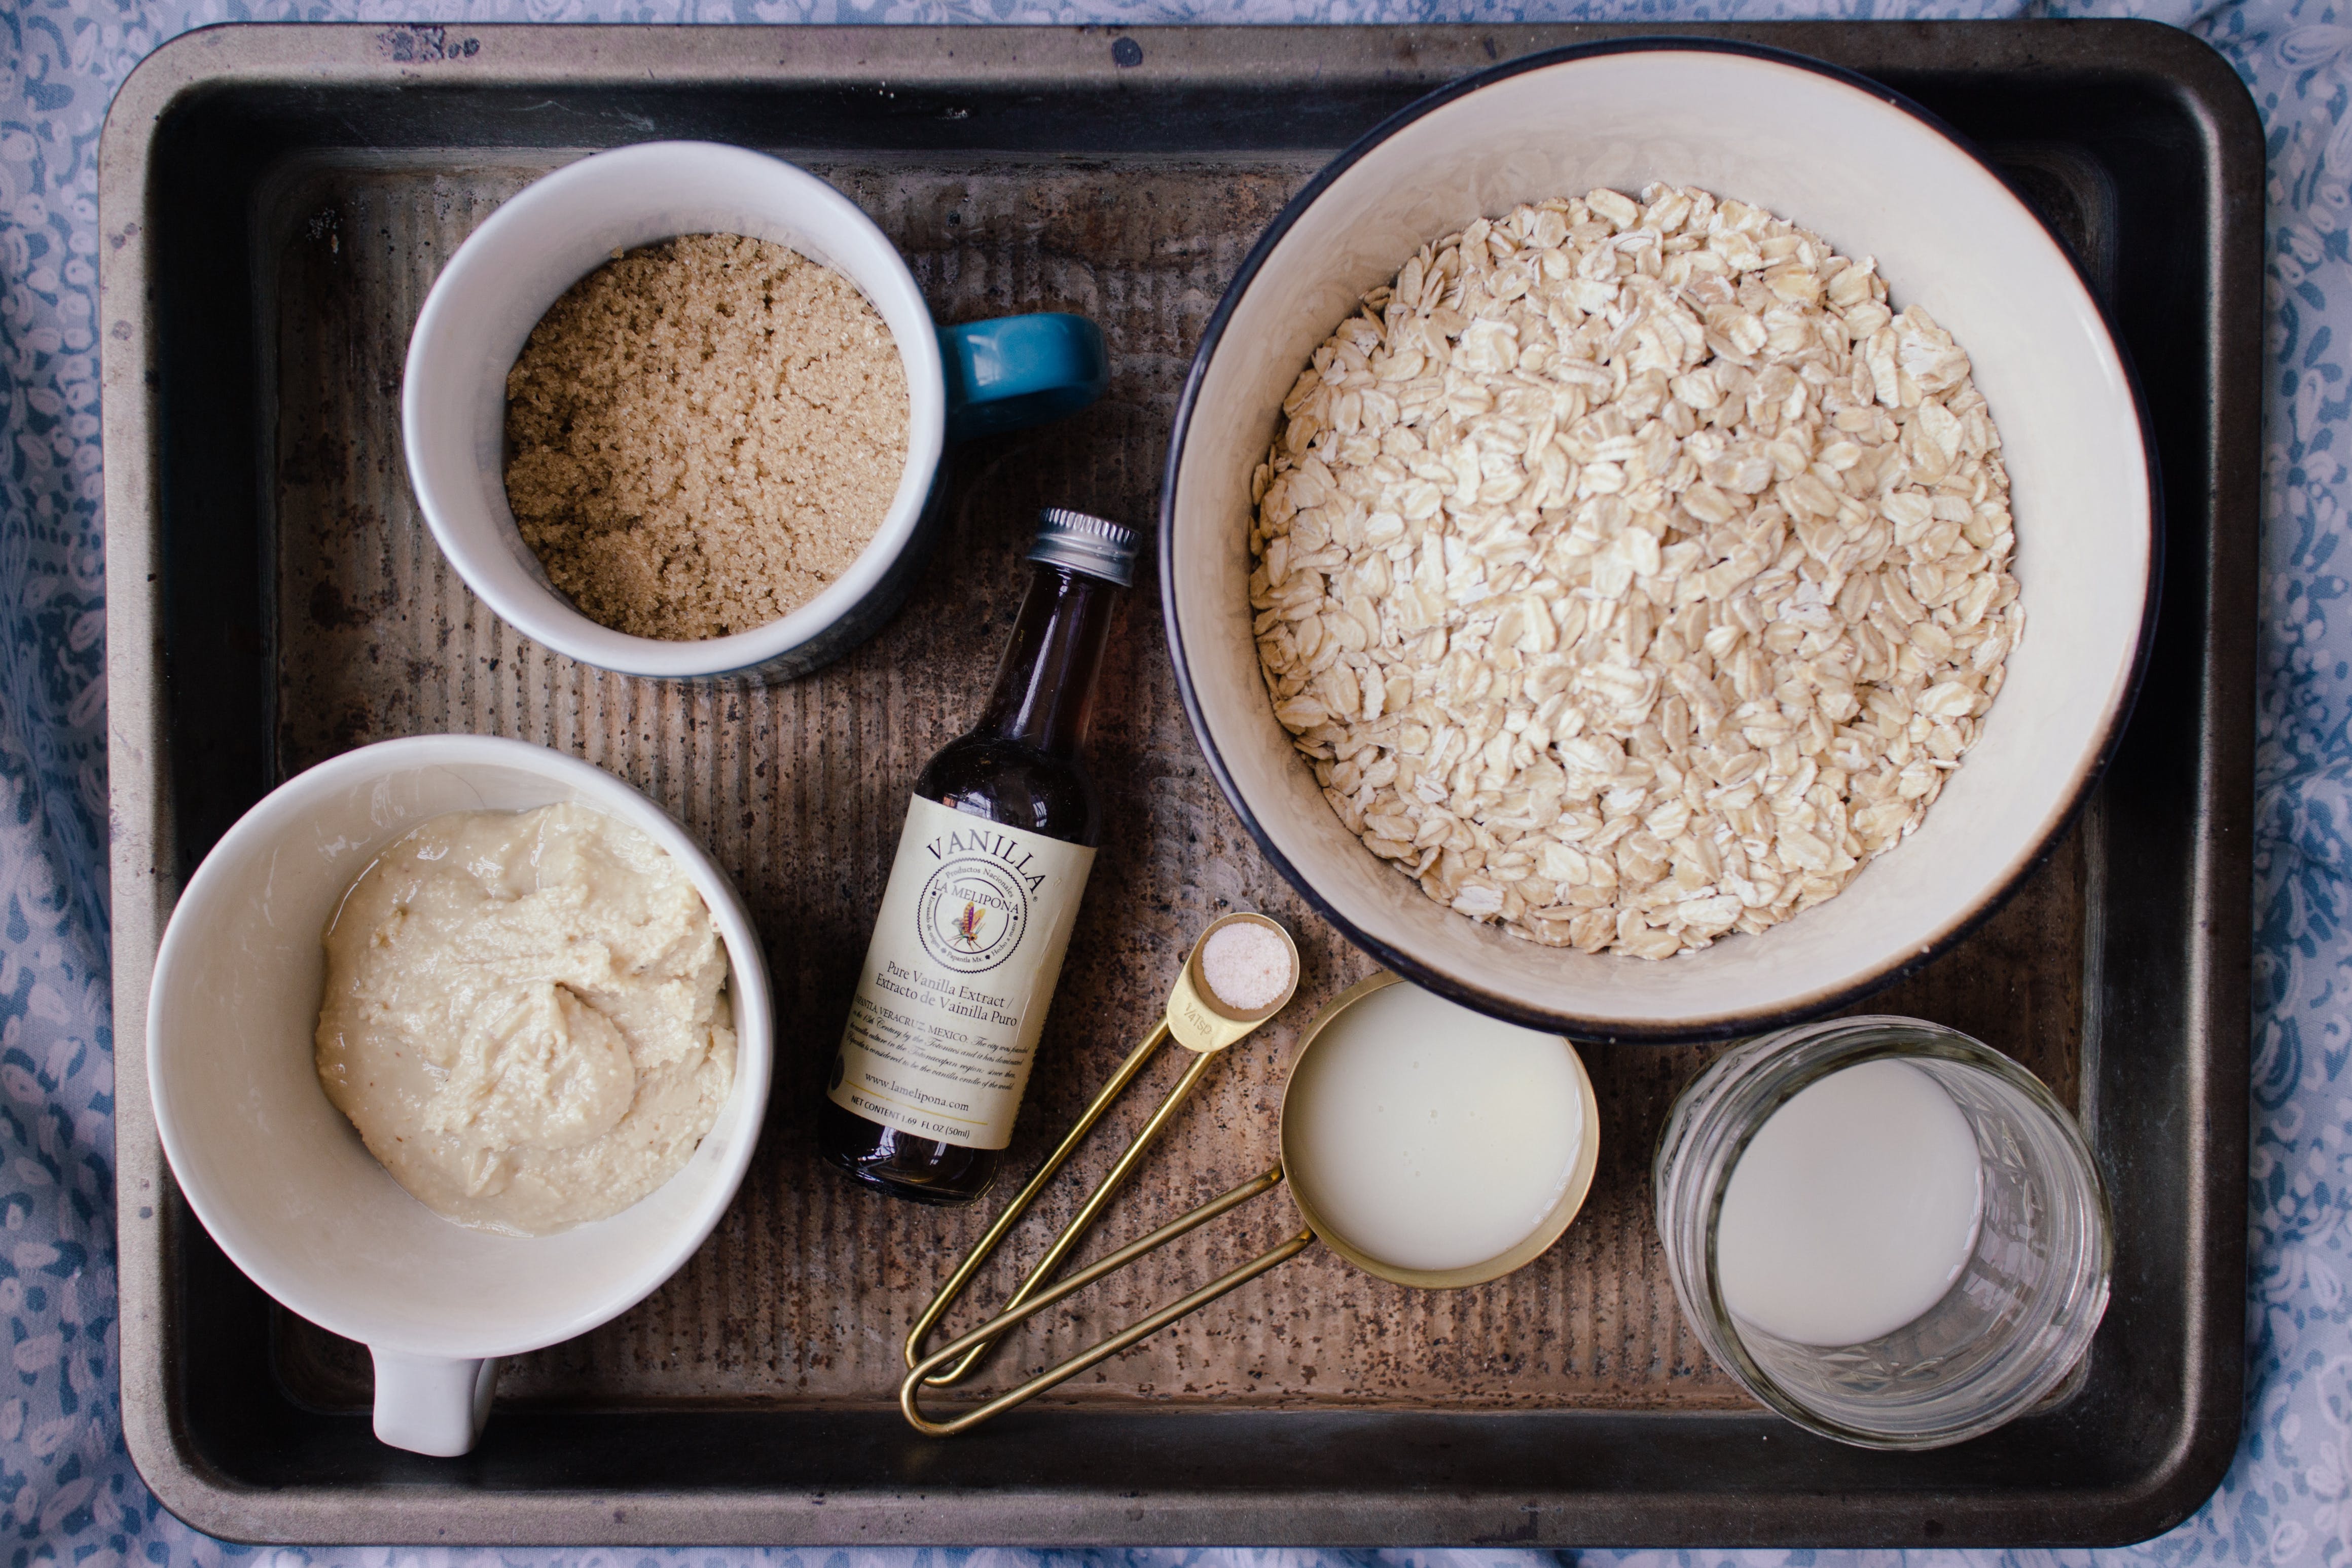
When it comes to measuring liquids, volume is the primary consideration. Using the right tools and techniques ensures accuracy in your measurements. The most common tool for measuring liquids is the liquid measuring cup, which typically comes in sizes ranging from one cup to four cups. These cups have clear markings on the side, indicating the volume of liquid they hold.

To measure liquids accurately, start by placing the measuring cup on a flat surface. Pour the liquid into the cup, filling it to the desired marking. It’s important to bend down to eye level with the cup to ensure the accuracy of the measurement. The liquid should be level with the marking on the cup, without any air bubbles or excess liquid.

Another useful tool for measuring smaller quantities of liquid is the measuring spoon. Measuring spoons come in various sizes, typically ranging from 1/8 teaspoon to 1 tablespoon. These spoons are especially handy when working with ingredients like vanilla extract or lemon juice, where precision is crucial.

To measure liquids using a measuring spoon, hold the spoon over the liquid container and pour the liquid until it reaches the brim of the spoon. Use a knife or spatula to level off any excess liquid, ensuring an accurate measurement. Measuring spoons are also useful for measuring smaller amounts of liquid in a recipe that calls for a specific quantity.

Different Types of Liquid Measuring Tools

While liquid measuring cups and spoons are the most common tools for measuring liquids, there are a few other options available. One alternative is the glass or graduated cylinder, which is often used in professional kitchens or laboratories. Graduated cylinders provide more precise measurements for liquids, especially when dealing with smaller quantities.

Another tool worth mentioning is the digital liquid measuring scale. This scale is designed specifically for measuring liquids and provides accurate measurements in fluid ounces or milliliters. It is particularly helpful when working with recipes that require precise liquid measurements, such as cocktails or scientific experiments.

Tips for Measuring Liquids Accurately

To ensure accurate measurements when working with liquids, consider the following tips:

  1. Use a liquid measuring cup with clear markings and pour the liquid to the appropriate level, bending down to eye level for accuracy.
  2. When working with small quantities of liquid, use measuring spoons and level off any excess liquid with a knife or spatula.
  3. For more precise measurements, consider using a glass or graduated cylinder, or a digital liquid measuring scale.
  4. Avoid measuring liquids in opaque or dark-colored containers, as it can be challenging to see the level accurately.
  5. Take note of the temperature of the liquid, as it can affect the volume. Some recipes may require adjustments if the liquid is too hot or too cold.

By following these tips, you can measure liquids with precision and confidence, ensuring consistent results in your cooking and baking endeavors.

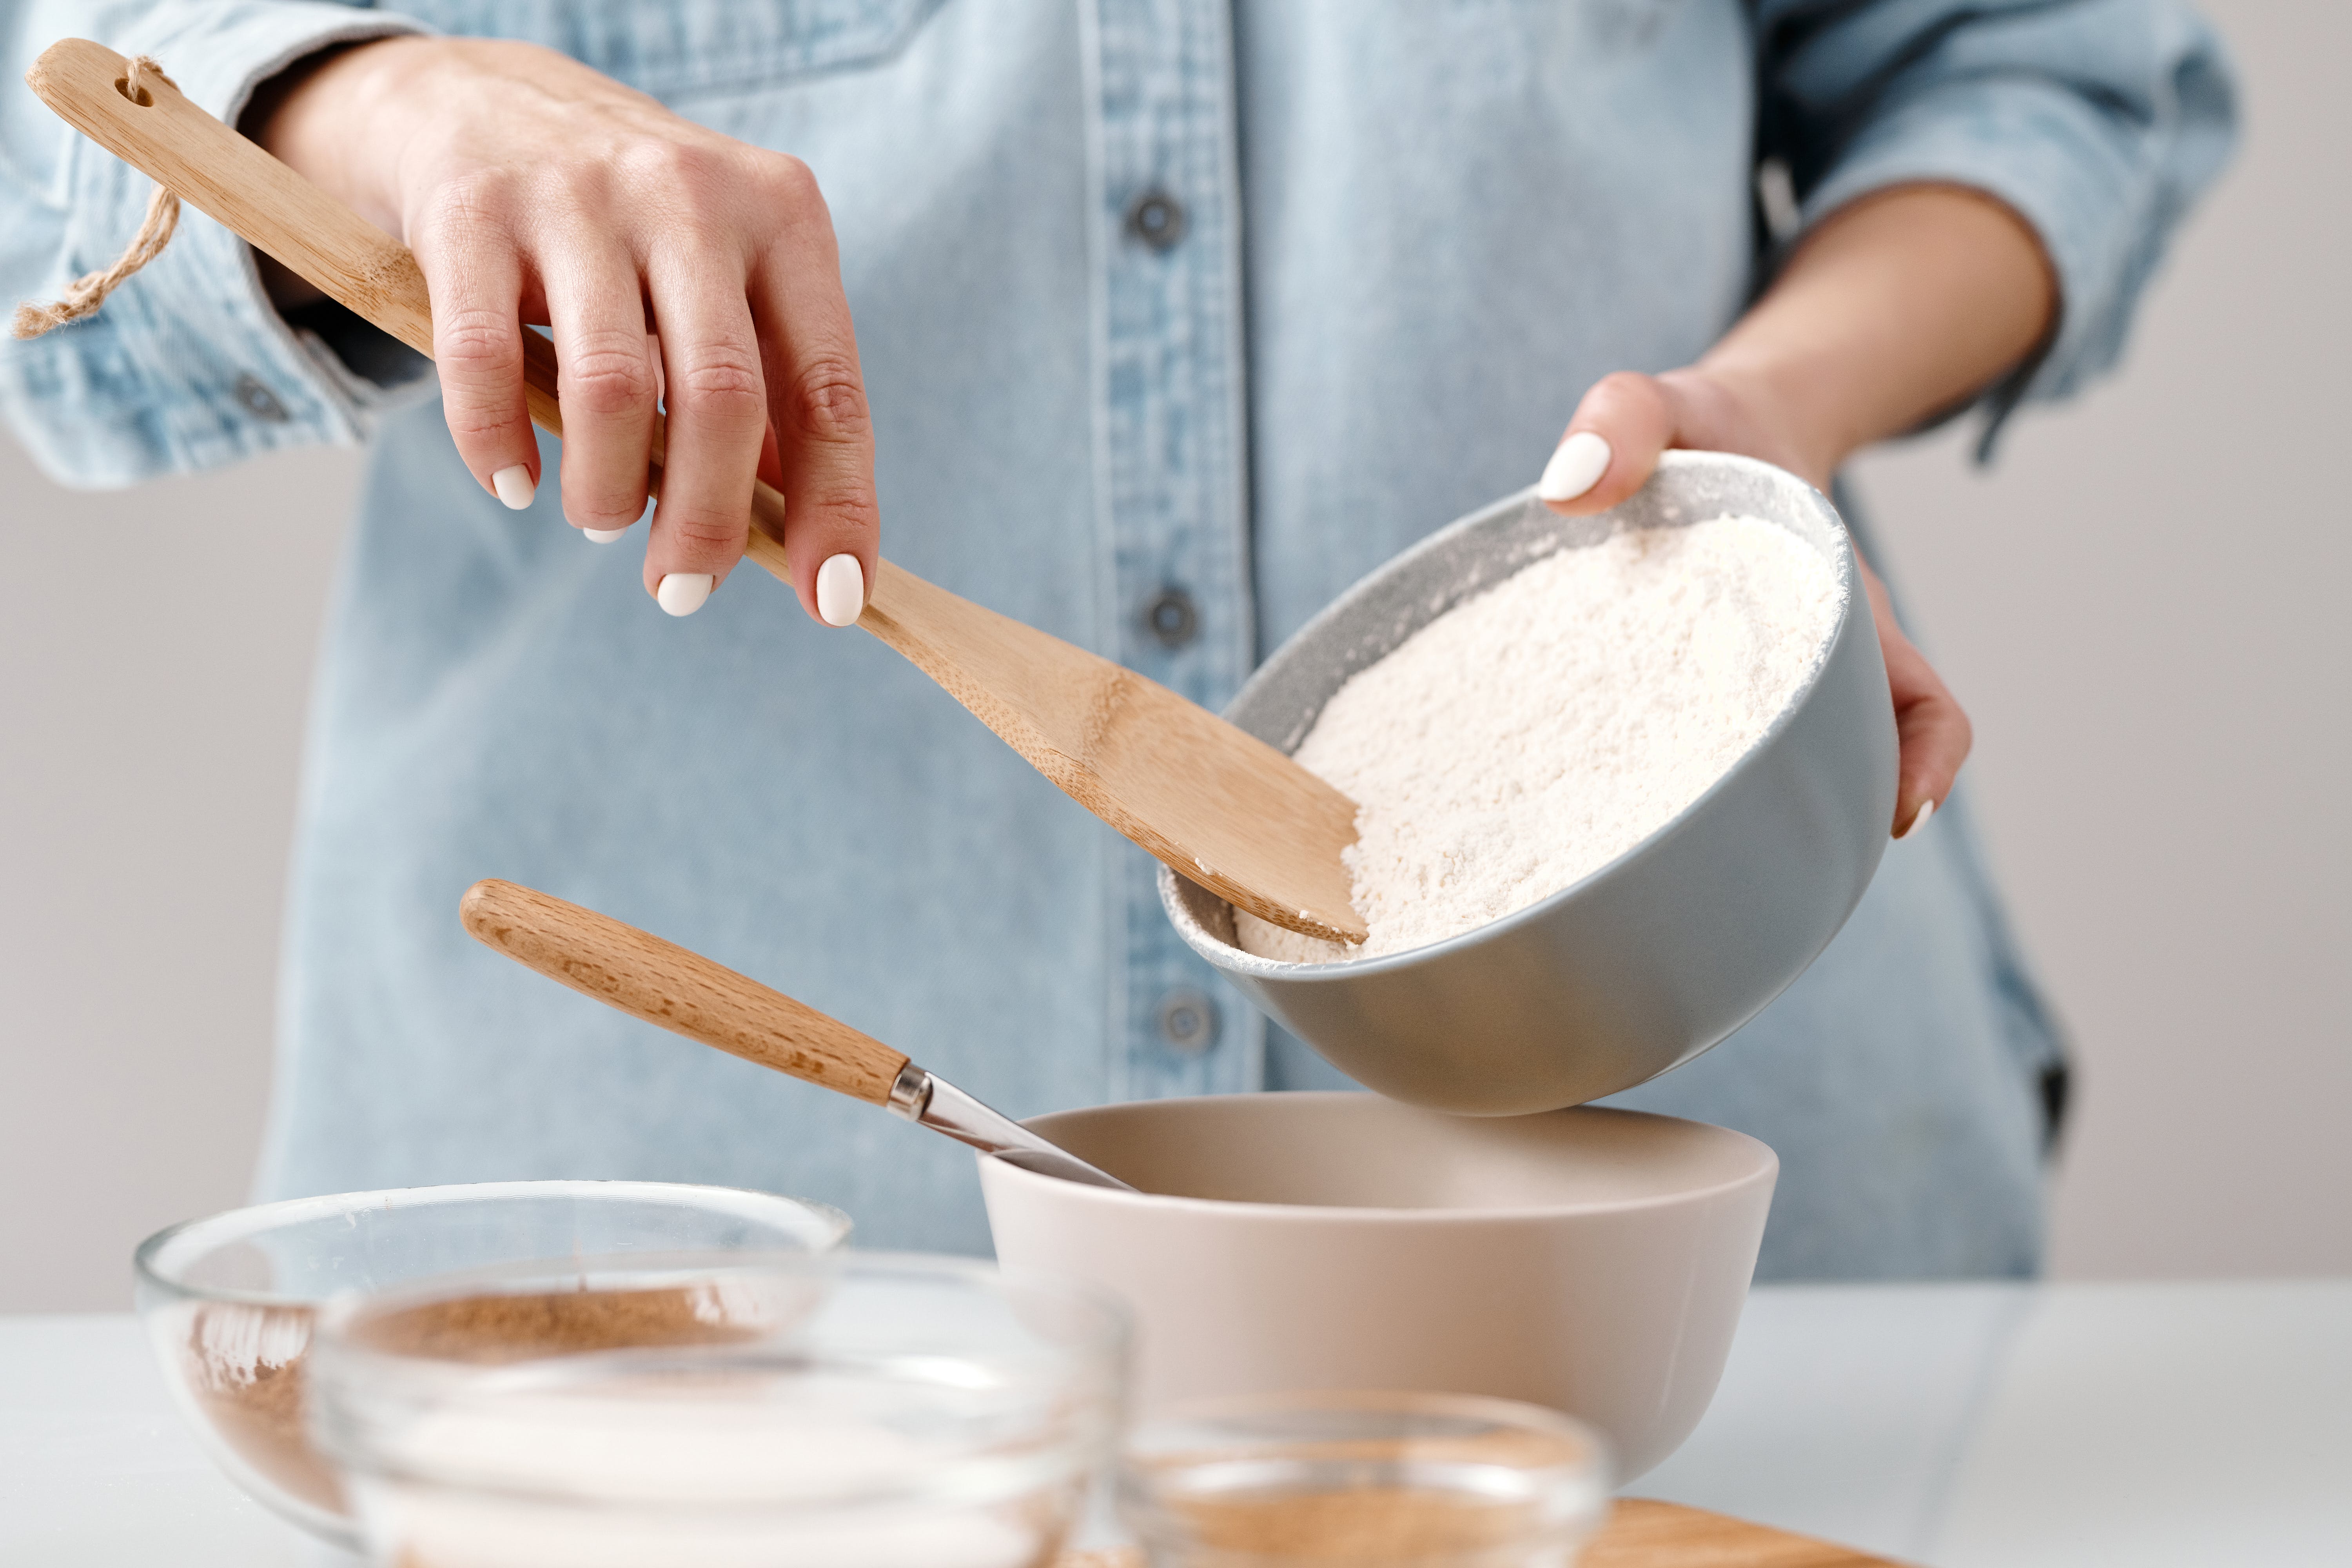
Measuring Solids in the Kitchen

Unlike liquids, solids are measured by weight rather than volume. This is because the density of solid ingredients can vary significantly, making volume measurements less accurate. When measuring solids like flour, sugar, or vegetables, using a digital kitchen scale is essential for precise measurements.

A digital kitchen scale allows you to measure ingredients in grams or ounces, providing a more accurate representation of the ingredient’s weight. This is particularly important when it comes to ingredients like flour, where even a slight variation in weight can affect the texture and structure of baked goods.

To measure solids accurately, place a container on the scale and press the “tare” or “zero” button to reset the scale to zero. This ensures that the weight of the container is not included in the final measurement. Add the solid ingredient to the container until you reach the desired weight, as specified in the recipe. The digital scale will display the weight in real-time, allowing you to adjust as needed.

Different Types of Solid Measuring Tools

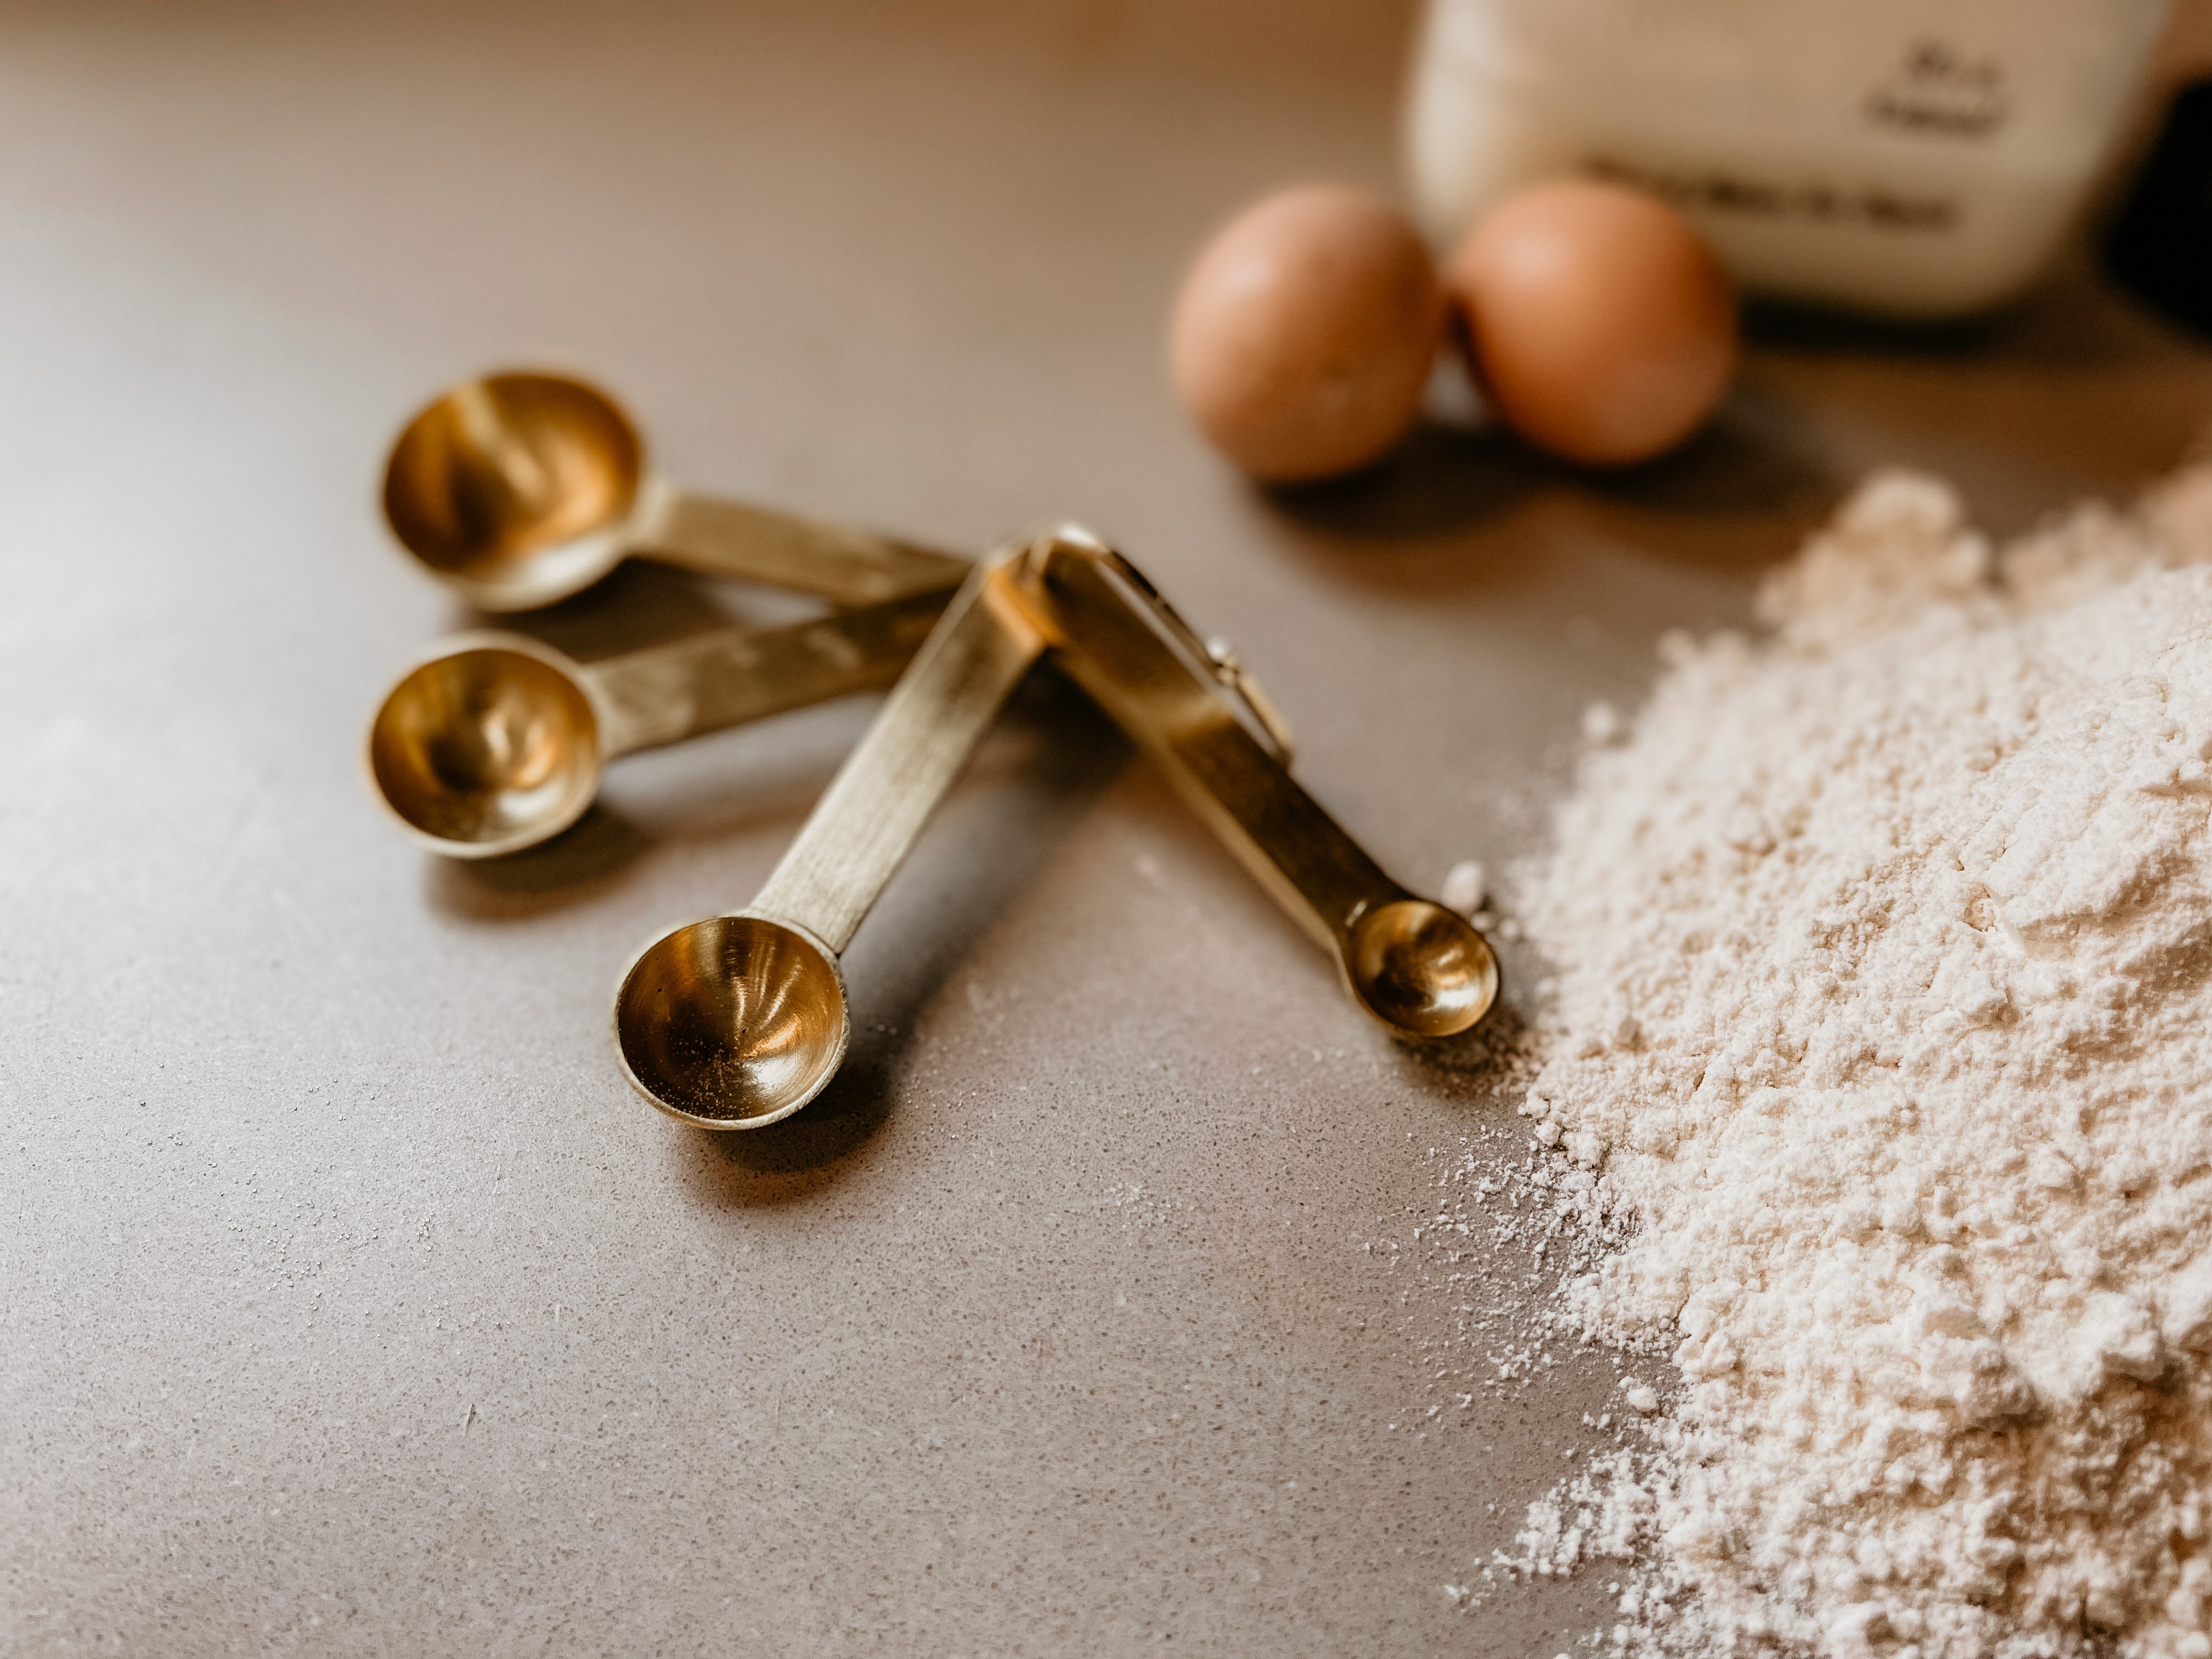
While a digital kitchen scale is the preferred method for measuring solids, there are a few other tools that can be useful in certain situations. One such tool is the measuring cup for dry ingredients, which is designed specifically for measuring bulkier solids like flour, sugar, or rice. These cups have a flat edge, allowing you to level off the excess with a straight-edged utensil.

Measuring spoons can also be used for measuring solids, especially when dealing with smaller quantities. However, it’s important to note that measuring spoons are most accurate when measuring denser ingredients like salt or baking powder, rather than lighter ingredients like flour.

Tips for Measuring Solids Accurately

To ensure accurate measurements when working with solids, consider the following tips:

  1. Use a digital kitchen scale for precise measurements, especially when dealing with ingredients like flour, sugar, or butter.
  2. Place a container on the scale and reset it to zero before adding the solid ingredient. This ensures that the weight of the container is not included in the final measurement.
  3. When using a measuring cup for dry ingredients, spoon the ingredient into the cup and level off the excess with a straight-edged utensil.
  4. Be mindful of the density of the solid ingredient. A cup of flour, for example, can vary significantly in weight depending on how it is packed.
  5. When measuring smaller quantities of solids, use measuring spoons and ensure that the ingredient is level with the brim of the spoon.

By following these tips, you can measure solids accurately, ensuring consistent results in your cooking and baking endeavors.

Common Mistakes to Avoid When Measuring Liquids and Solids

While understanding the differences in measuring liquids and solids is crucial, it’s equally important to be aware of common mistakes that can compromise the accuracy of your measurements. Here are a few pitfalls to avoid:

  1. Using the wrong measuring tool: Using a liquid measuring cup for solids or vice versa can lead to inaccurate measurements. Make sure to use the appropriate tool for each type of ingredient.
  2. Estimating measurements: Eyeballing measurements instead of using precise tools can lead to inconsistency in your recipes. Always use a measuring tool to ensure accuracy.
  3. Not leveling off: When measuring solids using a measuring cup or spoon, it’s essential to level off the excess to achieve an accurate measurement. Skipping this step can result in too much or too little of the ingredient.
  4. Measuring on an uneven surface: Placing your measuring cup or spoon on an uneven surface can throw off your measurements. Always ensure a flat and stable surface for accurate results.
  5. Ignoring ingredient density: Understanding the density of different ingredients can help you make more accurate measurements. Keep in mind that a cup of flour will weigh differently than a cup of sugar.

By avoiding these common mistakes, you can ensure that your measurements are precise and consistent, ultimately enhancing the quality of your culinary creations.

Converting Between Liquid and Solid Measurements

In some cases, you may need to convert between liquid and solid measurements. While this can seem daunting, it’s a relatively straightforward process once you understand the basic principles. Here are a few tips to help you convert between the two:

  1. Use a conversion chart: Many online resources provide conversion charts that allow you to convert between liquid and solid measurements. These charts typically list common ingredients and their equivalent measurements in both volume and weight.
  2. Understand ingredient density: Different ingredients have different densities, meaning that a cup of one ingredient may weigh more or less than a cup of another ingredient. By understanding the density of the ingredient you’re working with, you can make more accurate conversions.
  3. Be mindful of accuracy: When converting between liquid and solid measurements, it’s important to remember that slight variations can occur due to factors like ingredient density and packing methods. While conversions provide a good starting point, it’s always best to rely on precise measurements for the most accurate results.

By keeping these tips in mind, you can confidently convert between liquid and solid measurements, allowing you to adapt recipes and experiment with different ingredients.

Mastering the Art of Measuring in the Kitchen

Unlocking the secrets behind measuring liquids and solids is an essential skill for any aspiring cook or baker. By understanding the differences in measuring methods, utilizing the right tools, and avoiding common mistakes, you can achieve precise and consistent results in your culinary endeavors.

Remember, accuracy matters in cooking and baking. Whether you’re measuring liquids or solids, taking the time to ensure precise measurements will elevate your dishes to new heights. So, embrace the secrets of the kitchen, unlock the potential of your ingredients, and embark on a journey of culinary excellence. Cheers to precise measurements and delicious creations!

Processing…
Success! You're on the list.

If you enjoyed this blog , please LIKE, Follow, Share & leave me a comment! I love your feedback!
If you aren’t following me on Facebook & Instagram, go on over & give a LIKE & Follow me for daily tips & tricks for your home & garden!
Remember to eat fresh, shop local, & have a happy day,
Jean
Copyright Policy
All text and images on this site are copyright of For Dragonflies And Me. Unless otherwise noted, you may not use this content 
This post may contain affiliate links. If you choose to purchase through an affiliate link, I may receive a small commission at no additional cost to you. You can see my full disclaimer here.

Baking Powder vs. Baking Soda: Unraveling the Mystery Behind these Kitchen Staples

I often get asked, “What is the difference between baking powder and baking soda?” I thought this would be a good informative blog post for all my followers! So lets dive into this topic. Keep posted for an explanation on what the difference is between liquid and solid measuring cups as well!

In the world of baking, there are two key ingredients that often get confused: baking powder and baking soda. Both are commonly found in our kitchen cabinets, but what exactly are their differences and how do they affect our baked goods? Let’s unravel the mystery behind these kitchen staples.

Baking powder and baking soda may look similar, but they function differently in recipes. Baking soda is a pure chemical compound known as sodium bicarbonate, which, when combined with acidic ingredients like vinegar or buttermilk, creates carbon dioxide bubbles. This reaction helps dough to rise, resulting in fluffy and light-textured baked goods.

On the other hand, baking powder is a mixture of baking soda, an acid, and a stabilizer like cornstarch. It already contains the acidic component needed for the carbon dioxide release, eliminating the need for additional acidic ingredients. This makes baking powder a great choice for recipes that do not include acidic ingredients.

Understanding the difference between these two leavening agents is crucial for achieving the desired results in your baking creations. So next time you’re in the kitchen, confidently reach for either baking powder or baking soda, knowing that you have the right ingredient in hand for that perfect rise.

What is baking powder?

Baking powder is a leavening agent commonly used in baking to help dough rise and create a light and fluffy texture in baked goods. It is a mixture of several ingredients, including baking soda, an acid (such as cream of tartar), and a stabilizer (often cornstarch). These ingredients are carefully combined to create a balanced reaction when exposed to heat and moisture.

When baking powder is added to a recipe, the heat in the oven causes the acid and baking soda to react, releasing carbon dioxide gas. This gas forms bubbles in the dough, causing it to rise. The stabilizer in baking powder helps to keep the reaction stable and prevent premature release of carbon dioxide. Overall, baking powder is a convenient option because it already contains the necessary components for a successful rise, eliminating the need for additional acidic ingredients.

What is baking soda?

Baking soda, also known as sodium bicarbonate, is a pure chemical compound that is commonly used as a leavening agent in baking. It is a versatile ingredient that reacts with acidic components in recipes to produce carbon dioxide gas, which causes dough to rise.

Join the list

Join hundreds of our subscribers and be the first to know about new content and special offers.

Unlike baking powder, which is a pre-mixed leavening agent, baking soda needs an acidic ingredient to activate its leavening properties. Common acidic ingredients used in combination with baking soda include vinegar, lemon juice, and buttermilk. When baking soda and an acid come into contact with moisture and heat, a chemical reaction occurs, resulting in the release of carbon dioxide bubbles. These bubbles create air pockets in the dough, causing it to expand and rise.

Baking soda is also commonly used as a household cleaning agent and odor neutralizer due to its alkaline properties. However, it is important to note that the baking soda used for baking should be separate from the one used for cleaning, as they may not be of the same quality or purity.

Chemical differences between baking powder and baking soda

While baking powder and baking soda may look similar, they have distinct chemical differences that affect their functionality in baking.

Baking soda, or sodium bicarbonate (NaHCO₃), is a pure compound that is alkaline in nature. It is a base that reacts with acids to produce carbon dioxide gas. When baking soda is combined with an acidic ingredient in a recipe, such as vinegar or lemon juice, a chemical reaction occurs. This reaction releases carbon dioxide gas, which creates bubbles and causes the dough to rise.

On the other hand, baking powder is a mixture of baking soda, an acid, and a stabilizer. The acid component in baking powder is usually cream of tartar (potassium bitartrate), although other acids such as monocalcium phosphate or sodium aluminum sulfate may also be used. The stabilizer, often cornstarch, helps to keep the mixture dry and prevent premature activation of the leavening agents.

The main difference between baking soda and baking powder lies in their composition. Baking soda is a single ingredient, while baking powder is a combination of multiple ingredients. This fundamental difference affects how they react in recipes and determines when each should be used.

How do baking powder and baking soda affect baked goods?

The use of baking powder or baking soda in a recipe can greatly impact the texture and flavor of the final baked goods.

When baking soda is used, it creates a more intense reaction due to its alkaline nature. This reaction produces a significant amount of carbon dioxide gas, resulting in a rapid rise of the dough. This can be advantageous in certain recipes where a quick and substantial rise is desired, such as in muffins or quick breads.

On the other hand, baking powder provides a more controlled and gradual release of carbon dioxide. The combination of baking soda and an acid in baking powder allows for a more balanced reaction, resulting in a more controlled rise. This is especially useful in recipes that require a longer baking time or where a more delicate texture is desired, such as in cakes or cookies.

It is important to note that using too much baking powder or baking soda can negatively affect the final outcome of your baked goods. Excessive use can lead to an overly dense or soapy taste in the finished product. Therefore, it is crucial to follow the recommended measurements in recipes to achieve the desired results.

Using baking powder and baking soda in recipes

The choice between using baking powder or baking soda in a recipe depends on the specific ingredients and desired outcome. Understanding the role of each ingredient will help you make an informed decision.

If a recipe calls for an acidic ingredient, such as buttermilk or lemon juice, and does not include baking powder, it is likely that baking soda should be used. The acidic ingredient will react with the baking soda, resulting in a rise in the dough.

On the other hand, if a recipe does not contain any acidic ingredients, or if it specifically calls for baking powder, then it is best to use baking powder. Baking powder already contains the necessary acidic component, eliminating the need for additional acidic ingredients.

In some cases, a recipe may call for both baking powder and baking soda. This is typically done to achieve a specific rise and texture in the final product. The baking soda reacts with the acidic ingredient, providing an initial rise, while the baking powder provides additional leavening power during the baking process.

It is important to note that the amount of baking powder or baking soda required may vary depending on the recipe. It is always recommended to follow the measurements provided in the recipe to ensure the best results.

Substituting baking powder for baking soda, and vice versa

In some situations, you may find yourself without baking powder or baking soda but still need a leavening agent. While it is generally not recommended to substitute one for the other, there are a few alternatives you can consider.

If a recipe calls for baking powder but you only have baking soda on hand, you can create a substitute by mixing baking soda with an acidic ingredient. For every teaspoon of baking powder required, mix 1/4 teaspoon of baking soda with 1/2 teaspoon of cream of tartar. This combination will provide the necessary acidity for the baking soda to react.

Conversely, if a recipe calls for baking soda but you only have baking powder, you can create a substitute by increasing the amount of baking powder and reducing the acidic ingredients in the recipe. For every teaspoon of baking soda required, use 3 teaspoons of baking powder. However, keep in mind that this substitution may alter the taste and texture of the final product.

While these substitutions can be helpful in a pinch, it is always best to use the recommended leavening agent for the recipe to achieve the desired results.

Common misconceptions about baking powder and baking soda

There are several common misconceptions surrounding baking powder and baking soda. Let’s address a few of them:

Myth: Baking powder and baking soda are interchangeable.

  • Fact: While both leavening agents serve the same purpose of helping dough rise, they are not interchangeable. Baking soda requires an acidic ingredient to activate its leavening properties, while baking powder already contains the necessary acid.

Myth: Baking powder and baking soda expire quickly.

  • Fact: Baking powder and baking soda do have a shelf life, but if stored properly, they can last for a long time. Baking powder typically has a shelf life of about 6-12 months, while baking soda can last for 2-3 years. To ensure their effectiveness, store them in a cool, dry place and check for any signs of moisture or clumping before use.

Myth: Baking soda can be used as a substitute for baking powder.

  • Fact: Baking soda can be used as a substitute for baking powder in certain situations, but it is not a direct replacement. Baking powder already contains the necessary acidic component, while baking soda requires an additional acidic ingredient to activate its leavening properties.

Myth: Baking powder and baking soda add flavor to baked goods.

  • Fact: Baking powder and baking soda are primarily used as leavening agents and do not add significant flavor to baked goods. However, using too much baking powder or baking soda can result in a soapy or bitter taste in the final product.

It is important to separate fact from fiction when it comes to baking powder and baking soda to ensure successful and delicious results in your baking endeavors.

Storage and shelf life of baking powder and baking soda

Proper storage of baking powder and baking soda is essential to maintain their effectiveness and prolong their shelf life.

Both baking powder and baking soda should be stored in a cool, dry place away from moisture and direct sunlight. Exposure to moisture can cause the ingredients to clump and lose their effectiveness. It is also important to keep them tightly sealed to prevent moisture from entering the containers.

Baking soda has a longer shelf life compared to baking powder. Baking soda can last for 2-3 years if stored properly, while baking powder typically has a shelf life of about 6-12 months. To test the effectiveness of baking powder, you can mix a small amount with water. If it bubbles vigorously, it is still active and can be used. If the reaction is weak or non-existent, it is time to replace the baking powder.

It is a good practice to label the containers with the date of purchase to keep track of their freshness. Using fresh baking powder and baking soda will ensure optimal results in your baking.

Choosing the right ingredient for your baking needs

Baking powder and baking soda are essential ingredients in the world of baking, each with its own unique characteristics and purposes. Understanding the differences and functionalities of these leavening agents is crucial for achieving the desired results in your baked goods.

Baking soda is a pure compound that requires an acidic ingredient to activate its leavening properties. It is ideal for recipes that already include acidic components such as vinegar or buttermilk. On the other hand, baking powder is a convenient option that already contains the necessary acid and is suitable for recipes that do not include acidic ingredients.

When it comes to substituting one for the other, it is possible but not recommended, as it can alter the taste and texture of the final product. It is always best to use the recommended leavening agent for the recipe.

Proper storage and shelf life are important considerations to ensure the effectiveness of baking powder and baking soda. Store them in a cool, dry place and check for any signs of moisture or clumping before use.

So next time you’re in the kitchen, confidently reach for either baking powder or baking soda, knowing that you have the right ingredient in hand for that perfect rise. Mastering the use of these kitchen staples will elevate your baking creations to new heights. Happy baking!

Processing…
Success! You're on the list.

If you enjoyed this blog , please LIKE, Follow, Share & leave me a comment! I love your feedback!

If you aren’t following me on Facebook & Instagram, go on over & give a LIKE & Follow me for daily tips & tricks for your home & garden!

Remember to eat fresh, shop local, & have a happy day,

Jean

Copyright Policy

All text and images on this site are copyright of For Dragonflies And Me. Unless otherwise noted, you may not use this content 

This post may contain affiliate links. If you choose to purchase through an affiliate link, I may receive a small commission at no additional cost to you. You can see my full disclaimer here.

Would you like to WIN a Copy of My Cookbook FREE?

Would you like to win a copy of my popular cookbook FREE?

Well here’s what you need to do. I am trying to build my Instagram following, sooooo to be entered in a random drawing to *WIN A FREE copy of my cookbook, Lovingly Seasoned Eats and Treats, just head over to my Instagram page and:

  1. LIKE the PINNED post in the center of the top row~ This is what it looks like:

2. FOLLOW me!

3. Leave me a COMMENT.

4. TAG one of your friends who you think will enjoy my page! BONUS~ IF THEY FOLLOW ME, you both get 2 entries for a chance to win.

That’s it friends! I will draw the lucky person’s name on Friday, February 2nd, 2024. Once I draw the name I will PM you to get your address and I’ll ship it out the following day!

DISCLAIMER- * Must reside in the continental United States to win.

A bit about my cookbook:

My cookbook,
Lovingly Seasoned Eats and Treats has almost 500 pages with close to 1000 recipes, 100 of them being my own! There are over 100 canning recipes with great instructions for the beginner including a load of kitchen tips & tricks!

Menu Planning Made Easy: How to Save Money with Simple Tips & Tricks

The Importance of Menu Planning & How it Will Save You Money!

I love to save money! You may not realize it, but we can spend so much more money on groceries when we don’t have a meal plan in action. In today’s blog I’m going to show you how important a monthly menu can be in saving you both time & money! Read on friends!

Menu planning is a crucial aspect of maintaining a healthy and organized lifestyle. By taking the time to plan out your meals in advance, you can save yourself both time and money while ensuring that you and your family are eating nutritious and delicious meals. One of the primary benefits of menu planning is that it helps you avoid the last-minute rush to figure out what to cook for dinner. With a well-thought-out plan, you can eliminate the stress of decision-making and have the ingredients you need readily available.

Check our my Menu Planning & Meal Prep blog from 2023 as well!

Benefits of Menu Planning

There are numerous benefits to incorporating menu planning into your routine. Firstly, it allows you to have a clear idea of what you will be eating throughout the week, which can promote healthier eating habits. By planning nutritious meals in advance, you are less likely to reach for unhealthy takeout options or resort to convenience foods. Menu planning also saves you time by reducing the need for multiple trips to the grocery store. With a comprehensive shopping list, you can ensure that you have all the necessary ingredients on hand, eliminating the need for last-minute dashes to the store.

Additionally, menu planning can help reduce food waste. When you plan your meals in advance, you can utilize leftovers and incorporate them into future meals, ensuring that no food goes to waste. This not only saves money but also promotes sustainability by reducing the amount of food that ends up in landfills. Lastly, menu planning can be a fun and creative process. It allows you to try new recipes, experiment with different flavors, and expand your culinary skills.

How Menu Planning Can Save You Money

One of the most significant advantages of menu planning is its potential to save you money. When you have a well-structured plan in place, you are less likely to make impulse purchases or buy unnecessary items at the grocery store. By sticking to your shopping list, you avoid buying items that may go unused and eventually end up in the trash. Menu planning also enables you to take advantage of sales and discounts. By planning your meals around the items that are on sale, you can stretch your budget further.

Another way menu planning saves you money is by reducing the number of times you eat out or order takeout. By having a plan for your meals, you are less likely to give in to the temptation of dining out or relying on expensive delivery services. Instead, you can enjoy home-cooked meals that are not only cost-effective but also tailored to your dietary preferences. Menu planning also allows you to buy in bulk and take advantage of larger package sizes, which often come at a lower price per unit.

Tips for Effective Menu Planning

  1. Take inventory of your pantry and refrigerator: Before creating your menu plan, assess what ingredients you already have on hand. This will help you avoid purchasing duplicates and ensure that you use up any perishable items before they go bad.
  2. Consider your schedule: Take into account your weekly schedule when planning your meals. Opt for quick and easy recipes on busy days and allow more time for elaborate dishes on days when you have more flexibility.
  3. Plan for leftovers: Incorporate meals that can be easily repurposed into your menu plan. This allows you to utilize leftovers and reduce food waste.
  4. Get creative with ingredients: Look for recipes that use similar ingredients, as this will help you make the most of what you have and prevent ingredients from going unused.
  5. Use theme nights: Assign specific themes to different nights of the week, such as Meatless Mondays or Taco Tuesdays. This adds variety to your menu plan and makes the planning process more enjoyable.

Creating a Weekly Meal Plan

Processing…
Success! You're on the list.

Creating a weekly meal plan is an efficient way to ensure that you have delicious and nutritious meals throughout the week. Start by considering your family’s dietary preferences and any dietary restrictions you may have. Take into account the number of meals you need to plan for, including breakfast, lunch, dinner, and snacks. Once you have a clear idea of your requirements, begin selecting recipes that align with your preferences and fit within your schedule.

To make the process easier, consider utilizing online meal planning tools or smartphone apps that provide recipe ideas and generate shopping lists. These tools can help streamline the menu planning process and save you time. When creating your meal plan, be sure to include a variety of foods from different food groups to ensure a balanced diet. Also, take into consideration any special occasions or events that may require additional preparation or specific meals.

Once your meal plan is complete, write it down or print it out and display it in a visible location, such as on your refrigerator. This serves as a helpful reminder and makes it easier to follow through with your plan. Remember, flexibility is key. If unexpected events arise or you find yourself with extra leftovers, be prepared to make adjustments to your meal plan accordingly.

Utilizing Leftovers in Your Meal Planning

Leftovers can be a valuable asset when it comes to menu planning. Not only do they save you time and effort, but they can also help you stretch your budget further. There are several strategies you can employ to make the most of your leftovers. One option is to plan for specific leftover nights in your meal plan. For example, designate a night each week as “Leftover Night” and enjoy a buffet-style dinner using the leftovers from previous meals.

Another strategy is to repurpose your leftovers into entirely new dishes. For example, leftover roasted chicken can be transformed into a delicious chicken salad or added to a stir-fry. Get creative with your leftovers and experiment with different flavor combinations to keep your meals exciting and enjoyable. Additionally, consider freezing leftovers in individual portions. This allows you to have quick and easy meals on hand for busy days or times when you don’t feel like cooking from scratch.

Shopping Smart for Your Menu Plan

Smart shopping is an essential component of successful menu planning. By following a few key strategies, you can maximize your savings and make the most of your budget. Firstly, always shop with a list. Create a comprehensive shopping list based on your menu plan and stick to it. This will help you avoid impulse purchases and ensure that you have all the necessary ingredients. Additionally, try to shop when you are not hungry, as this can help you resist the temptation to buy unnecessary snacks or treats.

Consider shopping at discount grocery stores or using coupons to further reduce your grocery bill. These stores often offer significant savings on everyday items and can help stretch your budget. Another tip is to buy in bulk when possible. Items such as rice, pasta, and canned goods can often be purchased in larger quantities at a lower price per unit. Just be sure to check the expiration dates and ensure that you have enough storage space.

Lastly, consider purchasing items that are in-season. Seasonal produce is typically more affordable and often tastes better. Plan your menu around the fruits and vegetables that are currently in season to take advantage of their freshness and lower prices.

Budget-Friendly Recipe Ideas

When it comes to menu planning on a budget, it’s important to choose recipes that are cost-effective yet still delicious and nutritious. Here are a few budget-friendly recipe ideas to get you started:

  1. Vegetable stir-fry: A stir-fry is a versatile and budget-friendly option. Use a variety of vegetables, such as bell peppers, broccoli, and carrots, and pair them with a protein of your choice, such as tofu or chicken. Serve over rice or noodles for a satisfying meal.
  2. Bean and vegetable soup: Soups are an excellent way to use up leftover vegetables and stretch your budget. Combine a variety of canned or dried beans with vegetables, broth, and seasonings for a hearty and nutritious meal.
  3. Sheet pan dinners: Sheet pan dinners are not only convenient but also cost-effective. Simply toss your choice of protein, such as chicken or fish, with vegetables and seasonings on a sheet pan, and roast until cooked through. Serve with a side of rice or potatoes for a complete meal.
  4. Pasta with homemade sauce: Pasta is a budget-friendly staple that can be paired with a variety of homemade sauces. Make a simple tomato sauce by sautéing onions, garlic, and canned tomatoes. Add herbs and seasonings to taste, and serve over your favorite pasta shape.
  5. Egg-based dishes: Eggs are an affordable source of protein and can be used in a variety of dishes. Whip up a frittata or omelette using leftover vegetables and cheese, or make a simple scrambled egg dish with your choice of herbs and spices.

Resources for Meal Planning and Saving Money

If you’re looking for additional guidance and inspiration for menu planning and saving money, there are several resources available to assist you. Online platforms such as Pinterest and food blogs are excellent sources of recipe ideas and meal planning tips. Many websites also offer free printable meal planners and shopping lists to help you stay organized.

Additionally, consider joining online communities or forums dedicated to meal planning and budget-friendly cooking. These communities often share valuable tips, recipes, and strategies for success. You can also find budget-friendly cookbooks or eBooks that provide meal plans and recipes designed specifically for saving money.

Lastly, don’t underestimate the power of your local library. Many libraries have a wide selection of cookbooks and resources that you can borrow for free. Take advantage of these resources to expand your culinary knowledge and find new recipe ideas.

In conclusion, menu planning is a valuable tool that can help you save money, eat healthier, and reduce food waste. By taking the time to plan your meals in advance, you can avoid the stress of last-minute decision-making, make the most of your ingredients, and ensure that you have nutritious and delicious meals throughout the week. Incorporate tips such as taking inventory of your pantry, utilizing leftovers, and shopping smart to maximize your savings. Remember to be flexible and enjoy the process of menu planning by trying new recipes and flavors. With these simple tips and tricks, you can make menu planning a breeze and reap the benefits of a well-organized and budget-friendly meal plan.

CTA: Start saving time and money today by incorporating menu planning into your routine. Take the first step by creating a simple weekly meal plan and see the difference it can make in your life.

If you enjoyed this blog , please LIKE, Follow, Share & leave me a comment! I love your feedback!

If you aren’t following me on Facebook & Instagram, go on over & give a LIKE & Follow me for daily tips & tricks for your home & garden!

Remember to eat fresh, shop local, & have a happy day,

Jean

Copyright Policy

All text and images on this site are copyright of For Dragonflies And Me. Unless otherwise noted, you may not use this content 

This post may contain affiliate links. If you choose to purchase through an affiliate link, I may receive a small commission at no additional cost to you. You can see my full disclaimer here.

Top 10 Tips & Tricks Revealed: Introduction to Hosting the Perfect Holiday Party

The holiday season is upon us, and with it comes the joy of hosting the perfect holiday party. Whether you’re planning an intimate gathering or a grand celebration, there are a few secrets to ensure your event is a memorable one. In this article, I will reveal 10 tips and tricks that will help you unlock the secrets to hosting the perfect holiday party.

Setting the Theme and Atmosphere for Your Holiday Party

Setting the right theme and atmosphere is crucial when it comes to hosting the perfect holiday party. Decide on a theme that reflects the spirit of the season, whether it’s a winter wonderland, a classic Christmas, or a festive New Year’s Eve bash. Once you’ve chosen a theme, incorporate it into every aspect of your party, from the decorations to the menu.

To create a magical atmosphere, consider using warm and inviting lighting. String up fairy lights or candles throughout the venue, and use soft, cozy fabrics like velvet or faux fur to add a touch of elegance. Don’t forget to play some festive music in the background to set the mood and get your guests in the holiday spirit.

Planning the Guest List and Invitations

When planning your guest list, consider the size of your venue and the type of party you want to host. If you’re aiming for an intimate gathering, keep the guest list small and invite close friends and family. For a larger celebration, expand your guest list to include coworkers, neighbors, and acquaintances.

Once you have finalized your guest list, it’s time to send out invitations. Opt for traditional paper invitations or embrace the convenience of digital invitations. Whichever method you choose, make sure to include all the essential details such as the date, time, location, and any specific dress code or theme requirements. Sending out invitations well in advance will give your guests plenty of time to RSVP and make necessary arrangements.

Choosing the Perfect Venue or Hosting at Home

Deciding on the venue for your holiday party is an important step in ensuring its success. You have two options: hosting at home or renting a venue. Hosting at home offers a cozy and intimate setting, allowing you to personalize every detail. However, if your home can’t accommodate all your guests or you prefer a change of scenery, consider renting a venue. Look for a venue that aligns with your theme and offers the necessary amenities such as a kitchen and ample parking space.

If you choose to host at home, make sure to declutter and create a welcoming space for your guests. Rearrange furniture to allow for easy mingling and place extra seating areas in case you have more guests than expected. Provide designated areas for coats and bags, and ensure there’s enough space for everyone to move around comfortably.

Deciding on the Menu and Catering Options

The menu is a crucial aspect of any holiday party, and choosing the right dishes will delight your guests and leave a lasting impression. Decide whether you want to serve a formal sit-down dinner, a buffet-style feast, or a selection of finger foods and hors d’oeuvres. Consider dietary restrictions and preferences of your guests, and offer a variety of options to cater to everyone’s tastes.

If you’re not confident in your culinary skills or simply want to enjoy the party without the stress of cooking, consider hiring a professional caterer. They will take care of the menu planning, food preparation, and presentation, allowing you to focus on hosting and mingling with your guests. Make sure to sample the caterer’s offerings beforehand to ensure they meet your expectations.

Selecting the Right Beverages for Your Holiday Party

No holiday party is complete without a selection of festive beverages. Offer a variety of options to cater to different preferences, including alcoholic and non-alcoholic choices. Create a signature holiday cocktail that reflects the theme of your party and serves it in elegant glassware for an extra touch of sophistication.

Don’t forget to provide non-alcoholic alternatives for those who prefer not to drink or designated drivers. Offer a selection of mocktails and refreshing beverages such as flavored water or sparkling juices. Display the beverage options in an attractive and easily accessible area, and consider hiring a bartender to ensure smooth service throughout the event.

Decorating Your Holiday Party Space

Decorating your holiday party space is where you can truly let your creativity shine. Incorporate your chosen theme into every aspect of the decor, from the table settings to the lighting. Use a color scheme that complements the theme, such as classic red and green for a traditional Christmas party or silver and blue for a winter wonderland.

Start by decorating the entrance to create a warm and inviting atmosphere. Hang a festive wreath on the door and place a doormat with a holiday greeting. Inside, adorn the walls with garlands, hang mistletoe in strategic spots, and place centerpieces on tables. Consider using fresh flowers, candles, and seasonal elements like pinecones or ornaments to add a touch of elegance.

Creating a Festive Playlist and Entertainment Options

Music is a powerful tool to set the mood and create a festive atmosphere. Create a playlist that includes a mix of holiday classics and popular tunes that will get your guests in the dancing spirit. Select songs that match the energy of your party, whether you want a relaxed ambiance or a lively dance floor.

In addition to music, consider providing other forms of entertainment to keep your guests engaged and entertained throughout the night. Hire a live band or a DJ to play music and ensure smooth transitions between songs. Set up a photo booth with festive props where guests can capture memories of the evening. You can also organize a fun holiday-themed game or activity to break the ice and encourage interaction among your guests.

Organizing Fun Activities and Games for Your Guests

To make your holiday party truly memorable, organize fun activities and games that will bring joy and laughter to your guests. Consider setting up a gift exchange or a Secret Santa where guests can exchange presents. You can also create a holiday trivia game or a scavenger hunt with festive clues hidden throughout the venue.

If you’re hosting a family-friendly event, provide activities for children such as a craft station where they can create holiday-themed artwork or a cookie decorating station. Consider hiring a professional entertainer such as a magician or a face painter to keep the little ones entertained while the adults socialize.

Tips for Being a Gracious Host and Ensuring a Smooth Event

As the host, it’s important to ensure a smooth and enjoyable experience for your guests. Here are a few tips to help you be a gracious host:

  1. Greet each guest personally and make them feel welcome.
  2. Introduce guests to one another and facilitate conversation.
  3. Be attentive to your guests’ needs and ensure they have everything they need.
  4. Keep the flow of food and beverages steady and replenish as necessary.
  5. Take the time to mingle and engage with your guests, but also delegate tasks to trusted friends or family members to help with hosting duties.

Remember, being a gracious host means prioritizing the comfort and enjoyment of your guests above all else.

Hosting a Memorable Holiday Party

Hosting the perfect holiday party is a delightful endeavor that requires careful planning and attention to detail. From setting the theme and atmosphere to organizing fun activities and games, every aspect contributes to creating a memorable experience for your guests. By following the 10 tips and tricks revealed in this article, you’ll unlock the secrets to hosting a holiday party that will leave a lasting impression on everyone who attends.

So, what are you waiting for? Start planning your perfect holiday party and get ready to spread joy and cheer to all your friends and loved ones. Happy hosting!

CTA:

Ready to host the perfect holiday party? Share your party planning tips and experiences in the comments below! And don’t forget to check out our other articles for more ideas and inspiration on hosting memorable events. Happy holidays!

If you enjoyed this blog , please LIKE, Follow, Share & leave me a comment! I love your feedback!

If you aren’t following me on Facebook & Instagram, go on over & give a LIKE & Follow me for daily tips & tricks for your home & garden!

Remember to eat fresh, shop local, & have a happy day,

Jean

Copyright Policy

All text and images on this site are copyright of For Dragonflies And Me. Unless otherwise noted, you may not use this content 

This post may contain affiliate links. If you choose to purchase through an affiliate link, I may receive a small commission at no additional cost to you. You can see my full disclaimer here.

Beef Stroganoff ~ YOUTUBE Video!

“Cooking is at once one of the simplest and most gratifying of the arts, but to cook well, one must love and respect food.” – Craig Claiborne

This recipe brings memories from my childhood rolling in like a majestic wave filled with joy! I always loved when my grandmother made this recipe. I would come in from school and smell the deliciousness of her beef stew cooking brimming with potatoes, carrots, and eventually her homemade dumplings! NOW you can enjoy it as well.

As the years have moved on, I of course like so many other of her recipes, have been altered. The only ones I can honestly say I have done nothing different too is this recipe and her Crepes… you can’t mess with perfection there friends!

Ingredients:

Non stick spray

2 pounds beef chunked into about 1” square cubes. You can either purchase pre-cut beef chunks, or use round or sirloin steak.

1/2 cup all purpose white flour

1/4 tsp pink Himalayan salt

1/4 tap fresh ground black pepper

1/4 cup salted butter (1 stick)

2 TBSP canola oil

2 TBSP minced garlic

1/2 cup diced red onion

16 ounce container sliced mushrooms OR TWO 8 ounce cans mushrooms

4 cups beef chicken broth

1- 10.5 ounce cream of mushroom soup

1/2 cup sour cream

1- 16 ounce package egg noodles

Directions:

1. Coat a large electric skillet with a nonstick spray. I prefer an olive oil. Put butter and oil in skillet on 350°; melt butter and blend with oil.

While butter is melting, in a large bowl blend flour, salt and pepper. Toss the meat chunks in the flour until evenly coded. Place meat chunks in a single layer in the hot butter and oil. Cook until about half done, 5 to 7 minutes. stir occasionally. Keep back all remaining flour mixture.

2. Once meat is about half cooked add mushrooms, garlic and onions and remaining flour. Mix until well blended. It should be somewhat pasty.

3. Add broth and cream of mushroom soup to meat mixture; blend well. Bring to a boil and turn heat down to 300°. Cook covered for two hours, stirring about every 15 minutes.

4. Once stroganoff is cooked, cook your choice of noodles. When noodles are done, add the half cup of sour cream to the stroganoff mixture and blend well.

Serve stroganoff over cooked noodles with some delicious homemade bread.

This recipe can be found in my Cookbook on page 122. You can have your own copy. Click HERE for details on how to get yours!

If you like this recipe be sure to visit me at my YouTube Channel for more recipes & how-to gardening tips & tricks! You won’t be disappointed. Don’t forget to subscribe here & there so you don’t miss a beat!

Get new recipes delivered to your inbox.

If you aren’t following me on Facebook or Instagram, go on over & give a LIKE & Follow me for daily tips & tricks for your home & garden!

Added bonus: You can go to my blog at www.fordragonfliesandme.com to purchase my original cookbook, Lovingly Seasoned Eats and Treats in either a beautiful spiral bound soft cover OR now available in a Downloadable PDF format. The cookbook has almost 1000 recipes on almost 500 pages! Check out the Cookbook Testimonials while you’re there!

Until next time friends, remember to eat fresh, shop local, and have a happy day,
Jean

Copyright Policy

All text and images on this site are copyright of For Dragonflies And Me. Unless otherwise noted, you may not use this content without written permission.

How-to Prepare the Best Holiday Meal Ever!

Are you ready to impress your family and friends with the best holiday meal they’ve ever had? Look no further than this ultimate guide on how to prepare the perfect holiday feast! Whether you’re a beginner in the kitchen or an experienced cook, we’ve got you covered with step-by-step instructions and insider tips.

From the succulent roast turkey to the flavorful side dishes and decadent desserts, our brand voice ensures that your holiday meal will be a true showstopper. As you all know, I love to entertain, and I’m going to share some of my tried & true tips & tricks in today’s blog post! I understand the importance of creating a memorable experience for your loved ones, and that starts with a delicious and well-prepared meal.

In todays blog post, I will share my personal secrets for creating an incredible day that not only shows your loved ones the time & care you took, but also looks beautiful on the table. With these simple yet innovative ideas, you’ll be able to create an impressive holiday menu without breaking a sweat. So, grab your apron and get ready to make this holiday season unforgettable with the best holiday meal ever!

Be sure to check out my 25 Awesome Holiday Decorating Hacks, Tips & Tricks!
Want some great ideas on How To Host a Holiday Cookie Exchange? Well look no further~

Planning your holiday meal

When it comes to preparing the best holiday meal, planning is key. Start by deciding on the theme or style of your meal. Are you going for a traditional feast with all the classics or are you looking to add a modern twist? Once you have a clear vision, it’s time to create a menu that reflects your desired theme.

Consider the dietary restrictions and preferences of your guests. Are there any vegetarians or vegans? Are there any food allergies or intolerances to take into account? Make sure to include dishes that cater to everyone’s needs, so no one feels left out.

Get new recipes delivered to your inbox.

Next, make a detailed shopping list. Take inventory of your pantry and fridge to see what ingredients you already have on hand. Then, jot down the items you need to purchase. Don’t forget to include any special ingredients or spices that might be required for specific recipes.

Creating a menu for your holiday meal

Now that you have your theme and shopping list sorted, it’s time to create a mouthwatering menu for your holiday meal. Start with the main course. Traditional options like roast turkey, glazed ham, or prime rib are always crowd-pleasers. If you’re feeling adventurous, you can also consider alternatives like whole roasted chicken, beef Wellington, or even a vegetarian centerpiece like a stuffed butternut squash.

Once you have the main course locked in, it’s time to think about the side dishes and accompaniments. Choose a variety of flavors, textures, and colors to create a balanced and visually appealing spread. Classic options like mashed potatoes, roasted vegetables, and cranberry sauce are always a hit. Don’t forget to include some vegetarian-friendly options and gluten-free alternatives if needed.

To round out the meal, don’t skimp on desserts and drinks. Offer a selection of sweet treats like pies, cakes, cookies, or a festive trifle. Consider including a signature holiday cocktail or a non-alcoholic punch for guests to enjoy. Remember, presentation is key, so take the time to garnish and decorate your desserts and drinks for an extra special touch.

Grocery shopping for your holiday meal

Now that you have your menu finalized, it’s time to tackle the grocery shopping. Start by visiting your local grocery store and check if they have any holiday promotions or discounts. Compare prices and quality across different stores to ensure you’re getting the best ingredients for your money.

When shopping, stick to your list to avoid unnecessary purchases. Check expiration dates and choose the freshest ingredients available. If possible, opt for organic or locally sourced produce to support local farmers and ensure the highest quality.

Don’t forget to stock up on pantry staples like spices, oils, and condiments. These small details can make a big difference in the flavor of your dishes. Consider buying in bulk to save money and have extra supplies on hand for future culinary adventures.

Preparing the main dish for your holiday meal

The main dish is the centerpiece of your holiday meal, so it’s important to prepare it with care. If you’re cooking a roast turkey, make sure to thaw it properly and allow enough time for marinating or brining. Follow a trusted recipe or consult a cooking guide for the best cooking times and temperatures.

If you’re going for a different main course, make sure to read up on the specific cooking techniques required. For example, beef Wellington requires searing the meat before wrapping it in puff pastry. Take your time and follow the instructions closely to achieve the best results.

While your main dish is cooking, take advantage of the oven and prepare any oven-baked side dishes. This will save you time and ensure that everything is ready to be served at the same time. Remember to use a meat thermometer to check for doneness, especially when cooking poultry or beef.

Side dishes and accompaniments for your holiday meal

Side dishes and accompaniments play a crucial role in complementing the flavors of your main dish. Start by preparing any make-ahead dishes that can be reheated or assembled just before serving. This will free up valuable stovetop and oven space on the day of your holiday meal.

Rustic bowl of Mashed Potato.

Consider offering a variety of side dishes to cater to different tastes. Classic options like creamy mashed potatoes, buttered green beans, and roasted root vegetables are always crowd favorites. Don’t be afraid to add a twist to traditional recipes by incorporating unique ingredients or flavor combinations.

Be sure to check out my homemade Whipped Butter recipe at my YouTube channel!

If you have vegetarian guests, make sure to offer substantial vegetarian side dishes that can serve as a main course alternative. Consider options like stuffed mushrooms, roasted vegetable lasagna, or quinoa-stuffed bell peppers. These dishes will not only satisfy your vegetarian guests but also add variety to your spread.

Desserts and drinks for your holiday meal

No holiday meal is complete without a selection of delectable desserts and drinks. Start by preparing any make-ahead desserts that can be chilled or stored in the fridge until serving time. This will help alleviate last-minute stress and allow you to focus on other meal preparations.

Classic holiday desserts like pumpkin pie, apple crisp, or gingerbread cookies are always a hit. However, don’t be afraid to experiment with new flavors and ingredients. Consider adding a unique twist to traditional recipes, like adding a hint of cardamom to your apple pie or a splash of rum to your chocolate mousse.

When it comes to drinks, offer a variety of options to suit different preferences. Have a selection of wines, both red and white, as well as non-alcoholic alternatives like sparkling water or homemade fruit punches. If you’re feeling adventurous, consider creating a signature holiday cocktail that reflects the flavors of the season.

Setting the table and creating a festive atmosphere

Once your holiday meal is prepared, it’s time to set the table and create a festive atmosphere. Start by choosing a color scheme or theme for your table décor. Consider using seasonal elements like pinecones, holly, or twinkling lights to add a touch of magic.

Invest in high-quality table linens, plates, and cutlery to create an elegant and inviting table setting. Use cloth napkins and add small details like personalized place cards or festive napkin rings. Don’t forget to include candles or a centerpiece to create a warm and cozy ambiance.

Consider playing soft background music to set the mood and create a welcoming environment. Choose holiday classics or instrumental tunes that won’t overpower conversations. Lighting is also important, so adjust the brightness to create a warm and inviting atmosphere.

Serving and enjoying your holiday meal

The moment has finally arrived to serve and enjoy your meticulously prepared holiday meal. Start by creating a serving station where guests can help themselves to the dishes. Use attractive platters and serving utensils to showcase the food and make it easy for guests to serve themselves.

Encourage your guests to try a little bit of everything and share their thoughts and compliments. Food brings people together, so take the time to appreciate the joy and connection that comes from sharing a delicious meal with loved ones.

As the host, make sure to be present and enjoy the meal yourself. Take a moment to savor the flavors, textures, and aromas. Engage in conversation and create lasting memories with your family and friends. Remember, the most important ingredient in any holiday meal is the love and care you put into it.

Conclusion and tips for a successful holiday meal

Preparing the best holiday meal takes time, effort, and a little bit of planning. By following the tips and advice in this guide, you’ll be well on your way to creating a memorable and delicious feast for your loved ones.

Remember to plan your menu, create a shopping list, and shop for the best ingredients. Take your time to prepare the main dish and side dishes with care. Don’t forget to explore new flavors and recipes to add a touch of excitement to your holiday spread.

Set the table with love and attention to detail, creating a warm and festive atmosphere. Finally, serve and enjoy the meal with your family and friends, cherishing the moments and creating lasting memories.

This holiday season, let your culinary skills shine and prepare the best holiday meal your loved ones have ever had. Happy cooking and happy holidays!

If you enjoyed this blog , please LIKE, Follow, Share & leave me a comment! I love your feedback!

If you aren’t following me on Facebook & Instagram, go on over & give a LIKE & Follow me for daily tips & tricks for your home & garden!

Remember to eat fresh, shop local, & have a happy day,

Jean

Copyright Policy

All text and images on this site are copyright of For Dragonflies And Me. Unless otherwise noted, you may not use this content 

This post may contain affiliate links. If you choose to purchase through an affiliate link, I may receive a small commission at no additional cost to you. You can see my full disclaimer here.

Processing…
Success! You're on the list.

Easy Homemade Graham Cookies- My family’s favorite holiday cookie recipe!

This is my family’s favorite holiday cookie recipe, and it’s a very special one. This was my grandmothers recipe and her mother’s before that. Every year we make several dozen of these to share.

Check out my YouTube video below for an easy how to.

If you own a copy of my cookbook, Lovingly Seasoned Eats and Treats, you can find it on recipe on page 245. If you don’t on your own copy, and would like one, you can purchase one right here at my blog.

You can go to my blog at http://www.fordragonfliesandme.com topurchase my original cookbook, Lovingly Seasoned Eats and Treats in either a spiral bound soft cover OR NEW, a Downloadable PDF version. The cookbook has almost 1000 recipes on almost 500 pages! Check out the Cookbook Testimonials while you’re there!

Until next time remember to,
Eat fresh, shop local & have a happy day,
Jean

Copyright Policy

All text and images on this site are copyright of For Dragonflies And Me. Unless otherwise noted, you may not use this content.

This post may contain affiliate links. If you choose to purchase through an affiliate link, I may receive a small commission at no additional cost to you. You can see my full disclaimer here.

The BEST Mexican Chorizo Sausage Stuffed Zucchini Boats Ever!

“You know, when you get your first asparagus, or your first acorn squash, or your first really good tomato of the season, those are the moments that define the cook’s year. I get more excited by that than anything else.” ― Mario Batali

Have you ever wondered what you can do with overgrown zucchini or summer squash other than shred it and use in sweet breads or stir fry? Well here is a great way to use them! Thanks to my cousin Mark for this recipe… but of course I put my own spin on it. 

This recipe isn’t only easy & super delish, it is also very versatile! You can easily switch this up to any cuisine you enjoy. Use Italian sausage with mozzarella cheese and mushrooms and now you have an Italian version! What else can you think of? Leave me your ideas in the comments below!

Check out my YouTube Video to see exactly how I make this super delish recipe!

Scroll down to see the complete list of ingredients & directions!

Our Favorite Recipes

Ingredients: Yields 2 sides per zucchini

1 Large zucchini halved and seeds removed

1 pound cooked chorizo sausage, crumbled~ depending on how large your squash is will determine the exact amount of meat you will need. I used about ½ cup per side in my recipe.

1 TBSP diced red onion per half

½ cup queso cheese per half

¼ cup queso fresco cheese per half

1 strip of cooked and crumbled bacon per half

1 to 2 jalapeno peppers sliced. Keep the seeds if you want it spicy or discard if you don’t

PRO TIP: Switch up the protein to ground chicken, turkey, lamb, or beef!

Make it vegetarian & skip the meat altogether!

1. Fry and crumble your sausage or whatever protein you choose; drain any excess fat and set aside.

2. Take your bacon and cut into 1 inch sections; fry in the same pan as you did your sausage; drain any excess grease and set aside.

3. While meat is frying, cut your squash in half; remove the seeds and make a uniform hollow to fill.

4. In this order, fill your squash:

  1. Meat
  2. Queso cheese
  3. Bacon
  4. Queso fresco cheese
  5. Onion
  6. Jalapeno
  7. Queso cheese

If you aren’t following me on Facebook & Instagram go on over & give a LIKE & Follow me for daily tips & tricks for your home & garden!

Processing…
Success! You're on the list.

If you enjoyed this blog, please LIKE, Follow, Share & leave me a comment! I love your feedback~

Get new recipes delivered to your inbox.

Added bonus: You can go to my blog at http://www.fordragonfliesandme.com to purchase my original cookbook, Lovingly Seasoned Eats and Treats in either a spiral bound soft cover OR NEW, a Downloadable PDF version. The cookbook has almost 1000 recipes on almost 500 pages! Check out the Cookbook Testimonials while you’re there!

Until next time remember to,
Eat fresh, shop local & have a happy day,
Jean

Copyright Policy

All text and images on this site are copyright of For Dragonflies And Me. Unless otherwise noted, you may not use this content.

This post may contain affiliate links. If you choose to purchase through an affiliate link, I may receive a small commission at no additional cost to you. You can see my full disclaimer here.

The Best Homemade Pesto: and you don’t need pine nuts!

“Cooking is one of the greatest gifts you can give to those you love.” – Ina Garten

Pesto is one of our family favorites! Fresh basil from the garden is one of summer’s more wonderful gifts! Here is a very simple recipe for my homemade pesto without pine nuts!

Check out my YouTube Video on how and scroll down to see the complete list of ingredients and directions with a few additional Pro Tips!

To see more homemade pesto recipes check them out below!

Our Favorite Recipes

Yields: 1 cup finished product

2 cups packed fresh basil leaves, with stems removed

½ cup extra virgin olive oil

½ cup grated parmesan cheese

3 to 5 fresh garlic cloves with outer skin and root end removed or 3 to 5 tsp minced

¼ tsp pink Himalayan salt

¼ tsp fresh ground black pepper

1. In a food process pulse basil and garlic. If you are using fresh cloves, no need to mince first~ just toss in the whole cloves with the skin and hard root end removed: pulse on high until completely shredded and is like a paste.

2. Add parmesan cheese, salt and pepper; pulse on high until completely blended. It will be a paste.

3. Add 2 TBSP of the oil at a time pulsing on high until smooth and all oil is added.

4. Remove to a bowl, cover and refrigerate for at least an hour before use to allow flavors to blend.

PRO TIP: When harvesting your basil leaves, you want to make sure you only use the best leaves. Avoid using any leaves which have black spots on them or if they have been damaged by an insect eating it. See above leaves for examples of insect damage.

From 10 cups of fresh packed basil leaves I was able to make 5~ 1 cup bags of finished product.

These will be stored in the freezer.

PRO TIP: This is what your stems should look like after you’ve harvested the leaves.

Did you know there are dozens of varieties of basil? Just a few are Thai which has a spicy hint to it, purple basil is very similar to Genovese.

The 3 types of basil in the photo above are in order from left to right: Sweet, Genovese, and my personal favorite Mammoth.

Processing…
Success! You're on the list.

If you aren’t following me on Facebook & Instagram go on over & give a LIKE & Follow me for daily tips & tricks for your home & garden!

For more Pesto recipes check out my previous blogs here:

Jean’s Kale and Toasted Walnut Pesto Recipe!

More on Herbs: Basil and Lavender, Yummy Pesto Recipes

Grilled Chicken Pesto Pasta

Get new recipes delivered to your inbox.

Added bonus: You can go to my blog at http://www.fordragonfliesandme.com to purchase my original cookbook, Lovingly Seasoned Eats and Treats in either a spiral bound soft cover OR NEW, a Downloadable PDF version. The cookbook has almost 1000 recipes on almost 500 pages! Check out the Cookbook Testimonials while you’re there!

Until next time remember to,
Eat fresh, shop local & have a happy day,
Jean

Copyright Policy

All text and images on this site are copyright of For Dragonflies And Me. Unless otherwise noted, you may not use this content.

This post may contain affiliate links. If you choose to purchase through an affiliate link, I may receive a small commission at no additional cost to you. You can see my full disclaimer here.