Easy Roasted Garlic & Garlic Infused Olive Oil! Check out these 2 methods

“Food, to me, is always about cooking and eating with those you love and care for.” – David Chang

This is one of our new favorites! After Dave & I experienced this at a wonderful restaurant, Mint 29 in Dearborn Michigan, we were hooked. This is so easy to do, I just had to share it with you… along with a bonus on how to make your own garlic infused olive oil.

Today I’ll show you how to roast a whole bulb, as well as cloves in olive oil to produce your own infused oil. So easy & so yum!

Watch my YouTube Video to watch me demonstrate!

If you enjoyed this blog, please LIKE, Follow, Share & leave me a comment! I love your feedback~

Our Favorite Recipes

Ingredients: Yields 1 roasted bulb AND ½ cup infused oil with ½ cup roasted cloves

See ingredients & step by step below for both recipes!

Watch as I show you the finished product! Watch below at my YouTube channel on how to!

Roasted Bulb~ You will need:

1 whole bulb of garlic
1 TBSP extra virgin olive oil
¼ tsp pink Himalayan salt
Parchment paper

Carefully cut the top of the bulb off, about ½ inch until you see the cloves.

Place on parchment paper and drizzle the olive oil over the visible clove; sprinkle with the salt.

Fold parchment paper around the bulb, and tuck underneath.

Place in a preheated 250 degree oven and bake for 2 to 3 hours depending on the size of the bulb.

To store: Place the bulb in a plastic container and store in the refrigerator for up to 2 weeks.

Infused Olive Oil & Roasted Garlic Cloves~ You will need:

Pre Peeled & packaged garlic cloves, about 4 of the bags. This is equivalent to about 4 bulbs of garlic

½ cup extra virgin olive oil
¼ tsp pink Himalayan salt

In a small baking dish, place the garlic cloves in a single layer; pour olive oil over top of them ensuring they are fully covered. Add more oil if needed.

Sprinkle with salt and bake in a preheated 250 degree oven for 2 to 3 hours or until mashable.

To store: Place infused olive oil in a container with lid and refrigerate for up to 2 weeks. Place cloves in a plastic container with a lid and store in the fridge for up to 2 weeks.

Baste meats or veggies with your olive oil and serve cloves with steak or chicken or add to any vegetable dish!

Get new recipes delivered to your inbox.

If you aren’t following me on Facebook & Instagram go on over & give a LIKE & Follow me for daily tips & tricks for your home & garden! 

Added bonus: You can go to my blog at http://www.fordragonfliesandme.com to purchase my original cookbook, Lovingly Seasoned Eats and Treats in either a spiral bound soft cover OR NEW, a Downloadable PDF version. The cookbook has almost 1000 recipes on almost 500 pages! Check out the Cookbook Testimonials while you’re there!

Until next time remember to,
Eat fresh, shop local & have a happy day,
Jean


Copyright Policy
All text and images on this site are copyright of For Dragonflies And Me. Unless otherwise noted, you may not use this content.

Are you looking for some fun? Well look no further…

If you haven’t been following me on my Facebook page, well then you’ve been missing a load of fun. I share links to all my blog posts, YouTube videos, Podcast recordings, Facebook live moments when I’m out & about.

Be sure to stop by so you don’t miss a beat! See you there friends, and be sure to “Hi!” in the comments!

CLICK each photo to see the blog post that goes with it!


If you enjoyed this blog, please LIKE, Follow, Share & leave me a comment! I love your feedback!

If you aren’t following me on Facebook & Instagram go on over & give a LIKE & Follow me for daily tips & tricks for your home & garden! 

Added bonus: You can go to my blog at http://www.fordragonfliesandme.com to purchase my original cookbook, Lovingly Seasoned Eats and Treats in either a spiral bound soft cover OR NEW, a Downloadable PDF version. The cookbook has almost 1000 recipes on almost 500 pages! Check out the Cookbook Testimonials while you’re there!

Until next time remember to,
Eat fresh, shop local & have a happy day,

Jean

Copyright Policy

All text and images on this site are copyright of For Dragonflies And Me. Unless otherwise noted, you may not use this content.

Shish Ka-bob with Marinade over Rice

“From morning till night, sounds drift from the kitchen, most of them familiar and comforting…. On days when warmth is the most important need of the human heart, the kitchen is the place you can find it; it dries the wet sock, it cools the hot little brain.” – E.B. White

This is another all time family favorite, and I am confident it will become one of yours as well! If you own a copy of my popular cookbook, Lovingly Seasoned Eats & Treats, you will find this recipe on page 155. If you don’t own a copy and would like to, click this link to purchase either a beautiful spiral bound softcover or NEW, a Downloadable PDF version!

To watch me make this super delish recipe, click the video below to watch on my YouTube Channel!

Our Favorite Recipes

This recipe is very versatile and you can use any protein you prefer. Today I am using beef and chicken, but you can easily swap it or add venison, pork, or lamb. Or for my vegetarian friends, skip the meat altogether!

Over the years I’ve made some variations to the recipe, so my directions here & in my video are a bit different than the cookbook.

Ingredients: Yields about 8~ 2 cup servings

10 to 12 cups of cubed meat~ I used beef & chicken 

2~ 1.5 pound bags of baby heirloom potatoes. I parcook these in the microwave until they are about 90 percent done.

4 large onions~ I did 2 of each red and a sweet yellow, quartered

4 large bell peppers~ mix colors if you’d like, cut into quarters

2~ 16 ounce containers of whole mushrooms

Marinade:

1 ½ cups canola or safflower oil

¾ cup soy sauce

½ cup red wine vinegar

⅓ cup lemon juice

¼ cup Worcestershire sauce

2 fresh cloves of garlic minced OR 2 tsp jarred

2 TBSP dry mustard

2 tsp dried parsley

2 tsp pink Himaylean salt

2 tsp fresh ground pepper

PRO TIP: I used wooden skewers here because I make so much, but if you have metal ones I do prefer those. 

1. Cut all your meat into about 2 inch chunks.

2. Make marinade; place all ingredients in a gallon size freezer storage type bag. I use one bag per type of meat, but you don’t have to. If you, you will need to divide the marinade or make a batch for each type.

3. Place the meat in the marinade and place in a large bowl; refrigerate at least 3 hours, but overnight is best.

4. Begin putting the meat on skewers of the same type together. I don’t combine any of the vegetables with the meat skewers. Reserve all the marinade;

Place on a heated grill brushing the skewers with some of the remaining marinade.

5. Begin putting all the vegetables on the skewers. I put some of everything on each one, however you can do all of the same on individual skewers; place on a heated grill and brush with marinade liberally.

6. Keep turning both the meat and vegetable skewers, basting with the marinade until it is all gone. Cook for about 20 minutes or until done. You can carefully cut into some of the meat chunks to see if they are cooked through.

7. Once all the meat and veggies are cooked, place everything in a deep electric skillet and add the reserved 1 cup of marinade; toss all together and heat on 300 degrees stirring for about 5 minutes.

Get new recipes delivered to your inbox.

Serve over rice and enjoy!

If you enjoyed this blog, please LIKE, Follow, Share & leave me a comment! I love your feedback!

If you aren’t following me on Facebook & Instagram go on over & give a LIKE & Follow me for daily tips & tricks for your home & garden! 

Added bonus: You can go to my blog at http://www.fordragonfliesandme.com to purchase my original cookbook, Lovingly Seasoned Eats and Treats in either a spiral bound soft cover OR NEW, a Downloadable PDF version. The cookbook has almost 1000 recipes on almost 500 pages! Check out the Cookbook Testimonials while you’re there!

Until next time remember to,
Eat fresh, shop local & have a happy day,

Jean

Copyright Policy

All text and images on this site are copyright of For Dragonflies And Me. Unless otherwise noted, you may not use this content.

How-to preserve your herbs, & bonus recipes!

“The only real stumbling block is fear of failure. In cooking, you’ve got to have a what-the-hell attitude.”

– Julia Child

My freshly dried basil

Growing your own veggies & herbs is a such blessing! Although having the ability to preserve them is a wonderful use of what you’ve grown & harvested. It helps save a ton of money as herbs can be very expensive, especially organic brands. Whether or not you garden organically, your home grown herbs will taste remarkably richer than any purchased from the store.

The following how-to can be used with just about any herbs you grow. Here are a few processes I want to share with all of you.

Pro tip: You don’t have to wait until the fall to preserve your delicious herbs, you can start early in the spring and work at it all season long! 

As I mentioned there are a few ways to dry your herbs. Let’s look at each one.

Pro tip: You can have herbs all year in cold weather states. In the spring when you are purchasing your seeds, save a few to plant in late summer in pots. You can keep these in your kitchen all winter long.

Pro Tip: De-stemming your herb leaves from the stem is essential for the highest quality finished product. You can see in these photo’s the original stem of basil, then plucking each leaf off. The stems will not dry well and are often times stringy.

For recipes using all your wonderful dried herbs, check out my blog post here: https://wordpress.com/post/fordragonfliesandme.com/2829

https://wordpress.com/post/fordragonfliesandme.com/2324

https://wordpress.com/post/fordragonfliesandme.com/1429

Some seeds do not have a long shelf life when kept at room temperature. If you keep the seeds in your freezer they will have a better chance of germinating. 

1. Using a dehydrator. Your dehydrator will come with instructions and is very easy to use. You can use a dehydrator for all types of herbs as well as fruit! You can even make fruit roll ups! 

2. Place herbs on a cookie sheet and dry in your oven. After you’ve de-stemmed the leaves, place them on a cookie sheet and bake in a 250 degree oven until dry. The length of time will be determined by the size of the leaves.
For example, thyme and oregano leaves will be quicker than basil or parsley as their leaves are larger

Place leaves in a single layer on the cookie sheet so they are not overlapping each other. You do not need to turn the leaves. Check every 15 to 20 minutes.

3. Hanging your herbs to dry in a shady spot works too! You can bundle your herbs with a rubber band and hang them to dry. This generally takes a bit longer to dry as the herbs are more densely packed.

This photo was taken at
Greenfield Village

Pro tip: Don’t hang these in a sunny window as the sun will fade the color of the leaves.

Once the leaves are crumbly to the touch, remove them from the cookie sheet into a shallow bowl; gently crumble the leaves, do not crumble so hard that they become dusty. Think about how herbs look purchased from the store.


4. Besides drying your herbs, you can also freeze some of them. I have found that chives and parsley both freeze well. Most others will turn black and slimy.


Storage: Once you have dried your herbs, you can store them in glass jars with tight fitting lids, freezer storage bags or I like to use half pint jars with cute labels.

Other tips!

Freeze your pesto for use year round! We use pesto for so many recipes. I will make a large batch when my basil and parsley are at their best and then freeze them in half pint jars as these are equivalent to 1 cup which most recipes call for. You can also freeze them in ice cube trays and toss in a freezer bag.

Pro tip: Remember to leave at least an inch headspace when freezing!

Herb infused oils can be rather expensive even though they are so easy to make! Simply pack 2 cups of most any fresh culinary herb with 1/2 cup canola or safflower oil.

Pro tip: Olive oil can have a strong taste so I generally only use a few herbs with it. Basil, Thyme, & oregano. I also love to add fresh minced garlic with these. Soooo yummy!

Bonus Herb Salt & Salt Free Recipes

Here are some of my yummy herb salts-less recipes!
If you are trying to watch your salt intake, here a some great salt substitutes that the whole family will enjoy and they won’t even miss the salt!

For each recipe, combine all ingredients into a bowl and mix thoroughly I even use a mini food processor. Once blended, store each one in a separate airtight container; shake before using, contents will probably settle.

Salt-less Herb Blend

5 tsp. onion powder
1 Tbsp. garlic powder
1 Tbsp. paprika
1 tsp. thyme
1/2 tsp. celery salt
1/4 tsp. pepper

Combine all and store in an airtight container. Great on fish & chicken!

I had to use this pic of Aaron back on the farm after he harvested these onions!!

Italian Blend

1 Tbsp. garlic powder
5 tsp. onion powder
1 tsp. parsley
1 tsp. basil
1 tsp. oregano
1/4 tsp. pepper

Combine all and store in an airtight container. Great in ground beef when making goulash!

Basic Herb Salt

1 cup sea salt
1 Tbsp. pepper
2 Tbsp. rosemary
2 Tbsp. thyme
1/4 cup parsley
2 Tbsp. tarragon
2 Tbsp. dill week
2 Tbsp. paprika
1/4 cup basil

Blend together in a food processor; store in an airtight container. Great for grilling or putting on pork or beef roasts!

All of these are great Great sprinkled on burger patties before grilling and really adds something special to ground beef when fried.

If you enjoyed this blog & bonus recipes, please LIKE, Follow & of course Share! Let me know what you think ! I love your feedback! If you aren’t following me on Facebook go on over & give it a like & follow me for daily tips & tricks for the home and garden! https://www.facebook.com/profile.php?id=100049613212778

Happy Day,
Jean

A "Green" Barbeque, Vermicomposting and some Yummy Grilling Recipe’s!

It’s just about January now and I am already thinking about what I am going to get to start in the green house here in just a few weeks… oh it sends a chill of excitement up my spine! It really isn’t too early for all the home gardeners to start thinking about a few things as well, that’s why you are getting all those beautiful seed catalogs in the mail (see graphic). I thought today would be a great day to discuss Vermicomposting- you’ll want to order your worms here in a jiffy- yes I said ‘worms’!  A.K.A free fertilizer- not the worms- ugg! You should be thinking about seed orders now… lots of companies offer discounts for orders placed before the first of the year… check it out… every penny counts… plus those extra pennies might add up to a few extra packs of seeds!  Before you know it, you’ll be seeing all the big box stores starting to put up the shelves of seed packs, seed starting kits and all that other good stuff! Now is also the time that you might be thinking of drawing up your garden plan… I love doing that! You will also see gobs of fertilizers in both the catalogs and store shelves.  That’s where Vermicomposting is coming into play in today’s post.  You will definitely want to start now, so you will have this rich, wonderful fertilizer ready for your seedlings and garden plants… read on!

Be sure to go to my blog at http://www.fordragonfliesandme.blogspot.com to see all the great photos that go with this post! Enjoy friends!

What’s “Vermicomposting” you ask… well in layman’s terms, it is simply ‘worm poop’ or more politely speaking ‘castings’… good stuff either way, I’ll testify to that! Many home gardeners spend tons of money on fertilizer, when you can be making it yourself using everyday house hold waste, especially if traditional ‘composting’ isn’t for you.  This sounds grosser than composting, and in reality is still composting, but it is by far much less laborious, doesn’t stink (really- forget that it’s poop) and doesn’t take near the amount of space. Many people don’t know what to do with their common household organic waste material- feed it to the worms- for real, they’ll eat it!  This is an excellent way to be environmentally responsible while recycling your own organic waste to a colony of worms in a worm composter.  These wonderful little gobblers devour the waste (each worm eats up to half its body weight every day) in a dark bin and produces two natural byproducts; a top quality compost that home gardeners sometimes refer to as “Black Gold,” which you  use to condition the soil in your garden and in containers that you will plant in. Or a liquid often referred to as “Black Tea,” that you can dilute to make a superb tonic for your plants!
It is very simple to make your very own Worm Composter, using stackable plastic storage totes, wire mesh, a drain cock, and synthetic carpet for a lid, but the simplest way to get started is to purchase a ready made kit, complete with a supply of the same kind of worms that normally live in well rotted manure or compost heaps.  But for you do-it-yourselfers, here is a detailed how to!

The first thing to consider before you start your project is do you want it indoors or outdoors?
Worm composter’s are often described as ‘odor free,’ but many people find that when they lift the lid off to add more scraps, a strong earthy smell wafts out.  So, it may be a better idea to keep your worm composter in a utility room, basement, garage or outside the back door.

How to Make your own:  This info was taken in part from:   http://www.wikihow.com/Make-Your-Own-Worm-Compost-System

Material: Rubber is cheap, easy to use and durable. Galvanized tubs are somewhat costly but will last forever and plastic cracks easily, but either will do in a pinch. Five gallon plastic buckets now for sale by most hardware stores can be used – especially if you live in an apartment. Clean the 5-gallon buckets thoroughly with soap and let them sit for a day or so filled with clean water before using as a worm bin.

Ventilation: Your bin should be well-ventilated, with several 1/8 inch (3mm) holes 4 inches (100mm) from the bottom (otherwise the worms will stay at the bottom of the bin and you may drown your worms). For example, you can build a worm bin out of a large plastic tub with several dozen small holes drilled out on the bottom and sides.

Size: The larger you make the container, the more worms it can sustain. Estimate 1 pound (0.45kg) of worms for every square foot of surface area. The maximum productive depth for your bin is 24 inches (61cm) deep because composting worms will not go further down than that.

Cover: The bin should have a cover to prevent light from getting in and to prevent the compost from drying out. Choose or make a lid that can be removed if your compost is too wet. Use a canvas tarp, doubled over and bungee-corded on, or kept in place with wood. Burlap sacks also work well, and can be watered directly.

Siphon: Purchase a drain cock from any hardware store and follow instructions for installation. This is how you will siphon off the Black Tea concentrate.

Prepare the bedding for your worms.
The bedding is the natural habitat of the worm that you’re trying to replicate in your compost bin. Fill your bin with thin strips of unbleached corrugated cardboard or shredded newspaper, straw, dry grass, or some similar material. This provides a source of fiber to the worms and keeps the bin well-ventilated. Sprinkle a handful of dirt on top, and thoroughly moisten. Allow the water to soak in for at least a day before adding worms. Over time, the bedding will be turned into nutrient-rich compost material by the worms. When you harvest the composted soil, you’ll have to introduce new bedding into the worm bin again.

Canadian peat moss, sawdust, (rinsed) horse manure, and coconut pith fiber are also great for composting.

Avoid putting pine, redwood, bay or eucalyptus leaves into your bedding. Most brown leaves are acceptable in vermicompost, but eucalyptus leaves in particular act as an insecticide and will kill off your worms.

Choose which worms you want.
There are several varieties of worms that that are bred and sold commercially for vermicomposting; just digging up earthworms from your backyard is not recommended. The Internet or local gardening club is your best bet for finding a worm vendor near you. A pound of worms is all that is recommended.

  • The worms most often used, Eisenia foetida (Red Wigglers), are about 4 inches long, mainly red along the body with a yellow tail. These worms have a healthy appetite and reproduce quickly. They are capable of eating more than half their own weight in food every day.
  • Another variety to consider are Eisenia hortensis, known as “European night crawlers.” They do not reproduce quite as fast as the red wigglers, but grow to be larger, eat coarser paper and cardboard better, and seem to be heartier. They are also better fishing worms when they do reach full size.
  • However, as with any non-native species, it is important not to allow European night crawlers to reach the wild. Their voracious appetites and reproductive rates (especially among the red wigglers) have been known to upset the delicate balance of the hardwood forests by consuming the leaf litter too quickly. This event leaves too little leaf litter to slowly incubate the hard shelled nuts and leads to excessive erosion as well as negatively affecting the pH of the soil. So, do your best to keep them confined!
Maintaining and Harvesting Your Compost
1. Feed your worms digestible amounts regularly. The bedding of your compost bin is a great start, but the worms need a steady diet of food scraps in order to stay healthy and produce compost. Feed your worms at least once a week in the beginning, but only a small small amount. As the worms reproduce and grow in numbers, try to feed them at least a quart of food scraps per square foot of surface area each week.
2. Worms eat fruit and vegetable scraps; bread and other grains; tea leaves and bags; coffee grounds; and egg shells. Worms eat basically what humans eat, except they are much less picky!
3. If you can process your scraps before you introduce them into the compost bin, you’ll find that your worms will eat them quicker. Worms go through smaller-sized food more quickly than they can larger-sized or whole food. In this respect, they are also like humans.
4. Mix the scraps into the bedding when you feed the worms. This will cut down on fruit flies and will give the worms more opportunities to eat. Don’t just leave the scraps on top of the compost heap.
Maintain your bin. Keeping your bin elevated off the ground, using bricks, cinder blocks, or whatever is convenient will help speed composting and keep your worms happy. Worms are capable of escaping almost anything, but if you keep your worms fed and properly damp, they should not try to escape. A light in the same area will ensure your worms stay put. Sprinkle the surface with water every other day. You want your bedding to have the dampness of a wrung-out sponge.

Add more cardboard, shredded newspaper, hay, or other fibrous material once a month, or as needed. Your worms will reduce everything in your bin quickly. You will start with a full bin of compost or paper/cardboard, and soon it will be half full. This is the time to add fibrous material.


Pay attention to some composting “don’ts”.
Composting bins are not difficult to maintain, but they do need to be looked after. Here are some things that you shouldn’t do if you want a healthy, hearty ecosystem. Don’t feed your worms too much. If your compost bin starts to smell, it could be because you are feeding your worms more than they can process. When this happens, the bedding can also heat up, killing off the worms.
*Don’t feed your worms any combination of the following. These foods are difficult for the worms to digest:
*Excessive citrus — no more than 1/5 of the total worm food
*Meats or fish
*Fats or excessively oily scraps
*Dairy products (eggshells are fine)
*Cat or dog feces
*Twigs and branches
Harvest the compost once it’s ready.*After 3-6 months, you should have a fair amount of worm compost stored up in your bin. Now it’s time to harvest. Keep in mind that you might not be able to save every worm when harvesting the compost. That’s okay; by and large, your worms have multiplied, and there should be plenty to continue composting.
*Put on rubber gloves, and move any large un-composted vegetable matter to one side. Then, with your gloved hands, gently scoop a section of worms and compost mixture onto a brightly lit piece of newspaper or plastic wrap. Scrape off the compost in layers. Wait a while giving the worms time to burrow into the center of the mound. Eventually you will end up with a pile of compost next to a pile of worms. After harvesting, you should replace the bedding and then return the worms to the bin, do whatever you want with the compost, and repeat.
*If you prefer a hands-off technique, simply push the contents of the bin all to one side and add fresh food, water, dirt, and bedding to the empty space. The worms will slowly migrate over on their own. This requires much more patience, of course. It could take up to a few months for the worms to fully migrate to the scraps-side of the compost bin.


Siphoning off the Black Tea- Liquid Gold!
~Use rubber gloves and store the concentrated plant food in a jar with a tight lid until you need it use it.  LABLE THE JAR, so no one accidently thinks this looks like something tasty to drink.
~Dilute it 1:10 with water and watch your plants perk up within days.

Get more great info at:
http://www.ehow.com/how_4778691_build-worm-composter.html
http://home.howstuffworks.com/vermicomposting.htm
Well now that you are super excited to get started go to it! Enjoy your homemade, free fertilizer!

…and now on to something a bit more ‘digestible’…
The other day I asked Evan what he was hungry for… my little five year old sweetie looks up at me and says, “Steaks on the gill mom!”  “Ahhh,” I said, “Now you’re talkin’ my language!”  Grilling is another thing we just refuse to think of as seasonal at our farm stead… you gotta eat year round right? So why shut this door of goodies off to the family just because of that white stuff!  We love to grill here at our home no matter what time of year it is. Neil and the boys are all quite handy with the tuner & tongs… forget that it’s winter and have some fun!  Here is a fun activity to do over the next few days when the children are home from school- and be sure to give her a try!

Here is the how-to for making your own Green Barbeque!
You may be asking why bother when I can just go buy a regular one… well, I guess you can, but I personally think this is super cool and aesthetically much more appealing than a metal one… to each there own though.  If you don’t want it, make one for a gift to a ‘green minded’ friend or relative… either way, have fun!
~First you’ll need a clay pot about 13 inches (33cm) in diameter to feed about 2-3 people, a larger one for more people
~Stand the pot on a couple bricks to allow air to circulate underneath the fire. Fill the pot half full with pebbles or broken clay pots, slightly more if it is tall.
~Line the top part with 4 layers of heavy tinfoil and heap the charcoal in the center. Light the coals.
~When the coals are glowing red and have started to turn gray at the edges, spread them out evenly being careful not to rip the foil; balance an oven shelf or grill pan shelf over the rim of the pot.
~Cook skewers of peppers, zucchini, and mushrooms,, or pieces of fish or meat, and throw a handful of rosemary, thyme, or lavender on the fire for a hint of herby flavor as the skewers are cooking.
~Let coals cool, remove rack, carefully lift off the foil, put ashes in your garden by blueberry bushes or around peonies. Recycle the tin foil!
You’ll have to go to my blog spot at http://www.fordragonfliesandme.blogspot.com to see step by step photo of this… Enjoy friends!
Yummy Grilled Pizza!    Oh this is soooooo good!
Last summer we fell in love with grilling pizza! The children enjoyed it both in the way of having fun because they created their own masterpieces and it was absolutely delicious.  Here is my pizza crust recipe and some of our favorite toppings!

Crust:
2 cups warm water
1 Tbsp. yeast
1 tsp. raw organic sugar
1 tsp. sea salt
1 Tbsp. olive oil
3-4 cups flour, plus some for dusting

Toppings:
shredded cheese
fresh Portobello mushrooms
sweet peppers
onions
bacon, ham, sausage, ground beef or chicken
pizza sauce, ranch dressing
tomatoes
… these are just some ideas, use your favorite toppings

1. In a large, mixing bowl add yeast to water and stir gently; add sugar, salt and olive oil, stir in gently until dissolved.
2. Add 2 cups of flour, mix in until well blended; add 1 more cup flour, mix in well; and the rest of flour in 1/4 cups at a time until the dough is soft and doesn’t stick to hands.  Add a bit more flour in until the dough feels right;  Knead dough for about 2-3 minutes until all flour is mixed in well.  Form into a ball and place in bowl, cover with kitchen towel and leave on the top of stove to rise until doubled, about 45 minutes.
3. While dough is rising get your toppings prepared.  Sautéing the veggies is best and making sure any raw meats are cooked.
4.When dough has risen, punch it down using your hands and knead a bit more into a ball again.  On a floured surface, cut the dough into 4 even sized pieces and roll out to about and 1/2 inch thick. The dough should be thicker so it doesn’t fall apart on the grill.
5. Brush the dough with Olive Oil and put on heated grill; grill on one side for about 2-3 minutes, checking to be sure it doesn’t burn; when the one side is done, remove from grill onto a cookie sheet, cooked side up; put your toppings on the cooked side; sauce, cheese, meat & veggies and add a bit more cheese; return to the grill to finish grilling- about 2-3 more minutes; put lid on for about the last minute to help melt the cheese.
Remove from grill and have your feast!

Beautiful French Tarragon

 included these awhile back but I thought it would be appropriate to include with this post! Enjoy friends!
Here are some BBQ Brush On Butter Recipes along with a few more canning ones from my cookbook! Enjoy friends!

To 1 stick of salted softened butter add one of the following and mix thoroughly.  Let set in fridge for at least 3 hours so flavors blend through! NOTE: The herbs are all dried.

Cajun Style Poultry Brush On!
1/2 tsp. oregano, crushed
1/8 tsp. thyme, crushed
1/4 tsp. cumin, ground
dash of red pepper
1/4 tsp. sea salt
1/8 tsp. pepper

Lemon Basil Fish or Veggie Brush On!

1/2 tsp. lemon peel, finely shredded
1/2 tsp. lemon juice
1/2 tsp. lime juice
1/4 tsp. basil, crushed
1/4 tsp. sea salt

Parmesan Butter Brush On!
~ great to brush on veggies or even use in pasta or spread onto bread to make garlic toast!
1 Tbsp. fresh parmesan cheese, grated
1 small clove garlic, minced
2 tsp. parsley, crushed
1/4 tsp. sea salt

Garlic Butter Brush On
~ great to brush on veggies or to make garlic toast
1 small garlic clove, minced
1/4 tsp. sea salt

Chive Tarragon Brush On~ great on red meat and veggies!
2 Tbsp. chives, finely chopped
1/2 tsp. dried tarragon, crushed
2 Tbsp. parsley, snipped

Thyme Grilled Vegetable go back to my 12/18 blog post for this one

Happy Day,
Jean

Organizational Tips and Recipes for Herb Salts And Dry Mixes!

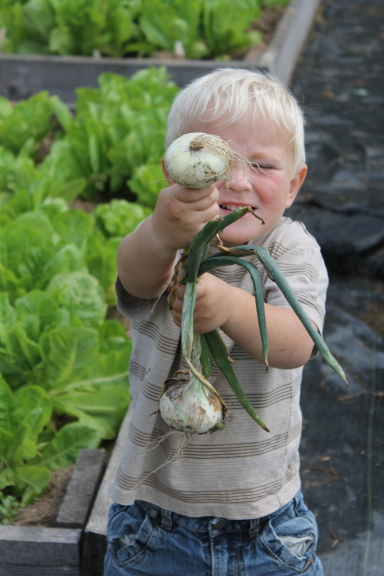
I love reading anything on organization! I am a firm believer of everything has a place and everything in it’s place.  In my home I up against seven other individuals. Now when I say ‘up against’ I don’t mean that in necessarily a bad way for the most part… I just mean not all members of my household have the same instinct as I do… so I work hard at trying to instill this quality, especially in my children… unfortunately it’s too late for my other half(can’t teach an old dog new tricks, LOL)!  He was not taught this art in anyway shape or form… he does try to some degree, but it’s not his nature. Anyway, some of my children have grabbed hold onto it and some, shall I say are a work in progress! A few things that drive me crazy are when the kitchen cupboard doors are left open… I just cannot understand why they don’t close as easily as they opened… sigh! … or why the dirty clothes land beside the hamper, but not in… sigh!  Well, as my one dear friend always tells me… ‘Line upon line… precept upon precept!’ So I trudge on!  Really I don’t mind it all too much because I do love to get things organized and re-do stuff. Anytime I am in the check out line and there appears a new organizing or storage magazine, they just seem to find there way into my cart! Praise the Lord for constant inspiration!  Last week I spent the morning ‘gutting’ out and cleaning the boys room… unbelievable is all I can say!  I do this about four times a year and it never ceases to amaze me what accumulates in that room!  Anyway, Ryan helped me and we got the job done… again!  He say’s to me, “I just love when you clean our room and it looks so nice!”  I just looked at him and said, “Why don’t you keep it this way?”… of course it was the other brothers fault… sigh!  I am going to touch on room by room organization tips over the next few blogs.  A lot of the info will be taken and adapted from my favorite book, “Sink Reflections”, by Marla Cilley- The FlyLady.  So here are some great tips that I believe can work in any home that has these little blessings (A.K.A. children)or not, along with references on some books that I have repeatedly referenced over the years… and of course some recipes!  Have a great day friends!

Room by Room Organization Tips…. Today we will focus on the Bed & Bath rooms… read on next time for Kitchen and Pantry!  Most of the info will be adapted from Sink Reflections.  The ‘FlyLady” as she likes to be referred to (she is a fly fishing instructor as well as an organizational wizard), has several “buzz” words that she refers to often in the book. I will briefly discuss a few here so when I use them you won’t be wondering what in the world I am talking about. The ones I took hold of primarily were~ Walk Through’s, Hot Spots, as well as her ‘Control Journal’.  I will first discuss the Control Journal… I am sure you are surprised by that!
I have followed this book to a tee and it really works… even with less than willing housemates! 

*The Control Journal… in basic terms allows you to write down just what you want done in each room of the house, list’s your schedules, can be a day planner, can hold inspirational pieces or anything else you want to keep in it.  It can be as basic or complex as you the designer want it to be.  I of course like it right down to the nitty gritty of things.  Marla explains how to take your notebook/journal and walk through or sit in each room and write down everything you ‘see’ that needs to be done as well as the frequency you want the tasks done. You can keep the tasks in a calender format~ for example, some chores get done seasonally- Spring & Fall cleaning- wash walls & ceilings; monthly- washing the curtains; weekly- strip & wash the bedding;  several times in a week- laundry; daily- vacuuming the carpets, taking out the trash; several times in a day- washing dishes or sweeping the floors and so on.  You can make it as detailed or not as you desire.  I found it very helpful for the children to be very detailed… this helped them to completely understand their jobs and what was expected of them.
I loved this aspect of her program because I love to journal and see what is happening!  The journal can give specific details as to what happens in each room.  For instance when cleaning the living room~ dust from the top down~ around ceiling line, pictures on walls, book shelf, lamp shades, finally the furniture, wash windows and dust ledges, pick up under furniture, and finally vacuum. Presto room done! 

*The Walk Through... I use this term every single day!  When I ask one of the children to do a walk through they fully understand that I mean they need to go through the room and pick up everything that is out of place, put it in it’s proper place and then vacuum.  This term has become second nature to all of them and it works well even with little ones.

*Hot Spot
is another buzz word that Marla discusses… we all have them whether we want to admit it or not.  In layman’s terms these are those spots in our homes that when someone walks in what ever they have in their hands instantly gets dropped on/in that spot.  For us it’s the bar top counter and on the counter right beside the fridge.  For my darling daughter it is MY DESK!  Anything and everything that is paper gets dumped onto my desk! I understand her motivation… she doesn’t know what I want to keep and what I want to pitch… so it goes on mom’s desk and mom can keep or pitch… so I guess that is OK. Anyway, every home has them… and Marla gives great tips on how to get rid of them… although I have to say ours don’t get as bad as they use to, but we still have them!
… so moving on, here are tips from my home to yours!
*Bedroom…  There are a few tricks that I use in all the bedrooms of my home…
~Plastic totes– in one of our boys room they have a built in wall closet, so I don’t really need a dresser for them.  Although to keep things neat & tidy each boy has two totes: one for socks & underwear and one for their church socks, shoes & belt.  On the bottom of the closet they have a little shelf that holds their pants and jammies.  All their shirts and suits are hung on hangers.  When they work with the program, it is very neat & orderly.  Because they don’t have a dresser in their room I keep all their bedding in another dresser. 
~Books, toys and stuff are kept on shelves and in a desk.  The boys have a desk in their room where they can keep pen’s, crayons, scissors and the likes.  I like to use small pencil boxes for these items so they don’t get all over the place.  The boys books and magazines are kept on a shelf for easy access.  They have two drawers on the bottom of their closet where toys are kept along with ball cloves and cleats.
~Off Season  and Grow-Into Clothing are kept in plastic totes under the bed as well as on the shelf above their closet.  This way dust and bugs don’t have access and things can be kept in order of size and season.  I like to use clear totes that I can easily see into; I keep a note inside the tote as to the sizes so I don’t have to unfold and guess as I am looking for the next size of clothing.  This also makes it easier so I don’t have to drag out all of them and go through each one.  If you don’t like clear totes then list the items on a label and then using clear packing tape cover the whole label so it doesn’t get torn off or fade; put one on the top and two sides of the tote.  IF you have other children that will grow into those clothes be sure to mark accordingly who will use next.
~Knick-knacks and Collectables are kept on a small wall shelf and on top of their desk where they can be easily viewed and kept out of reach of the little boys! 
~For bedding I learned a really clever idea from a friend of mine for keeping sheets & matching pillowcases all together.  Simply fold your flat sheet in half lengthwise and then again and again until it is long and narrow… about 18″ wide; next fold the fitted sheet to be a square that will lay on the top sheet without hanging over- place at the one end of folded flat sheet; fold your pillow cases and lay on top of fitted sheet; next roll the fitted sheet and pillow cases up into the flat sheet until you have a nice, neat square… no more searching for matching bedding!  I keep all the bedding in my armoire in our bedroom.


*Bathroom… 
The bathroom can be a challenge or a delight… in my opinion what makes the difference is if it a small room with no storage or one that you can do cart wheels in (my personal dream bath…) anyway, I have a smallish bath with no storage other than under the small vanity and one small wall medicine cabinet.  On one of my shopping sprees I found a large floor plant stand at an antique shop and knew exactly what I would do with it… It is now mounted on the one available wall in the bathroom beside the tub and that is where I keep our towels.  I don’t like things to look cluttered, despite what Taylor says, and it has to be cute & neat… so I roll the towels and then put them on the two shelves. On the outside shelves I keep small baskets where extra bottles of shampoo, soap and such can be stored; I fold the smaller hand and wash towels and put those there as well. 
~Smaller toiletries, lotions, contact stuff, extra toothpaste,  and such are kept in the small medicine cabinet on the wall.  I try to keep Neil’s stuff on one, mine on another and other stuff on the third. 
~In the cabinet under the vanity I keep the cleaners in a plastic bucket, roll of paper towel and extra larger toiletries.  There is a space between the vanity and the wall where I keep a basket that holds the extra toilet paper.
~No bathroom would be complete without reading material so that gets put in another basket that sits beside the toilet.

… these are just a few tips that I use in my home, but be sure to go to the FlyLady’s web site at www.flylady.net to see more great tips!

References:
“Sink Reflections”, by Marla Cilley- The FlyLady, Published by Bantam Books, 2002  www.flylady.net
“Sidetracked Home Executives”, by Pam Young and Peggy Jones, Published by Time Warner Books, 1977
“The 15 Minute Organizer”, by Emilie Barnes, Published by Harvest House Publishers

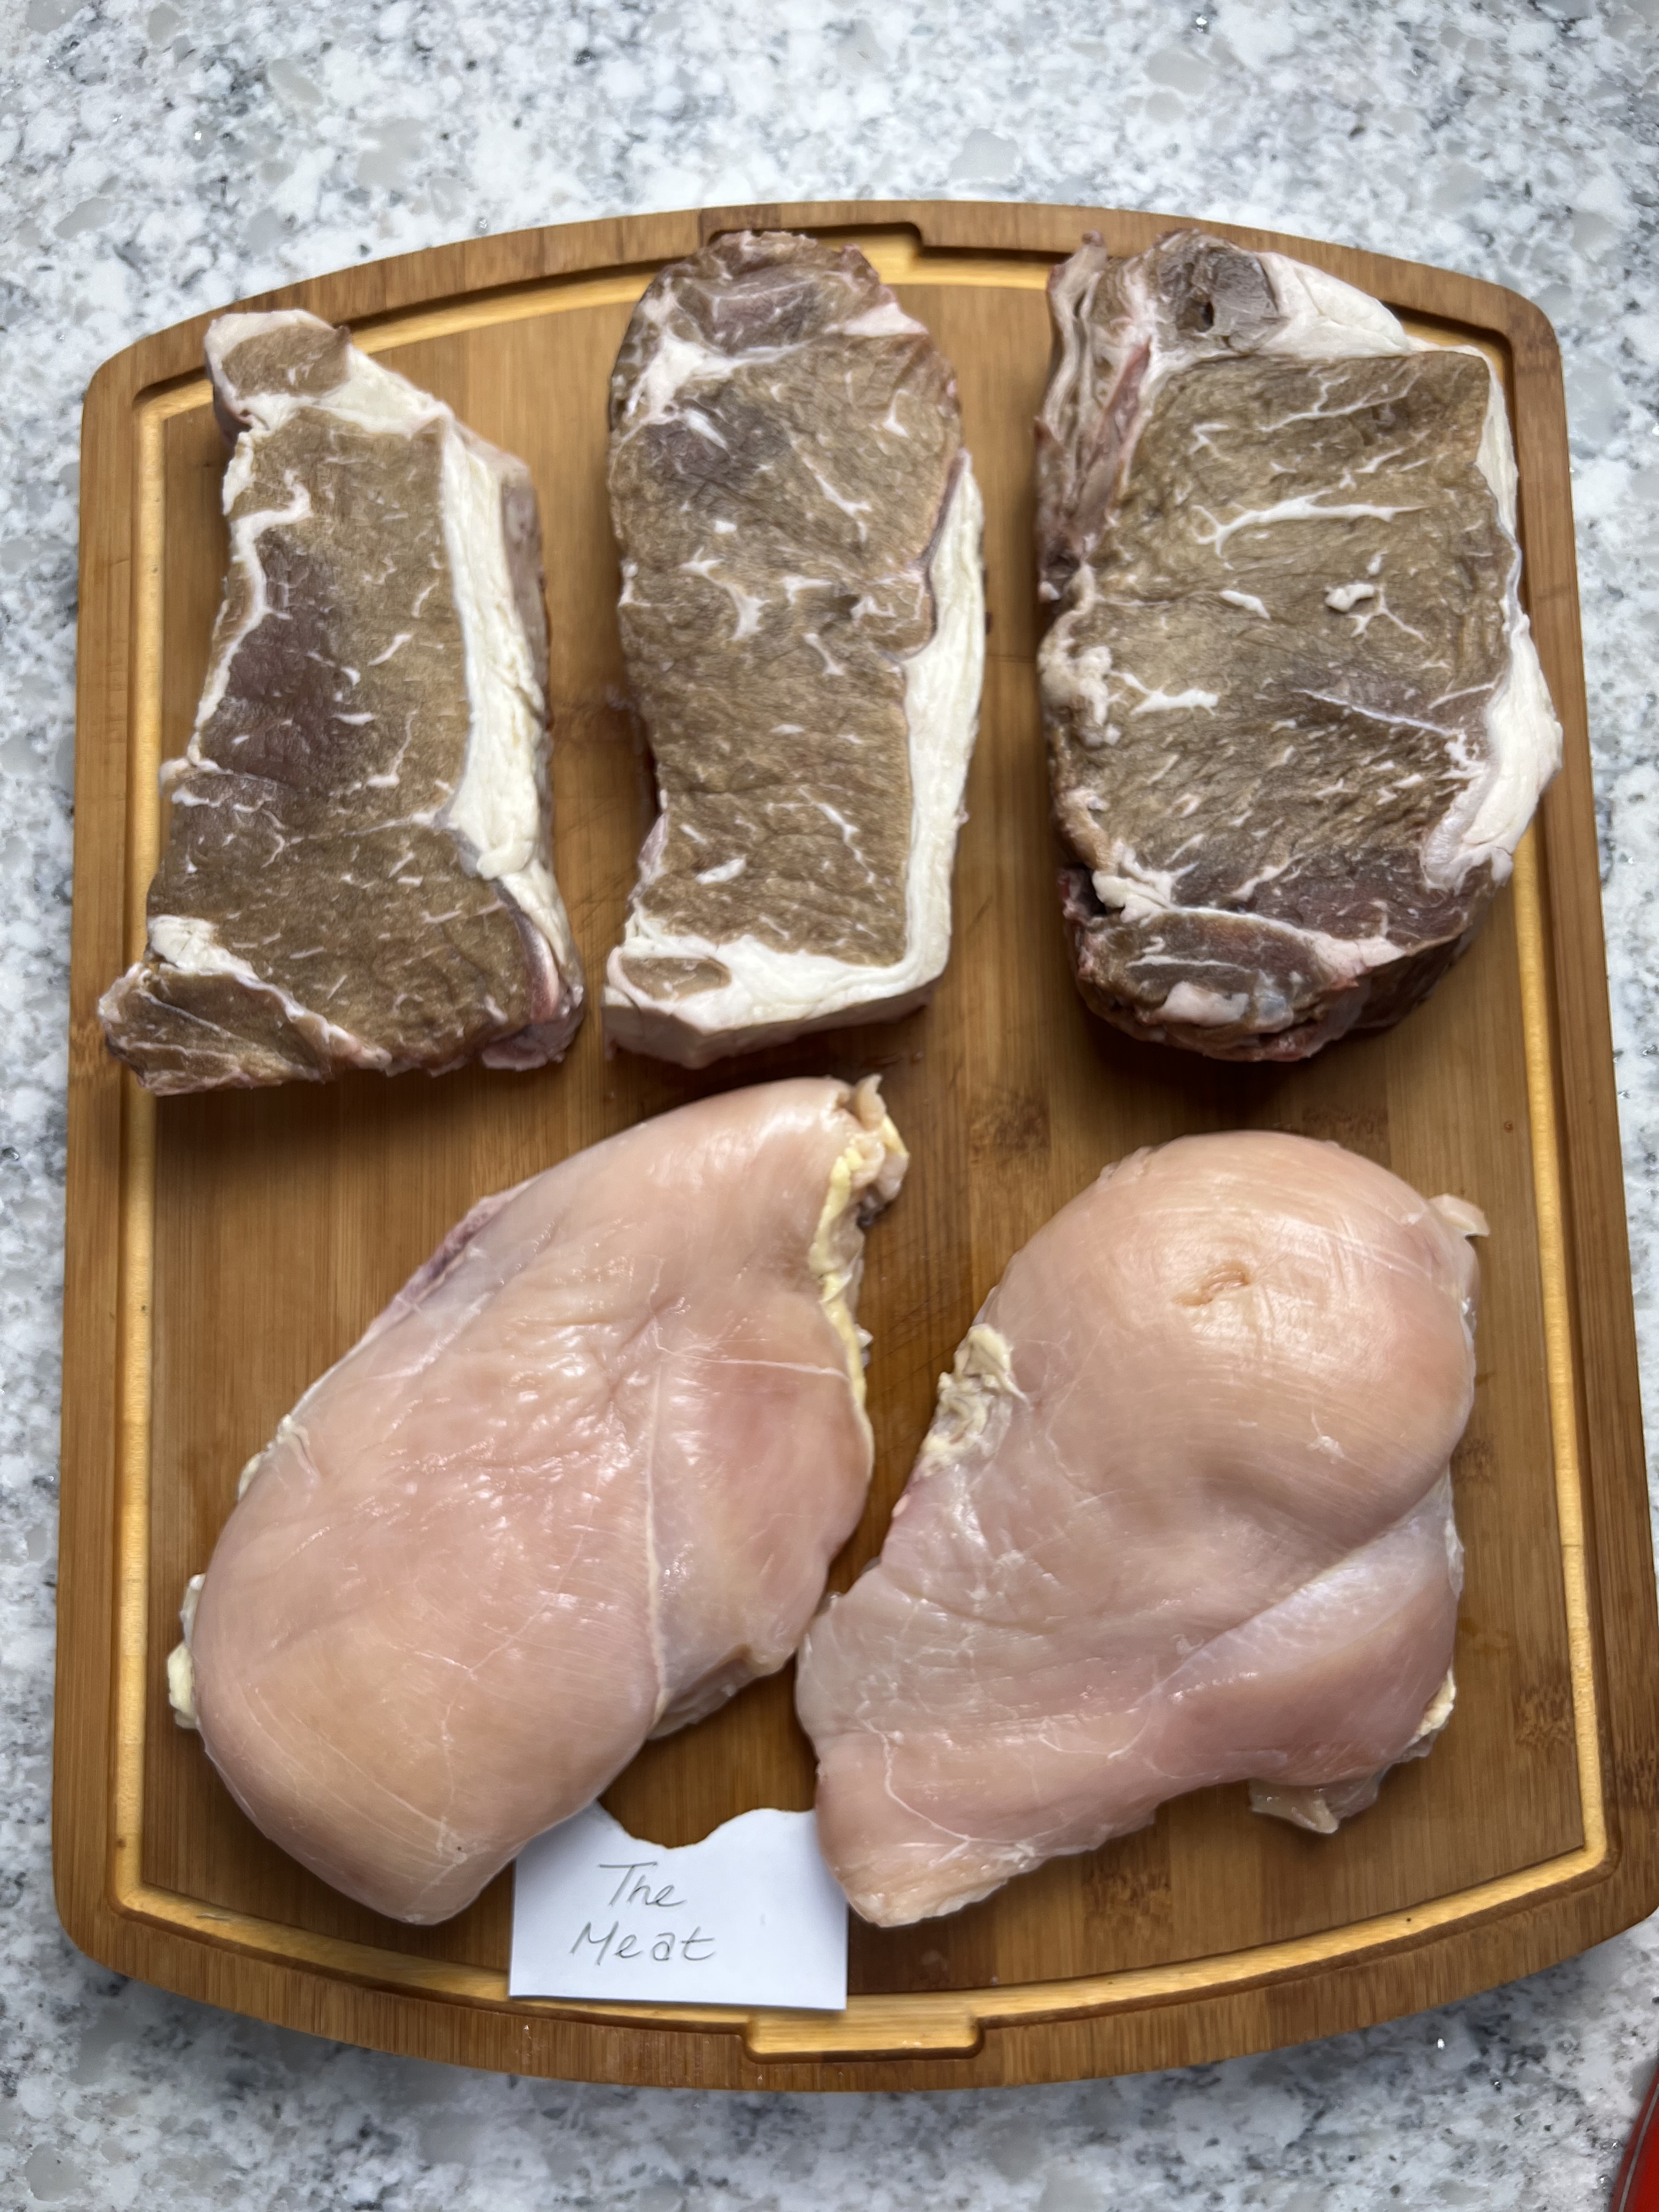
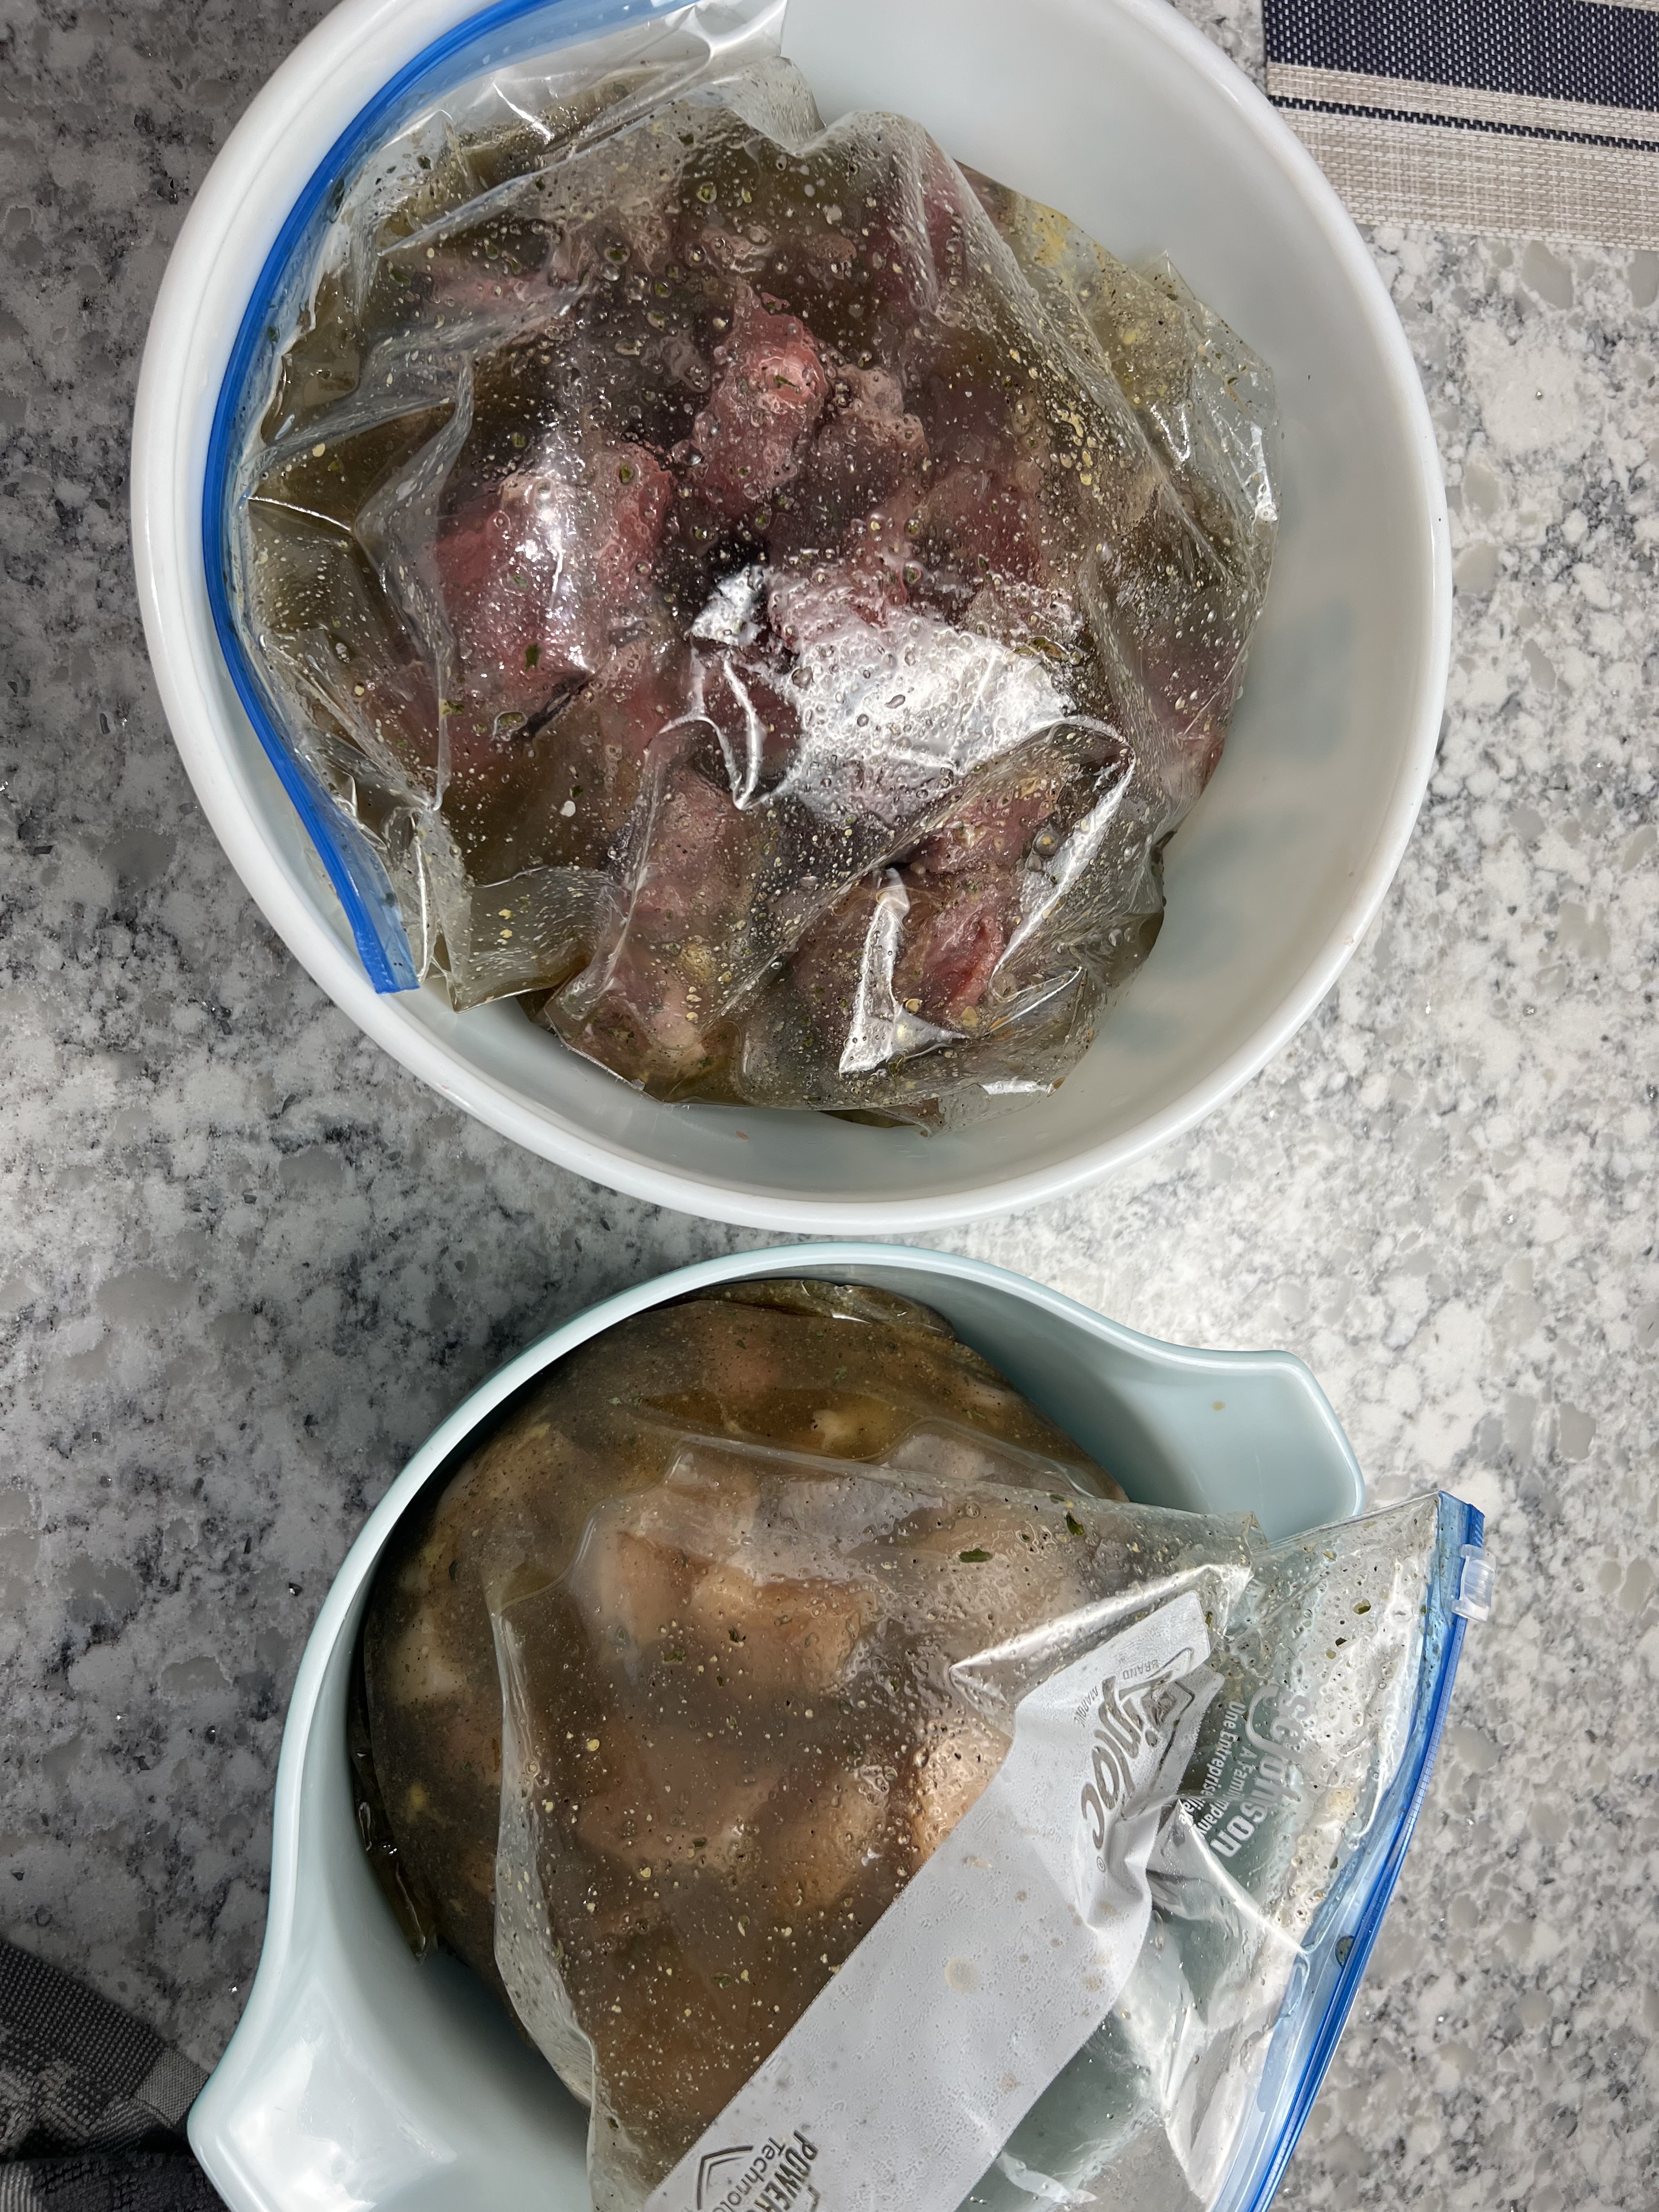
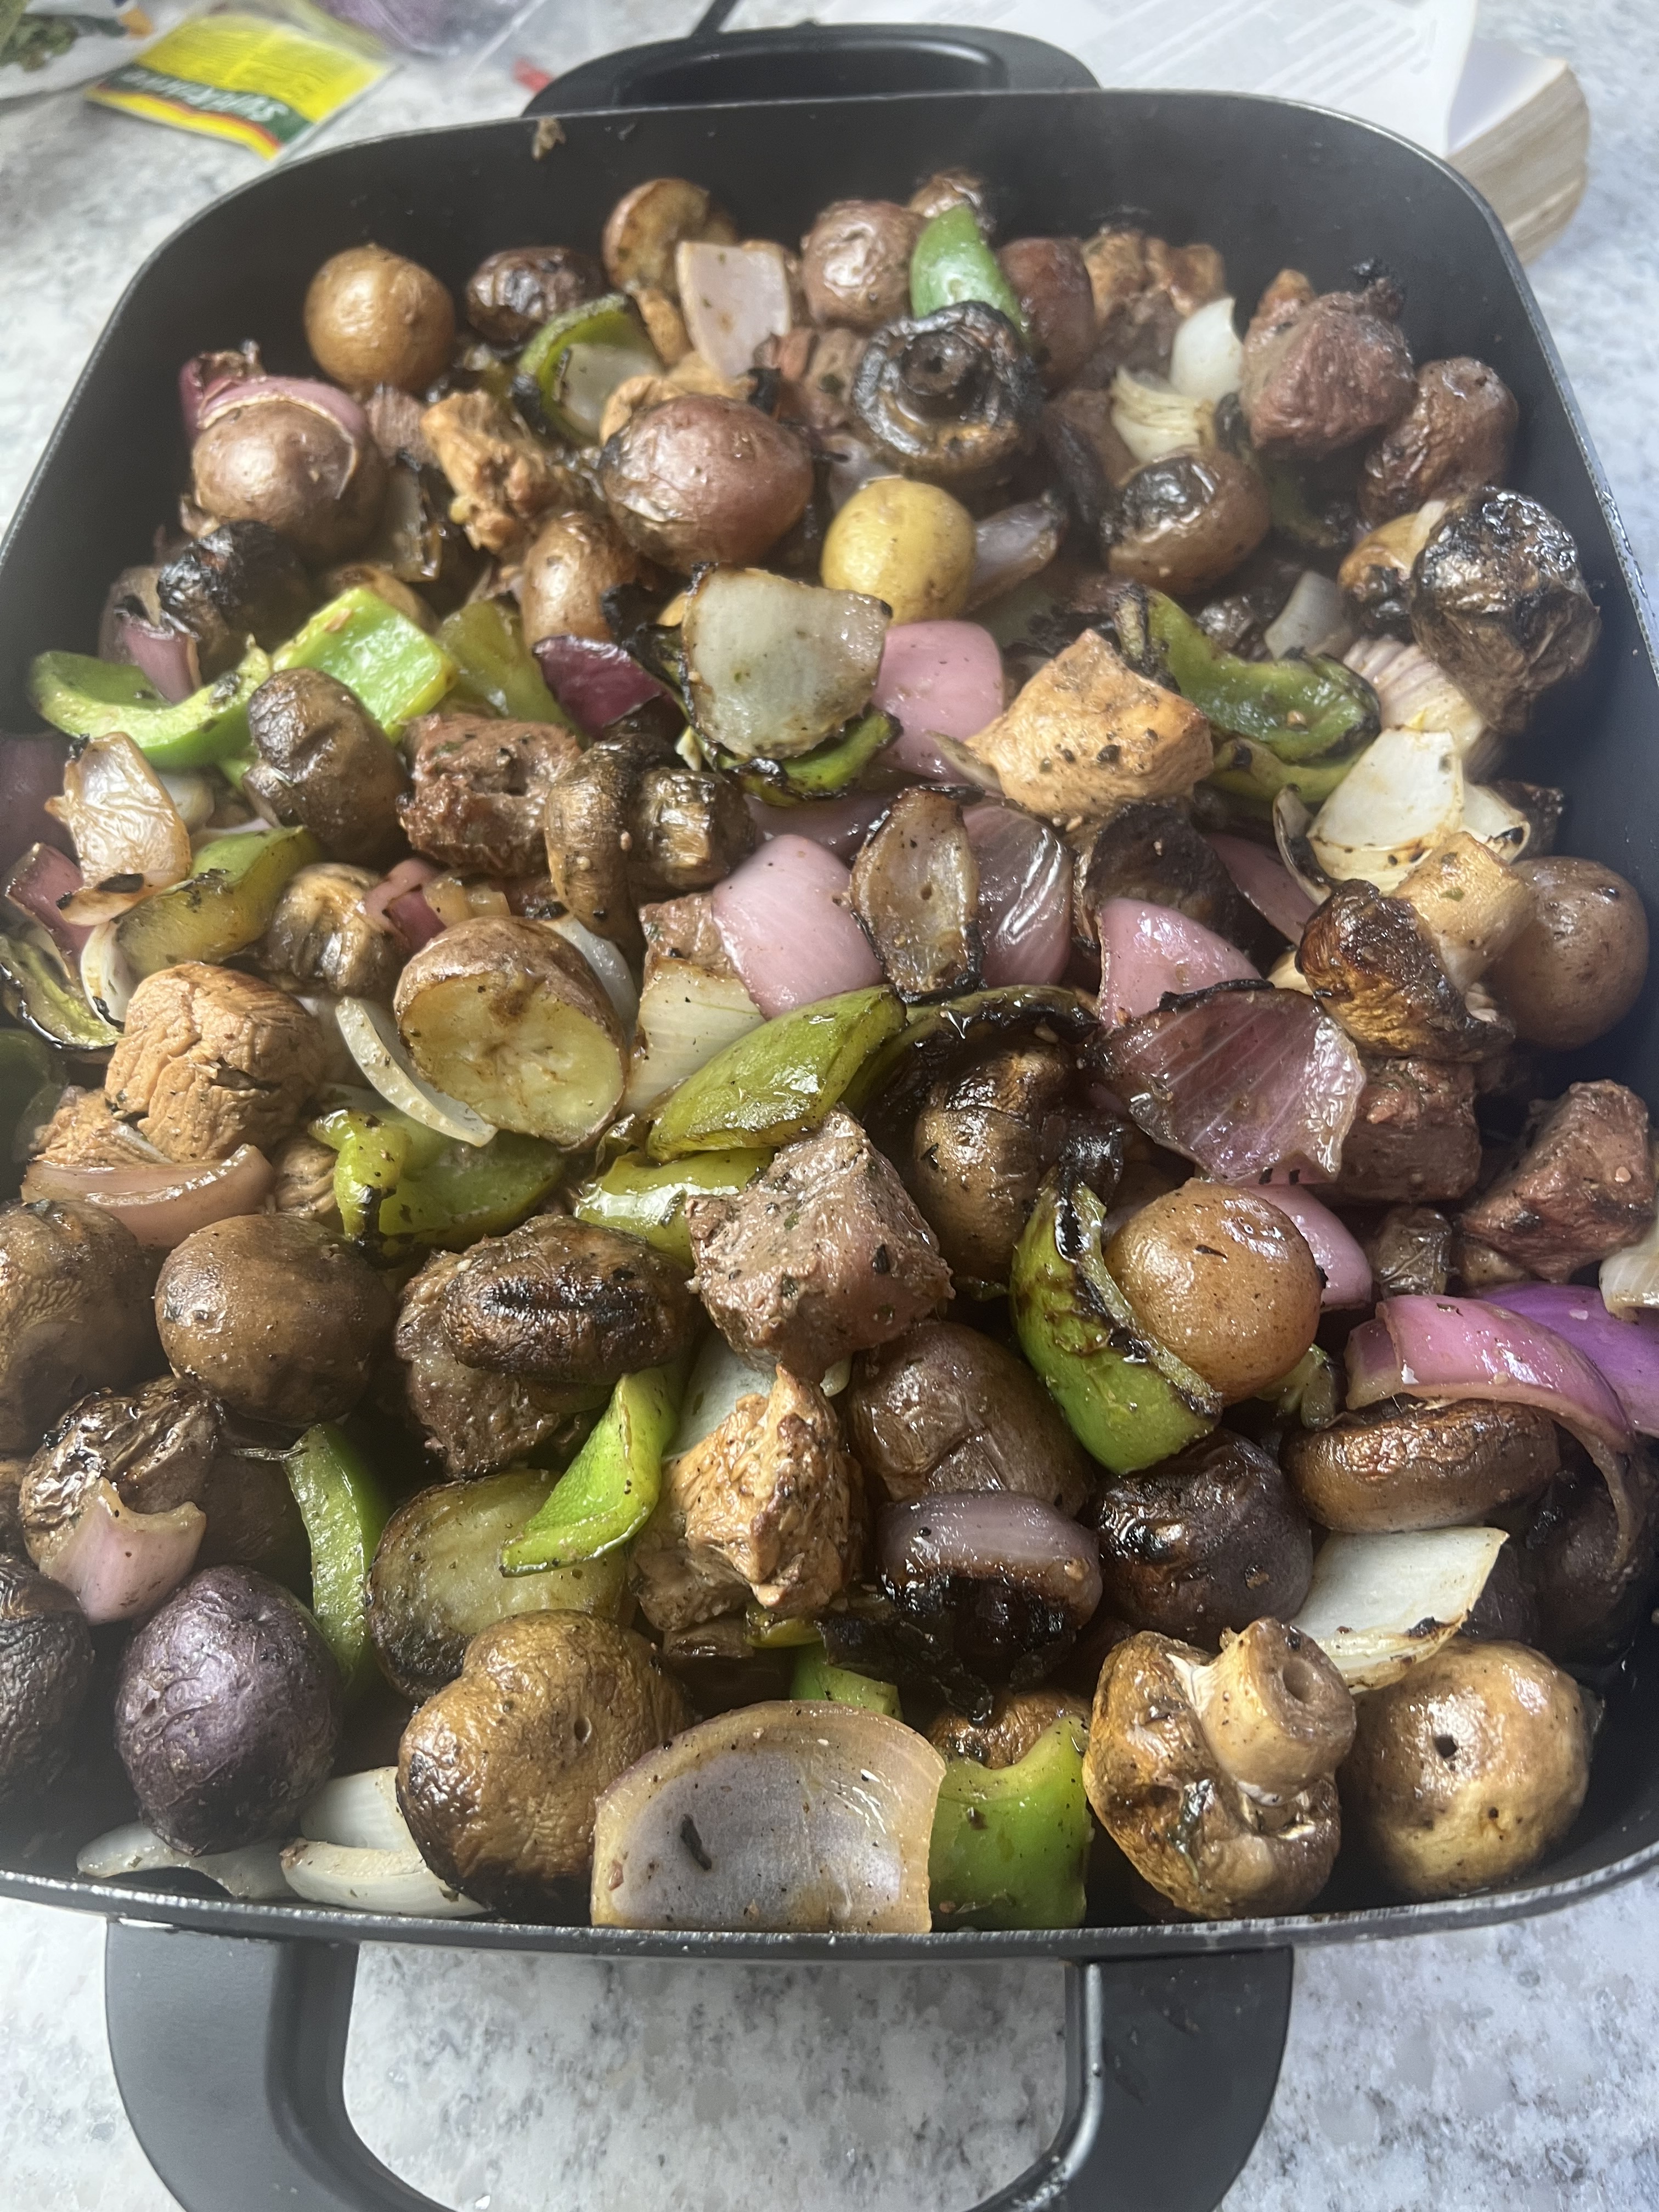
Try these great mixes for grilling!

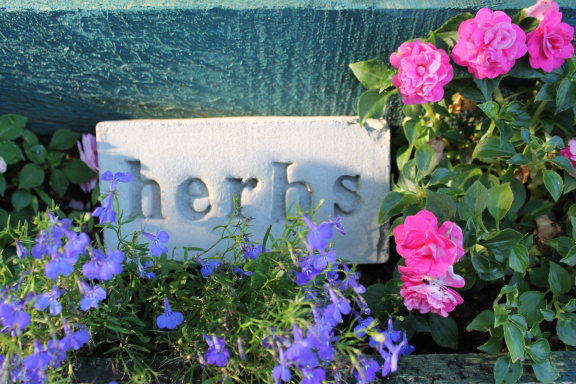
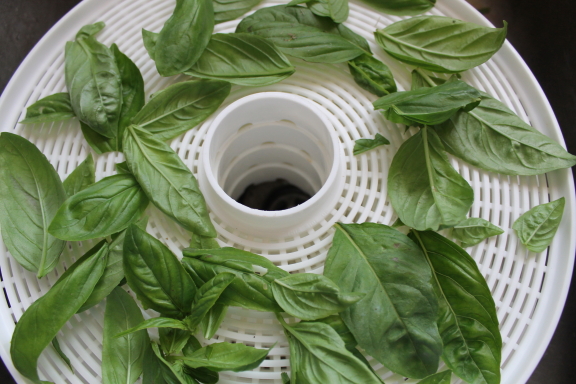
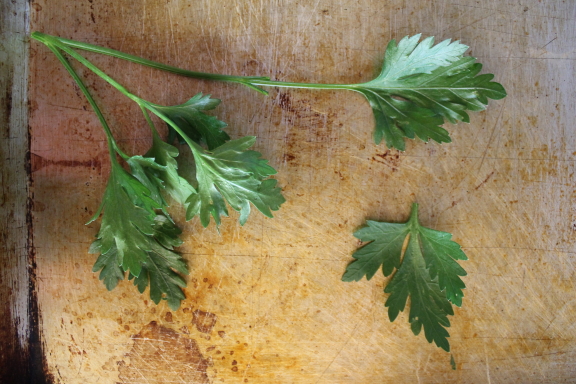
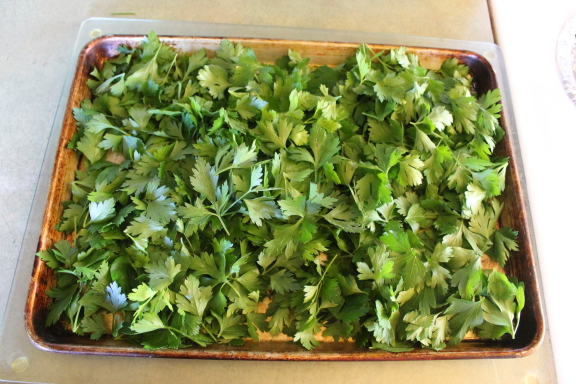
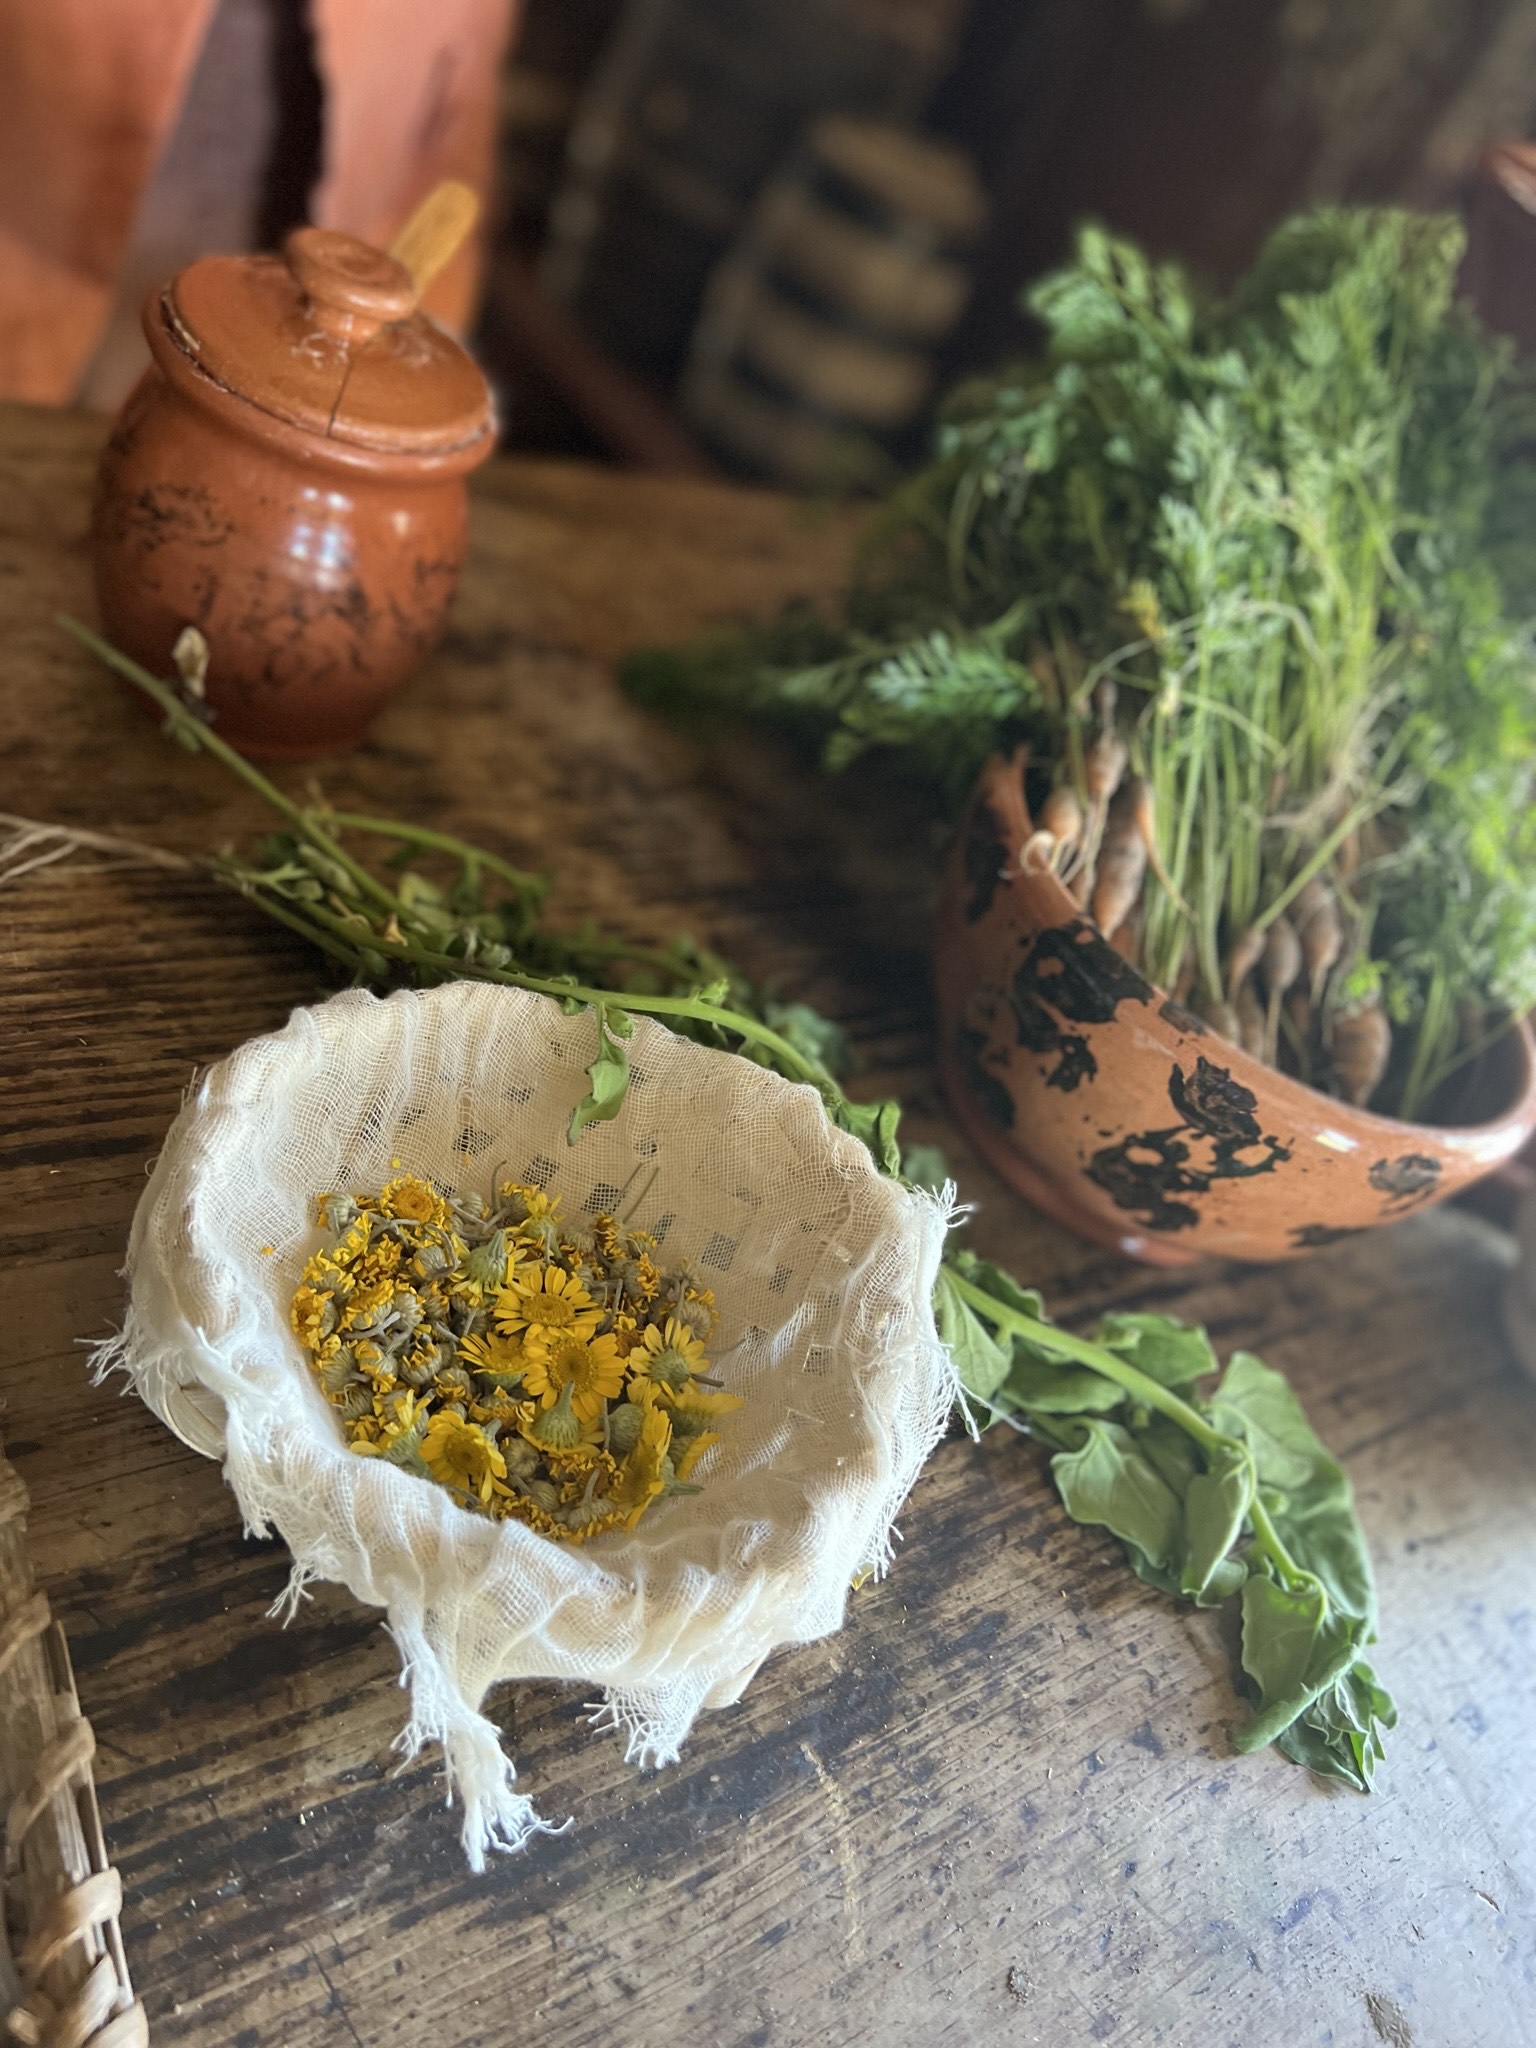
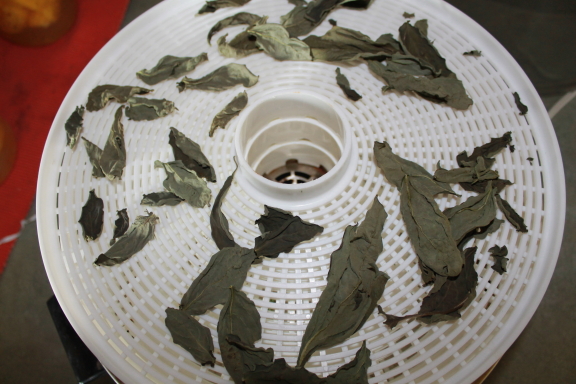
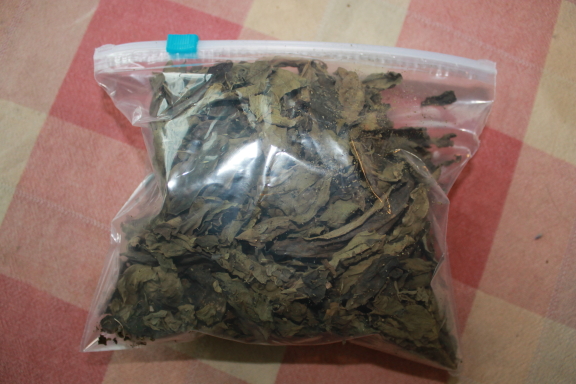
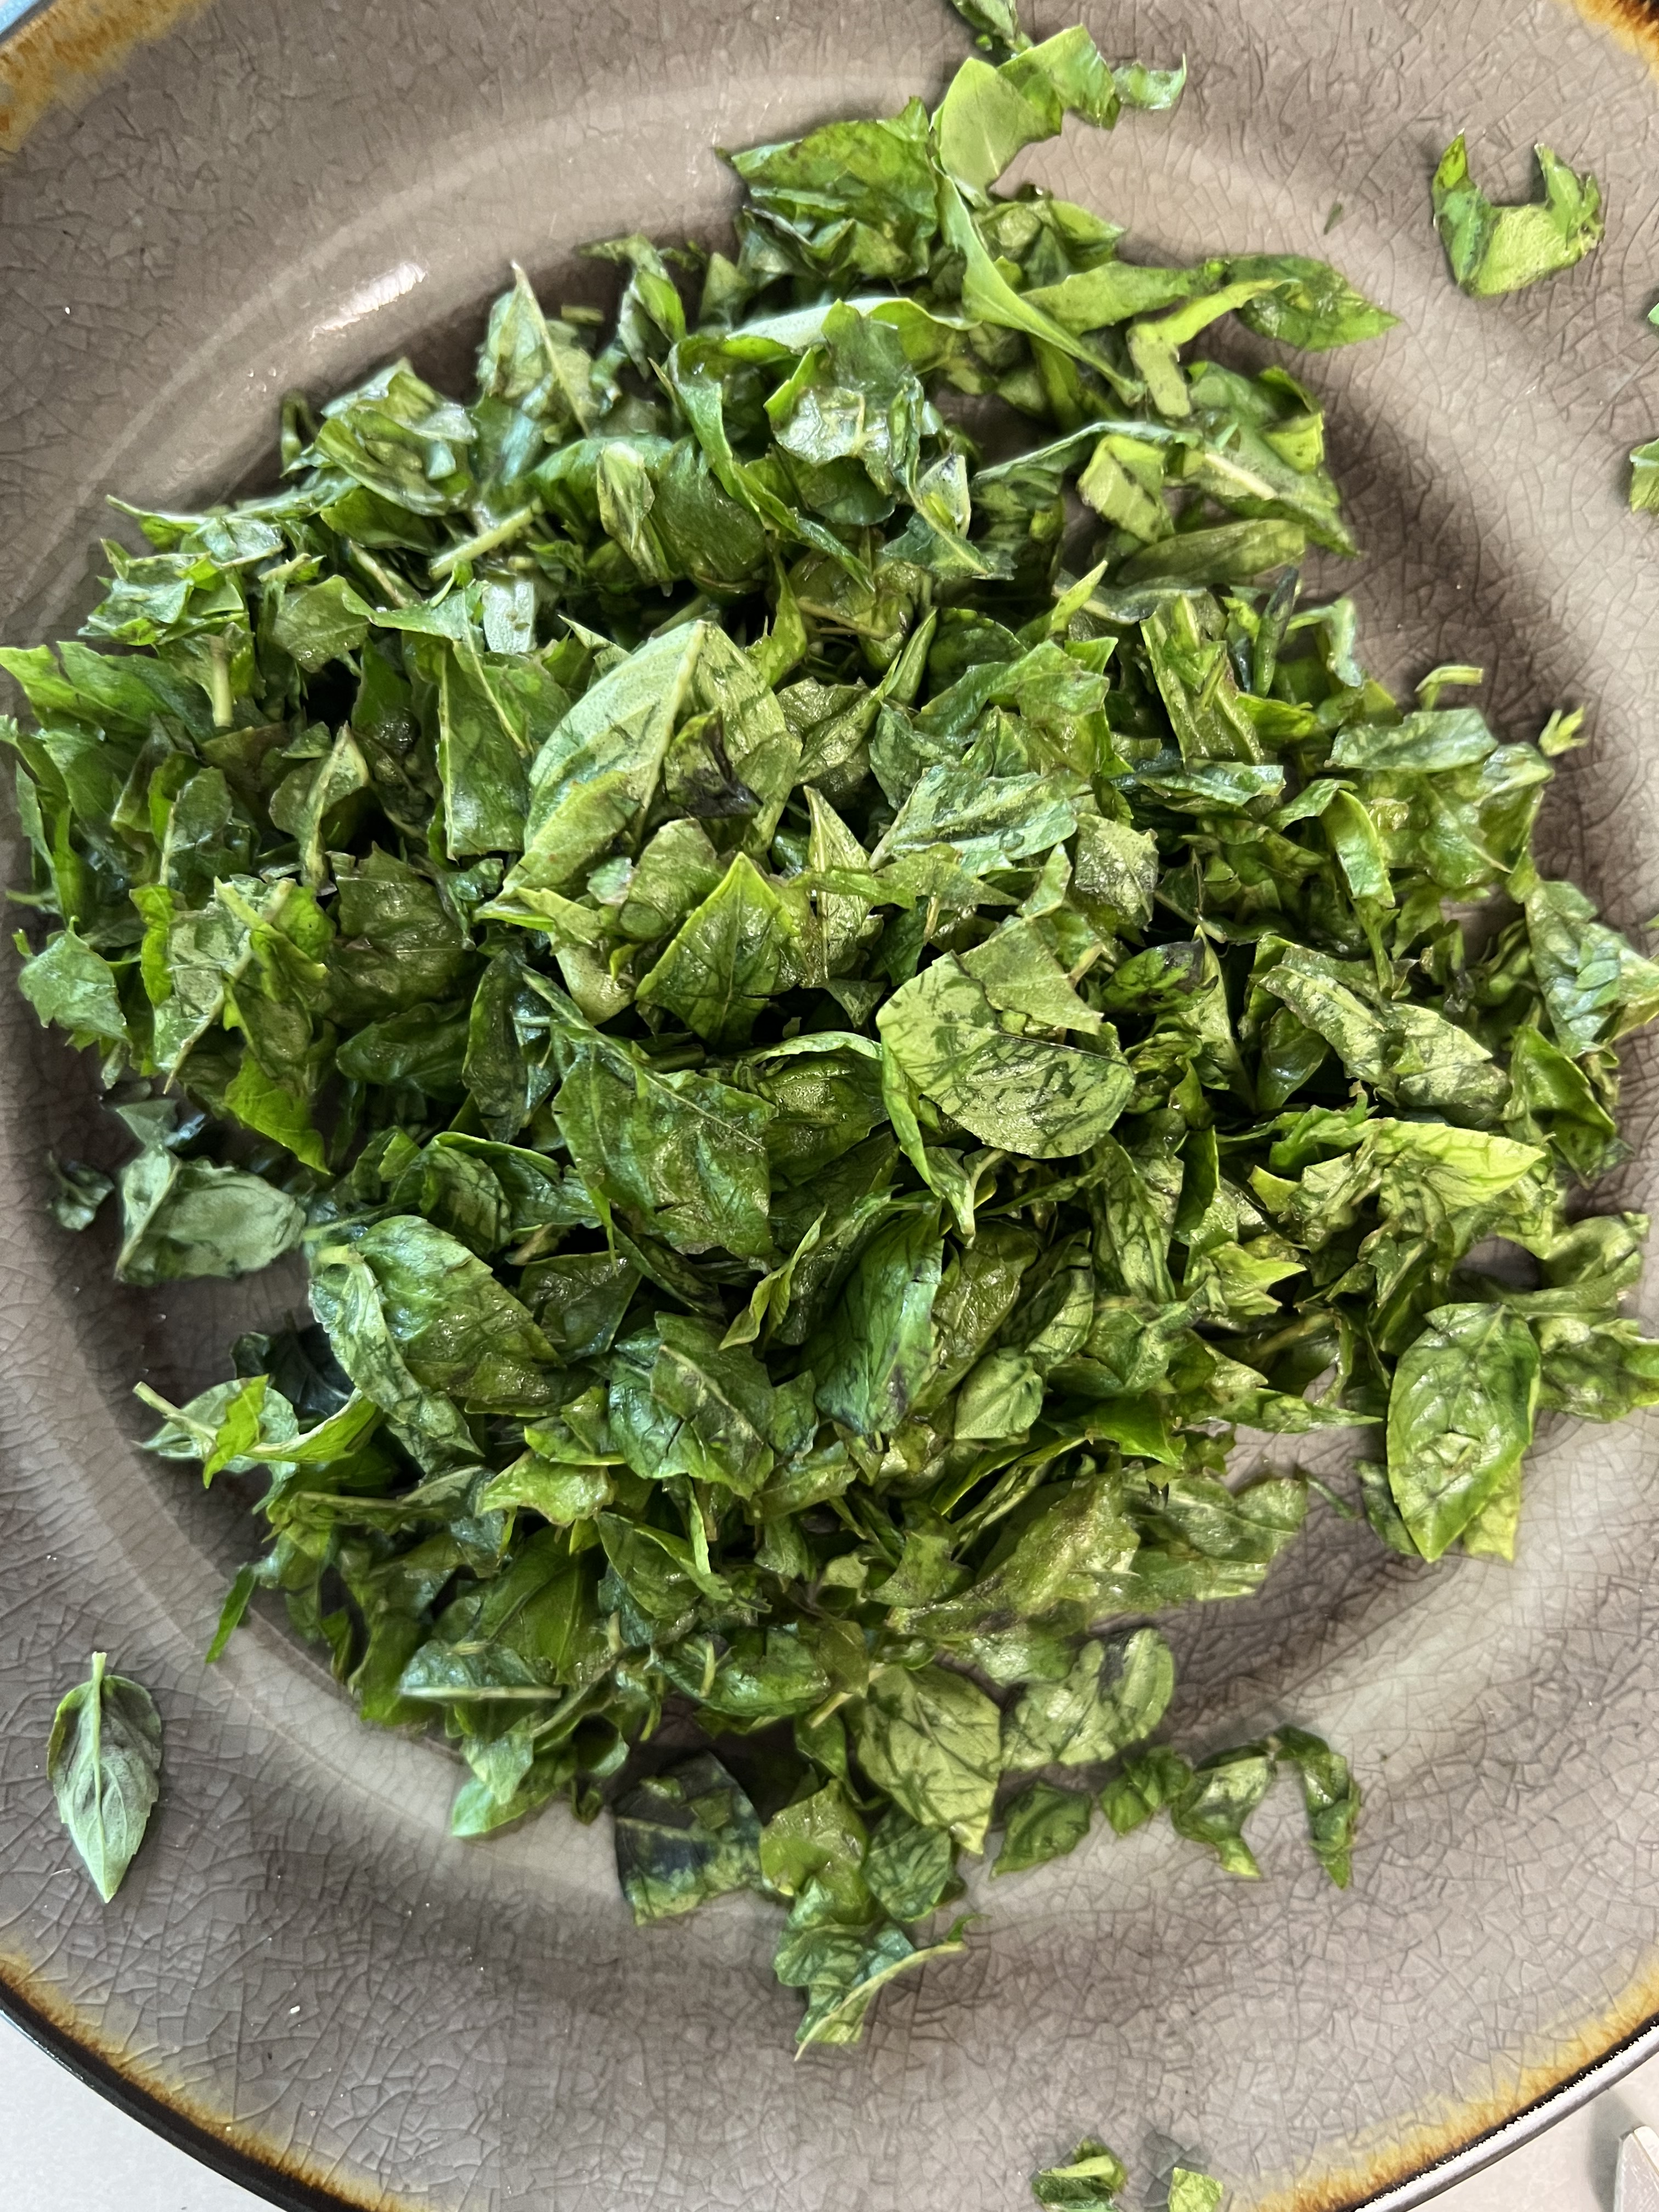
Summer in her beautiful bounty is giving us lots of wonderful things.  In previous blog’s I have explained how to dry and use herbs that you have grown or bought… Here are some yummy mixes, salts and salt-less recipes!  Enjoy…

Garden Herb Dry Mix

*This dry mix is great sprinkled on burger patties before grilling and really adds something special to ground beef when fried!

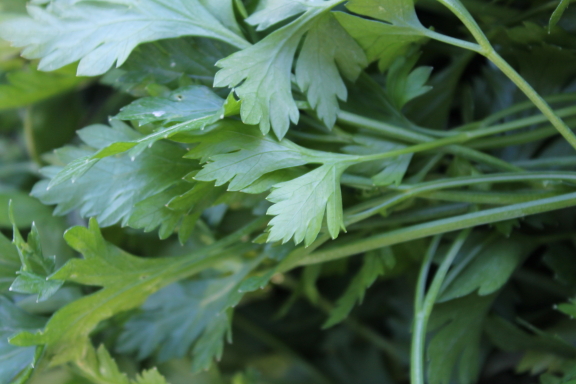
1/2 cup parsley, dried & crumbled
1 cup Chervil, dried & crumbled
1/2 cup chives, dried & crumbled
1/2 cup tarragon, dried & crumbled
2 Tbsp. sea salt
Combine all in bowl and store in an airtight container; shake before using, contents will probably settle.

Herb Salt’s
If you are trying to watch your salt intake, here a some great salt substitutes that the whole family will enjoy and not miss the salt!

5 tsp. onion powder
1 Tbsp. garlic powder
1 Tbsp. paprika
1 tsp. thyme
1/2 tsp. celery salt
1/4 tsp. pepper
Combine all and store in an airtight container.  Great on fish & chicken!

1 Tbsp. garlic powder
5 tsp. onion powder
1 tsp. parsley
1 tsp. basil
1 tsp. oregano
1/4 tsp. pepper
Combine all and store in an airtight container.  Great in ground beef when making goulash!

… if your not watching your salt intake…
Basic Herb Salt
1 cup sea salt
1 Tbsp. pepper
2 Tbsp. rosemary
2 Tbsp. thyme
1/4 cup parsley
2 Tbsp. tarragon
2 Tbsp. dill week
2 Tbsp. paprika
1/4 cup basil
Blend together in a food processor; store in an airtight container.  Great for grilling or putting on pork or beef roasts!

Happy Day,
Jean

Bringing Children In The Garden & Yummy Veggies On The Grill!

“Any garden demands as much of its maker as he has to give.  but I do not need to tell you, if you are a gardener, that no other undertaking will give as great a return for the amount of effort put into it.”  Elizabeth Lawrence, 1904-1985, Gardening For Love.
I absolutely cherish the moments that I get to be in the garden with our children.  It is quality time that I feel will make a lasting impression on their lives and hopefully create memories for them of special moments with mom teaching them about how God makes all this great stuff happen!  I love to see them planting seeds, transplanting a tomato plant in the garden, tilling up the good earth and feeling that soft, rich soil squish between their toes!  My children love to feel that they have their own little space in the garden, to grow the things that interest them, to experiment and to harvest what they tended.  It can be a challenge sometimes to include them.  It is often just easier to do it ourselves and just getting it done.  It will usually add on some minutes, well maybe even hours, with the little helpers involved! But what memories you will make, what happiness will beam in their eyes when they pull out that carrot from the seed ‘they’ planted. That smile, that gleam in the eye is worth more than all the saved minutes of just doing it our self.  I love everything about gardening… yes even the back wrenching weeding & hoeing, the sun burnt back of my neck and the stiff arms… I love gardening!  
Here are some fun ideas to incorporate your children into your gardening ‘thyme’ 🙂 !
Gardening With Your Children~ 

*Be sure to have child size tools for the little folks. You can purchase such items at just about any store that sells gardening supplies.  Make them responsible for their tools- to put them back, keep them clean, and be careful when using. Add a name plaque where their tools belong in the potting shed or garage, make them feel special.
*Keeping them interested is another challenge, especially with the ones that aren’t that interested.  Allow them to choose what they would like to grow.  Some suggestions would be giant sunflowers, pumpkins, decorative gourds or root crops. Radishes and lettuce are quick growers and can be ‘encouraging’ to the one that needs a little boost in interest. They are also available in multiple colors and sizes and can really encourage interest.   If you choose a root crop I would suggest using some fun Heirloom things.  Carrots for instance offer a multitude of shapes and colors, from Cosmic Purple to Lunar White and every shade of orange in between.  Potatoes are also a fun crop.  You can purchase red, white and even blue potatoes.  Watch their eyes light up when they dig those potatoes. 
*If you don’t have a spot for a garden, let them Container Garden.  You can use anything~ some fun things for the little people would be a wagon planted with some pansies, an old shoe with some Hen’s & Chicks or any type of pot. They can plant herbs, flowers or veggies.  Go back to my blog on Container Gardens in the archives to get more great ideas.
*Also in the archives you will find the blog with the Sunflower House so your child/ren can create a secret room or play house. 
*Plant a cucumber plant; once the plant starts to form flowers it will not take long for it to start changing into a cucumber; once the cucumber is still small enough to fit into the hole of a 20oz. or so plastic bottle, carefully insert the cucumber into the hole.  Make sure the bottle is clear; once the cucumber ‘fills’ the bottle, pluck it off the plant and carefully cut the bottle off! Presto, a bottle shaped cucumber.  This would work with many types of veggies, try out a few and use different containers to make multiple shapes.
*If you grow a pumpkin plant, once the pumpkin is about 6 inches across, carefully scratch the child’s name and a silly face into the skin being careful not to puncture.  Over time as it grows, the drawing will grow right along with it!
*With a stick, trace the child’s name into the soil in a planting area; sprinkle lettuce, radish or carrot seed in the name. Watch it grow! 
*Be sure to take tons of pictures of your child in the garden and even photograph the planting, growing and harvesting process so those precious memories will not be forgotten.

Veggies On The Grill

As I have mentioned often, we love to grill and it is grilling season.  I will probably be giving lots of grill time recipe’s so if you don’t have a grill, now’s the time to get one!

4-6 large red skin potatoes from The Garden Gate Farm, washed & cut into chunks with skins on
1 yellow onion from Garden Gate, cut into slivers
1 clove of garlic from Garden Gate, minced
1 cup spinach leaves from Garden Gate, washed & trimmed into bite size pieces
1 cup of Heirloom Cherry Tomatoes from Garden Gate
1 medium yellow squash from Garden Gate, sliced 1/4 inch thick
1 tsp. Matt’s Mix Seasoning Salt
1/4 cup fresh Thyme from The Garden Gate
2 Tbsp. Olive Oil
3 Tbsp. butter, diced
piece of foil wrap large enough to hold all ingredients and be folded over and sealed on top and sides.

1. In foil place all veggies; sprinkle evenly over top with seasoning and herb; drizzle Olive oil over top; put dobs of butter evenly dispersed over all.
2. Fold over the foil across the top and sides so it doesn’t leak.
3. Place on top rack of grill and let cook about 45minutes to an hour. 

This goes great with any type of meat, so grill some awesome T-bones from Garden Gate to go along with it, and let your taste buds be taken to an all new level!

Happy Day,
Jean
 

Preserving Spring Herbs, Grilling Tips, Yummy Grilled Pizza

Our family loves to grill and it doesn’t matter the season. Neil as well as the boys get the grill fired up winter, spring, summer and fall~ it is respecter of no season!  The only difference is the location; in the warm days it’s on the patio, in the winter it’s in the garage.  When the warm days of spring roll around it is our daily companion for cooking! Neil won’t let me touch the grill~ we, the grill & I go back a long way. You see when Neil & I were dating there were two incidents that banished me from the grill side.  They now are quite funny. The first episode was when we were very newly dating.  We went to a park and Neil wanted to grill some steaks. It was a beautiful day and we were having a very nice afternoon. Neil had to use the restroom so asked me to take care of the grill. Well, I had never grilled before, but I wanted to help where I could, so of course I said yes. I don’t really know what happened but suddenly one of the steaks was on the ground. Horrified I quickly picked it up and put it back on the grill, dirt side down of course- Neil would never notice, surely it would cook off.  There comes Neil leisurely strolling back with all trust in his eyes having faith I had taken care of his steaks that he was quite hungry for.  Well, it didn’t take him long to realize once he flipped the steak that something went awry while he was gone.  I looked at him innocently and said it was a mistake and I was sure that it would cook off.  He was not so sure, so I said I would wash it off. It was quite windy that day, and while I took it to the ladies room and diligently washed it, the coals had died out… so in the end, the sea gulls got the steak.  I will tell the next story some other time…  

Beautiful Oregano in the Greenhouse!

*Preserving Spring Herbs…                                      
We use herbs a lot in our cooking and I am fortunate enough to have greenhouse’s and hoop houses to grow in year round.  I do realize that not everyone has this luxury so here are some tips on preserving herbs starting right in the spring when many of the perennial ones are popping up right now~ chives, oregano, sage and parsley would be the main ones right now for us living in Michigan and similar climates.
*The easiest way is to simply dry your herbs using a dehydrator;  baking on a cookie sheet in a 150 degree oven until dry- length of time depends on herb- don’t pile on the pan- just put in a single layer; you can also bunch and tie with rubber bands and hang upside down from drying racks, or rafters in the basement. Direct sunlight should be avoided. Parsley is the only one I don’t like to do this type of drying to- although I am not sure why, but it looses it’s color!  To store, keep in air tight glass jars or plastic containers.
*Freezing is also easy & fast- chives and parsley work best with this method.
*We love Pesto- make your recipe in big batch quantity and freeze in plastic containers, baby food jars or jelly jars. Remember to leave at least an inch head space when freezing!
*You can also pack 2 cups of any fresh culinary herb with 1/2 cup oil~ I would use safflower or canola- olive oil will leave a strong flavor- fill baby food jars, small plastic containers or jelly jars and freeze this way as well.  This works great when you want to baste on any meat, saute veggies or meat in, or brush on bread for brushetta, pizza crust or bread sticks.

Here are some grilling tips from Neil:

*If you love garlic like we do, try throwing a few fresh garlic cloves on the hot coals to add extra flavor to your goodies.
*Neil loves to smoke stuff~ if you want to wow your guests, try adding some hickory, apple wood or cherry wood chips or sawdust on the coals for an extra special treat. Make sure you soak the chips in water  for about hour before you are ready to put them on the coals; if using sawdust just get wet.
*If you are using charcoal, then keep a spray bottle with water to spray on the coals to keep temperature down so it doesn’t get too hot.
*Neil likes to brush the grill with some olive oil before putting the food on, this helps it to not stick.

Yummy Grilled Pizza!
Last summer we fell in love with grilling pizza! The children enjoyed it both in the way of having fun because they created their own masterpieces and it was absolutely delicious.  Here is my pizza crust recipe and some of our favorite toppings! 

Crust:
2 cups warm water
1 Tbsp. yeast
1 tsp. raw organic sugar
1 tsp. sea salt
1 Tbsp. olive oil
3-4 cups flour, plus some for dusting

Toppings:
shredded cheese
fresh Portobella mushrooms
sweet peppers
onions
bacon, ham, sausage, ground beef or chicken
pizza sauce, ranch dressing
tomatoes
… these are just some ideas, use your favorite toppings

1. In a large, mixing bowl add yeast to water and stir gently; add sugar, salt and olive oil, stir in gently until dissolved.
2. Add 2 cups of flour, mix in until well blended; add 1 more cup flour, mix in well; and the rest of flour in 1/4 cups at a time until the dough is soft and doesn’t stick to hands.  Add a bit more flour in until the dough feels right;  Knead dough for about 2-3 minutes until all flour is mixed in well.  Form into a ball and place in bowl, cover with kitchen towel and leave on the top of stove to rise until doubled, about 45 minutes.
3. While dough is rising get your toppings prepared.  Sauteing the veggies is best and making sure any raw meats are cooked.
4.When dough has risen, punch it down using your hands and knead a bit more into a ball again.  On a floured surface, cut the dough into 4 even sized pieces and roll out to about and 1/2 inch thick. The dough should be thicker so it doesn’t fall apart on the grill.
5. Brush the dough with Olive Oil and put on heated grill; grill on one side for about 2-3 minutes, checking to be sure it doesn’t burn; when the one side is done, remove from grill onto a cookie sheet, cooked side up; put your toppings on the cooked side; sauce, cheese, meat & veggies and add a bit more cheese; return to the grill to finish grilling- about 2-3 more minutes; put lid on for about the last minute to help melt the cheese.
Remove from grill and have your feast!  

Happy Day,
Jean