Gardening 101 Day 18 Part 2~ How to Create a Vegetable Container Garden YOUTUBE VIDEO

“I love things that are indescribable, like the taste of an avocado or the smell of a gardenia. ” Barbra Streisand

Welcome to Day 18 of my Gardening 101 Part 2 on how-to create a container garden. In Part 1 I discussed how to create an herb container garden, today let’s look at how to incorporate veggies into containers. 

Many of the elements will be similar, especially in the types of containers, making this post a bit shorter. If you missed Part 1, just jump on over for an informative recap!

If you are a novice gardener you may be wondering how you can grow veggies in containers. You may be an experienced gardener who is considering the option of moving your veggies from a standard tillable garden to downsize or just utilize space more effectively. 

If you are a novice gardener you may be wondering how you can grow veggies in containers. You may be an experienced gardener who is considering the option of moving your veggies from a standard tillable garden to downsize or just utilize space more effectively. 

If you’ve been eyeing up container gardening lately, then you’re probably wondering what it has to offer you. After all, growing in a garden doesn’t really work like that. As you all know I am a huge advocate for container and raised bed gardening. Raised beds are in reality just another form of containers, as I showed in Part 1. You can grow herbs and vegetables in a standard tillable garden, but that type of gardening takes so much more effort and planning. With container gardening, everything becomes simpler and more accessible than it is with other methods. 

If you missed my two part series on the benefits of raised bed gardening, click these links. Part 1 and Part 2.

Have you been wondering how to get started with a vegetable garden, or just want to be able to grow your own vegetables at home? Well, a vegetable container garden might be just the answer you’re looking for. A vegetable container garden is essentially an easy way to extend the space of your yard so you can grow plants more effectively. 

With this guide, I’ll be showing you everything you need to know about creating successful container gardens as well as the many benefits they have to offer. After reading through the following tips, you will understand why having a container garden is one of the best ways to enjoy fresh fruits and vegetables all year round.

If you enjoyed this blog, please LIKE, Follow, Share & leave me a comment! I love your feedback!

If you aren’t following me on Facebook & Instagram go on over & give a LIKE & Follow me for daily tips & tricks for your home & garden! 

Added bonus: You can go to my blog at http://www.fordragonfliesandme.com to purchase my original cookbook, Lovingly Seasoned Eats and Treats. The cookbook has almost 1000 recipes on almost 500 pages! Check out the Cookbook Testimonials while you’re there!

Until next time remember to,
Eat fresh, shop local & have a happy day,

Jean

Copyright Policy

All text and images on this site are copyright of For Dragonflies And Me. Unless otherwise noted, you may not use this content.

Gardening 101 Day 15: How-to Host a Spring Perennial Plant Swap with 9 Simple Steps!

“Everything that slows us down and forces patience, everything that sets us back into the slow circles of nature, is a help. Gardening is an instrument of grace. ” May Sarton

Spring holds a promise for the newness of life! It’s when I look out and dream of new flower beds & anticipate the first crops springing up out of winter’s cold ground. As I scan the yard and realize all the work needing to be done at my new home, I admit… it can feel a bit overwhelming sometimes. Thankfully I have Dave & the boys, and we will get at it as soon as the nicer weather affords us the opportunity. I can’t wait to be able to spend time in my personal Eden. 

Now I want to get into today’s topic! Have you ever hosted a plant swap or exchange? Maybe you’ve participated in a local community? I have hosted my own, as well as organized several for the City I worked for. 

Hosting a spring or fall perennial plant swap is a great way to share and acquire new plants for your garden. It can be a fun and social event for you & your friends and family, or for your community.

Here are some tips & tricks and for my steps to help you plan and host a successful perennial plant swap.

Here’s my easy 9 Step how-to host a spring perennial plant swap!

Choose a date & time!

Plan the date and location of your plant swap. Spring is the perfect time to host a plant swap, as many plants are starting to grow and flourish. Choose a date that is convenient for your community, and find a location that is easily accessible and has plenty of space for attendees to set up their plants.

When choosing the date, take into consideration when most of your perennials are starting to pop out of the ground. You want them to be at least 6 to 12 inches high so they are mature enough to handle the transplant, but not too mature to go into a hard shock with transplant.

Mid to the end of April is an ideal time for a spring swap, and mid to the end of September is great for a fall swap. More on that coming 🙂

Let people know what’s going on… ADVERTISE!

Advertising your plant swap is essential for optimal attendance. The more people that know about your event, the more successful it will be, it’s that simple.

Posting in community or garden groups on social media is a great way to spread the word. If you have a budget advertising in your local newspapers is another great resource. Posting fliers on community bulletin boards also help to spread the word.

Utilizing an automated email platform such as MailChimp or Constant Contact is also a great way to promote your event if you have an email list from previous events.

PRO TIP: If you don’t have a budget, reach out to your local greenhouse and nursery, or even your hometown newspaper to sponsor the event. Offer them a spot to market their company at the event. Partnering with local businesses is a win win for everyone!

Set up a way for attendees to register!

Setting up a registration process is a great way for you the organizer to have an idea on how many people could potentially be attending your plant swap. It will also allow you to send out reminders.

Setting up a Facebook event is a great way to to do this. Another platform is Eventbrite is another great option.

Provide ideas on what to bring to swap!

Create a simple Q&A sheet for people on how and what attendees should bring, as well as how to prepare their transplants. I’ve share a list below you can feel free to use.

You want your plant swap to have a good selection of plants for attendees to choose from, so encourage people to bring a variety of perennials, including different types, sizes, and colors.

Perennial herbs are another great option for attendees to bring!

What about transplant containers?

I often save some of the pots I purchase my plants in each year for this very reason. You should advise your attendees to put the divisions in practical, temporary containers. These can include plastic or paper cups, tin cans, plastic containers such as the ones that salad mixes or cherry tomatoes come in, plastic plant pots/ terra-cotta pots or any other container you have handy. Just be sure to add drainage holes to water tight containers. 

What plant is this? It’s all in the details!

One of the key things you will need to inform your attendees to do is to clearly identify the plants they are bringing. The plant information including care, size, and whether they prefer sun or shade, and any other pertinent growing conditions required is very important.

Encourage all attendees to provide information cards or handouts for each plant they bring to swap.

Make it fun… invite a guest speaker, specialty vendors, local garden clubs, etc.!

You can create a fun and social atmosphere by incorporating some local groups including garden clubs & Master Gardeners. You can even host an informative garden talk!

Inviting specialty vendors can also add value for attendees! This can also add revenue to your event by charging vendors a small participation fee. A plant swap is a great opportunity for people to connect with others who share their passion for gardening. Encourage attendees to share their gardening experiences, tips and tricks, and to make new friends.

Uggg… what about the leftovers?

There will always be left over plants. You should have a plan on how to distribute them. Sadly, there will be some plants that don’t find a home. In order to ensure those plants don’t go to waste, be sure to advise all attendees what to do with them.

You can have the attendees who brought them be responsible to take them back You can also have a free pile where they are placed, and then other people who may not have wanted to trade for them, will want to take them for free. You can also make arrangements with a local school or community garden, or ask attendees to take them home with them.

Connections matter!

If this is a community event, you will want to be sure to have an email sign up sheet at your registration table.

This will allow you to follow up with attendees and thank them for their participation. Sending a thank you email to all attendees will help in enticing them for future events.

You can also create a Google Form survey to all of the attendees requesting feedback on the event. For example asking them what they enjoyed, and what they would like to see at future events.

It also provides you the opportunity to invite them to future events you may be hosting for the community.

Here are some additional helpful tips on how to divide, care for and prepare your transplants for the exchange:

*The best time to divide a plant is shortly after it emerges in spring.

*Try to divide the plants as close to the plant exchange date/time as possible.

*Loosen the soil around the plants perimeter and then use a sharp spade or knife to cut through the roots to divide.  Be sure to keep a large root clump with the plant to ensure successful transplanting.

*Put your divisions in practical, temporary containers: paper cups, disposable aluminum muffin cups, tin cans, plastic containers, plastic plant pots/ terra-cotta pots or any other container you have handy. Just be sure to add drainage holes to water tight containers. 

*Give a tag/label with each division including: name/variety of plant, sun/shade requirements, mature plant size- height and diameter, water/soil requirements, zone hardiness, perennial or annual. A nice description for ‘new’ gardeners will be so appreciated.

*Make sure to plant/water as soon as possible once you have the plants in their new location.

How to harvest seedlings:

*Be sure the seedlings are at least 6-12 inches tall with at least 2 sets of true leaves.

*Get all the plants roots.

*Replant the seedling into a small container with appropriate drainage holes and gently water immediately.

Plants that divide easily and transplant well include:

*Hosta’s

*Day Lilies

*Bleeding Heart

*Peony

*Bee’s Balm (Monarda)

*Black Eye Susan, Shasta Daisies and any Coneflowers

*Columbine

*Sedum

*perennial Geraniums

*Helianthus

*Purple Bellflower

*any early blooming bulbs that have bloomed and died back at least half way- Snow Drops, Crocus, Daffodils, Tulips

PRO TIP: I always say, if in doubt, do without… so if you are not sure about one of your plants, ASK! Or look up in a good garden guild any special tricks that certain plants may have before you divide if you are not sure.

Hosting a spring perennial plant swap can be a fun and rewarding experience for both you and your community. By following these steps, you can ensure that your event is well-planned, well-attended, and enjoyable for all.

I certainly hope you are encouraged to garden. Even if you start with only two or three of these things, that’s a great start! 

If you enjoyed this blog , please LIKE, Follow, Share & leave me a comment! I love your feedback!

If you aren’t following me on Facebook or Instagram, go on over & give a LIKE & Follow me for daily tips & tricks for your home & garden!

Until next time friends, eat fresh, shop local, & have a happy day,
Jean

Gardening 101 Day 12: Part 2~ Easy 5 Step How-to Plan Your Spring Garden

“Help us to be ever faithful gardeners of the spirit, who know that without darkness nothing comes to birth, and without light nothing flowers. ” May Sarton

Welcome to Part 2 of my Easy 5 Step How-to Plan Your Spring Garden. If you missed episode 11 Part 1, be sure to check that out for some fundamental basics.

If you missed episodes 1, 2, 3, 4, 5, 6, and 7, 8, 9, and 10 of my Gardening 101 series, just click the links!

In today’s post, I am going to show you how to map out your garden. I do this every year so I can look back year after year. With that data, I can be sure to ensure I am rotating my crops effectively so I can rebuild my soil and the nutrients needed. It also helps me determine if I need to grow more or less of a particular crop.

This year is going to be an all new project. As you all know, we just moved into our new home this past December and I am creating an entirely new garden space. I’ve purchased 7 galvanized metal raised beds, (I am SOOO excited), so this is going to be a big project. 

I will need to kill all the sod in the space, level the ground, install the ground cover, raised beds, and peestone. To say the least, it’s going to be some back breaking work… I’m so thankful for my boys and Dave who will be helping me install this. Each year the kids usually help me do yard work on Mothers Day weekend, so that is this year’s task! 

I am also looking into a small greenhouse… but more on that. If not this year, maybe next. Fingers crossed friends!

This is what I will be working with this year. As you can see, it is a very nice sized space, and I love it is fenced in. Actually, it’s almost as big as my raised bed garden area at my previous home. But, you can see all the work that will be going into it. The table and chairs will be my reprieve in the garden… I cannot wait!

Planning your spring vegetable garden can be a fun and rewarding experience when done right. It allows you to grow your own fresh produce, save money on groceries, and enjoy the benefits of gardening. However, it’s important to take the time to plan and prepare properly to ensure a successful harvest. In drawing out your garden plot, you will have a much better chance at success.

Here’s my easy step-by-step approach to designing your garden!

Location, location, location!

The first step in planning your spring vegetable garden is to choose the right location. A sunny spot with well-drained soil is ideal for most vegetables. If you have a small yard or limited space, you can still have a vegetable garden by using raised beds or container gardening.

What are you planning to grow?

Next, you’ll need to decide which vegetables to grow. Consider which vegetables you and your family like to eat and what will grow well in your climate. Some popular spring vegetables include lettuce, spinach, radishes, peas, and broccoli. It’s also a good idea to choose a variety of vegetables so you have a steady supply of fresh produce throughout the spring.

How much space do you have, & how much space do you need?

When planning your garden, it’s important to consider the spacing requirements of the vegetables you’ve chosen. Most vegetables need at least six hours of direct sunlight per day, so make sure to position your garden in an area that gets plenty of sun. Also consider the mature size of the plants and make sure they have enough space to grow and flourish.

If you are going to garden in a tillable plot, be sure to test your soil!

A soil test will give you an idea of the pH level, nutrient content, and other characteristics of your soil. This will help you determine which vegetables will grow best and what, if any, soil amendments you need to make. If your soil is heavy clay, you may need to add organic matter to improve its structure. If your soil is sandy, you may need to add compost or other organic matter to help retain moisture.

Get your soil prepared!

After you’ve decided on the location and vegetables, it’s time to start preparing the soil. If you have a small area to work with, you can use a garden fork or trowel to turn over the soil and remove any debris. If you have a larger area, you can use a rototiller. Clear the area of any weeds or debris, and add any necessary soil amendments.

It’s all in the timing!

Another important aspect of planning a spring vegetable garden is timing. It’s important to know when to plant your vegetables so they will have enough time to mature before the hot summer weather arrives. You can find this information in gardening books or on the internet. Some vegetables, such as peas and lettuce, can be planted as early as the soil can be worked in the spring, while others, such as tomatoes and peppers, should not be planted until the weather has warmed up.

Do you have a watering source??

When planning your garden spot, especially if this is your first time, be sure you have an accessible water source nearby. Even if you have to connect a couple hoses together that’s fine, but you do not want to have to worry about carrying water and using a watering can. Believe me, you will become quickly disheartened!

It’s important to remember to water and fertilize your vegetable garden regularly. Most vegetables need about an inch of water per week. You can use a watering can or a hose with a sprinkler attachment to water your garden. It’s also a good idea to use a slow-release fertilizer to ensure that your vegetables get the nutrients they need throughout the growing season.

Wrapping it up!

Planning your vegetable garden can be a fun and rewarding experience if you take all these factors into consideration. By choosing the right location, selecting appropriate crops for your needs and area, tending to your soil, timing your planting, and providing regular care, you can enjoy a bountiful harvest of fresh produce all season long. 

Remember, gardening is a trial and error process and it’s okay to make mistakes. Keep learning and experimenting, and you’ll find that gardening becomes more enjoyable and productive over time.

I certainly hope you are encouraged to grow your own food. Even if you start with only two or three of these things, that’s a great start! 

If you enjoyed this blog , please LIKE, Follow, Share & leave me a comment! I love your feedback!

If you aren’t following me on Facebook or Instagram, go on over & give a LIKE & Follow me for daily tips & tricks for your home & garden!

Until next time friends, eat fresh, shop local, & have a happy day,
Jean

Copyright Policy

All text and images on this site are copyright of For Dragonflies And Me. Unless otherwise noted, you may not use this content.

Gardening 101 Day 11: Top 10 Easy Herbs to Grow & Care For for the Home Gardener~ YOUTUBE Video

A garden is a grand teacher. It teaches patience and careful watchfulness; it teaches industry and thrift; above all it teaches entire trust.” — Gertrude Jekyll

Welcome to Day11 of my Gardening 101 Series! Today I am going to share with you my Top 10 Favorite & Easy To Grow Herbs & How-to Care for Them for the Home Gardener.

If you missed Days 1 through 10 in this series, be sure to go through my past posts to see them all!

Herbs are by far one of my favorite things to grow! So many of my favorites are perennials and so easy to care for. 

Today I’m going to discuss my Top 10 Herbs & How to Care for them. Herbs are super easy to grow, but do require some care when harvesting and thinning.

Let’s look at my favorite Top 10 Herbs for the Home Gardener and how to care for them!

Check out my YouTube video below to see my favorite herbs & how to care for them! Be sure to LIKE & SUBSCRIBE!

f you missed episodes 1, 2, 3, 4, 5, 6, and 7, 8, 9, and 10 of my Gardening 101 series, just click the links!

If you enjoyed this episode, be sure to visit me at my YouTube Channel for more recipes & how-to gardening tips & tricks! You won’t be disappointed. Don’t forget to subscribe here & there so you don’t miss a beat!

I certainly hope you are encouraged to grow your own food. Even if you start with only two or three of these things, that’s a great start! 

If you enjoyed this blog , please LIKE, Follow, Share & leave me a comment! I love your feedback!

If you aren’t following me on Facebook or Instagram, go on over & give a LIKE & Follow me for daily tips & tricks for your home & garden!

Happy Day,
Jean

Copyright Policy

All text and images on this site are copyright of For Dragonflies And Me. Unless otherwise noted, you may not use this content.

Gardening How-to for the Month of February

“Help us to be ever faithful gardeners of the spirit, who know that without darkness nothing comes to birth, and without light nothing flowers. ” May Sarton

Check out the great list of content coming to you in the month of February!

Who is ready to get back into the dirt?

Some of you reading this may live in a climate where gardening happily goes on year round. I live in Michigan, so unless a gardener has ways to extend their growing season, then we dream of spring.

The use of green houses, cold frames, or similar methods can increase your growing season remarkably in cold climate zones.

This month I have a great lineup of garden related posts I’ll be sharing both here, at my Podcast, AND my YouTube channel! Be sure to check out my Facebook Events page for the full line up of Podcasts and REGISTER so you don’t miss a beat!

Check out this great line up topics friends!

February How-to Garden Topics!

Heirloom Seeds: Why I prefer them, their benefits & more. PODCAST

Join me for the first topic at my Podcast as I discuss the benefits & why I prefer Heirloom Seeds over Hybrid.

Seed Catalogs: How-to get your first order in! YouTube

How do you decide what seed catalog to shop from? How do I choose from the plethora of varieties? Today I’ll help guide you through placing your order & sharing my personal favorites I’ve used for years!

My Top 10 Easy Vegetables to Grow, & How-to Care for Them.

Today I’ll share my Top 10 favorite & super easy vegetables to grow. I’ll also share tips & tricks to have a successful growing season.

My Top 10 Favorite Herbs to Grow, & How-to Care for Them. YouTube

Let’s talk herbs!!! I’ll go over my favorite tried & true herbs and how-to care for them. I’ll explain the difference between annual, biennials, & perennials herbs!

My Top 5 Favorite Perennial Fruits & Vegetables, & How-to Grow & Care for them. PODCAST

Do you want to save money on your grocery bills? Today I’ll share my Top 5 Perennial Fruits & Vegetables, and How-to grow & care for them. It’s so easy & you’ll be amazed you haven’t been growing these for years already!

How-to Plant Asparagus, Care for it, and harvest!

One of springs first vegetables. This hardy vegetable will provide your family with years of fresh asparagus! Join me today as I share tips & tricks on how-to plant, care, & harvest your asparagus.

Easy How-to Plan Your Spring Garden! PODCAST

Planning your garden is the first step to preparing for success! Join me today as I discuss the importance of mapping out your garden whether or not you have raised beds or a tradition plot garden.

How-to Design & Build a Raised Bed Garden & the Benefits over a Traditional Garden. PODCAST

I love talking about Raised Bed Gardening & showing how & why they are so much more practical then traditional tilled gardens. Join me today as I explain why you should take the leap into raised bed gardening. It’s easier than you think!

Step-by-Step How-to Build a Cold Frame.

If you live in a cold climate zone like I do, then you will want to learn how-to extend your growing season by using this simple method. Cold frames are easy & inexpensive to build. This photo was taken from Pinterest for Bonnie Plants.

Top 10 Gardening Tools Every Gardener Should Have! YouTube

With the proper gardening tools, gardening is much easier and not so hard on your hands or back. Join me today as I show you my favorite tools and discuss the best way’s to use them.

How-to Compost & the Benefits for the Home Gardener.

To compost, or not to compost… that is the question! Join me today as I discuss the benefits of composting for the home gardener. It’s easier than you think it is!

Sunflowers: My Top 10 Favorites & Why You Should Grow Them. YouTube

Who doesn’t love the sunny face of a sunflower? Did you know there are dozens of varieties? Just for fun lets wrap up the cold days of February with a beautiful display of sunflowers.

Looking forward to seeing you all in February!

If you enjoyed this post , please LIKE, Follow, Share & leave me a comment! I love your feedback!

If you aren’t following me on Instagram Or Facebook, go on over & give a LIKE & Follow me for daily tips & tricks for your home & garden! 

Happy Day,
Jean

Copyright Policy
All text and images on this site are copyright of For Dragonflies And Me. Unless otherwise noted, you may not use this content without written permission.

Wholesale Case Pricing for my Cookbook, Lovingly Seasoned Eats And Treats!

Lovingly Seasoned Eats and Treats

My cookbook contains almost 1000 easy & delicious recipes gathered from the women at Bethany Mennonite Church in Michigan.

Wholesale pricing is available for either half case (10 books) or full case (22 books). Message me for more information.

Grilled Chicken Pesto Pasta

“A recipe has no soul. You as the cook must bring soul to the recipe.”
– Thomas Keller

This recipe has become an all time favorite for my family, so I thought I’d share it with my Dragonfly family to enjoy as well!

A few years back I was invited to prepare this recipe on Fox TV2 while promoting my cookbook, Lovingly Seasoned Eats and Treats. It was so fun to share my pesto recipe on air. You can find my original recipe at the link provide below.

Our Favorite Recipes

Ingredients:

2 boneless, skinless chicken Breasts- about 2 pounds
1 TBSP Garlic Salt, divided
1 cup Shredded Parmesan cheese for topping
1- 16 ounce or 1 pound box of Cellentani Pasta or similar
1 cup Pesto- see recipe link for Pesto recipe
2 cup Alfredo Sauce:
Ingredients for sauce:
1 stick salted butter or 1/4 cup
1 cup whole milk
½ cup grated parmesan cheese
1- 8 ounce container of whipped cream cheese
1/2 tsp pink Himalayan salt
1/2 tsp fresh ground black Pepper

Pro tip: I recommend making the pesto sauce first, as this can be refrigerated allowing the flavor to intensify!

Pro tip: For the best results with the alfredo sauce, use as quickly as you can so it doesn’t begin to firm up. However if it does, simply warm on low heat until desired consistency, stirring constantly.

Click here for my Pesto Recipe. https://wordpress.com/post/fordragonfliesandme.com/3166

As a side dish, my yummy Bruschetta recipe makes a great accompaniment! You can find that recipe here: fordragonfliesandme.com/2022/09/14/bruschetta-with-feta-cheese-balsamic-glaze/

1. Sprinkle half the garlic salt on one side of chicken, flip and season second side.
Grill chicken breasts until fully cooked and juices run clear;

2. Once chicken is cooled, using kitchen shears cut chicken into bite size chunks; set aside

3. Prepare both your pesto and alfredo sauces; see recipe link for instructions for pesto above.

4. Put a large pot of water on high heat while you are making your alfredo sauce. Add pasta once the water comes to a full rolling boil; cook until Al Dente. Follow box instructions for cooking time.

5. While water is heating, prepare the alfredo sauce:

i. In a medium sized pot melt the stick of butter.

ii. Once the butter is melted, add cream cheese and half the milk; whisk until well blended.

iii. Once cream cheese is melted and blended evenly, add remaining milk and parmesan cheese; mix until completely melted and is a smooth consistency.

iv. Add salt & pepper; blend thoroughly. Set aside while pasta is cooking.

6. Once pasta is done, drain and then place in a large serving bowl.

7. To drained pasta, add chicken and both sauces; blend until both noodles and chicken are evenly coated with sauce. Sprinkle with shredded Parmesan cheese and serve with bruschetta or any other garlic bread.

Pro tip: Once you’ve drained your pasta, add a tablespoon of olive oil, blend thoroughly. This will prevent the noodles from sticking. Butter works too!

If you enjoyed this blog & bonus recipes, please LIKE, Follow, Share & leave me a comment! I love your feedback!

If you aren’t following me on Facebook, go on over & give a LIKE & Follow me for daily tips & tricks for your home & garden! https://www.facebook.com/profile.php?id=100049613212778

Happy Day,
Jean

Early Herbs, Edible Flowers and Yummy Edible Flower Recipes!

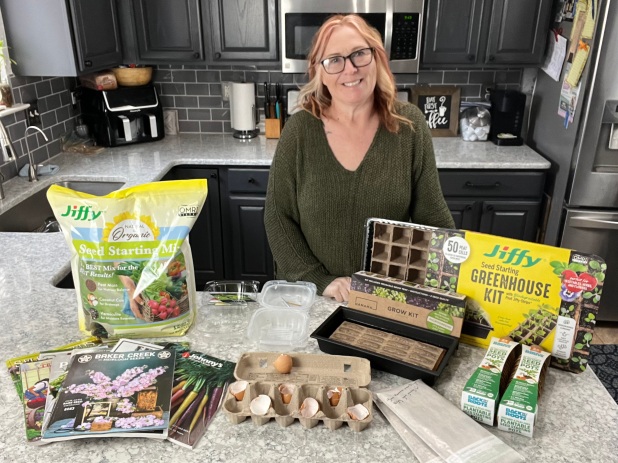
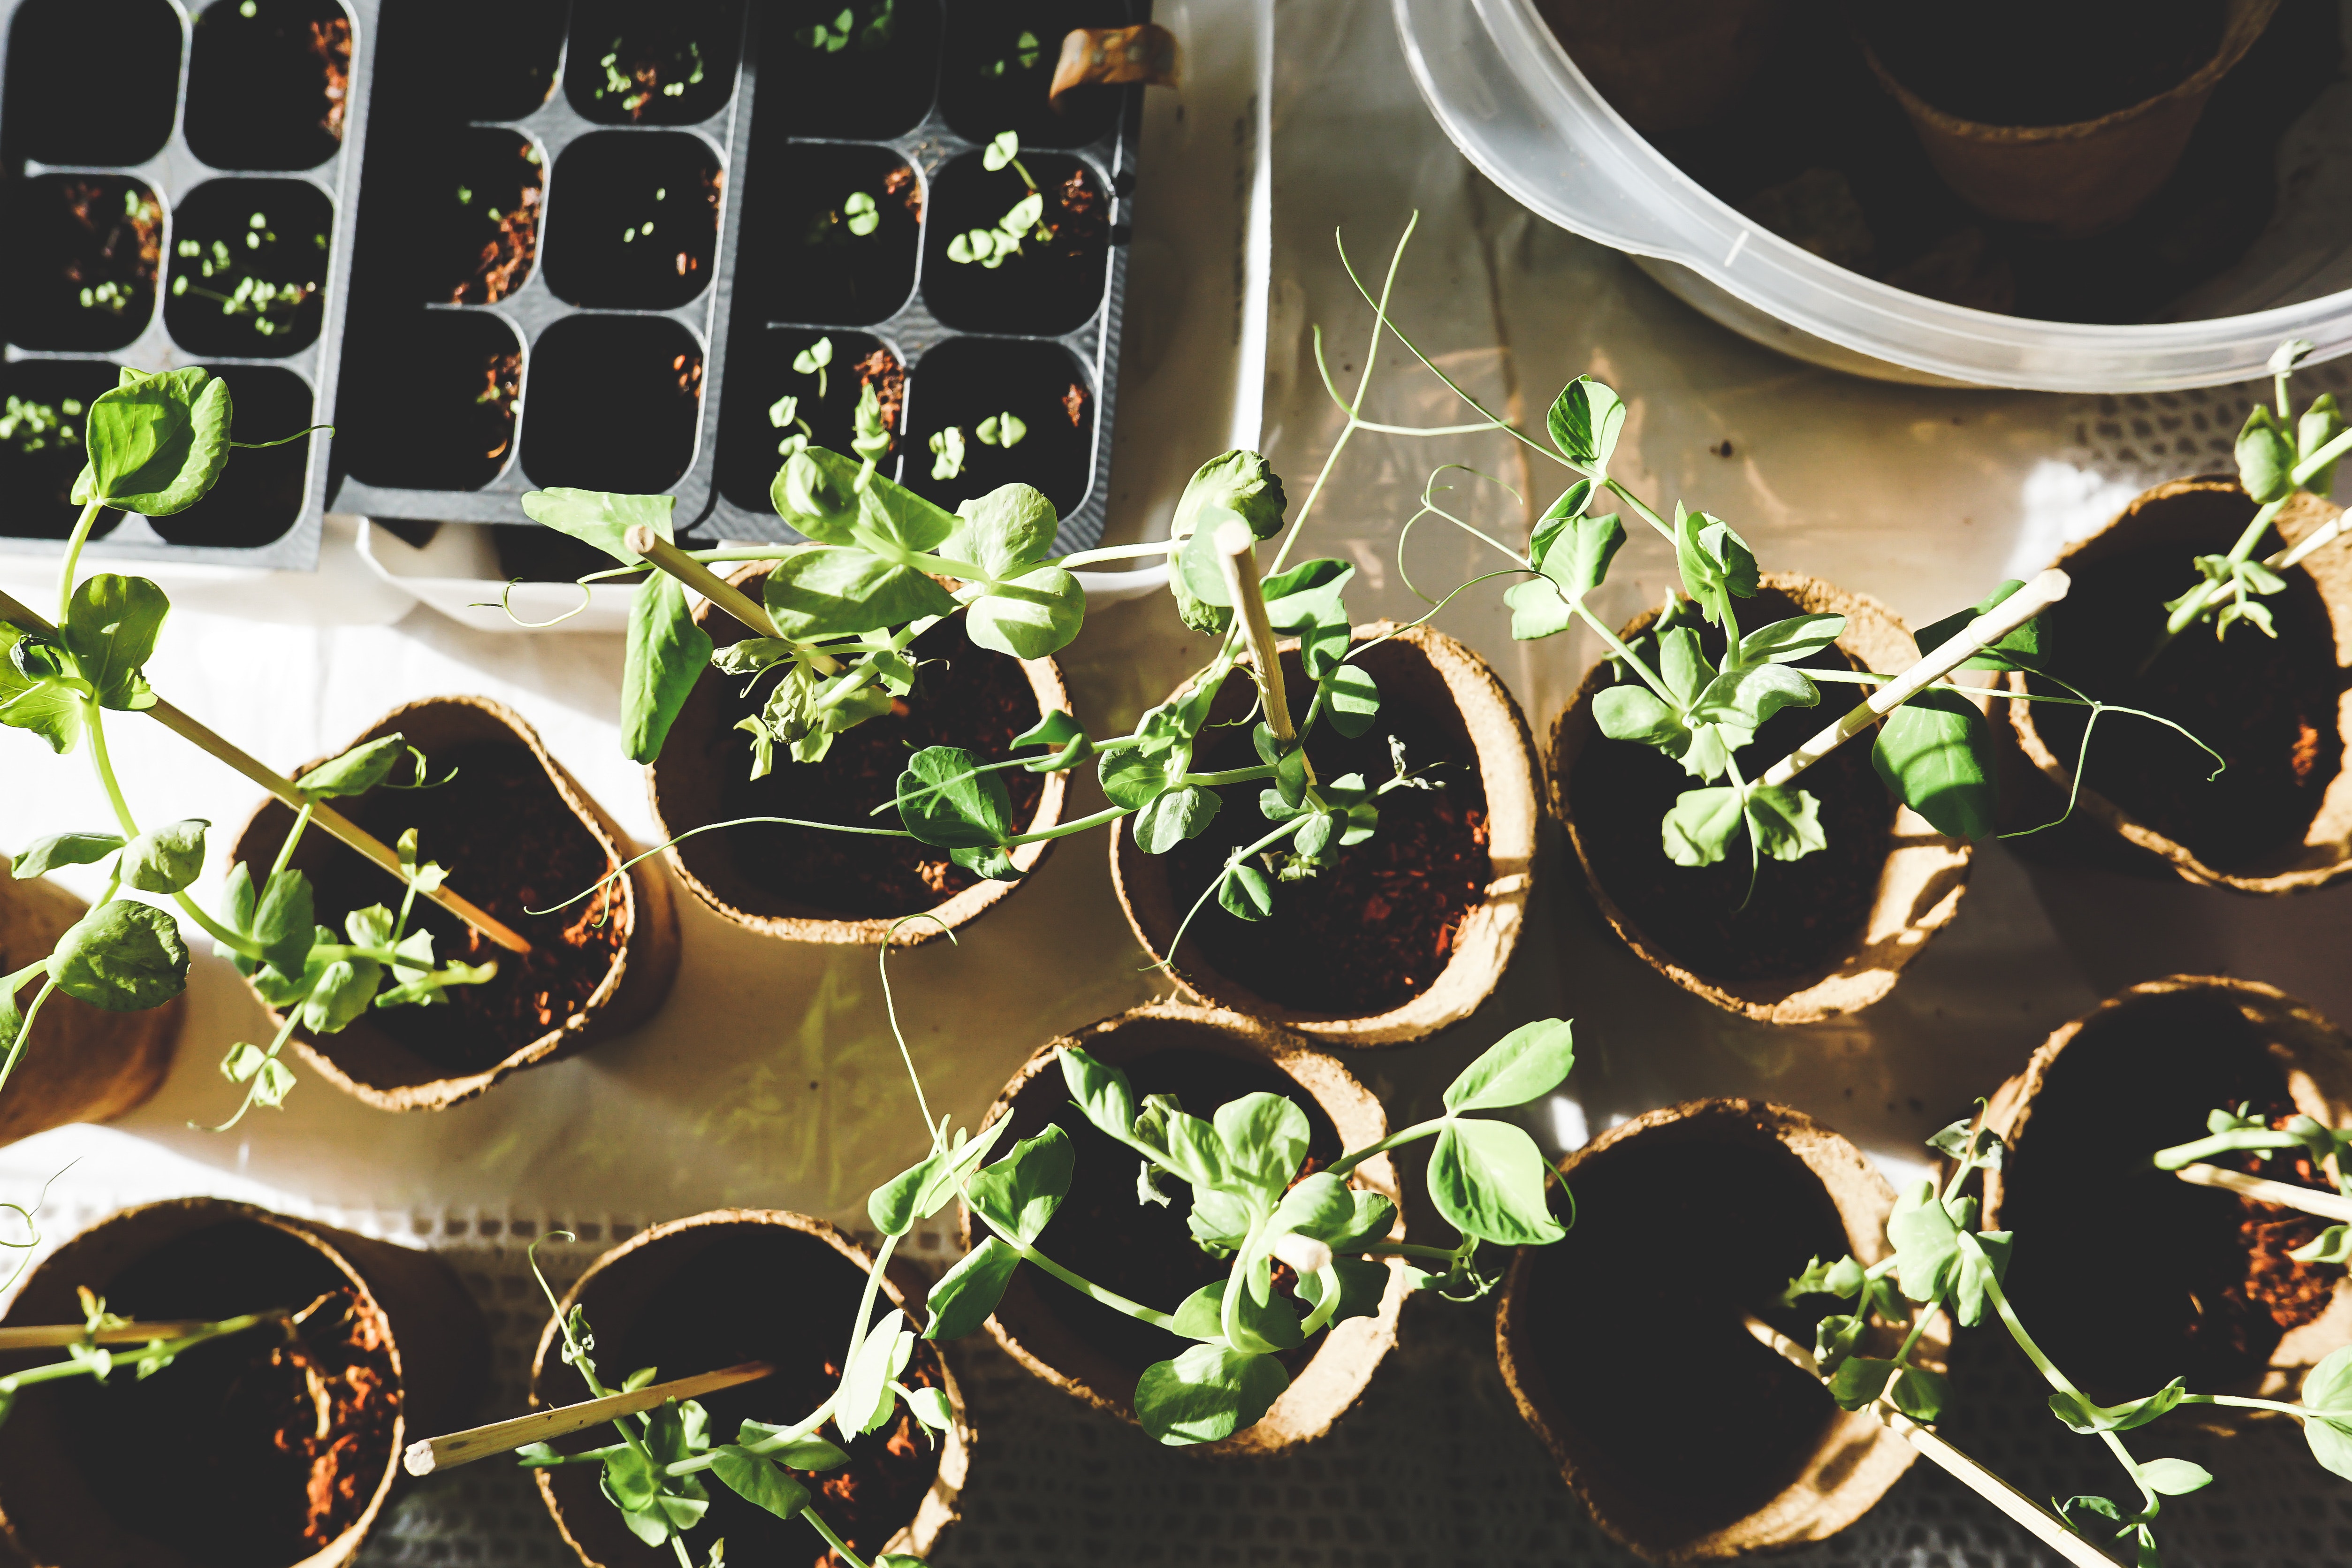
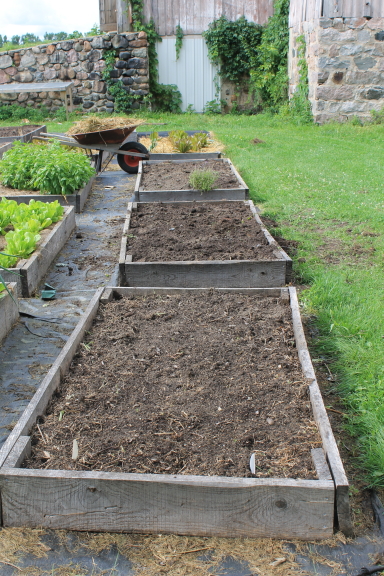
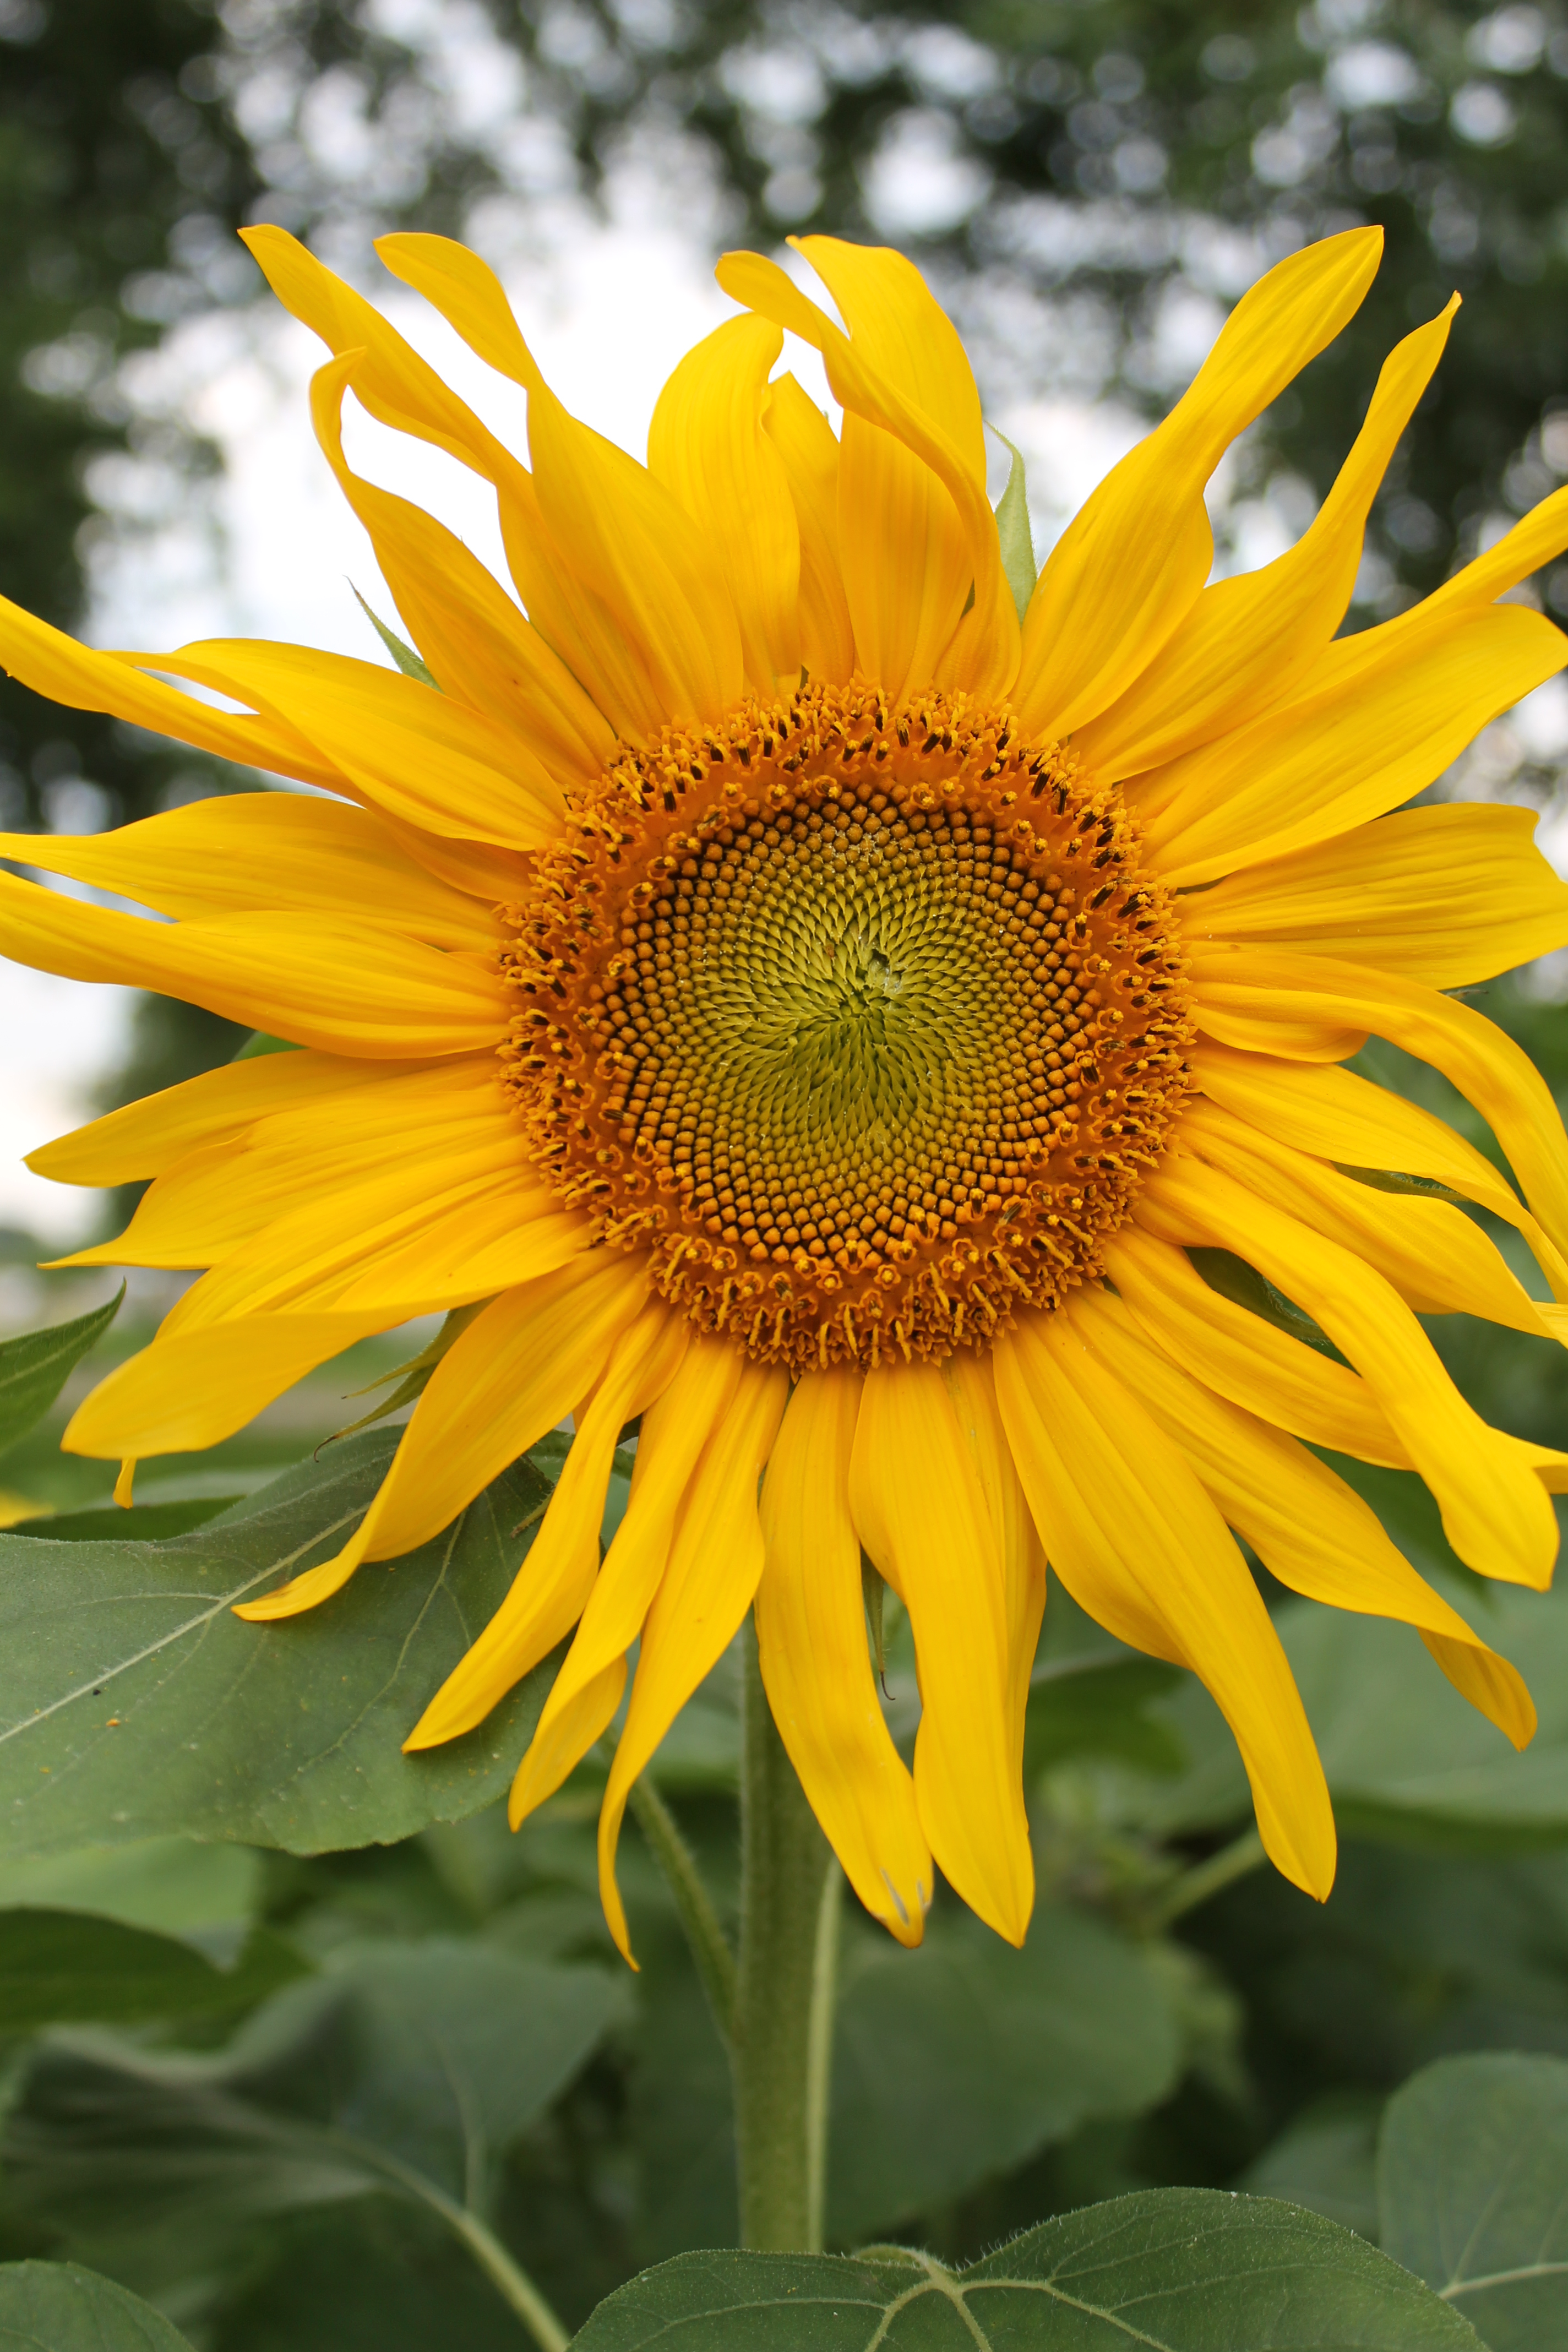
 Only 59 more days till Spring…. ahh! Yes, that doesn’t sound so long at all. The sun is shining midst the cold air bringing happiness to my day.  I long for that warm feeling that only a bright sunny day can give.  I am a firm believer that too many cloudy days start to make people feel just like the day looks.  The birds are chirping outside my window right now and it just feels good! The hoop house is growing beautifully despite the cold and snow that surrounds it outside.  The spinach’s should be just about ready to cut along with the chard… oh yum! After I am done writing this that is my destination along with green house.  I am excited about getting all the seeds started for this summers bounty in the fields… oh the dirt… that beautiful dirt that I long to dig into!

Be sure to check out my Facebook designated just for ‘For Dragonflies And Me’ and like it.  Follow this link to see daily photo’s and extra recipes through the week! See you there
http://www.facebook.com/pages/For-Dragonflies-And-Me/550000798362651

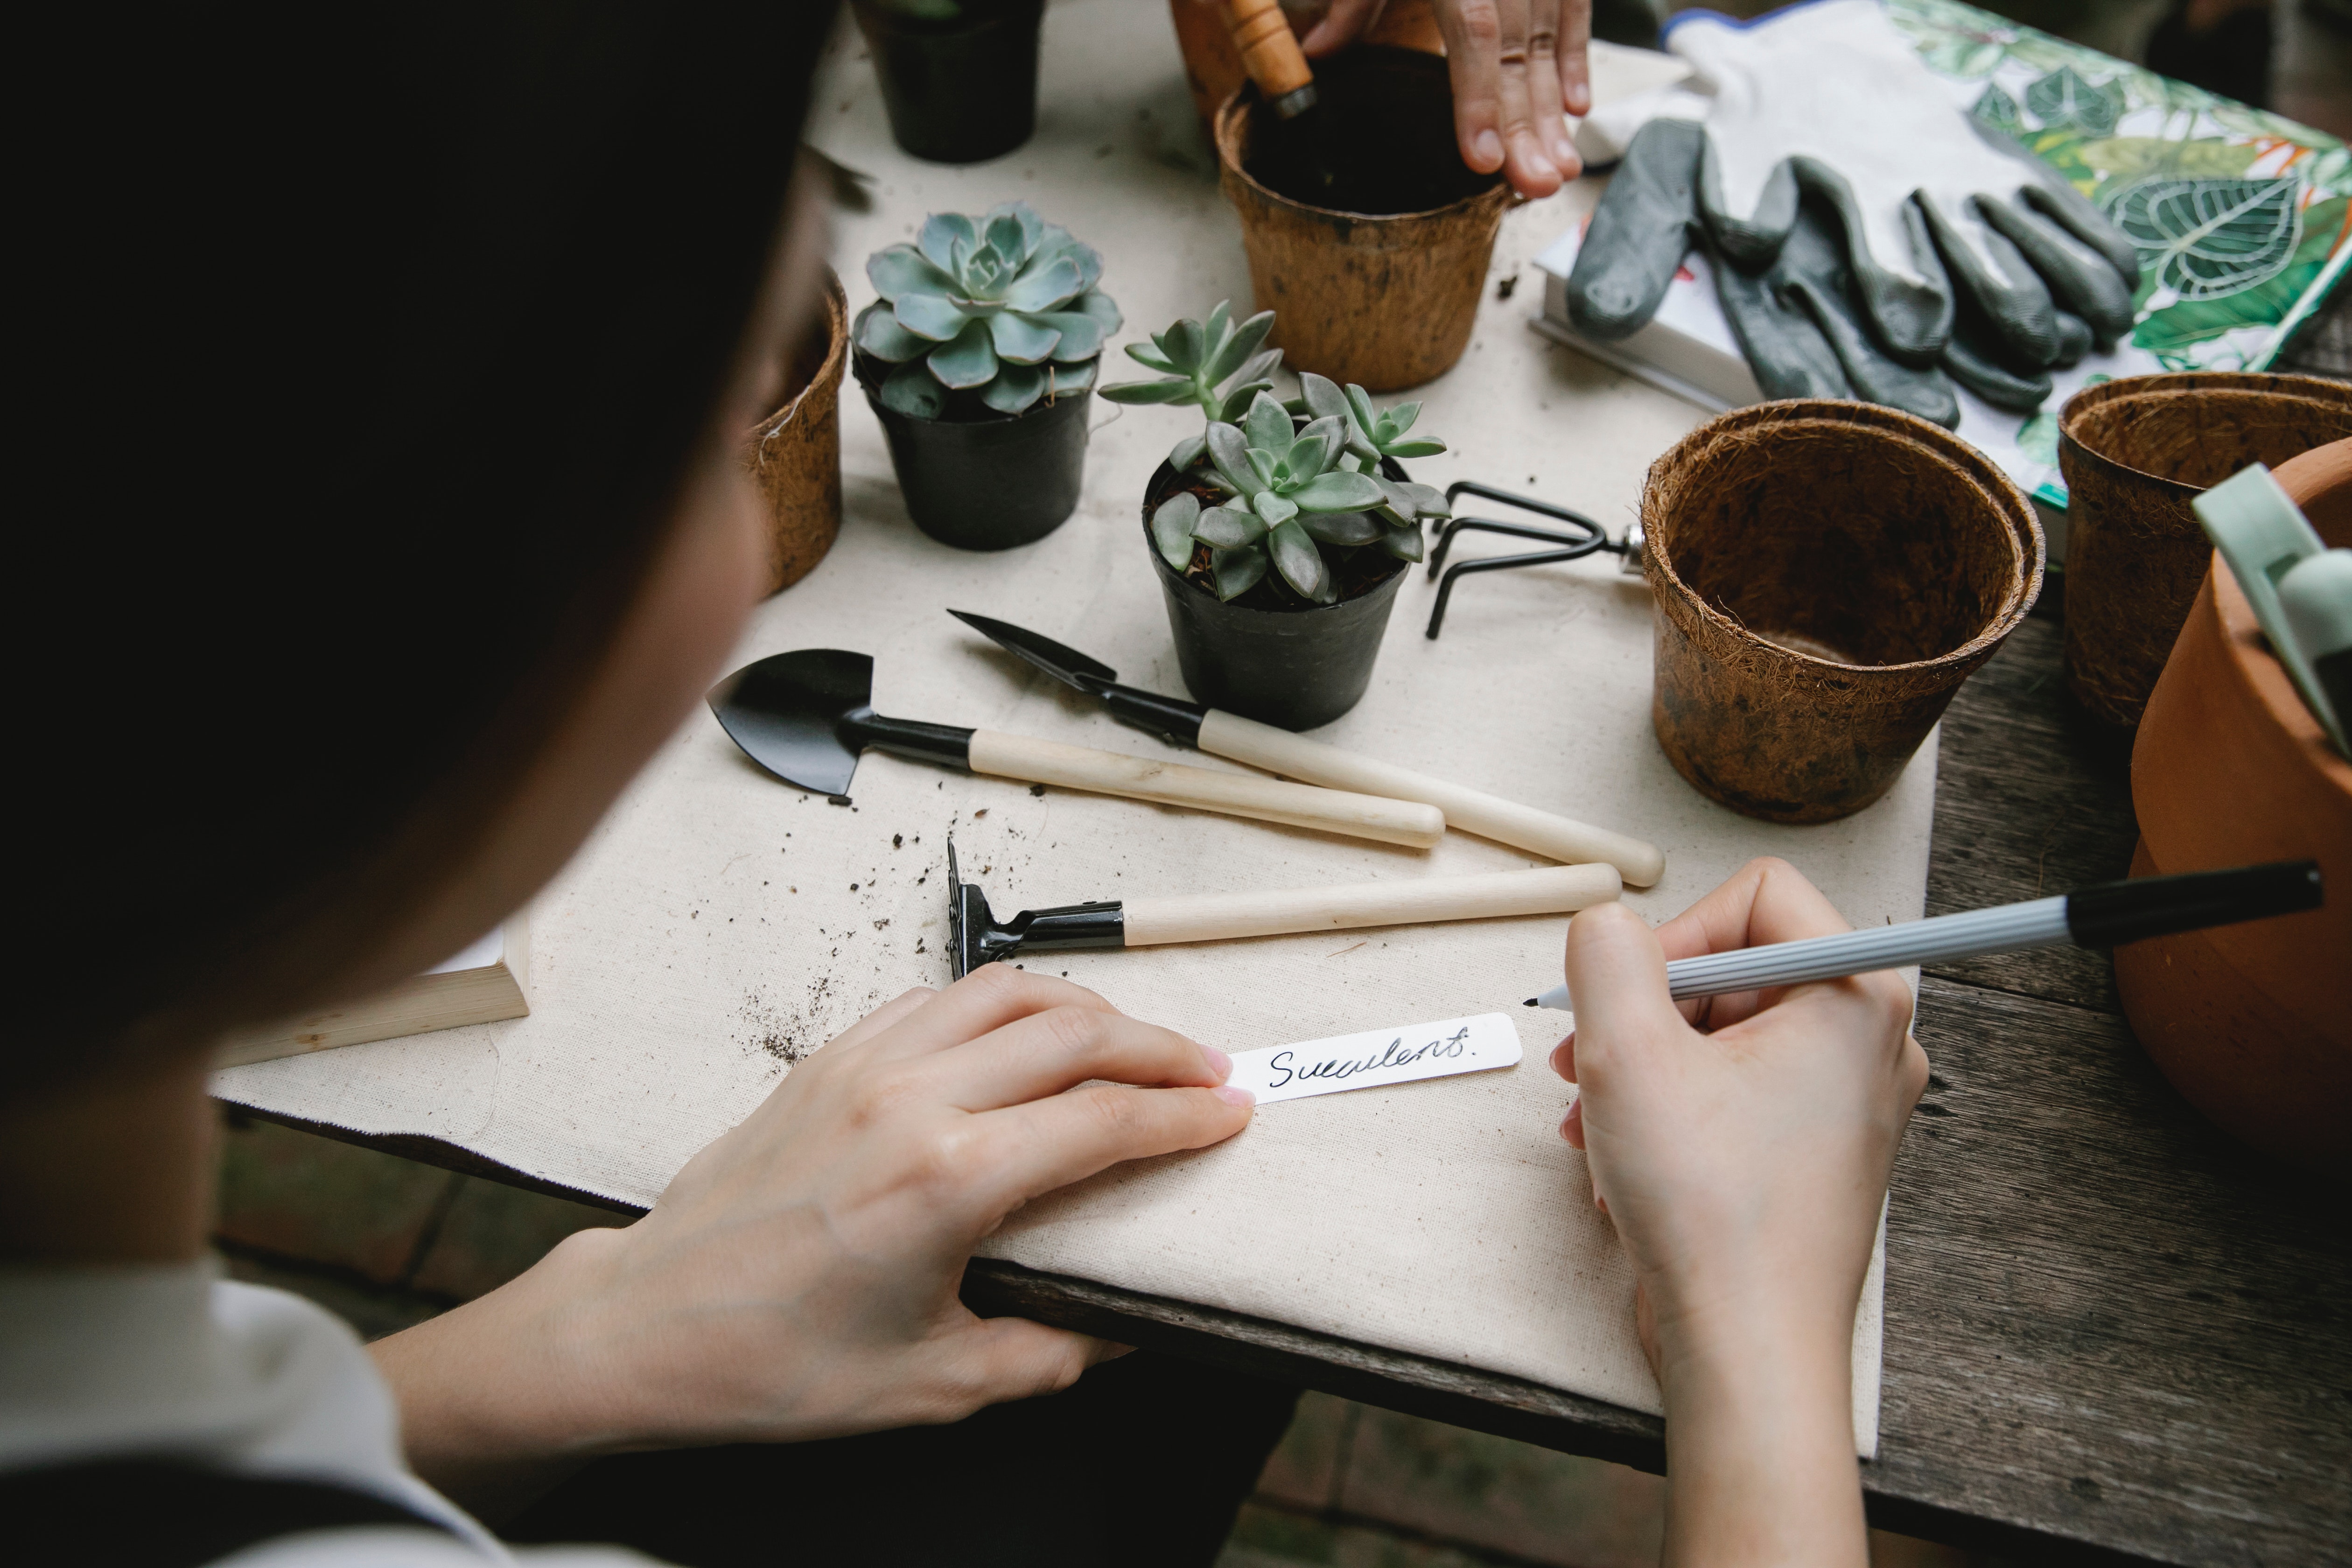
Most of you who have been readers of Dragonflies know my love of Herbs… gardening offers so many options for those who love the dirt. You don’t have to love veggie gardening to have exquisite flower gardens… you don’t have to want a Potager Garden to experiment with the world of Herbs. Even within the herbs that are available you can choose between Medicinal or Culinary. Gardening is a world filled with options for anyone who wants to take the time to explore his or her passions.  Persoanly I don’t mess too much with medicinal herbs, other than a few like Comfry and mints.  It’s just not my thing. Don’t get me wrong, I am very thankful for those that do, because I do utilize them in my life, but I prefer to grow the culinary ones… basil, oh the love of my life in the herb world and parsley, what would I do without her? There is also the world of house plants and cacti… I also don’t get into that very much.  I love to be outside too much probably.  But now is the time that you too can start a small herb garden right in your own kitchen on a sunny window sill! I would recommend using a window box planter because this will allow the plants more room to grow and spread their roots out! Get out those beautiful seed catalogs, cozy up with a cup of tea or coffee and peruse them until you find a few new and exciting things you want to try.
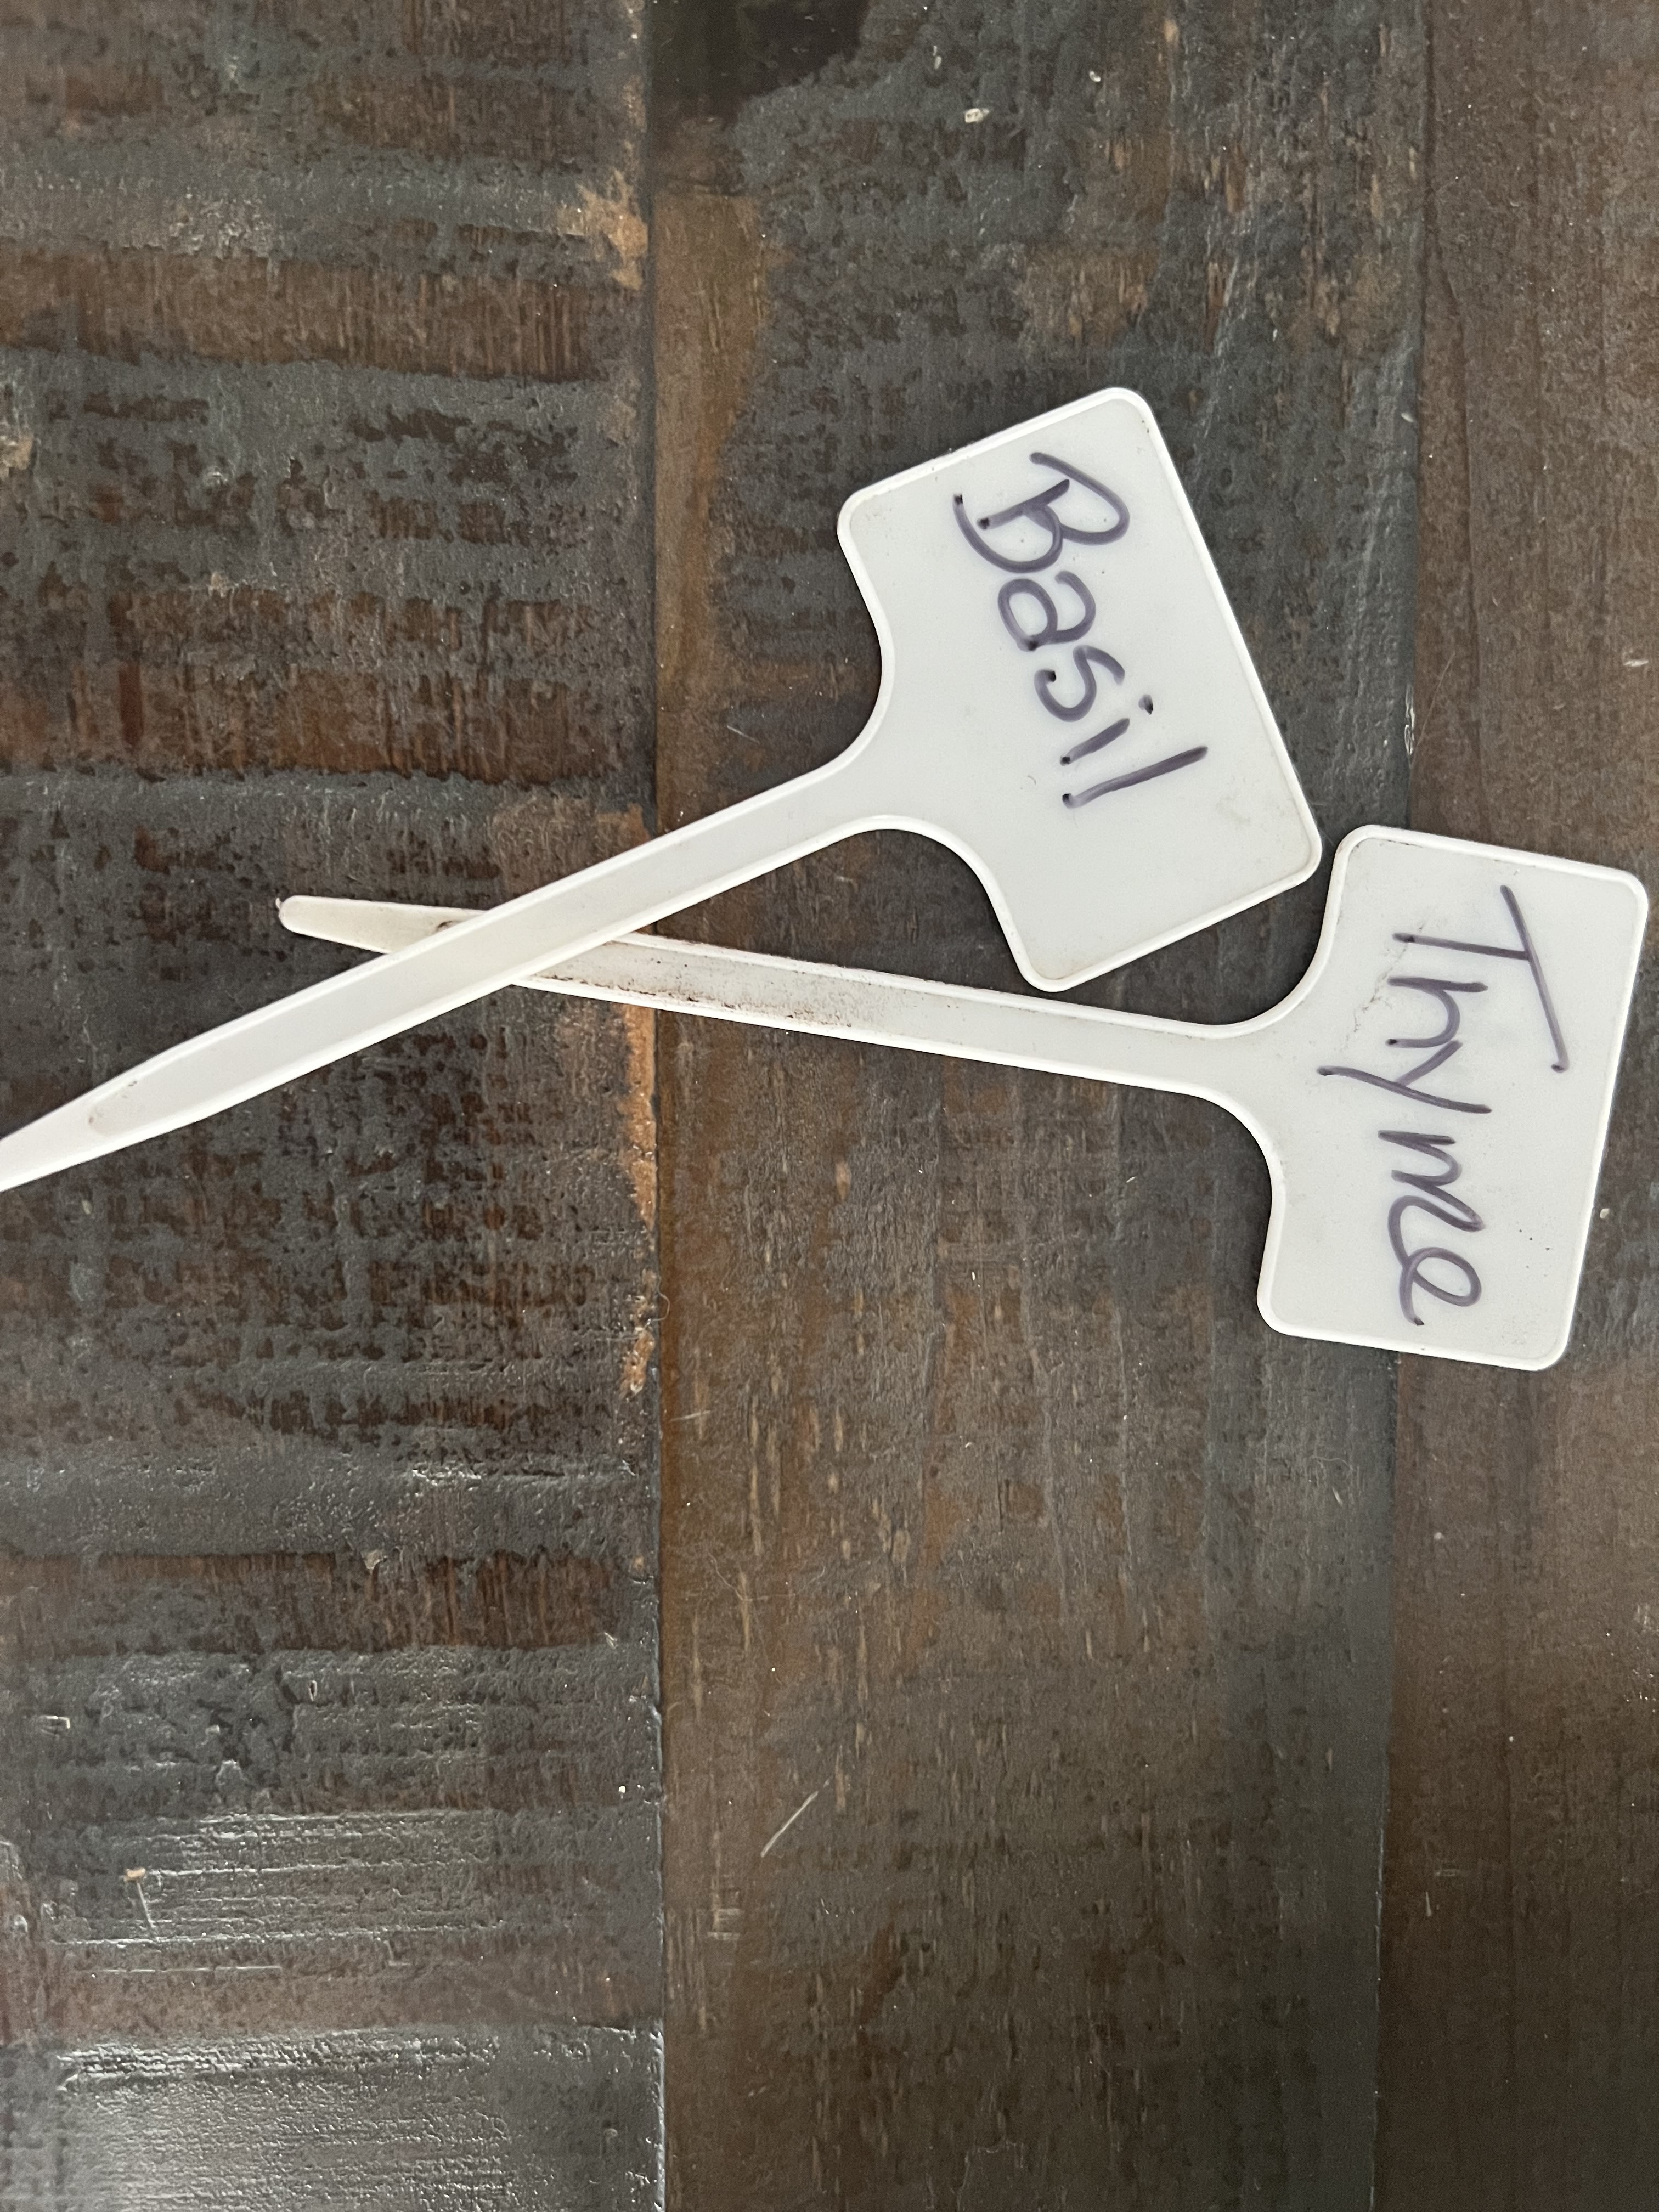
Here are a few varieties of Basil and Parsley that I love and recommend!
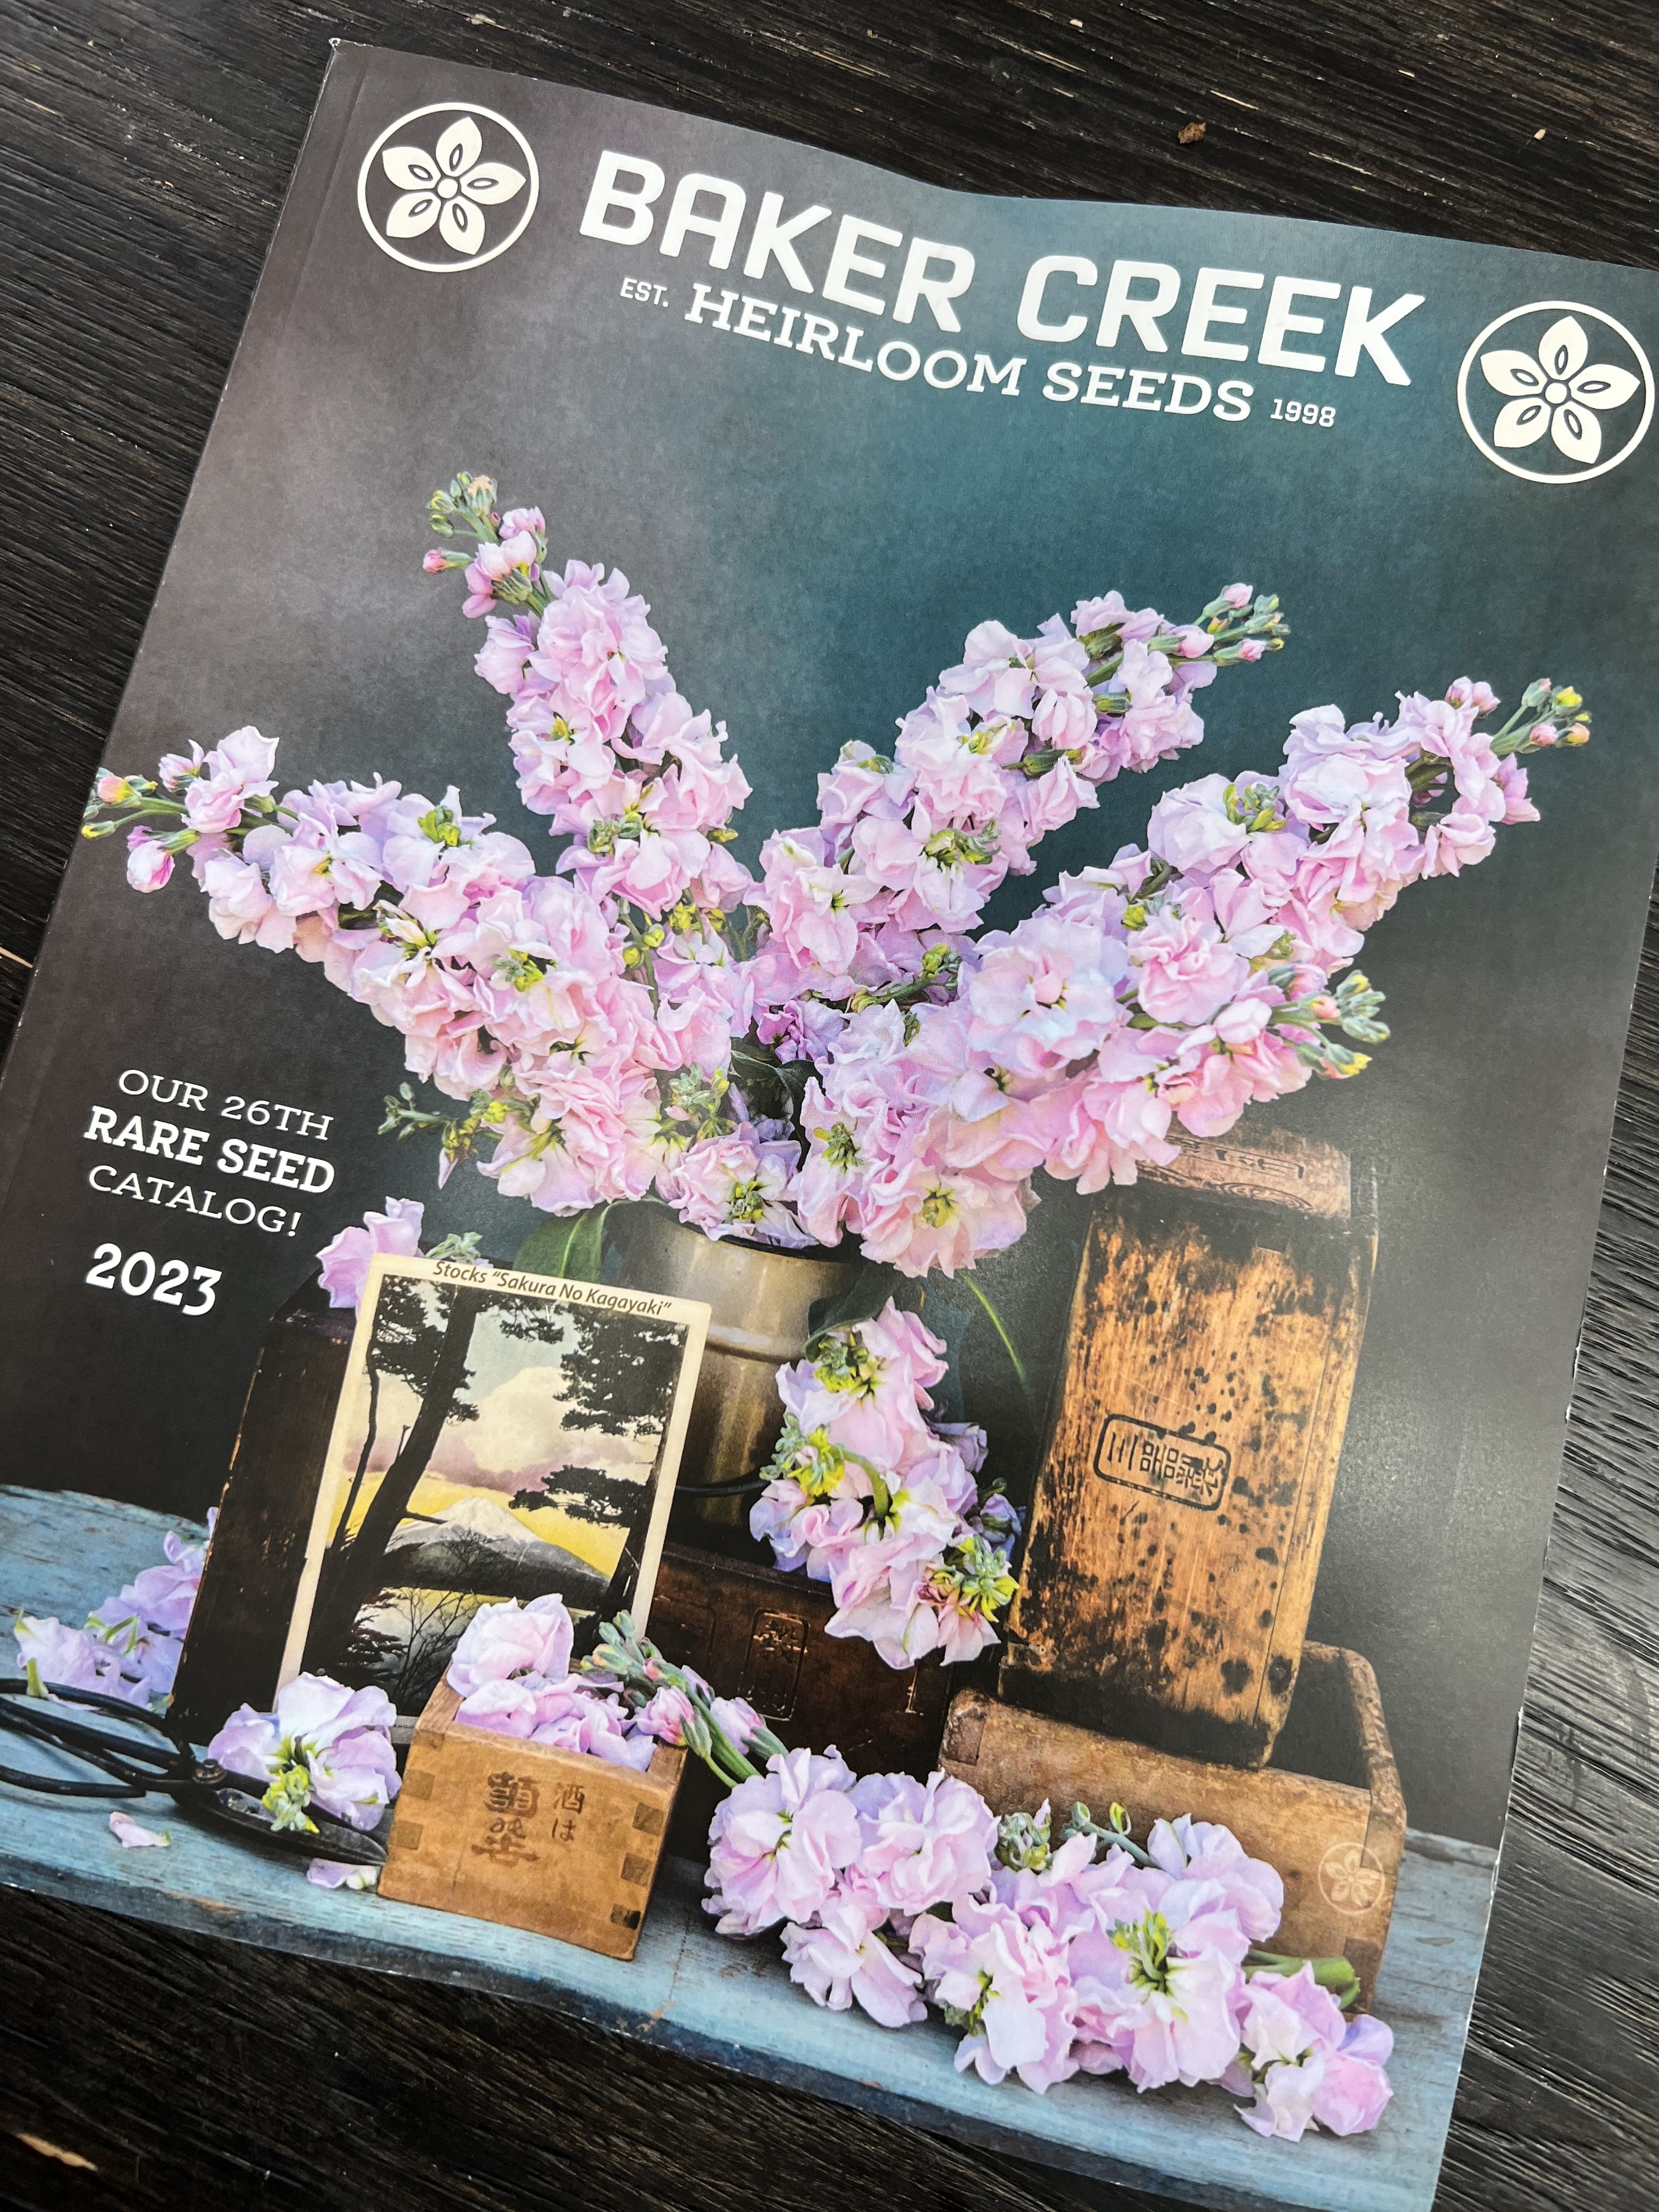
~Basil- Most people grow Genovese because that is what is more commonly found in stores. But if you do a bit of research, the best basil out there is called Pesto (can be found at Territorial Seed Company). It is a large leaf basil that explodes with true basil flavor.  I also like Large leaf or sometimes referred to as Lettuce Leaf, this is a bit more common. The world of Basil is extrordinary! Baker Creek Heirloom Seeds (www.rareseed.com) has over 15 varieties… and there are more!
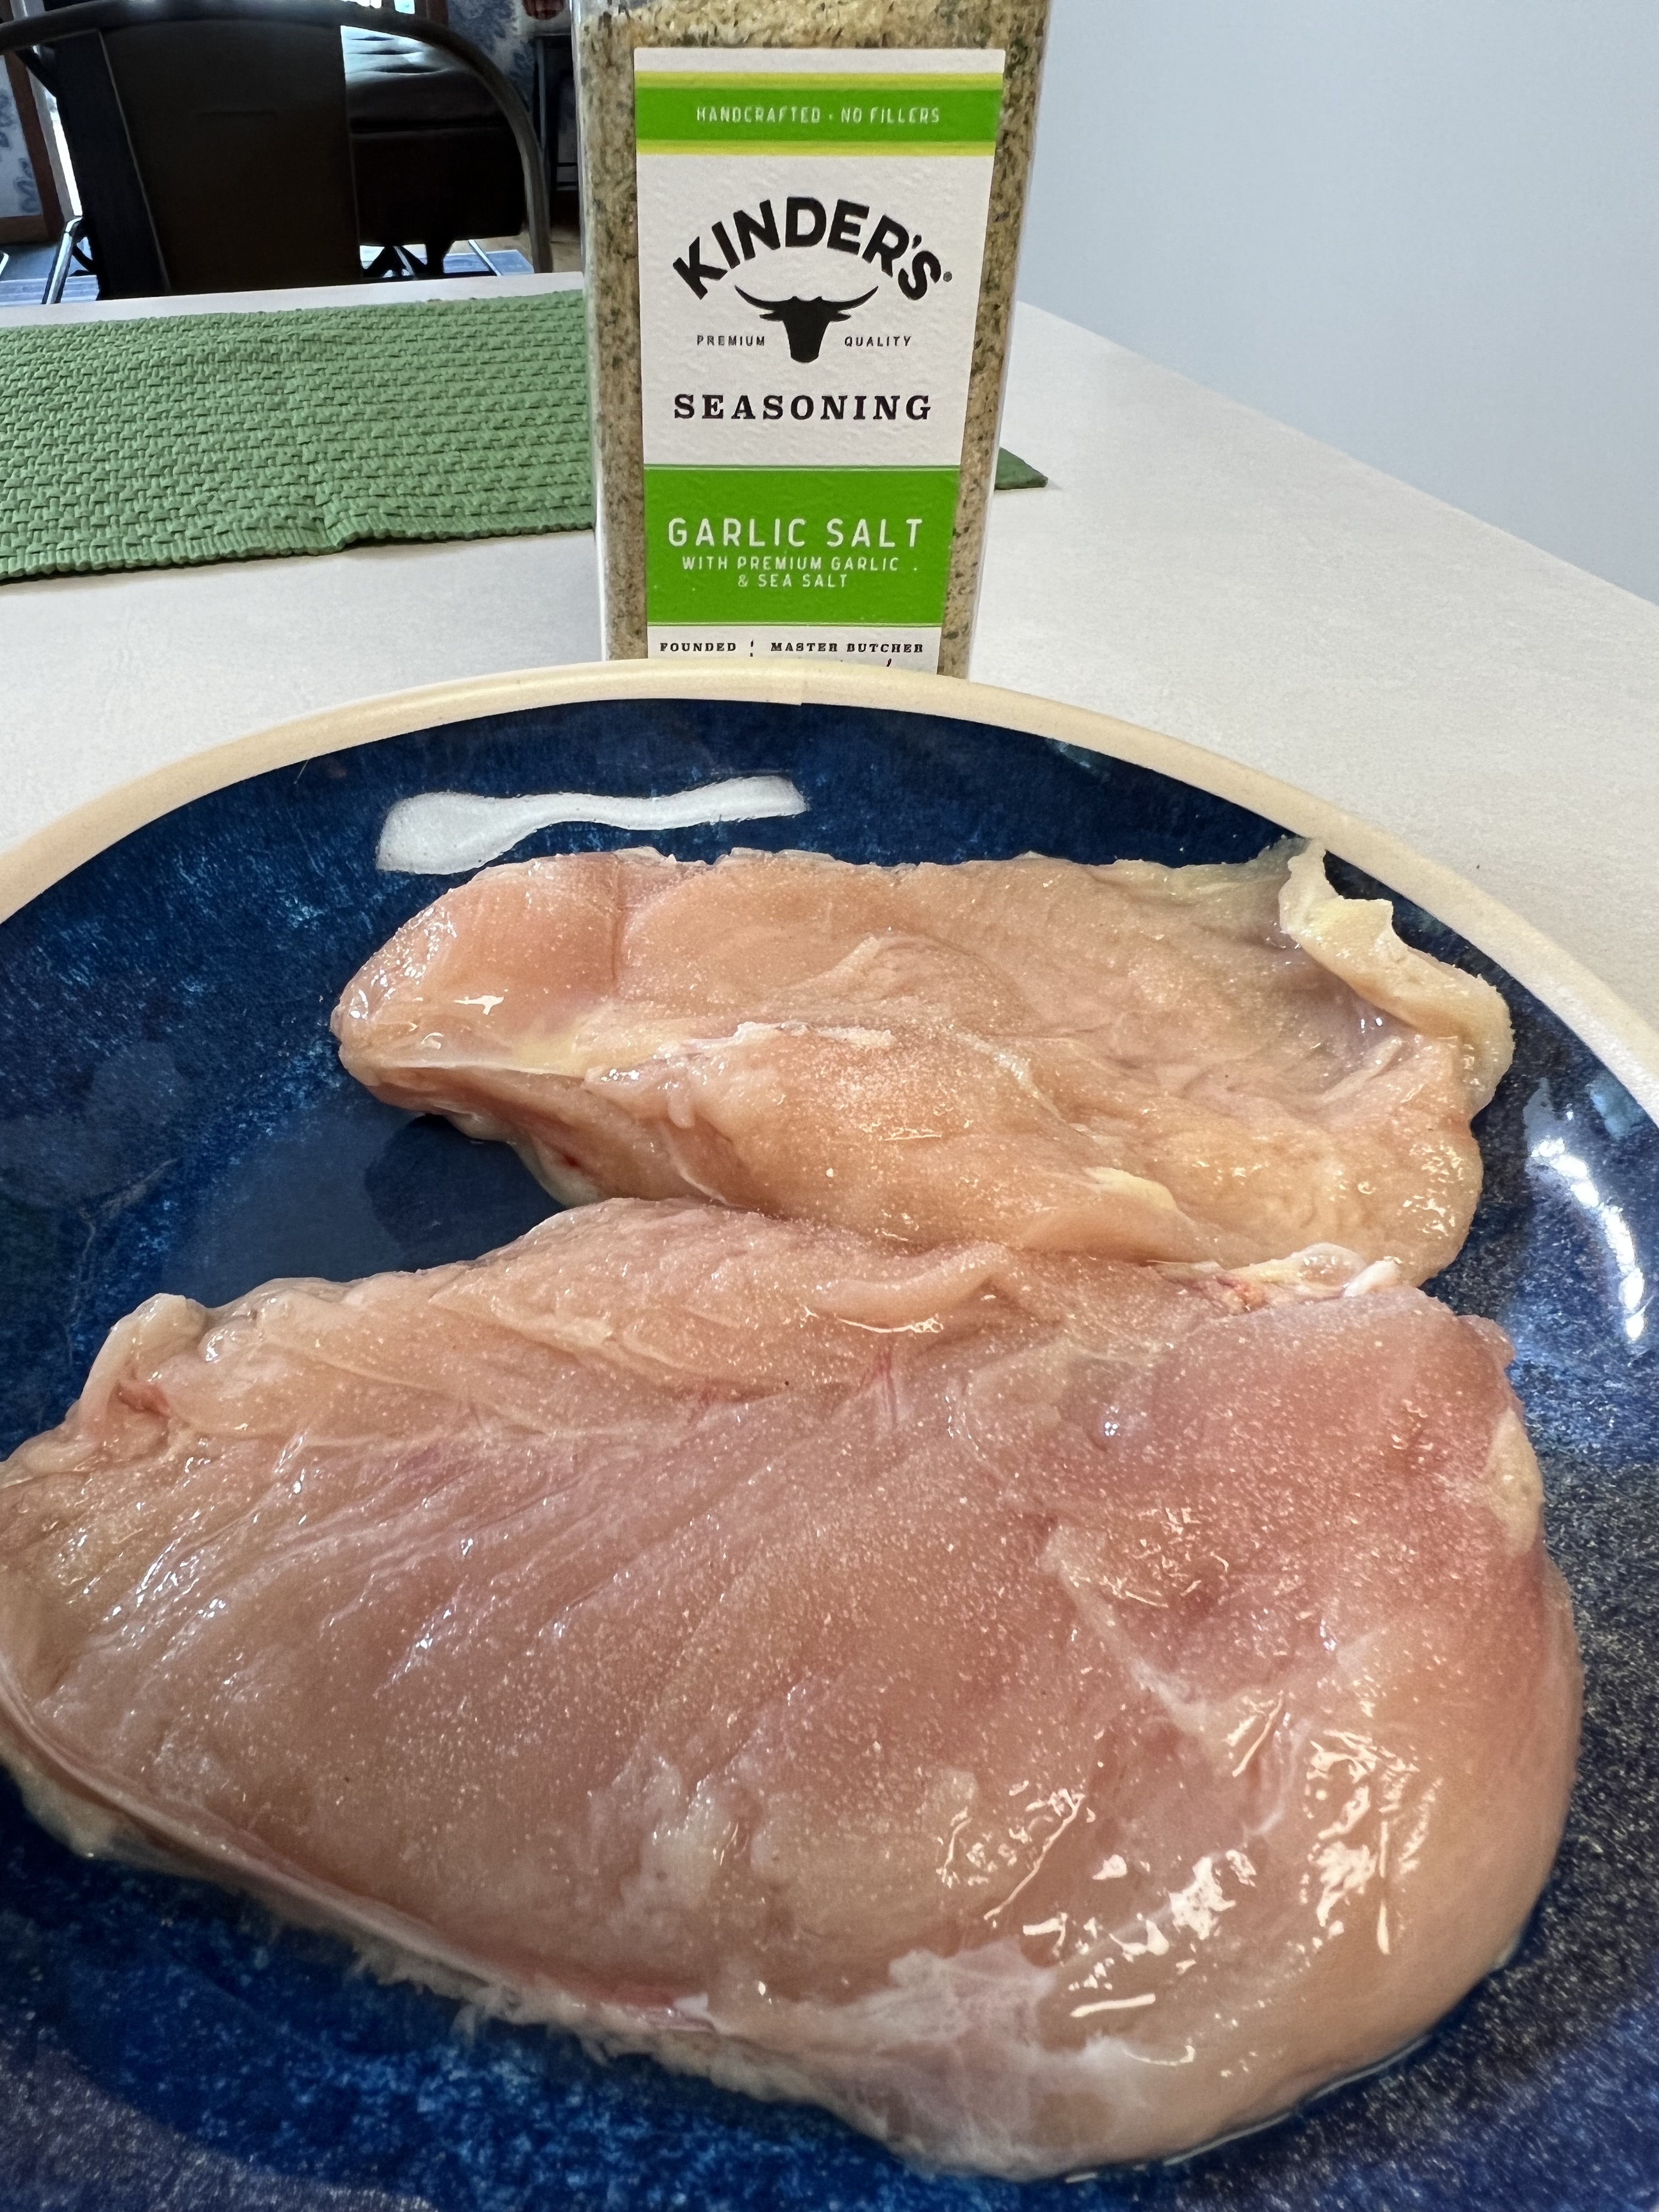
Try Lemon Basil as well… superb on fish and chicken dishes!
Purple Ruffles is both beautiful and delicious and looks stunning in a fresh garden or in a bouquet! When she blooms she is just magnificant.
~Parsley- Giant of Italy… that is all you need. She is a large leafed, tall prolific plant that will grow will into the cold winter months.
Most common is Italian Flat Leaf and Curly. Curly is not really for cooking, more for garnishment.
Other
Right now I am feeling pretty anxious about getting into that beautiful dirt and handling those tiny little seeds… little miracles each in their own right! So I thought today I would tempt all of you with some new ideas to try.  What about Edible Flowers? These are scary to some… flowers belong in the flower beds or in a vase, not on a plate some would say. But flowers don’t just add beauty to a dish, they really can be yummy. Here are some ideas along with a few varieties to get you going!
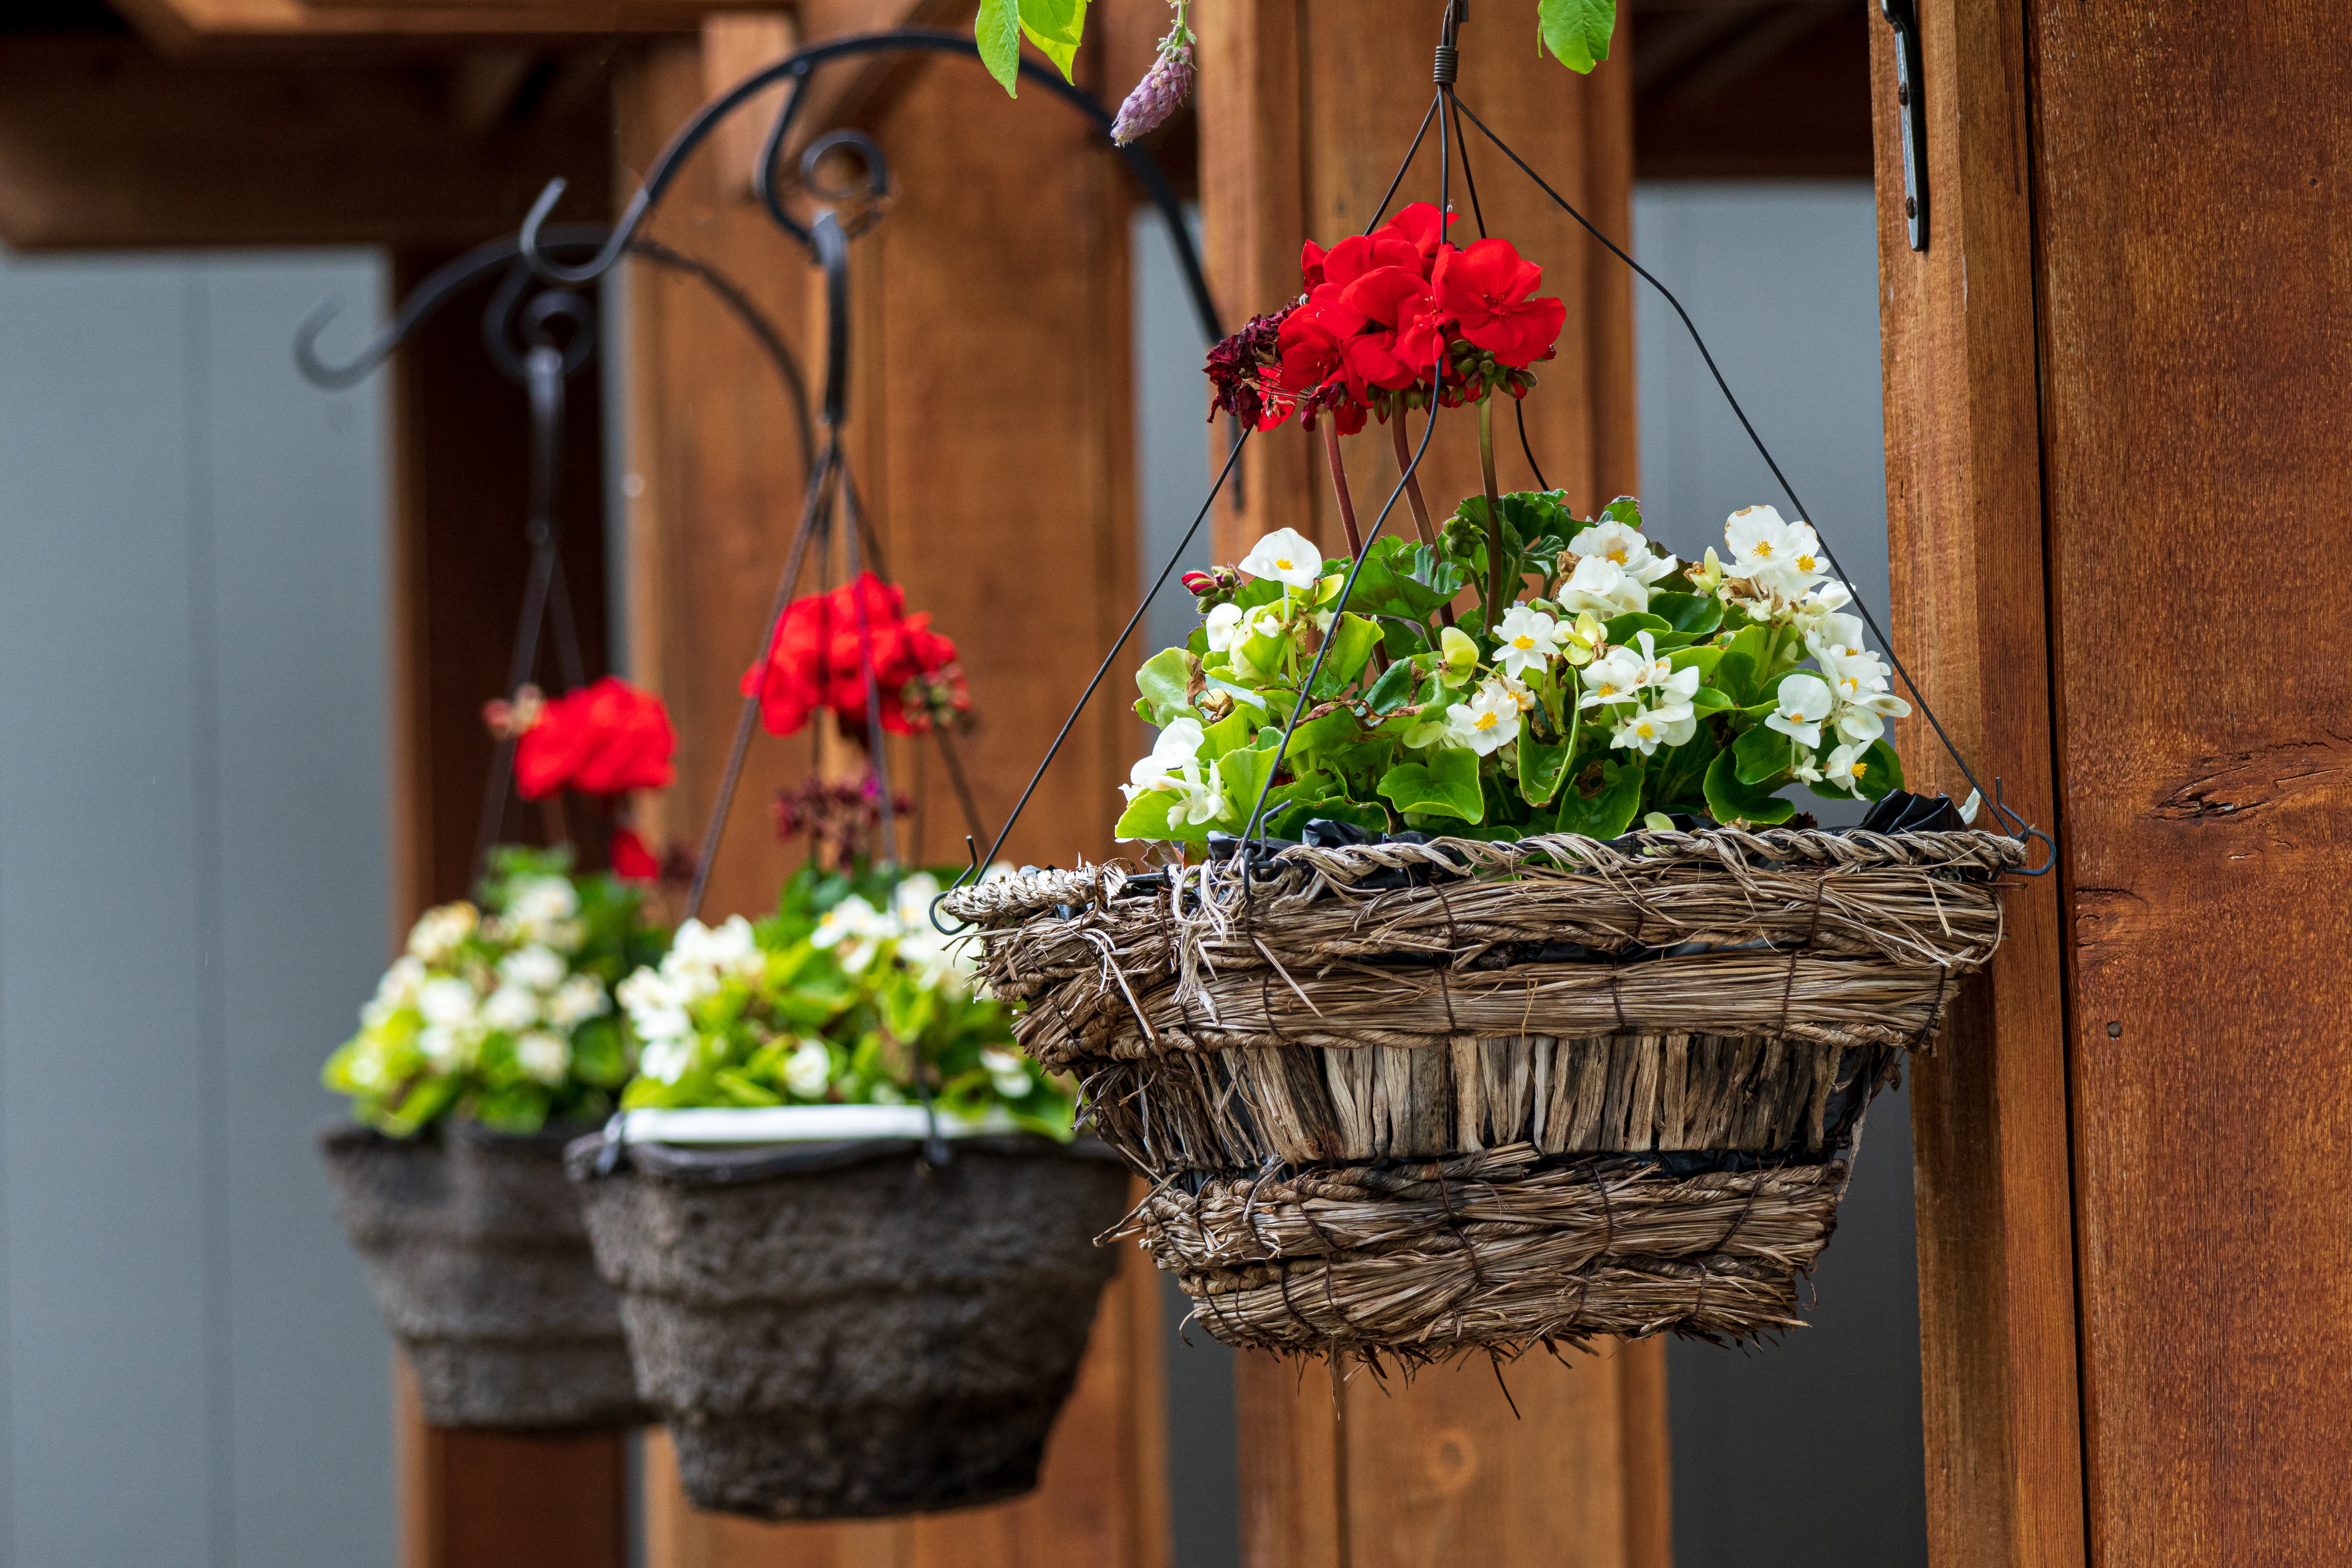
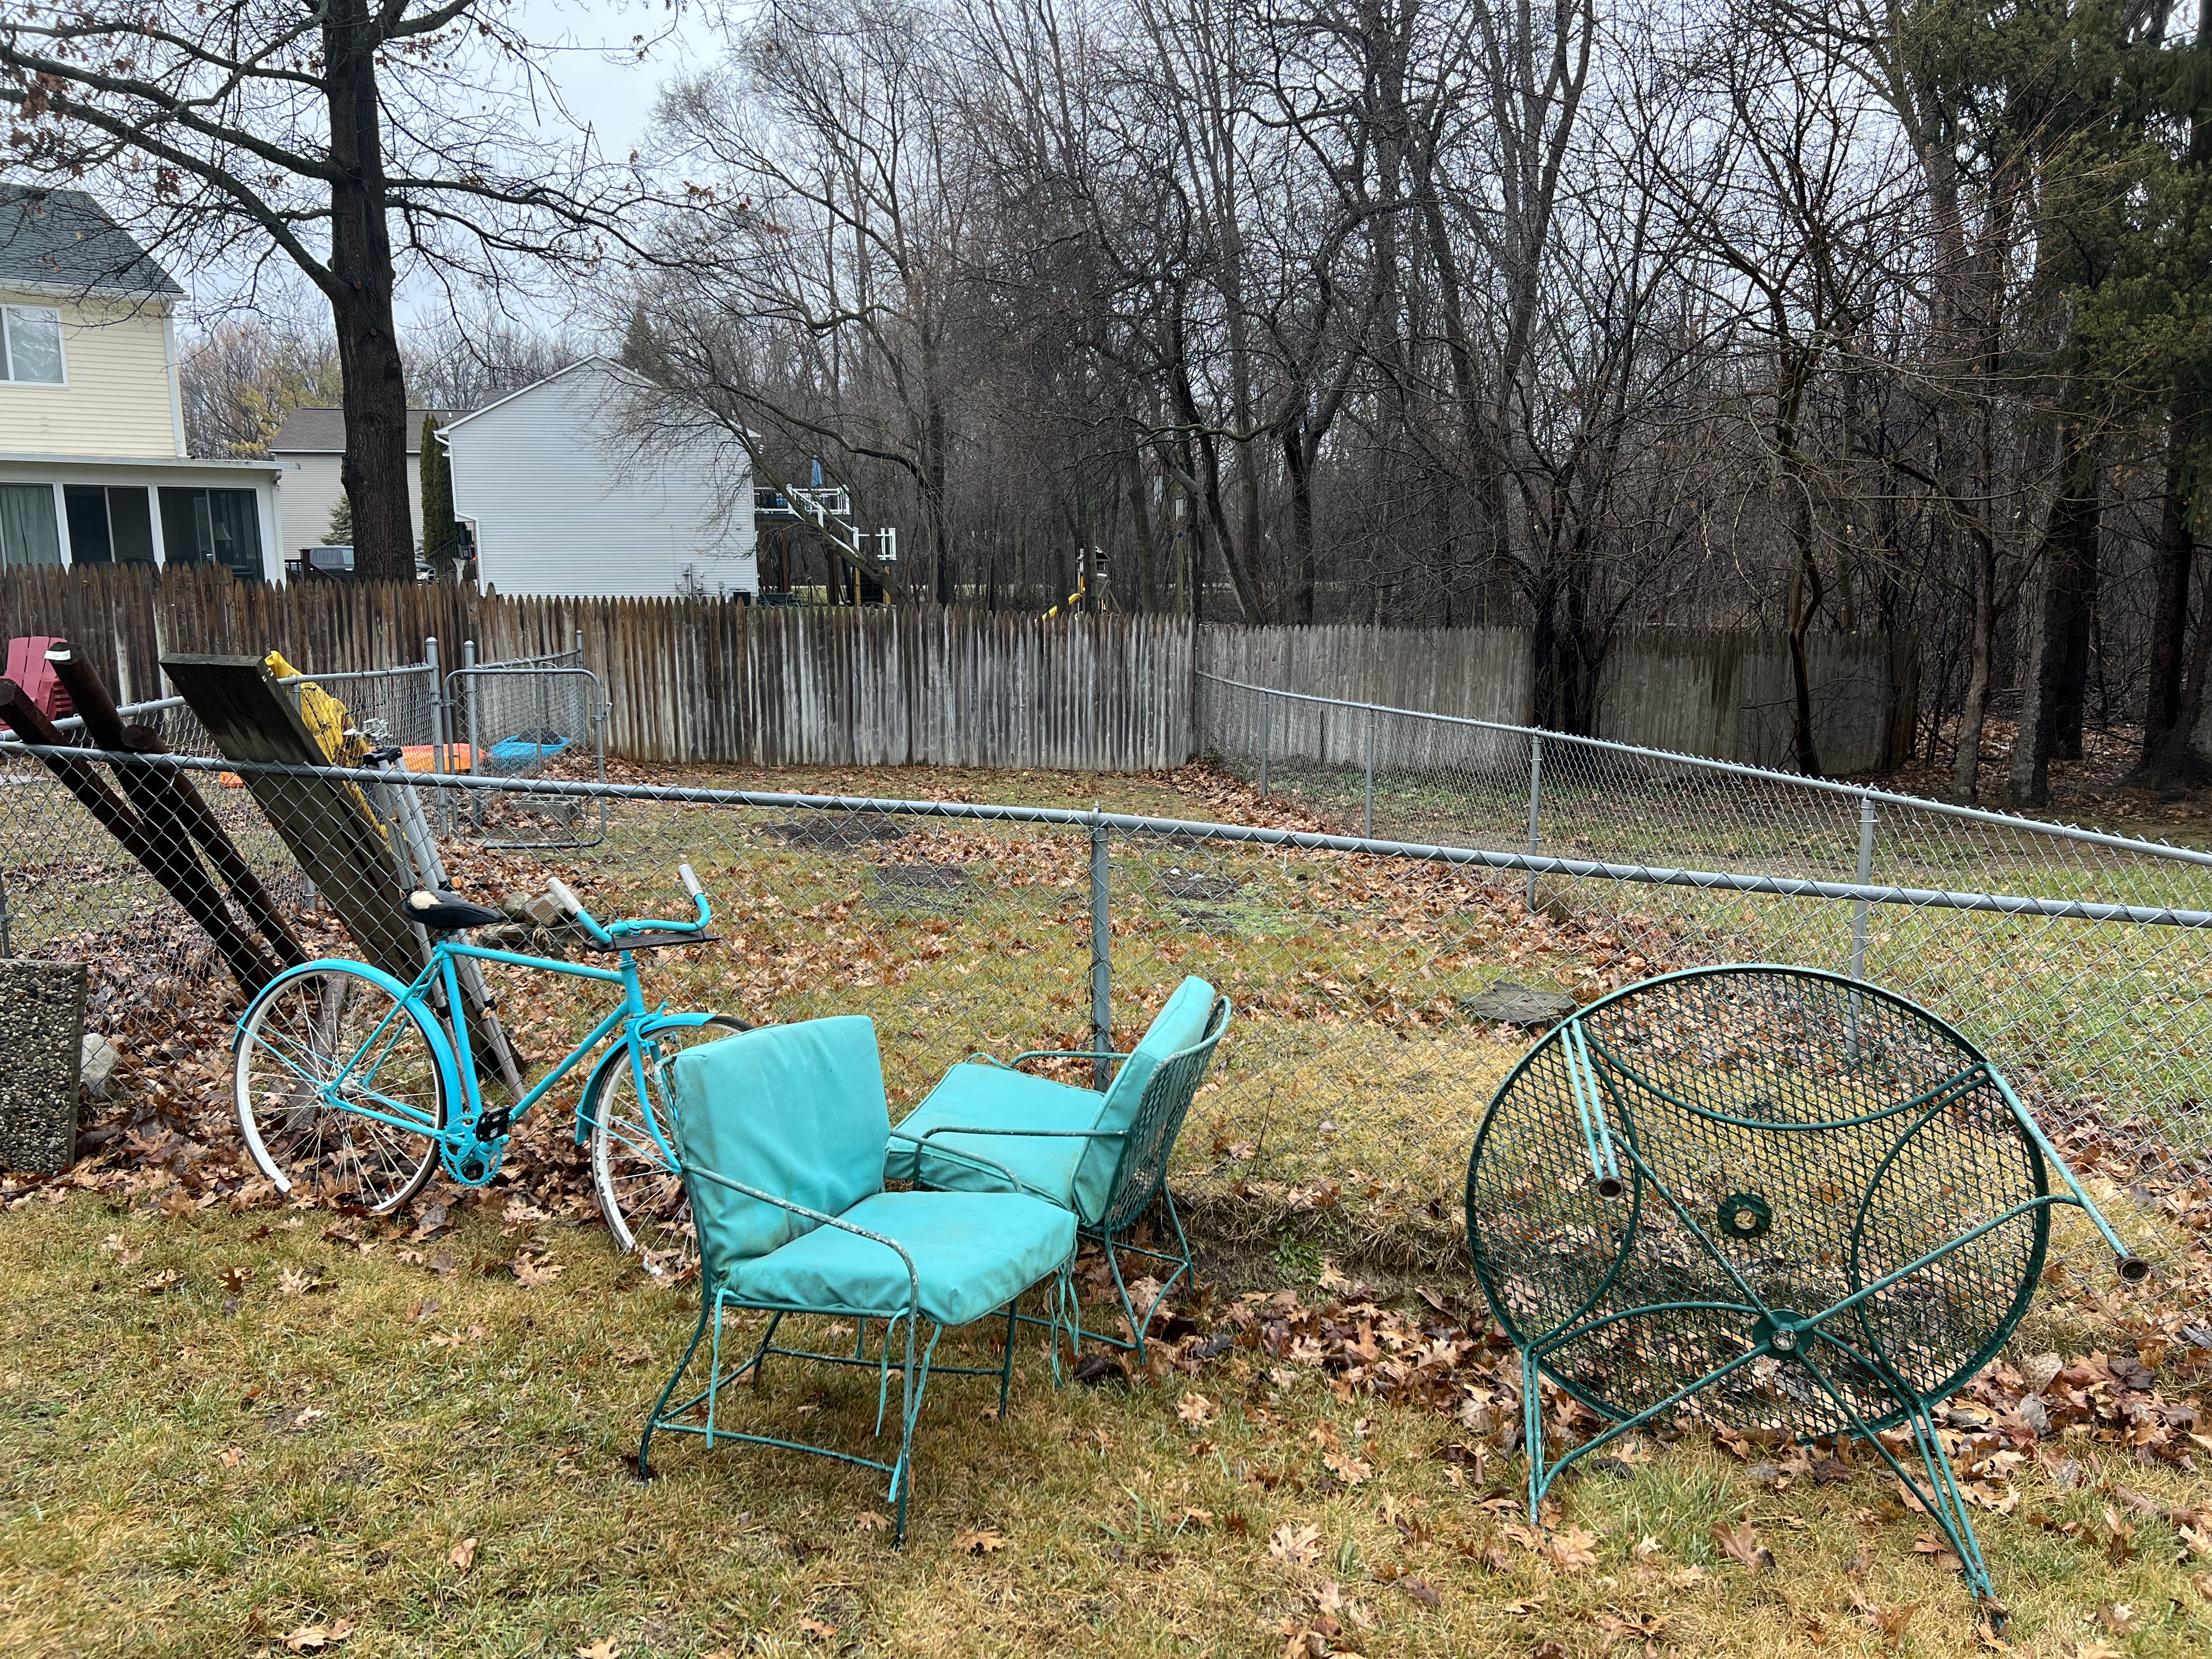
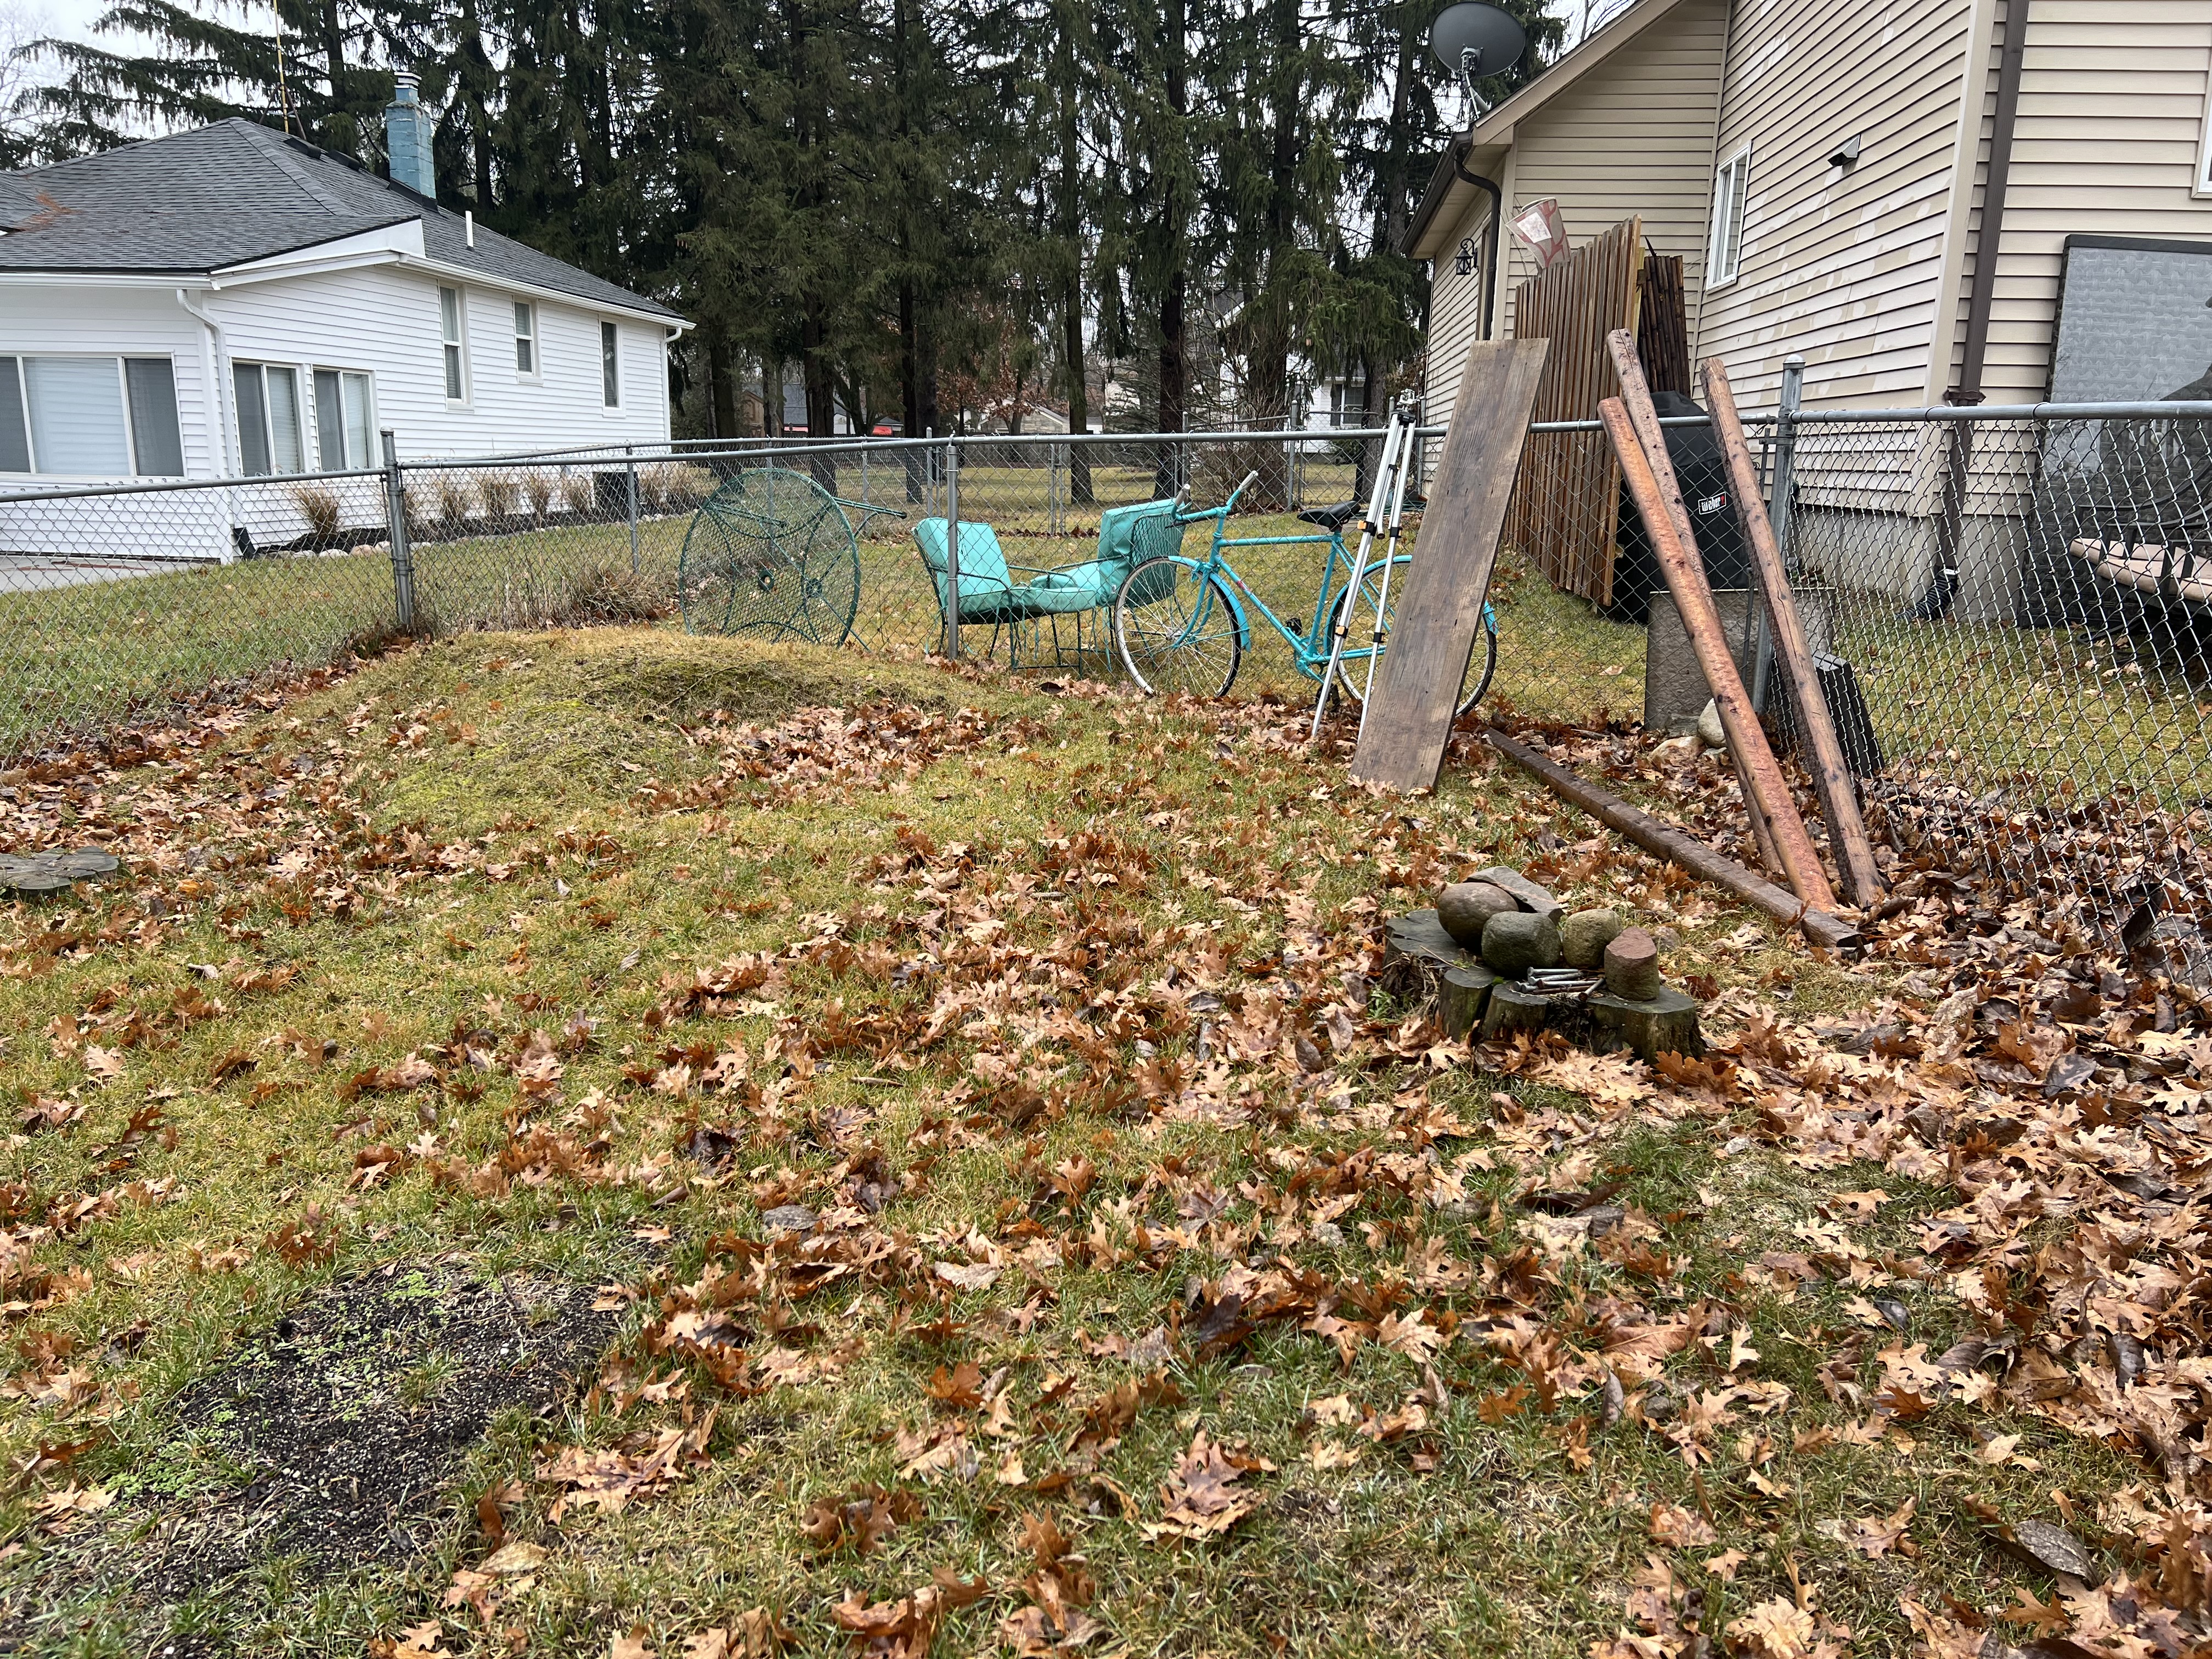
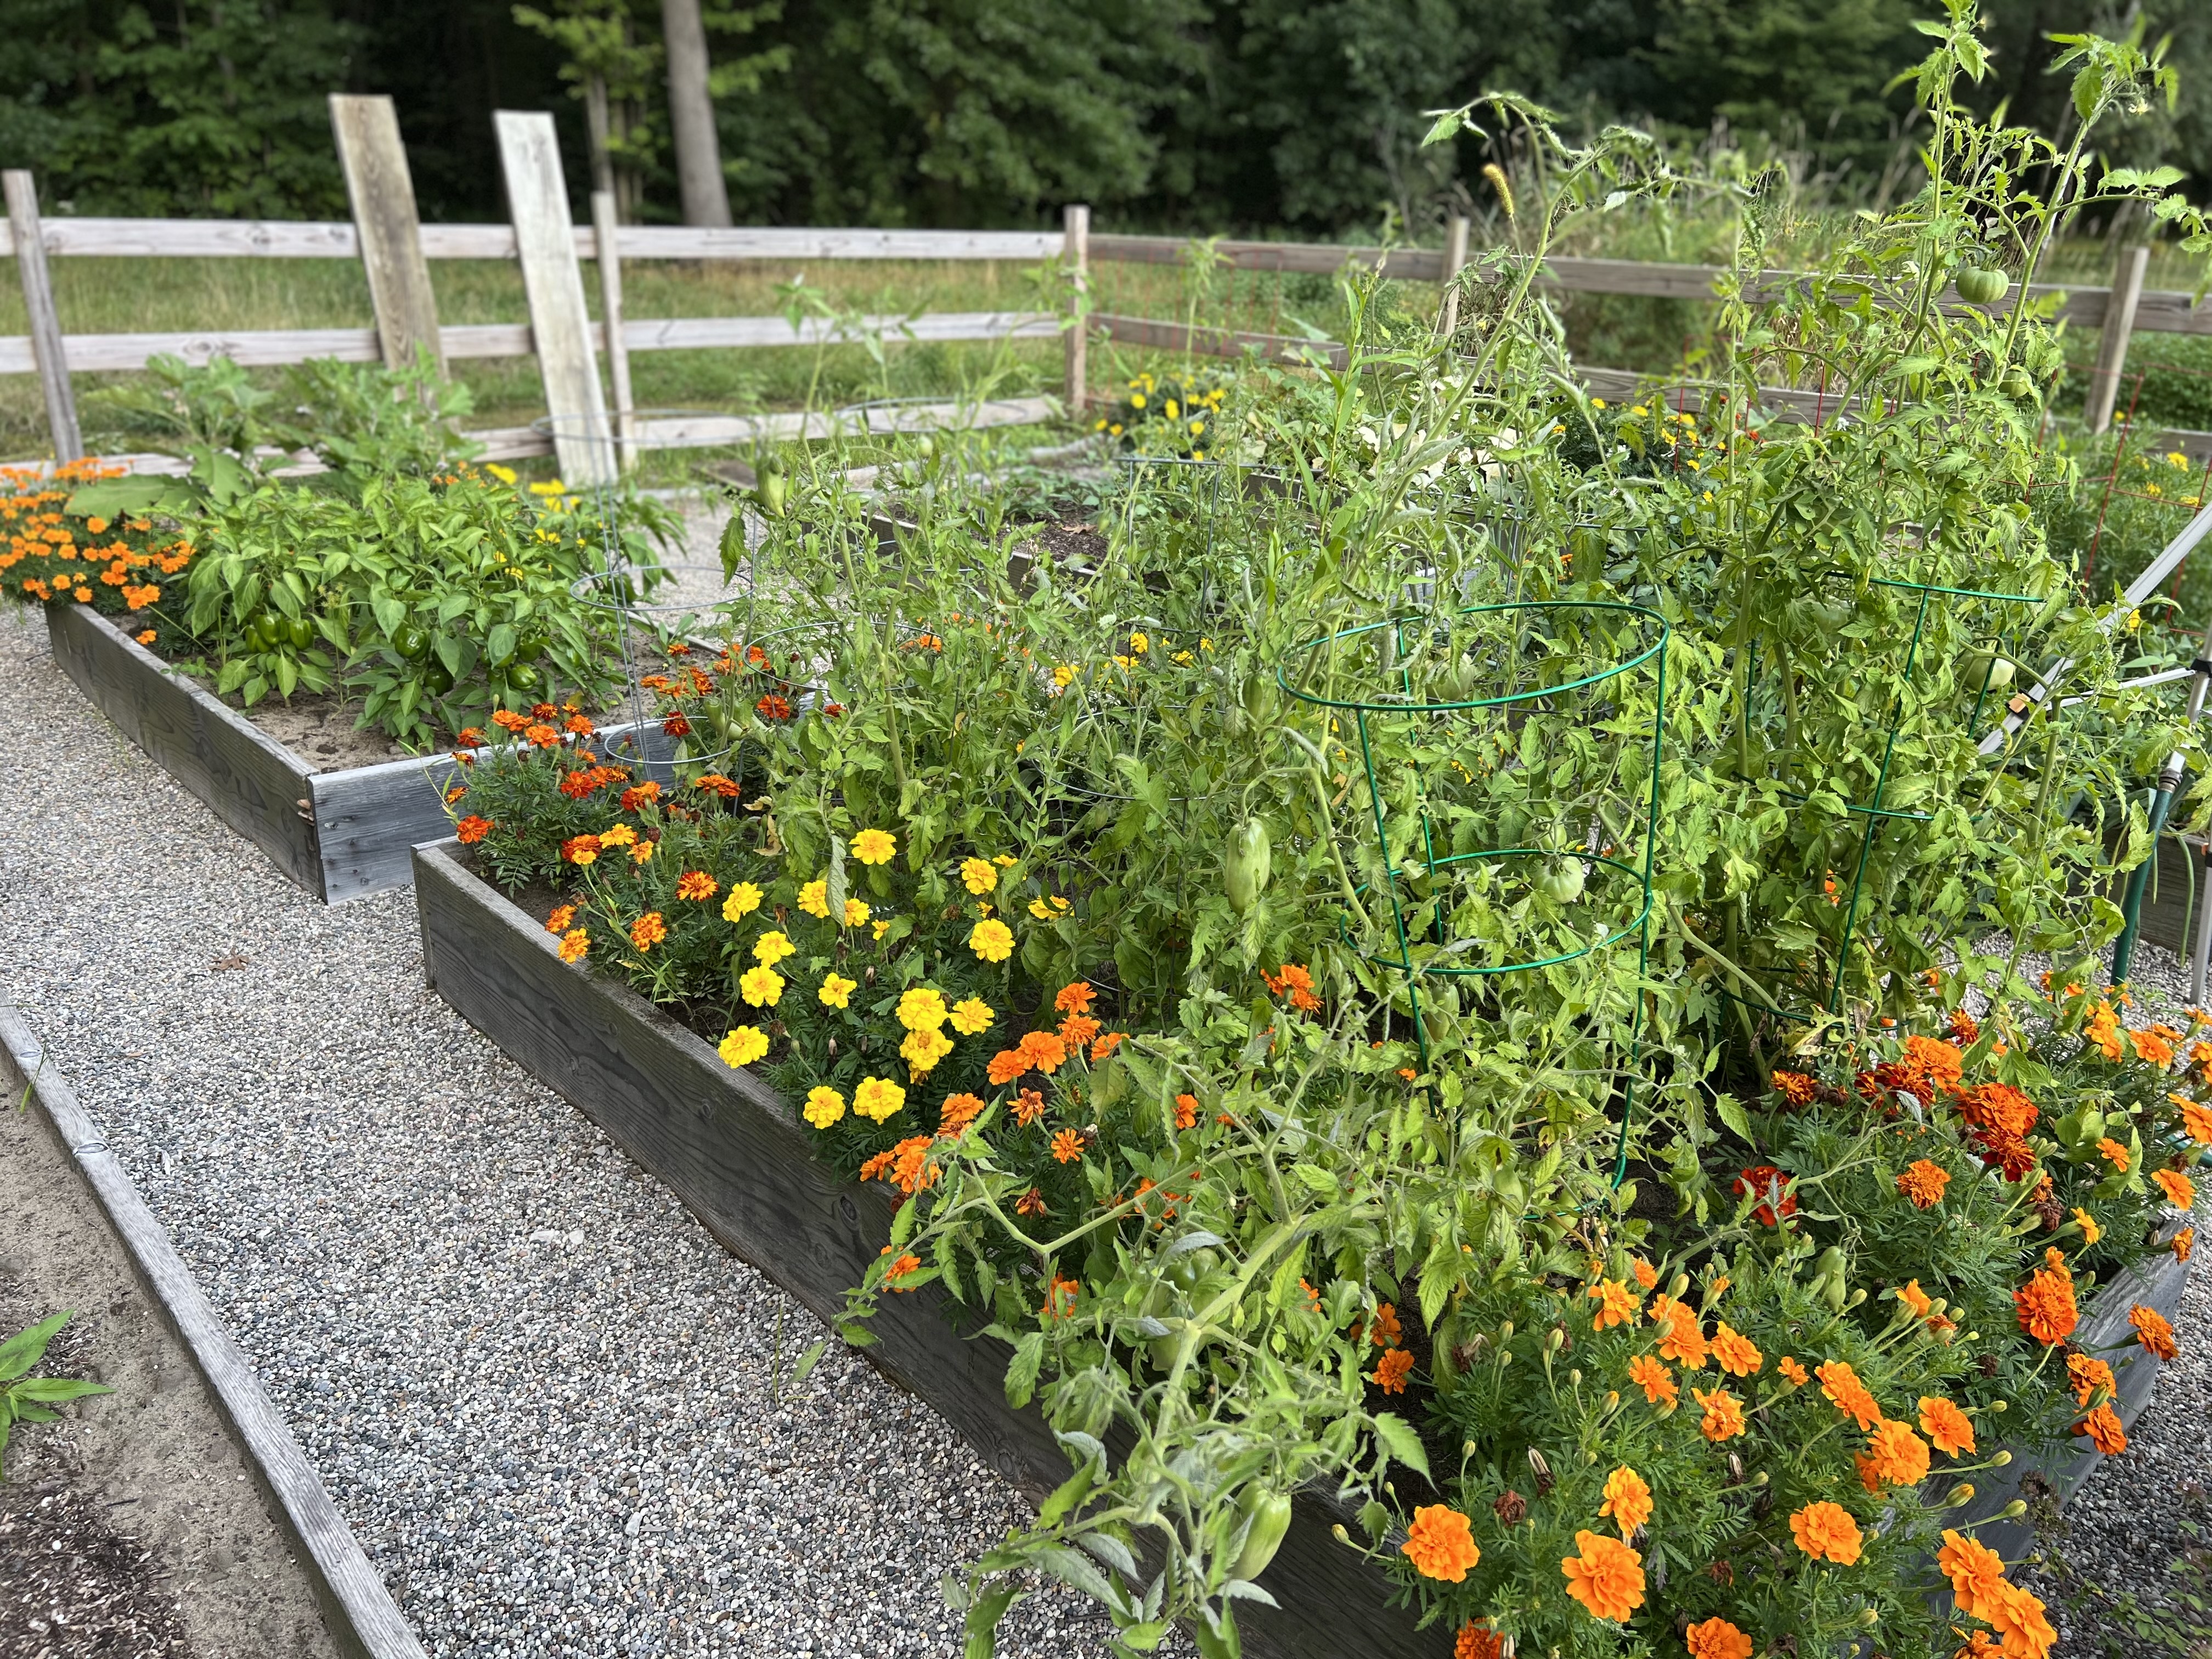
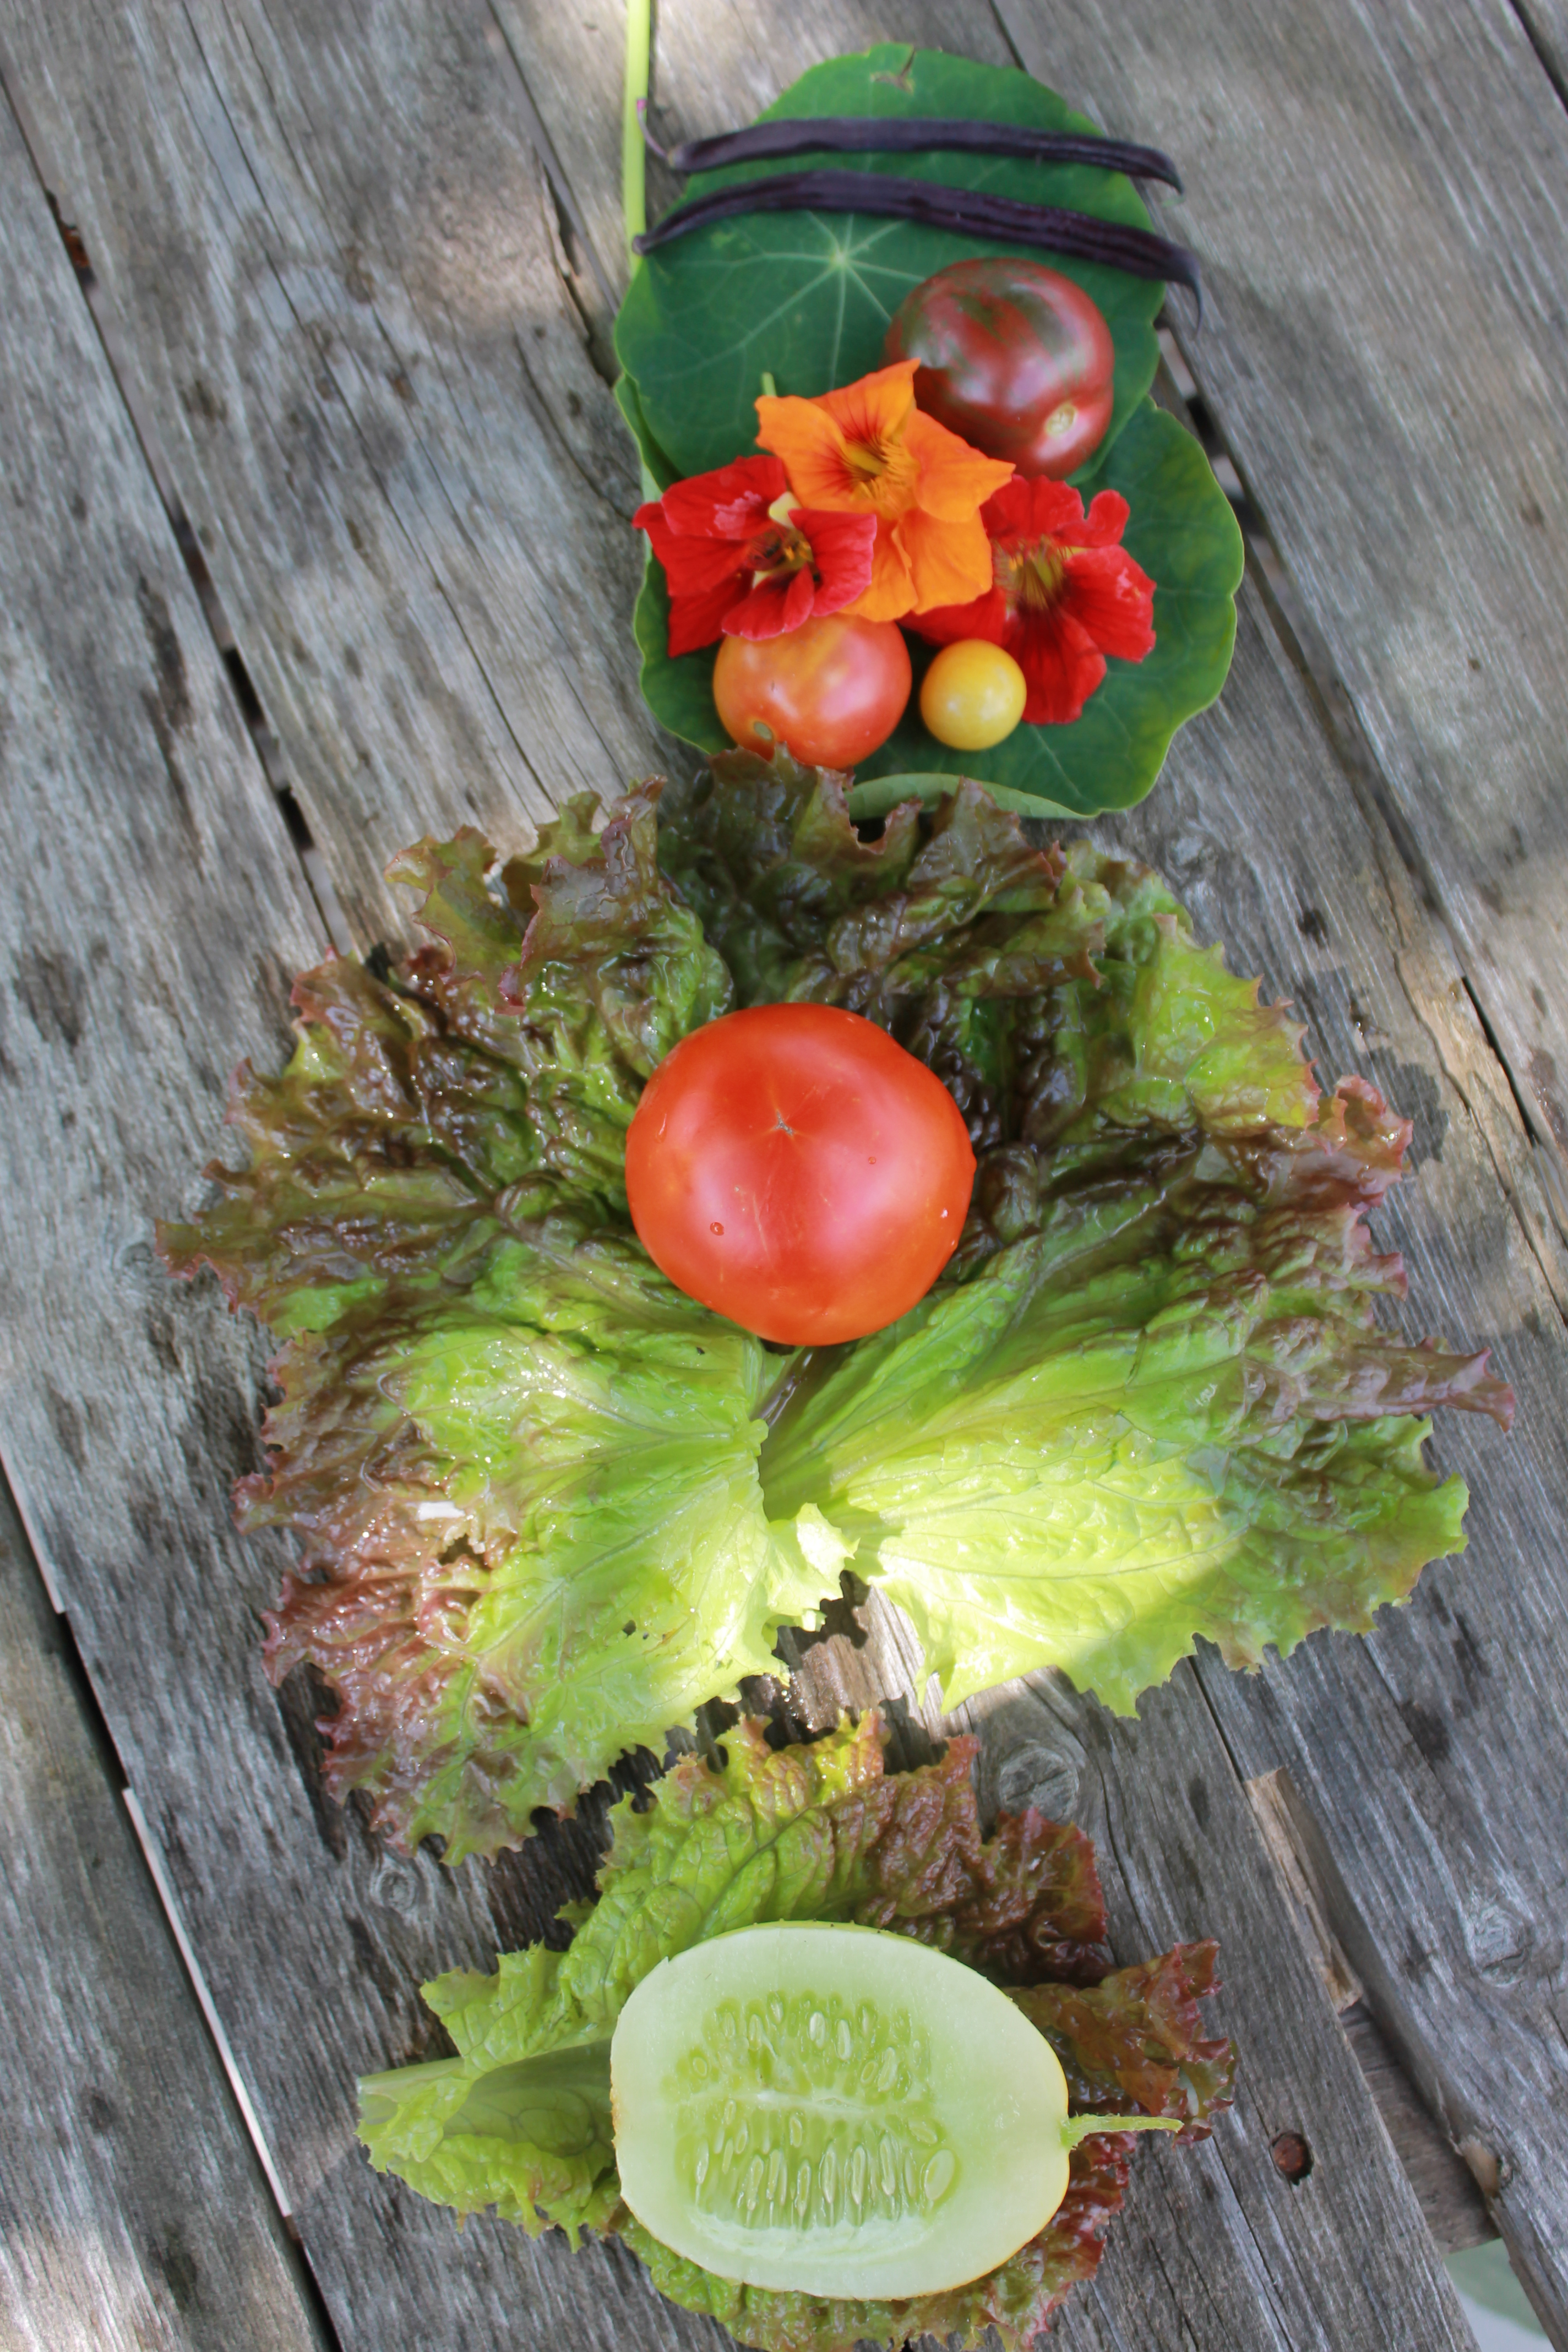
~Nasturtiums: Not all edible flowers allow the luxury of having both the leaves and blossoms to eat, but nasturtiums do!  They add a peppery flavor to any garden salad not to mention how beautiful they look sitting on the top! My personal favorite is Moonglow (in some catalogs referred to as Moonbeam or Moonlight). This buttery yellow vining nasturtium can become a mass of 7′-8′ vines that fill in a space. I have already planted one in a large crate or barrel and elevated on a cute garden chair and let it literally just pour out. It is simply stunning (see photo).  Saving seeds from these plants is extremely easy as well. The beauty about this plant is that it continually blooms all summer long well into the first hard freeze. As the flowers die off, they quickly turn into a seed pod, drop off and can be collected quite easily after the frost. Keep the pea size seeds in a glass jar or in a plastic freezer container and sow liberally next season. They can be started in the green house or sown into the ground after the last frost date for your area.  I do it the cheater way… I just leave several seeds where I want them to grow back, scratch a bit of dirt over them, place a marker there so I don’t forget in the spring and wait to see those cute little sprouts in the spring! I grow many for market to sell as companions with my tomato, basil & marigolds. They will help ward off some bad bugs from your tomatoes.  This plant really is a hard worker! If you’ve never given her a chance, this is the year for it. 
Some other varieties that are superb are Peach Melba, Cherries Jubilee, Empress of India. Some nasturtiums are mounding types while others are vining. Be sure to read type descriptions so you don’t end up with something you don’t want! They also love being in containers including window boxes! 

~Day Lily: Just the flower here folks. Be sure to take the stamens out, they are bitter and could make you sick. Try stuffing them with a cream cheese and bacon mixture, deep fry

for an appetizer.Very good!

~Pansy & Viola: Not really much of a definite flavor. More simply for the beauty they add to a salad. 
Take viola’s and freeze in your ice cubes for a very pretty effect for special guests.
  salad.
Take viola’s and freeze in your ice cubes for a very pretty effect for special guests.

~Squash Blossoms: Many of us plant a zucchini or yellow squash plant with the anticipation of that first grilling of them, I know I do. We love to take some fresh Thyme and soak in olive oil and then brush on while grilling… oh I can’t wait for summer!!!! Anyway, we too also get to a point where we may be getting tired of it and our friends no longer answer the phone when they see our name on the caller I.D. LOL! Well, don’t yank the plant out, give the blossoms a try. See below for a great recipe. Be sure to take the stamens out. After you have your fill of the blossoms, you’ll be ready to start back on the squash!

Be sure to check out this http://www.gardenguilds.com for lots of more info and more great recipes! Follow this link for a comprehensive list to edibles!
http://www.gardenguides.com/daylily-flower-marjoram.html

~Squash Blossoms: Many of us plant a zucchini or yellow squash plant with the anticipation of that first grilling of them, I know I do. We love to take some fresh Thyme and soak in olive oil and then brush on while grilling… oh I can’t wait for summer!!!! Anyway, we too also get to a point where we may be getting tired of it and our friends no longer answer the phone when they see our name on the caller I.D. LOL! Well, don’t yank the plant out, give the blossoms a try. See below for a great recipe.  Be sure to take the stamens out.  After you have your fill of the blossoms, you’ll be ready to start back on the squash!

Be sure to check out this http://www.gardenguilds.com for lots of more info and more great recipes!  Follow this link for a comprehensive list to edibles!
http://www.gardenguides.com/daylily-flower-marjoram.html

Here are some yummy recipes that will help you to incorporate some of those edible flowers! Enjoy Friends!
Rose Geranium Cake

There are two preparations that must be done the night before making this cake and frosting… wrapping sticks of butter with leaves AND making the rose geranium sugar for the frosting.

PREPARE the night before:

24 Rose geranium leaves
4 1/4 cup sticks butter (1 pound)
Rinse leaves and wrap 5 or 6 leaves around each stick of butter. Wrap butter in foil or plastic wrap, refrigerate overnight.

Rose Geranium Frosting Sugar
– prepared the night before as well
1 1/2 cups raw organic sugar, divided
3 or 4 fresh rose geranium leaves
Use a container with a tightly fitted lid and pour 3/4 cup sugar into container. Wash rose geranium leaves, add to sugar container. Cover with another 3/4 cup sugar. Cover container and let stand overnight. Remove leaves before using sugar.

NEXT DAY:  

Cake: 
1 3/4 cup sugar
6 egg whites
3 cup cake flower, sifted
4 tsp. baking powder
1/2 tsp. salt
3/4 cup milk
1/2 cup water
1 tsp. vanilla extract

1. Remove leaves from butter (save leaves); gradually add sugar, creaming until light and fluffy. Add egg whites two at a time, beating well after each additions.
2. Sift together flower, baking powder and salt; combine milk, water and vanilla. Alternately add dry ingredients and milk mixture to creamed mixture, beginning and ending with dry ingredients; beat smooth after each new addition. Grease and flour two 9″ round or 8″ round layer cake pans.
3. Arrange 10-12 rose geranium leaves, including those saved from the butter) on bottom of each pan. spoon batter over leaves and bake in a 350 degree oven for 30-35 minutes or until done.
4. Cool in pans for 10 minutes. Remove layers from pans and let cool on racks. Gently remove rose geranium leaves from bottom and discard.

Frosting:
1 1/2 cup rose geranium sugar
2 egg whites
1/3 cup cold water
1/4 tsp. cream of tartar
dash of salt

1. Place rose geranium sugar, egg whites, water, cream of tartar and salt in top of double boiler, (do not over heat). Beat 1 minute with electric beater. Place over, but not touching boiling water; cook, beating constantly until frosting forms stiff peaks (about 7 minutes). Remove from boiling water, beat until spreading consistency (about 2 minutes). Frost between layers and spread frosting to cover sides and top of 2 layer cake. Garnish frosted cake with candied rose geranium leaves made by rolling dampened leaves in sugar.

HINT: If this recipe is too time consuming, but you want a special cake, just cover the bottom of a cake pan with the rose geranium leaves and pour batter fro a pound cake, or even a plain white cake, over leaves. Bake and remove leaves from bottom after baking. imparts a wonderful flavor to cakes!

Candied Violets
Candied Violets aer wonderful to top a chocolate cake. They can be used to decorate with fro a garden party or summer wedding shower. These delicate edible confredtctions can be used a sdecorations on cakes or simply put out for nibblers on a glass plate. Both scent adn flavoir are exotic.

1 egg white
perfect biolets and their leaves
granulated sugar

Whip egg white until it is frohy but does not stand in peaks. Gather perfect violets and thier leaves; wash them gently adn quickly in cold water and drip dry.
When dry, dip each vilet or leaf in the egg white and roll it quicky in the sugare to caost evenly, taking care not to get the sugar too thick.
Lay out on wasxe paper to dry well seperated.
In several hours or a day, the blossoms will be quite crisp and can keep for several months without losing fragrance or flavor.
Store in airtight tin, layered between waxed paper.
VARIATIONS: Try using mint leaves or pansies!


Lavender Sugar
In a food processor finely chop 2 bablespoons dried lavender flowers. Add 1 cup of sugar. Blend. Store in an airtight container.
A nice addition to your next tea party!

Lavender Cream

1 cup Lavender blossoms
2 cups Whipping cream

Pour whipping cream over fresh cut leavender flowers and leave overnight. Next day remove lavender and whip cream… wonderful on fruit salad or use to frost a cake!

This only touches the bottom of the ice berg! If you are interested in more on edible flowers and recipes, just google it!

Happy Day,
Jean