“It’s really important to teach people how to get food, how to grow it, how to pick it, how to prepare it and what’s safe to eat.” ― Arthur Potts Dawson
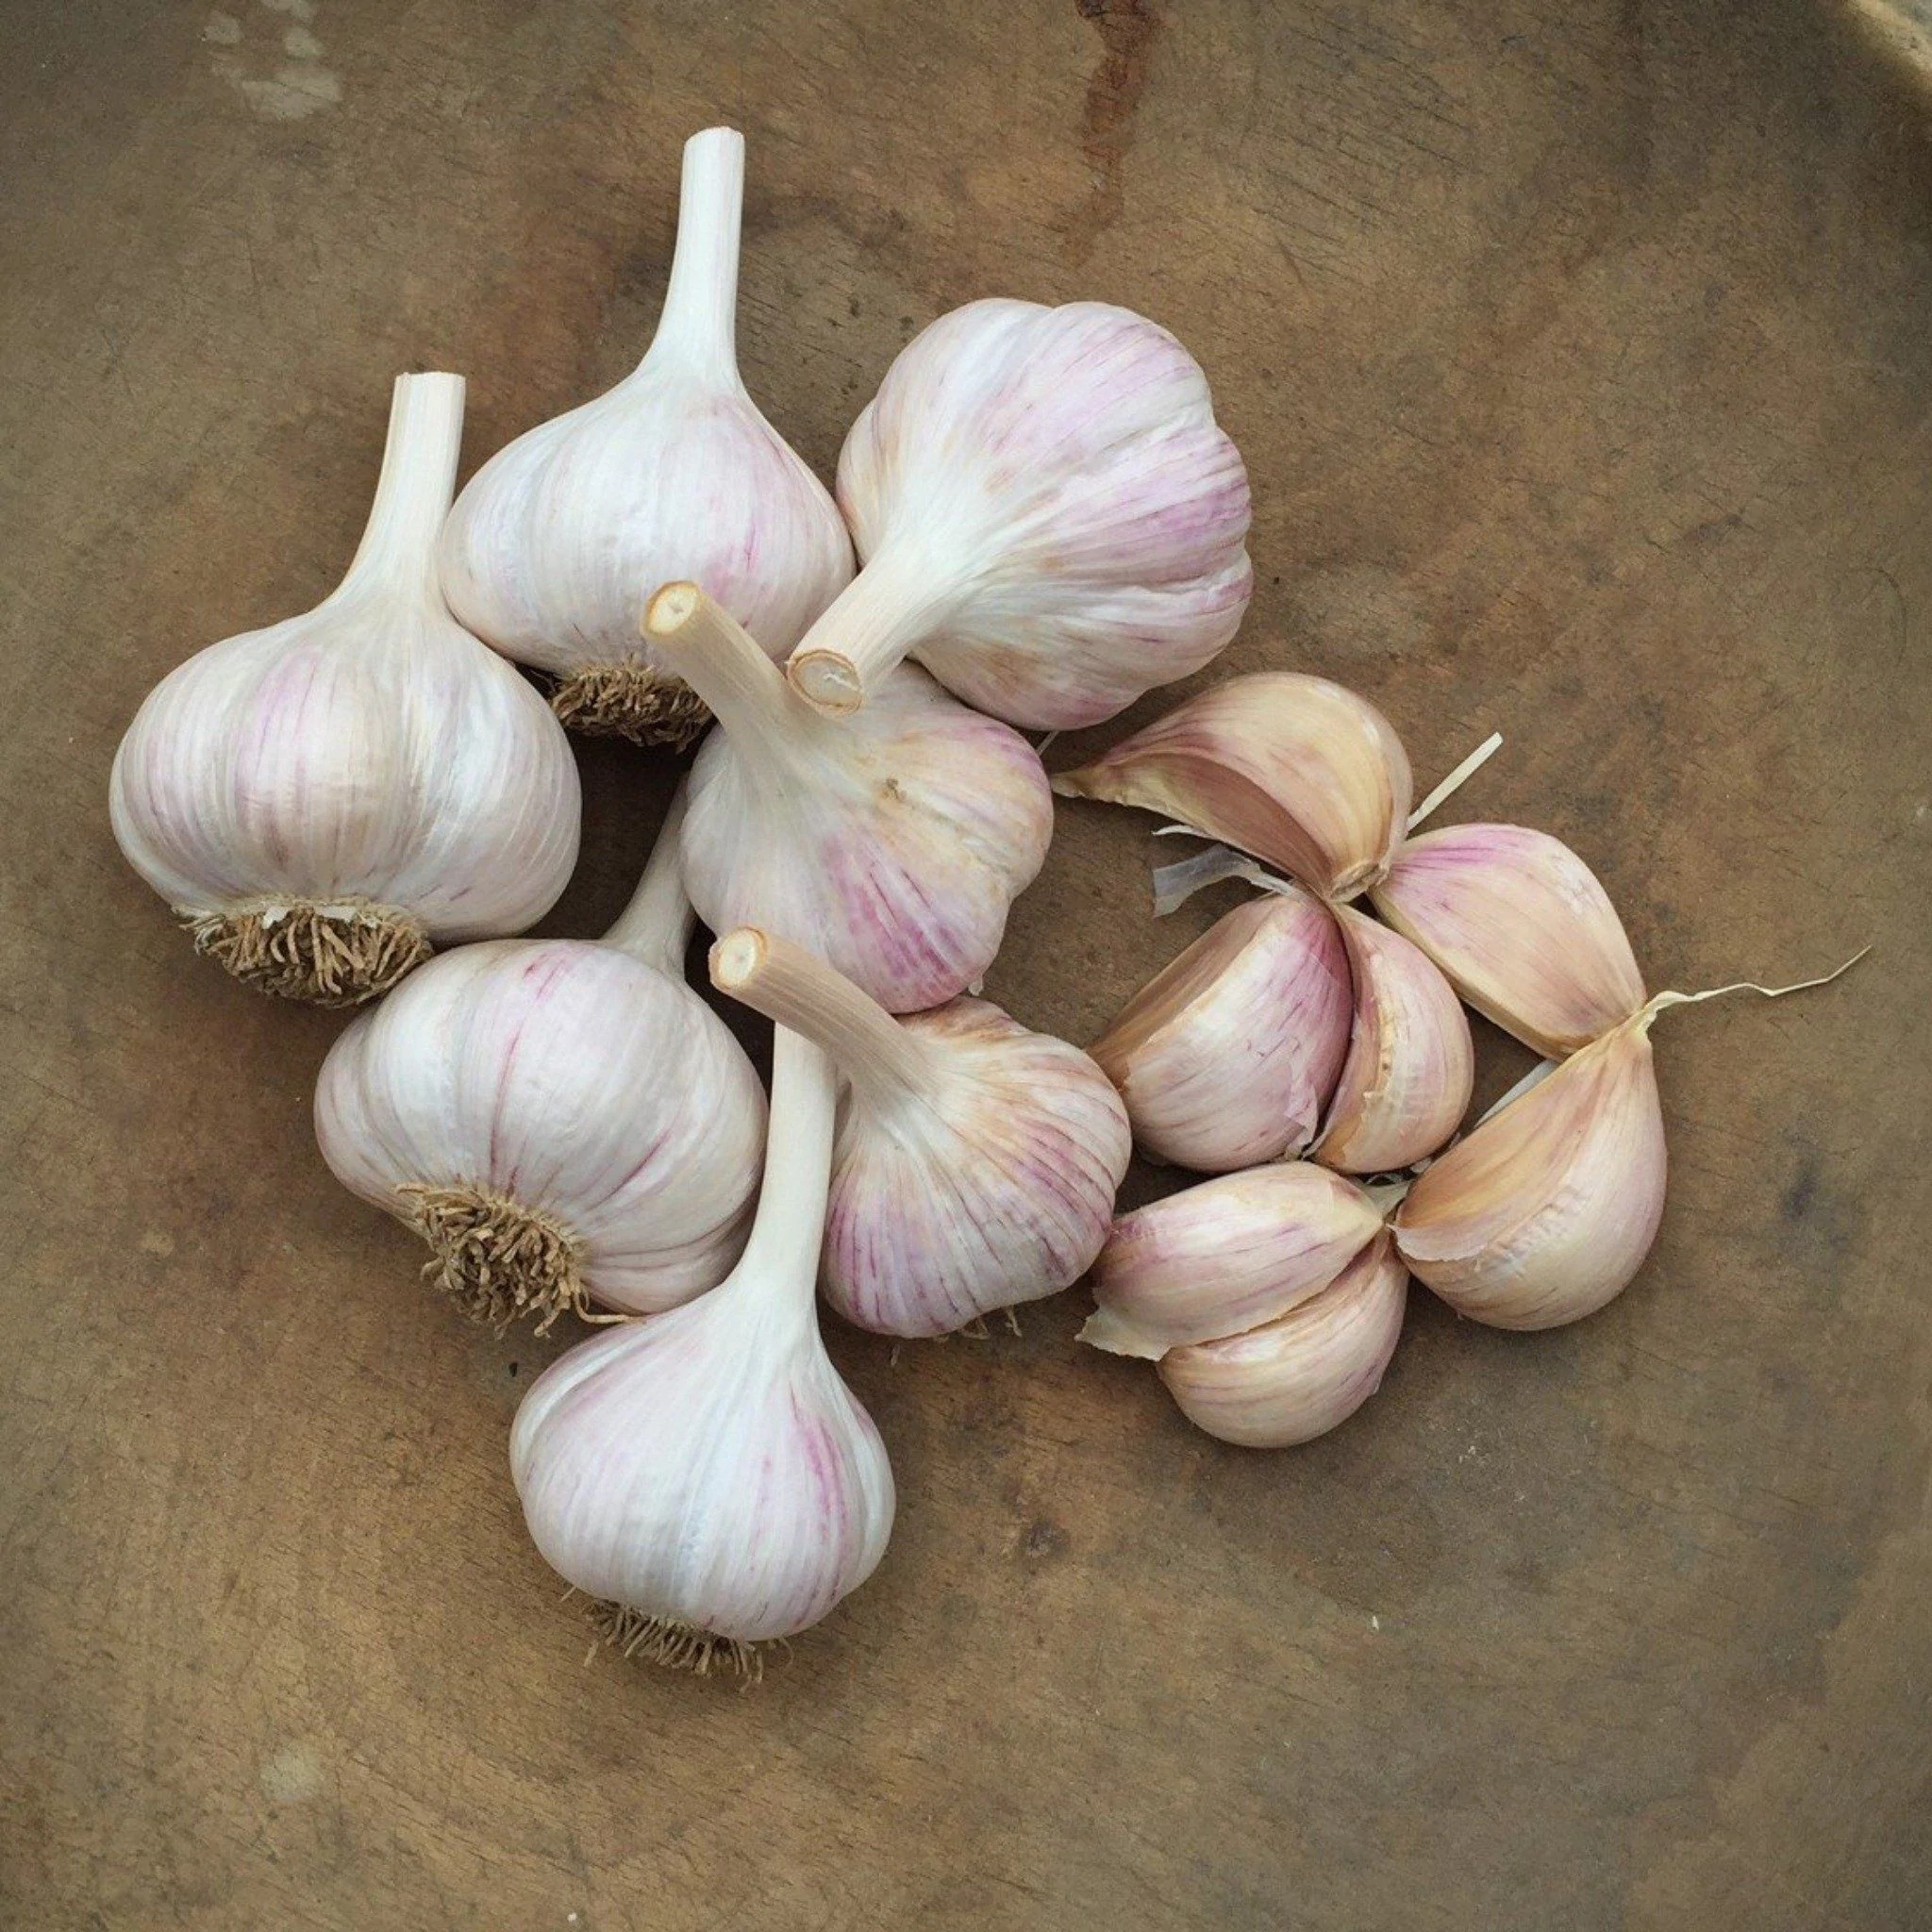
As many of you know, I love to grow & cook with garlic. What some of you may not know is there are many tips & tricks on how to properly harvest, cure, and store your homegrown garlic!
If you’re a home gardener looking to take your garlic-growing skills to the next level, then look no further! In today’s comprehensive step-by-step post, I’ll unlock the secrets to perfectly harvested, cured, and stored garlic.
Whether you’re a seasoned gardener or just starting out, this guide will provide you with all the information you need to ensure a bountiful garlic harvest that will last throughout the year. From choosing the right garlic variety to planting and caring for your garlic bulbs, we will cover it all. You’ll discover the best time to harvest your garlic, the correct way to cure it for optimal flavor and storage, and effective methods for storing your garlic to maintain its freshness. So grab your gardening gloves and get ready to become a garlic-growing expert with our expert tips and tricks!
Scroll down for some yummy garlic infused olive oil recipes, and how to roast garlic!
When to Harvest Garlic
Knowing when to harvest your garlic is crucial for achieving the best flavor and storage life. Garlic is typically ready for harvest when the lower leaves have turned yellow and dried out, and the upper leaves are still green. This usually occurs in the late spring or early summer, depending on when you planted your garlic.
To determine if your garlic is ready for harvest, gently dig up one bulb and examine its condition. The bulb should be fully formed with tightly wrapped cloves. If the cloves are still small and not fully developed, give your garlic a little more time to grow. It’s better to wait until the bulbs have reached their full potential before harvesting.

Step-by-Step Guide to Harvesting Garlic
Harvesting garlic requires a bit of care and attention to ensure that you don’t damage the bulbs. Here’s a step-by-step guide to help you through the process:
Step 1: Prepare the soil
Before you start harvesting, it’s important to prepare the soil around your garlic plants. Gently loosen the soil with a garden fork or shovel, being careful not to damage the bulbs. This will make it easier to lift the garlic later on.
Step 2: Loosen the soil around the bulbs
Using a garden fork or shovel, carefully loosen the soil around the garlic bulbs. Start a few inches away from the stem and work your way around in a circular motion. Be gentle to avoid piercing or bruising the bulbs.
Step 3: Lift the garlic bulbs
Once the soil is loosened, you can start lifting the garlic bulbs out of the ground. Grab the stem close to the base and gently pull upward. The bulbs should come out easily if they are fully mature. If you encounter resistance, stop pulling and gently loosen the soil further.
Step 4: Shake off excess soil
Once the bulbs are out of the ground, gently shake off any excess soil. Be careful not to remove too much of the outer skin or damage the cloves. It’s okay if there is still some soil attached to the bulbs; you can clean them later during the curing process.
Step 5: Trim the roots and stems
Using a clean pair of scissors or pruners, trim the roots and stems of the garlic bulbs. Leave about an inch of stem attached to the bulbs. This will help with the curing process and make it easier to handle the bulbs.
Step 6: Clean and inspect the bulbs
After trimming, inspect each bulb for any signs of damage or disease. Remove any bulbs that are soft, moldy, or otherwise compromised. Cleaning the bulbs at this stage will help prevent the spread of disease during the curing process.
Step 7: Allow the bulbs to dry
To properly cure the garlic, you’ll need to allow the bulbs to dry in a well-ventilated and shady area. Avoid direct sunlight, as it can cause the bulbs to overheat and lose flavor. Lay the bulbs out in a single layer on a clean surface such as a wire rack or newspaper.
Step 8: Rotate the bulbs
During the drying process, it’s important to rotate the bulbs every few days to ensure even drying. This will help prevent any moisture buildup and reduce the risk of mold or rot. Check the bulbs regularly for any signs of spoilage and remove any bulbs that show signs of damage.
Step 9: Monitor the drying process
The drying process can take anywhere from two to four weeks, depending on the humidity levels in your area. Monitor the bulbs closely and check for any signs of mold or rot. If you notice any bulbs starting to spoil, remove them immediately to prevent further damage.
Step 10: Test for readiness
To test if the garlic bulbs are properly dried and ready for storage, gently squeeze a bulb between your fingers. The outer skin should be papery and dry, and the cloves should feel firm and fully formed. If the cloves feel squishy or soft, they may not be fully cured and need more time to dry.

How to Properly Cure Garlic
Curing garlic is a crucial step in the harvesting process that helps improve the flavor and storage life of your bulbs. Curing allows the garlic to fully dry and develop its distinct flavor profile. Here’s why curing is important and how to do it properly:
The Importance of Curing Garlic
Curing garlic helps to remove excess moisture from the bulbs, which reduces the risk of mold or rot during storage. It also allows the flavors to develop and intensify, resulting in a more robust and complex taste. Properly cured garlic will have a longer shelf life and can be stored for several months, allowing you to enjoy the fruits of your labor throughout the year.
Step-by-Step Guide to Curing Garlic
Curing garlic is a relatively simple process that requires minimal equipment and effort. Here’s a step-by-step guide to help you through the process:
Step 1: Prepare a curing space
Find a well-ventilated area that is cool, dry, and out of direct sunlight to set up your curing space. A garage, shed, or covered porch works well for this purpose. You’ll need a clean surface such as a wire rack or mesh to lay out the garlic bulbs.
Step 2: Arrange the garlic bulbs
Lay the garlic bulbs out in a single layer on the curing surface, making sure they are not touching each other. This will allow for better air circulation and help prevent mold or rot. Avoid stacking the bulbs as this can cause them to rot or develop soft spots.
Step 3: Maintain proper humidity
During the curing process, it’s important to maintain a humidity level of around 60-70%. This can be achieved by monitoring the humidity in the curing space and adjusting as needed. If the humidity is too high, you can use a dehumidifier or fans to improve air circulation. If the humidity is too low, you can place a shallow tray of water nearby to increase moisture levels.
Step 4: Allow the bulbs to cure
Leave the garlic bulbs to cure for a minimum of two weeks, but ideally three to four weeks. During this time, the bulbs will gradually dry out and develop their characteristic flavor. Check the bulbs regularly for any signs of spoilage and remove any bulbs that show signs of damage.
Step 5: Test for readiness
To test if the garlic bulbs are properly cured and ready for storage, gently squeeze a bulb between your fingers. The outer skin should be papery and dry, and the cloves should feel firm and fully formed. If the cloves feel squishy or soft, they may not be fully cured and need more time to dry.

The Importance of Curing Garlic
Curing garlic is not just about drying out the bulbs; it also plays a crucial role in enhancing the flavor and extending the storage life of the garlic. During the curing process, enzymes within the garlic break down complex compounds into simpler ones, resulting in a more pronounced and complex flavor. Additionally, curing allows excess moisture to evaporate from the bulbs, reducing the risk of mold or rot during storage.

How to Store Garlic for Long-Term Use
Proper storage is key to maintaining the freshness and flavor of your garlic for an extended period. Here are some effective methods for storing garlic:
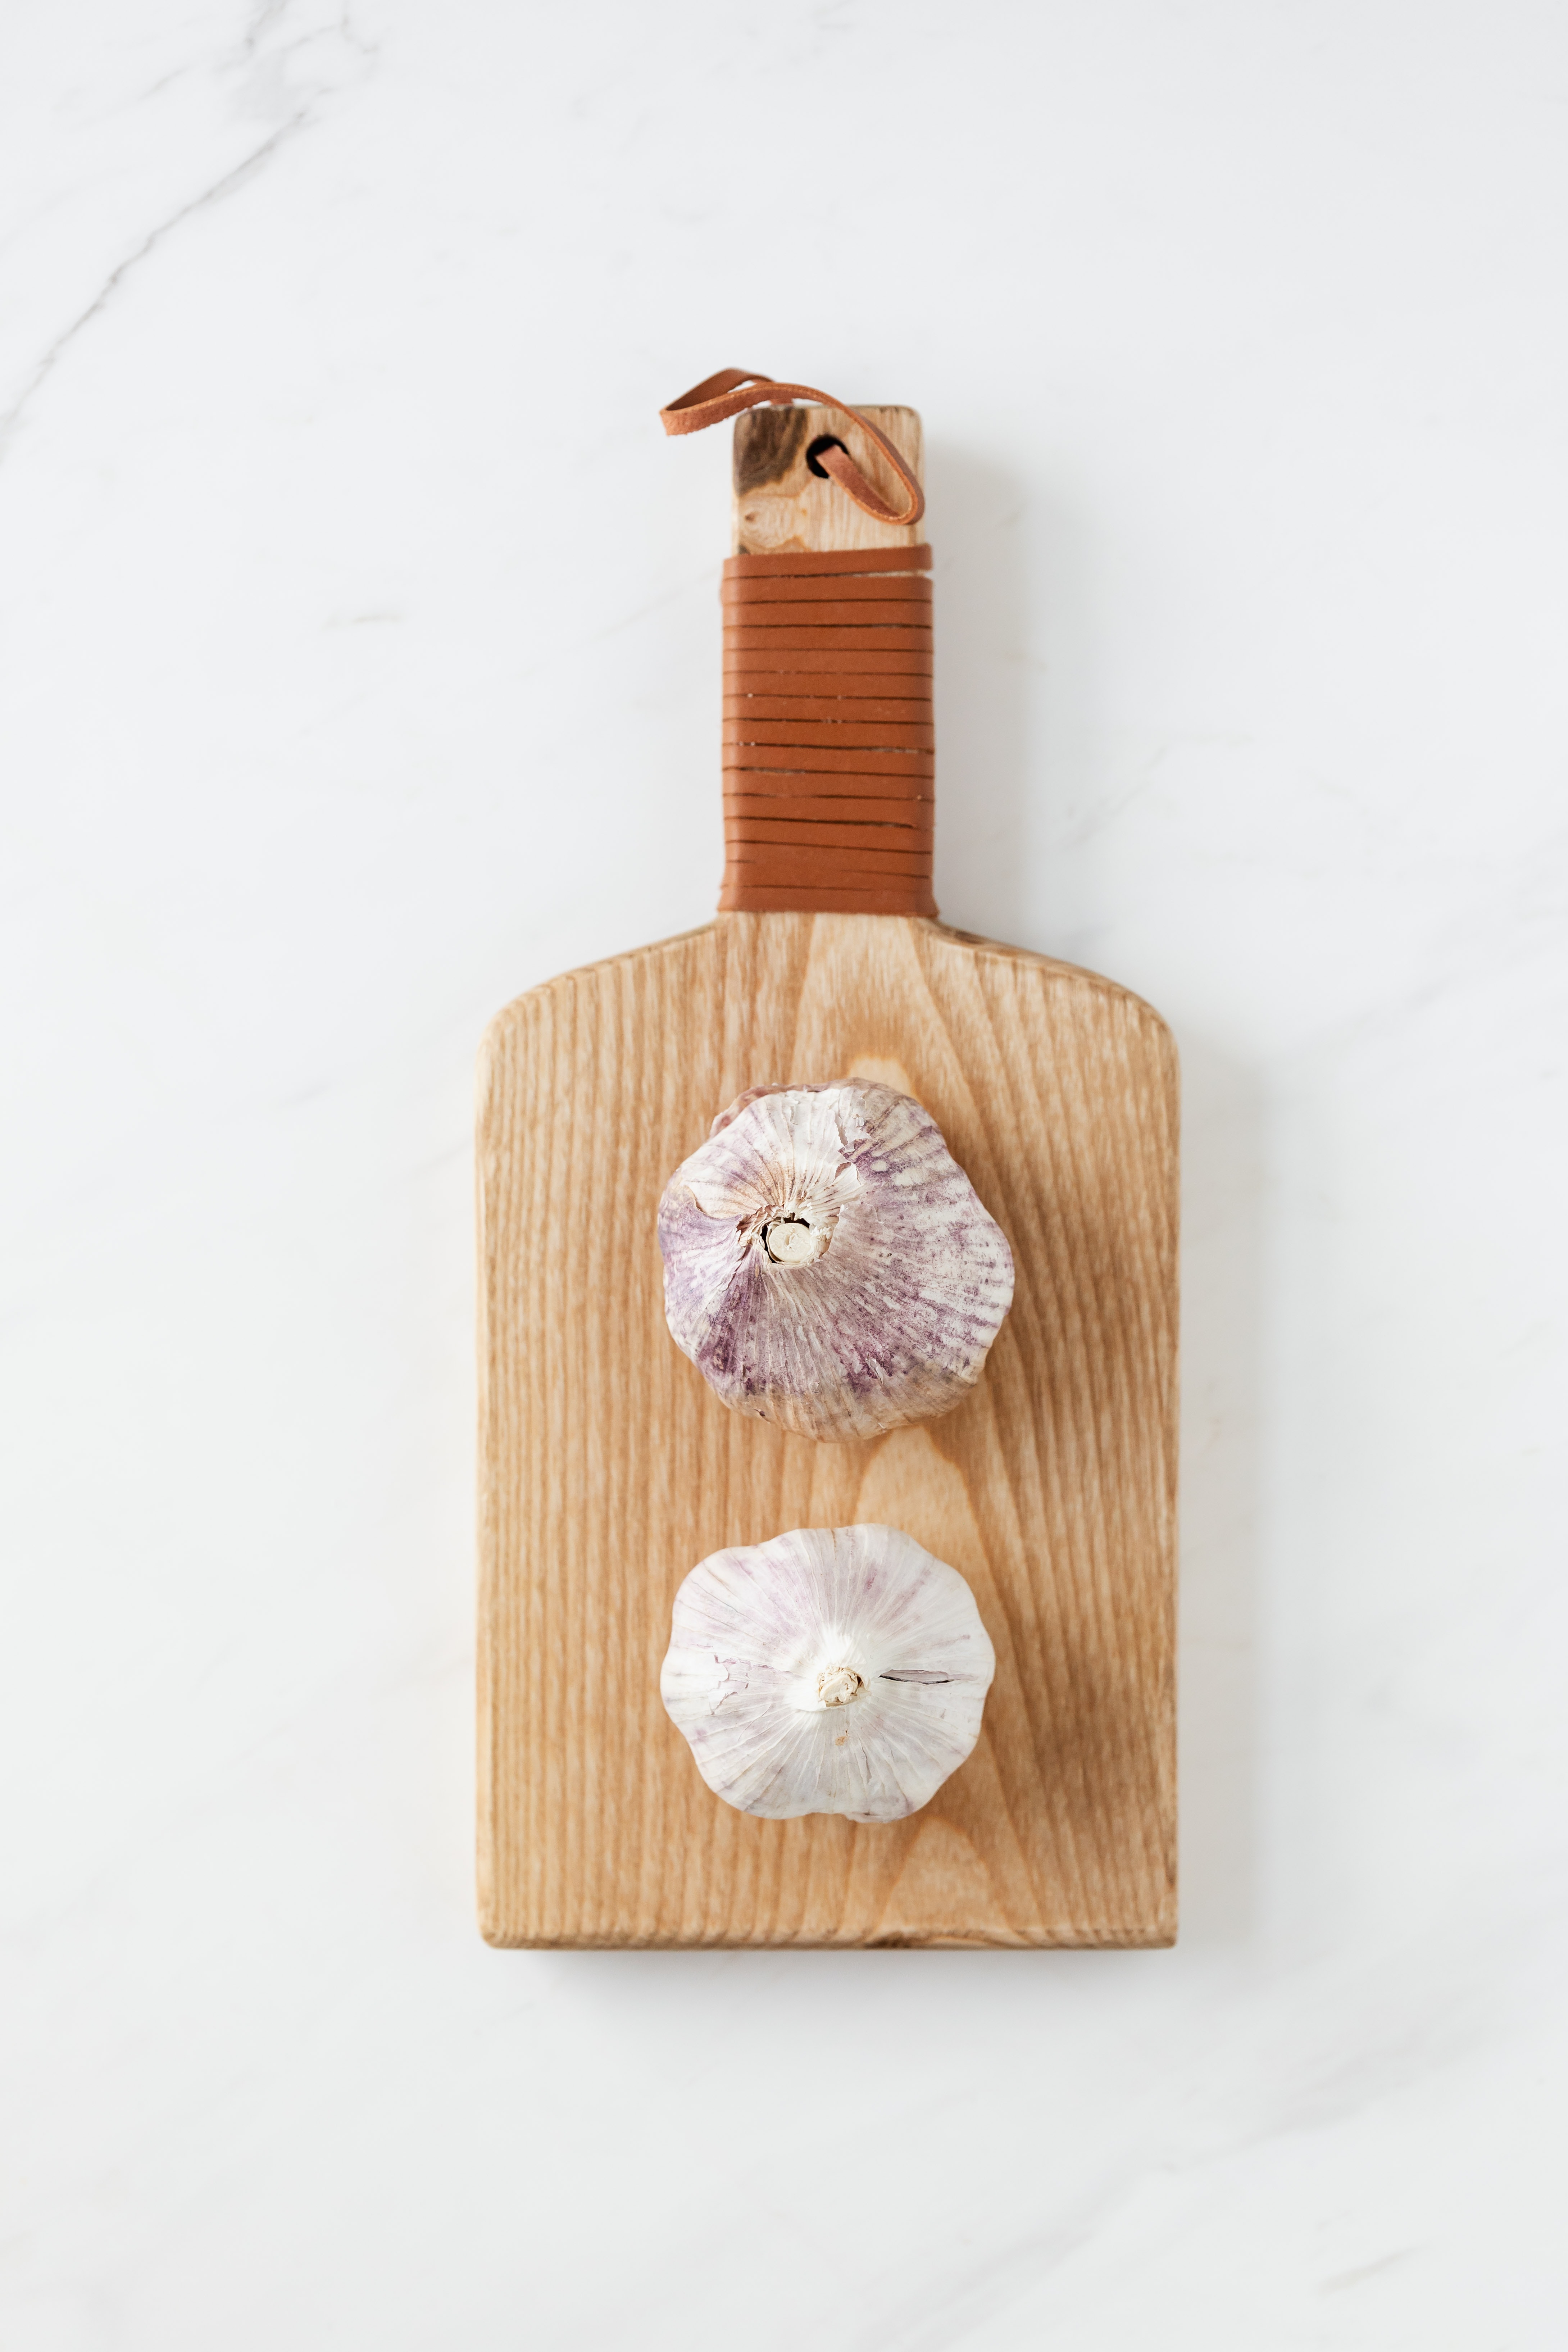
- Choose the garlic bulbs with the best shape and size for long-term storage. Bulbs that are firm, free from bruises or blemishes, and have intact outer skin will have the best chance of lasting.
- Store garlic in a cool, dark, and dry place, such as a pantry or cellar. Avoid storing garlic in the refrigerator, as the cold temperature and moisture can cause the bulbs to sprout or become moldy.
- You can store garlic bulbs loose in a mesh bag or a woven basket to allow air circulation. Alternatively, you can braid the garlic stems together and hang them in a dry, well-ventilated area.
- Regularly check your stored garlic for any signs of spoilage or sprouting. Remove any bulbs that are soft, moldy, or sprouted, as they can affect the quality of the remaining garlic.
Tips for Maintaining the Quality of Stored Garlic
To ensure that your stored garlic remains fresh and flavorful for as long as possible, here are some helpful tips:
- Keep an eye on the temperature and humidity levels of the storage area. Garlic is best stored at temperatures between 50-60°F (10-15°C) with a humidity level of around 60-70%.
- Avoid exposing stored garlic to direct sunlight, as this can cause the bulbs to sprout prematurely and reduce their quality.
- Do not remove the outer skins or break the bulbs apart until you are ready to use them. The outer skin acts as a protective layer, helping to retain moisture and prevent spoilage.
- Consider freezing chopped or minced garlic in an airtight container or ice cube tray for long-term storage. Frozen garlic can be easily added to your favorite dishes without the need for thawing.

Congratulations! By following this step-by-step guide, you are now equipped with the knowledge and skills to harvest, cure, and store garlic like a pro. Remember, growing garlic is a labor of love, and the rewards are well worth it. With the right techniques and a little bit of patience, you can enjoy the flavorful and aromatic benefits of your own homegrown garlic throughout the year. So roll up your sleeves, get your hands dirty, and start growing your own garlic garden today! Happy gardening!
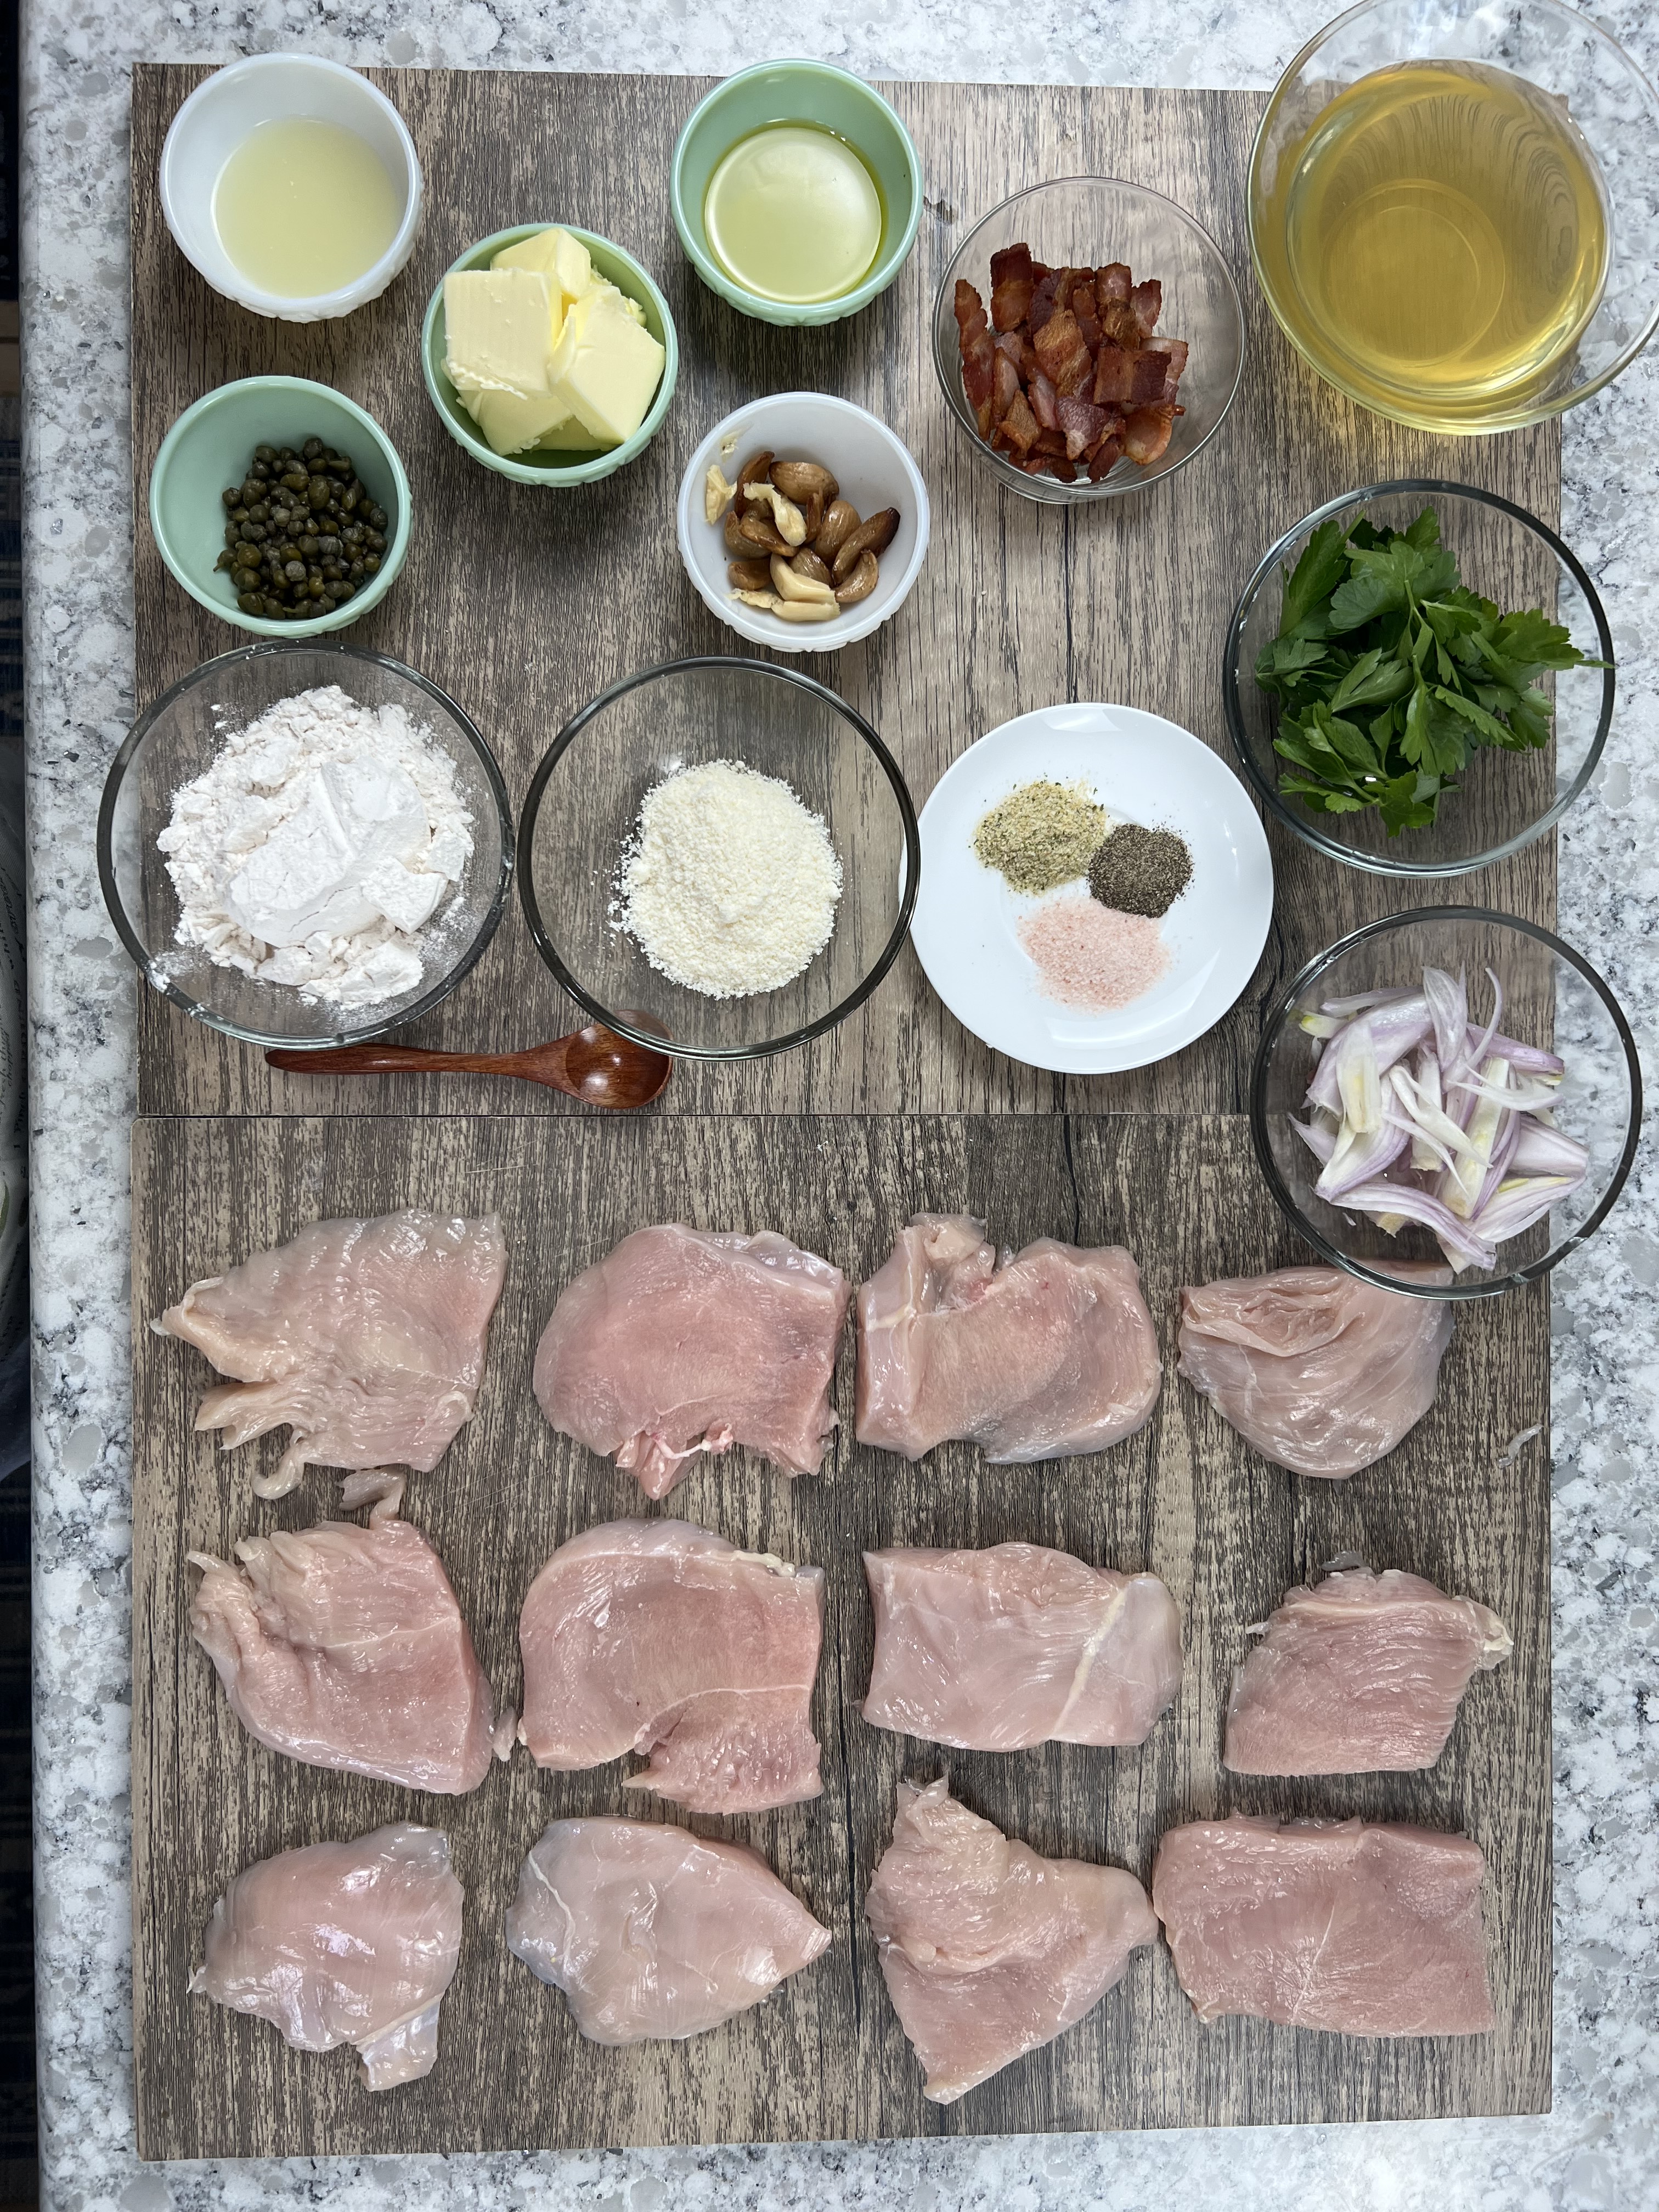
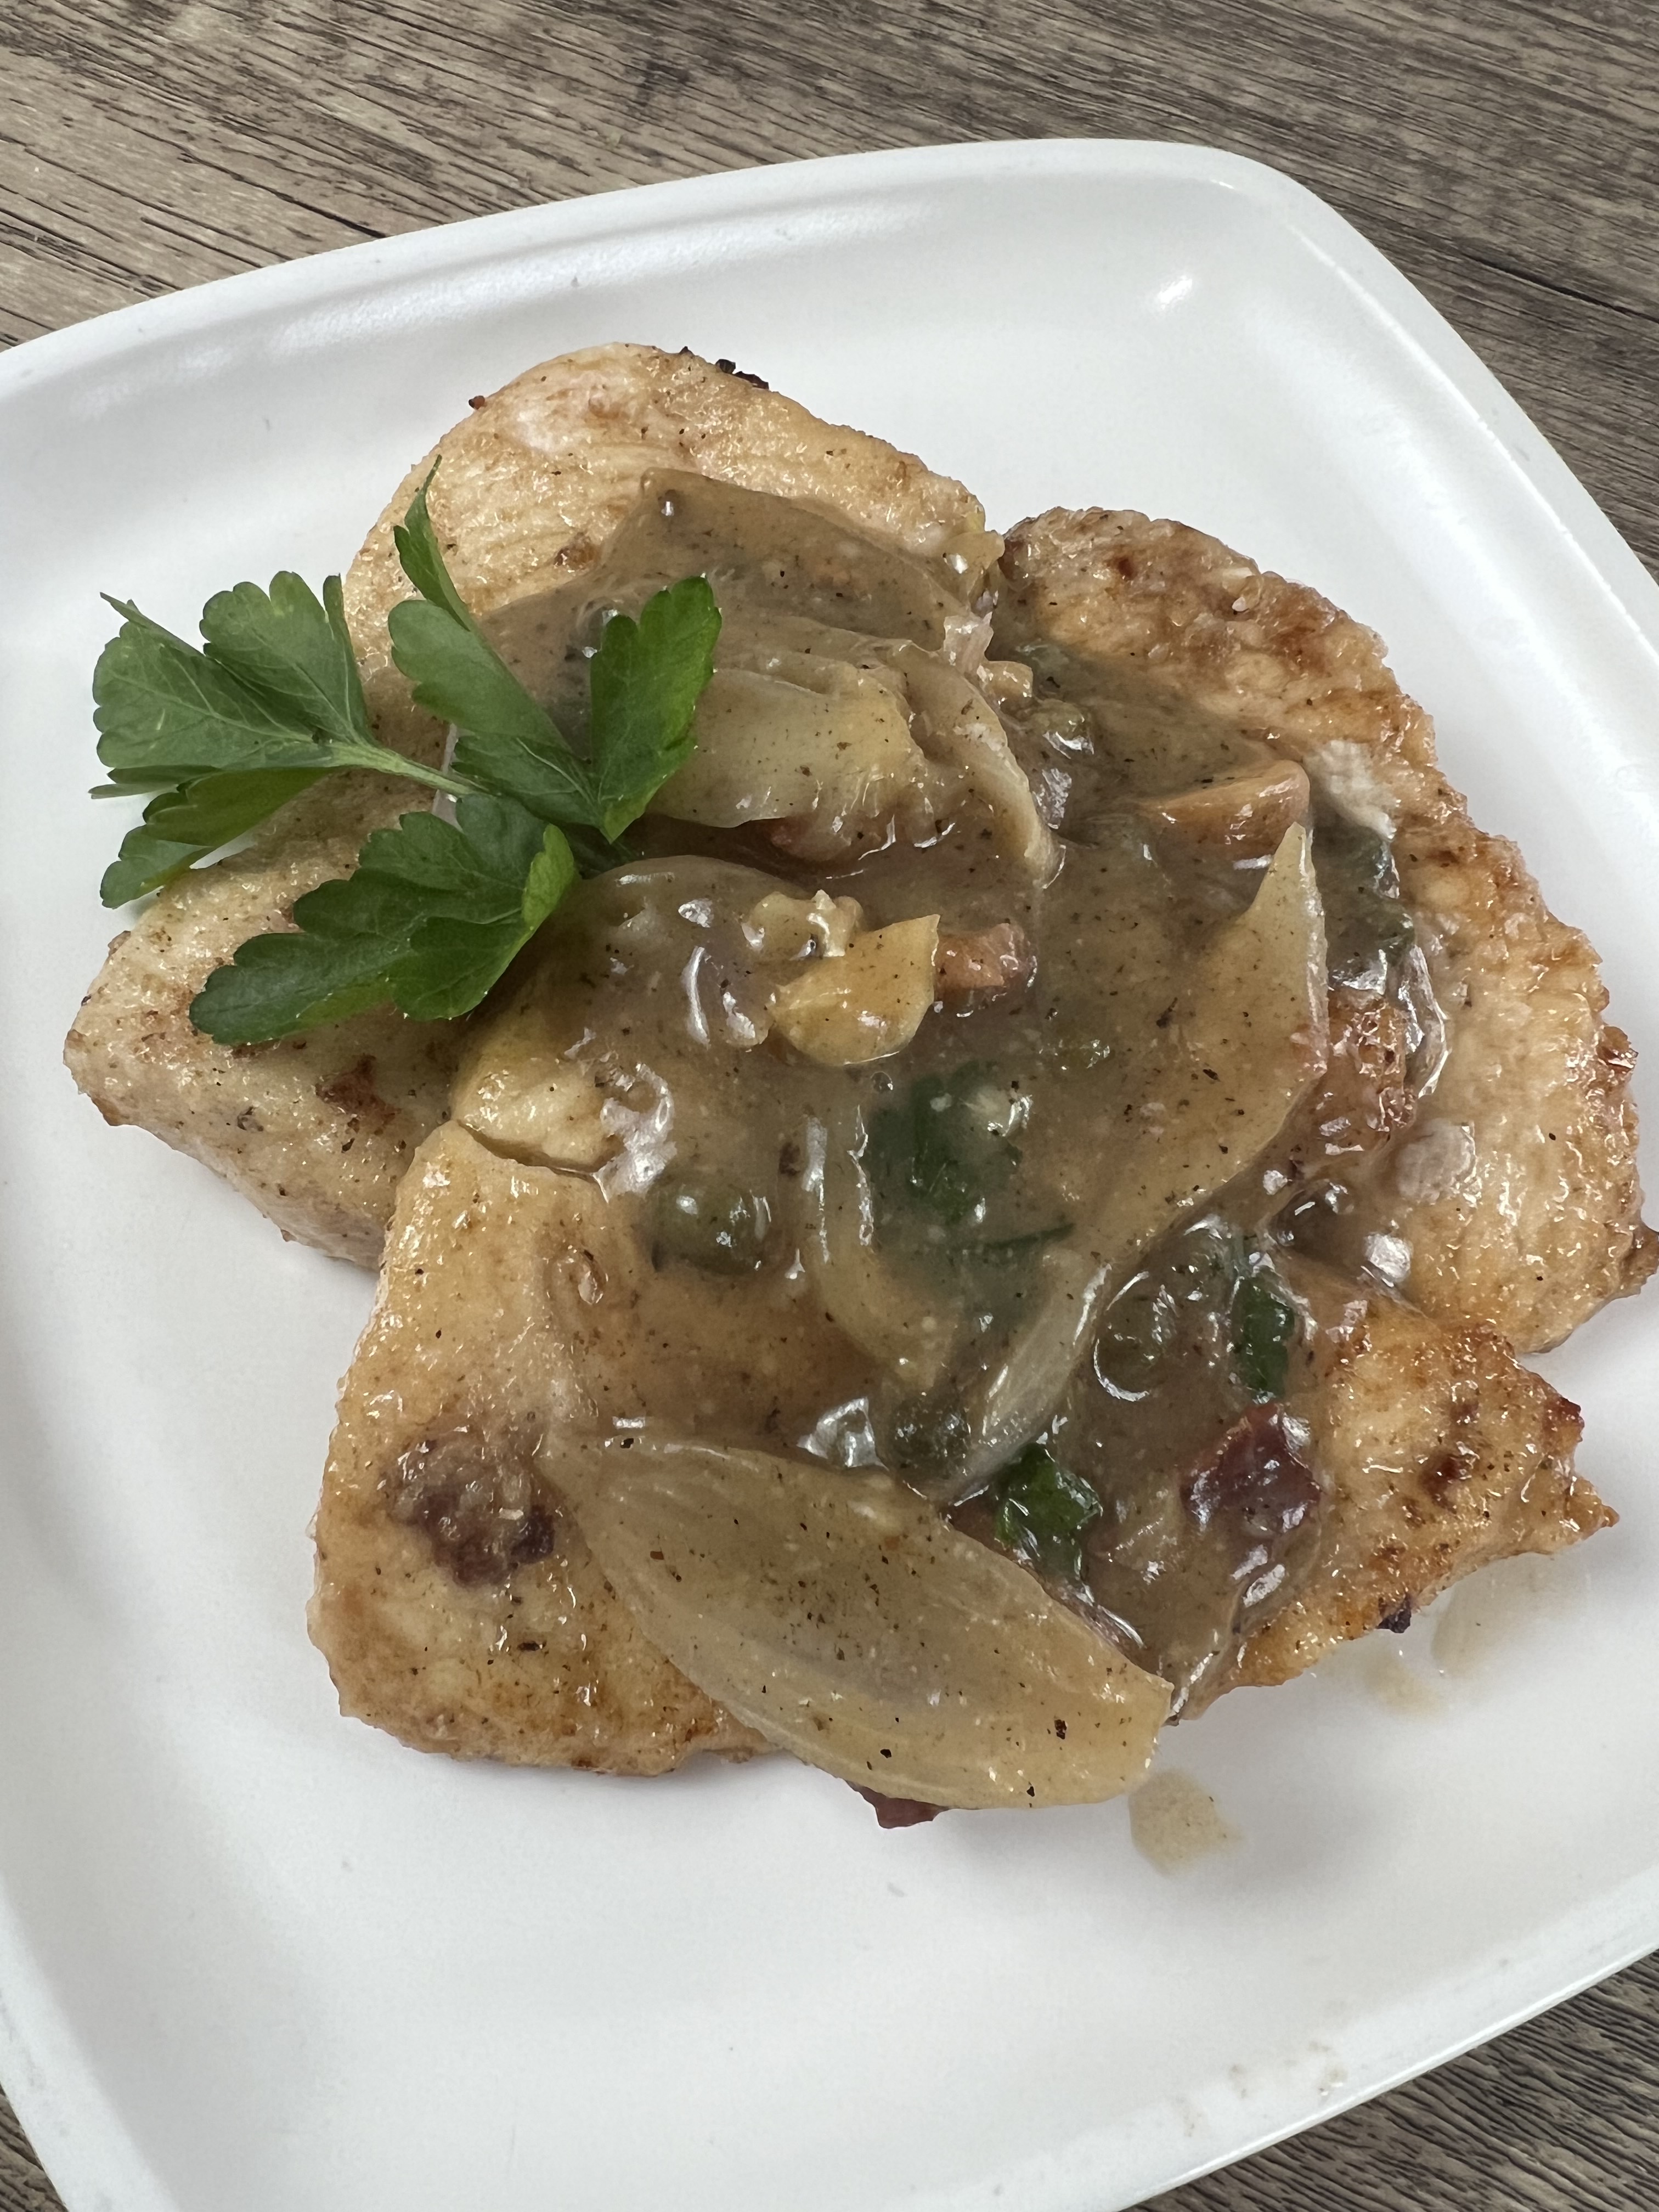
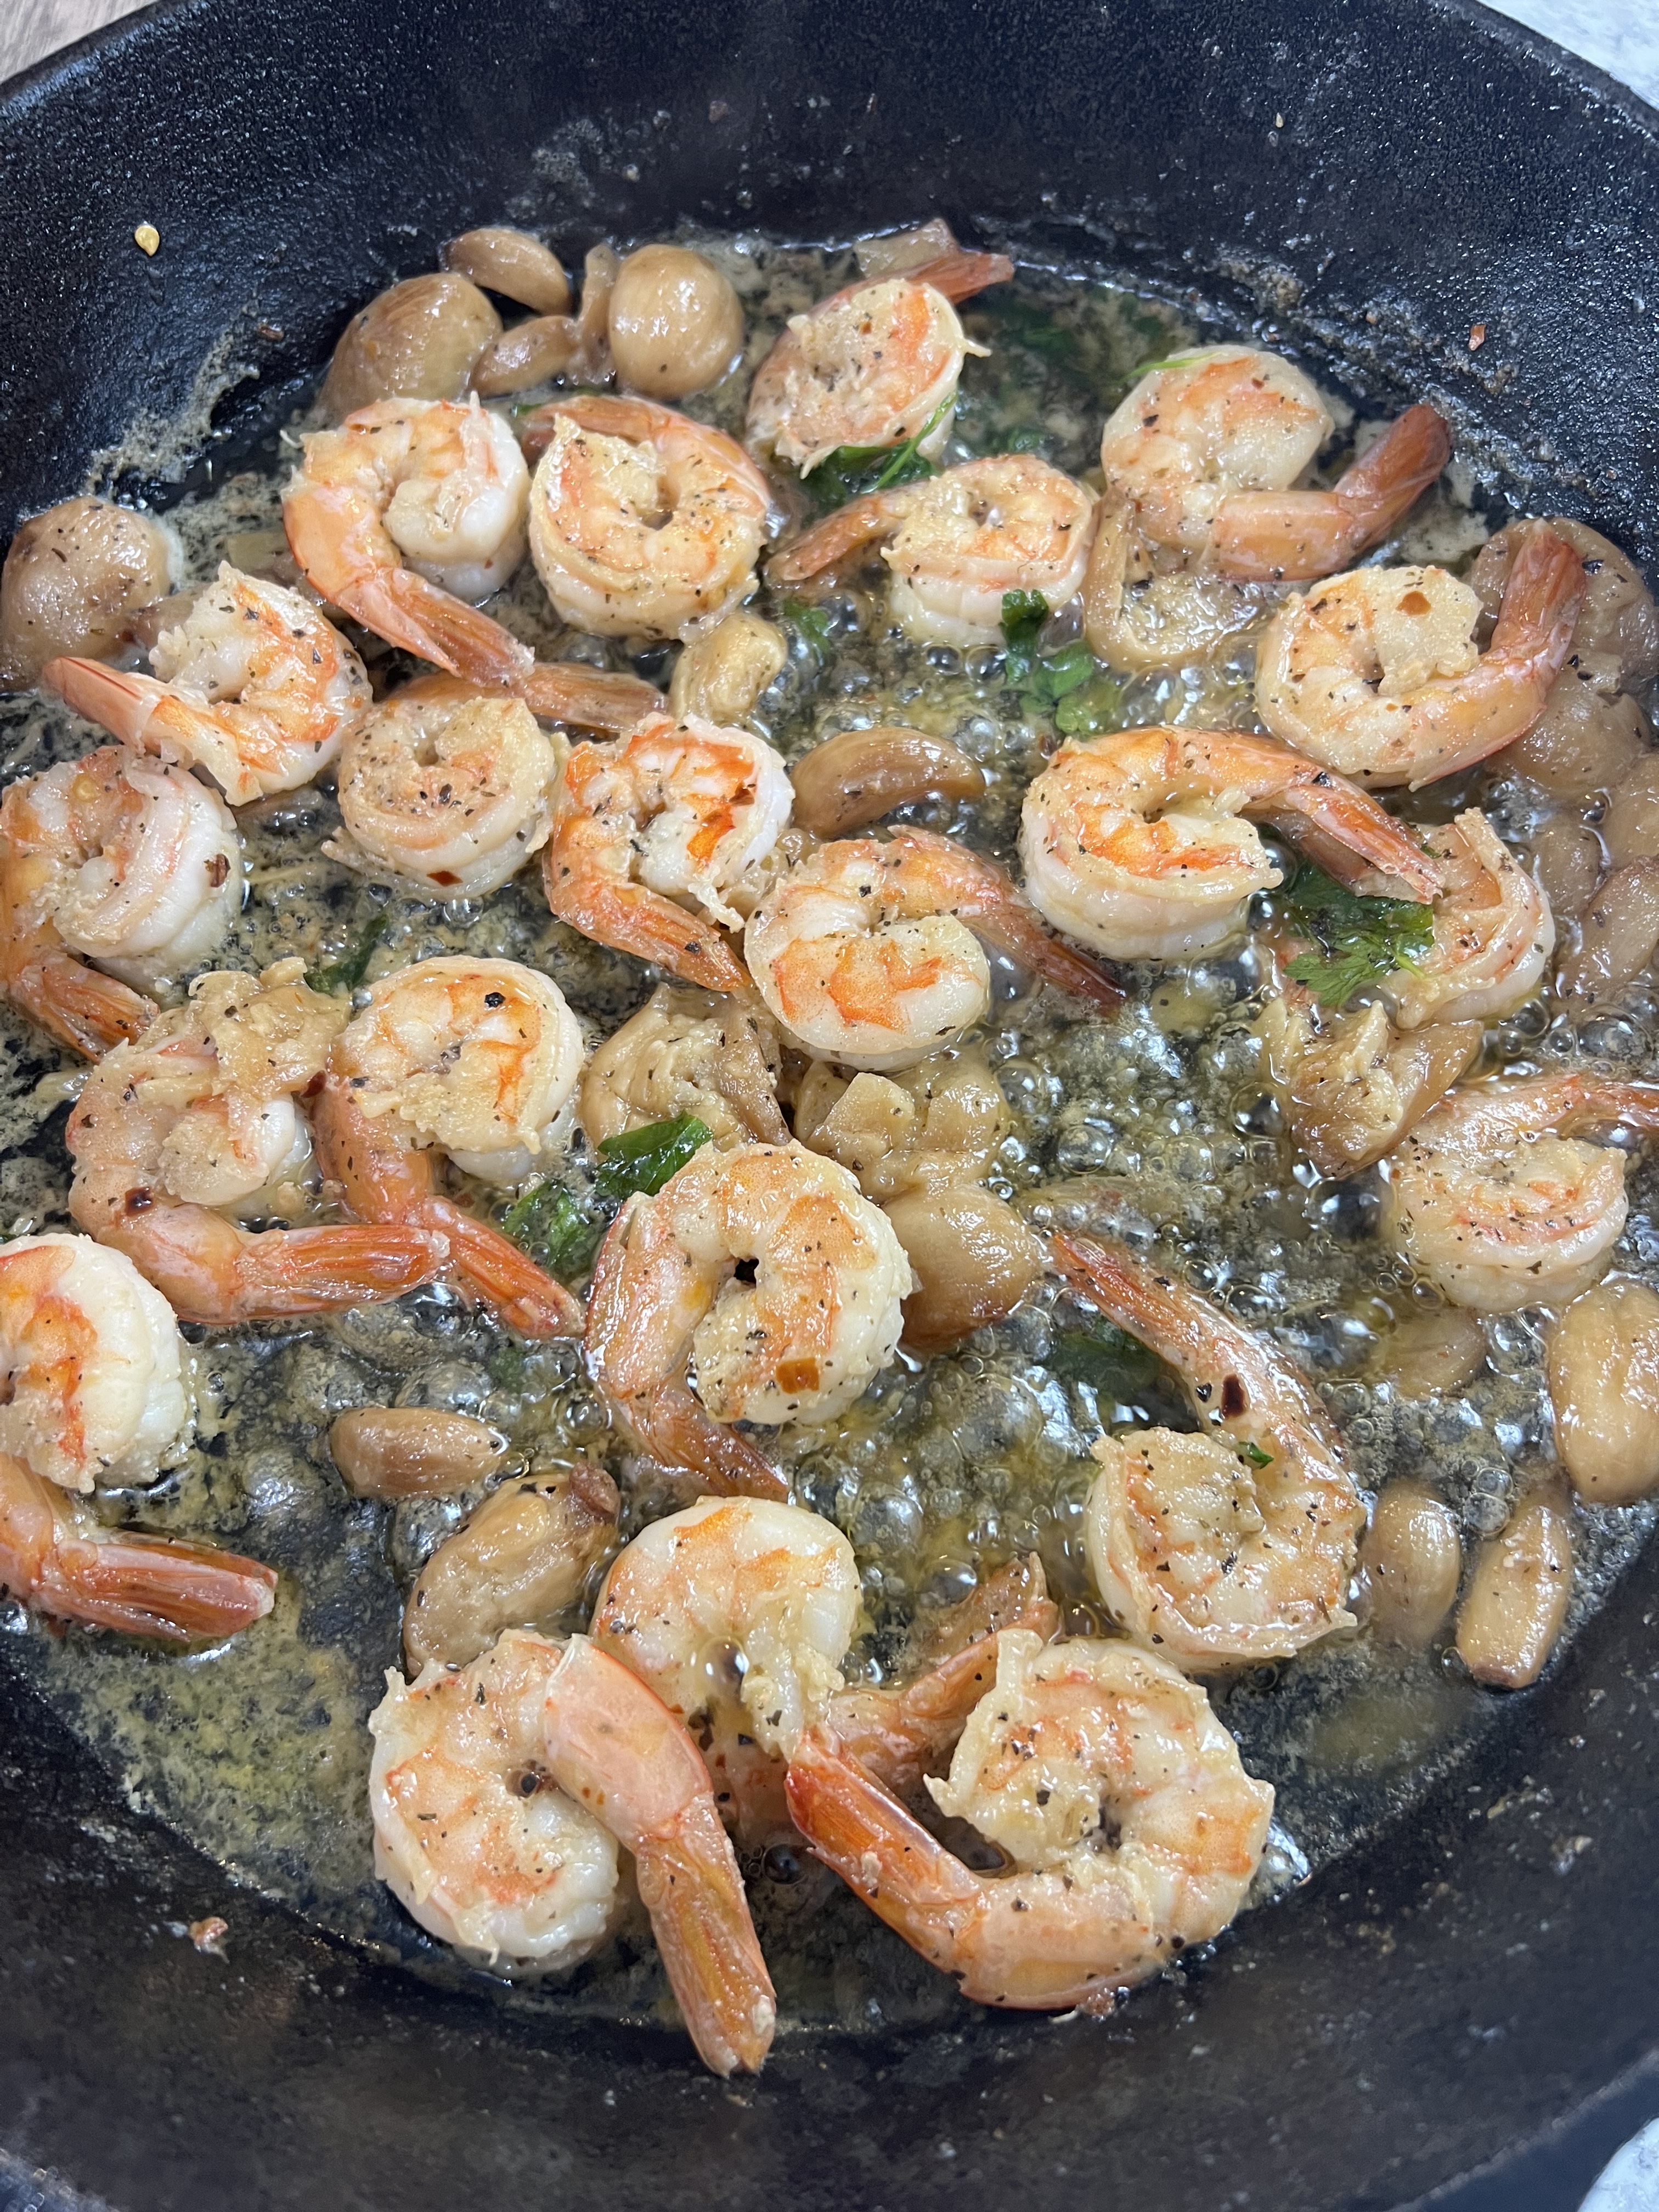
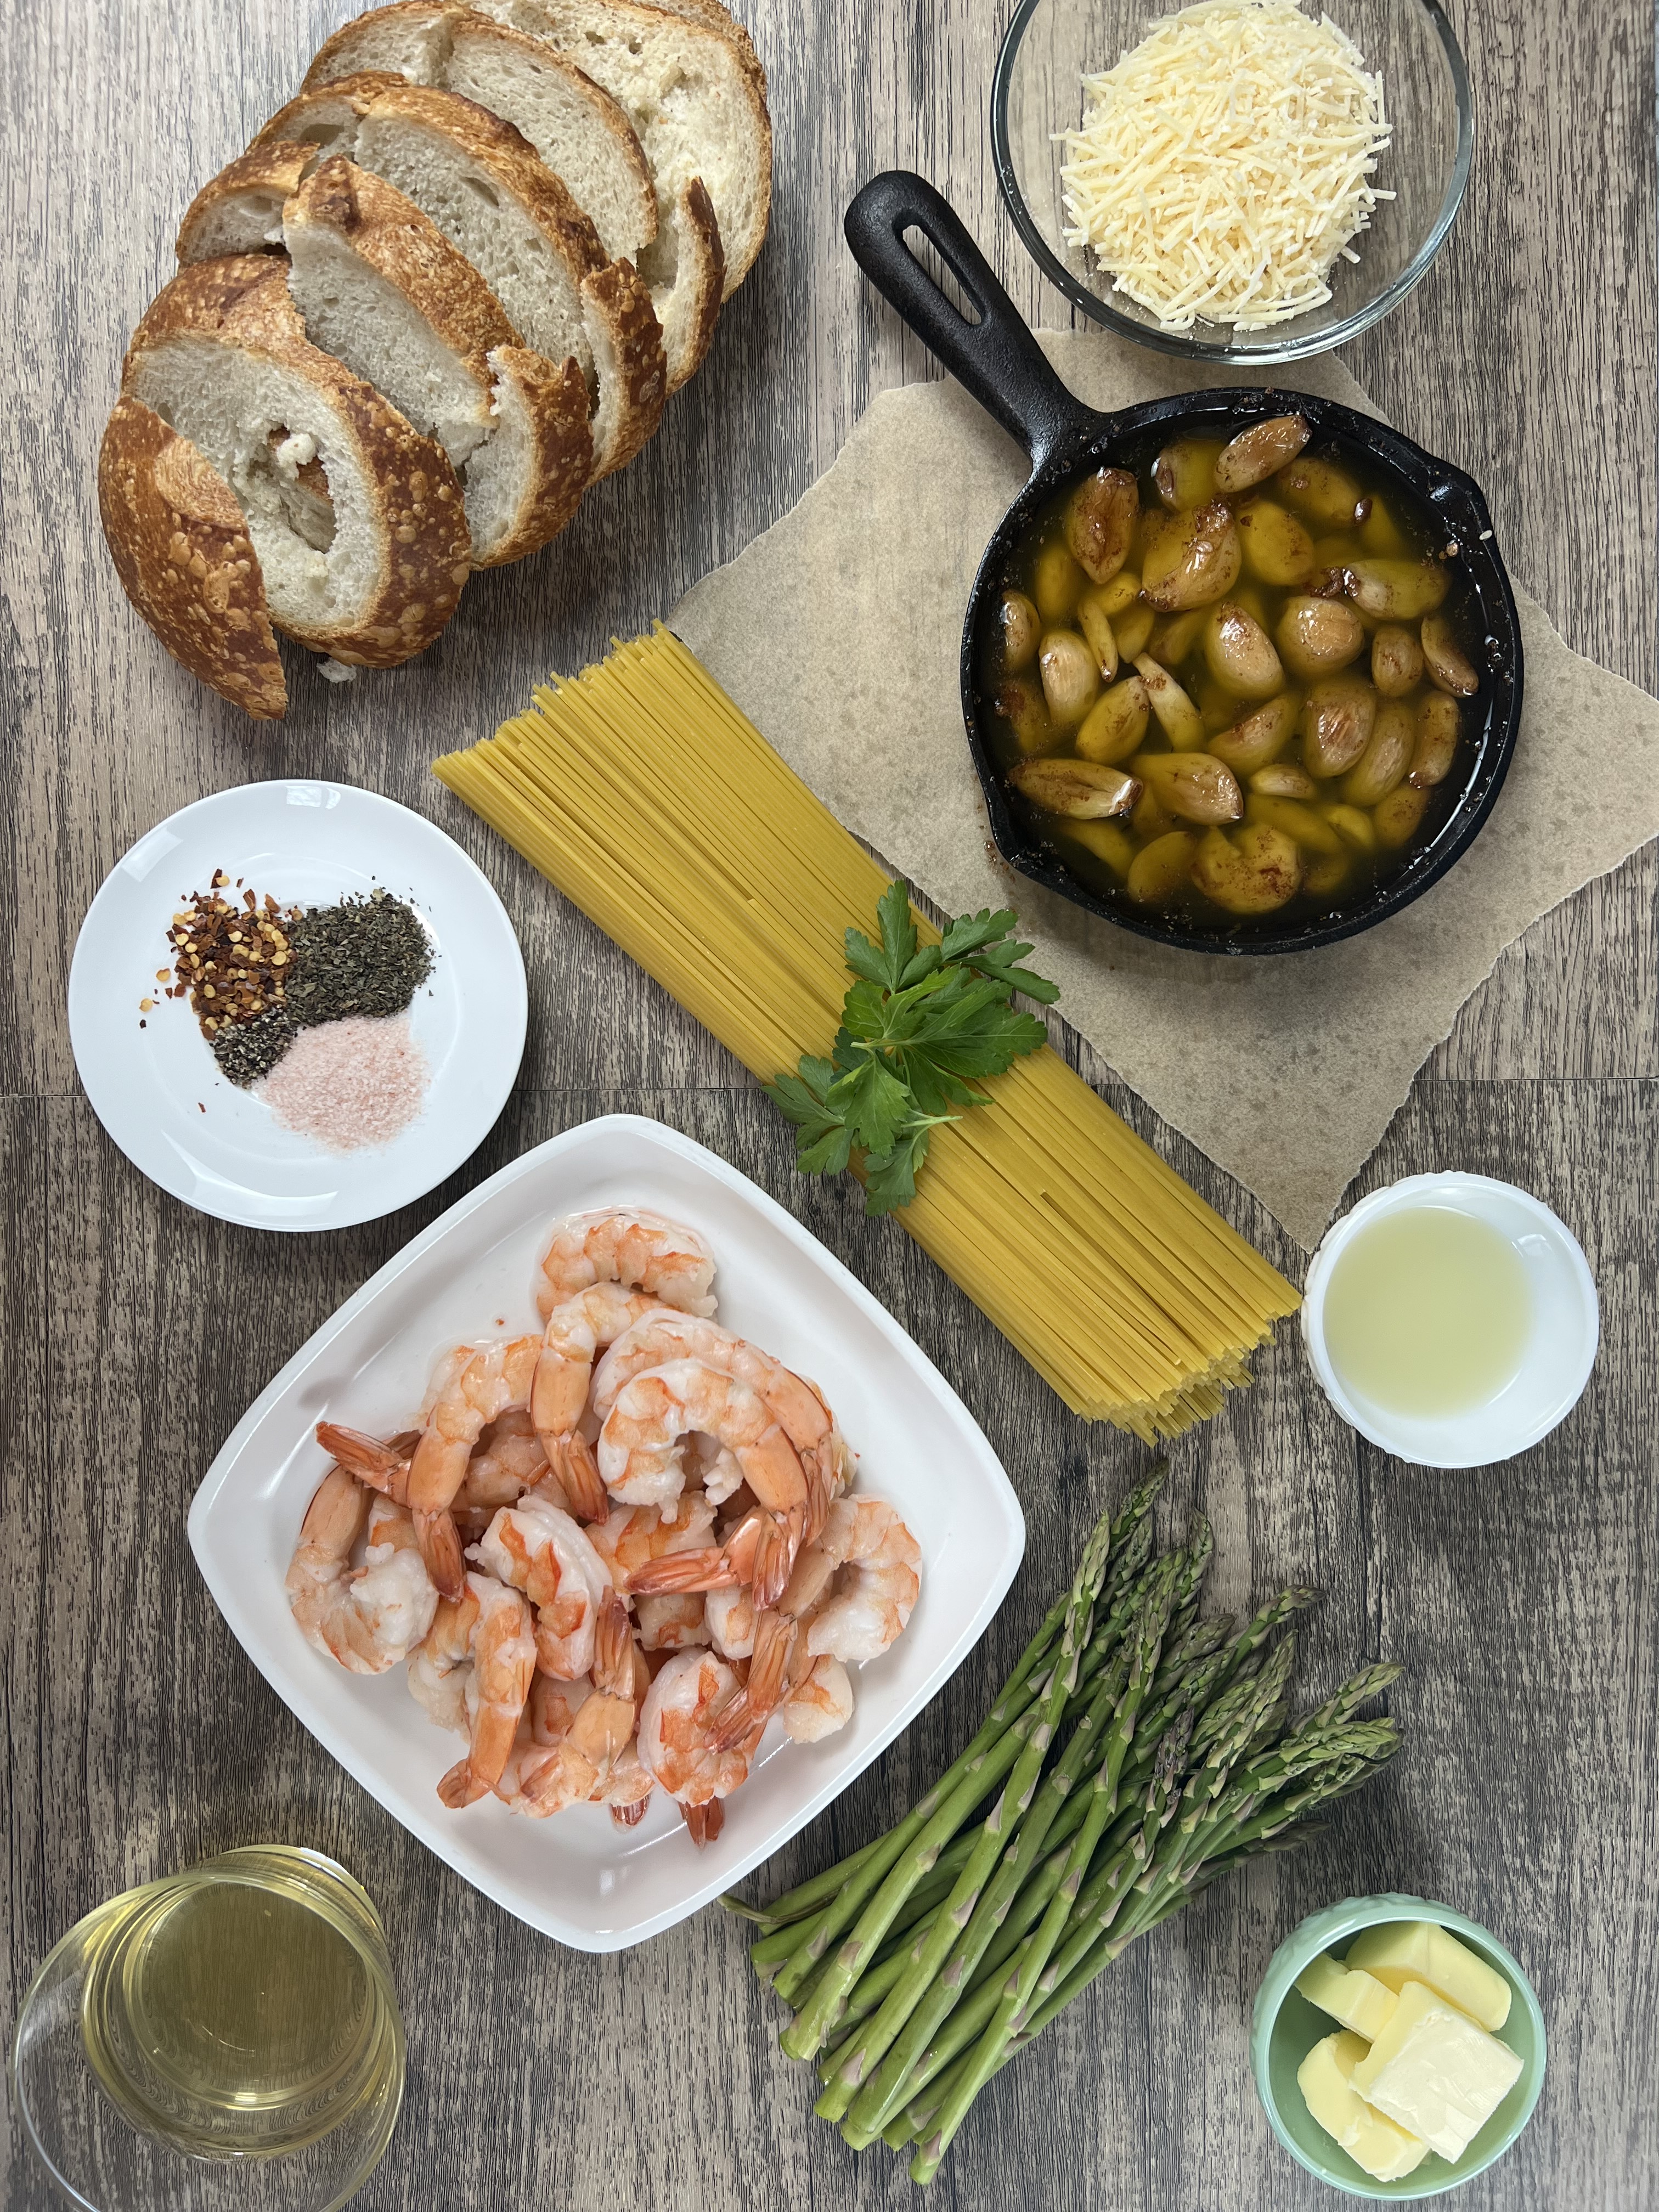
Here are some recipes as promised!
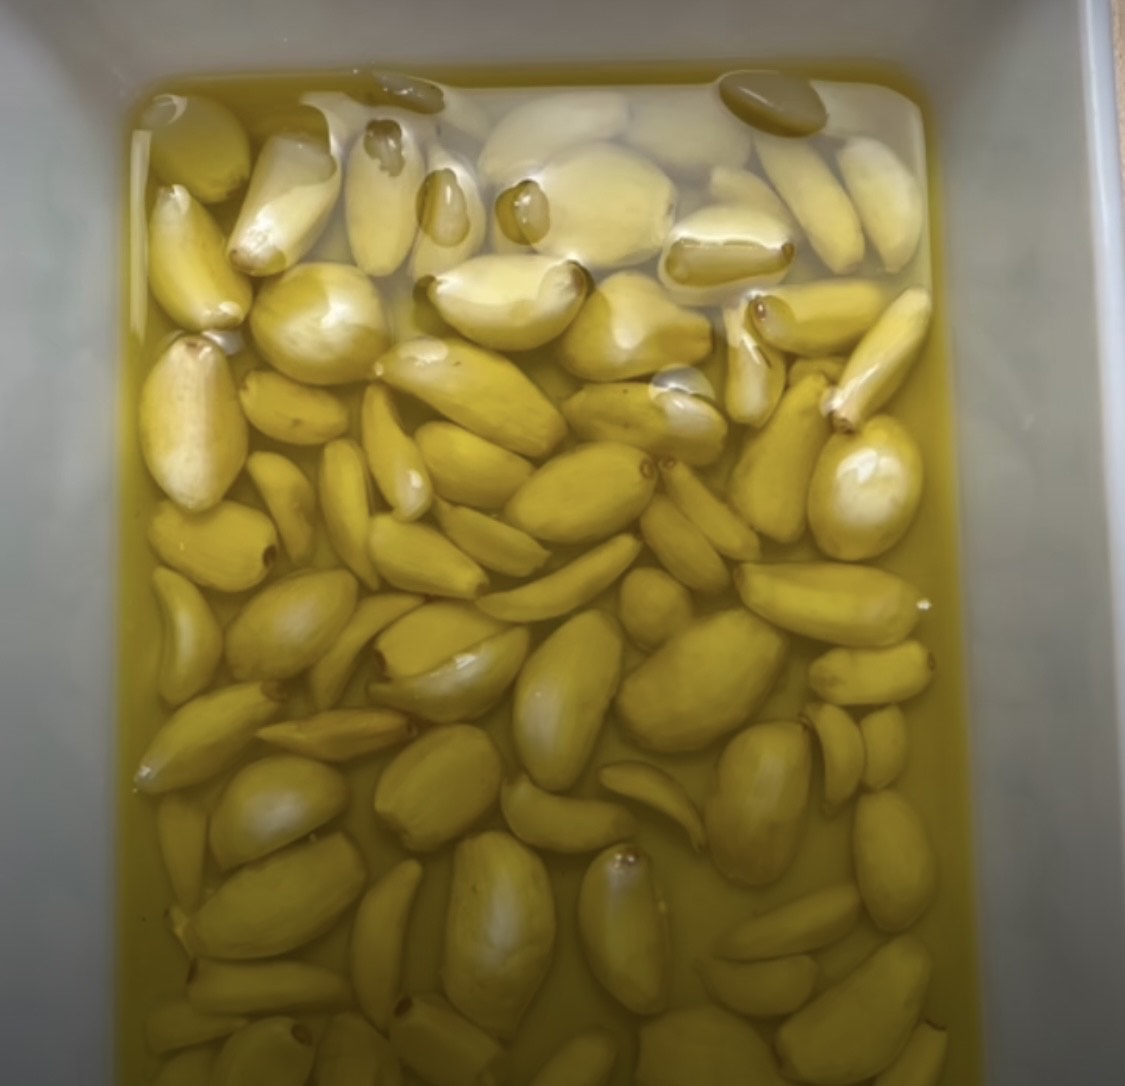
Easy Roasted Garlic & Garlic Infused Olive Oil! Check out these 2 methods
Garlic-Thyme Infused Olive Oil
I certainly hope you are encouraged to garden. Even if you start with only two or three of these things, that’s a great start!
Be sure to check out my Blog Post on my Top 10 Favorite & Easy Vegetables to Grow for the Home Gardener!

Subscribe to our newsletter to get the latest stories in your inbox.
If you aren’t following me on Facebook or Instagram, go on over & give a LIKE & Follow me for daily tips & tricks for your home & garden!
Until next time friends, eat fresh, shop local, & have a happy day,
Jean
Copyright Policy
All text and images on this site are copyright of For Dragonflies And Me. Unless otherwise noted, you may not use this content.
This post may contain affiliate links. If you choose to purchase through an affiliate link, I may receive a small commission at no additional cost to you. You can see my full disclaimer here.