Educational Benefits of Baking with Kids!

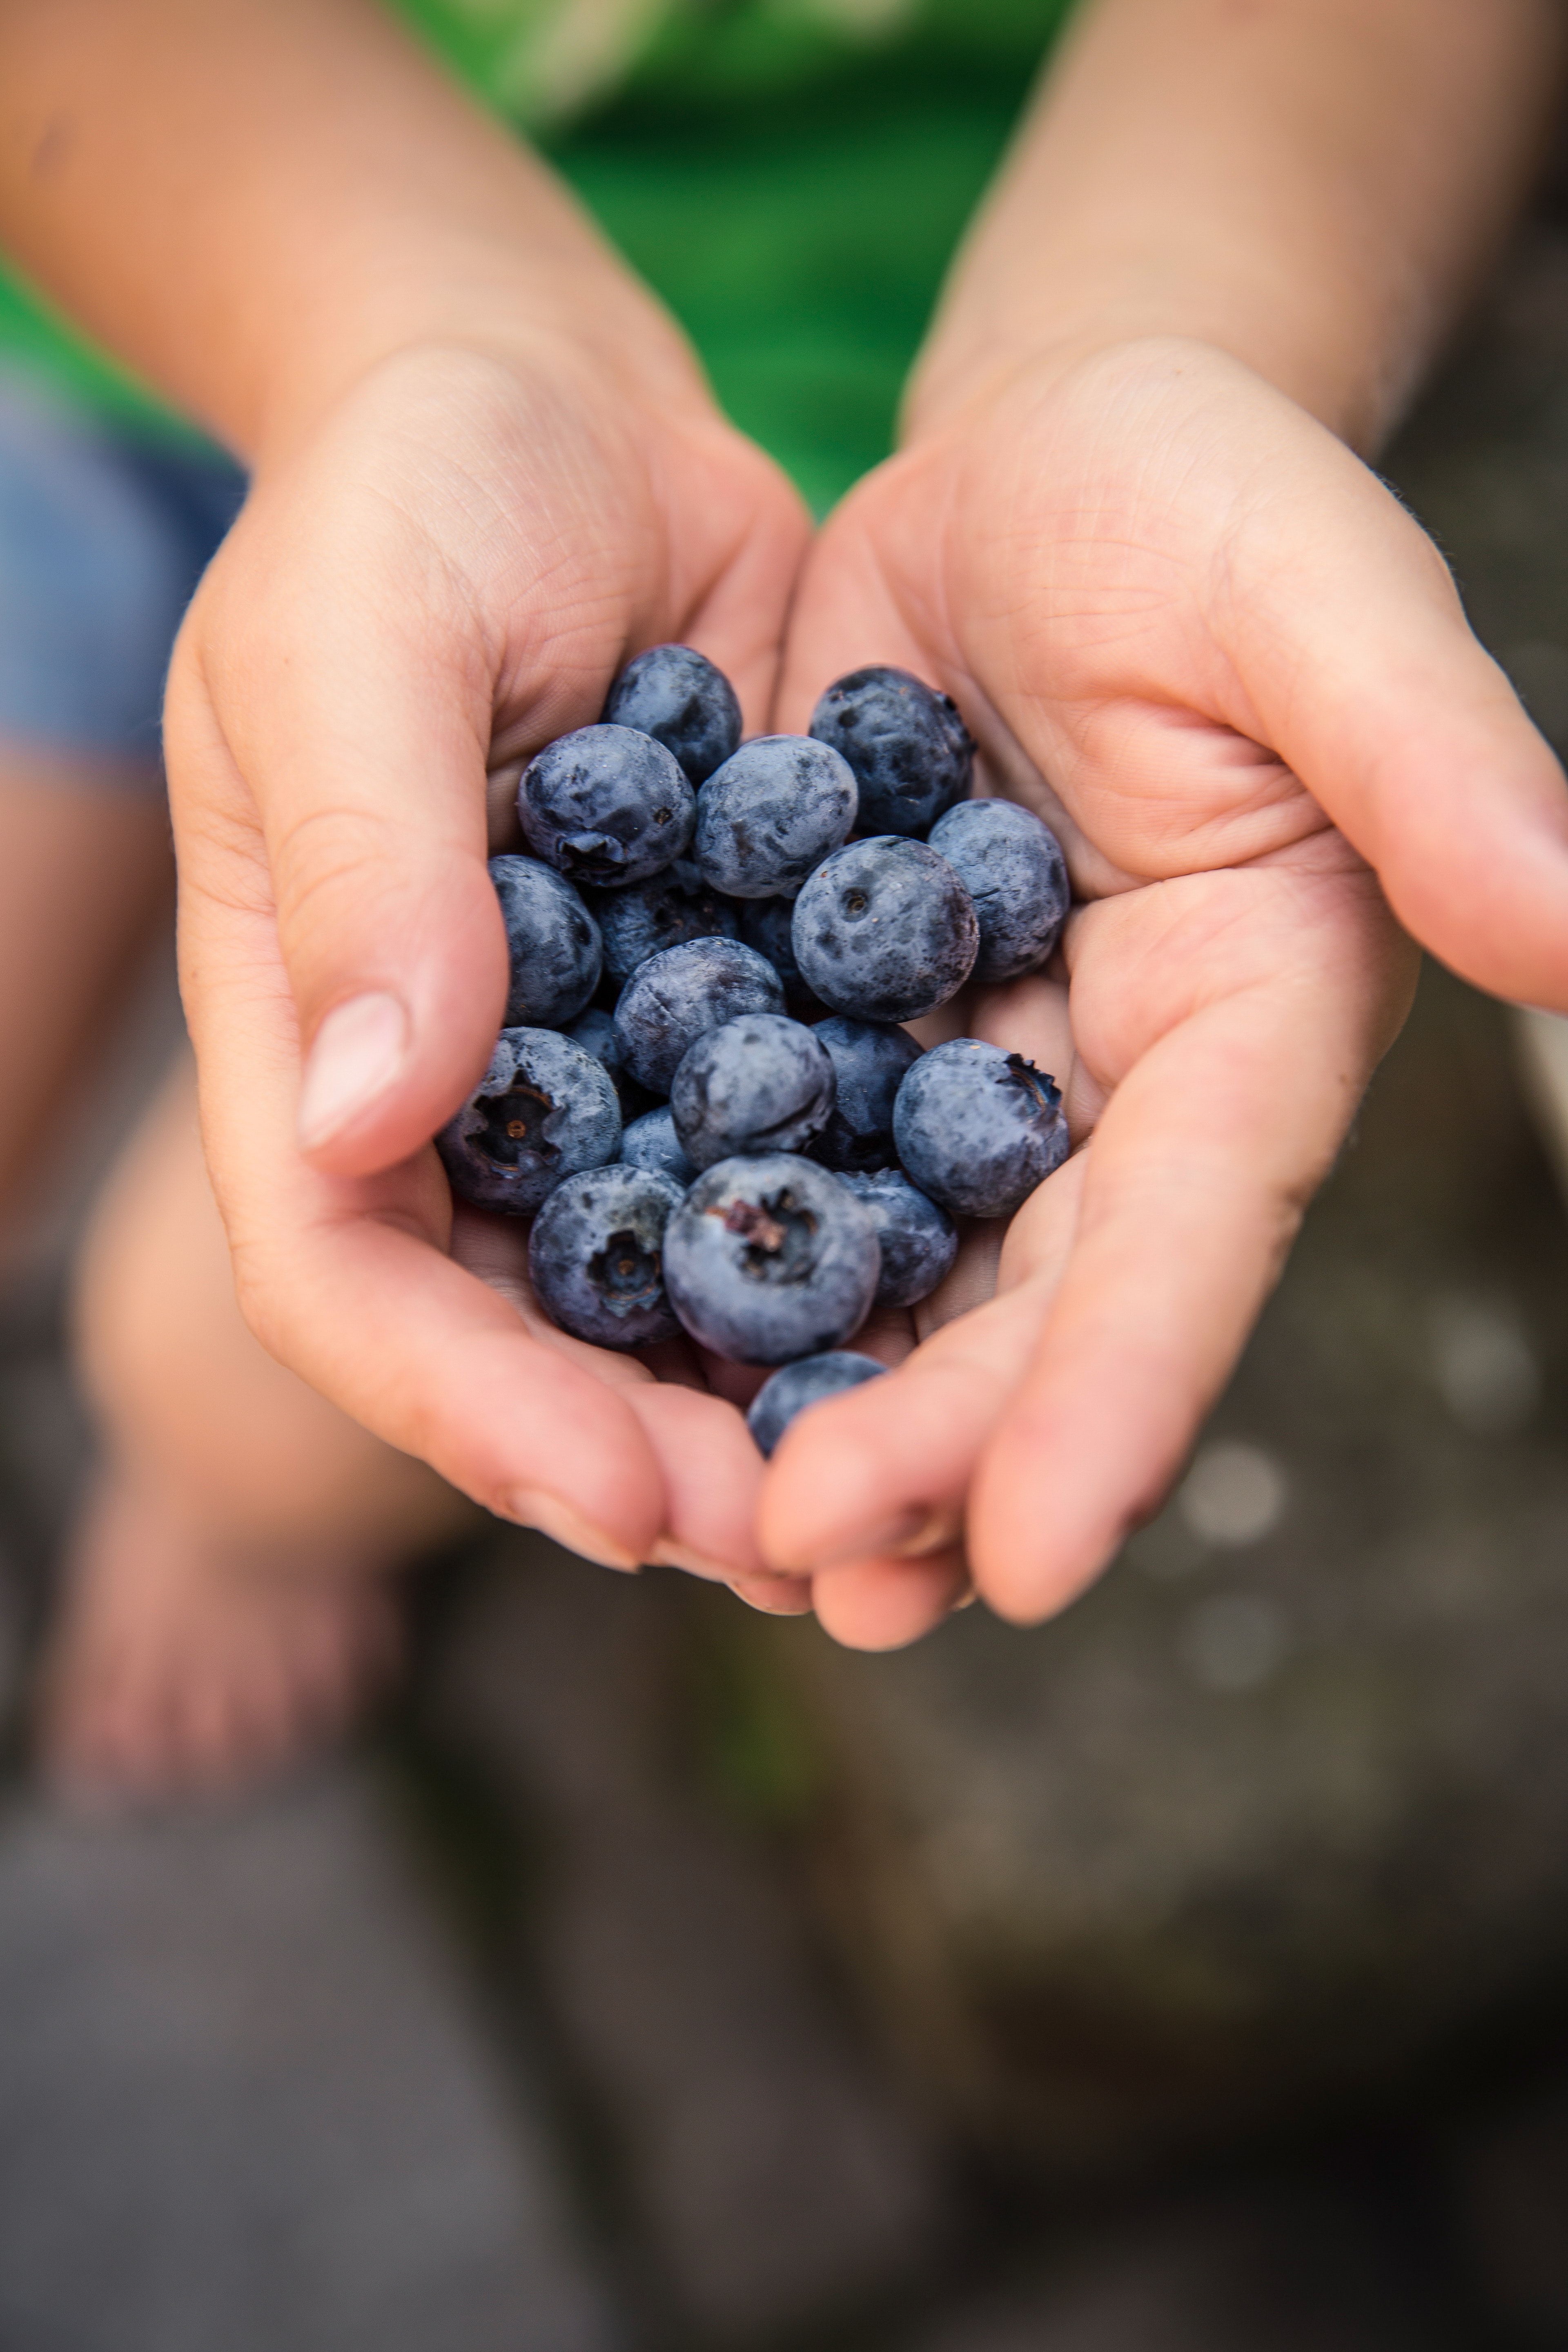
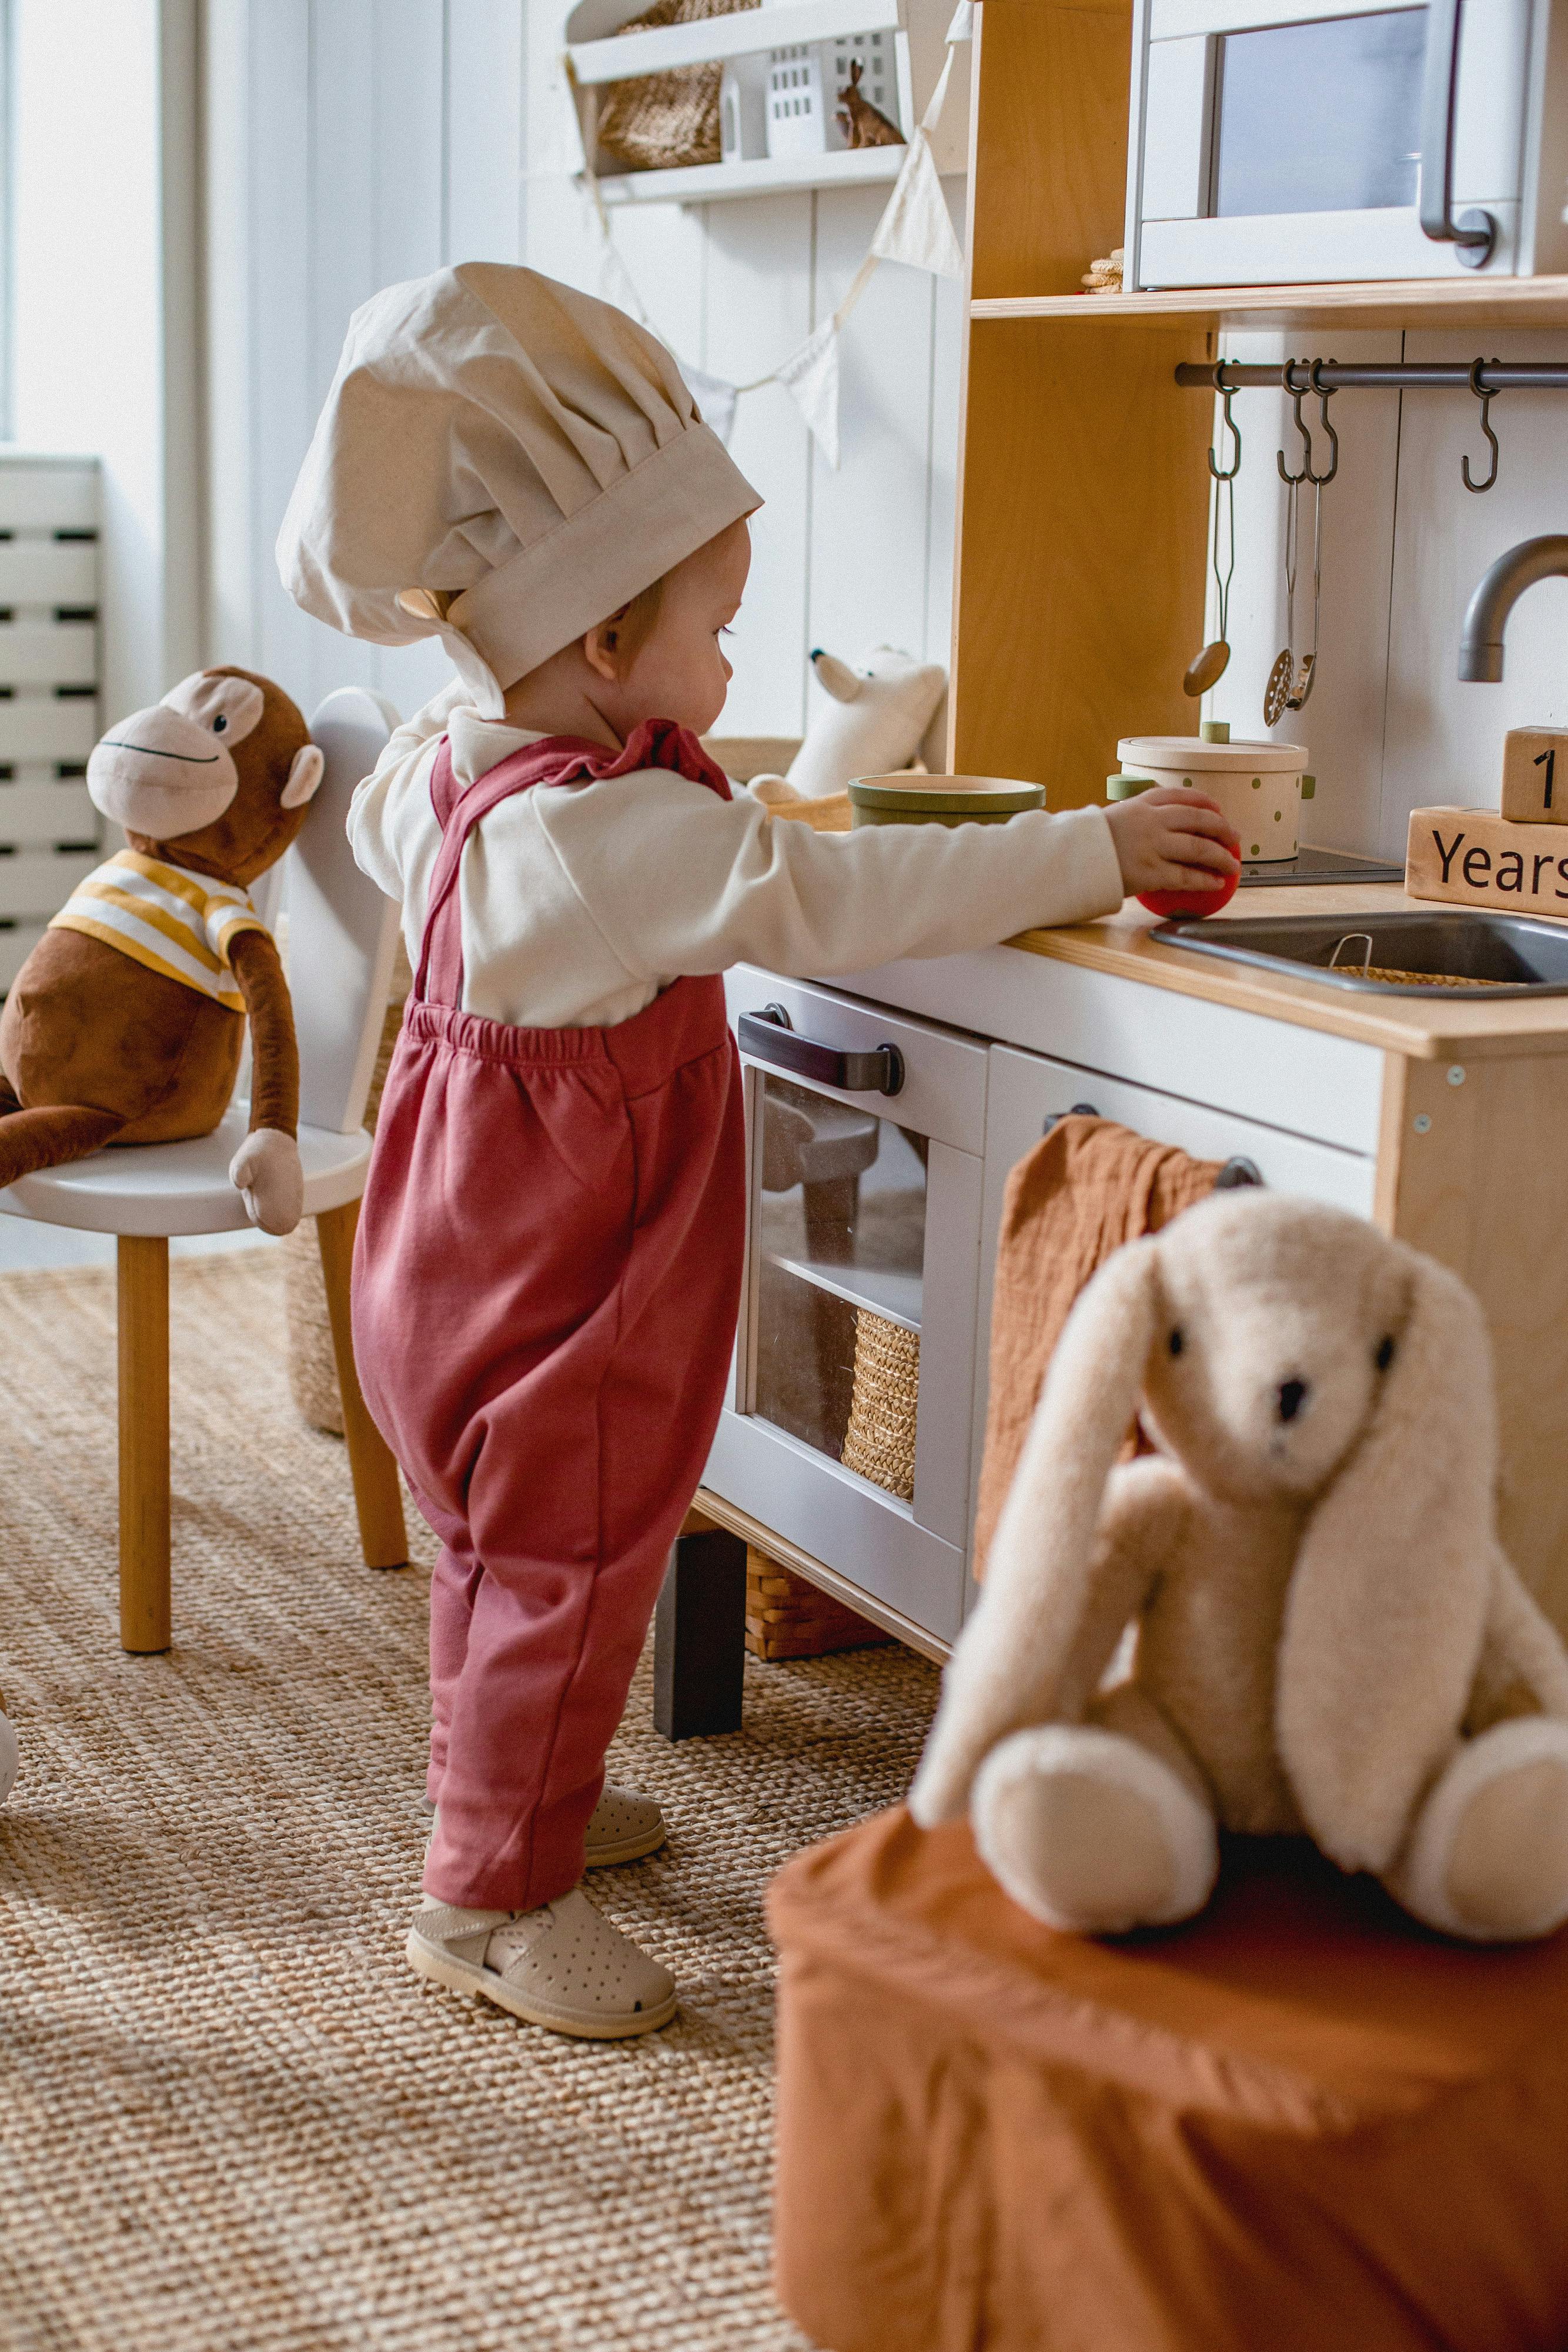
Benefits of baking with kids!

As a mother of six kids I can honestly say I’ve spend oodles of hours in the kitchen with all of my children. Most of which were very enjoyable! Over the years my kids have grown into some pretty awesome cooks and bakers.

I currently teach gardening & cooking classes for kids, adults, & seniors at a local parks and recreations department. Which is where todays blog post idea came from. The kids in my classes really enjoy getting involved with the actually cooking and baking. Getting their hands dirty so to speak.

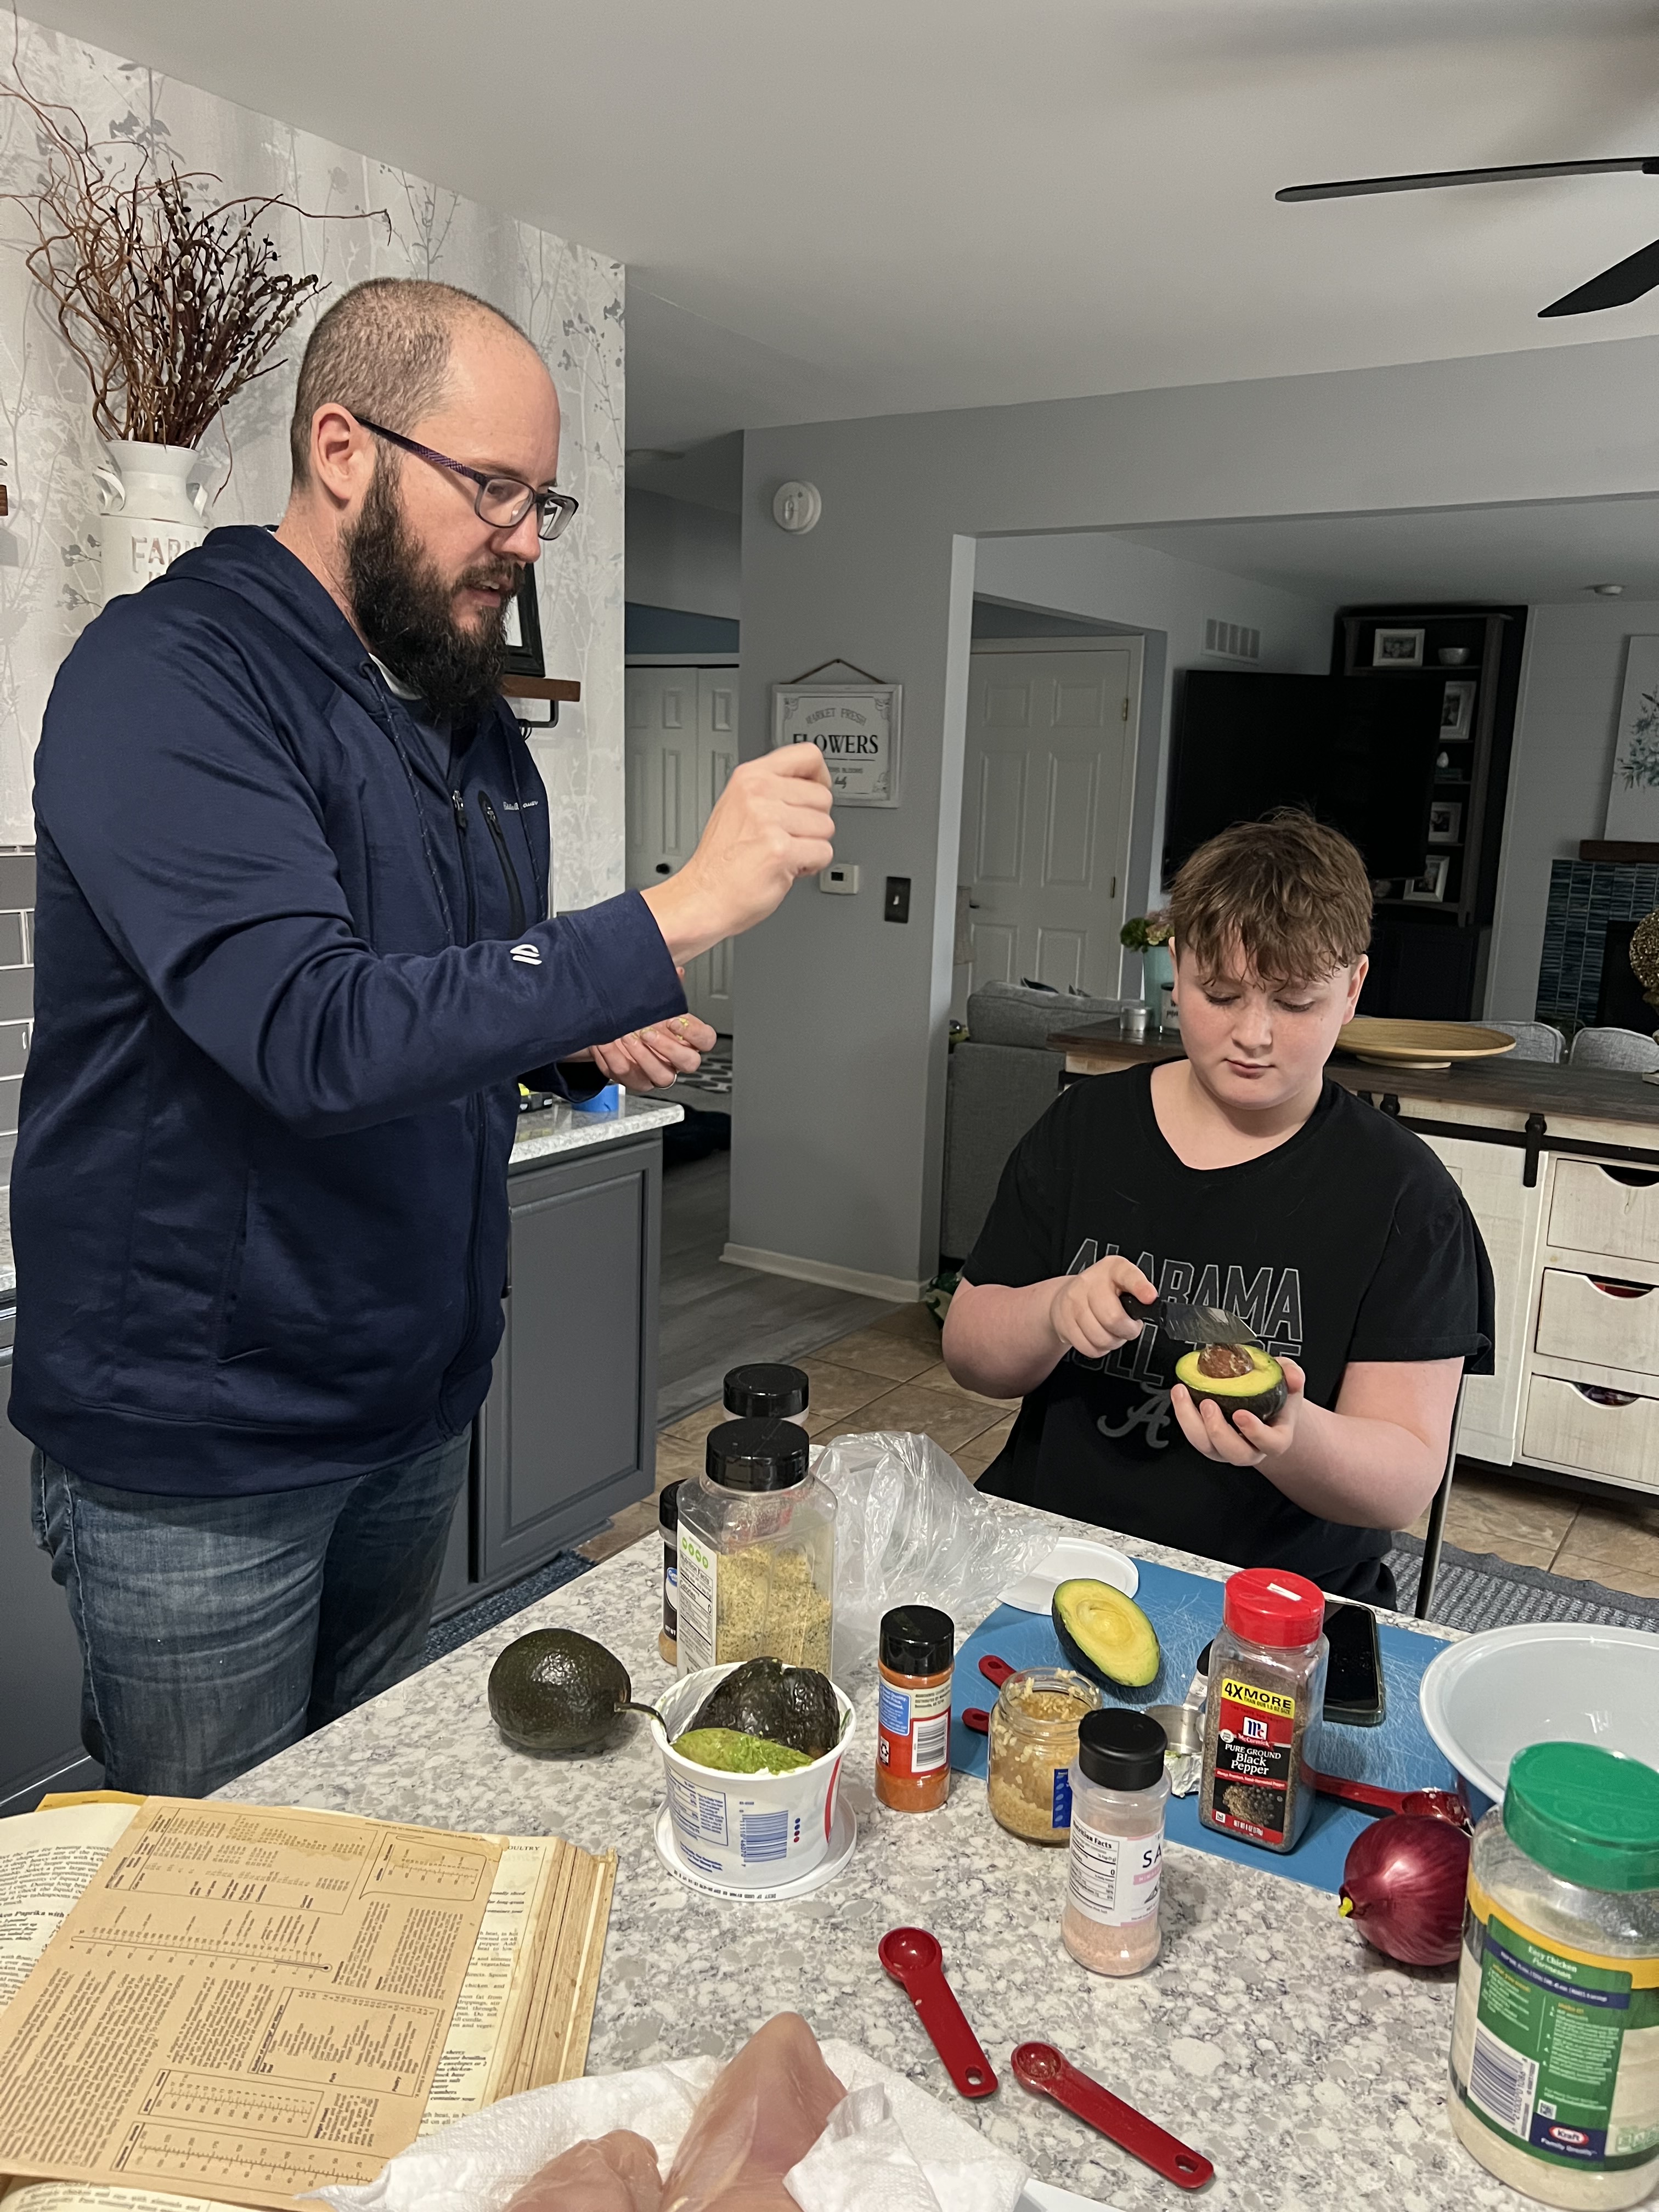
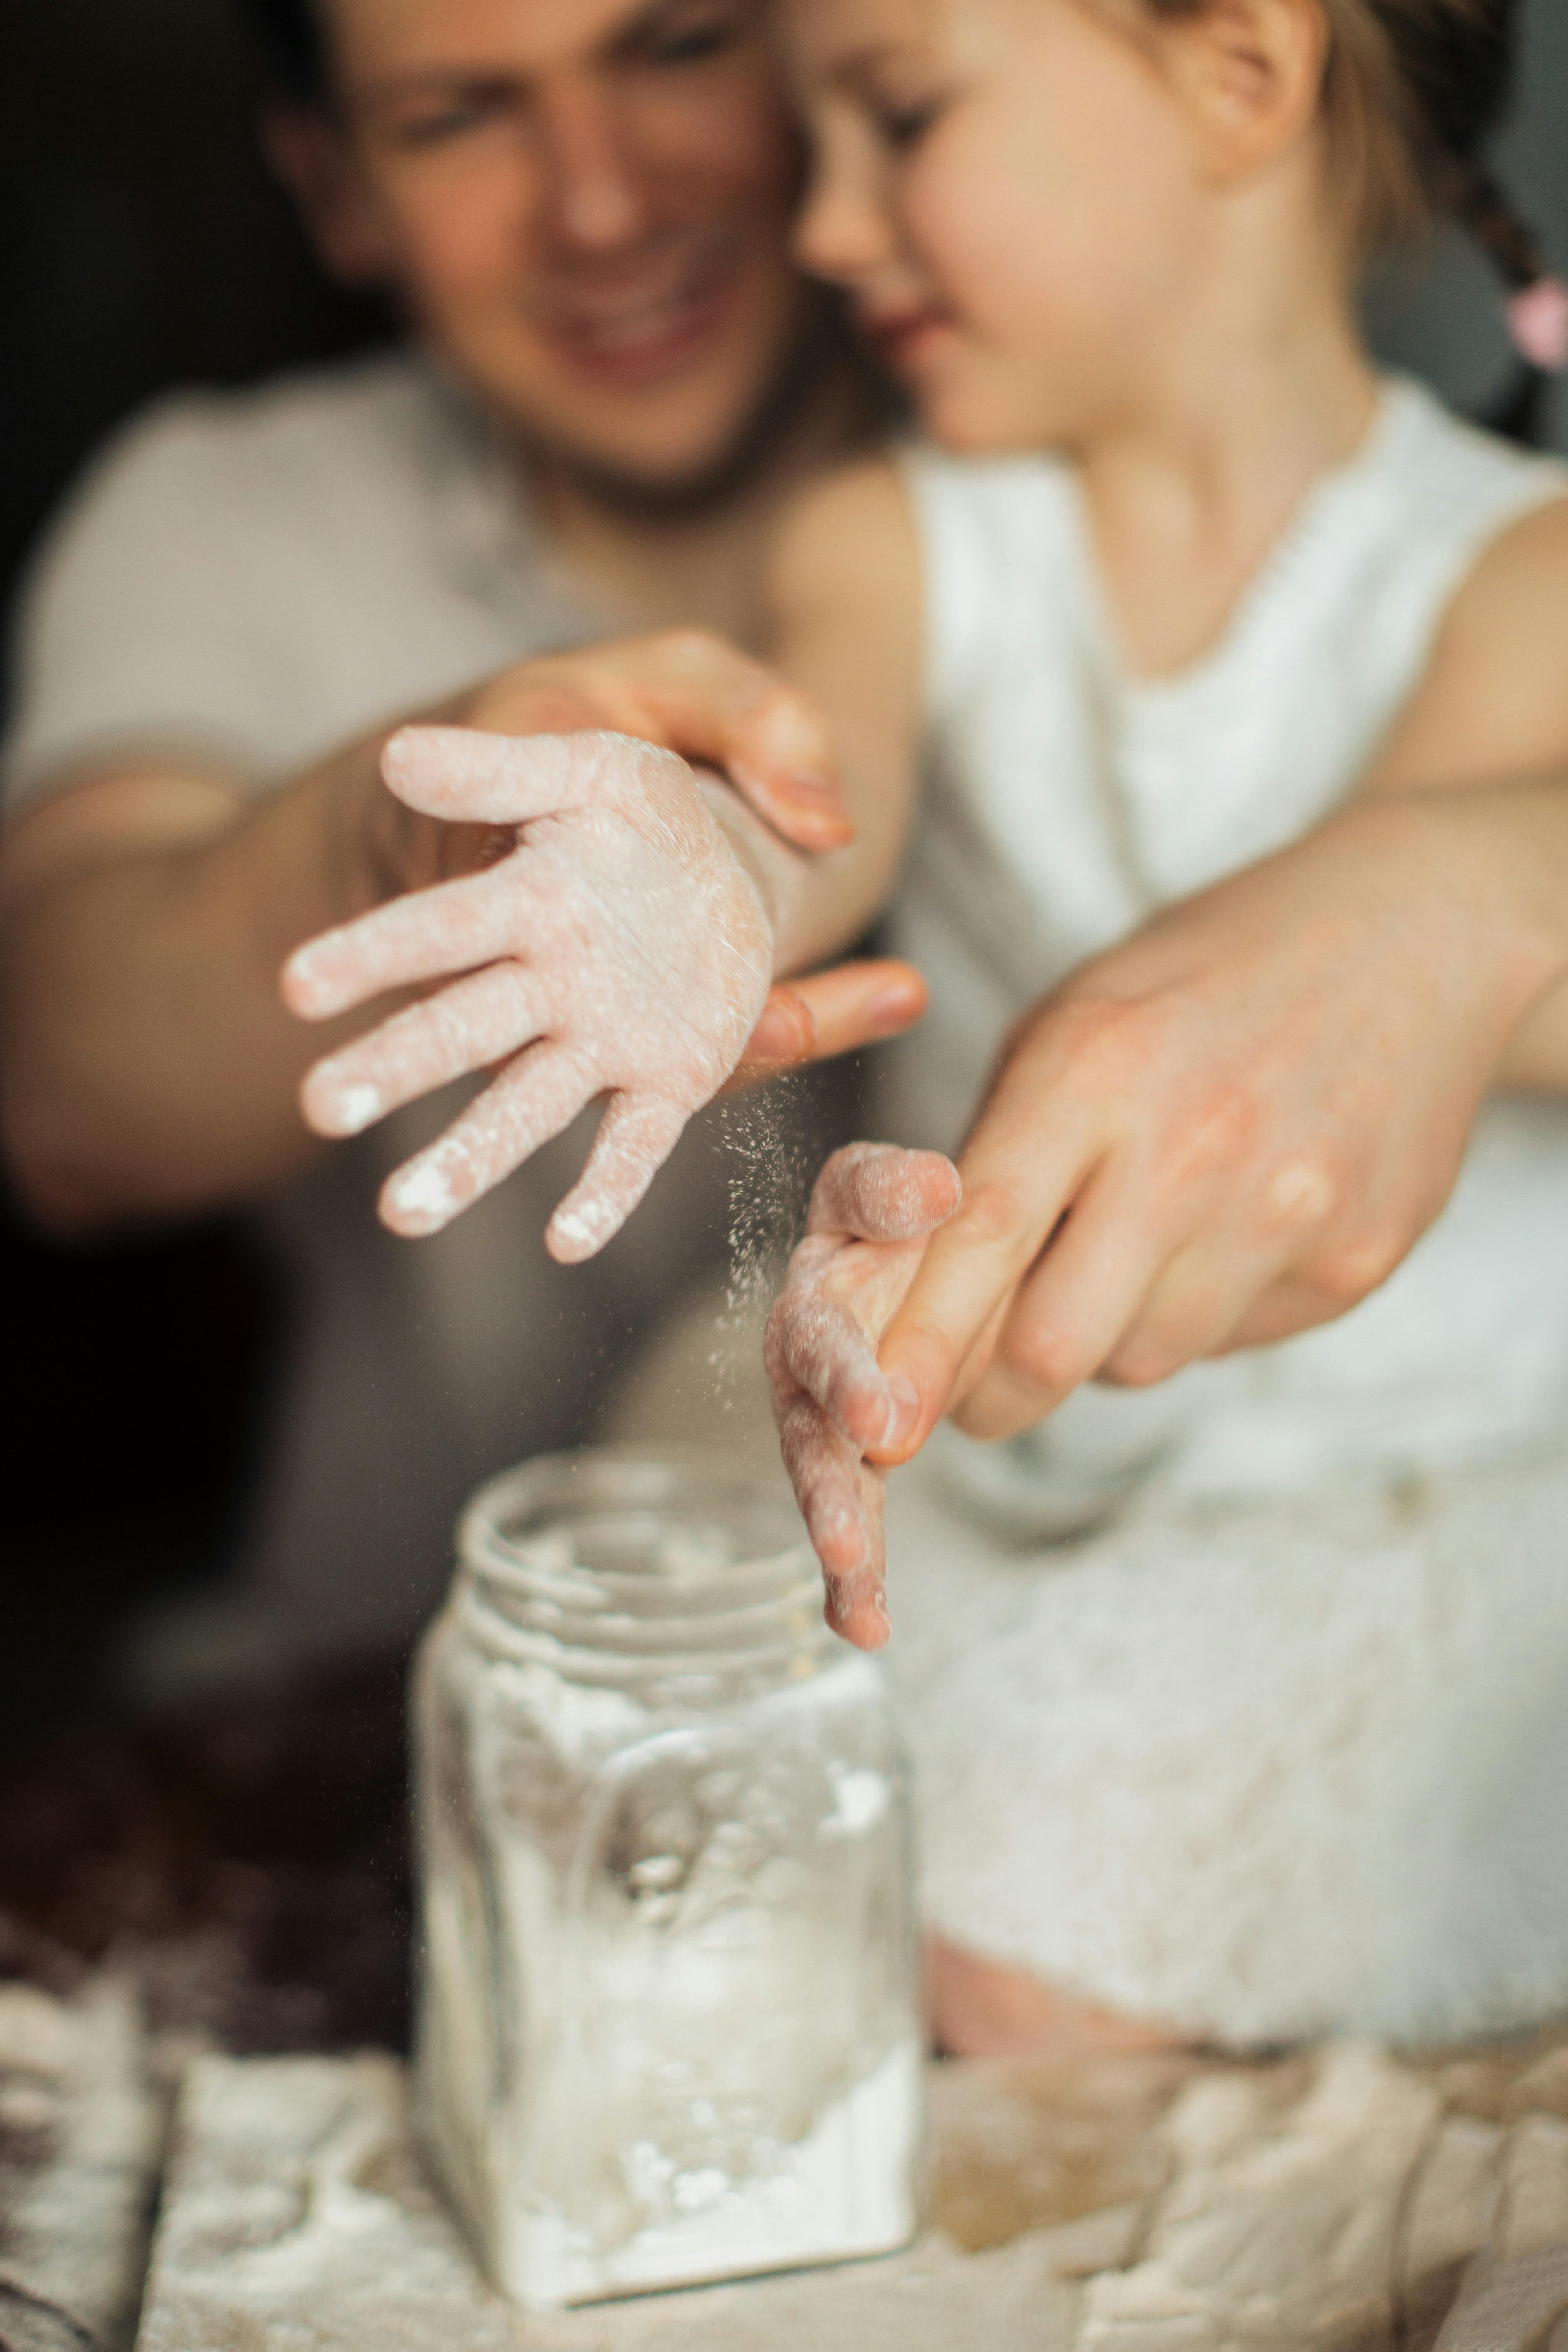
Baking with kids is not only a fun and enjoyable activity, but it also offers numerous benefits for their development. One of the main advantages of baking with kids is that it allows them to enhance their motor skills. From measuring ingredients to mixing and kneading dough, these activities require precision and coordination, which help children improve their hand-eye coordination and fine motor skills.

Another benefit of baking with kids is that it promotes creativity. Baking is like a blank canvas where kids can let their imagination run wild. They can experiment with different flavors, colors, and decorations, fostering their creativity and allowing them to express themselves. Furthermore, baking also encourages problem-solving skills. When faced with a baking challenge or a recipe that doesn’t turn out as expected, kids learn to think critically and find solutions.

You might also be interested in How to Incorporate Kids Into Your Vegetable Garden & Kid Friendly Projects!

Educational benefits of baking with kids

Baking offers a wide range of educational benefits for kids. One of the main educational benefits is that it helps children learn about math and science in a practical and engaging way. When measuring ingredients, kids get hands-on experience with fractions, units of measurement, and proportions. They learn about the importance of precise measurements and how different ingredients interact with each other to create the desired outcome.

Baking also introduces kids to the concept of chemical reactions. They can witness firsthand how ingredients transform when exposed to heat, such as how dough rises or how eggs change their consistency when cooked. This sparks their curiosity and encourages them to ask questions about the science behind baking.

Moreover, baking can also teach kids important life skills, such as following instructions and practicing patience. By following a recipe step by step, kids learn the importance of reading and understanding directions. They also develop patience as they wait for the dough to rise or the cookies to bake, understanding that good things take time and effort.

Here is a our families favorite Chocolate Cookie Recipe

Join the list

Join hundreds of our subscribers and be the first to know about new content and special offers.

Safety tips for baking with kids

While baking with kids is a fantastic activity, it’s important to ensure their safety in the kitchen. Here are some safety tips to keep in mind:

  • Supervision: Always supervise kids in the kitchen, especially when dealing with sharp objects or hot surfaces. Make sure they understand the potential dangers and teach them how to handle kitchen tools safely.
  • Proper Attire: Have kids wear appropriate clothing, such as an apron to protect their clothes, closed-toe shoes to prevent accidents, and tie back long hair to avoid it getting caught in equipment.
  • Hand Washing: Teach kids the importance of washing their hands before and after handling food to prevent the spread of bacteria.
  • Heat and Fire Safety: Teach kids about the dangers of hot surfaces, oven mitts, and open flames. Make sure they understand how to safely handle hot pans, use oven mitts, and never touch a hot stove.
  • Food Allergies: If baking with kids who have allergies, ensure that all ingredients are safe for them. Read labels carefully and avoid cross-contamination.

By following these safety tips, you can create a safe and enjoyable baking experience for you and your kids.

Essential tools and ingredients for baking with kids

To have a successful baking experience with kids, it’s important to have the right tools and ingredients on hand. Here are some essential items you’ll need:

  • Mixing Bowls: Have a variety of mixing bowls in different sizes to accommodate different recipes. Plastic bowls are ideal for young children as they are lightweight and less likely to break.
  • Measuring Cups and Spoons: Invest in a set of measuring cups and spoons specifically designed for kids. These usually come in bright colors and have clear markings, making it easier for kids to measure ingredients accurately.
  • Whisk and Spatula: A whisk is essential for mixing ingredients thoroughly, while a spatula is useful for scraping the sides of bowls and folding in ingredients gently.
  • Baking Pans and Sheets: Depending on the recipes you choose, you’ll need a variety of baking pans and sheets. Cake pans, muffin tins, and cookie sheets are some common options.
  • Ingredients: Stock up on basic baking ingredients such as flour, sugar, baking powder, baking soda, eggs, butter, and vanilla extract. Having these essentials on hand will allow you to bake a wide range of recipes with your kids.

By having the right tools and ingredients, you’ll be well-prepared for a successful and enjoyable baking session with your little ones.

Choosing age-appropriate recipes for baking with kids

When baking with kids, it’s important to choose recipes that are suitable for their age and skill level. Here are some factors to consider when selecting age-appropriate recipes

  • Complexity: Start with simple recipes that have fewer steps and require minimal kitchen equipment. As kids gain confidence and skills, you can gradually introduce more complex recipes.
  • Time: Choose recipes that have shorter baking times, especially for younger children who may have shorter attention spans. Quick and easy recipes such as cookies or muffins are great options.
  • Familiarity: Opt for recipes that include ingredients and flavors your kids enjoy. This will make the baking experience more enjoyable and increase their interest in the process.
  • Visual Appeal: Select recipes that yield visually appealing results. Kids are more likely to be excited about baking when they see the end product looking delicious and attractive.

Remember, the goal is to make baking a positive and enjoyable experience for kids, so choose recipes that align with their interests and abilities.

Fun and creative baking activities for kids

Baking with kids doesn’t have to be limited to following recipes. There are plenty of fun and creative activities you can incorporate into your baking sessions. Here are some ideas:

  • Decorating: Allow kids to unleash their creativity by decorating cookies, cupcakes, or cakes. Provide them with different colored icings, sprinkles, and edible decorations to let their imagination soar.
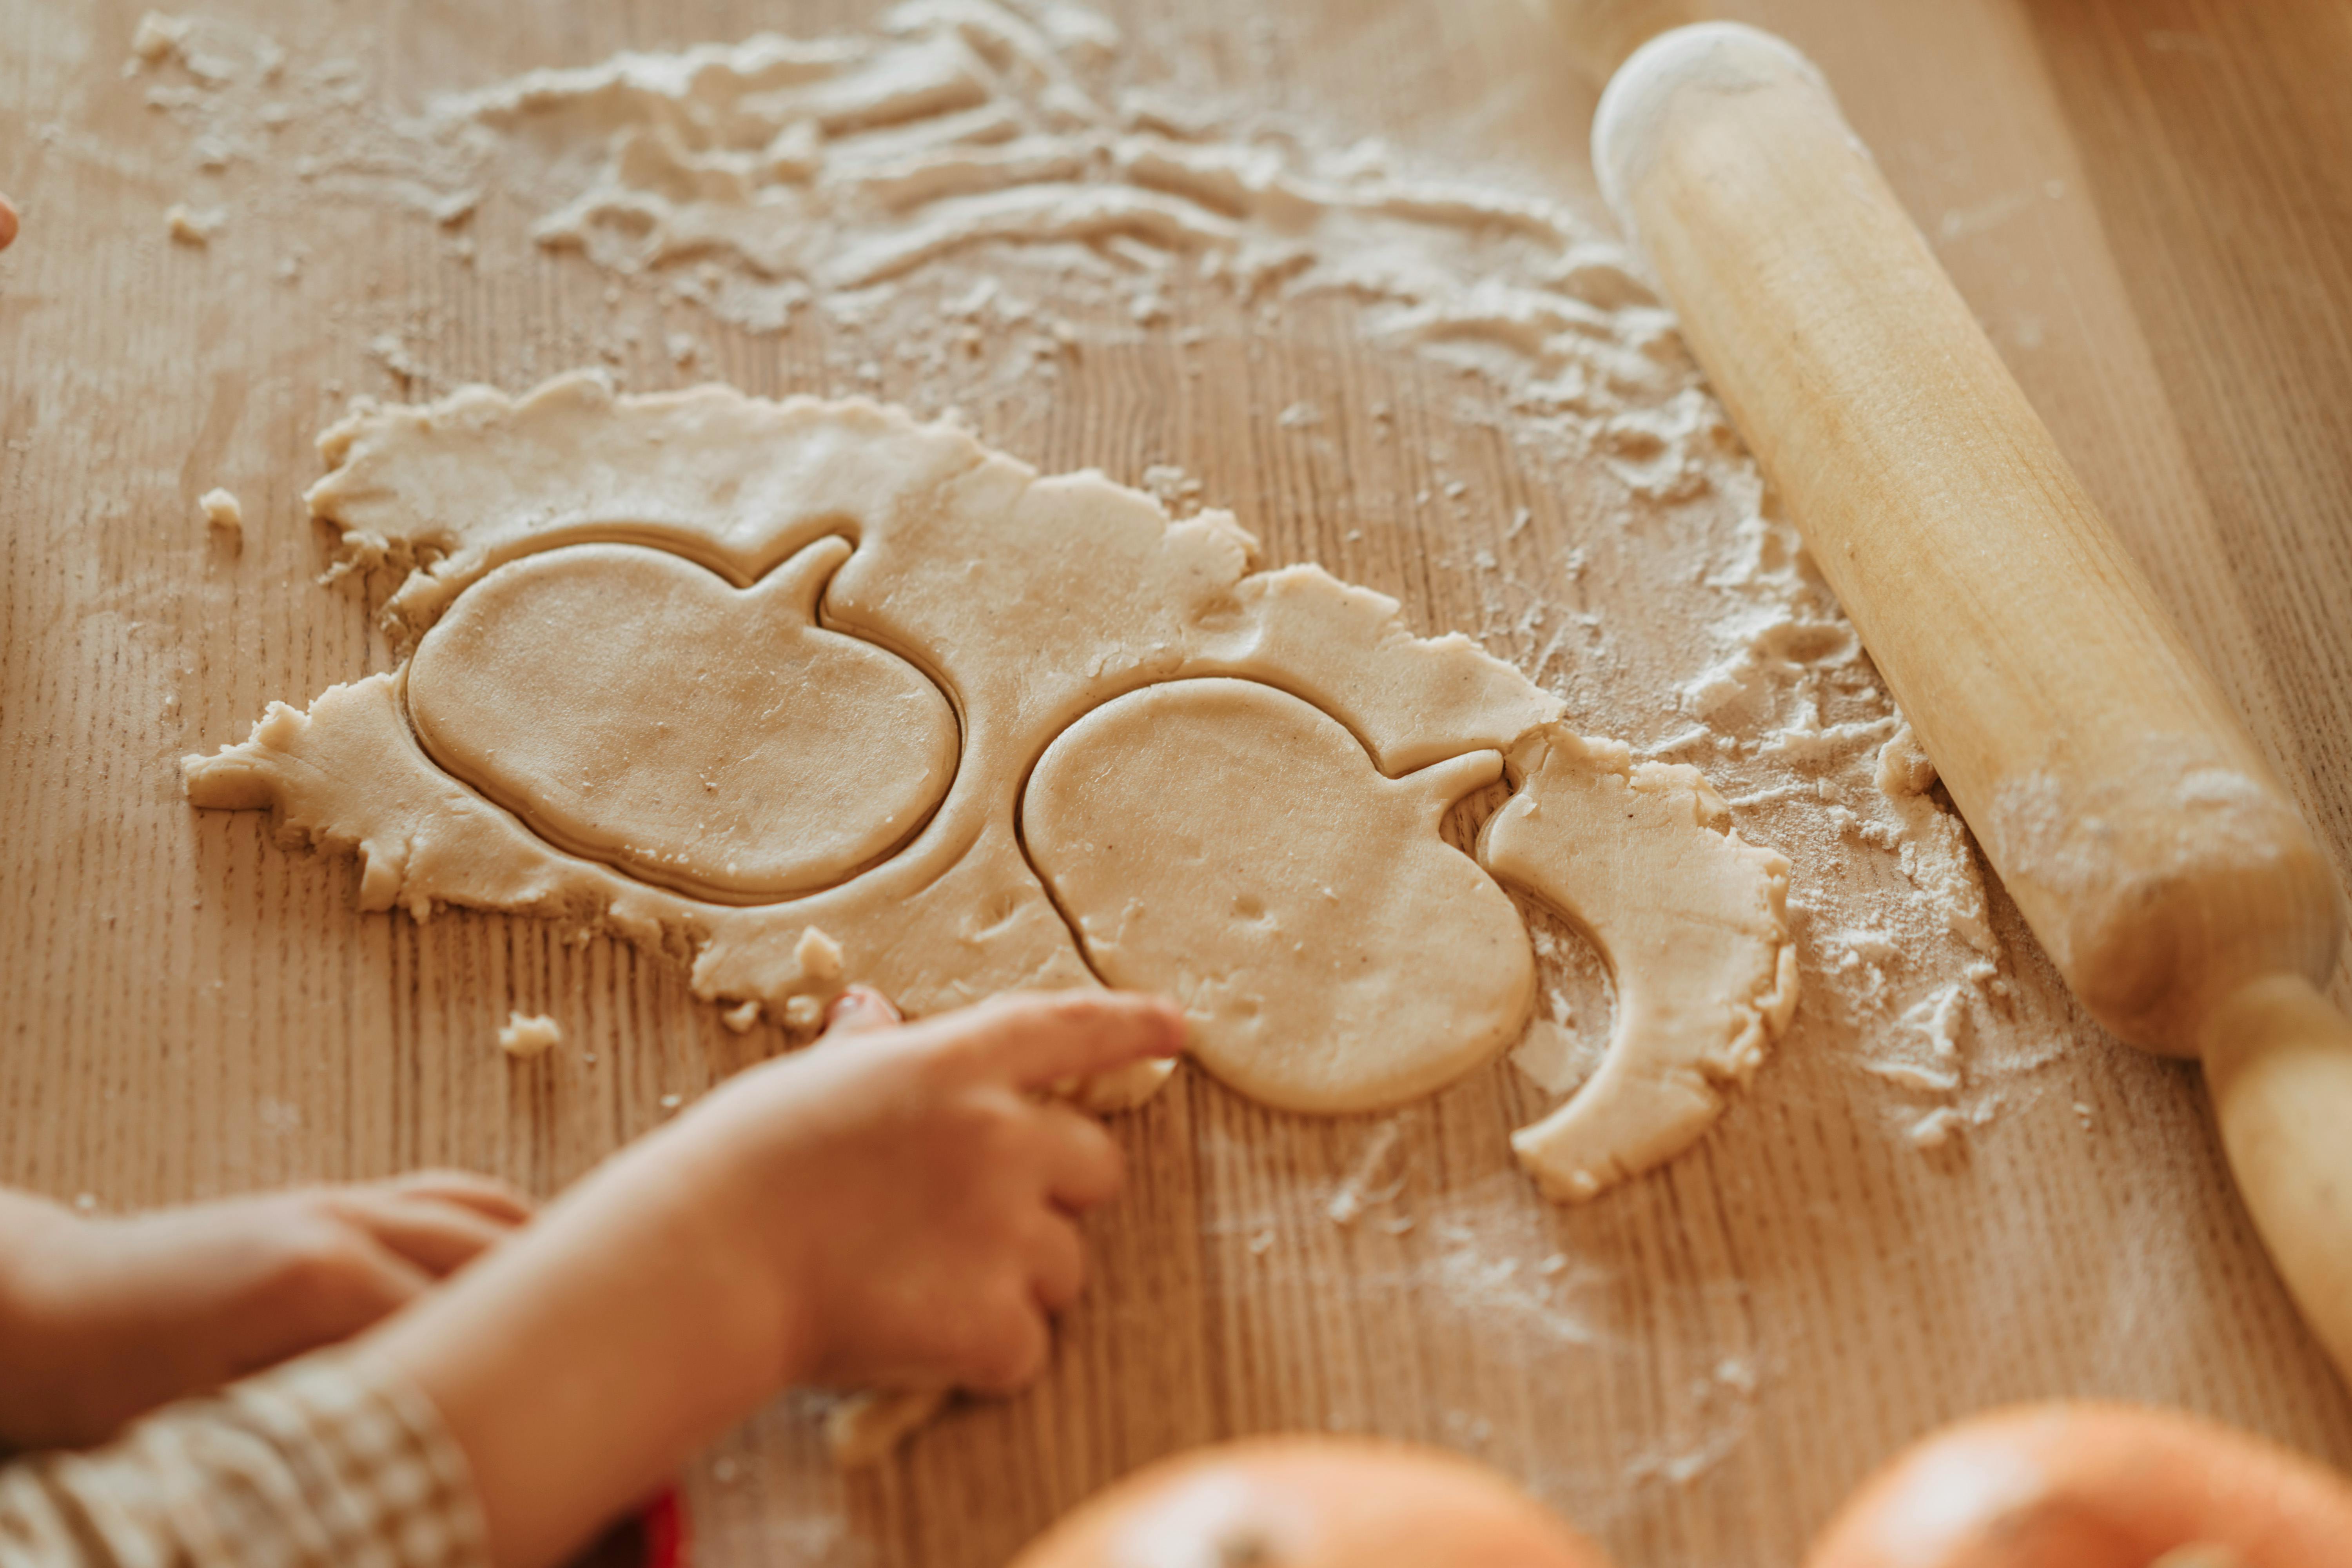
  • Shape and Design: Use cookie cutters in various shapes to create fun and unique treats. Kids can help cut out the shapes and decorate them afterward.
  • Theme-based Baking: Choose a specific theme for your baking session, such as holidays, seasons, or favorite characters. This adds an element of excitement and encourages kids to get involved.
  • Baking Competitions: Turn baking into a friendly competition by dividing into teams and challenging each other to create the best dessert. This fosters teamwork and adds an extra level of fun.
  • Recipe Creation: Let kids create their own recipes by allowing them to choose ingredients and experiment with flavors. This empowers them to be creative and gives them a sense of ownership over their creations.

Incorporating these fun and creative activities into your baking sessions will make the experience more enjoyable and memorable for both you and your kids.

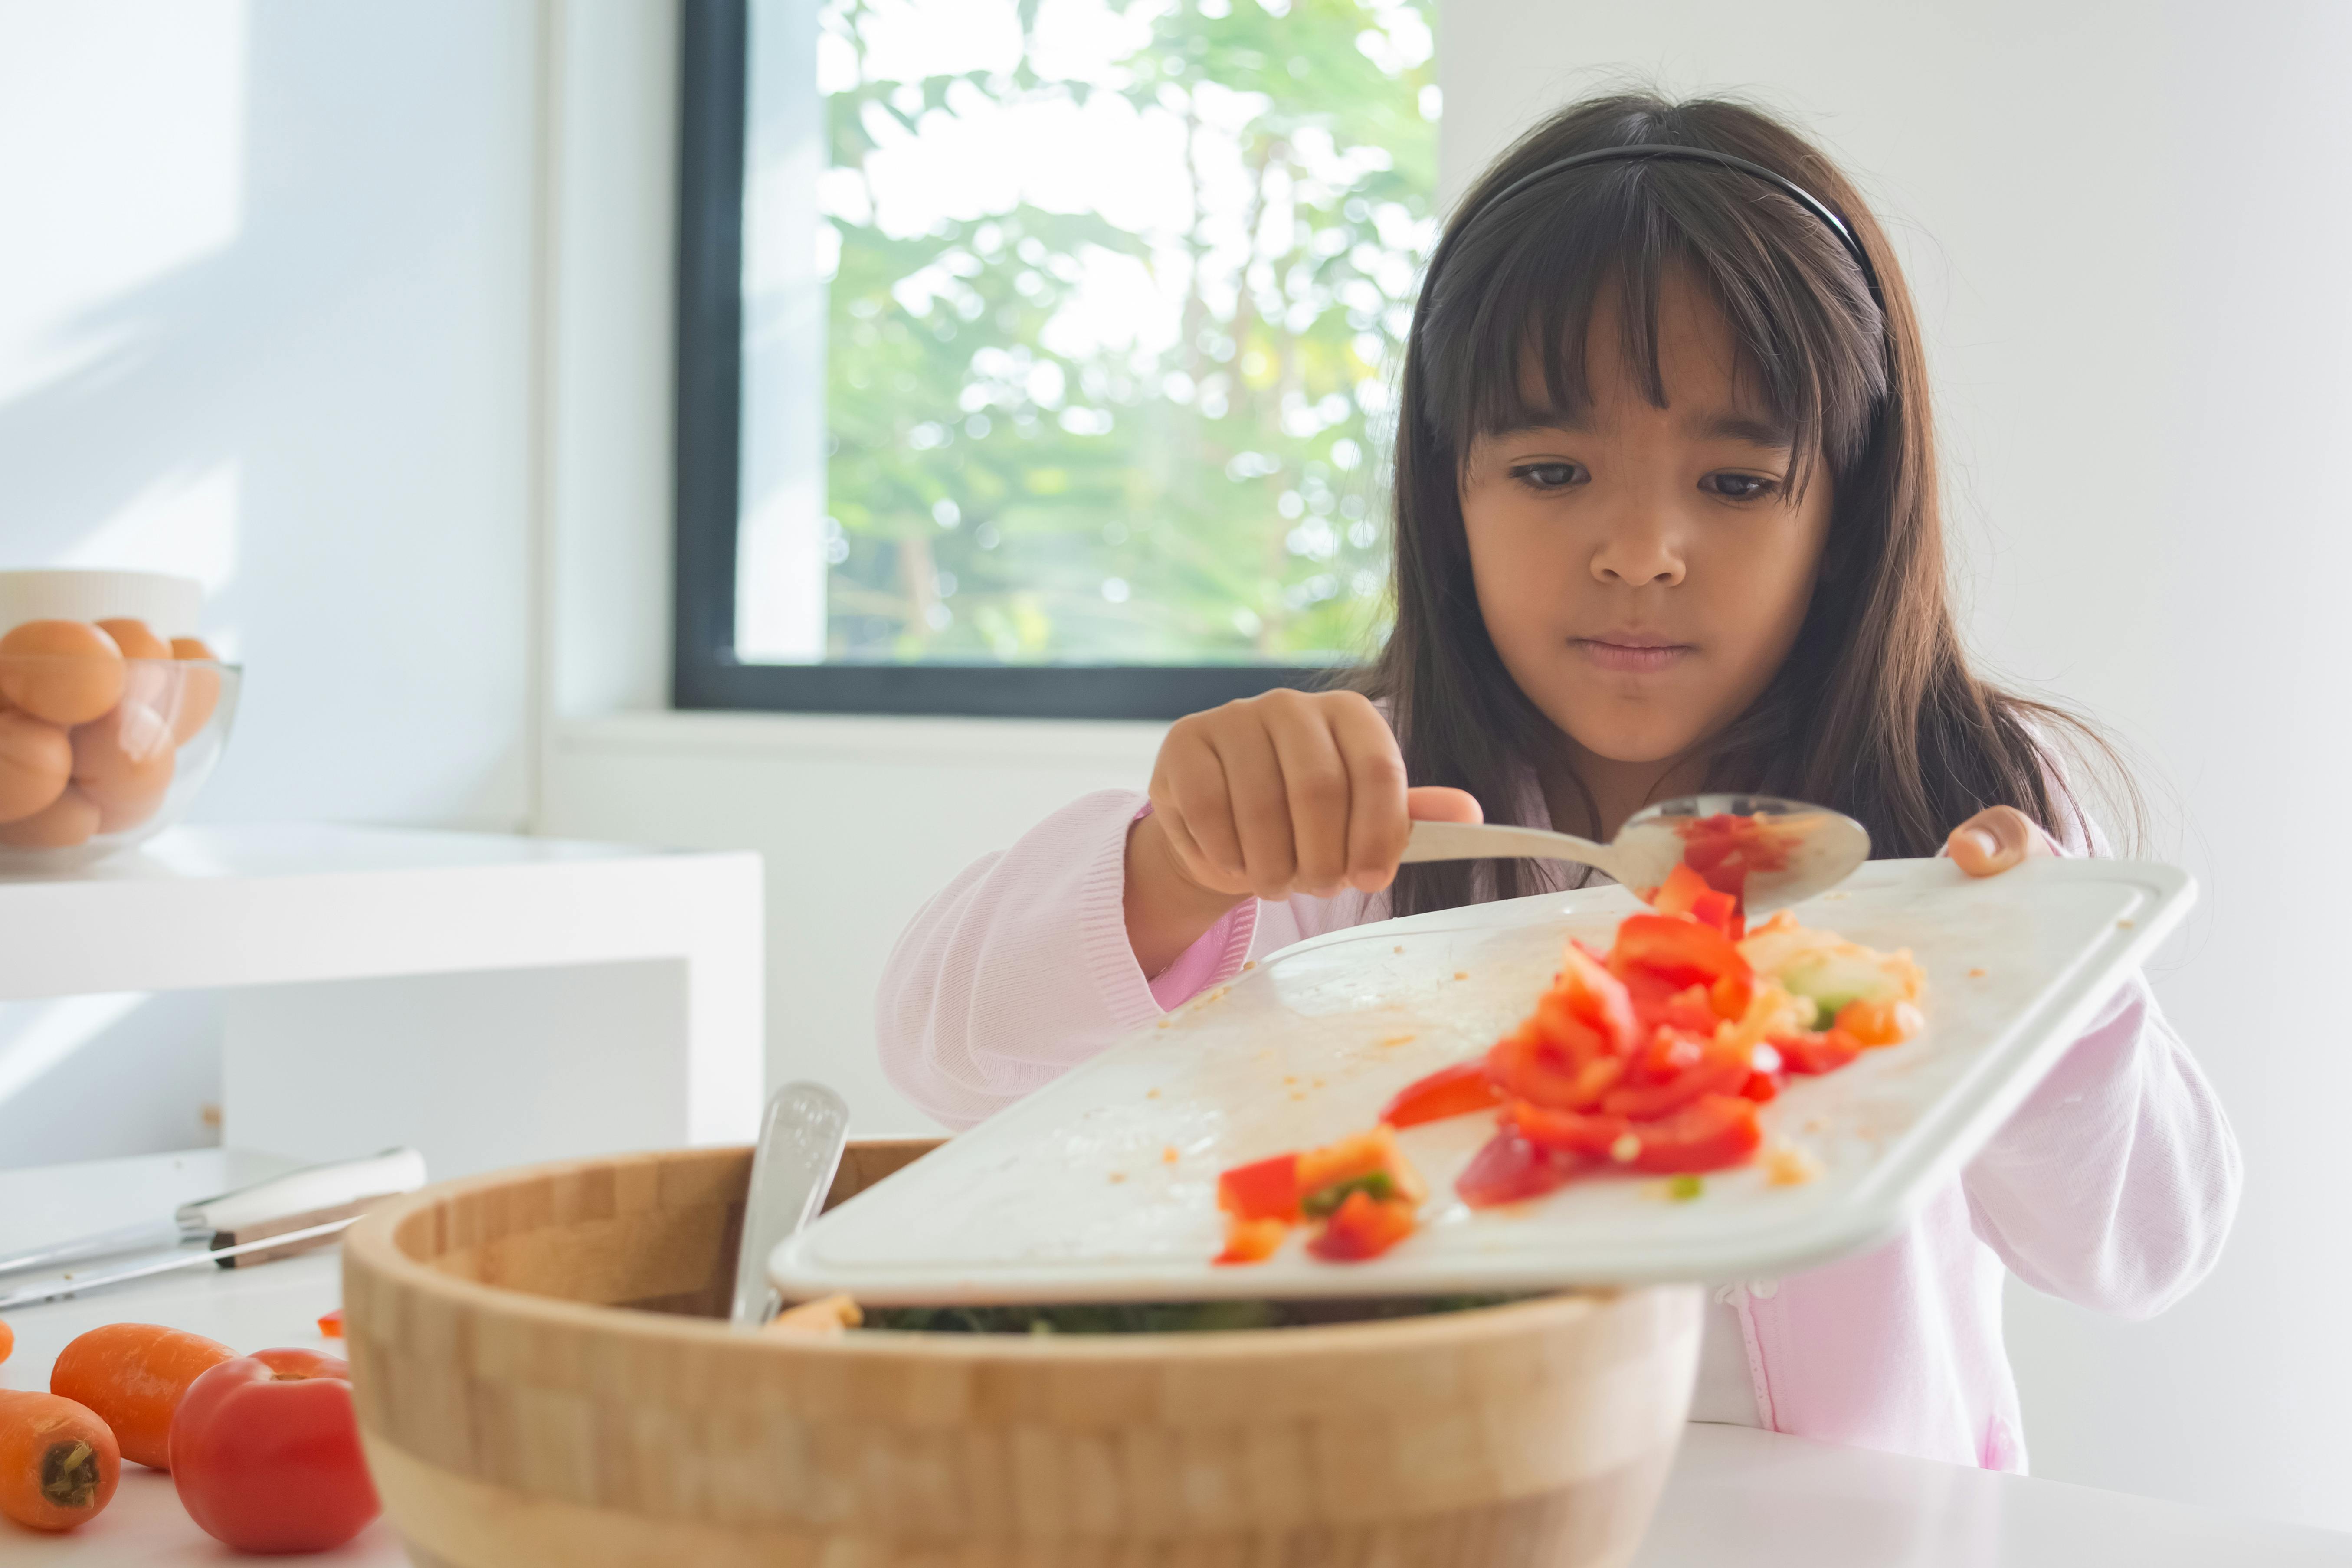
Teaching kids about measuring and following recipes

One of the essential skills kids can learn through baking is the art of measuring and following recipes accurately. Here are some tips to help you teach kids about measurements and recipe following:

  • Explain the Importance: Start by explaining why precise measurements are crucial in baking. Show them how different quantities of ingredients can affect the outcome of a recipe.
  • Demonstrate Measuring Techniques: Show kids how to properly measure ingredients using measuring cups and spoons. Teach them to level off dry ingredients and measure liquids at eye level.
  • Let them Take the Lead: As kids become more confident, allow them to take the lead in measuring ingredients. Supervise and assist when needed, but encourage them to do it themselves.
  • Read and Understand the Recipe: Teach kids how to read and understand a recipe before starting. Show them how to identify the ingredients and steps involved, emphasizing the importance of following directions.
  • Step-by-Step Guidance: Break down the recipe into manageable steps and guide kids through each one. Explain the purpose of each step and how it contributes to the overall outcome.

By teaching kids about measuring and following recipes, you are not only imparting valuable life skills but also instilling in them a sense of confidence and independence in the kitchen.

Incorporating math and science into baking with kids

Baking provides an excellent opportunity to incorporate math and science concepts into a hands-on learning experience. Here are some ways to incorporate math and science into baking with kids:

  • Measurement and Fractions: Baking involves precise measurements, which allows kids to practice their math skills. Ask them to convert measurements, double or halve recipes, or work with fractions when measuring ingredients.
  • Temperature and Time: Baking requires understanding temperature and time concepts. Discuss with kids how different temperatures affect the baking process and how they can adjust baking times accordingly.
  • Chemical Reactions: Baking involves chemical reactions that transform ingredients into delicious treats. Explain to kids how yeast causes dough to rise or how baking powder reacts with acid to create bubbles in a cake.
  • Counting and Sequencing: Baking often involves counting and sequencing steps. Ask kids to count the number of eggs or the number of times they need to mix the batter.
  • Problem Solving: Encourage kids to problem-solve when faced with challenges in the kitchen. For example, if a cake sinks, discuss possible reasons and solutions, fostering critical thinking skills.

Incorporating math and science concepts into baking not only makes the learning process more engaging but also helps kids understand the practical applications of these subjects in everyday life.

Baking with kids for special occasions

Baking with kids can be a wonderful way to celebrate special occasions and create lasting memories. Here are some ideas for baking with kids during different occasions:

  • Birthdays: Let kids take charge of baking their own birthday cake. Allow them to choose the flavor, decorations, and even help with the frosting.
  • Holidays: Bake festive treats for holidays such as Christmas, Halloween, or Easter. Get creative with themed cookies, cupcakes, or cakes, and involve kids in the entire process.
  • Family Gatherings: Baking can be a great way to contribute to family gatherings. Have kids prepare a favorite family recipe and share it with their loved ones.
  • School Events: If there’s a bake sale or school event, encourage kids to bake goodies to contribute. This not only helps them develop a sense of responsibility but also allows them to contribute to their community.
  • Random Acts of Kindness: Bake treats with kids to give to neighbors, friends, or community members as random acts of kindness. This teaches kids the joy of giving and spreading happiness.

By baking with kids on special occasions, you create meaningful experiences and teach them the importance of sharing and celebration.

Creating lifelong memories through baking with kids

Baking with kids is not just about making delicious treats; it’s about creating lifelong memories and valuable learning experiences. From enhancing motor skills to fostering creativity, baking provides numerous benefits for children’s development. It allows them to explore math and science concepts, teaches them important life skills, and instills a sense of confidence and independence in the kitchen.

By following safety tips, having the right tools and ingredients, and choosing age-appropriate recipes, you can create a fun and educational baking experience for your kids. Incorporating fun and creative activities, teaching kids about measurements and following recipes, and integrating math and science concepts further enriches the experience.

Whether baking for special occasions or simply enjoying quality time together, baking with kids creates moments that will be cherished for a lifetime. So grab your aprons, gather the ingredients, and embark on a baking adventure with your little ones. Start mastering the art of baking with kids today and create memories that will last a lifetime.

CTA: Discover more fun and educational activities to enjoy with your kids! Check out our website for exciting ideas and inspiration.

Processing…
Success! You're on the list.

If you enjoyed this blog , please LIKE, Follow, Share & leave me a comment! I love your feedback!

If you aren’t following me on Facebook & Instagram, go on over & give a LIKE & Follow me for daily tips & tricks for your home & garden!

Remember to eat fresh, shop local, & have a happy day,

Jean

Copyright Policy

All text and images on this site are copyright of For Dragonflies And Me. Unless otherwise noted, you may not use this content 

This post may contain affiliate links. If you choose to purchase through an affiliate link, I may receive a small commission at no additional cost to you. You can see my full disclaimer here.

Did You See This Video?

Are you looking for informative cooking & gardening videos?

Well check out my YouTube channel. Be sure to SUBSCRIBE so you Don’t miss an episode!

Top 10 Tips & Tricks Revealed: Introduction to Hosting the Perfect Holiday Party

The holiday season is upon us, and with it comes the joy of hosting the perfect holiday party. Whether you’re planning an intimate gathering or a grand celebration, there are a few secrets to ensure your event is a memorable one. In this article, I will reveal 10 tips and tricks that will help you unlock the secrets to hosting the perfect holiday party.

Setting the Theme and Atmosphere for Your Holiday Party

Setting the right theme and atmosphere is crucial when it comes to hosting the perfect holiday party. Decide on a theme that reflects the spirit of the season, whether it’s a winter wonderland, a classic Christmas, or a festive New Year’s Eve bash. Once you’ve chosen a theme, incorporate it into every aspect of your party, from the decorations to the menu.

To create a magical atmosphere, consider using warm and inviting lighting. String up fairy lights or candles throughout the venue, and use soft, cozy fabrics like velvet or faux fur to add a touch of elegance. Don’t forget to play some festive music in the background to set the mood and get your guests in the holiday spirit.

Planning the Guest List and Invitations

When planning your guest list, consider the size of your venue and the type of party you want to host. If you’re aiming for an intimate gathering, keep the guest list small and invite close friends and family. For a larger celebration, expand your guest list to include coworkers, neighbors, and acquaintances.

Once you have finalized your guest list, it’s time to send out invitations. Opt for traditional paper invitations or embrace the convenience of digital invitations. Whichever method you choose, make sure to include all the essential details such as the date, time, location, and any specific dress code or theme requirements. Sending out invitations well in advance will give your guests plenty of time to RSVP and make necessary arrangements.

Choosing the Perfect Venue or Hosting at Home

Deciding on the venue for your holiday party is an important step in ensuring its success. You have two options: hosting at home or renting a venue. Hosting at home offers a cozy and intimate setting, allowing you to personalize every detail. However, if your home can’t accommodate all your guests or you prefer a change of scenery, consider renting a venue. Look for a venue that aligns with your theme and offers the necessary amenities such as a kitchen and ample parking space.

If you choose to host at home, make sure to declutter and create a welcoming space for your guests. Rearrange furniture to allow for easy mingling and place extra seating areas in case you have more guests than expected. Provide designated areas for coats and bags, and ensure there’s enough space for everyone to move around comfortably.

Deciding on the Menu and Catering Options

The menu is a crucial aspect of any holiday party, and choosing the right dishes will delight your guests and leave a lasting impression. Decide whether you want to serve a formal sit-down dinner, a buffet-style feast, or a selection of finger foods and hors d’oeuvres. Consider dietary restrictions and preferences of your guests, and offer a variety of options to cater to everyone’s tastes.

If you’re not confident in your culinary skills or simply want to enjoy the party without the stress of cooking, consider hiring a professional caterer. They will take care of the menu planning, food preparation, and presentation, allowing you to focus on hosting and mingling with your guests. Make sure to sample the caterer’s offerings beforehand to ensure they meet your expectations.

Selecting the Right Beverages for Your Holiday Party

No holiday party is complete without a selection of festive beverages. Offer a variety of options to cater to different preferences, including alcoholic and non-alcoholic choices. Create a signature holiday cocktail that reflects the theme of your party and serves it in elegant glassware for an extra touch of sophistication.

Don’t forget to provide non-alcoholic alternatives for those who prefer not to drink or designated drivers. Offer a selection of mocktails and refreshing beverages such as flavored water or sparkling juices. Display the beverage options in an attractive and easily accessible area, and consider hiring a bartender to ensure smooth service throughout the event.

Decorating Your Holiday Party Space

Decorating your holiday party space is where you can truly let your creativity shine. Incorporate your chosen theme into every aspect of the decor, from the table settings to the lighting. Use a color scheme that complements the theme, such as classic red and green for a traditional Christmas party or silver and blue for a winter wonderland.

Start by decorating the entrance to create a warm and inviting atmosphere. Hang a festive wreath on the door and place a doormat with a holiday greeting. Inside, adorn the walls with garlands, hang mistletoe in strategic spots, and place centerpieces on tables. Consider using fresh flowers, candles, and seasonal elements like pinecones or ornaments to add a touch of elegance.

Creating a Festive Playlist and Entertainment Options

Music is a powerful tool to set the mood and create a festive atmosphere. Create a playlist that includes a mix of holiday classics and popular tunes that will get your guests in the dancing spirit. Select songs that match the energy of your party, whether you want a relaxed ambiance or a lively dance floor.

In addition to music, consider providing other forms of entertainment to keep your guests engaged and entertained throughout the night. Hire a live band or a DJ to play music and ensure smooth transitions between songs. Set up a photo booth with festive props where guests can capture memories of the evening. You can also organize a fun holiday-themed game or activity to break the ice and encourage interaction among your guests.

Organizing Fun Activities and Games for Your Guests

To make your holiday party truly memorable, organize fun activities and games that will bring joy and laughter to your guests. Consider setting up a gift exchange or a Secret Santa where guests can exchange presents. You can also create a holiday trivia game or a scavenger hunt with festive clues hidden throughout the venue.

If you’re hosting a family-friendly event, provide activities for children such as a craft station where they can create holiday-themed artwork or a cookie decorating station. Consider hiring a professional entertainer such as a magician or a face painter to keep the little ones entertained while the adults socialize.

Tips for Being a Gracious Host and Ensuring a Smooth Event

As the host, it’s important to ensure a smooth and enjoyable experience for your guests. Here are a few tips to help you be a gracious host:

  1. Greet each guest personally and make them feel welcome.
  2. Introduce guests to one another and facilitate conversation.
  3. Be attentive to your guests’ needs and ensure they have everything they need.
  4. Keep the flow of food and beverages steady and replenish as necessary.
  5. Take the time to mingle and engage with your guests, but also delegate tasks to trusted friends or family members to help with hosting duties.

Remember, being a gracious host means prioritizing the comfort and enjoyment of your guests above all else.

Hosting a Memorable Holiday Party

Hosting the perfect holiday party is a delightful endeavor that requires careful planning and attention to detail. From setting the theme and atmosphere to organizing fun activities and games, every aspect contributes to creating a memorable experience for your guests. By following the 10 tips and tricks revealed in this article, you’ll unlock the secrets to hosting a holiday party that will leave a lasting impression on everyone who attends.

So, what are you waiting for? Start planning your perfect holiday party and get ready to spread joy and cheer to all your friends and loved ones. Happy hosting!

CTA:

Ready to host the perfect holiday party? Share your party planning tips and experiences in the comments below! And don’t forget to check out our other articles for more ideas and inspiration on hosting memorable events. Happy holidays!

If you enjoyed this blog , please LIKE, Follow, Share & leave me a comment! I love your feedback!

If you aren’t following me on Facebook & Instagram, go on over & give a LIKE & Follow me for daily tips & tricks for your home & garden!

Remember to eat fresh, shop local, & have a happy day,

Jean

Copyright Policy

All text and images on this site are copyright of For Dragonflies And Me. Unless otherwise noted, you may not use this content 

This post may contain affiliate links. If you choose to purchase through an affiliate link, I may receive a small commission at no additional cost to you. You can see my full disclaimer here.

10 Best Tricks to Set an Enchanting Holiday Table

Introduction to Holiday Table Setting

The holiday season is a time for celebration, joy, and creating cherished memories with loved ones. One of the most important aspects of any holiday gathering is the table setting. A beautifully set table not only enhances the overall ambiance but also sets the stage for a memorable dining experience. In this article, I will share with you the 10 best tricks to set an enchanting holiday table that will leave a lasting impression on your guests.

Importance of Setting an Enchanting Holiday Table

Setting an enchanting holiday table goes beyond just aesthetics; it creates an atmosphere of warmth and welcome. The care and attention put into the table setting show your guests that they are special and that you have gone the extra mile to create a magical experience for them. Whether it’s a formal dinner or a casual gathering, an enchanting holiday table elevates the entire dining experience and makes it truly unforgettable. Consider including a menu board for that special extra touch!

Check out my other blogs related to creating the most enchanting holiday ever!
How to host the best Holiday Cookie Exchange, 25 Best Hacks, Tips & Tricks for Decorating for the Holidays, and my families favorite Graham Cookie recipe!

Choosing a Theme for Your Holiday Table

To create a cohesive and visually appealing holiday table, it’s essential to choose a theme. The theme can be inspired by the season, a specific holiday, or even your personal style. Some popular themes include rustic farmhouse, winter wonderland, and elegant gold and silver. Once you have selected a theme, you can use it as a guide for selecting your tablecloth, dinnerware, and decorations.

Essential Elements for an Enchanting Holiday Table

An enchanting holiday table should incorporate certain essential elements. These elements include a tablecloth, napkins, dinnerware, glassware, a centerpiece, decorations, and lighting. Each of these elements contributes to the overall aesthetic and ambiance of the table. By carefully selecting and coordinating these elements, you can create a cohesive and enchanting holiday table that will impress your guests.

Get new recipes delivered to your inbox.

Selecting the Right Tablecloth and Napkins

The tablecloth and napkins are the foundation of your holiday table setting. When selecting a tablecloth, consider the size and shape of your table, as well as the theme you have chosen. Opt for a tablecloth that complements your chosen color scheme and adds texture or pattern to the table. Similarly, choose napkins that coordinate with the tablecloth and add a touch of elegance or playfulness to the setting.

Choosing the Perfect Dinnerware and Glassware

Dinnerware and glassware play a crucial role in creating an enchanting holiday table. Opt for dinnerware that suits the theme of your table and complements the overall color scheme. Consider using chargers or placemats to add an extra layer of sophistication. When it comes to glassware, select glasses that are appropriate for the beverages being served. A well-coordinated set of dinnerware and glassware will elevate the visual appeal of your holiday table.

Tips for Creating a Beautiful Centerpiece

A beautiful centerpiece is the focal point of any holiday table. It sets the tone and adds a touch of elegance to the overall setting. When creating a centerpiece, consider the size of your table and the theme you have chosen. You can use a floral arrangement, a collection of candles, or even a combination of both. Experiment with different heights and textures to create visual interest. Remember to keep the centerpiece low enough so that your guests can see each other across the table.

Processing…
Success! You're on the list.

Adding Festive Decorations to Your Holiday Table

Festive decorations are what truly bring the holiday spirit to your table. Incorporate elements such as pinecones, ornaments, or seasonal fruits to add a festive touch. Consider using a garland or a string of fairy lights as a runner to create a whimsical effect. Don’t be afraid to get creative and incorporate personal touches that reflect your unique style and traditions. The key is to strike a balance between festive and tasteful.

Lighting Techniques for an Enchanting Ambiance

Lighting is an often-overlooked aspect of table setting, but it can make a significant difference in creating an enchanting ambiance. Consider using candles or tea lights to cast a warm and inviting glow over the table. You can also use string lights or lanterns to create a magical atmosphere. Experiment with different lighting techniques to find the perfect balance between brightness and coziness.

Personal Touches and Finishing Details

To truly make your holiday table enchanting, add personal touches and finishing details. Place personalized name cards or small gifts at each table setting to make your guests feel special. Consider incorporating sentimental items or heirlooms into the table décor to add a sense of nostalgia. Pay attention to small details like folded napkins or ribbon accents to add an extra layer of elegance.

Setting an enchanting holiday table is an art that requires attention to detail and a touch of creativity. By following the 10 best tricks outlined in this article, you can create a table that will leave a lasting impression on your guests and create beautiful memories for years to come. Remember, the key is to choose a theme, select the right elements, and add personal touches that reflect your unique style and traditions. So go ahead, unleash your creativity, and create an enchanting holiday table that will be the highlight of your celebrations.

If you aren’t following me on Facebook or Instagram, go on over & give a LIKE & Follow me for daily tips & tricks for your home & garden!

Until next time friends, eat fresh, shop local, & have a happy day,
Jean

Copyright Policy

All text and images on this site are copyright of For Dragonflies And Me. Unless otherwise noted, you may not use this content.

This post may contain affiliate links. If you choose to purchase through an affiliate link, I may receive a small commission at no additional cost to you. You can see my full disclaimer here.

Easy Homemade Graham Cookies- My family’s favorite holiday cookie recipe!

This is my family’s favorite holiday cookie recipe, and it’s a very special one. This was my grandmothers recipe and her mother’s before that. Every year we make several dozen of these to share.

Check out my YouTube video below for an easy how to.

If you own a copy of my cookbook, Lovingly Seasoned Eats and Treats, you can find it on recipe on page 245. If you don’t on your own copy, and would like one, you can purchase one right here at my blog.

You can go to my blog at http://www.fordragonfliesandme.com topurchase my original cookbook, Lovingly Seasoned Eats and Treats in either a spiral bound soft cover OR NEW, a Downloadable PDF version. The cookbook has almost 1000 recipes on almost 500 pages! Check out the Cookbook Testimonials while you’re there!

Until next time remember to,
Eat fresh, shop local & have a happy day,
Jean

Copyright Policy

All text and images on this site are copyright of For Dragonflies And Me. Unless otherwise noted, you may not use this content.

This post may contain affiliate links. If you choose to purchase through an affiliate link, I may receive a small commission at no additional cost to you. You can see my full disclaimer here.

Easy How-to Make Salami Roses for your Stunning Charcutier Boards: Part 3

Welcome to Part 3 of my How to create stunning holiday charcutier boards on a budget. Today I’ll show you how easy it is to create those fancy dancy salami roses!

Watch my YouTube video below, and be sure to SMASH those LIKE & SUBSCRIBE buttons so you don’t miss a beat!

Did you miss Part 1 and Part 2 of my How to create stunning holiday charcutier boards? No worries friends, just click those links!

Get new recipes delivered to your inbox.

Added bonus: You can go to my blog at http://www.fordragonfliesandme.com to purchase my original cookbook, Lovingly Seasoned Eats and Treats in either a spiral bound soft cover OR NEW, a Downloadable PDF version. The cookbook has almost 1000 recipes on almost 500 pages! Check out the Cookbook Testimonials while you’re there!

Until next time remember to,
Eat fresh, shop local & have a happy day,
Jean

Copyright Policy

All text and images on this site are copyright of For Dragonflies And Me. Unless otherwise noted, you may not use this content.

Gardening 101~ How to grow, harvest, and care for rhubarb~ PLUS BONUS Recipe & How-to Properly Harvest Your Rhubarb Video

“The lesson I have thoroughly learnt, and wish to pass on to others, is to know the enduring happiness that the love of a garden gives. ” Gertrude Jekyll

Did you know rhubarb is a vegetable, not a fruit?

Rhubarb is a versatile vegetable, & its tangy flavor can easily be combined with the sweetness of strawberry, or left on its own! It is a favorite among gardeners and chefs alike, thanks to its unique taste and versatility in the kitchen. 

Never tried rhubarb? Well, if you’re new to gardening or have never grown rhubarb before, you might be wondering where to start. Fear not! In this episode of Gardening 101, I’ll take you through everything you need to know about planting and caring for rhubarb. 

From choosing the right variety to harvesting and cooking, I’ve got you covered. So whether you’re a seasoned green thumb or a novice looking to grow something new & different, this episode will equip you with all the knowledge and skills you need to grow your own delicious rhubarb. Get ready to add a touch of tangy goodness to your garden and your plate!

Watch my YouTube video how-to on How to Grow & Care for Rhubarb, along with some Bonus Recipes, click below~

How’d you like the video? Give you your thoughts & feedback in the comments, & be sure to let me know if you have any additional tips & tricks on How to Grow & Care for Rhubarb!

Check out my video on How to Properly Harvest Rhubarb at my YouTube Channel below~

Did you come back for some Rhubarb recipes? Click these links for some great recipes!

Strawberry Rhubarb Dump Cake~ watch my son Aaron prepare this all on his own.. it’s that easy!

You can find more Rhubarb recipes in my Cookbook on pages 232, 309, and 339!

Don’t have your own copy of my cookbook? Well no worries, CLICK HERE to purchase your own soft cover addition or a Down Loadable PDF version! You can go to my blog at http://www.fordragonfliesandme.com to purchase my original cookbook, Lovingly Seasoned Eats and Treats in either a spiral bound soft cover OR NEW, a Downloadable PDF version. The cookbook has almost 1000 recipes on almost 500 pages! Check out the Cookbook Testimonials while you’re there!

If you enjoyed this blog, please LIKE, Follow, Share & leave me a comment! I love your feedback!

If you aren’t following me on Facebook & Instagram go on over & give a LIKE & Follow me for daily tips & tricks for your home & garden! 

Get new recipes delivered to your inbox.

Until next time remember to,
Eat fresh, shop local & have a happy day,
Jean


Copyright Policy
All text and images on this site are copyright of For Dragonflies And Me. Unless otherwise noted, you may not use this content.

Gardening 101~ How-to Plant Blueberries & Care For Them

“Growing your own food may be one of the most powerful steps you can take for the health of yourself, your family, and your planet.” ― Lindsay Oberst (foodrevolution.org)

I often mention the fond memories I have of my childhood, and blueberries bring back so many of them. I clearly remember the blueberry season and my grandmother and mother purchasing a flat of them to freeze and make blueberry preserves… oh the smell that wafted through our home during those canning and preserving months.

My favorite dessert my grandma made was blueberries with cinnamon & sugar. Yummmm… and today, my children love it just as much! As soon as the boys see blueberries at the farmers markets, they look longingly at me with the, “are you getting them mom???” Of course I do. Now that my daughter is almost thirty with her own son, we have both introduced this delicacy to him as well! 

Growing up I have also mentioned we always had a garden. Blueberries were not one of the things we grew, but it is something I grew on my farm. They are relatively easy to grow and care for, which is what we are going to discuss in today’s blog post!

Whether you’re a novice or seasoned gardener, this guide will walk you through the process of planting and caring for blueberries. From choosing the right variety to ensuring proper soil acidity and irrigation, we’ll cover everything you need to know to get started. So grab your gardening gloves and let’s get planting!

If you missed my post on My Top 10 Perennial Fruits & Vegetables to Grow for the Home Gardener, be sure to read it!

Why plant blueberries?

Blueberries are one of the healthiest fruits you can eat. They are packed with antioxidants, vitamin C, and fiber, and they have been shown to improve heart health, brain function, and digestion. In addition to being nutritious, blueberries are also incredibly versatile. They can be used in a wide variety of recipes, from pancakes and muffins to smoothies and salads.

But why grow your own blueberries? For one, they are much fresher and tastier than store-bought berries. You also have more control over the growing process, which means you can ensure that your blueberries are grown organically and sustainably. Plus, growing your own blueberries is a fun and rewarding hobby that can be enjoyed by people of all ages.

Choosing the right blueberry variety

Before you start planting blueberries, it’s important to choose the right variety for your location and climate. There are three main types of blueberries: highbush, lowbush, and rabbiteye. Highbush blueberries are the most common type and are suitable for most regions. Lowbush blueberries are smaller and more cold-hardy, making them ideal for northern climates. Rabbiteye blueberries are native to the southeastern United States and are well-suited for warm, humid climates.

When choosing a variety, look for one that is disease-resistant and adapted to your local climate. Some popular highbush varieties include Bluecrop, Jersey, and Duke. For lowbush blueberries, try Northland or Patriot. For rabbiteye blueberries, consider Tifblue or Brightwell.

Preparing soil for blueberry planting

Blueberries thrive in acidic soil with a pH between 4.5 and 5.5. If your soil is too alkaline, you can lower the pH by adding sulfur or peat moss. It’s also important to ensure that your soil is well-draining and rich in organic matter.

Before planting blueberries, prepare the soil by removing any weeds or debris and tilling the soil to a depth of at least 8 inches. If your soil is heavy clay, consider adding sand or perlite to improve drainage. You can also incorporate compost or well-rotted manure to add nutrients to the soil.

Planting blueberries – step by step guide

Once you’ve prepared the soil, it’s time to plant your blueberries. Here’s a step-by-step guide to get you started:

  • 1. Dig a hole that is twice as wide and deep as the root ball of your blueberry plant.
  • Mix some peat moss or compost into the soil at the bottom of the hole.
  • 2. Place the blueberry plant in the hole, making sure that the top of the root ball is level with the surrounding soil.
  • 3. Backfill the hole with soil, tamping it down gently as you go.
  • 4. Water the plant thoroughly, making sure that the soil is moist but not waterlogged0
  • .

Space your blueberry bushes about 4-6 feet apart to give them room to grow. You can also plant them in rows with about 8-10 feet between rows.

Watering and fertilizing blueberries

Blueberries need regular watering, especially during the first few years after planting. Water deeply once a week, making sure that the soil is moist but not waterlogged. Mulching around the base of the plant can help to retain moisture and suppress weeds.

Fertilizing is also important for blueberries, especially in the early spring before new growth appears. Use a fertilizer specifically formulated for blueberries, or one that is high in nitrogen, phosphorus, and potassium. Follow the instructions on the package for application rates and timing.

Pruning and training blueberry bushes

Pruning is essential for maintaining healthy blueberry bushes and promoting fruit production. In the first year after planting, remove any flowers or fruit that appear to allow the plant to focus on establishing strong roots and branches.

In subsequent years, prune your blueberry bushes in late winter or early spring before new growth appears. Remove any dead or diseased wood, as well as any branches that are crossing or rubbing against one another. Thin out the center of the bush to improve air circulation and light penetration.

Training your blueberry bushes to a central leader system can also help to promote healthy growth and fruit production. To do this, select a single stem to be the central leader and remove any side shoots that appear below it. As the plant grows, prune back any lateral branches to encourage upward growth.

Harvesting blueberries

Blueberries are typically ready to harvest in mid to late summer, depending on the variety and location. Ripe berries will be plump and have a deep blue color. To harvest, gently pick the berries off the bush, being careful not to damage the plant or surrounding fruit.

Storing and preserving blueberries

Fresh blueberries can be stored in the refrigerator for up to two weeks. They can also be frozen for later use by spreading them out in a single layer on a baking sheet and freezing until solid. Once frozen, transfer the berries to a sealed container and store in the freezer for up to six months.

Blueberries can also be preserved by canning, making jam, or dehydrating. Canned blueberries can be stored in a cool, dry place for up to a year, while blueberry jam can be stored in the refrigerator for several months or in the freezer for up to a year.

Stay tuned for the next in this series, How to Grow & Care for Rhubarb with a bonus video of me showing you how to properly harvest rhubarb!!

Here is a super easy pie filling recipe! This recipe can be found in my cookbook, Lovingly Seasoned Eats & Treats on Page 305.

Ingredients: Yields filling for 1 standard pie crust. This is a goop type pie filling.

1 ½ cup water

1 cup white sugar

⅓ cup clear gel

1 to 3 TBSP jello to match the flavor of your fruit being used

4 to 6 cups of fresh, cleaned fruit.

Directions:

  1. Mix sugar and clear gel in a medium sized stock pot; add water and mix with a whisk until well blended.
  2. Heat on medium high until low rolling boil; it will instantly begin to thicken; add fruit stirring gently so as not to smash fruit. I use a rubber spatula; add Jello and cook until thick and bubbly.
  3. Remove from heat & cool for about 5 to 8 minutes on a cooling rack; pour into a prepared pie crust of your choice.

You make a crumb topping or use another pie crust.

If you enjoyed this blog, please LIKE, Follow, Share & leave me a comment! I love your feedback!

If you aren’t following me on Facebook & Instagram go on over & give a LIKE & Follow me for daily tips & tricks for your home & garden! 

Added bonus: You can go to my blog at http://www.fordragonfliesandme.com to purchase my original cookbook, Lovingly Seasoned Eats and Treats in either a spiral bound soft cover OR NEW, a Downloadable PDF version. The cookbook has almost 1000 recipes on almost 500 pages! Check out the Cookbook Testimonials while you’re there!

Until next time remember to,
Eat fresh, shop local & have a happy day,

Jean

Copyright Policy

All text and images on this site are copyright of For Dragonflies And Me. Unless otherwise noted, you may not use this content.