Cheers to the Holidays: Unleash Your Inner Mixologist with These Yummy Drinks~ with non-alcoholic variations!

Introduction to festive drink recipes

Whether you indulge in spirits or not, you’re sure to find a few recipes to show off your inner mixologist in today’s blog post!

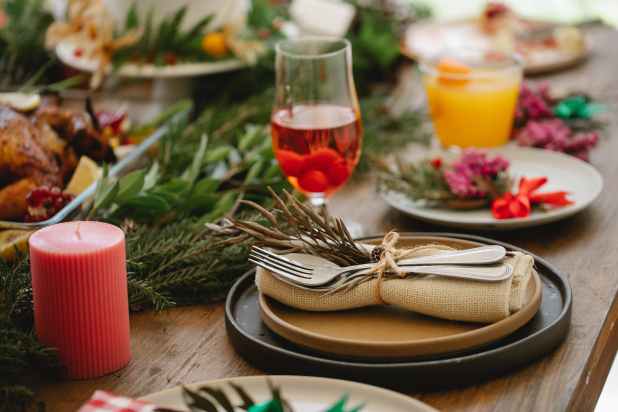
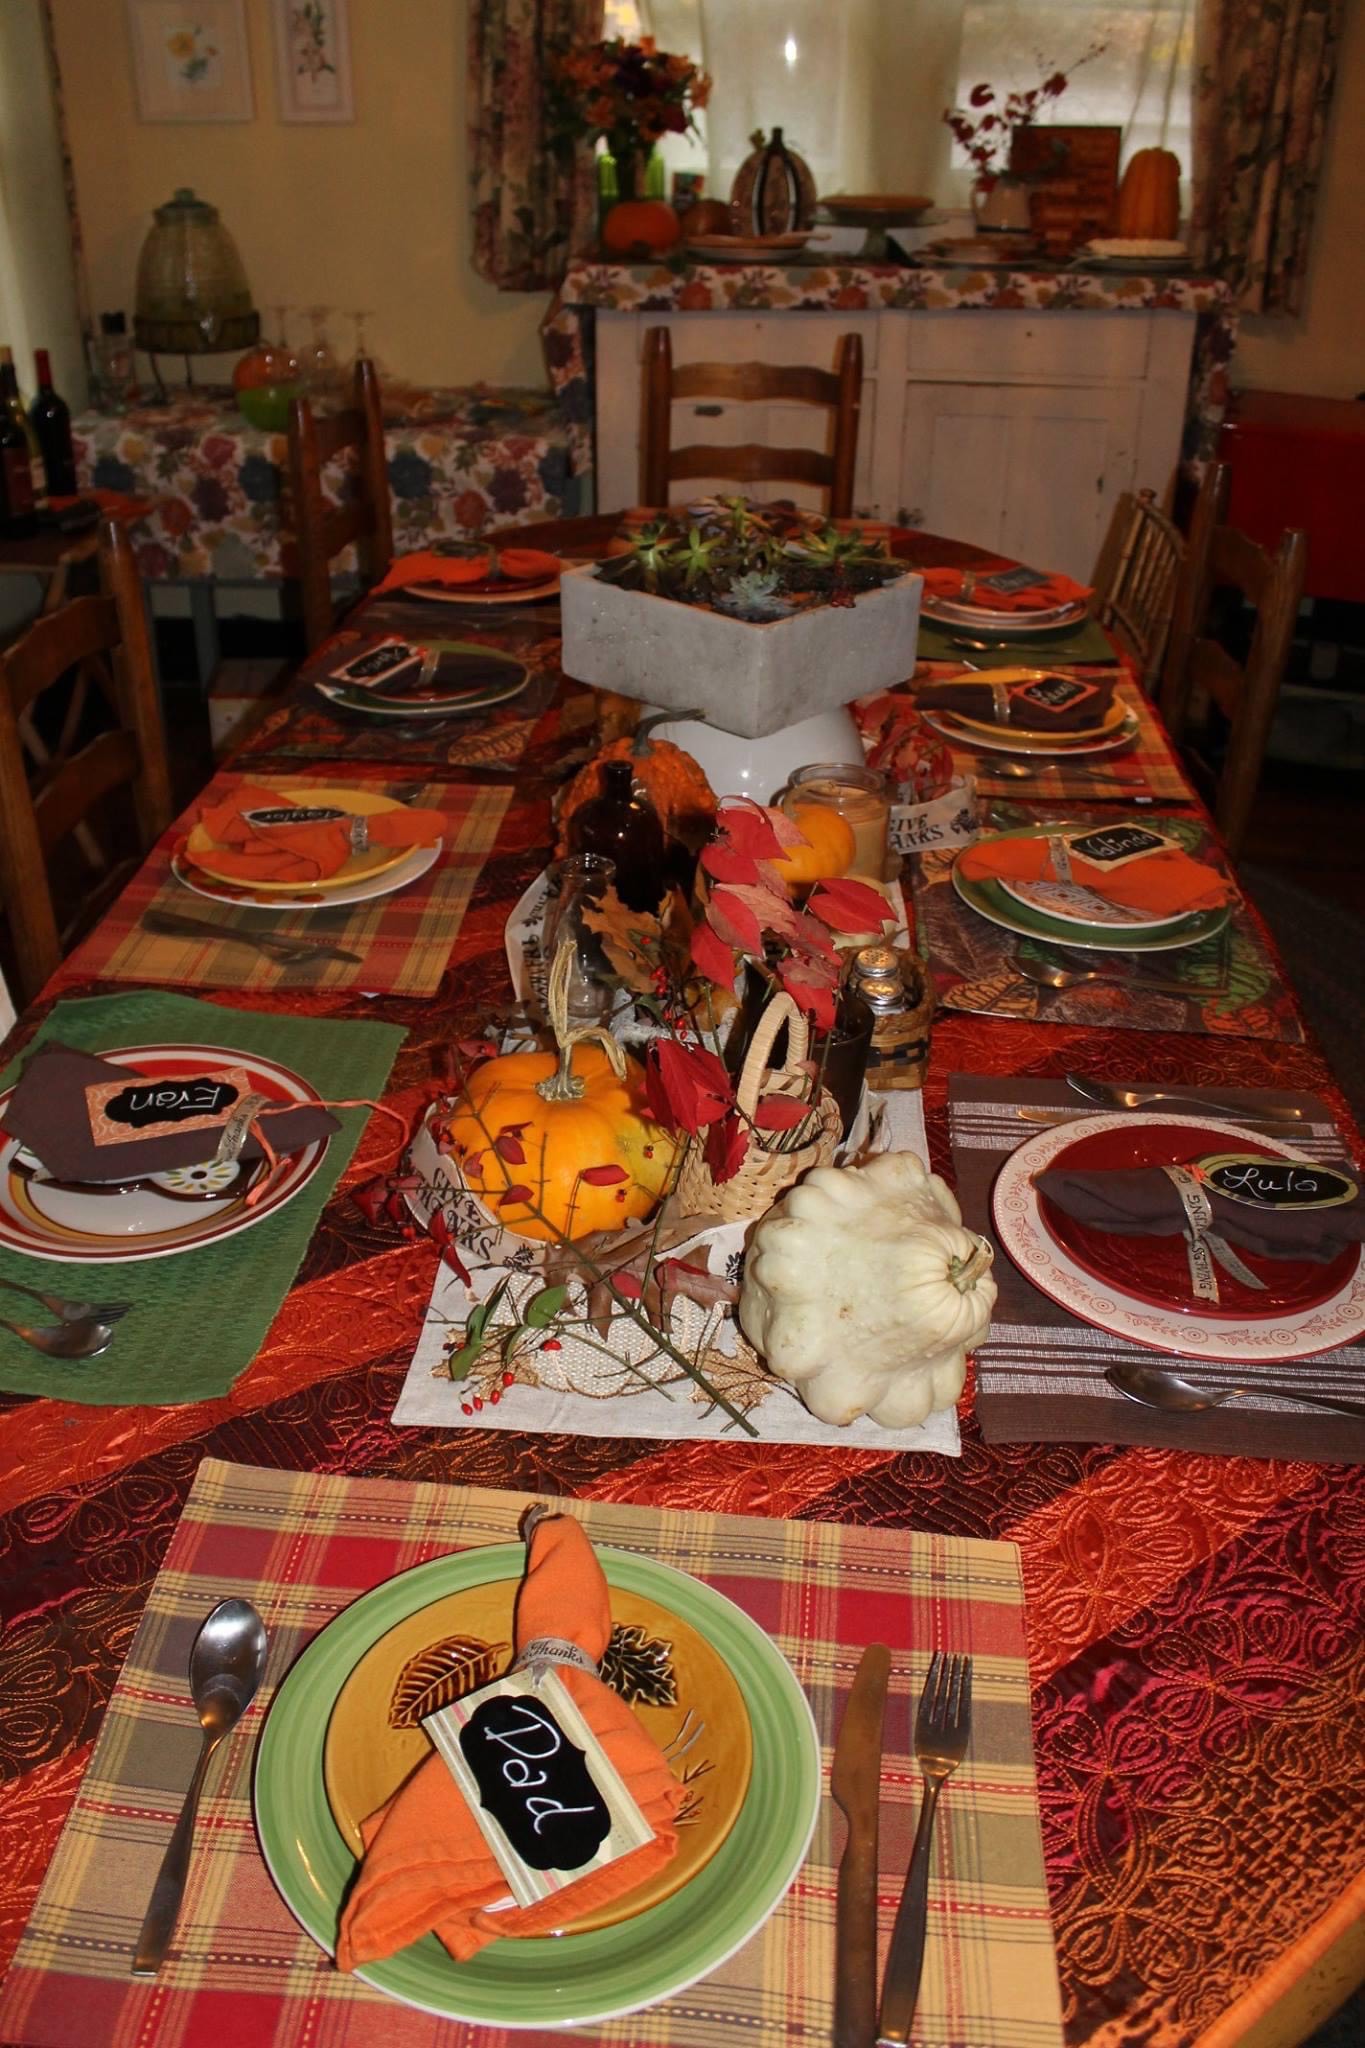
The holiday season is upon us, and what better way to celebrate than by becoming your own mixologist and whipping up some festive drinks? Whether you’re hosting a holiday party or simply want to treat yourself to a special drink, these 5 festive drink recipes are sure to impress. From cozy hot toddies to sparkling holiday punches, there’s something for everyone to enjoy. So grab your shaker and let’s get mixing!

Importance of being your own mixologist during the holidays

Being your own mixologist during the holidays has many advantages. First and foremost, it allows you to customize your drinks to suit your taste preferences. You can experiment with different flavors, adjust the sweetness level, and even add a personal touch with unique garnishes. This level of customization ensures that your drinks are exactly how you like them, making the holiday season even more enjoyable.

Furthermore, being your own mixologist allows you to save money. Instead of splurging on expensive cocktails at bars or restaurants, you can create your own festive drinks at a fraction of the cost. With a well-stocked bar and a few key ingredients, you’ll be able to impress your guests without breaking the bank.

Key ingredients for creating festive drinks

Before we dive into the recipes, let’s talk about the key ingredients you’ll need to create festive drinks. These ingredients will serve as the foundation for your concoctions and add that special holiday touch.

  1. Spices: Cinnamon, nutmeg, cloves, and ginger are essential spices for creating festive drinks. They add warmth and depth of flavor that perfectly captures the holiday spirit.
  2. Fruit: Fresh citrus fruits like oranges and lemons are great for adding a burst of brightness to your drinks. Cranberries and pomegranates are also popular choices for their vibrant colors and tartness.
  3. Liquors: Whiskey, rum, and vodka are versatile liquors that can be used as the base for many festive drinks. Consider stocking your bar with a variety of options to cater to different taste preferences.
  4. Sweeteners: Syrups, honey, and sugar are commonly used to add sweetness to drinks. Agave nectar and maple syrup are great alternatives that can bring unique flavors to your creations.

Get new recipes delivered to your inbox.

Now that we have our ingredients ready, let’s dive into the festive drink recipes!

For those of you who are celebrating an early holiday meal such as a brunch or lunch, be sure to include a hot cocoa & coffee option!

Peppermint Hot Cocoa!
Ingredients:
1 1/4 cup whole white milk
1/2 cup milk chocolate, shredded finely
3/4 cup peppermint schnapps
1 cup mint chocolate ice cream
1 cup ice
Topping:
1 cup heavy whipping cream
1/4 cup organic sugar
1 tsp vanilla extract
Garnish:
Shaved dark chocolate
2 TBSP Chopped peppermint candy- broken candy canes work great!

Directions:
1. In a small saucepan place the milk and cook on medium-low heat to scald.
Stir in both the milk and the milk chocolate and stir until completely melted. Remove from heat and set aside to cool for about 20 to 30 minutes. Set in fridge until chilled for about 45 to 60 minutes.
2. While the cocoa is chilling, make the whipped topping: Place all ingredients for whipped cream into a mixing bowl and whip with an electric hand mixer until stiff peaks form; place in refrigerator until ready to use.
3. In a blender add chilled hot cocoa, peppermint schnapps, ice cream, and ice; blend on high until completely mixed. Pour into 2 mugs and top with the whipped cream.
4. Garnish drink with a sprinkle of the shaved chocolate & peppermint candy. Serve immediately.

Non-alcoholic version: Exchange the Peppermint Schnapps with mint or peppermint extract, mint Italian soda syrup, or mint leaves. 

Vanilla Bean Irish Coffee!
Ingredients:
1 tsp vanilla extract
1 TBSP powdered sugar
1 cup~ 8 ounces freshly brewed coffee
1 1/2 cup or 12 ounces Kahlua or Irish Cream Liquor
1 1/4 cup or 10 ounces heavy cream, partially whipped

Directions:
1. Stir the vanilla extract and sugar into the hot coffee until dissolved.
2. Divide the coffee into 4 cups; add the Kahlua or Irish Cream between the cups equally.
3. Top each glass with partially whipped cream and gently stir; serve immediately.

Non-alcoholic version: To substitute Kahlua, consider alternatives such as coffee extracts, non-alcoholic coffee syrups, instant coffee, chocolate syrup, or cocoa-based mixtures.

Holiday Cosmopolitan
Ingredients:
3/4 cup Blue Raspberry Vodka
1/2 ounce Cointreau
1/4 cup cranberry juice
1 lime, juiced~ about 2 TBSP
Garnish:
Lime twists from 1 lime

Directions:
1. Place all ingredients except garnish into a cocktail shaker and fill it with ice; shake vigorously for about 1 minute.
2. Strain the mixture into 2 cocktail glasses and garnish with lime twist.

Non-alcoholic version:Non Alcoholic Vodka: I use Seedlip Spice 94, it has a beautiful botanical flavor to it. Other varieties include Strykk, CleanCo, and Arkay (which I have not tested).
Non Alcoholic Orange Liqueur: I use and recommend Lyre’s Orange Sec, it is the best alcohol free
version I know of.

The Gentleman
Ingredients:
1 cup or 8 ounces Cognac
1/2 cup or 4 ounces Drambuie
2 lemons, juiced or about 2-3 TBSP
1 cup or 8 ounces ginger beer
Garnish:
6-8 fresh sage leaves

Directions:
1. Pour the cognac, Drambuie, and lemon juice into four old fashioned glasses filled with ice; Stir each drink and tip with the ginger beer.
2. Garnish with sage leaves and serve immediately.

Non-alcoholic version:To substitute the cognac, try juices which are easy to find, and there are many varieties. The flavor is entirely up to you, but the juices that work the best are pear, apple, apricot, and peach. Vanilla extract and apple cider vinegar have often been used to mimic the taste of bourbon in recipes.

Raspberry Mojito
Ingredients:
20 raspberries
12 mint leaves
4 tsp organic sugar
1 cup or 8 ounces light rum
2 limes, juiced or about 2-3 TBSP
24 ounce container club soda
Garnish:
16 mint leaves

Directions:
1. Divide the raspberries, mint, and sugar between 4 highball glasses; muddle together in each glass.
2. Add ice and top with rum, lime juice, and club soda divided equally between the 4 glasses; stir
3. Garnish with mint leaves and serve immediately.

Non-alcoholic version: there are many alternative options available outside of rum extract. A few popular substitutes include vanilla and almond extract or amaretto, coffee liqueur, apple cider vinegar, and ginger beer.

Tips for garnishing and presentation

Now that you have your festive drinks ready, it’s time to take them to the next level with garnishes and presentation. Here are some tips to make your drinks look as good as they taste:

  1. Fresh herbs: Sprigs of rosemary, mint, or thyme can add a pop of color and freshness to your drinks. Simply give them a quick rinse and place them on the rim or float them on top.
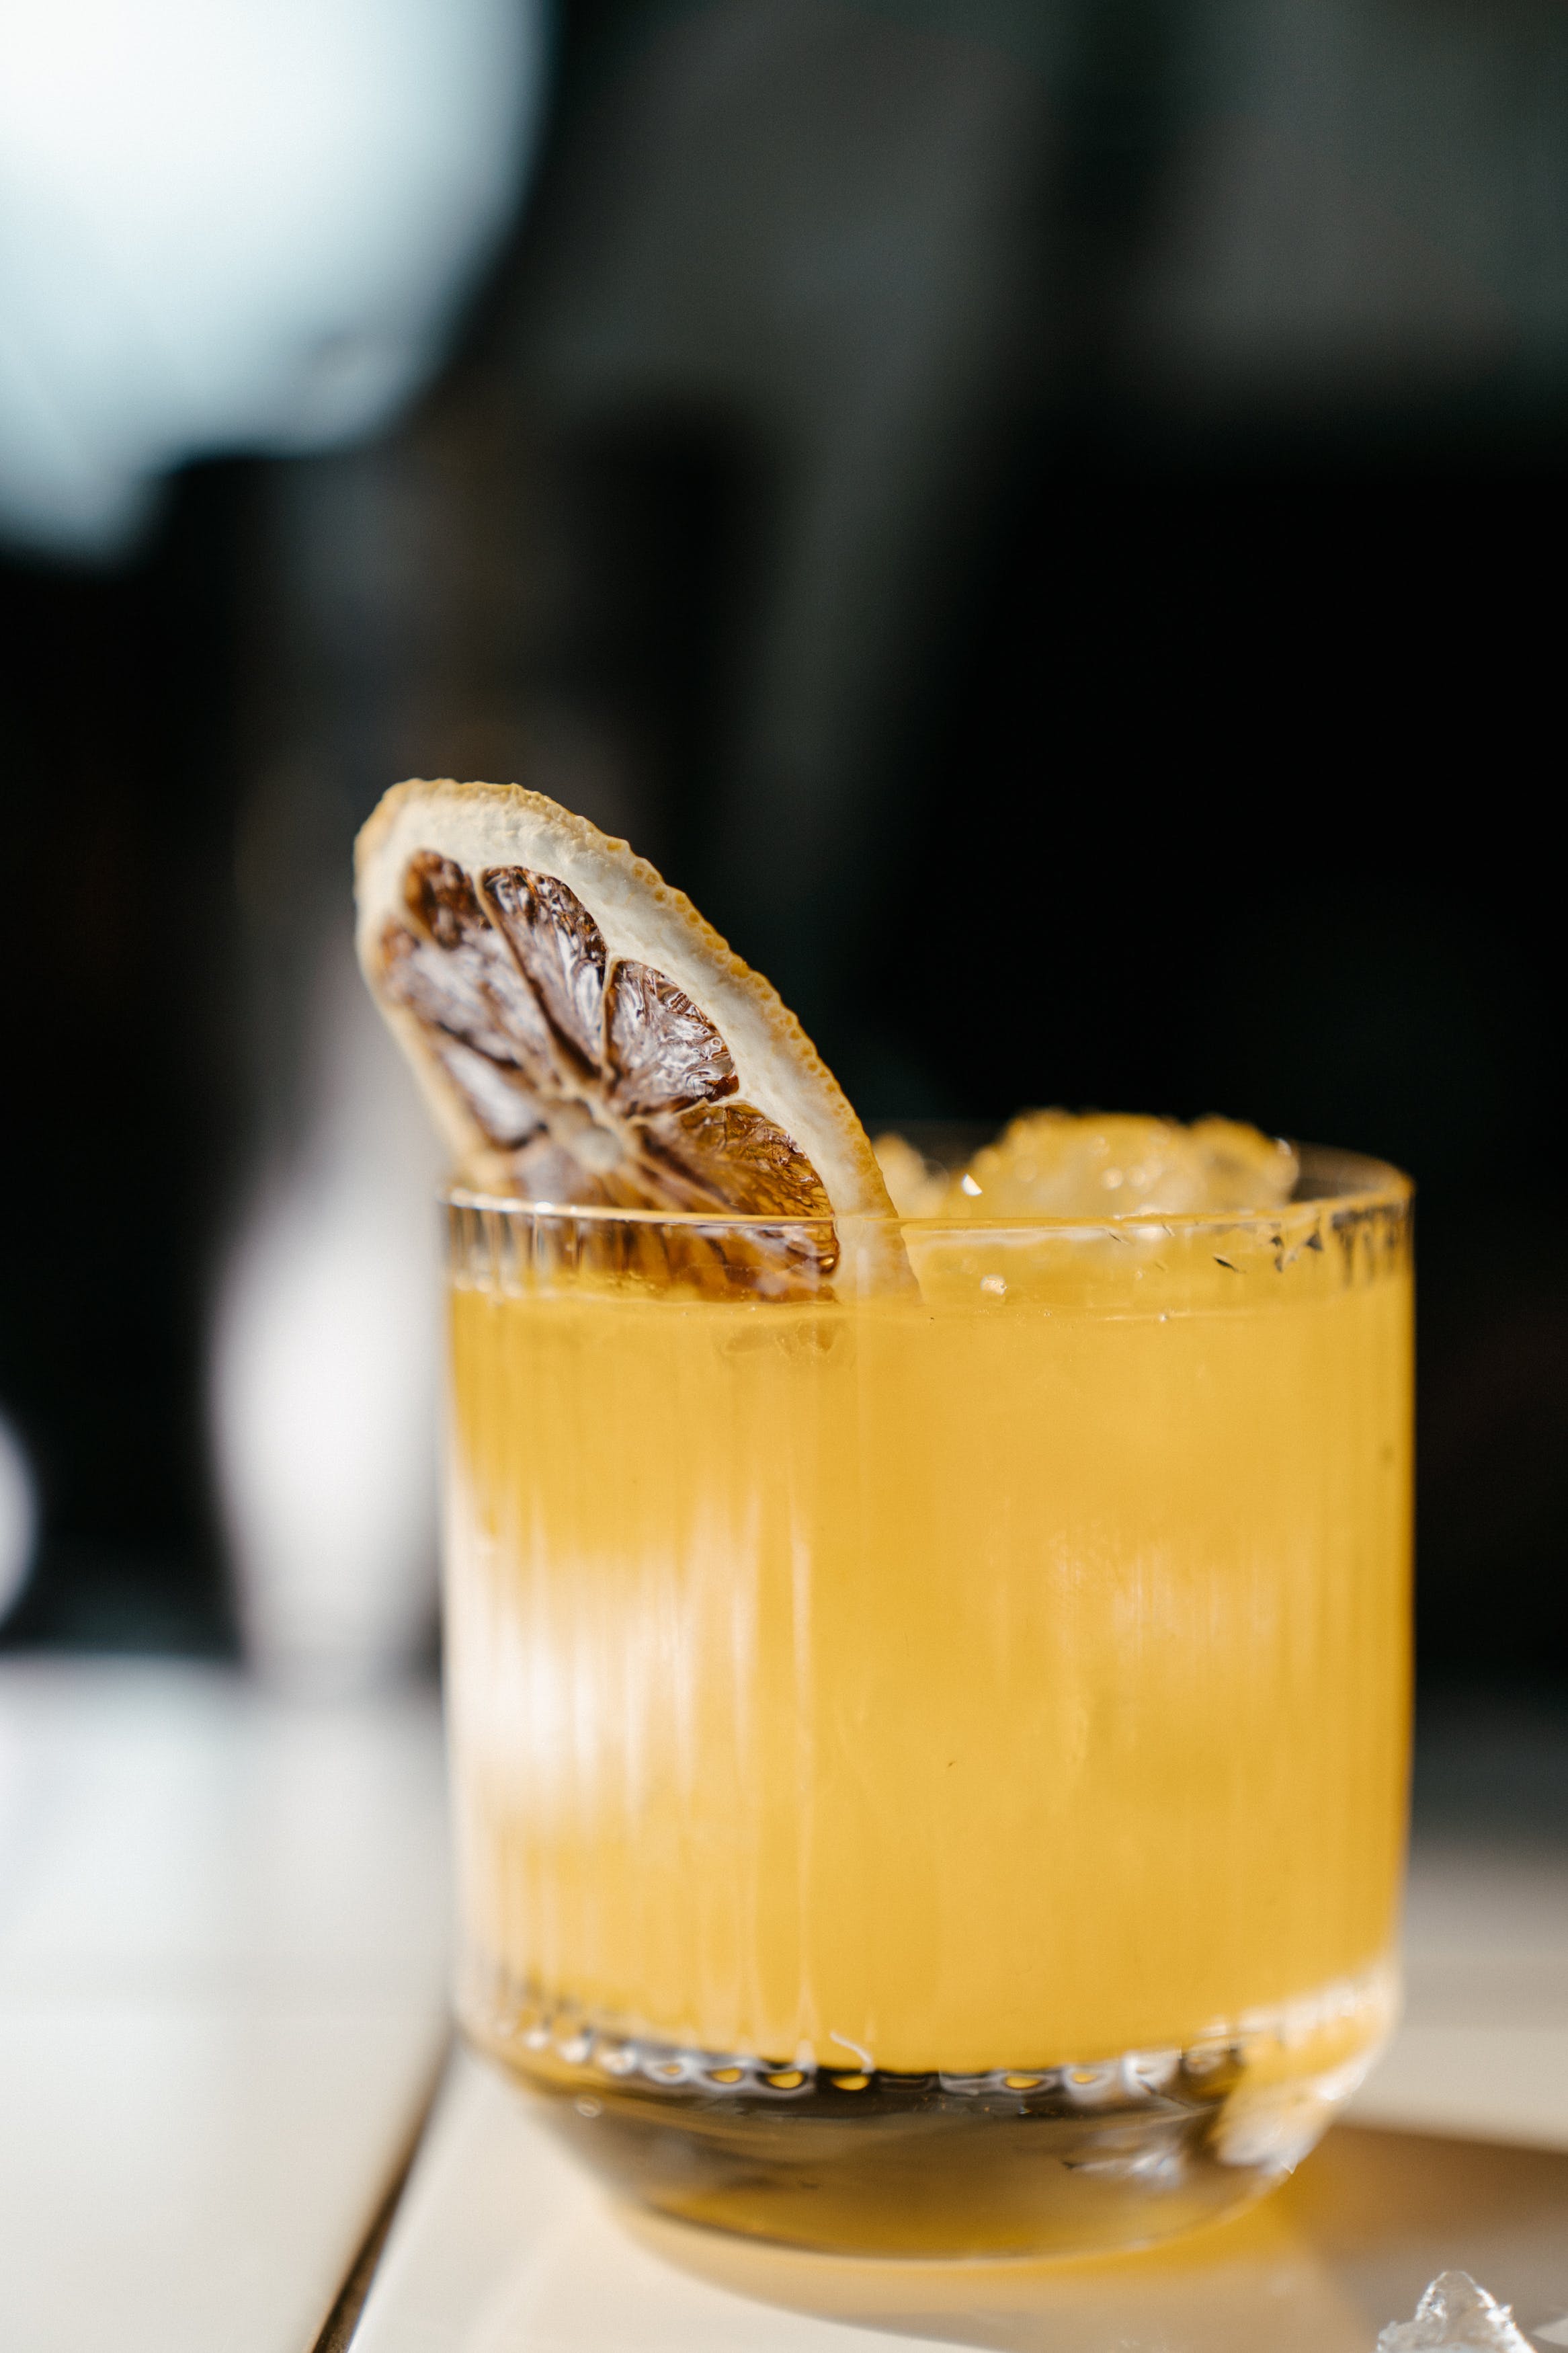
  2. Fruit slices: Thinly sliced citrus fruits or berries make for beautiful garnishes. They can be placed on the rim of the glass or skewered on a cocktail pick.
  3. Edible flowers: If you want to add an elegant touch to your drinks, consider using edible flowers as garnishes. Orchids, pansies, and nasturtiums are all safe options that can elevate the presentation.
  4. Drinkware: Choosing the right glassware can make a big difference in how your drinks are perceived. Consider using festive-themed glasses or vintage-inspired coupes for a touch of sophistication.

Processing…
Success! You're on the list.

Cheers to the holidays and your newfound mixology skills! By becoming your own mixologist, you can create festive drinks that are not only delicious but also personalized to your taste. Remember to experiment with different flavors, garnishes, and presentation techniques to truly make your drinks shine. So gather your friends and family, raise a glass, and enjoy the holiday season with these 5 festive drink recipes. Cheers!

CTA: Now it’s time to unleash your inner mixologist and get creative with these festive drink recipes. Grab your shaker, gather your ingredients, and start mixing! Don’t forget to share your creations with us in the comments below. Cheers to a joyful and delicious holiday season!

If you enjoyed this blog , please LIKE, Follow, Share & leave me a comment! I love your feedback!

If you aren’t following me on Facebook & Instagram, go on over & give a LIKE & Follow me for daily tips & tricks for your home & garden!

Remember to eat fresh, shop local, & have a happy day,

Jean

Copyright Policy

All text and images on this site are copyright of For Dragonflies And Me. Unless otherwise noted, you may not use this content 

This post may contain affiliate links. If you choose to purchase through an affiliate link, I may receive a small commission at no additional cost to you. You can see my full disclaimer here.

Maximize Space and Minimize Stress: A Guide to Organizing and Storing Your Holiday Decorations

If you’ve been following me for any amount of time, you know I am all about organization. January is usually the time when I focus my blogs on how to get organized in the new year, and stick with it! As a mother of six organization is a must!

As the holiday season approaches, there’s a magical feeling in the air. It’s a time for celebration, joy, and of course, decorating our homes to create a festive atmosphere. However, when the season comes to an end, the task of organizing and storing holiday decorations can feel overwhelming. But fear not! With a well-planned storage system, you can maximize space and minimize stress when it comes to packing away your cherished holiday items. Do you remember my PMS philosophy? Prioritize, minimize, simplify!

Organizing and storing holiday decorations is not just about tidiness; it’s also about preserving the longevity and sentimental value of these cherished items. By keeping them organized, you can ensure that they remain in pristine condition, ready to be enjoyed year after year. A well-organized storage system also allows for easy retrieval, saving you time and effort when the next holiday season rolls around.

Benefits of an organized holiday decoration storage system

There are numerous benefits to having an organized holiday decoration storage system. Firstly, it allows you to take inventory of your decorations, ensuring that nothing gets lost or forgotten. By knowing exactly what you have, you can avoid unnecessary purchases in the future. Additionally, an organized system prevents decorations from getting damaged during storage. Delicate ornaments, lights, and wreaths can be safely packed away, reducing the risk of breakage or tangling.

Processing…
Success! You're on the list.

Moreover, an organized storage system enables you to make the most of your available space. By utilizing efficient storage containers and creative solutions, you can maximize space and avoid clutter. This not only creates a visually pleasing environment but also makes it easier to find and retrieve specific decorations when needed. Imagine the joy of opening a neatly labeled box and finding exactly what you’re looking for without any hassle!

Tips for decluttering before the holiday season

Before diving into the process of organizing and storing your holiday decorations, it’s essential to declutter and assess what you truly need and want to keep. This step will not only help you minimize the amount of storage space required but also make your future decorating endeavors more streamlined. Here are a few tips to get you started:

  1. Start early: Begin the decluttering process well before the holiday season begins. This will give you ample time to sort through your decorations without feeling rushed or overwhelmed.
  2. Set a criteria: Create a set of guidelines to help you determine which decorations to keep and which to let go of. Consider factors such as sentimental value, condition, and frequency of use. Remember, it’s okay to part ways with items that no longer bring you joy or hold any significance.
  3. Donate or repurpose: If you have decorations that you no longer wish to keep, consider donating them to a local charity or repurposing them for other crafts. This way, someone else can enjoy them, and you can free up space for the items that truly matter to you.

By following these decluttering tips, you can create a more streamlined and efficient storage system for your holiday decorations.

Choosing the right storage containers for holiday decorations

Once you’ve decluttered and determined which decorations you’ll be keeping, it’s time to choose the right storage containers to ensure their safekeeping. Here are some factors to consider when selecting storage containers for your holiday decorations:

  1. Size and shape: Opt for containers that are appropriately sized and shaped to accommodate your decorations. Consider the dimensions of your largest items, such as artificial trees or wreaths, and choose containers that can accommodate them without causing damage.
  2. Material: Look for storage containers made from sturdy and durable materials, such as plastic or fabric. These materials will provide adequate protection against moisture, dust, and pests.
  3. Dividers and compartments: If you have delicate or fragile ornaments, consider containers with built-in dividers or compartments. These features will help prevent items from knocking into each other, reducing the risk of breakage.
  4. Clear or labeled: Choose storage containers that are either clear or easily labeled. This will allow you to quickly identify the contents of each container without having to open them, saving you time and effort.

By investing in the right storage containers, you can ensure that your holiday decorations are safely stored and ready to be enjoyed for many seasons to come.

Packing and labeling holiday decorations for easy retrieval

Packing and labeling your holiday decorations is a crucial step in creating an organized storage system. Proper packing techniques will ensure that your decorations remain intact, while clear labeling will make retrieval a breeze. Here are some tips to help you pack and label your holiday decorations effectively:

  1. Wrap fragile items: For delicate ornaments or collectibles, individually wrap each item in tissue paper, bubble wrap, or soft fabric. This will provide cushioning and prevent them from rubbing against each other, reducing the risk of damage.
  2. Use compartmentalized containers: If you have small or delicate items, consider using compartmentalized containers. These containers have individual sections or dividers, allowing you to keep similar items together and preventing them from shifting during storage.
  3. Label each container: Clearly label each storage container with its contents. You can use sticky notes, adhesive labels, or even color-coded tags to make identification easier. Include a brief description of the contents and the room or area where the decorations are typically used.
  4. Create an inventory list: Keep a separate inventory list of all your holiday decorations. This list should include a detailed description of each item, its condition, and the storage container it’s housed in. This will help you keep track of your decorations and make it easier to locate specific items when needed.

By packing and labeling your holiday decorations with care, you can ensure that they remain organized and easily accessible throughout the year.

Organizing and storing specific types of holiday decorations

Different types of holiday decorations require specific organizing and storage techniques. Here are some tips for organizing and storing common types of holiday decorations:

Ornaments:

  • Wrap delicate ornaments individually in tissue paper or bubble wrap.
  • Store them in compartmentalized containers or specialized ornament storage boxes.
  • Avoid stacking heavy items on top of delicate ornaments to prevent breakage.
  • Label containers with the type of ornaments (e.g., glass, ceramic) for easy identification.

Lights:

  • Wrap lights around a piece of cardboard or a cord reel to prevent tangling.
  • Store lights in clear plastic bins or wrap them in large, labeled zip-top bags.
  • Consider using cord wraps or velcro straps to keep lights organized and tangle-free.
  • Store lights in a cool, dry place to prevent damage from moisture or extreme temperatures.

Wreaths:

  • Hang wreaths on specialized wreath storage hangers or hooks to maintain their shape.
  • Cover them with plastic or fabric wreath storage bags to protect them from dust and dirt.
  • Label bags with the size or style of each wreath for easy retrieval.
  • Store wreaths in a climate-controlled area to prevent damage from humidity or temperature fluctuations.

By following these specific organizing and storage tips, you can ensure that your ornaments, lights, and wreaths remain in excellent condition and are easily accessible when the holiday season arrives.

DIY storage solutions for holiday decorations

If you’re feeling creative and want to save some money, there are plenty of DIY storage solutions for holiday decorations. Here are a few ideas to get you started:

  1. Egg cartons for small ornaments: Empty egg cartons can be repurposed to store small ornaments. Each compartment provides a snug and protective spot for delicate items.
  2. Plastic cups for lights: Use plastic cups to wrap and store holiday lights. Simply wrap the lights around the cups and stack them in a box or bin. This not only keeps the lights organized but also prevents them from tangling.
  3. Cardboard dividers for wreaths: Cut large pieces of cardboard into circular shapes and insert them between stacked wreaths. This DIY divider prevents wreaths from getting crushed or misshapen during storage.
  4. Shoe organizers for miscellaneous decorations: Hang a clear, over-the-door shoe organizer on the back of a closet door. The individual pockets provide storage space for small and miscellaneous decorations, such as stockings, figurines, or garlands.

These DIY storage solutions are not only practical but also allow you to customize the storage system according to your specific needs.

Creative ways to maximize storage space for holiday decorations

If you’re struggling with limited storage space, there are several creative ways to maximize the storage capacity for your holiday decorations. Here are some ideas to help you make the most of the space you have:

  1. Utilize under-bed storage: Invest in under-bed storage containers specifically designed to hold holiday decorations. These low-profile containers make use of otherwise wasted space and keep your decorations easily accessible.
  2. Hang decorations from the ceiling: Install hooks or hanging systems from the ceiling of a storage room or garage. Hang lightweight decorations, such as garlands or fabric banners, to free up floor and shelf space.
  3. Utilize vertical space: Install shelves or hanging racks on the walls of your storage area. This allows you to make use of vertical space and store decorations in a visually pleasing and easily accessible manner.
  4. Consider renting storage space: If your collection of holiday decorations is extensive, and you simply don’t have the room to store them at home, consider renting a small storage unit. This way, you can keep your decorations safe and secure without sacrificing valuable space in your living area.

By thinking outside the box and utilizing these creative storage ideas, you can maximize your available space and keep your holiday decorations neatly organized.

Best practices for storing holiday decorations in different climates

The climate in which you live can greatly impact the storage requirements for your holiday decorations. Extreme temperatures, humidity, or moisture levels can affect the condition of your decorations. Here are some best practices for storing holiday decorations in different climates:

  1. Dry climates: If you live in a dry climate, it’s essential to protect your decorations from excessive dryness and potential damage. Consider adding moisture-absorbing packets or silica gel packs to storage containers to maintain an optimal humidity level.
  2. Humid climates: In humid climates, preventing moisture damage is key. Ensure that your storage containers are airtight and consider using moisture-absorbing products, such as desiccant packs or dehumidifiers, to keep the humidity levels in check.
  3. Cold climates: Extreme cold temperatures can be detrimental to certain types of decorations, especially those made of glass or delicate materials. Store these items in insulated containers or bring them indoors during the winter months to protect them from freezing.
  4. Hot climates: Excessive heat can cause decorations to fade, melt, or become damaged. Store your decorations in a cool, dry area away from direct sunlight. Consider using climate-controlled storage units or closets to maintain a consistent temperature.

By following these best practices, you can ensure that your holiday decorations remain in optimal condition, regardless of the climate you live in.

Enjoy a stress-free holiday season with an organized decoration storage system

As the holiday season comes to a close, the thought of organizing and storing decorations may seem daunting. However, by implementing a well-planned storage system, you can maximize space, minimize stress, and preserve the longevity of your cherished holiday items. Remember to declutter before the holiday season, choose the right storage containers, and pack and label your decorations with care. Explore DIY storage solutions and get creative with maximizing your storage space. And don’t forget to consider the climate in which you live when storing your holiday decorations.

By following these tips and best practices, you can enjoy a stress-free holiday season, knowing that your decorations are safely stored and ready to be enjoyed for years to come. So, embrace the magic of the season and create an organized decoration storage system that brings joy and peace of mind. Happy organizing!

Start your journey to a stress-free holiday season by implementing these tips for organizing and storing your holiday decorations. With a well-organized storage system, you can maximize space, minimize stress, and preserve the longevity of your cherished holiday items. Remember, a little effort now will save you time and hassle in the future. So, start decluttering, choose the right storage containers, and create an organized decoration storage system that will bring joy and peace of mind for years to come.

If you enjoyed this blog , please LIKE, Follow, Share & leave me a comment! I love your feedback!

If you aren’t following me on Facebook & Instagram, go on over & give a LIKE & Follow me for daily tips & tricks for your home & garden!

Remember to eat fresh, shop local, & have a happy day,

Jean

Copyright Policy

All text and images on this site are copyright of For Dragonflies And Me. Unless otherwise noted, you may not use this content 

This post may contain affiliate links. If you choose to purchase through an affiliate link, I may receive a small commission at no additional cost to you. You can see my full disclaimer here.

Top 10 Tips & Tricks Revealed: Introduction to Hosting the Perfect Holiday Party

The holiday season is upon us, and with it comes the joy of hosting the perfect holiday party. Whether you’re planning an intimate gathering or a grand celebration, there are a few secrets to ensure your event is a memorable one. In this article, I will reveal 10 tips and tricks that will help you unlock the secrets to hosting the perfect holiday party.

Setting the Theme and Atmosphere for Your Holiday Party

Setting the right theme and atmosphere is crucial when it comes to hosting the perfect holiday party. Decide on a theme that reflects the spirit of the season, whether it’s a winter wonderland, a classic Christmas, or a festive New Year’s Eve bash. Once you’ve chosen a theme, incorporate it into every aspect of your party, from the decorations to the menu.

To create a magical atmosphere, consider using warm and inviting lighting. String up fairy lights or candles throughout the venue, and use soft, cozy fabrics like velvet or faux fur to add a touch of elegance. Don’t forget to play some festive music in the background to set the mood and get your guests in the holiday spirit.

Planning the Guest List and Invitations

When planning your guest list, consider the size of your venue and the type of party you want to host. If you’re aiming for an intimate gathering, keep the guest list small and invite close friends and family. For a larger celebration, expand your guest list to include coworkers, neighbors, and acquaintances.

Once you have finalized your guest list, it’s time to send out invitations. Opt for traditional paper invitations or embrace the convenience of digital invitations. Whichever method you choose, make sure to include all the essential details such as the date, time, location, and any specific dress code or theme requirements. Sending out invitations well in advance will give your guests plenty of time to RSVP and make necessary arrangements.

Choosing the Perfect Venue or Hosting at Home

Deciding on the venue for your holiday party is an important step in ensuring its success. You have two options: hosting at home or renting a venue. Hosting at home offers a cozy and intimate setting, allowing you to personalize every detail. However, if your home can’t accommodate all your guests or you prefer a change of scenery, consider renting a venue. Look for a venue that aligns with your theme and offers the necessary amenities such as a kitchen and ample parking space.

If you choose to host at home, make sure to declutter and create a welcoming space for your guests. Rearrange furniture to allow for easy mingling and place extra seating areas in case you have more guests than expected. Provide designated areas for coats and bags, and ensure there’s enough space for everyone to move around comfortably.

Deciding on the Menu and Catering Options

The menu is a crucial aspect of any holiday party, and choosing the right dishes will delight your guests and leave a lasting impression. Decide whether you want to serve a formal sit-down dinner, a buffet-style feast, or a selection of finger foods and hors d’oeuvres. Consider dietary restrictions and preferences of your guests, and offer a variety of options to cater to everyone’s tastes.

If you’re not confident in your culinary skills or simply want to enjoy the party without the stress of cooking, consider hiring a professional caterer. They will take care of the menu planning, food preparation, and presentation, allowing you to focus on hosting and mingling with your guests. Make sure to sample the caterer’s offerings beforehand to ensure they meet your expectations.

Selecting the Right Beverages for Your Holiday Party

No holiday party is complete without a selection of festive beverages. Offer a variety of options to cater to different preferences, including alcoholic and non-alcoholic choices. Create a signature holiday cocktail that reflects the theme of your party and serves it in elegant glassware for an extra touch of sophistication.

Don’t forget to provide non-alcoholic alternatives for those who prefer not to drink or designated drivers. Offer a selection of mocktails and refreshing beverages such as flavored water or sparkling juices. Display the beverage options in an attractive and easily accessible area, and consider hiring a bartender to ensure smooth service throughout the event.

Decorating Your Holiday Party Space

Decorating your holiday party space is where you can truly let your creativity shine. Incorporate your chosen theme into every aspect of the decor, from the table settings to the lighting. Use a color scheme that complements the theme, such as classic red and green for a traditional Christmas party or silver and blue for a winter wonderland.

Start by decorating the entrance to create a warm and inviting atmosphere. Hang a festive wreath on the door and place a doormat with a holiday greeting. Inside, adorn the walls with garlands, hang mistletoe in strategic spots, and place centerpieces on tables. Consider using fresh flowers, candles, and seasonal elements like pinecones or ornaments to add a touch of elegance.

Creating a Festive Playlist and Entertainment Options

Music is a powerful tool to set the mood and create a festive atmosphere. Create a playlist that includes a mix of holiday classics and popular tunes that will get your guests in the dancing spirit. Select songs that match the energy of your party, whether you want a relaxed ambiance or a lively dance floor.

In addition to music, consider providing other forms of entertainment to keep your guests engaged and entertained throughout the night. Hire a live band or a DJ to play music and ensure smooth transitions between songs. Set up a photo booth with festive props where guests can capture memories of the evening. You can also organize a fun holiday-themed game or activity to break the ice and encourage interaction among your guests.

Organizing Fun Activities and Games for Your Guests

To make your holiday party truly memorable, organize fun activities and games that will bring joy and laughter to your guests. Consider setting up a gift exchange or a Secret Santa where guests can exchange presents. You can also create a holiday trivia game or a scavenger hunt with festive clues hidden throughout the venue.

If you’re hosting a family-friendly event, provide activities for children such as a craft station where they can create holiday-themed artwork or a cookie decorating station. Consider hiring a professional entertainer such as a magician or a face painter to keep the little ones entertained while the adults socialize.

Tips for Being a Gracious Host and Ensuring a Smooth Event

As the host, it’s important to ensure a smooth and enjoyable experience for your guests. Here are a few tips to help you be a gracious host:

  1. Greet each guest personally and make them feel welcome.
  2. Introduce guests to one another and facilitate conversation.
  3. Be attentive to your guests’ needs and ensure they have everything they need.
  4. Keep the flow of food and beverages steady and replenish as necessary.
  5. Take the time to mingle and engage with your guests, but also delegate tasks to trusted friends or family members to help with hosting duties.

Remember, being a gracious host means prioritizing the comfort and enjoyment of your guests above all else.

Hosting a Memorable Holiday Party

Hosting the perfect holiday party is a delightful endeavor that requires careful planning and attention to detail. From setting the theme and atmosphere to organizing fun activities and games, every aspect contributes to creating a memorable experience for your guests. By following the 10 tips and tricks revealed in this article, you’ll unlock the secrets to hosting a holiday party that will leave a lasting impression on everyone who attends.

So, what are you waiting for? Start planning your perfect holiday party and get ready to spread joy and cheer to all your friends and loved ones. Happy hosting!

CTA:

Ready to host the perfect holiday party? Share your party planning tips and experiences in the comments below! And don’t forget to check out our other articles for more ideas and inspiration on hosting memorable events. Happy holidays!

If you enjoyed this blog , please LIKE, Follow, Share & leave me a comment! I love your feedback!

If you aren’t following me on Facebook & Instagram, go on over & give a LIKE & Follow me for daily tips & tricks for your home & garden!

Remember to eat fresh, shop local, & have a happy day,

Jean

Copyright Policy

All text and images on this site are copyright of For Dragonflies And Me. Unless otherwise noted, you may not use this content 

This post may contain affiliate links. If you choose to purchase through an affiliate link, I may receive a small commission at no additional cost to you. You can see my full disclaimer here.

10 Best Tricks to Set an Enchanting Holiday Table

Introduction to Holiday Table Setting

The holiday season is a time for celebration, joy, and creating cherished memories with loved ones. One of the most important aspects of any holiday gathering is the table setting. A beautifully set table not only enhances the overall ambiance but also sets the stage for a memorable dining experience. In this article, I will share with you the 10 best tricks to set an enchanting holiday table that will leave a lasting impression on your guests.

Importance of Setting an Enchanting Holiday Table

Setting an enchanting holiday table goes beyond just aesthetics; it creates an atmosphere of warmth and welcome. The care and attention put into the table setting show your guests that they are special and that you have gone the extra mile to create a magical experience for them. Whether it’s a formal dinner or a casual gathering, an enchanting holiday table elevates the entire dining experience and makes it truly unforgettable. Consider including a menu board for that special extra touch!

Check out my other blogs related to creating the most enchanting holiday ever!
How to host the best Holiday Cookie Exchange, 25 Best Hacks, Tips & Tricks for Decorating for the Holidays, and my families favorite Graham Cookie recipe!

Choosing a Theme for Your Holiday Table

To create a cohesive and visually appealing holiday table, it’s essential to choose a theme. The theme can be inspired by the season, a specific holiday, or even your personal style. Some popular themes include rustic farmhouse, winter wonderland, and elegant gold and silver. Once you have selected a theme, you can use it as a guide for selecting your tablecloth, dinnerware, and decorations.

Essential Elements for an Enchanting Holiday Table

An enchanting holiday table should incorporate certain essential elements. These elements include a tablecloth, napkins, dinnerware, glassware, a centerpiece, decorations, and lighting. Each of these elements contributes to the overall aesthetic and ambiance of the table. By carefully selecting and coordinating these elements, you can create a cohesive and enchanting holiday table that will impress your guests.

Get new recipes delivered to your inbox.

Selecting the Right Tablecloth and Napkins

The tablecloth and napkins are the foundation of your holiday table setting. When selecting a tablecloth, consider the size and shape of your table, as well as the theme you have chosen. Opt for a tablecloth that complements your chosen color scheme and adds texture or pattern to the table. Similarly, choose napkins that coordinate with the tablecloth and add a touch of elegance or playfulness to the setting.

Choosing the Perfect Dinnerware and Glassware

Dinnerware and glassware play a crucial role in creating an enchanting holiday table. Opt for dinnerware that suits the theme of your table and complements the overall color scheme. Consider using chargers or placemats to add an extra layer of sophistication. When it comes to glassware, select glasses that are appropriate for the beverages being served. A well-coordinated set of dinnerware and glassware will elevate the visual appeal of your holiday table.

Tips for Creating a Beautiful Centerpiece

A beautiful centerpiece is the focal point of any holiday table. It sets the tone and adds a touch of elegance to the overall setting. When creating a centerpiece, consider the size of your table and the theme you have chosen. You can use a floral arrangement, a collection of candles, or even a combination of both. Experiment with different heights and textures to create visual interest. Remember to keep the centerpiece low enough so that your guests can see each other across the table.

Processing…
Success! You're on the list.

Adding Festive Decorations to Your Holiday Table

Festive decorations are what truly bring the holiday spirit to your table. Incorporate elements such as pinecones, ornaments, or seasonal fruits to add a festive touch. Consider using a garland or a string of fairy lights as a runner to create a whimsical effect. Don’t be afraid to get creative and incorporate personal touches that reflect your unique style and traditions. The key is to strike a balance between festive and tasteful.

Lighting Techniques for an Enchanting Ambiance

Lighting is an often-overlooked aspect of table setting, but it can make a significant difference in creating an enchanting ambiance. Consider using candles or tea lights to cast a warm and inviting glow over the table. You can also use string lights or lanterns to create a magical atmosphere. Experiment with different lighting techniques to find the perfect balance between brightness and coziness.

Personal Touches and Finishing Details

To truly make your holiday table enchanting, add personal touches and finishing details. Place personalized name cards or small gifts at each table setting to make your guests feel special. Consider incorporating sentimental items or heirlooms into the table décor to add a sense of nostalgia. Pay attention to small details like folded napkins or ribbon accents to add an extra layer of elegance.

Setting an enchanting holiday table is an art that requires attention to detail and a touch of creativity. By following the 10 best tricks outlined in this article, you can create a table that will leave a lasting impression on your guests and create beautiful memories for years to come. Remember, the key is to choose a theme, select the right elements, and add personal touches that reflect your unique style and traditions. So go ahead, unleash your creativity, and create an enchanting holiday table that will be the highlight of your celebrations.

If you aren’t following me on Facebook or Instagram, go on over & give a LIKE & Follow me for daily tips & tricks for your home & garden!

Until next time friends, eat fresh, shop local, & have a happy day,
Jean

Copyright Policy

All text and images on this site are copyright of For Dragonflies And Me. Unless otherwise noted, you may not use this content.

This post may contain affiliate links. If you choose to purchase through an affiliate link, I may receive a small commission at no additional cost to you. You can see my full disclaimer here.

Easy Homemade Graham Cookies- My family’s favorite holiday cookie recipe!

This is my family’s favorite holiday cookie recipe, and it’s a very special one. This was my grandmothers recipe and her mother’s before that. Every year we make several dozen of these to share.

Check out my YouTube video below for an easy how to.

If you own a copy of my cookbook, Lovingly Seasoned Eats and Treats, you can find it on recipe on page 245. If you don’t on your own copy, and would like one, you can purchase one right here at my blog.

You can go to my blog at http://www.fordragonfliesandme.com topurchase my original cookbook, Lovingly Seasoned Eats and Treats in either a spiral bound soft cover OR NEW, a Downloadable PDF version. The cookbook has almost 1000 recipes on almost 500 pages! Check out the Cookbook Testimonials while you’re there!

Until next time remember to,
Eat fresh, shop local & have a happy day,
Jean

Copyright Policy

All text and images on this site are copyright of For Dragonflies And Me. Unless otherwise noted, you may not use this content.

This post may contain affiliate links. If you choose to purchase through an affiliate link, I may receive a small commission at no additional cost to you. You can see my full disclaimer here.

Easy How-to Make Salami Roses for your Stunning Charcutier Boards: Part 3

Welcome to Part 3 of my How to create stunning holiday charcutier boards on a budget. Today I’ll show you how easy it is to create those fancy dancy salami roses!

Watch my YouTube video below, and be sure to SMASH those LIKE & SUBSCRIBE buttons so you don’t miss a beat!

Did you miss Part 1 and Part 2 of my How to create stunning holiday charcutier boards? No worries friends, just click those links!

Get new recipes delivered to your inbox.

Added bonus: You can go to my blog at http://www.fordragonfliesandme.com to purchase my original cookbook, Lovingly Seasoned Eats and Treats in either a spiral bound soft cover OR NEW, a Downloadable PDF version. The cookbook has almost 1000 recipes on almost 500 pages! Check out the Cookbook Testimonials while you’re there!

Until next time remember to,
Eat fresh, shop local & have a happy day,
Jean

Copyright Policy

All text and images on this site are copyright of For Dragonflies And Me. Unless otherwise noted, you may not use this content.

Homemade Cabbage Rolls!

“Cooking, to me, it’s kind of therapeutic. It’s completely different from music as well. I’m not amazing at it, but I can cook myself a good meal.” – Phillip Phillips

Cabbage rolls are another wonderful memory of my childhood. I often mention my grandmother and mother cooking, and the delightful dishes they’d make. Well, this was and continues to be with me, a family tradition for holiday meals. I remember my grandma and mom making a roaster full for Thanksgiving and Christmas. I would sit on my little stool watching and wishing I could help. 

Today, my daughter Taylor and I, and now Dave & I make these not only for the holidays, but whenever we are hungry for them. They are not nearly as hard to make as I remember them being as a child.

If you have a copy of my wonderful cookbook, Lovingly Seasoned Eats and Treats, then you’ll be able to find this yummy recipe on page 108. If you don’t own a copy of it, you can purchase it here in either a beautiful spiral bound softcover or NEW, a Downloadable PDF version. 

Check out my how-to video at my YouTube Channel. Watch below!

I’ve adjusted the recipe from the original Cabbage Roll Casserole to the actual Cabbage Roll recipe. Enjoy friends, and be sure to let me know how you like it in the comments below, I love your feedback!

Our Favorite Recipes

Ingredients: One large head of cabbage will make approximately 15 to 20 rolls.

1 medium to large head of cabbage

1 pound ground beef

1 pound plain ground pork

2 cup rice uncooked or cooked~ I used basmati 

6 to 8 cups of tomato juice or sauce

2 eggs

1 small onion diced

1 tsp each salt and pepper

PRO TIP: Remember that 8 ounces of liquid is equal to 1 cup.

Added bonus: You can go to my blog at http://www.fordragonfliesandme.com to purchase my original cookbook, Lovingly Seasoned Eats and Treats in either a spiral bound soft cover OR NEW, a Downloadable PDF version. The cookbook has almost 1000 recipes on almost 500 pages! Check out the Cookbook Testimonials while you’re there!

Please watch the full video for complete instructions on how to properly roll your cabbage rolls.

1. Take your head of cabbage and place it on the counter or cutting board with the stem end up facing you. With a sharp knife, blade facing away from you, cut straight down about an inch away from the stem on all four sides. It will look like a square. It is important that each cut crosses over the one next to it. This will allow the leaves to be easily removed while boiling.

2. In a large stock pot, fill with enough hot water that the cabbage will be submerged with the exception of the stem end. Place the cabbage stem up into the water; Bring the water to a boil and turn down the heat.

3. While cabbage is cooking, in a large bowl combine all the other ingredients except the tomato juice and mix until completely blended; once well blended add about 2 cups of the tomato juice. 

Get new recipes delivered to your inbox.

4. In a 9x13x2 inch baking dish, place 2 cups of the tomato juice along the bottom of the dish; reserve remaining juice to pour over the finished cabbage rolls.

5. Boil cabbage for about 2 to 3 minutes and begin removing the outer leaves one at a time. Carefully do this so not to burn yourself using large serving forks. Carefully roll the cabbage so you can maneuver the leaf off without tearing it. You don’t want the leaves fully cooked as they will tear and not be workable.

6. Remove the par cooked leaves into a bowl to cool.

7. To make a cabbage roll:

  1. Carefully cut the rib from the center of the cabbage leaf and discard.
  2. Next take about ¼ to a ⅓ cup of the meat and rice mixture and place it in the top of the leaf. 
  3. Roll up, then pull the left side of the leaf over and the the right side of the leaf over; roll the remaining leaf upwards

8. Place cabbage rolls into the tomato sauce lined baking dish.

9. When all the rolls are done, pour the remaining tomato juice over the rolls making sure they are submerged in the juice. You can sprinkle a bit more salt and pepper over the top if you’d like.

10. Cover and bake in a 350 degree oven for 2 hours.

If you enjoyed this blog, please LIKE, Follow, Share & leave me a comment! I love your feedback!

If you aren’t following me on Facebook & Instagram go on over & give a LIKE & Follow me for daily tips & tricks for your home & garden! 

Added bonus: You can go to my blog at http://www.fordragonfliesandme.com to purchase my original cookbook, Lovingly Seasoned Eats and Treats in either a spiral bound soft cover OR NEW, a Downloadable PDF version. The cookbook has almost 1000 recipes on almost 500 pages! Check out the Cookbook Testimonials while you’re there!

Until next time remember to,
Eat fresh, shop local & have a happy day,

Jean

Copyright Policy

All text and images on this site are copyright of For Dragonflies And Me. Unless otherwise noted, you may not use this content.