
Introduction to herb gardening
Herb gardening is a delightful and rewarding hobby that allows you to add a fresh and flavorful touch to your culinary creations. Whether you have a spacious backyard or a small balcony, you can easily create your own herb garden and enjoy the benefits of having a variety of aromatic plants at your fingertips. In this ultimate guide, I will take you through the step-by-step process of creating and maintaining an herb garden, ensuring that you have the best plants to elevate your cooking to new heights.
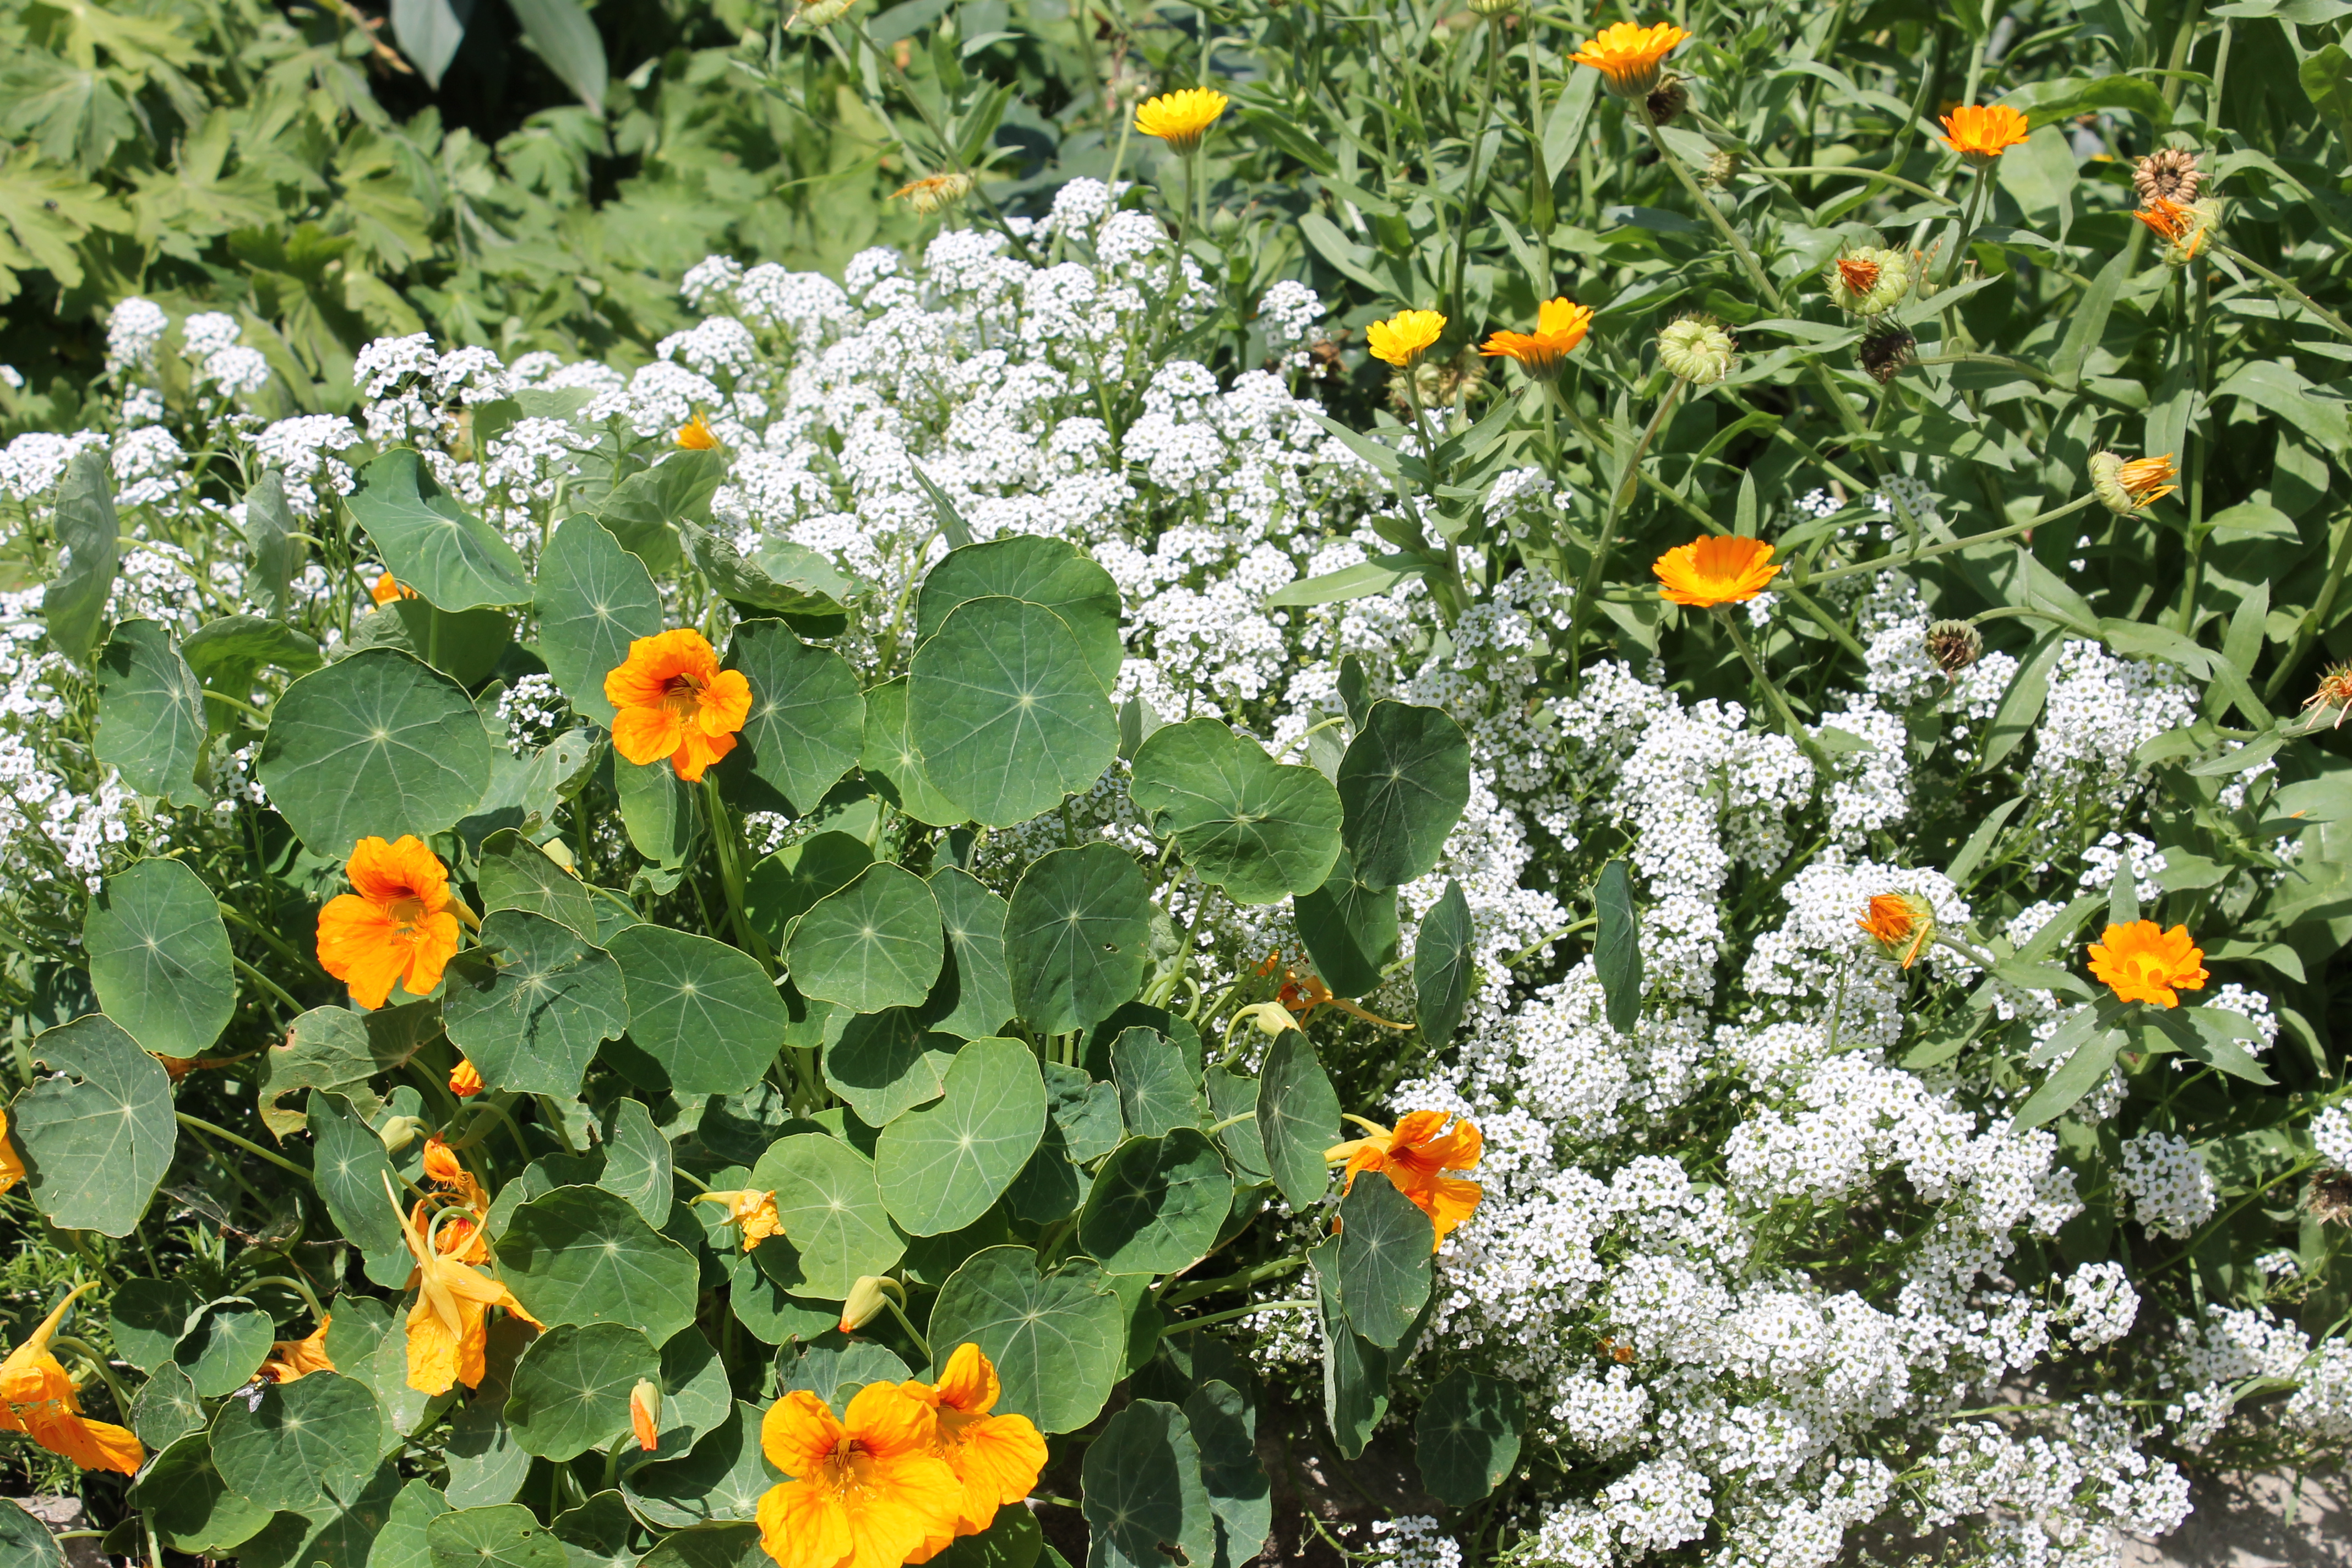
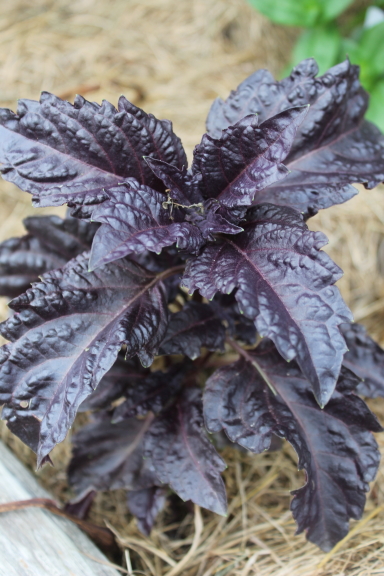
Be sure to check out the other blog posts to this months garden themes. Continuing this months theme of garden types, lets look at the majestic Woodland Garden. If missed the others, just click the links to these interesting and inspiring blog posts on how to create a Fairy Garden, Moon Garden, Asian Inspired, traditional English garden, beautiful water garden, herb garden, woodland garden, and the quaint rock garden. Enjoy friends.

Benefits of growing your own herb garden
There are numerous benefits to growing your own herb garden. Firstly, having fresh herbs readily available allows you to enhance the taste and aroma of your dishes. By using herbs straight from your garden, you can experience the full flavor profile that they have to offer. Additionally, growing your own herbs can save you money in the long run. Store-bought herbs can be expensive, and often come in larger quantities than you need for a single recipe. By growing your own, you can harvest just the amount you need, reducing waste and saving money. Furthermore, herb gardening is a great way to connect with nature and experience the joy of nurturing plants from seedlings to fully grown herbs. It can be a therapeutic and relaxing activity, providing a sense of accomplishment and satisfaction.
Planning your herb garden
Before diving into the world of herb gardening, it’s important to plan and prepare your garden space. Start by considering the available space you have, whether it’s a small patch of land, raised beds, or containers on a balcony. Take into account the amount of sunlight the area receives and the climate in your region. Most herbs require at least 6 hours of direct sunlight per day, so choose a location that meets this requirement. Once you have determined the location, sketch out a rough plan of how you want your herb garden to be laid out. Consider the height and spread of each herb, as well as its growth habits, to ensure they have enough space to flourish. Lastly, gather the necessary gardening tools such as a trowel, gardening gloves, and a watering can or hose.


Join the list
Join hundreds of our subscribers and be the first to know about new content and special offers.
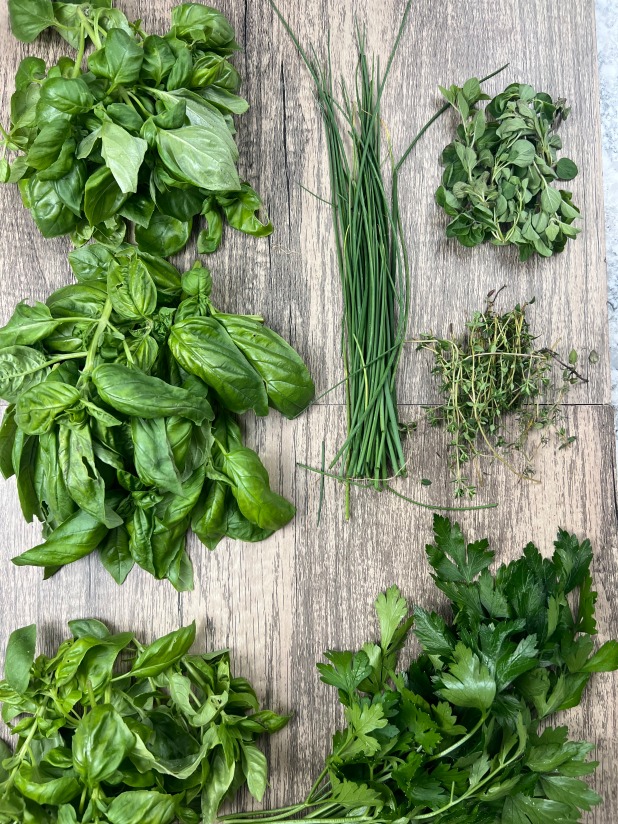
Essential herbs for culinary creations
Now that you have your herb garden planned and ready, it’s time to choose the essential herbs that will elevate your culinary creations. While the choice of herbs may vary depending on personal preference and regional availability, there are a few staples that every herb garden should include. Let’s explore some of the most popular and versatile herbs for cooking:

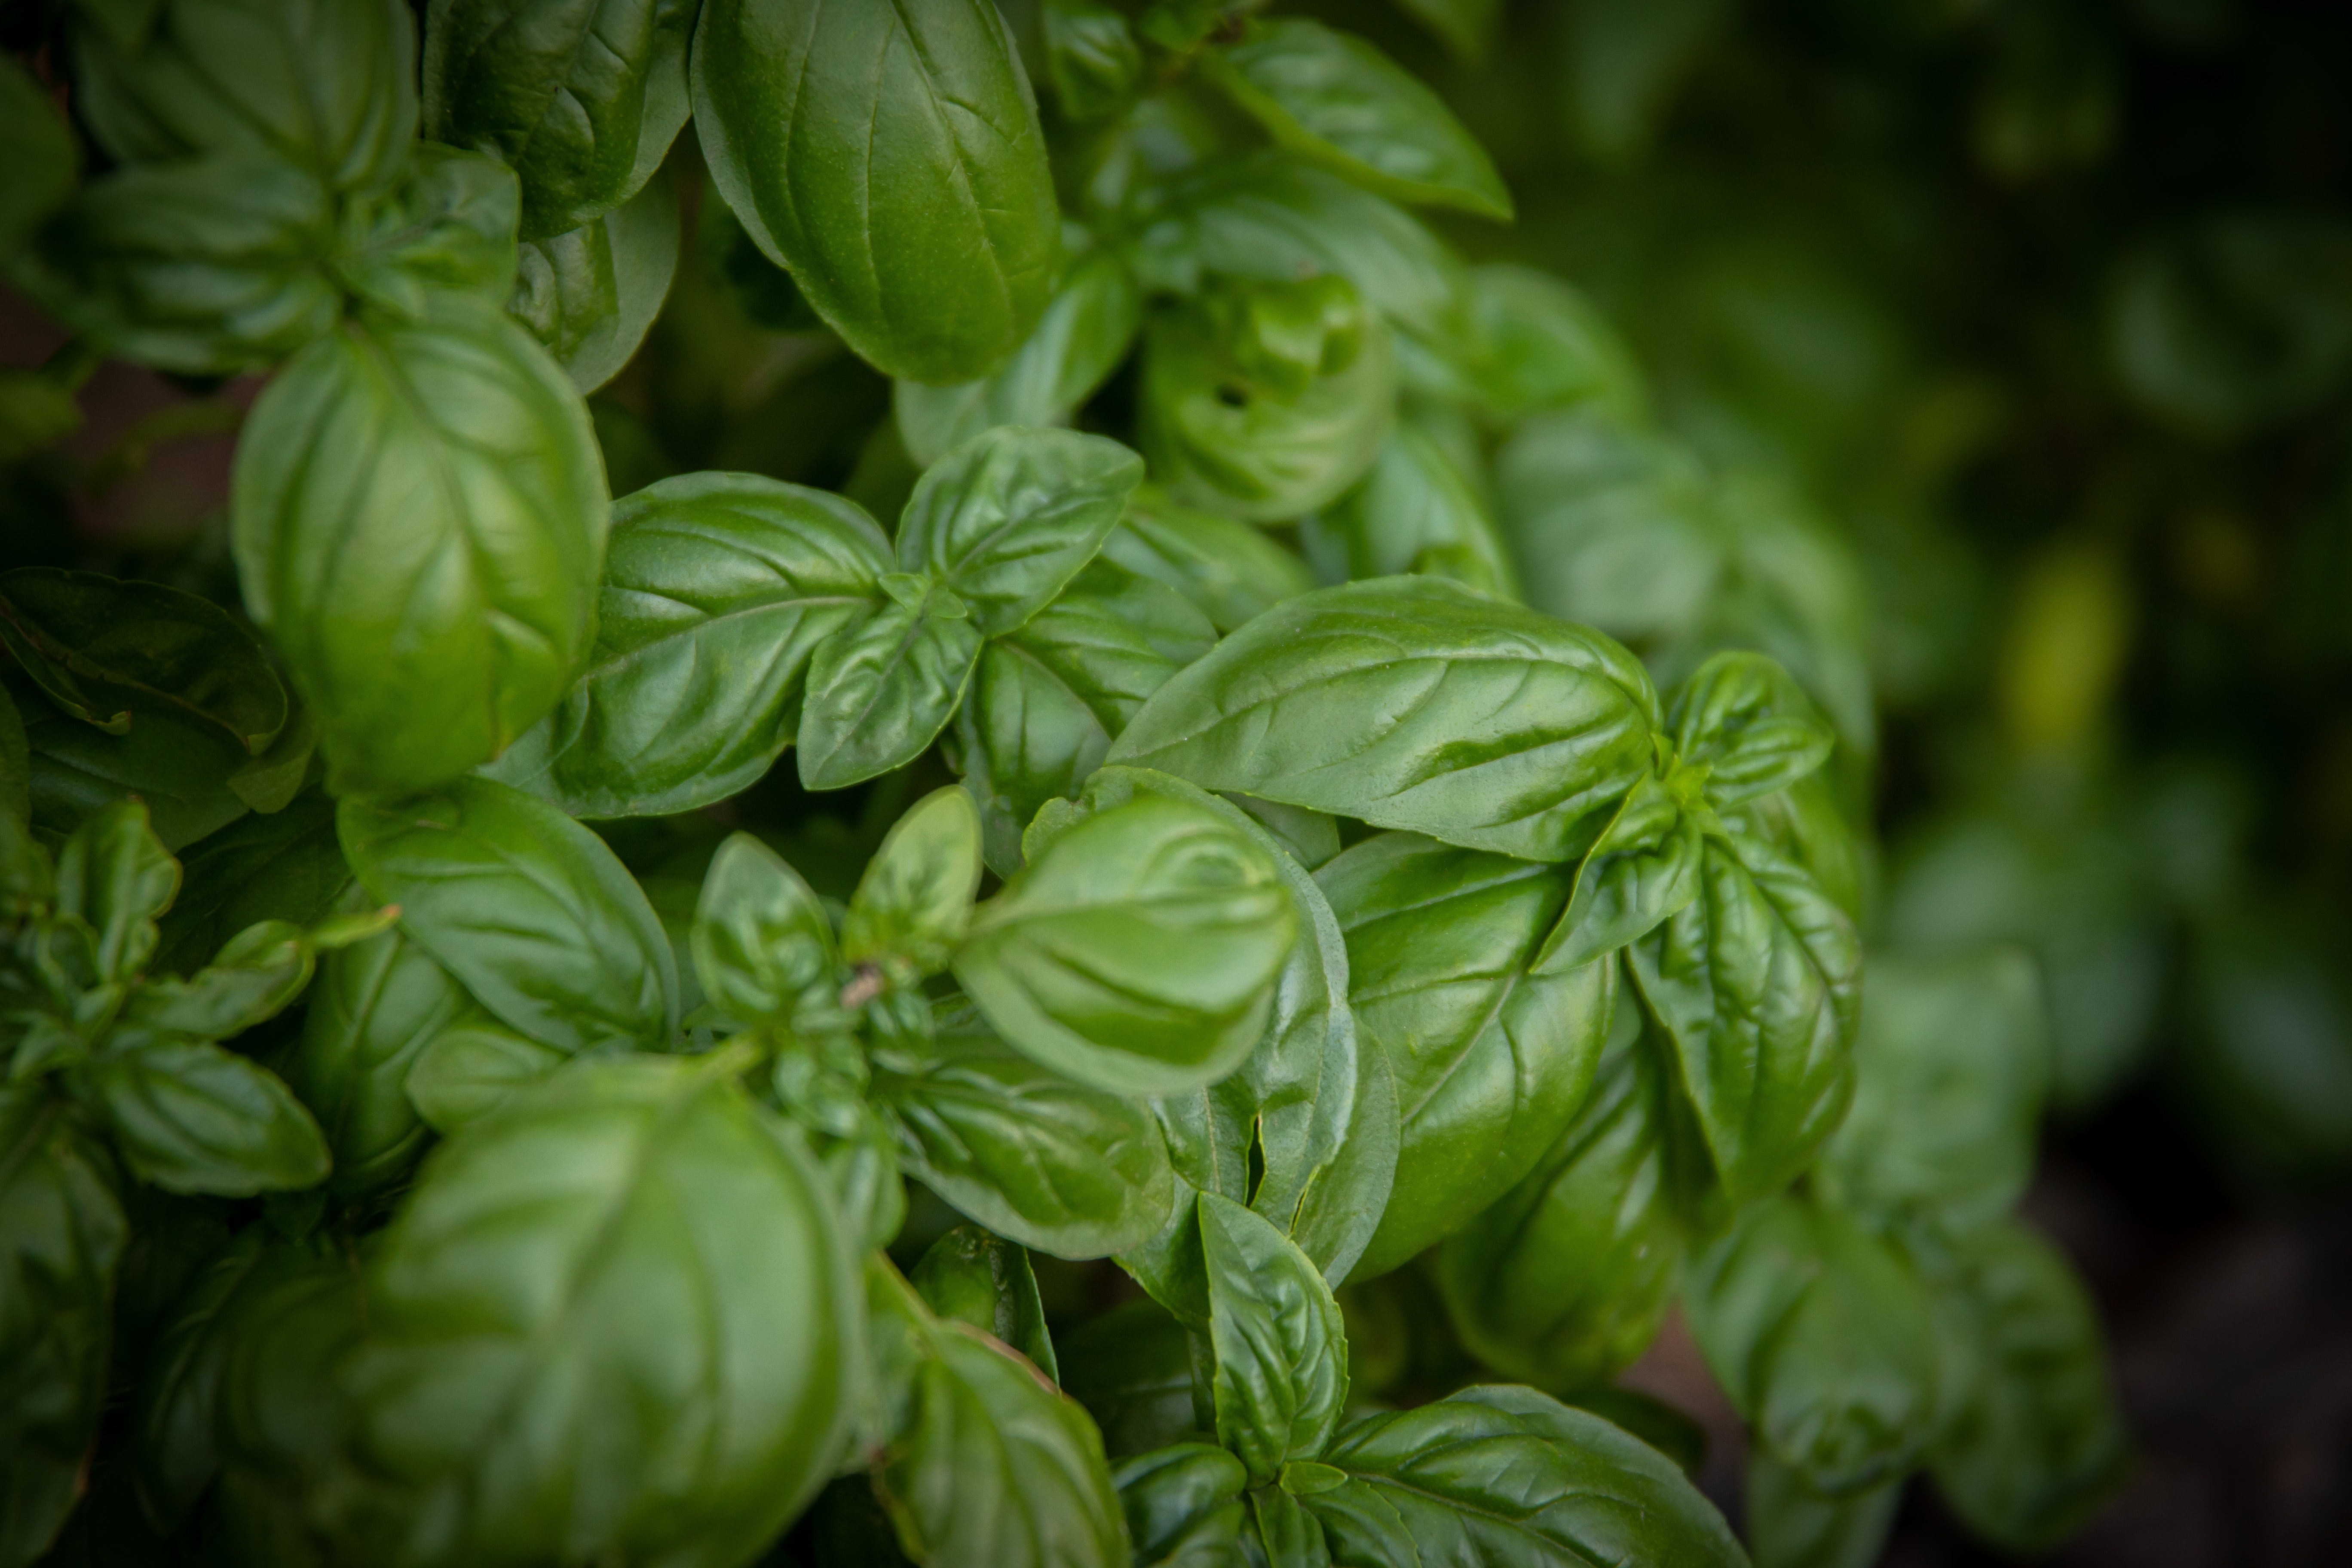
- Basil: Known for its distinct aroma and flavor, basil is a must-have herb in any kitchen. It pairs well with tomatoes, making it ideal for Italian dishes such as pasta, pizza, and Caprese salad.
- Rosemary: With its woody and fragrant leaves, rosemary adds a delightful flavor to roasted meats, potatoes, and bread. It also makes a wonderful addition to marinades and infused oils.
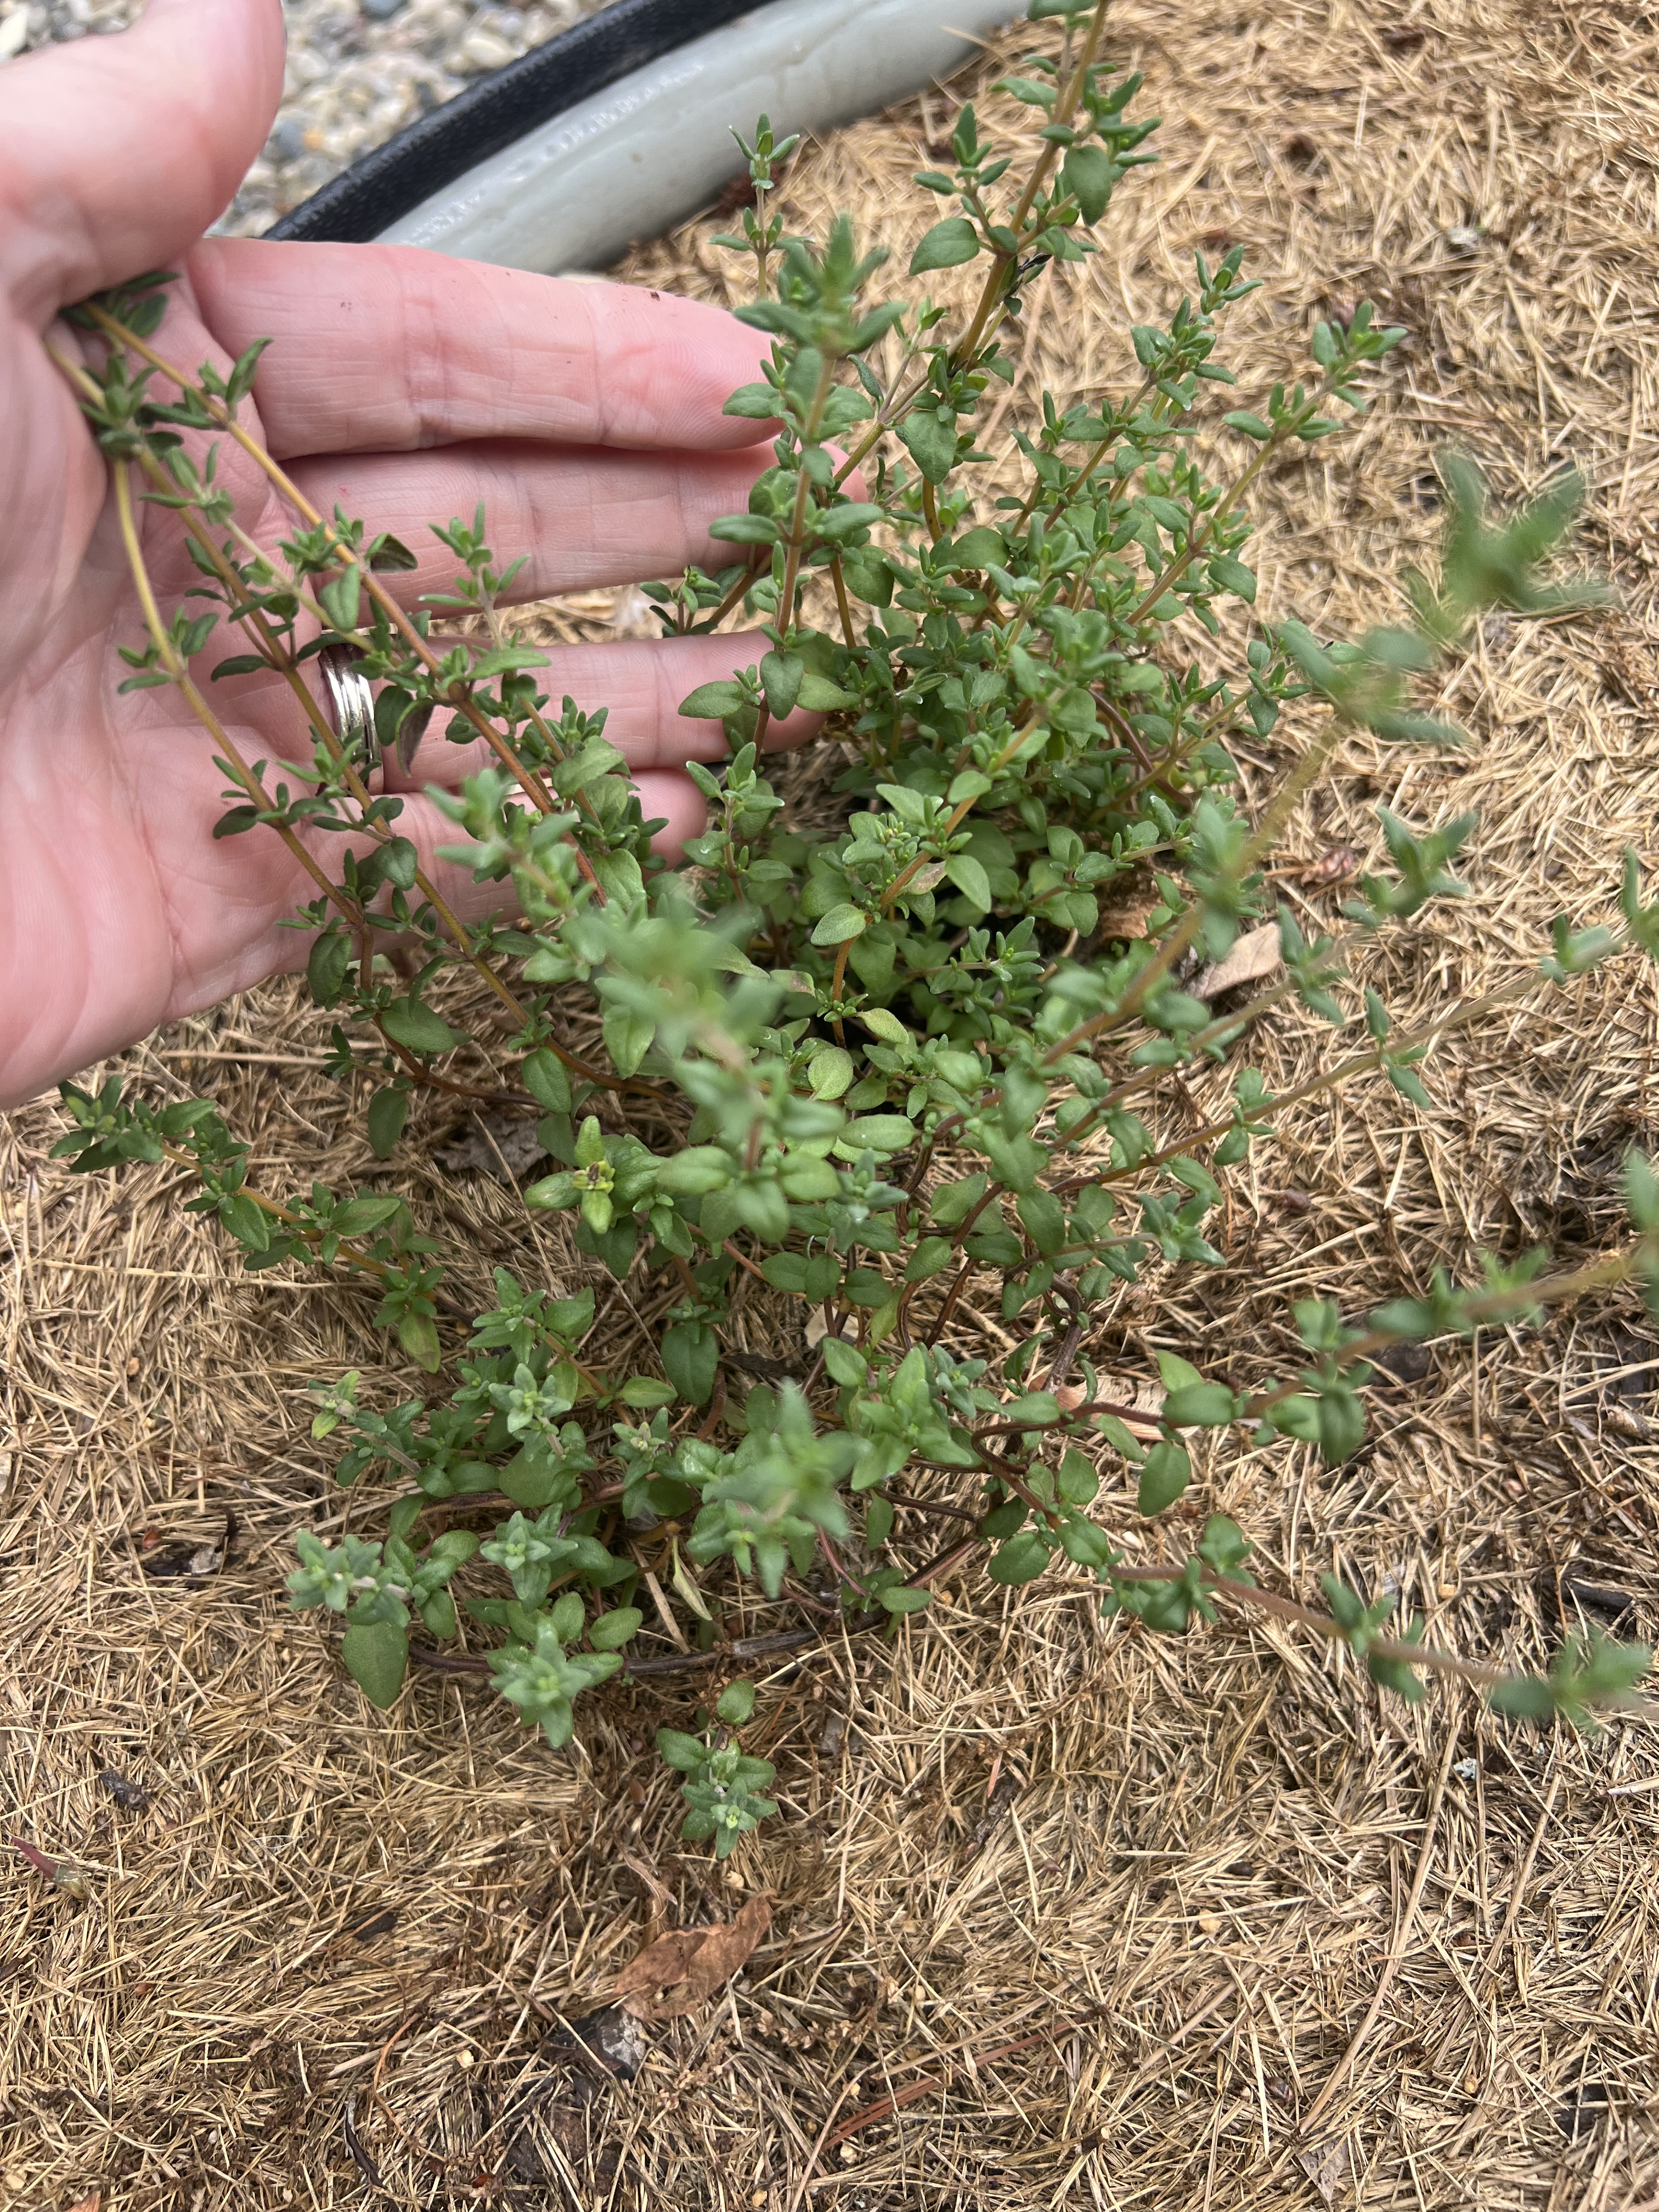
- Thyme: This herb is known for its earthy and slightly minty flavor. It complements a wide range of dishes, including roasted vegetables, soups, stews, and poultry.
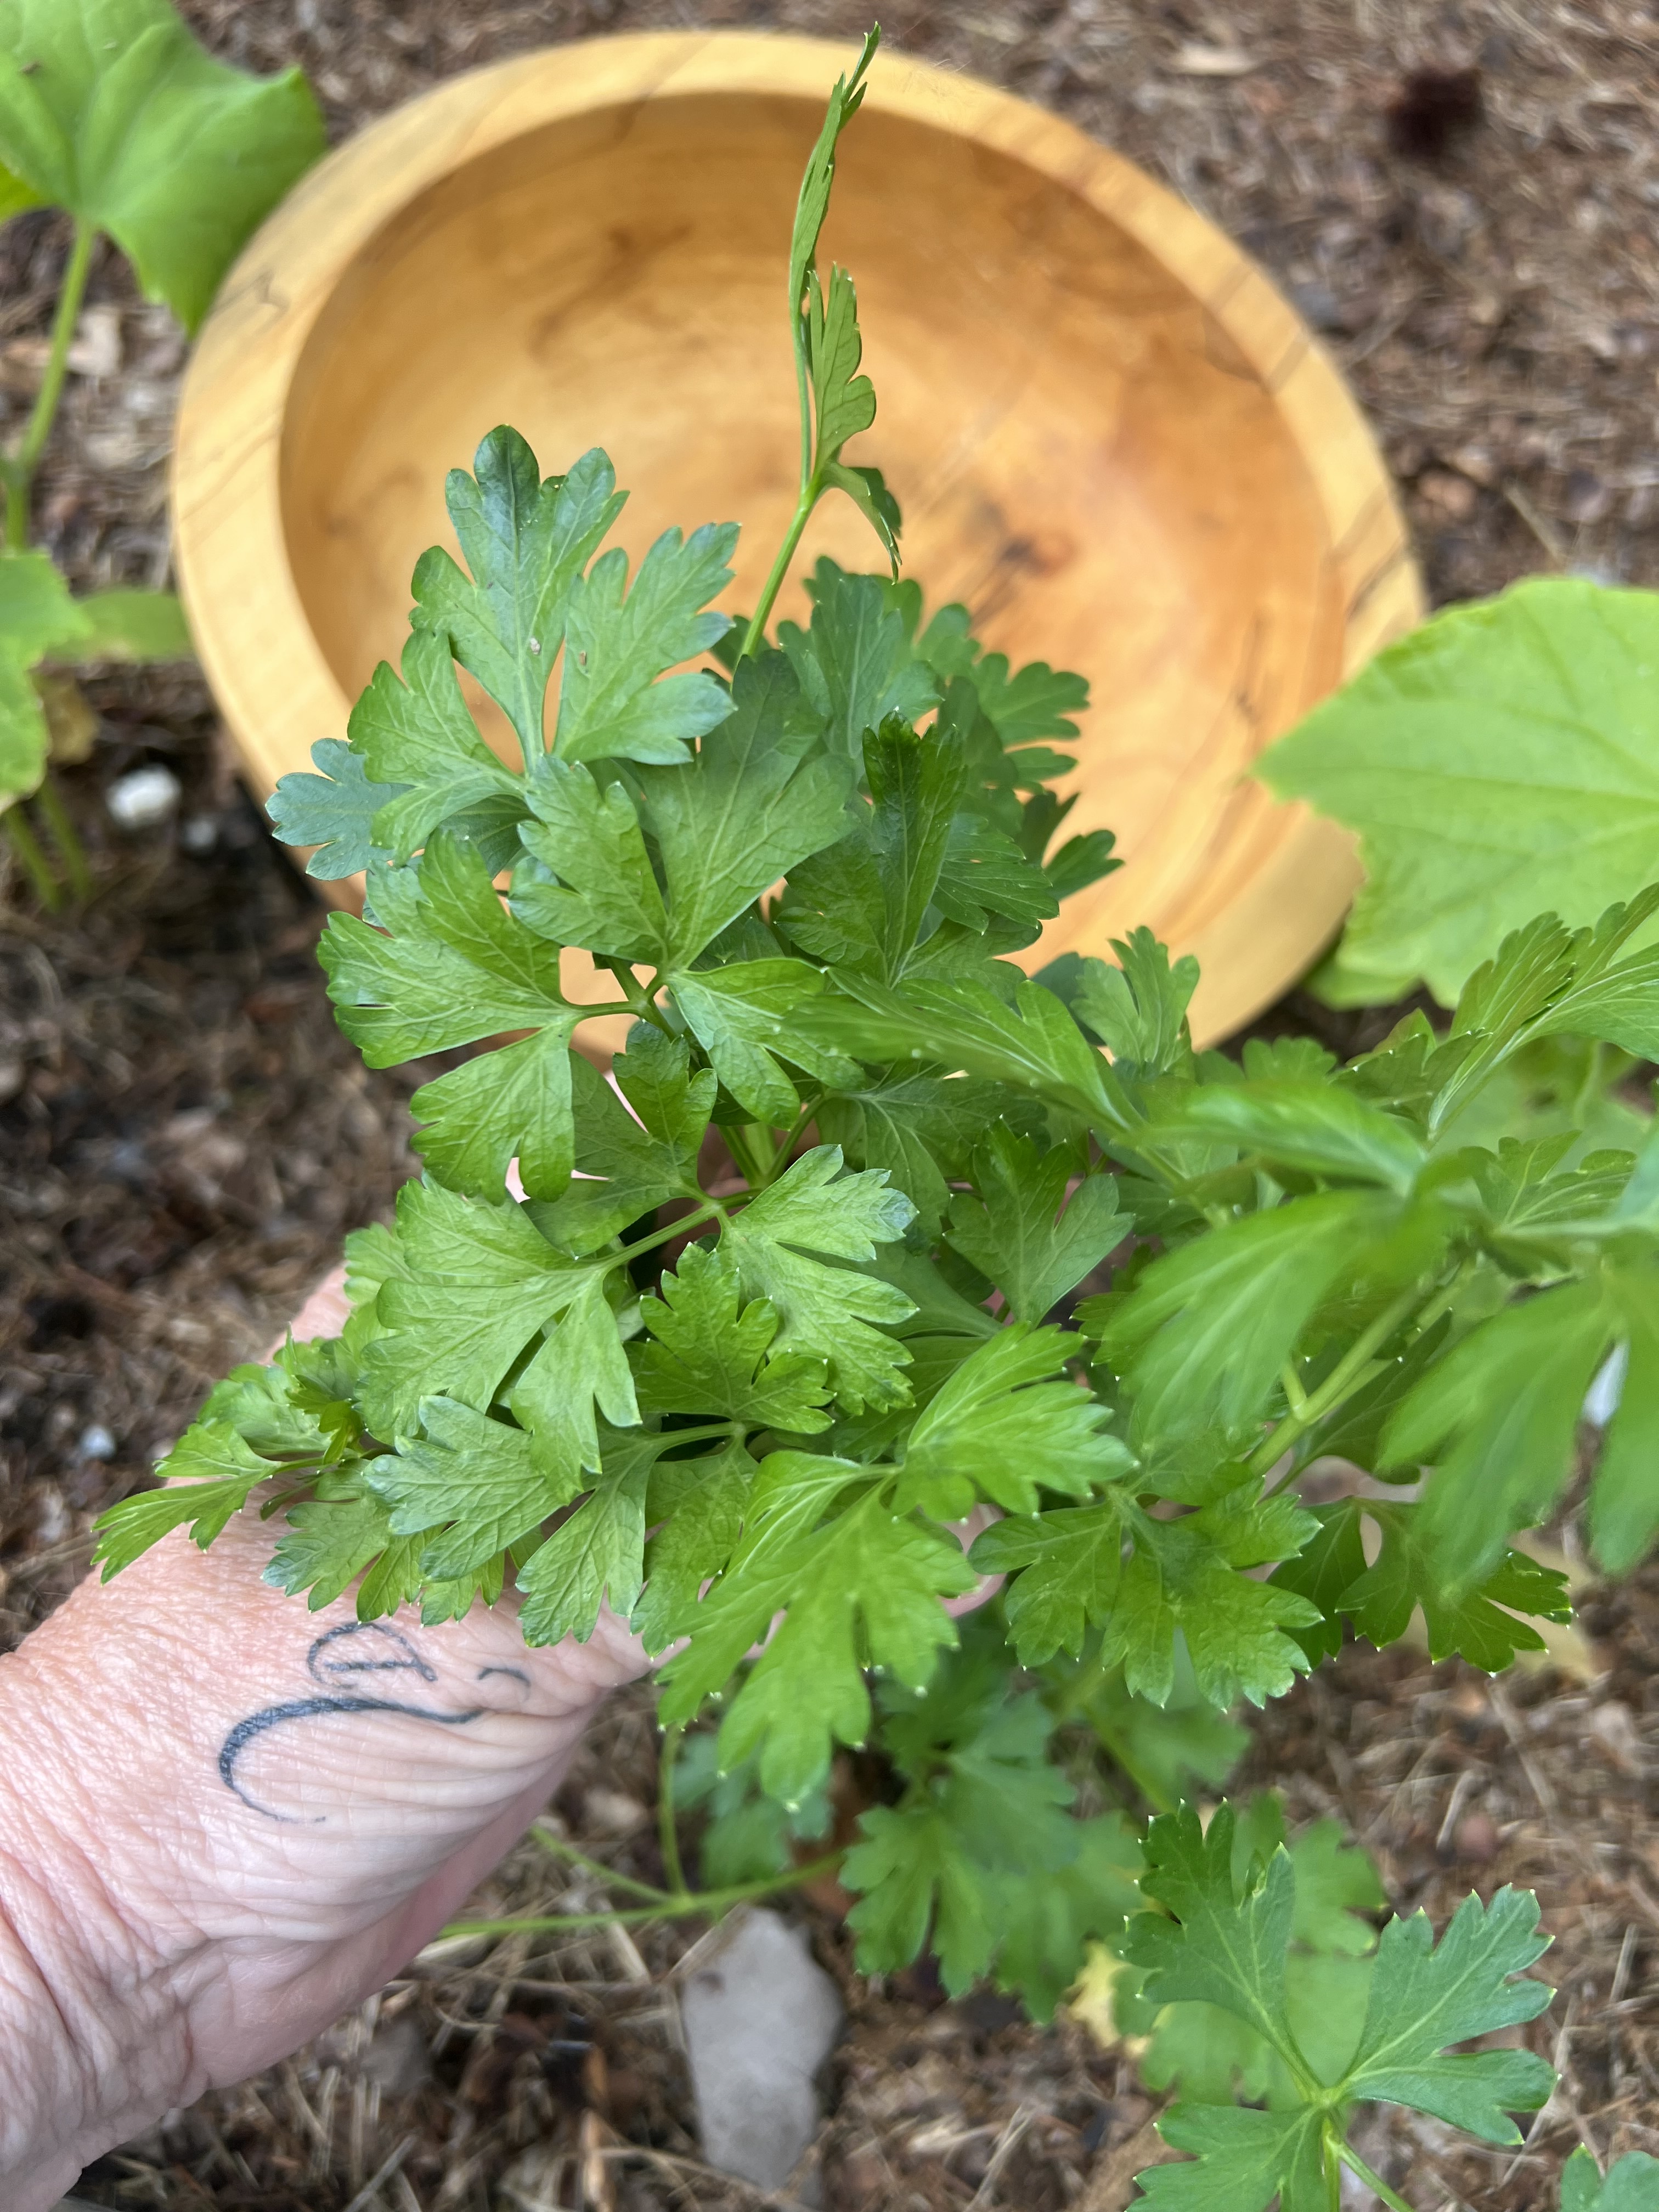
- Parsley: Parsley is a versatile herb that can be used as a garnish or added to dishes for a fresh and vibrant flavor. It pairs well with fish, salads, and sauces.
- Mint: Mint is a refreshing herb that adds a burst of flavor to beverages, desserts, and savory dishes. It is commonly used in cocktails, teas, and Middle Eastern cuisine.
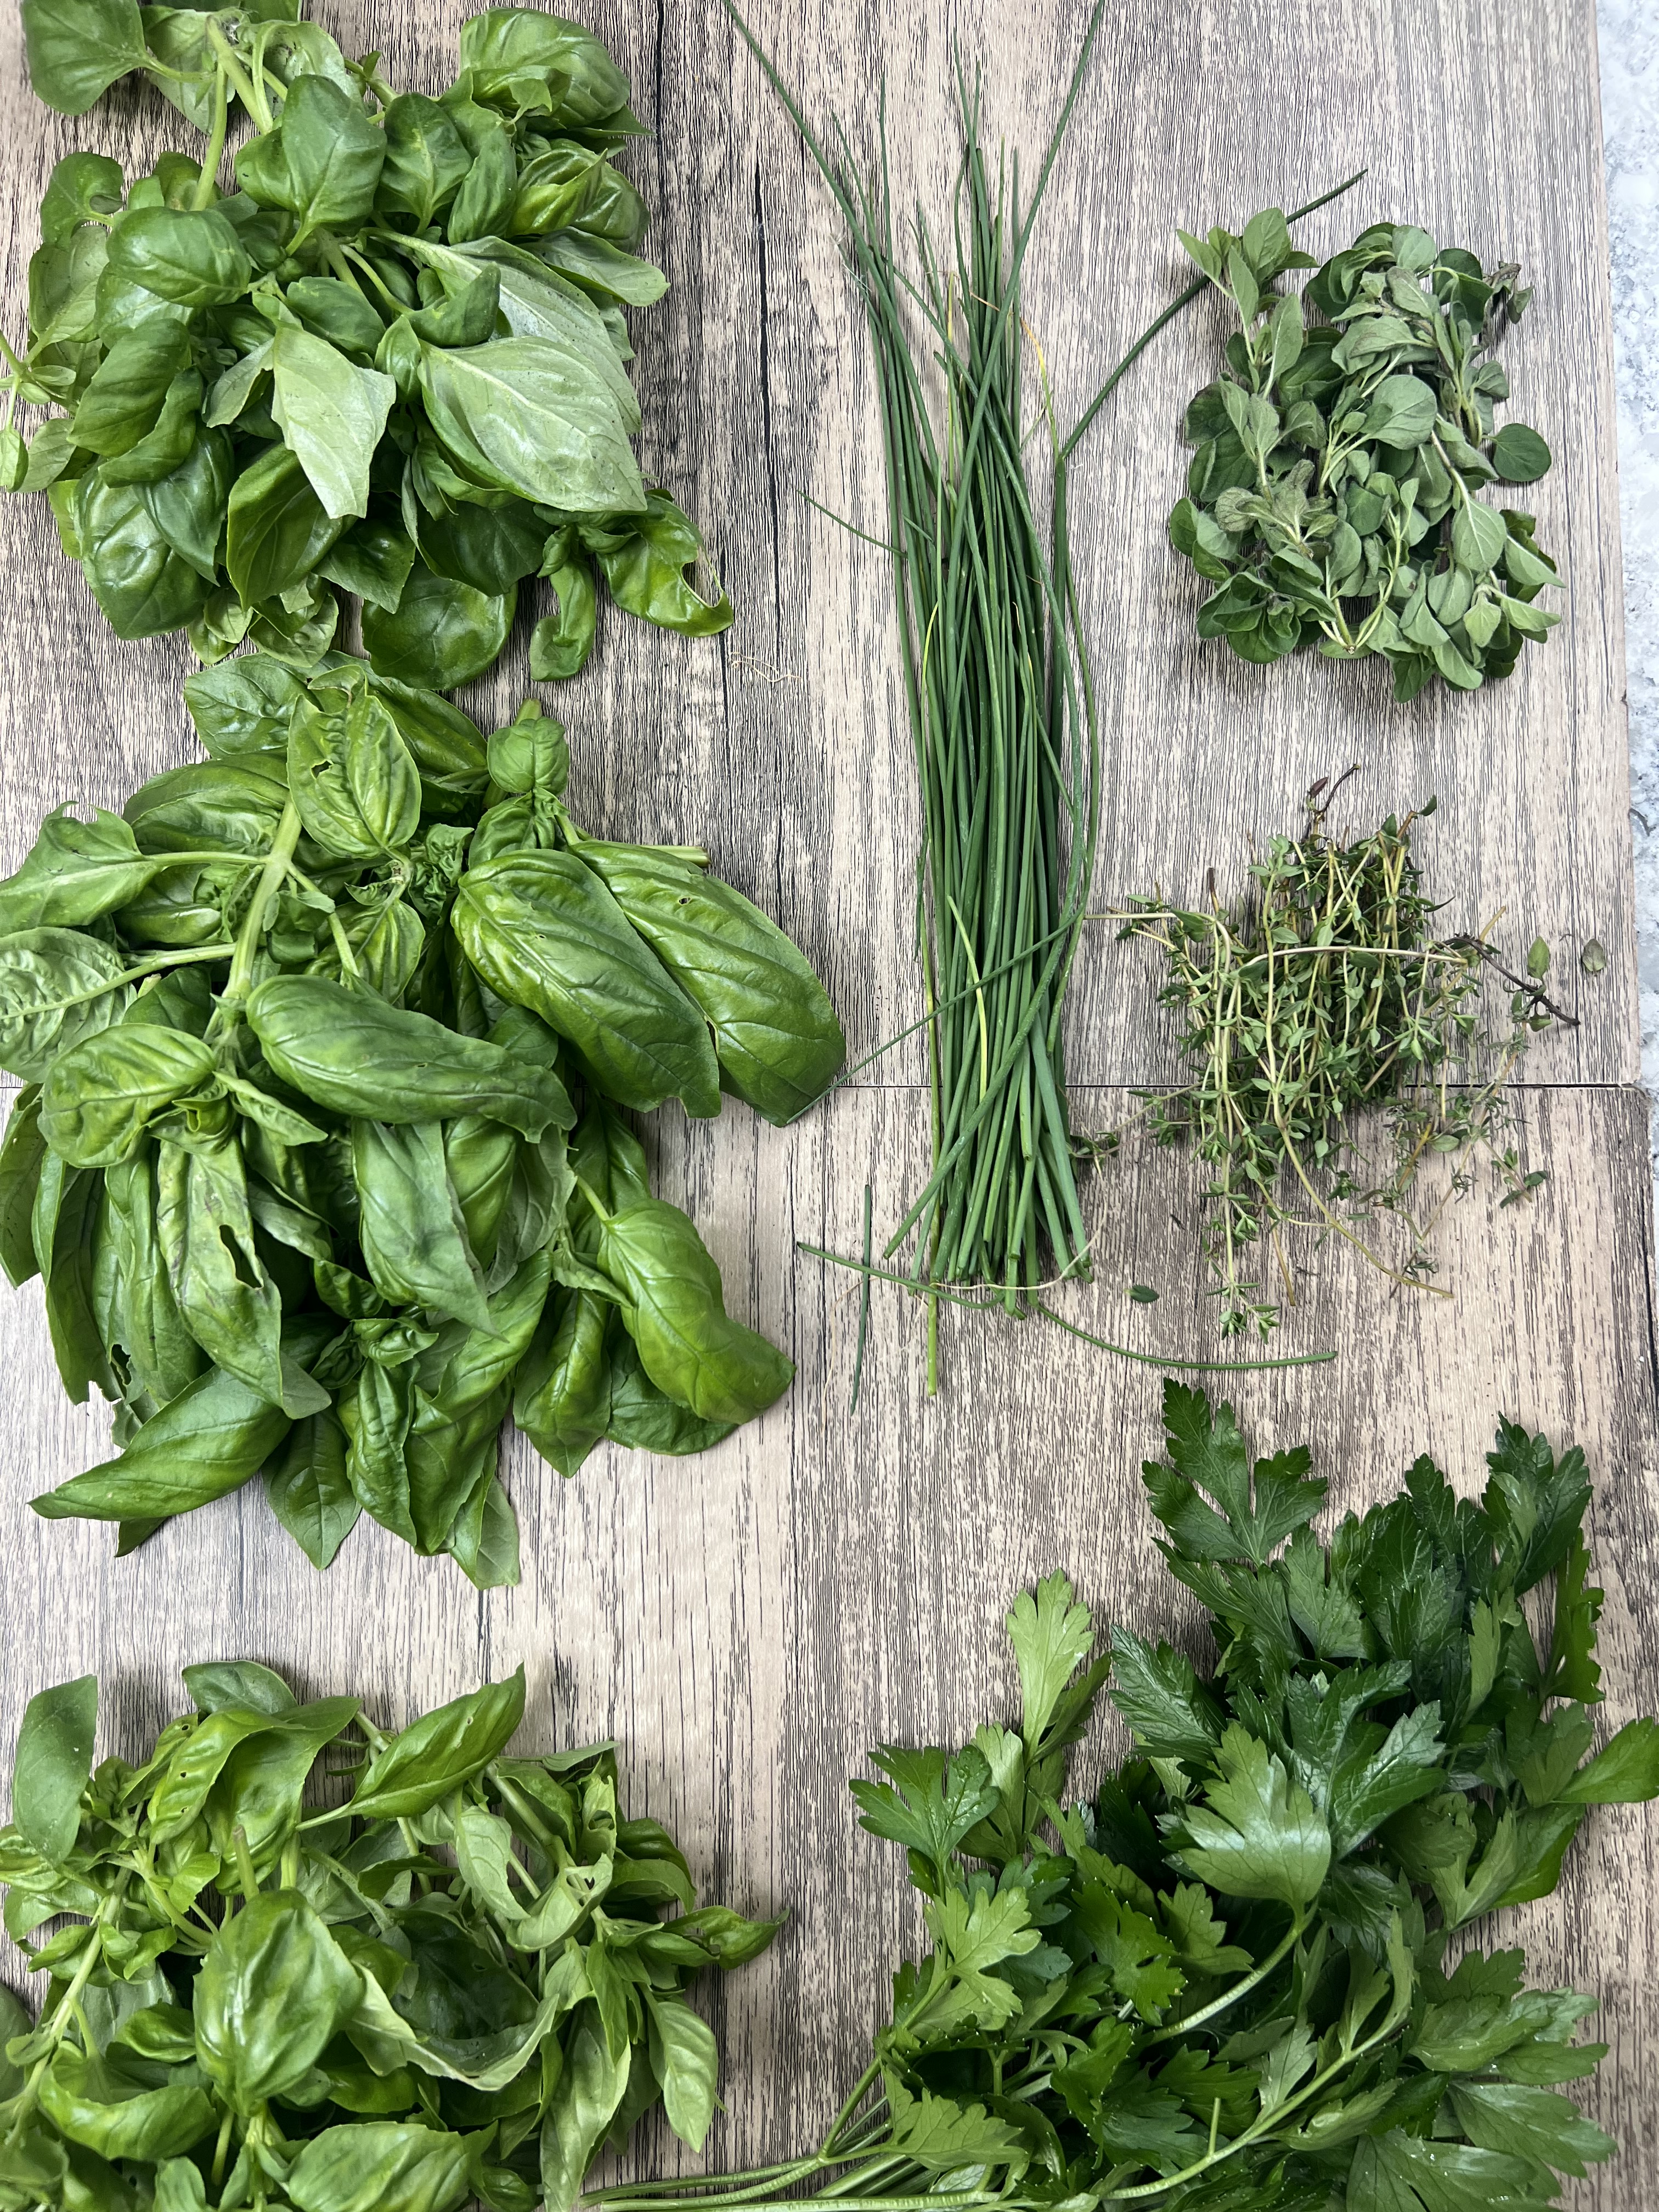
By including these essential herbs in your garden, you will have a solid foundation to experiment with different flavors and create a wide variety of culinary masterpieces.
Choosing the right location for your herb garden
The success of your herb garden depends largely on choosing the right location. Most herbs thrive in full sun, so it’s important to select a spot that receives at least 6 hours of direct sunlight per day. Observe your garden throughout the day to determine which areas receive the most sunlight. If you have limited sun exposure in your yard or balcony, don’t worry. Some herbs, like mint and parsley, can tolerate partial shade. Consider placing these herbs in areas that receive dappled sunlight or morning sun.
In addition to sunlight, it’s important to consider the wind and drainage conditions of the location. Herbs generally prefer well-draining soil, so avoid areas that tend to get waterlogged. If your soil doesn’t drain well naturally, you can improve it by adding organic matter such as compost or vermiculite. As for wind, strong gusts can damage delicate herbs or cause them to dry out quickly. If your garden is exposed to strong winds, consider creating a windbreak using trellises, fences, or potted plants to protect your herbs.
Preparing the soil for your herb garden
Before planting your herbs, it’s crucial to prepare the soil to provide them with the best growing conditions. Start by removing any weeds or grass from the area where you plan to plant your herbs. This can be done by hand or using a garden tool like a trowel or hoe. Once the area is clear, loosen the soil with a garden fork or tiller to improve aeration and drainage. If the soil is compacted or heavy, you can incorporate organic matter such as compost or well-rotted manure to improve its texture and fertility. Spread a layer of organic matter over the soil and mix it in thoroughly.
After preparing the soil, it’s a good idea to test its pH level. Most herbs prefer a slightly acidic to neutral pH range of 6.0 to 7.0. You can use a pH testing kit or take a soil sample to a local gardening center for analysis. If your soil pH is outside the desired range, you can adjust it by adding amendments such as lime to raise the pH or sulfur to lower it. Follow the instructions on the product packaging for proper application rates.
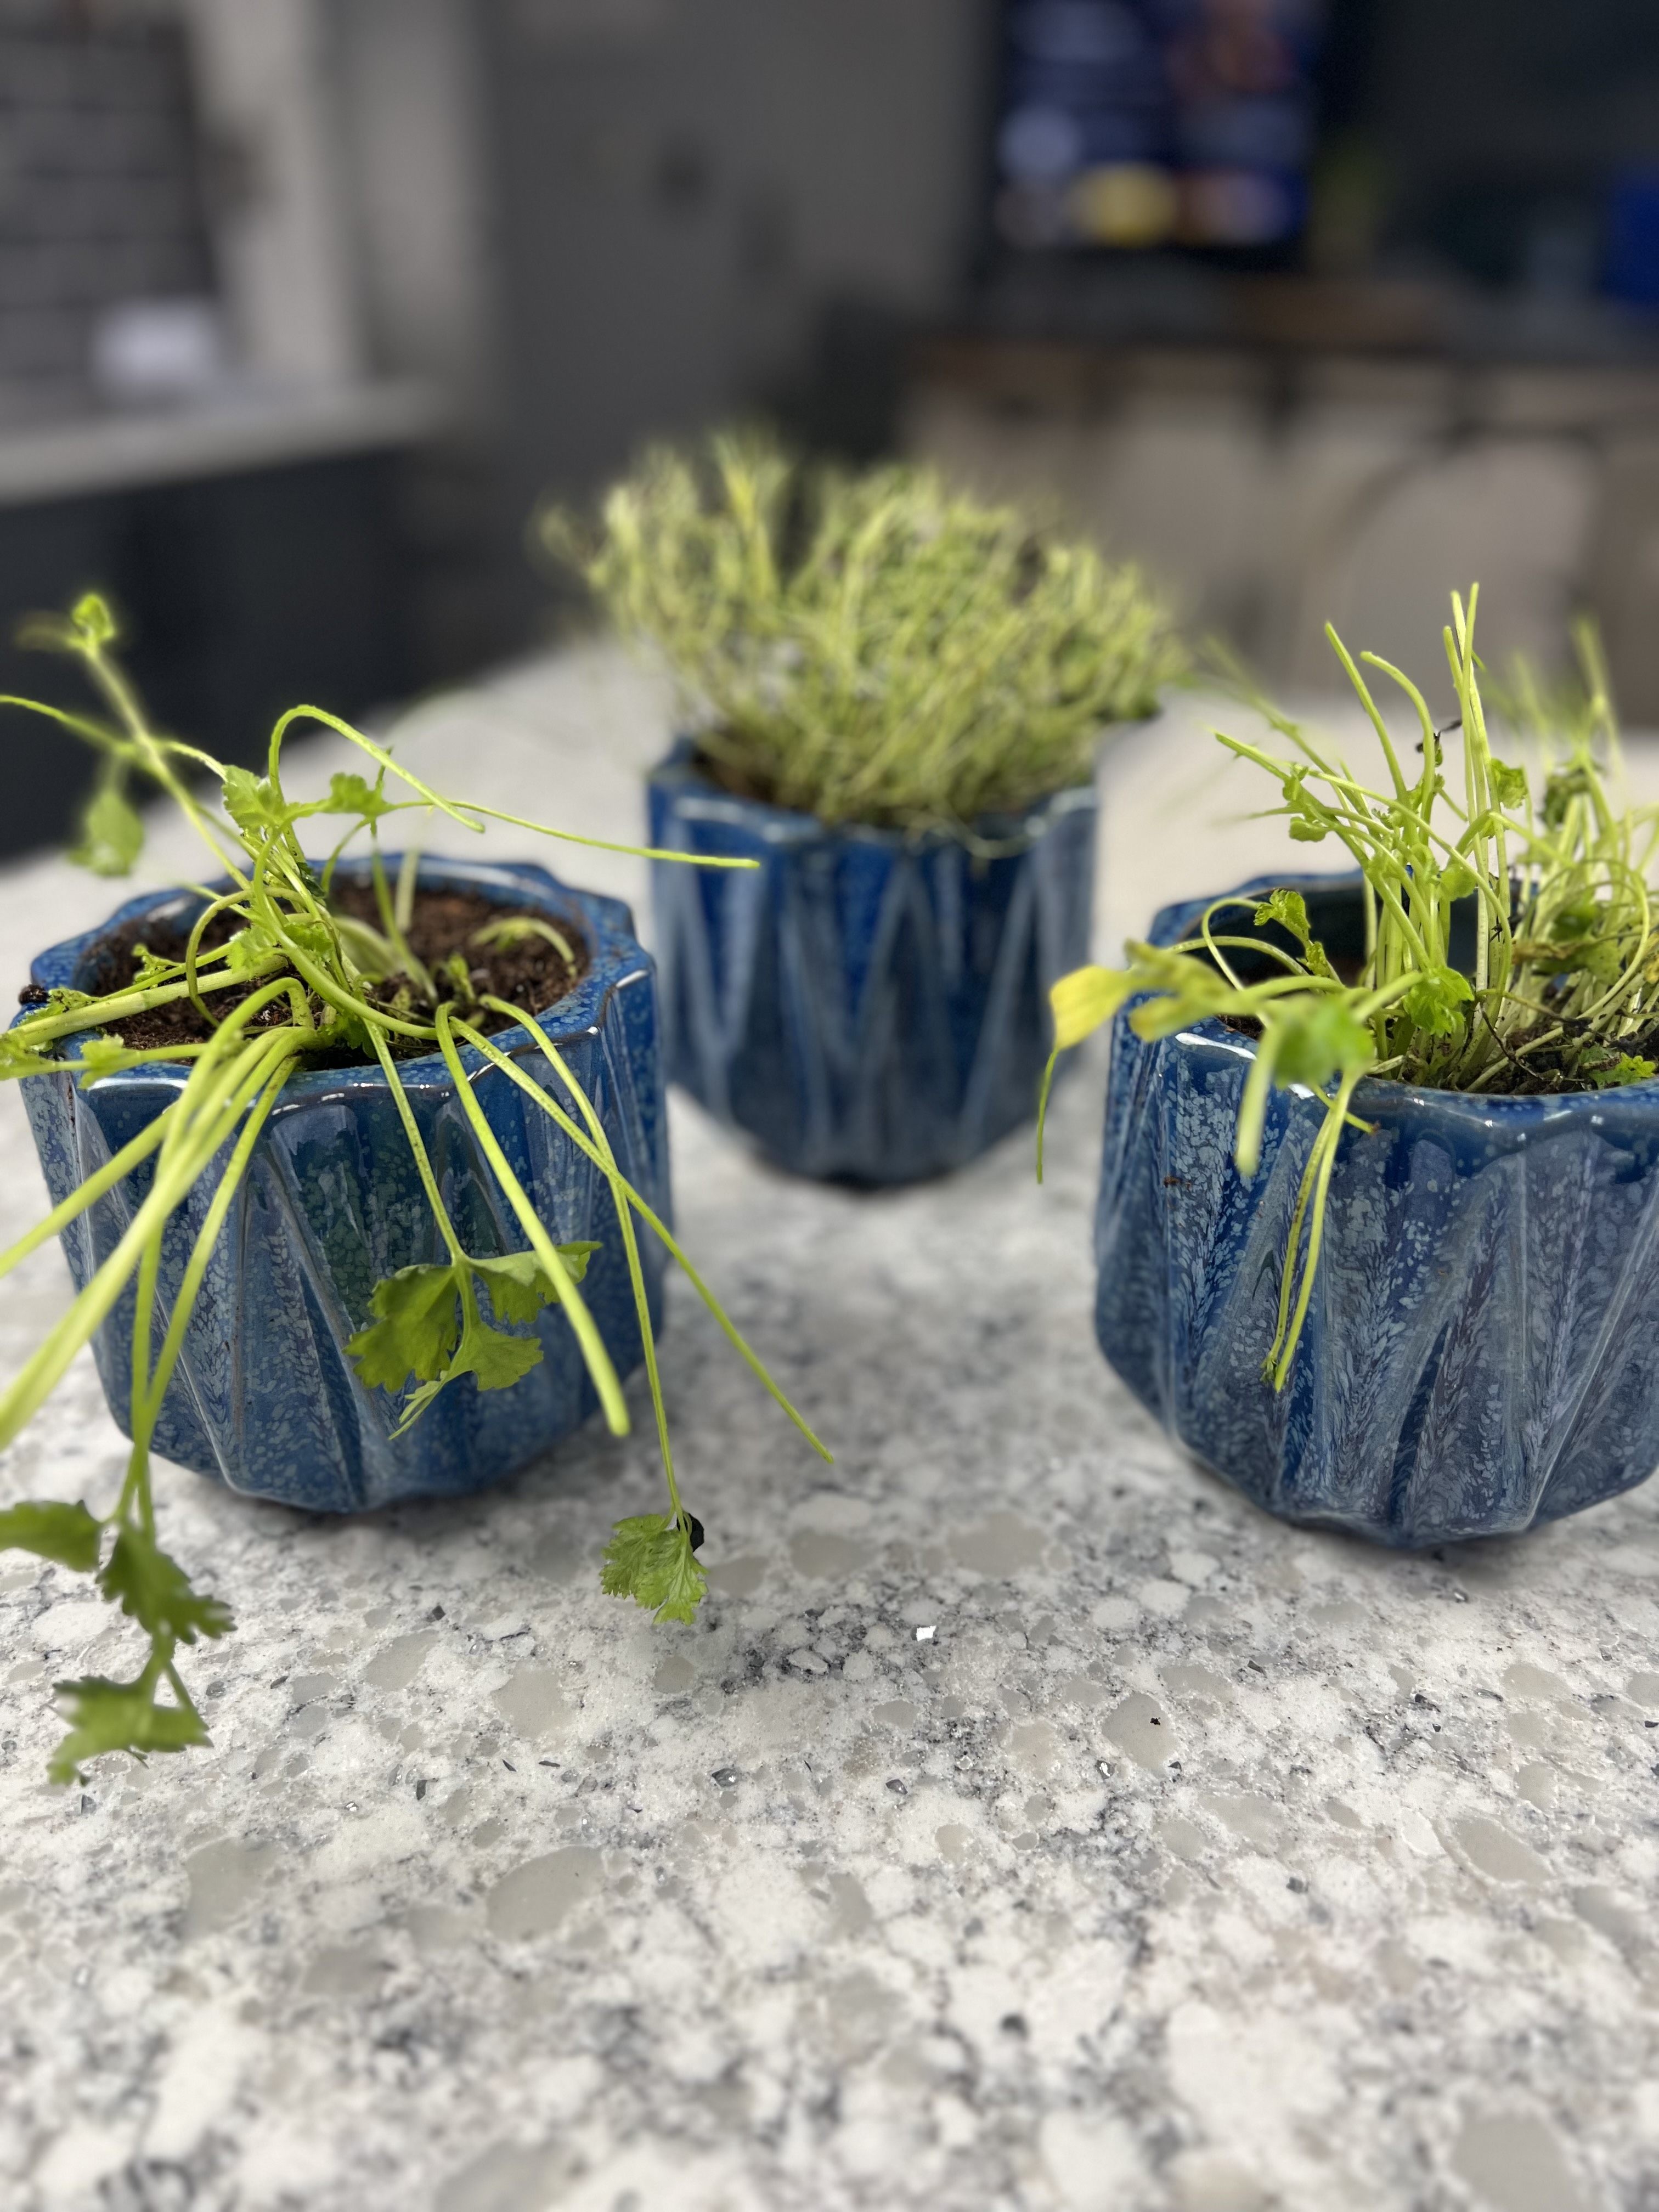
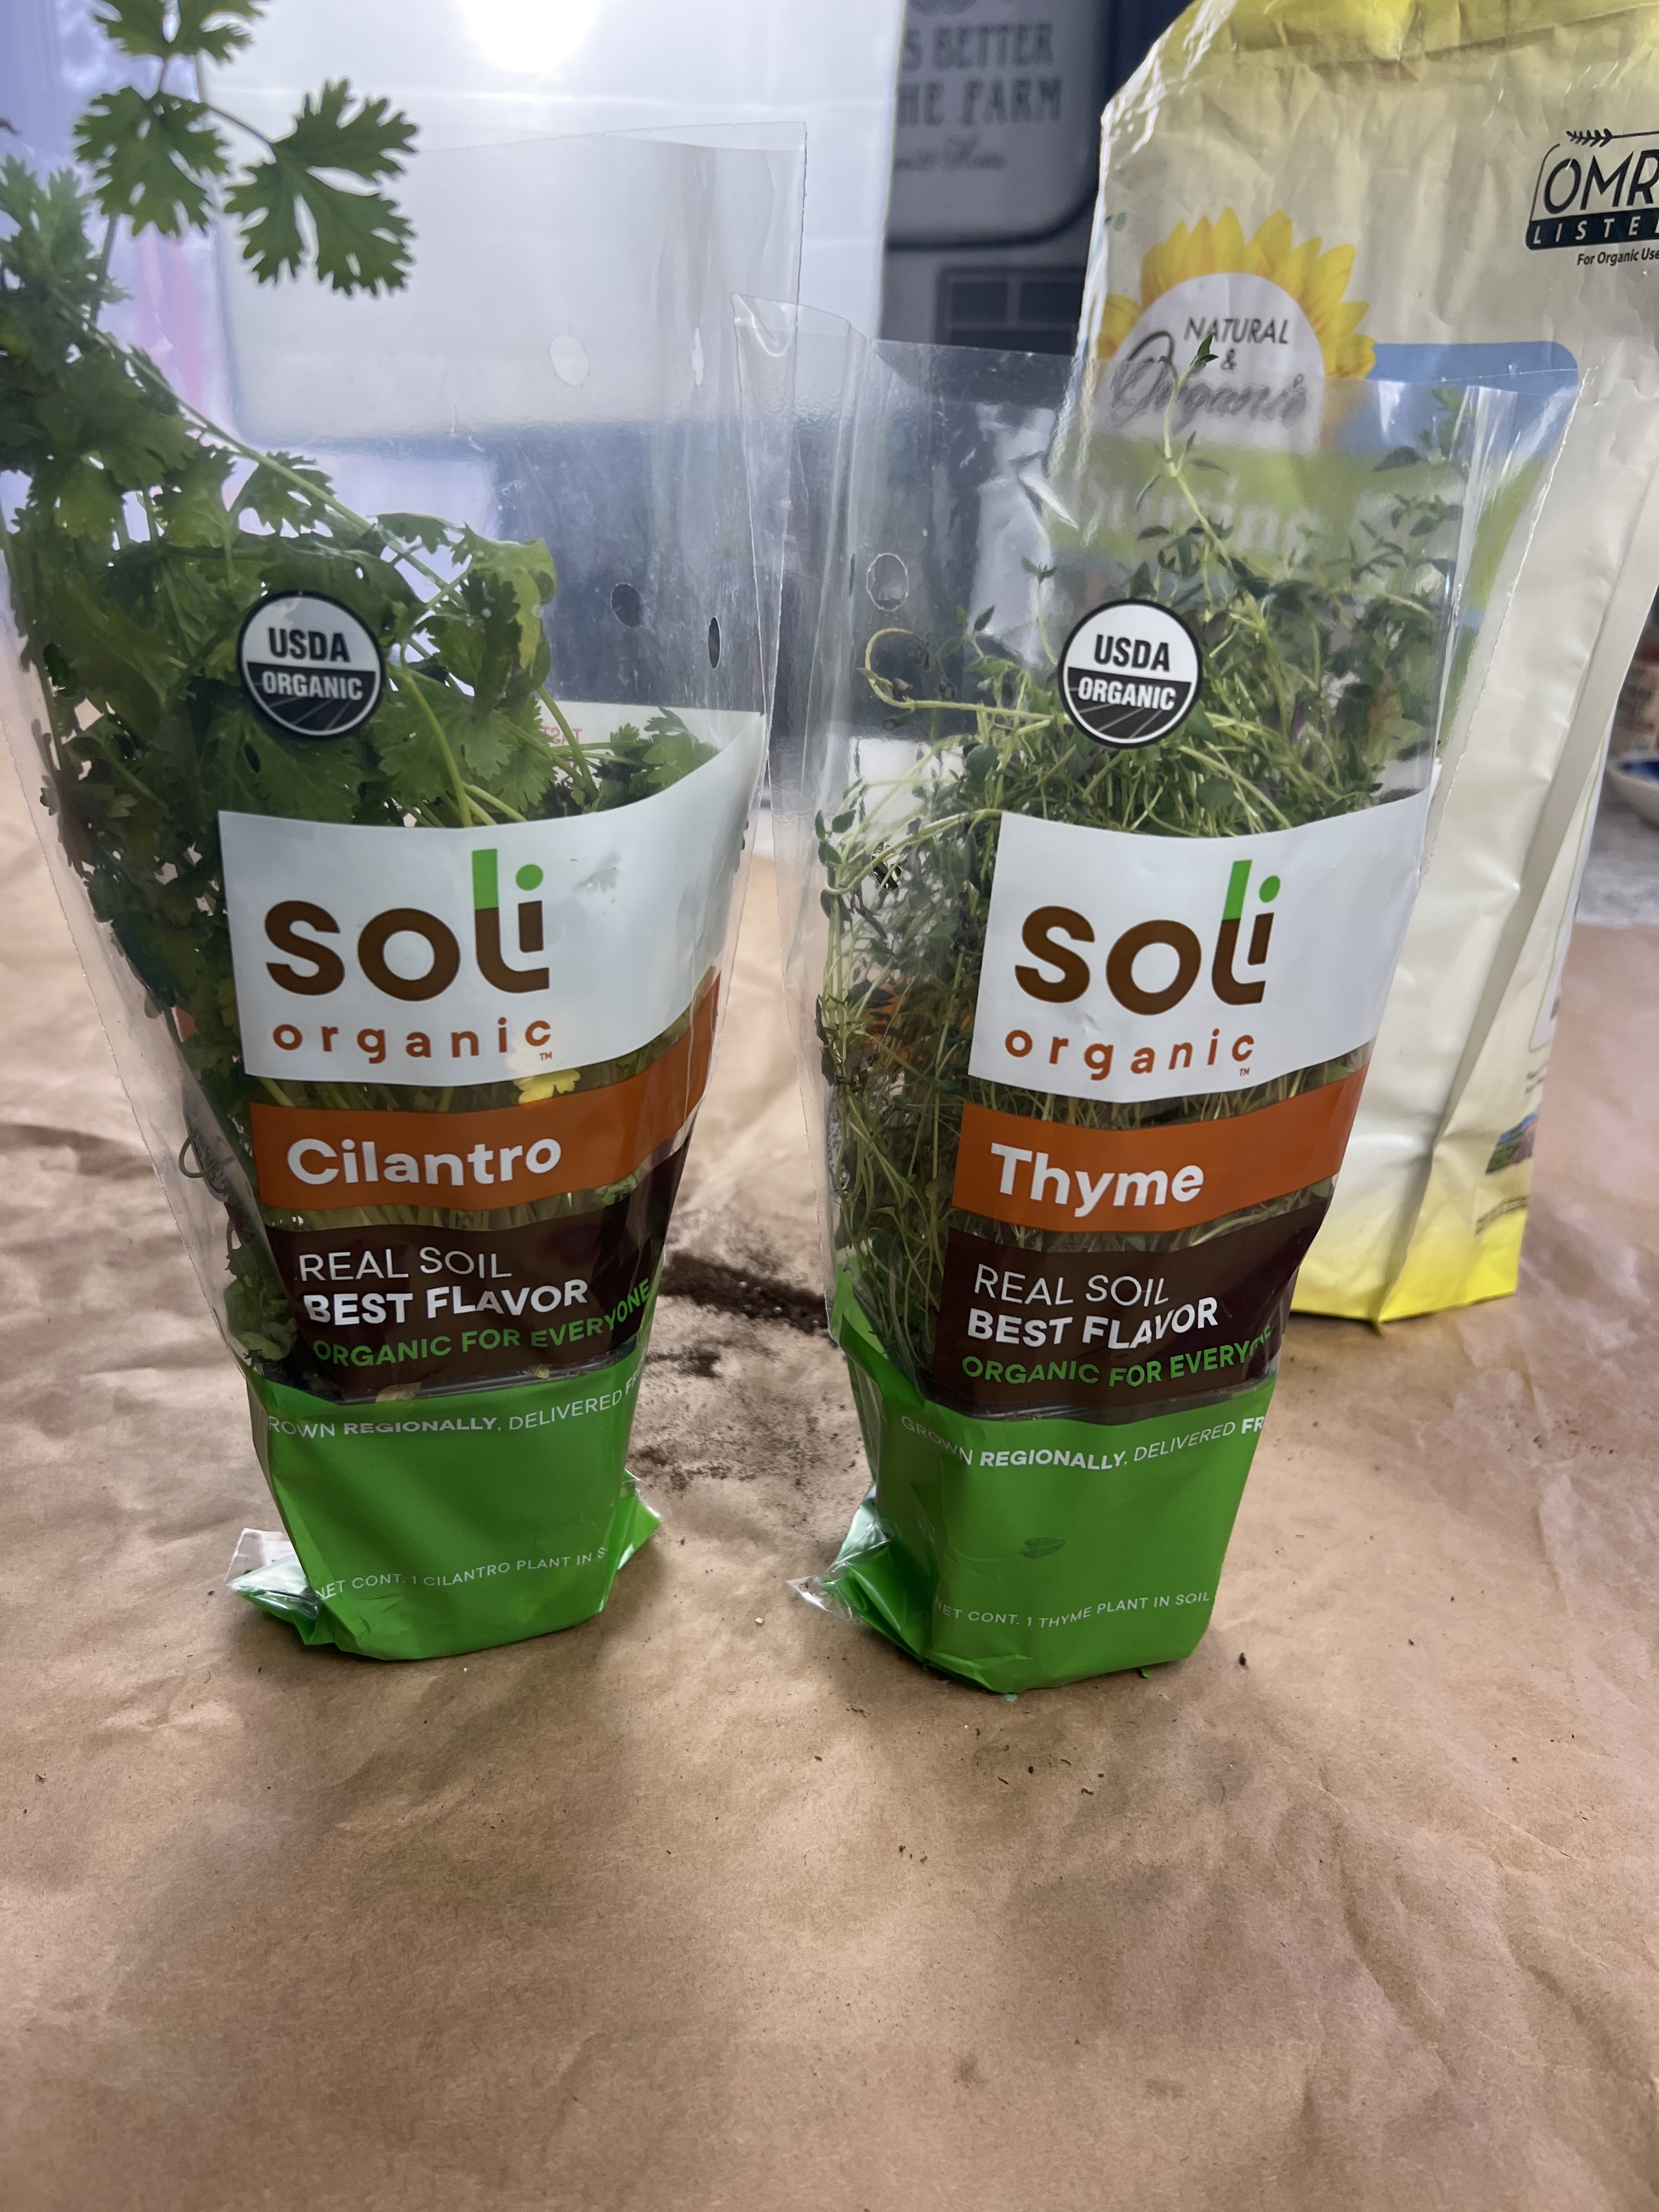
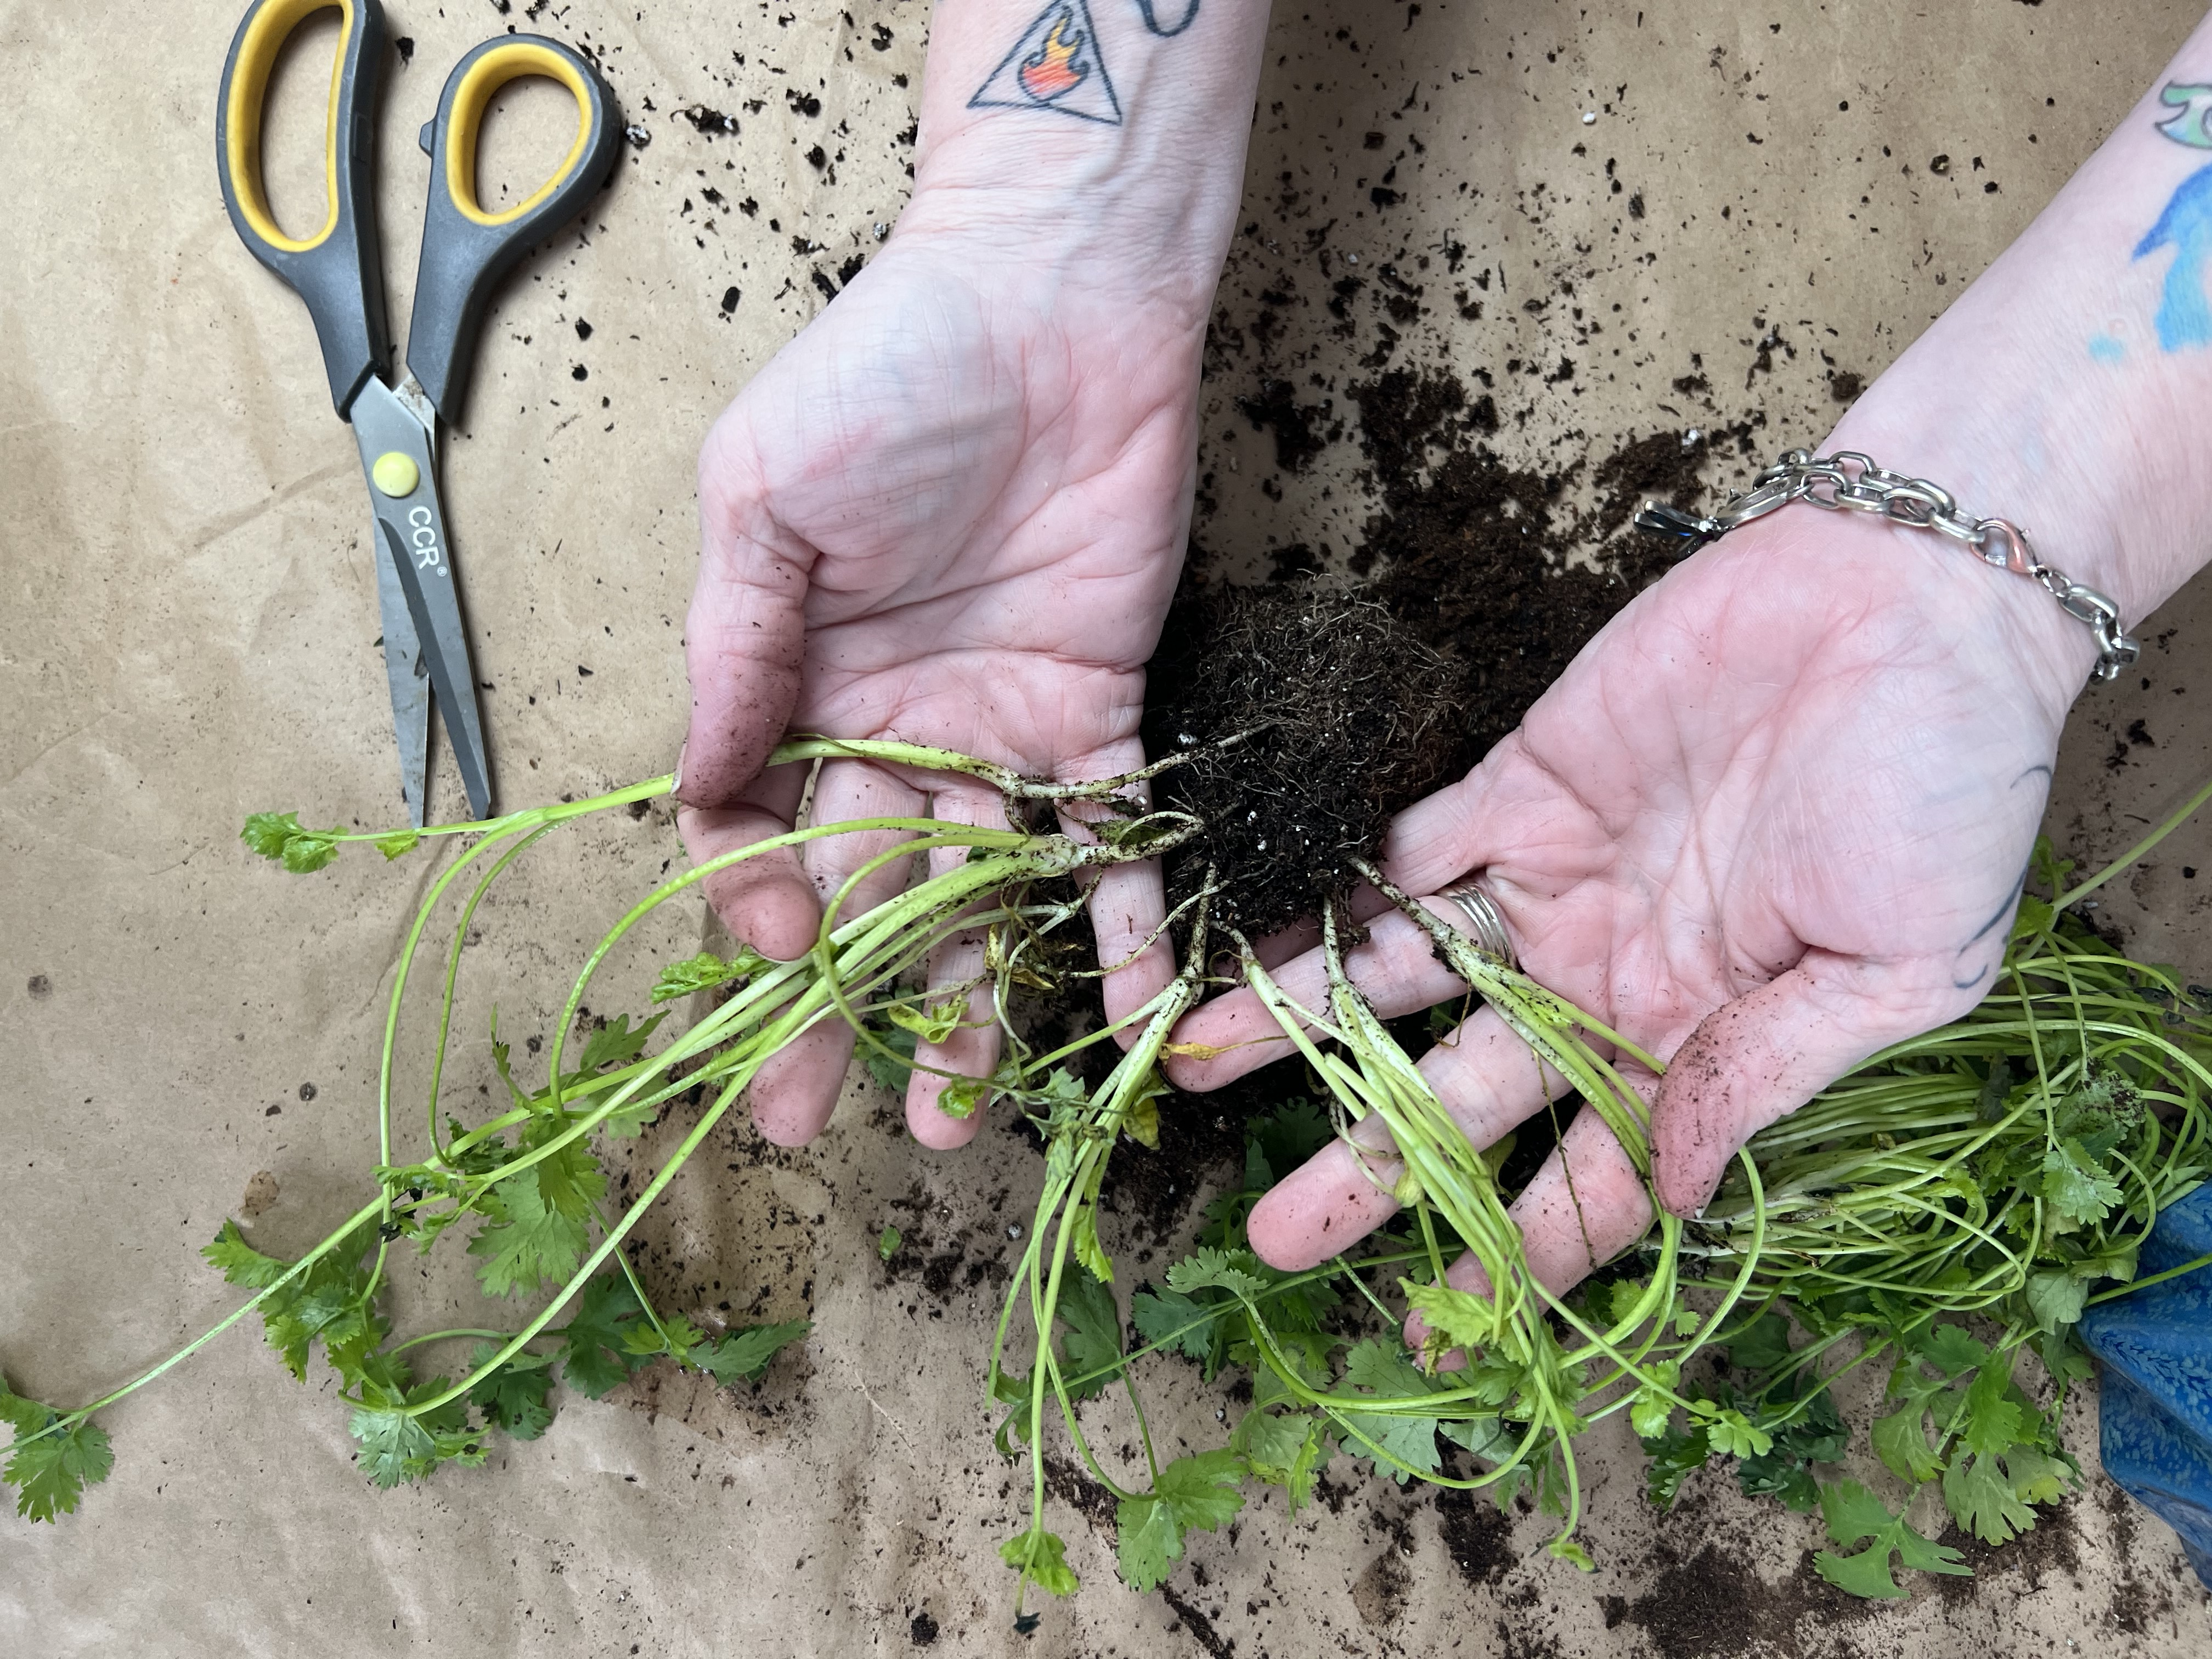
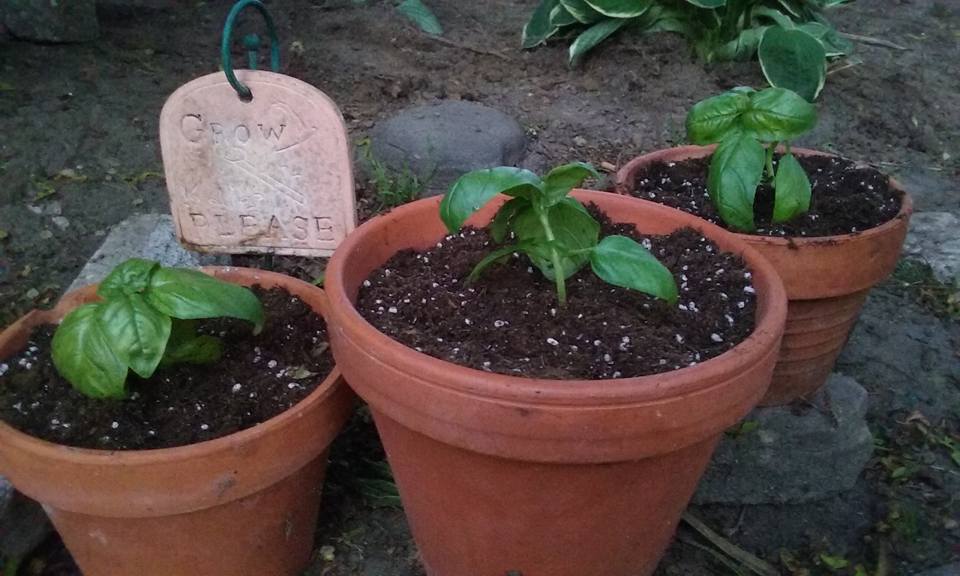
Starting your herb garden from seeds or seedlings
Now that your soil is prepared, you can start planting your herb garden. There are two main methods for starting your herb garden: from seeds or seedlings. Both methods have their advantages and it ultimately depends on your preferences and gardening experience.
Starting from seeds allows you to have a wider variety of herb options, as many unique and exotic varieties are only available as seeds. It can also be more cost-effective, as seeds are generally more affordable than buying established plants. However, starting from seeds requires more time and patience, as you will need to sow the seeds, provide the right conditions for germination, and wait for the seedlings to grow.

On the other hand, starting from seedlings allows you to have instant gratification, as you can plant established plants directly in your garden. This method is ideal for those who want to start their herb garden quickly and don’t have the time or experience to grow plants from seeds. Seedlings are readily available at nurseries and garden centers, and you can choose from a variety of herb options.
Regardless of the method you choose, it’s important to follow the specific planting instructions for each herb. Some herbs, like basil and dill, prefer to be directly sown into the soil, while others, like rosemary and thyme, benefit from being started indoors and transplanted later. Water the newly planted seeds or seedlings thoroughly and provide them with regular watering until they become established.
Caring for your herb garden
Once your herb garden is planted, it’s important to provide proper care to ensure the health and growth of your herbs. Here are some essential care tips to keep in mind:
- Watering: Most herbs prefer consistent moisture, but they don’t like to sit in waterlogged soil. Water your herbs when the top inch of soil feels dry to the touch. Avoid overwatering, as it can lead to root rot or other diseases. It’s better to water deeply and less frequently than to water lightly and often.
- Fertilizing: Herbs generally don’t require heavy fertilization, as excessive nutrients can affect their flavor. However, you can incorporate organic matter into the soil during planting to provide some nutrients. If you notice slow growth or pale leaves, you can apply a balanced organic fertilizer sparingly.
- Pruning: Regular pruning helps to promote bushier growth and prevents herbs from becoming leggy. Pinch off the tips of the stems regularly to encourage branching. It’s also important to remove any dead or yellowing leaves to maintain the overall health of the plant.
- Mulching: Applying a layer of organic mulch around your herbs helps to conserve moisture, suppress weeds, and regulate soil temperature. Use materials such as straw, wood chips, or compost as mulch, and spread it around the base of the plants, leaving a small gap around the stem to prevent rot.
- Pest and disease control: Keep an eye out for common pests like aphids, slugs, and snails, as well as diseases like powdery mildew and root rot. Regularly inspect your herbs for any signs of infestation or disease. If necessary, use organic pest control methods or consult with a local gardening expert for guidance.
By following these care tips, you will ensure that your herb garden thrives and provides you with an abundance of fresh and flavorful herbs.
Harvesting and using herbs in your cooking
One of the joys of having an herb garden is being able to harvest your own fresh herbs and incorporate them into your cooking. Harvesting herbs at the right time ensures that you get the best flavor and aroma from your plants. Here are some general guidelines for harvesting common herbs:
- Basil: Harvest basil leaves when they are large enough to use but before the plant starts to flower. Pinch off the leaves just above a pair of lower leaves to encourage bushier growth.
- Rosemary: You can harvest rosemary sprigs at any time, but it’s best to do it in the morning when the essential oils are most concentrated. Cut the sprigs just above a pair of leaves and remove the leaves from the lower part of the stem.
- Thyme: Harvest thyme by snipping off the stems just above a leaf node. Cut the stems back to about two-thirds of their length to encourage new growth.
- Parsley: Harvest parsley by cutting off the outer stems from the base of the plant. Leave the inner stems to continue growing. Parsley can be harvested at any time once the leaves are large enough to use.
- Mint: Harvest mint by cutting the stems just above a leaf node. Remove the leaves from the lower part of the stem and leave a few leaves at the top to encourage regrowth.
After harvesting your herbs, it’s time to put them to use in your cooking. Fresh herbs can be added to a variety of dishes, including salads, soups, stews, marinades, and sauces. Experiment with different combinations to discover your favorite flavor profiles. If you have an abundance of herbs, consider drying or freezing them for later use. Dried herbs can be stored in airtight containers in a cool, dark place, while frozen herbs can be stored in ice cube trays or freezer bags.
Troubleshooting common herb garden problems
While herb gardening is generally a rewarding experience, it’s not without its challenges. Here are some common problems that you may encounter in your herb garden and how to troubleshoot them:
- Pest infestation: If you notice pests like aphids, caterpillars, or mites on your herbs, you can try using organic pest control methods such as insecticidal soap, neem oil, or companion planting with pest-repellent plants.
- Disease: Diseases like powdery mildew, root rot, or fungal infections can affect the health of your herbs. To prevent disease, ensure proper spacing between plants for good airflow, avoid overwatering, and remove any infected plants or leaves.
- Herb bolting: Some herbs, like cilantro and dill, have a tendency to bolt or go to seed quickly. To prevent bolting, harvest the leaves regularly and keep the plants well-watered.
- Nutrient deficiencies: Pale or discolored leaves may be a sign of nutrient deficiencies. If you notice these symptoms, you can apply a balanced organic fertilizer sparingly or add compost to the soil.
If you encounter any other problems in your herb garden, don’t hesitate to seek advice from local gardening experts or online gardening communities. They can provide specific solutions based on your region and the type of herbs you are growing.
Conclusion: Enjoying the fruits of your herb garden
Creating and maintaining an herb garden can be a fulfilling and rewarding endeavor. Not only will you have an abundance of fresh herbs to enhance your culinary creations, but you will also experience the joy of nurturing plants and connecting with nature. By following the steps outlined in this ultimate guide, you can create a thriving herb garden that will provide you with endless culinary possibilities. So, roll up your sleeves, get your hands dirty, and start your herb garden journey today. Happy gardening and happy cooking!
CTA: Now that you have the ultimate guide to creating an herb garden, it’s time to put your knowledge into action. Start planning your herb garden today and enjoy the benefits of fresh herbs in your cooking. Happy gardening!
If you enjoyed this blog , please LIKE, Follow, Share & leave me a comment! I love your feedback!
If you aren’t following me on Facebook & Instagram, go on over & give a LIKE & Follow me for daily tips & tricks for your home & garden!
Remember to eat fresh, shop local, & have a happy day,
Jean
Copyright Policy
All text and images on this site are copyright of For Dragonflies And Me. Unless otherwise noted, you may not use this content
This post may contain affiliate links. If you choose to purchase through an affiliate link, I may receive a small commission at no additional cost to you. You can see my full disclaimer here.