

Welcome to the beginner’s guide to vermicomposting, the sustainable solution for a greener future. If you’re passionate about reducing waste, improving soil health, and minimizing your carbon footprint, then vermicomposting is the answer you’ve been looking for. In this guide, we’ll walk you through everything you need to know to get started with this eco-friendly practice.
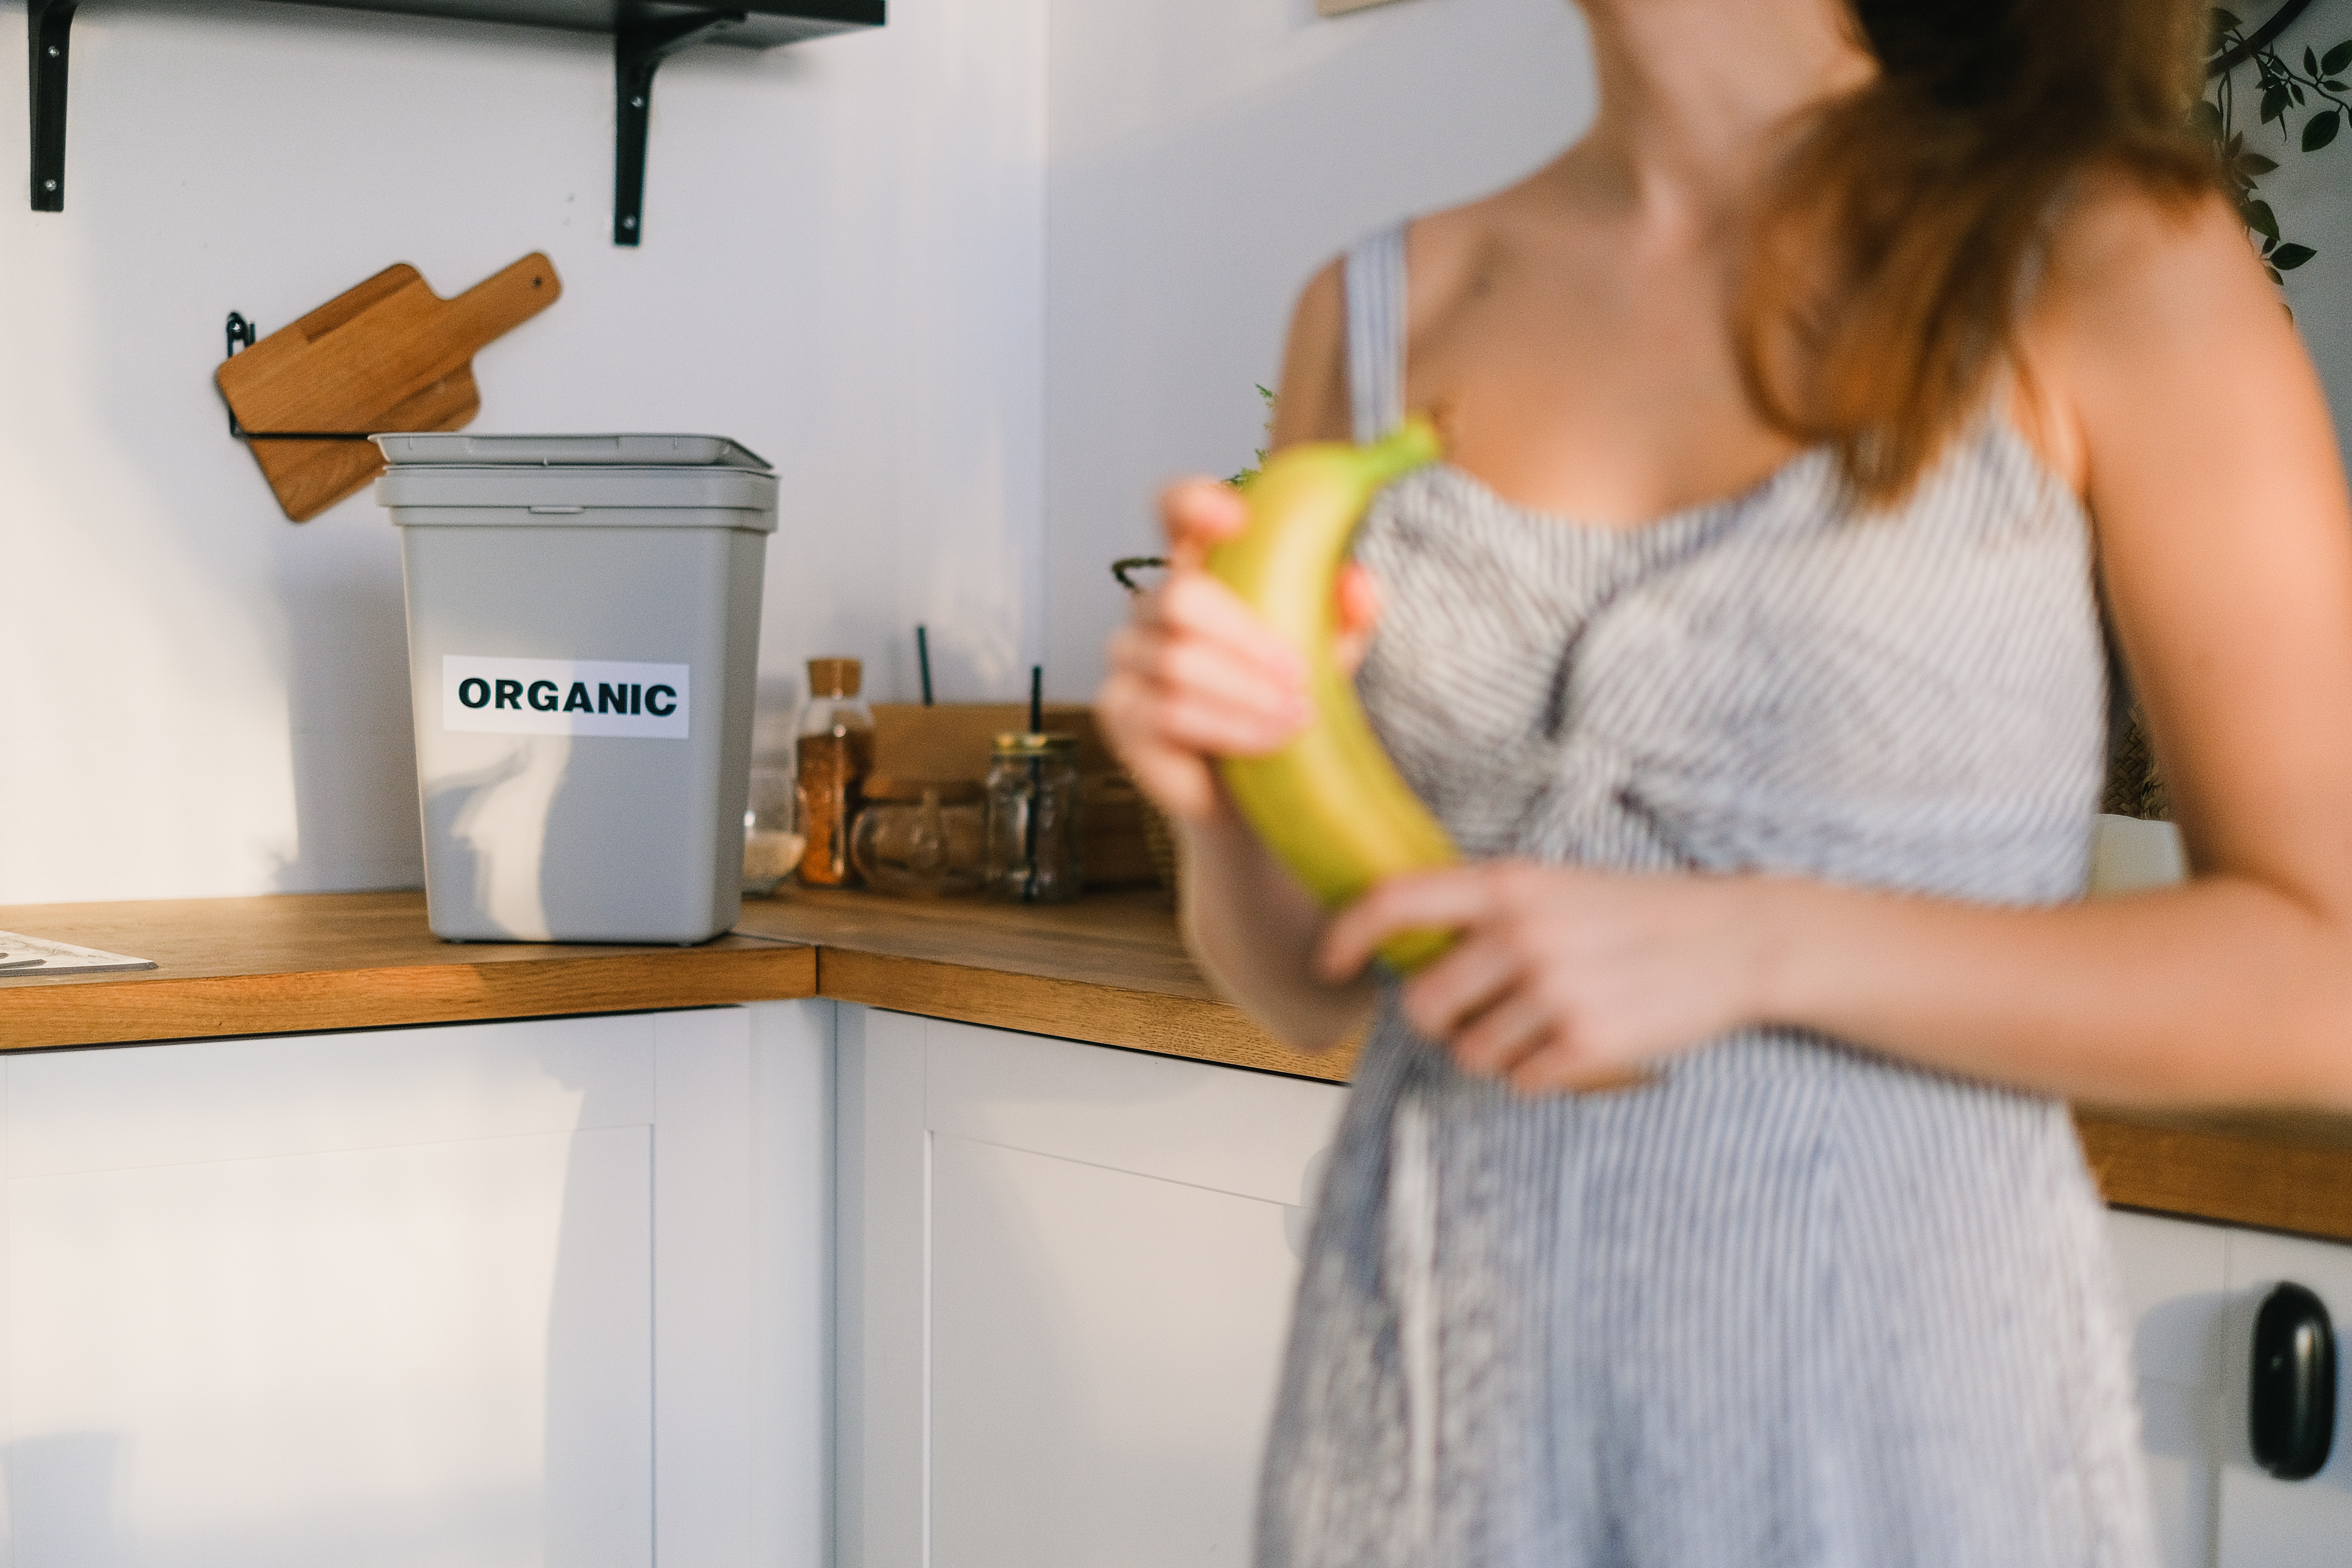
Vermicomposting harnesses the power of worms to break down organic waste and turn it into nutrient-rich compost. By recycling kitchen scraps, yard waste, and paper products with the help of these little creatures, you can create a natural fertilizer that will enrich your gardens, houseplants, and even potted herbs.
Not only does vermicomposting divert waste from landfills, but it also reduces greenhouse gas emissions and conserves water and energy. Plus, it’s easy to set up and maintain, even for beginners. With a few essential tools and a small space, you can create your own vermicomposting system and reap the benefits of this sustainable practice.

Join the list
Join hundreds of our subscribers and be the first to know about new content and special offers.
Discover the steps, tips, and tricks to start vermicomposting today and join the movement towards a greener future. Let’s dig in and make a positive impact on our planet, one compost bin at a time.
What is vermicomposting?
Vermicomposting is a method of composting that employs worms to break down organic waste materials. The worms, specifically red wigglers (Eisenia fetida), are highly efficient in consuming and digesting organic matter, converting it into nutrient-rich vermicompost. Unlike traditional composting, which relies on microorganisms to decompose organic waste, vermicomposting utilizes the digestive system of worms to speed up the process and produce a superior quality compost.

The worms consume the organic waste, breaking it down into simpler compounds that are easier for plants to absorb. The process of vermicomposting produces a dark, crumbly substance known as vermicompost, which is rich in essential nutrients like nitrogen, phosphorus, and potassium. This nutrient-rich compost can be used to improve soil structure, promote plant growth, and enhance overall soil health.
Benefits of vermicomposting
Vermicomposting offers numerous benefits for both the environment and gardeners. Firstly, it reduces the amount of organic waste that ends up in landfills. By diverting kitchen scraps, yard waste, and paper products to your vermicomposting system, you are significantly reducing the volume of waste that would otherwise contribute to greenhouse gas emissions and take up valuable landfill space.
Additionally, vermicomposting helps to conserve water and energy. By using vermicompost in your gardens, you enhance the water-holding capacity of the soil, reducing the need for frequent watering. This not only saves water but also reduces the energy required to pump and distribute water throughout your garden.
Furthermore, vermicomposting enriches the soil with essential nutrients, promoting healthy plant growth and reducing the need for synthetic fertilizers. Unlike chemical fertilizers, vermicomposting releases nutrients slowly, ensuring a sustained supply of nutrients to plants over time. This not only benefits your plants but also reduces the risk of nutrient runoff, which can harm aquatic ecosystems.
How to start vermicomposting at home
Starting your own vermicomposting system at home is easier than you might think. Here are the steps to get you started:
- Choose the right location: Find a suitable spot for your vermicomposting bin. It should be a shaded area with a relatively stable temperature, ideally between 55°F and 77°F (13°C and 25°C).
- Select a container: You can use various containers for your vermicomposting system, such as plastic bins, wooden crates, or even repurposed containers. Ensure the container has drainage holes to prevent excess moisture buildup, and it should be large enough to accommodate your organic waste and worms.
- Prepare bedding material: Bedding material provides a comfortable environment for the worms and helps maintain moisture levels. Shredded newspaper, cardboard, coconut coir, or a combination of these materials can be used as bedding. Moisten the bedding material until it feels like a damp sponge.
- Introduce the worms: Purchase red wigglers from a reputable source or ask fellow vermicomposters for some starter worms. Add the worms to the bedding material and allow them to settle in for a day or two before feeding them.
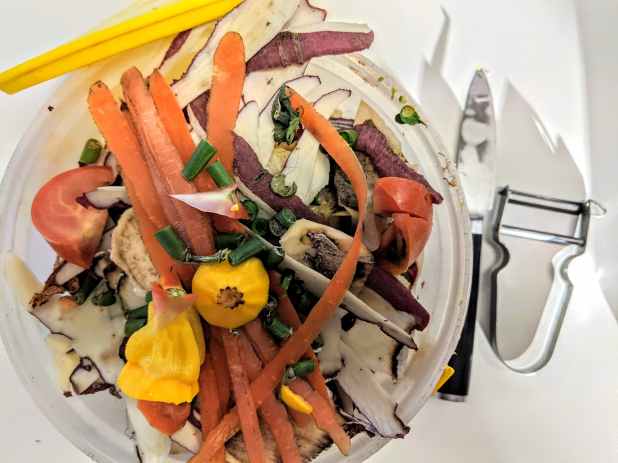
- Feed your worms: Worms thrive on a diet of fruit and vegetable scraps, coffee grounds, tea bags, crushed eggshells, and other organic kitchen waste. Avoid feeding them meat, dairy, oily foods, and citrus fruits. Start with small amounts of food and gradually increase as the worms reproduce and consume more.
- Maintain moisture and temperature: Proper moisture and temperature are crucial for the worms’ well-being. Ensure the bedding remains moist but not soaking wet. If it becomes too dry, mist it with water. If it’s too wet, add dry bedding material. Monitor the temperature to ensure it stays within the ideal range mentioned earlier.
Choosing the right worms for vermicomposting
Not all worms are suitable for vermicomposting. The best worms for this purpose are red wigglers, scientifically known as Eisenia fetida. These worms are voracious eaters and reproduce quickly, making them ideal for processing organic waste efficiently. They can consume their body weight in organic matter every day, breaking it down into nutrient-rich vermicomposting.

Red wigglers thrive in the warm and moist conditions found in vermicomposting systems. Unlike earthworms, which primarily live in soil, red wigglers prefer decomposing organic matter and are well-adapted for life in confined spaces like a vermicomposting bin. They are also less likely to burrow deep into the soil, making them easier to manage in a controlled environment.
When sourcing red wigglers for your vermicomposting system, ensure they come from a reputable supplier. Look for healthy, active worms with a reddish-purple color. Avoid using earthworms or other worm species, as they are not as efficient at vermicomposting and may not survive in the conditions of your bin.
Check out my Composting blog!
Setting up a vermicomposting bin
Setting up a vermicomposting bin is a relatively simple process. Here is a step-by-step guide to help you get started:
- Choose a container: Select a suitable container for your vermicomposting system. It should have a lid to keep pests out and provide good ventilation. Plastic bins with tight-fitting lids are commonly used for vermicomposting.
- Drill holes: To ensure proper airflow and drainage, drill several small holes in the bottom and sides of the container. These holes will allow excess moisture to drain out and prevent the compost from becoming waterlogged.
- Create a bedding layer: Add a layer of moist bedding material to the bottom of the container. This will provide a comfortable habitat for the worms and help retain moisture. Shredded newspaper, cardboard, or a mixture of both can be used as bedding material.
- Add worms and organic waste: Once the bedding layer is in place, introduce the worms to the bin. Spread them evenly over the bedding material. Start by adding a small amount of organic waste, such as fruit and vegetable scraps or coffee grounds. Avoid overfeeding initially to give the worms time to adjust.
- Cover the bin: Place a damp burlap sack or a sheet of damp newspaper over the bedding and organic waste. This helps maintain moisture levels and creates a dark, cozy environment for the worms.
- Monitor and maintain: Regularly check the moisture levels in the bin. The bedding should feel damp but not waterlogged. Adjust the moisture content by adding dry bedding or misting with water as necessary. Keep the bin in a shaded area to maintain a stable temperature.
- Feed and harvest: As the worms settle in and start consuming the organic waste, gradually increase the amount of food you provide. Avoid adding large quantities of food at once to prevent odor and pest problems. Once the vermicompost is ready, it can be harvested by separating the worms from the compost.

What to feed your worms
Feeding your worms a balanced diet is essential for their health and the success of your vermicomposting system. Here are some suitable foods for worms:
- Fruit and vegetable scraps: Worms love a variety of fruit and vegetable scraps, including apple cores, carrot peels, lettuce leaves, and melon rinds. Chop or blend the scraps into small pieces to make them easier for the worms to consume.
- Coffee grounds and tea bags: Used coffee grounds and tea bags are excellent sources of nitrogen-rich organic matter. They provide essential nutrients and help create a favorable pH balance in the vermicomposting bin.
- Crushed eggshells: Rinse and crush eggshells before adding them to the bin. They provide calcium, which helps regulate the worms’ pH levels and aids in their reproduction.
- Shredded paper and cardboard: Paper products, such as newspaper, office paper, and cardboard, can be shredded and used as bedding material. They also provide carbon-rich material for the worms to consume.
It’s important to avoid certain foods that can be harmful to the worms or cause odor and pest problems. Do not feed your worms meat, dairy products, oily foods, or citrus fruits. These foods can attract pests, create foul odors, and disrupt the delicate balance of the vermicomposting system.
Maintaining and troubleshooting your vermicomposting system
Maintaining a healthy vermicomposting system requires regular monitoring and troubleshooting. Here are some tips to help you keep your system running smoothly:
- Monitor moisture levels: Check the moisture content of the bedding regularly. It should feel damp, like a wrung-out sponge. If it becomes too dry, mist it with water. If it’s too wet, add dry bedding material to absorb the excess moisture.
- Adjust feeding: Pay attention to the rate at which your worms consume the organic waste. If the waste is accumulating faster than the worms can process, reduce the amount of food you’re adding. On the other hand, if the worms are processing the waste quickly, gradually increase the feeding to match their appetite.
- Prevent pests: To deter pests, avoid adding oily or meat-based foods to the bin. Cover the food scraps with a layer of bedding material after each feeding. If you notice an infestation of fruit flies or other pests, bury the food scraps deeper into the bedding material and reduce the amount of food you’re adding.
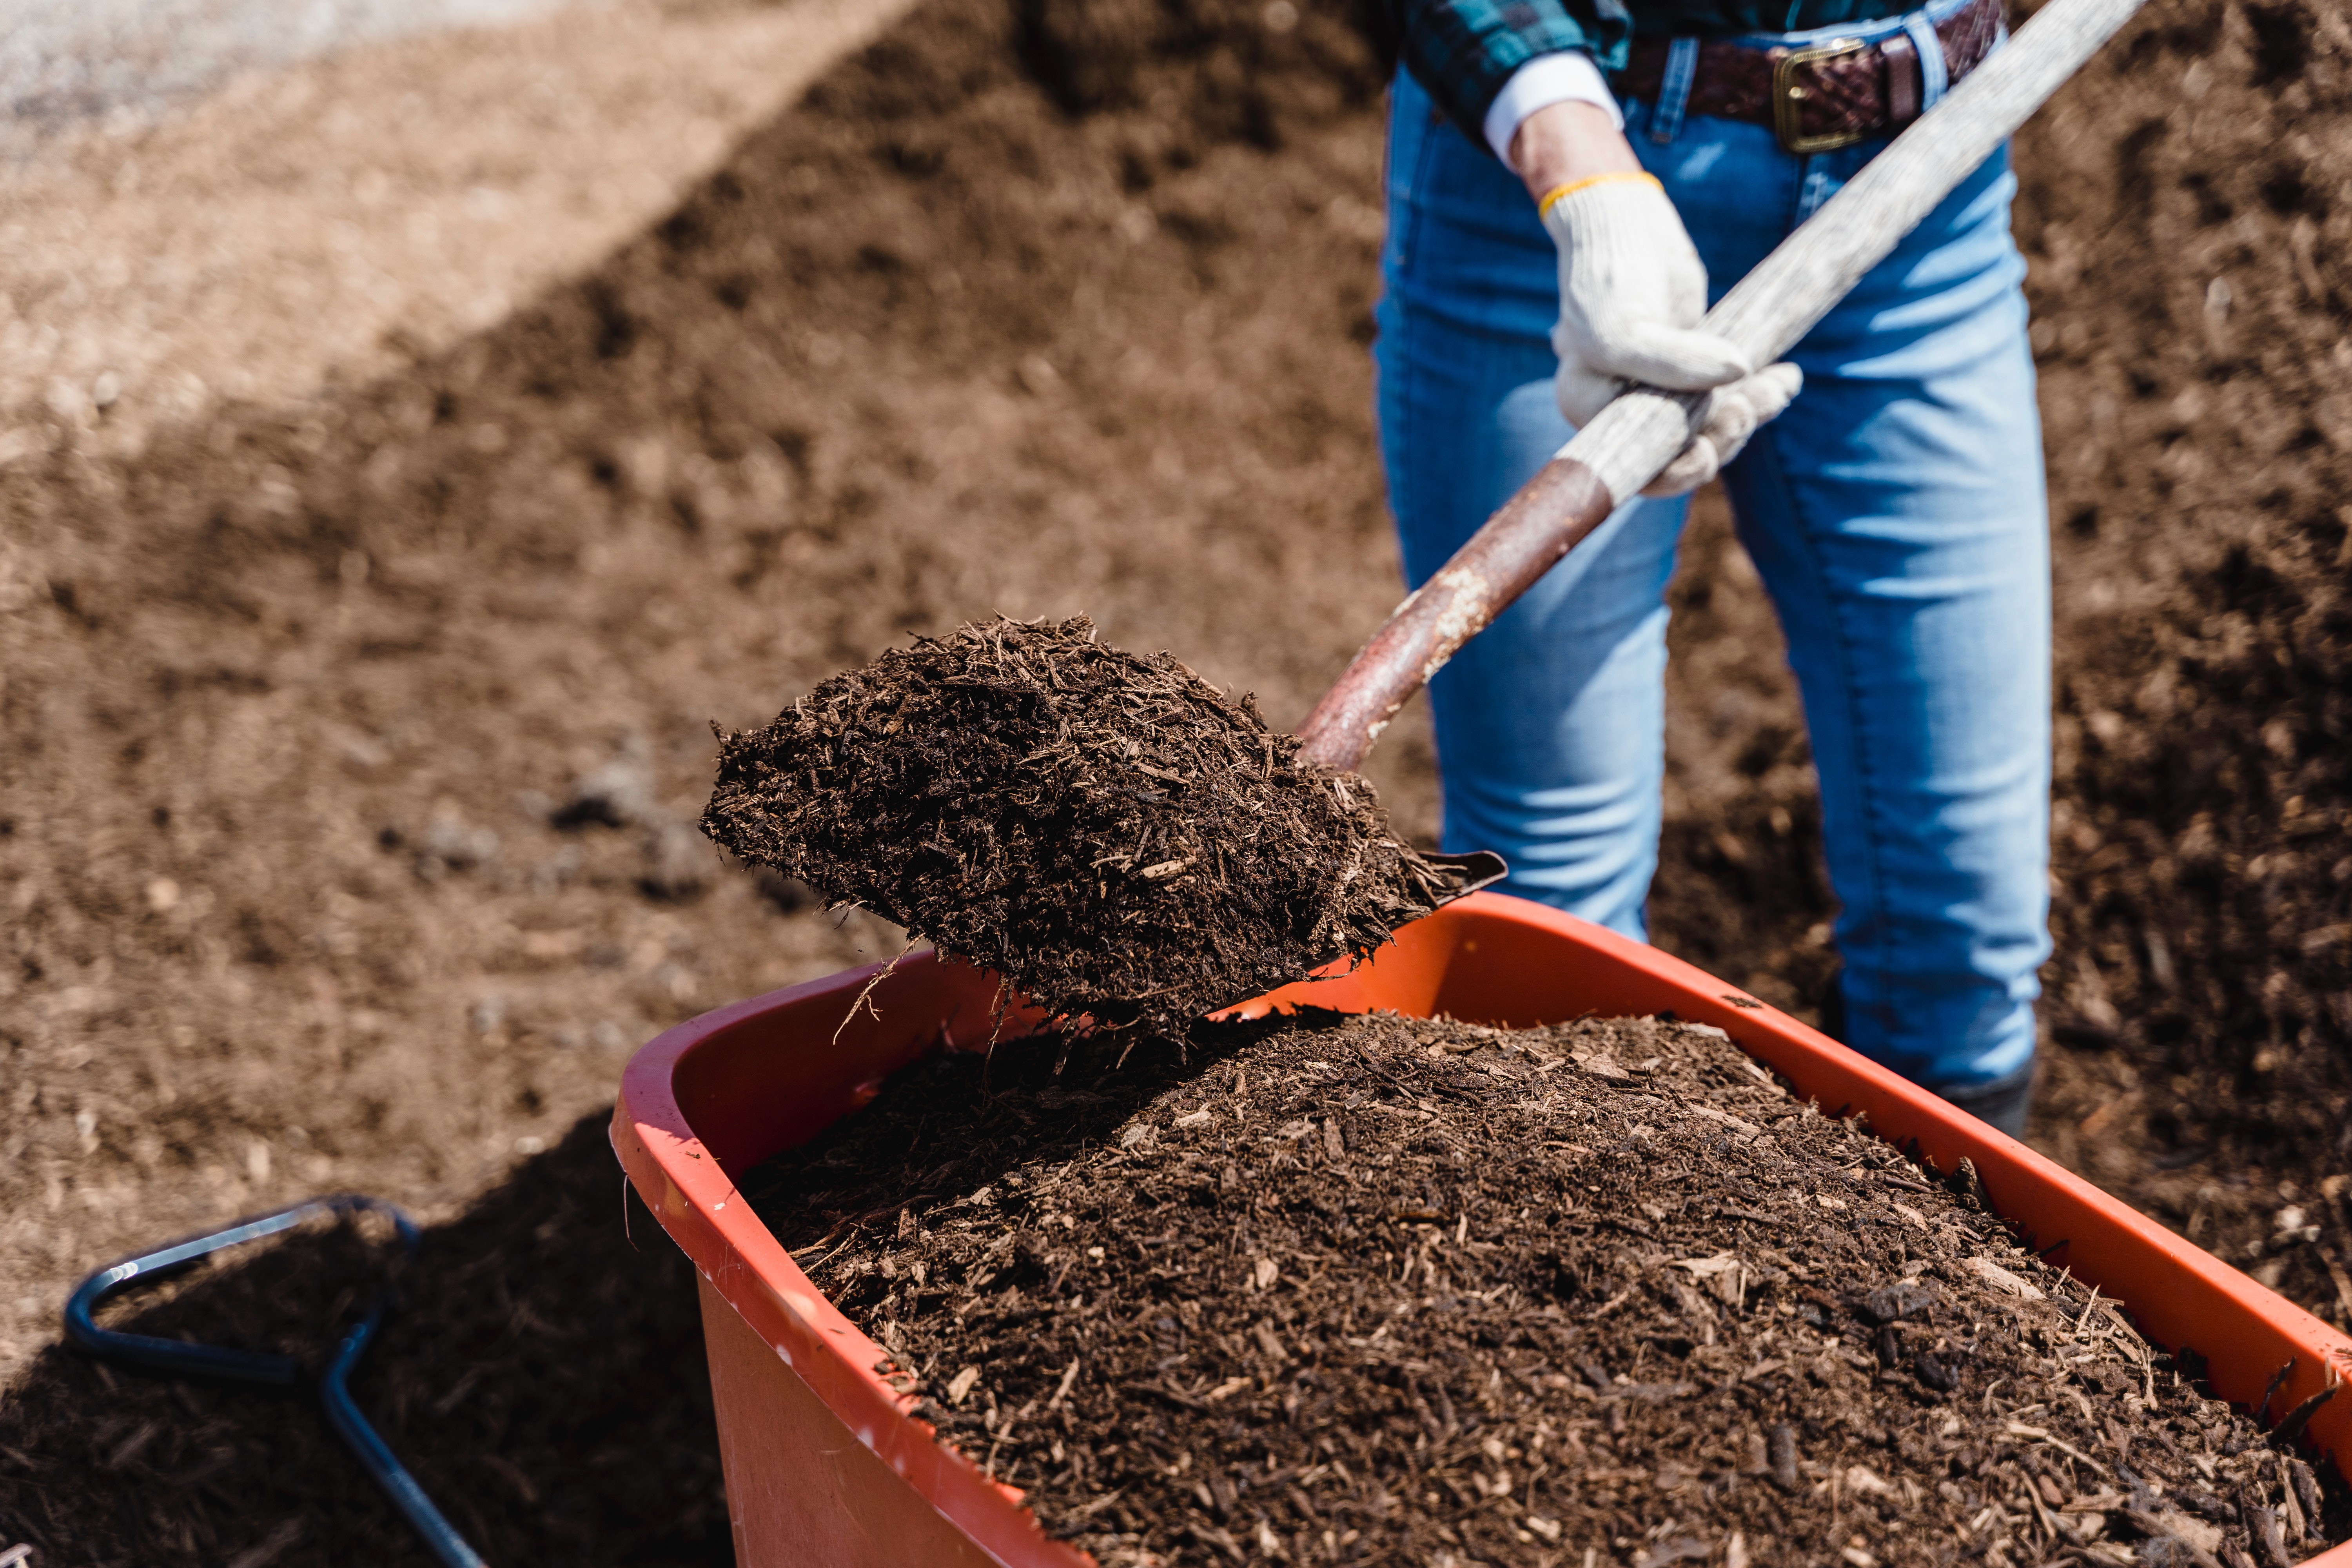
- Harvesting vermicompost: When the vermicompost is fully matured, it will resemble dark, crumbly soil. To harvest the compost, stop feeding the worms for a week or two. The worms will migrate to the fresh food, allowing you to scoop out the vermicompost without disturbing them. Use the vermicompost to enrich your gardens, potted plants, or houseplants.
Harvesting and using vermicompost
Harvesting vermicompost is an exciting milestone in your vermicomposting journey. Here’s how to harvest and use your nutrient-rich vermicompost:
- Stop feeding the worms: About a week before you plan to harvest the vermicompost, stop adding food to the bin. This encourages the worms to migrate to fresh food, making it easier to separate them from the compost.
- Collect the vermicompost: Once most of the worms have moved to one side of the bin, carefully scoop out the vermicompost from the other side. Start from the top and work your way down, taking care not to harm the worms as you collect the compost.
- Separate worms from compost: To separate the remaining worms from the vermicompost, you can use various methods. One popular method is to create cone-shaped piles of vermicompost under bright light. The worms will move away from the light, allowing you to collect them from the top of the pile. Repeat this process until you have separated the majority of the worms.
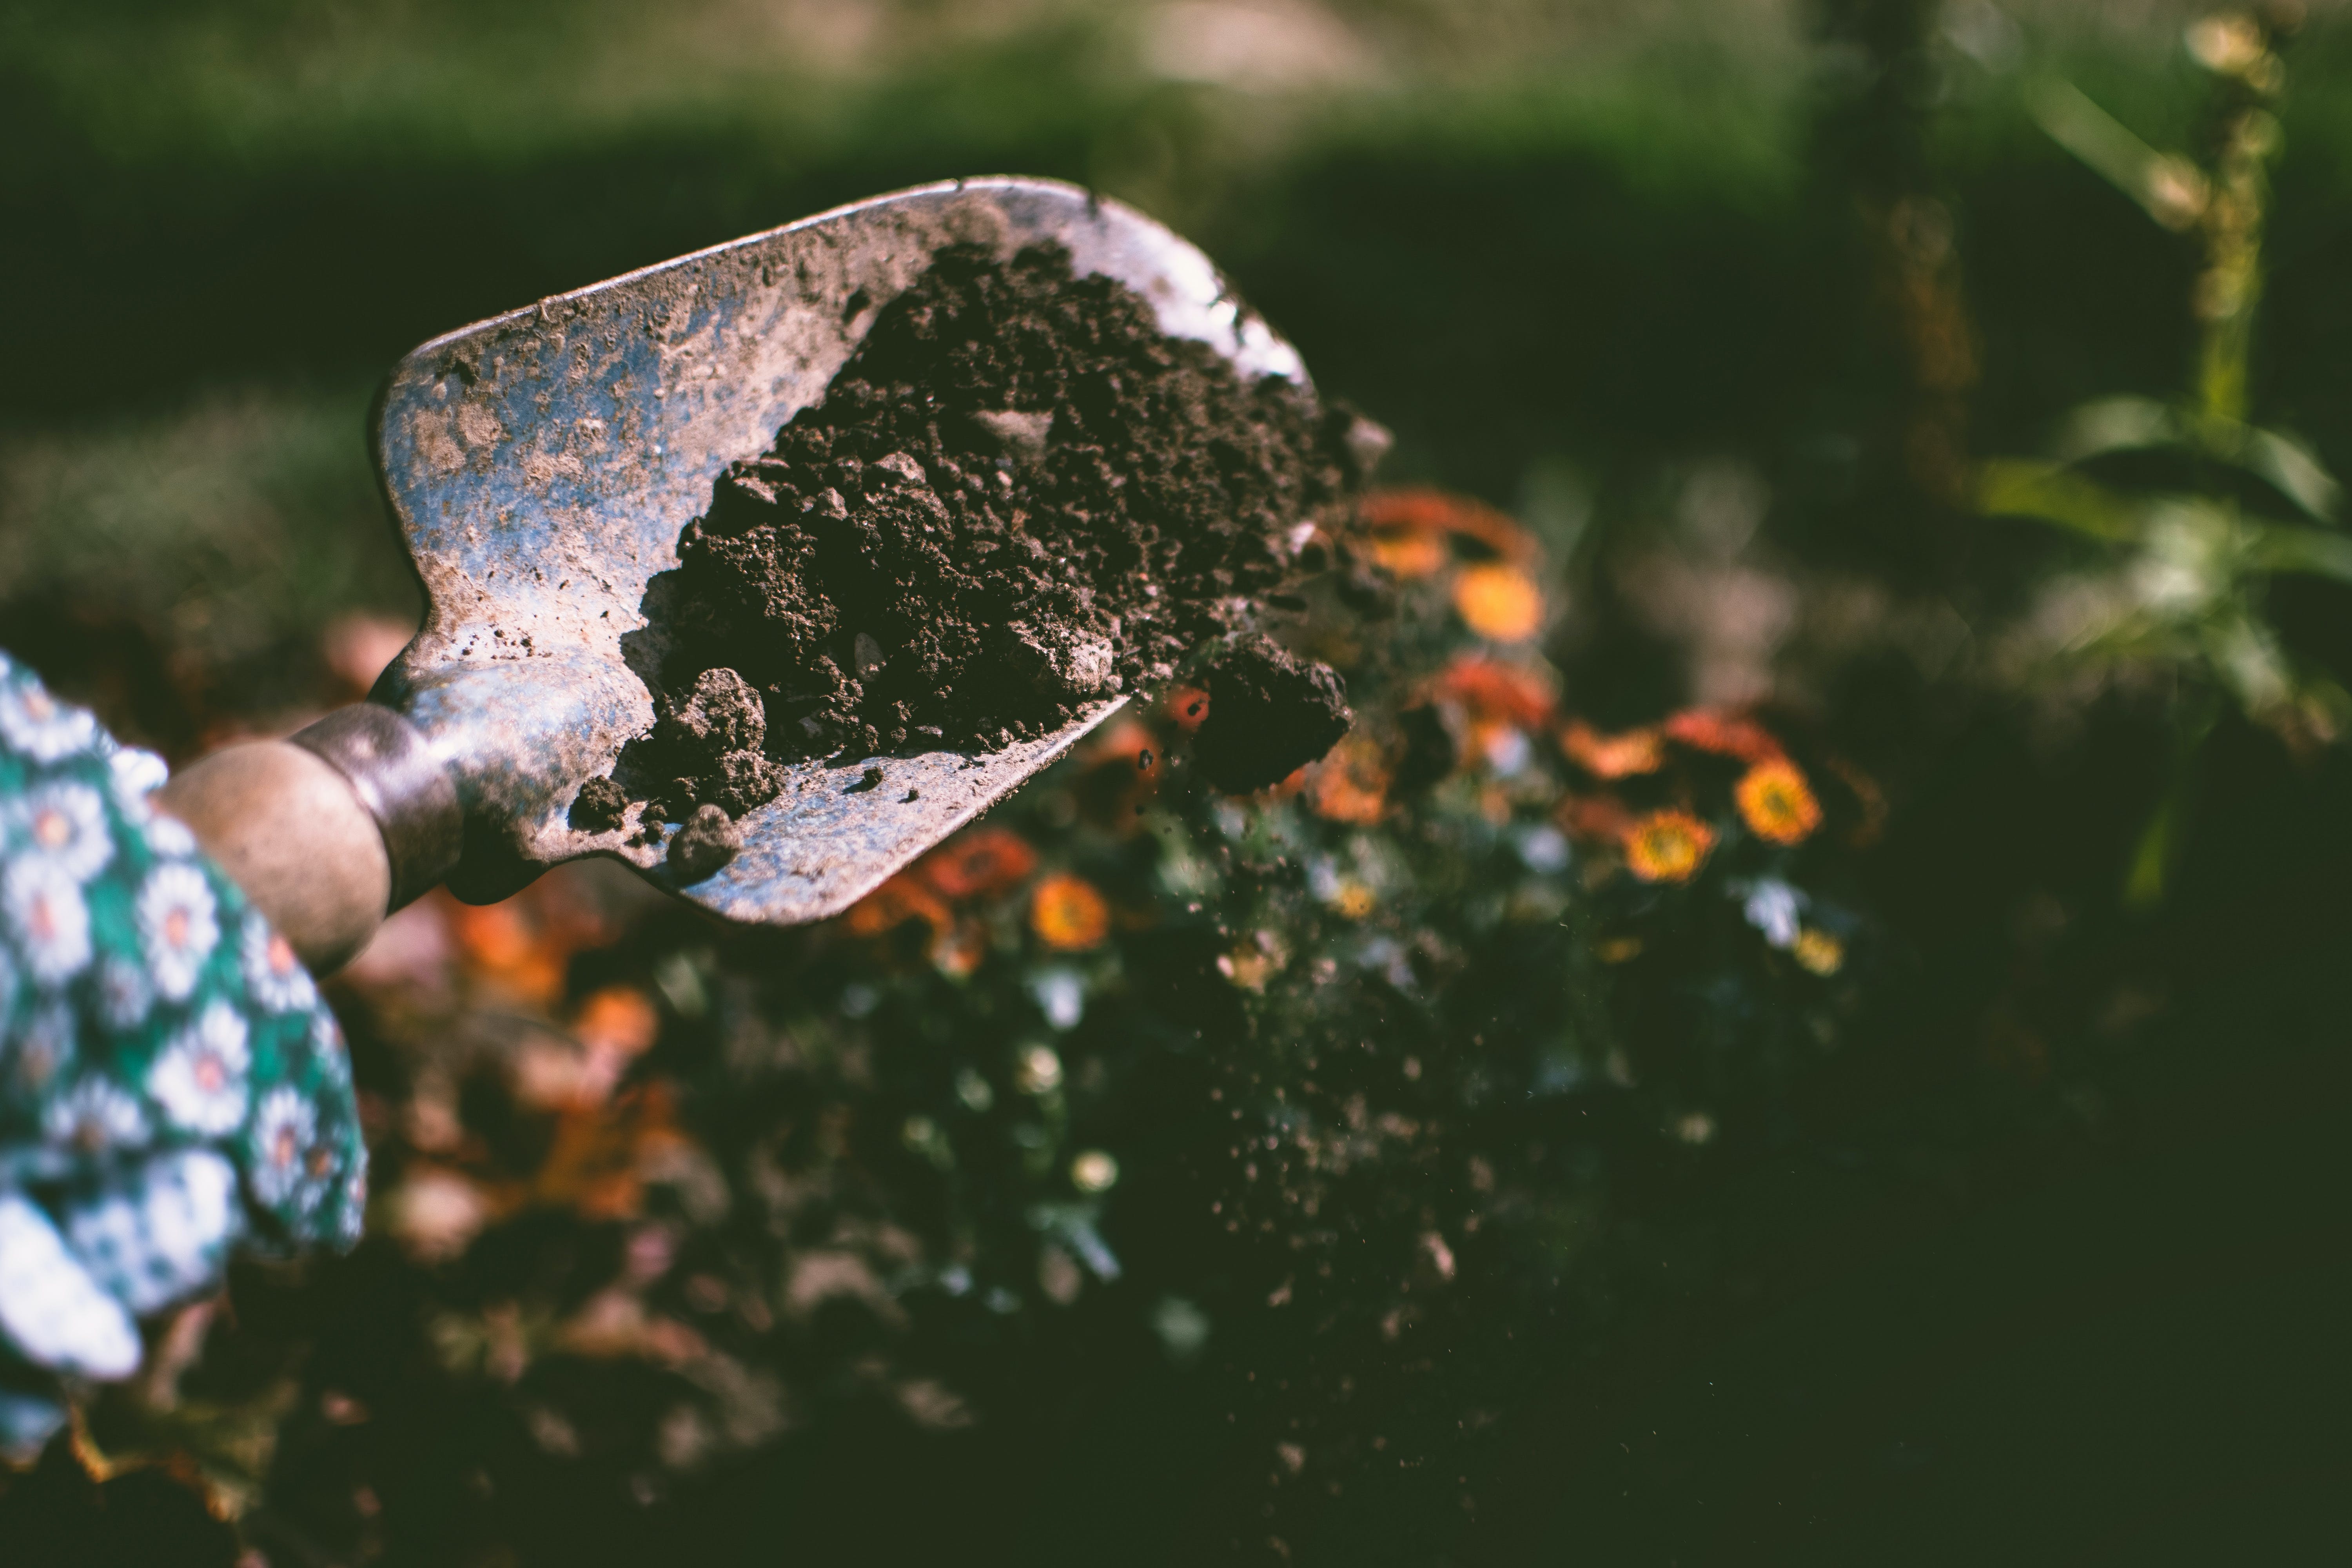
- Use vermicompost in your garden: The harvested vermicompost is now ready to be used as a natural fertilizer. Mix it into your gardens, flower beds, or potted plants to improve soil structure, retain moisture, and provide essential nutrients to your plants. Vermicompost can also be used as a top dressing for existing plants or as a component in potting mixes.
Vermicomposting FAQs
- How long does vermicomposting take?
The time it takes for vermicomposting to complete depends on various factors, including the temperature, the quantity and quality of organic waste, and the number of worms in the system. On average, it can take anywhere from two to six months for the vermicompost to fully mature.
- Can I vermicompost in an apartment?
Yes, vermicomposting can be done in an apartment as long as you have a suitable container and a small space to accommodate it. Apartment dwellers can use indoor vermicomposting bins that are compact, odorless, and easy to maintain.
- Can I use vermicompost on all plants?
Vermicompost is suitable for a wide range of plants, including vegetables, fruits, flowers, and houseplants. However, some plants may have specific nutrient requirements or pH preferences, so it’s essential to research the needs of your specific plants before applying vermicompost.
- How do I prevent odors in my vermicomposting system?
Odors in a vermicomposting system are usually a sign of overfeeding or improper moisture levels. To prevent odors, ensure you are not overfeeding the worms and maintain proper moisture levels by monitoring the bedding’s dampness.
Embracing a greener future through vermicomposting
Vermicomposting is a simple yet powerful way to reduce waste, improve soil health, and create a greener future. By harnessing the power of worms, we can transform our organic waste into nutrient-rich vermicompost that nourishes our plants and enriches our gardens.
With the information provided in this beginner’s guide, you now have the knowledge and tools to start your own vermicomposting system at home. By diverting organic waste from landfills, conserving water and energy, and promoting sustainable gardening practices, you can make a positive impact on our planet, one compost bin
If you enjoyed this blog , please LIKE, Follow, Share & leave me a comment! I love your feedback!
If you aren’t following me on Facebook & Instagram, go on over & give a LIKE & Follow me for daily tips & tricks for your home & garden!
Remember to eat fresh, shop local, & have a happy day,
Jean
Copyright Policy
All text and images on this site are copyright of For Dragonflies And Me. Unless otherwise noted, you may not use this content
This post may contain affiliate links. If you choose to purchase through an affiliate link, I may receive a small commission at no additional cost to you. You can see my full disclaimer here.
