
We’ve had three light frosts here in the Thumb of Michigan already. I’m not ready to loose my garden… not yet… I’m just not ready. I still need to feel the life that it provides me with. I still need to touch it’s bounty…
I just started harvesting the Roma beans.

The lettuces are quite big enough to be transplanted into the hoop house.

The two fall zucchini plants are just making their babies. I just don’t want to see my gardens die yet…

But my gardens are getting tired and beginning to show the signs of all its hard work.
Fall has moved in even though I’m not done with summer. But it’s here and there’s work to be done in preparation for the all to soon coming wicked days of winter.
Along with all the food preservation that I do each year, I also preserve something else… my seeds for next years garden and bounty.

So why save your own seeds? Just buy them right? Well… that’s an option and if you purchase seeds from local, small family owned businesses you’re keeping your dollars within your community or at least your state.
But for me, I’m interested in being self-sufficient and not relying on seed companies, local or not to feed me and my family. It’s very important for me to know what I’m getting and where it’s been.
Saving my seeds also saves me money and depending on the size of ones garden, this can be a substantial amount.
Today lets look at a quick and easy how-to on saving Heirloom seeds without the fermentation process.
*The reason that some people teach and stress the fermentation process is because some believe there’s a better chance of killing any and all bacteria’s that may be in the produce.
NOTE: I’ve been using the following method that I’m about to show you for over 10 years and I have never once had problems with disease or poor germination.
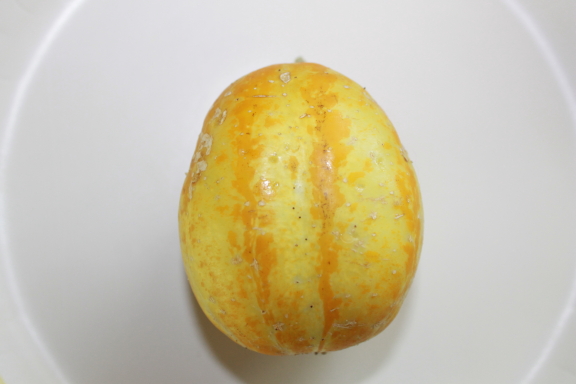
Step 1: It’s very important to find as perfectly shaped specimens as possible, harvested when fully ripe off a disease free plant to ensure successful seed saving.

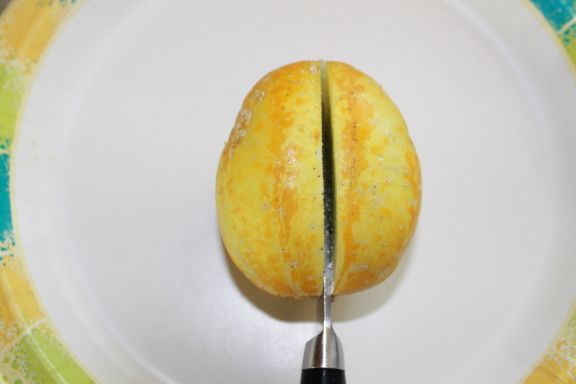
Step 2: Using the small end of a melon baller, carefully scoop out the seeds. You’ll get some pulp but that’s fine for now.


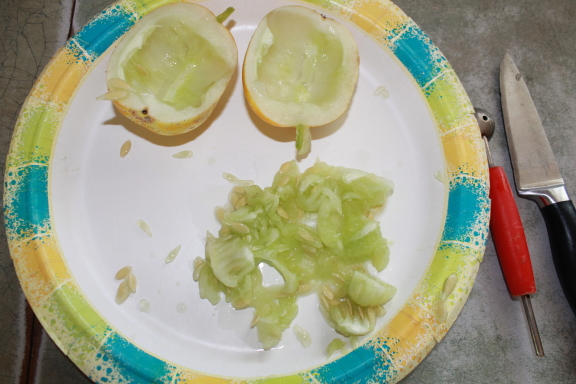
Step 3: Using your fingertips, separate the seeds from the pulp as best you can. You won’t be able to get it all.
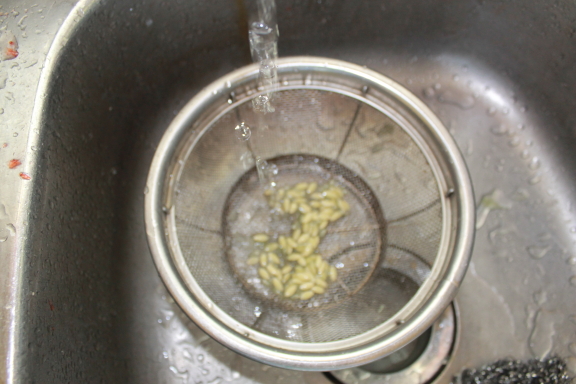

Step 4: Put the semi-cleaned seeds in a colander and wash with cold water. Gently press the remaining pulp through the holes being careful not to damage the seeds.
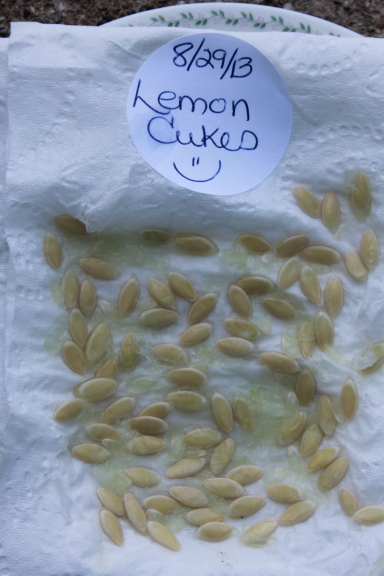
Step 5: Place a paper towel folded in half and then half again so it’s 4x thickness on a paper plate and put the washed seeds on it. Be sure they’re in a single layer and not mounded one on top of another. Be sure to label your paper towel by writing directly on it or using a sticker as I’ve done here. Allow the seeds to dry on your counter for 2-3 weeks being sure to keep them out of direct sunlight. Once you’re sure they’re dry, fold the paper towel in half and store in a labeled zip-lock baggie and keep in your freezer till next spring.
This method of seed saving can be done with all seeds that come from ‘juicy’ fruit or vegetables. Here are a few other photo’s of my saved seeds.


This red tomato is my Russian Big Roma and I’ve been saving the seeds for well over ten years. This is one of my favorite tomatoes. Because I’ve carefully selected only perfectly shaped and the largest tomatoes each year, the plants from these seeds will produce plants that are stronger, more disease resistant with larger fruits/veggie.
Saving your own seeds will be one of the most rewarding things you’ll ever do for your family. Knowing that the produce you eat, grow, harvest, preserve and eat again each year has been possible because of your efforts…. this will give you a sense of true accomplishment.
Happy Day,
Jean
