

Introduction to spring garden clean-up
Spring is a magical time of year when nature awakens from its winter slumber, and our gardens come to life once again. As the days grow longer and the temperatures rise, it’s time to roll up our sleeves and get to work on cleaning up our gardens after the long winter months. A thorough spring garden clean-up is essential to ensure a healthy and vibrant garden throughout the growing season. In this article, I will share with you 10 essential tips that will help you achieve a successful clean-up and unlock the secrets to a pristine spring garden.
Importance of spring garden clean-up
Spring garden clean-up is not just about tidying up the garden and making it look presentable; it plays a crucial role in the overall health and productivity of your plants. By removing debris, dead plants, and weeds, you create a clean and healthy environment for your plants to thrive. Cleaning up in spring also allows you to assess the condition of your garden, identify any pest or disease issues, and take necessary actions to prevent future problems. Furthermore, a well-maintained garden not only enhances the aesthetic appeal of your home but also provides a sanctuary for beneficial insects and wildlife.

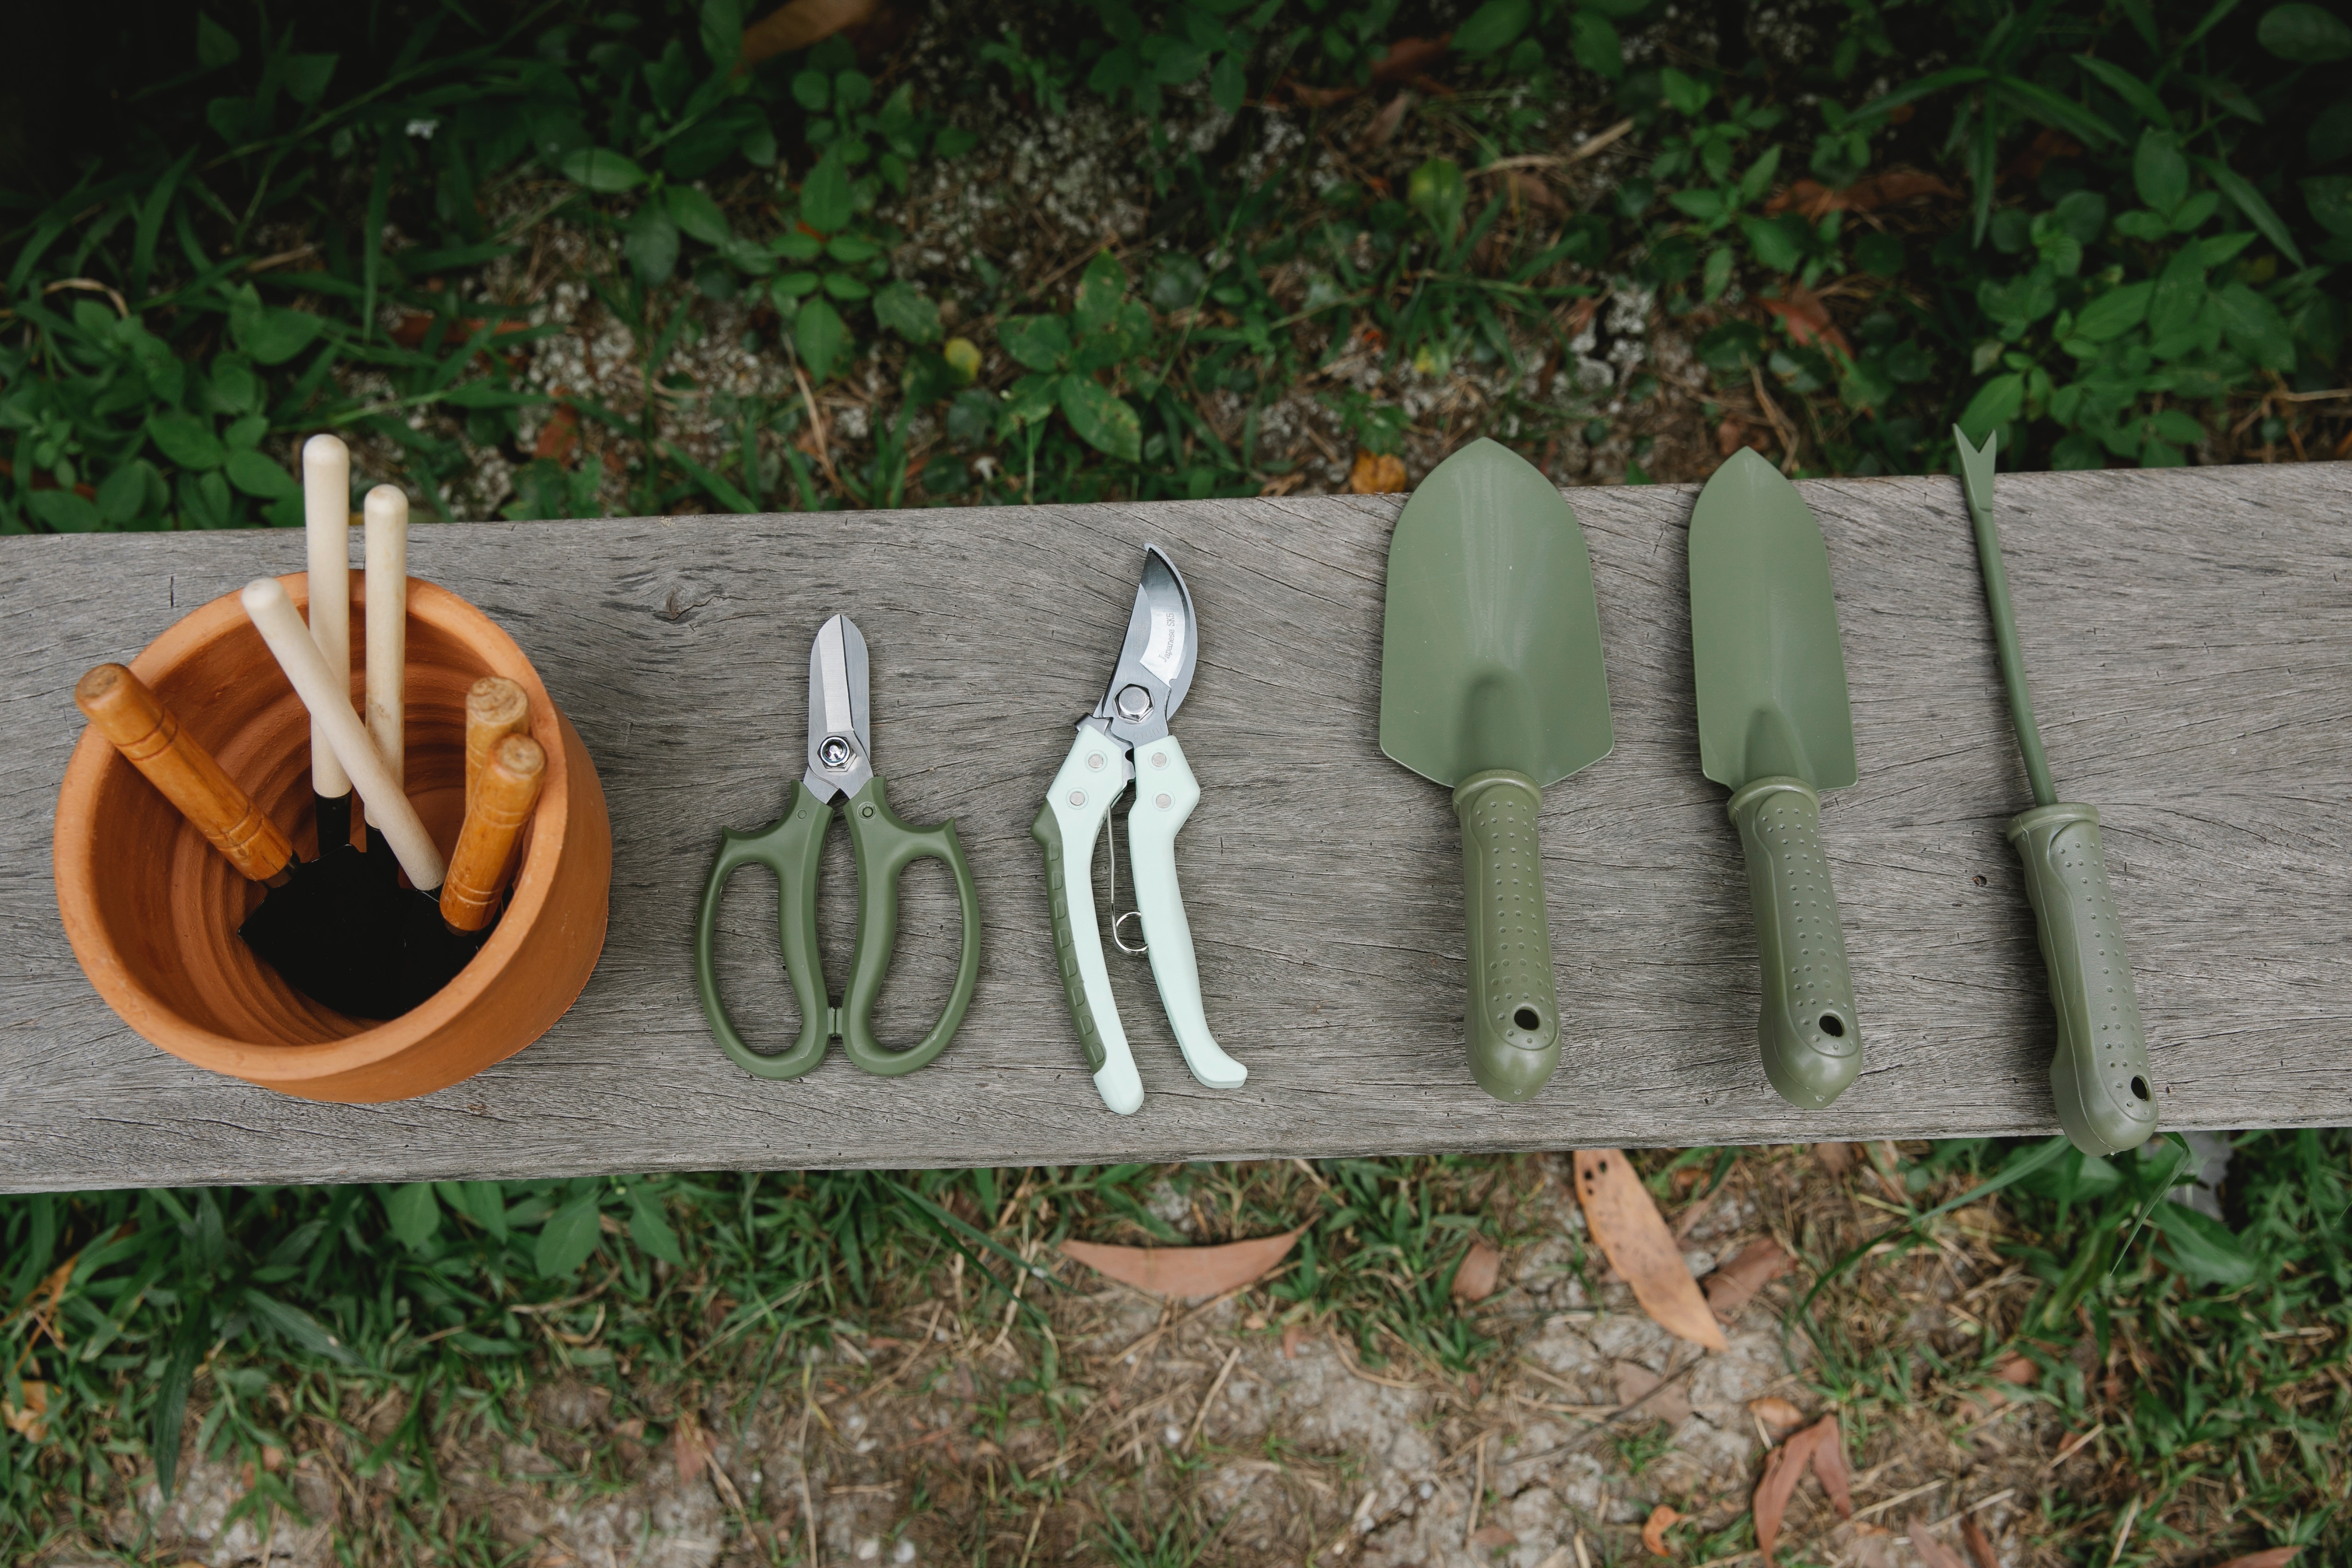
Tools and equipment for spring garden clean-up
Having the right tools and equipment is essential for a successful spring garden clean-up. Here are some must-have tools that will make your job easier and more efficient:
1. Pruning shears and loppers: These tools are essential for pruning and trimming plants, removing dead branches, and shaping shrubs and trees.
2. Garden rake and leaf blower: Use a garden rake to remove leaves, debris, and dead plants from your garden beds. A leaf blower can also come in handy for larger areas.
3. Garden gloves and knee pads: Protect your hands from thorns, cuts, and blisters with a good pair of gardening gloves. Knee pads will provide cushioning and support while you work on the ground.
4. Wheelbarrow or garden cart: Use a wheelbarrow or garden cart to transport heavy debris, soil, and plants around your garden.
5. Mulching tools: A rake or garden fork can be used to spread mulch evenly around your plants.
6. Hose or watering can: A reliable watering system is crucial for maintaining proper hydration in your garden.
Preparing the garden for clean-up
Before diving into the actual clean-up process, it’s important to prepare your garden to make the task more manageable. Here are some steps to follow:
1. Assess your garden: Take a walk around your garden and carefully observe the condition of your plants, structures, and pathways. Make note of any areas that require special attention.
2. Create a clean-up plan: Based on your assessment, create a clean-up plan that outlines the tasks to be done and the order in which they should be completed. This will help you stay organized and focused during the clean-up process.
3. Gather your tools: Make sure you have all the necessary tools and equipment ready before you start. This will save you time and prevent unnecessary interruptions.
4. Dress appropriately: Wear comfortable and protective clothing, including long sleeves, pants, a hat, and sunscreen. Don’t forget to wear sturdy shoes or boots that can withstand the demands of gardening.
5. Enlist help if needed: If your garden is large or you have physical limitations, consider enlisting the help of friends, family, or hiring a professional to assist you with the clean-up.
By taking the time to prepare your garden and gather the necessary tools, you will set yourself up for a successful and efficient clean-up process.
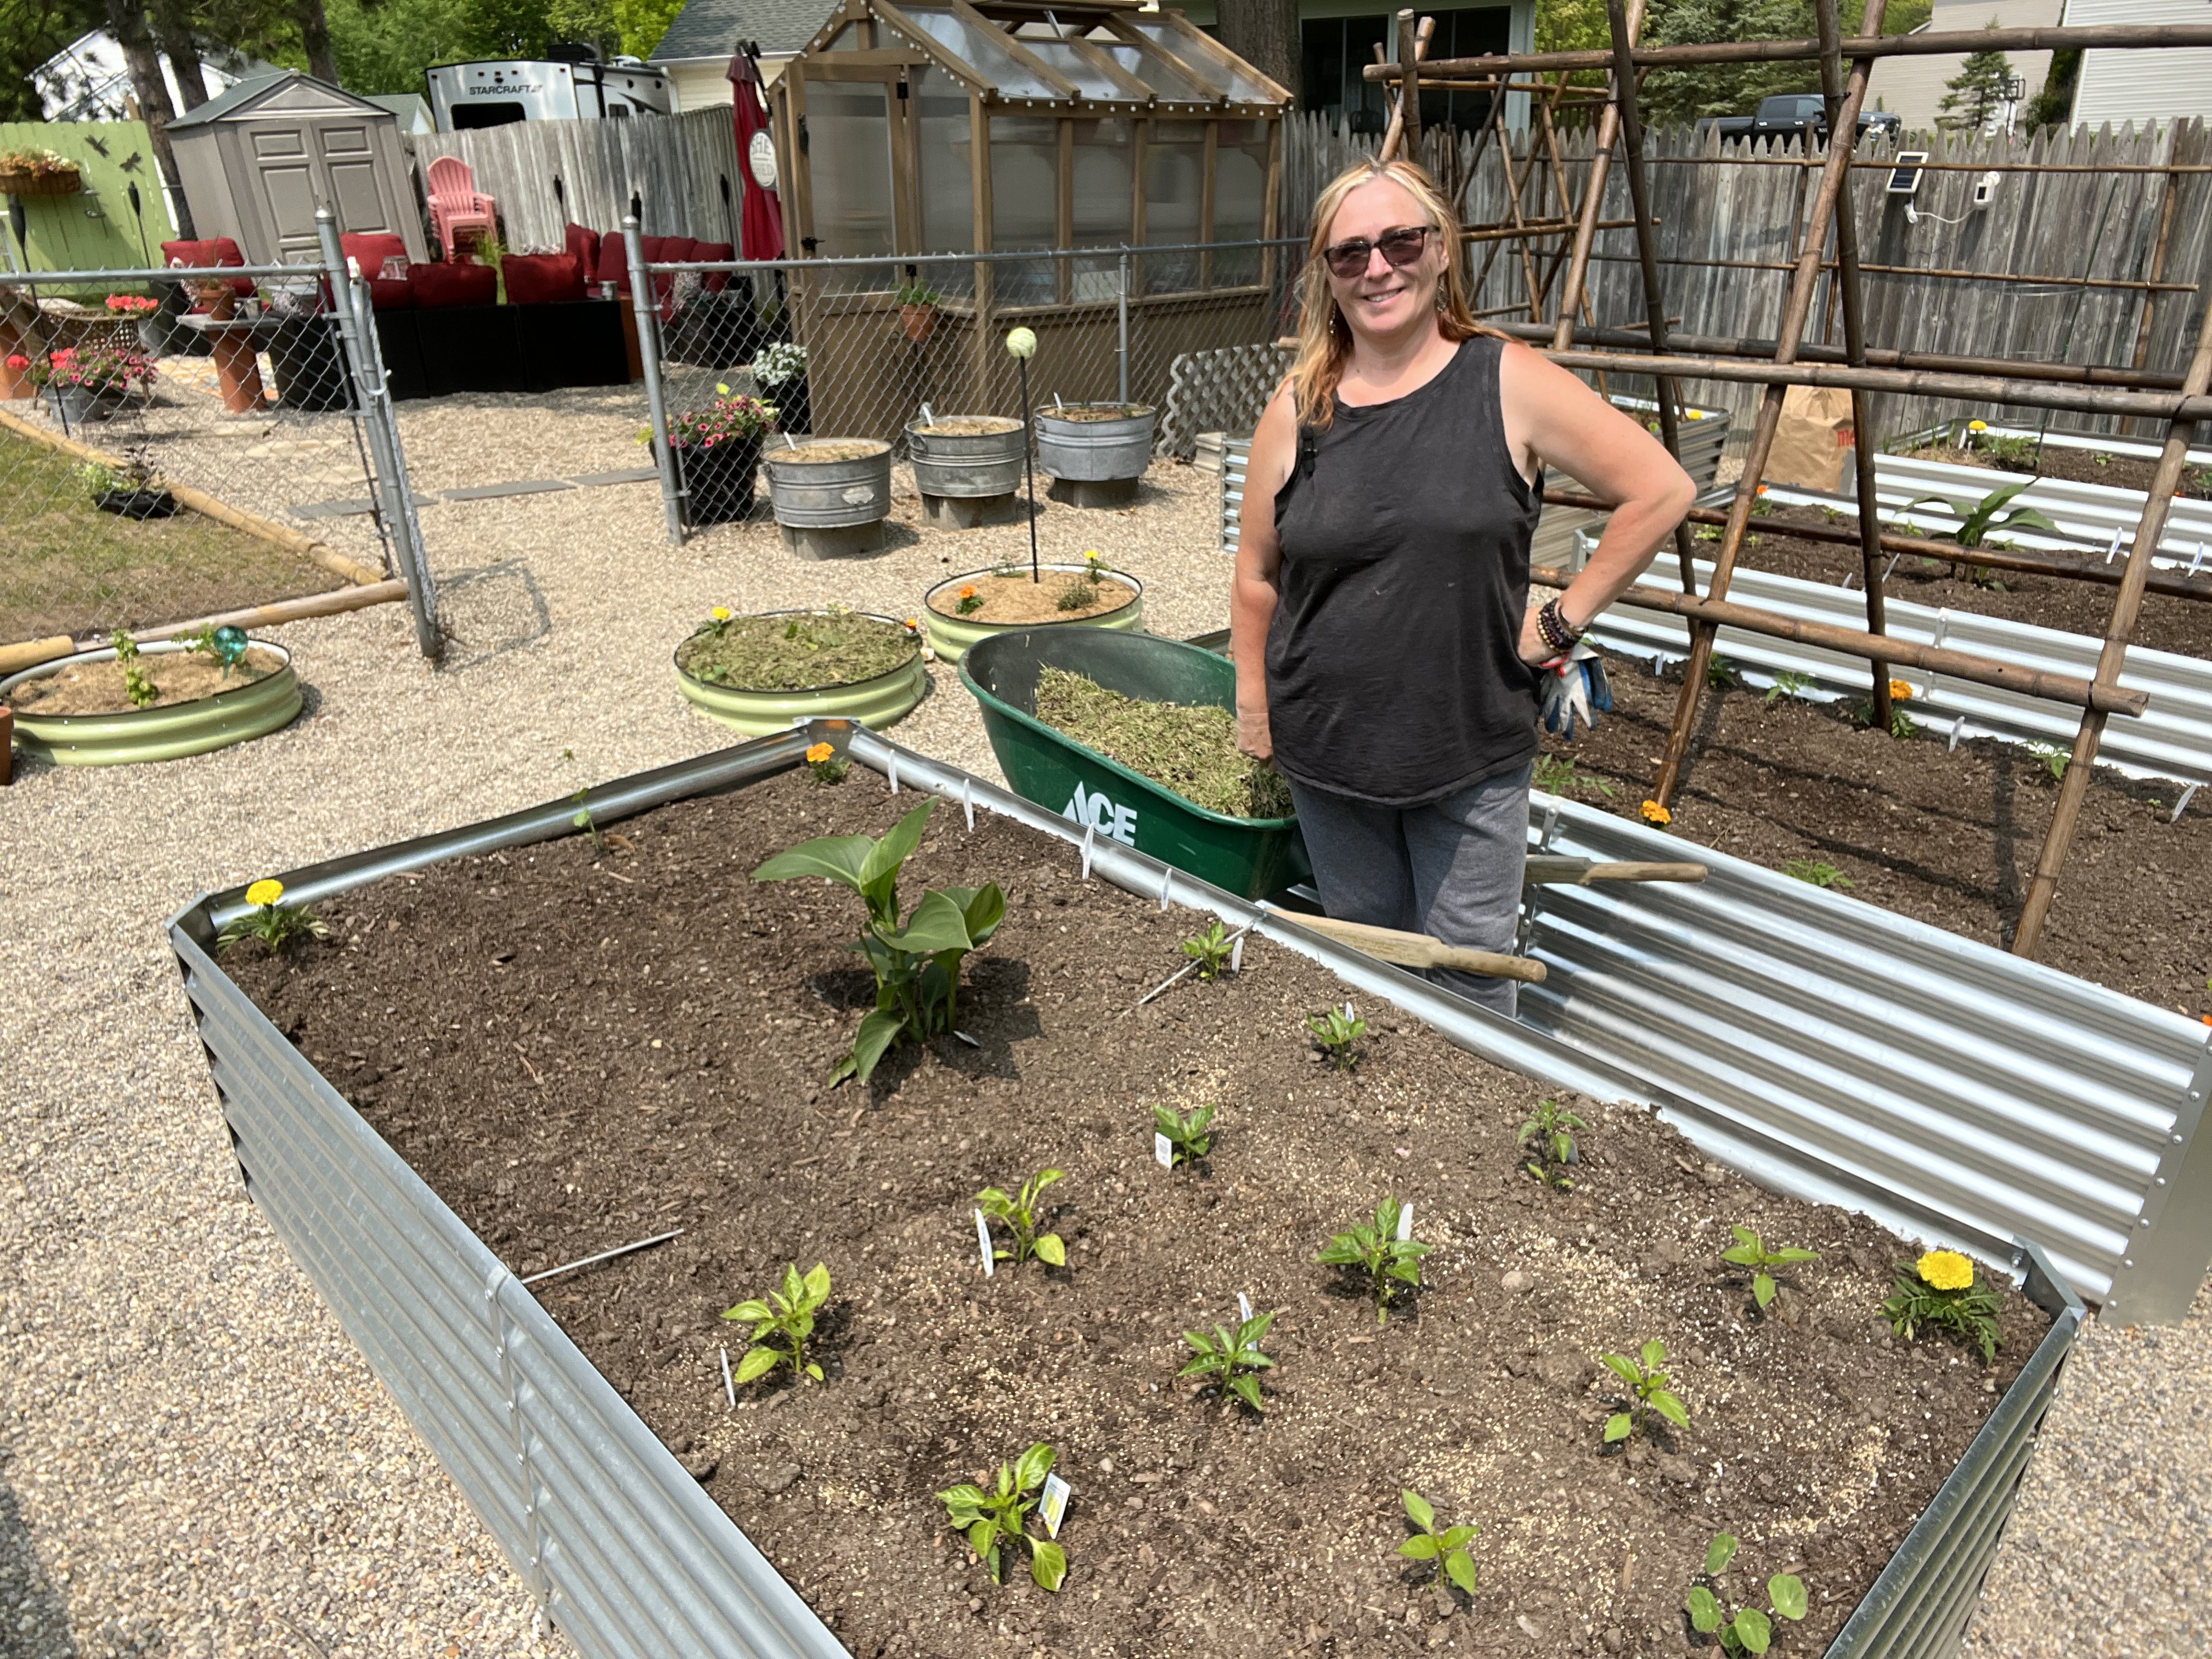
Essential tip #1: Clearing away debris and dead plants
One of the first tasks in your spring garden clean-up is to clear away any debris and dead plants that have accumulated over the winter. This includes fallen leaves, twigs, and branches, as well as dead annuals and perennials. Removing this debris not only improves the appearance of your garden but also prevents the spread of diseases and pests.
Start by raking up the leaves and gathering them into piles for easy removal. Use a garden rake or leaf blower to collect the debris from your garden beds and pathways. Be thorough and make sure to check in between plants and under shrubs where debris can easily accumulate.

Once you have cleared the debris, it’s time to remove any dead plants. Cut back the stems of perennials to the ground, making sure to remove any diseased or damaged parts. For annuals, simply pull them out from the root. Dispose of the debris in a compost pile or green waste bin, or use it as mulch if it’s disease-free.
Essential tip #2: Pruning and trimming plants
Pruning and trimming your plants is an essential part of spring garden clean-up. It helps promote healthy growth, improves the shape and appearance of your plants, and prevents them from becoming overgrown. Here are some guidelines to follow when pruning and trimming:

1. Know your plants: Different plants have different pruning requirements. Some plants, like roses and fruit trees, require specific pruning techniques to encourage proper growth and flowering. Research the pruning needs of your specific plants or consult a gardening expert for guidance.
2. Remove dead or damaged branches: Start by removing any dead, diseased, or damaged branches. Cut them back to a healthy bud or branch junction. This will not only improve the appearance of the plant but also prevent the spread of diseases.
3. Shape and thin out plants: Use pruning shears or loppers to shape and thin out your plants. Remove any crossing or rubbing branches, as well as any excessive growth that is crowding the plant. This will improve air circulation and allow more sunlight to reach the inner parts of the plant.
4. Prune spring-flowering shrubs after blooming: If you have spring-flowering shrubs like lilacs or forsythias, wait until after they have finished blooming to prune them. Pruning them too early can remove the flower buds and reduce the blooming for the following year.
Remember to clean and sanitize your pruning tools between plants to prevent the spread of diseases. Wipe them with a cloth soaked in rubbing alcohol or a disinfectant solution.
Essential tip #3: Soil preparation and fertilization
Proper soil preparation and fertilization are essential for a healthy and productive garden. Spring is the perfect time to prepare your soil for the upcoming growing season. Here are some steps to follow:
1. Soil testing: Start by testing your soil to determine its pH level and nutrient content. This will help you identify any deficiencies or imbalances that need to be addressed. Soil testing kits are available at garden centers or you can send a sample to a professional laboratory for analysis.
2. pH adjustment: Based on the results of your soil test, you may need to adjust the pH level of your soil. Most plants prefer a slightly acidic pH, around 6.0 to 6.8. If your soil is too acidic, you can add lime to raise the pH. If it’s too alkaline, you can add sulfur or peat moss to lower the pH.
3. Organic matter amendment: Adding organic matter to your soil improves its structure, fertility, and moisture-holding capacity. This can be done by incorporating well-rotted compost, aged manure, or other organic materials into the top few inches of soil. Avoid adding fresh manure, as it can burn the roots of your plants.
4. Fertilization: Once your soil is prepared, you can apply a balanced organic fertilizer to provide essential nutrients for your plants. Follow the instructions on the fertilizer package for the correct application rate. Avoid over-fertilizing, as this can lead to nutrient imbalances and environmental pollution.

Remember to water your soil thoroughly after amending and fertilizing to help the nutrients penetrate the root zone.
Essential tip #4: Weed control and prevention
Weeds are the bane of every gardener’s existence. They compete with your plants for nutrients, water, and sunlight, and can quickly take over your garden if left unchecked. Here are some strategies for effective weed control and prevention:

1. Hand weeding: The most basic and effective method of weed control is hand weeding. This involves physically removing weeds by pulling them out from the root. Make sure to remove the entire root system to prevent regrowth.
2. Mulching: Mulching is an excellent way to suppress weeds and conserve soil moisture. Apply a layer of organic mulch, such as wood chips or straw, around your plants to smother weeds and prevent their germination. Make sure to keep the mulch a few inches away from the stems of your plants to prevent rot.
3. Weed barriers: Weed barriers, such as landscape fabric or plastic sheeting, can be used to prevent weed growth in large areas. These barriers block sunlight from reaching the soil, inhibiting weed germination. Make sure to secure the edges of the barrier and cut holes for your plants to allow for proper growth.

Join the list
Join hundreds of our subscribers and be the first to know about new content and special offers.
4. Herbicides: If hand weeding and mulching are not sufficient to control your weeds, you can consider using herbicides as a last resort. Choose a selective herbicide that targets the specific weeds you want to control, and follow the instructions carefully to avoid damage to your desirable plants.
Remember, prevention is key when it comes to weed control. Regularly monitor your garden for weed seedlings and remove them promptly before they have a chance to establish.
Essential tip #5: Mulching and protecting plants
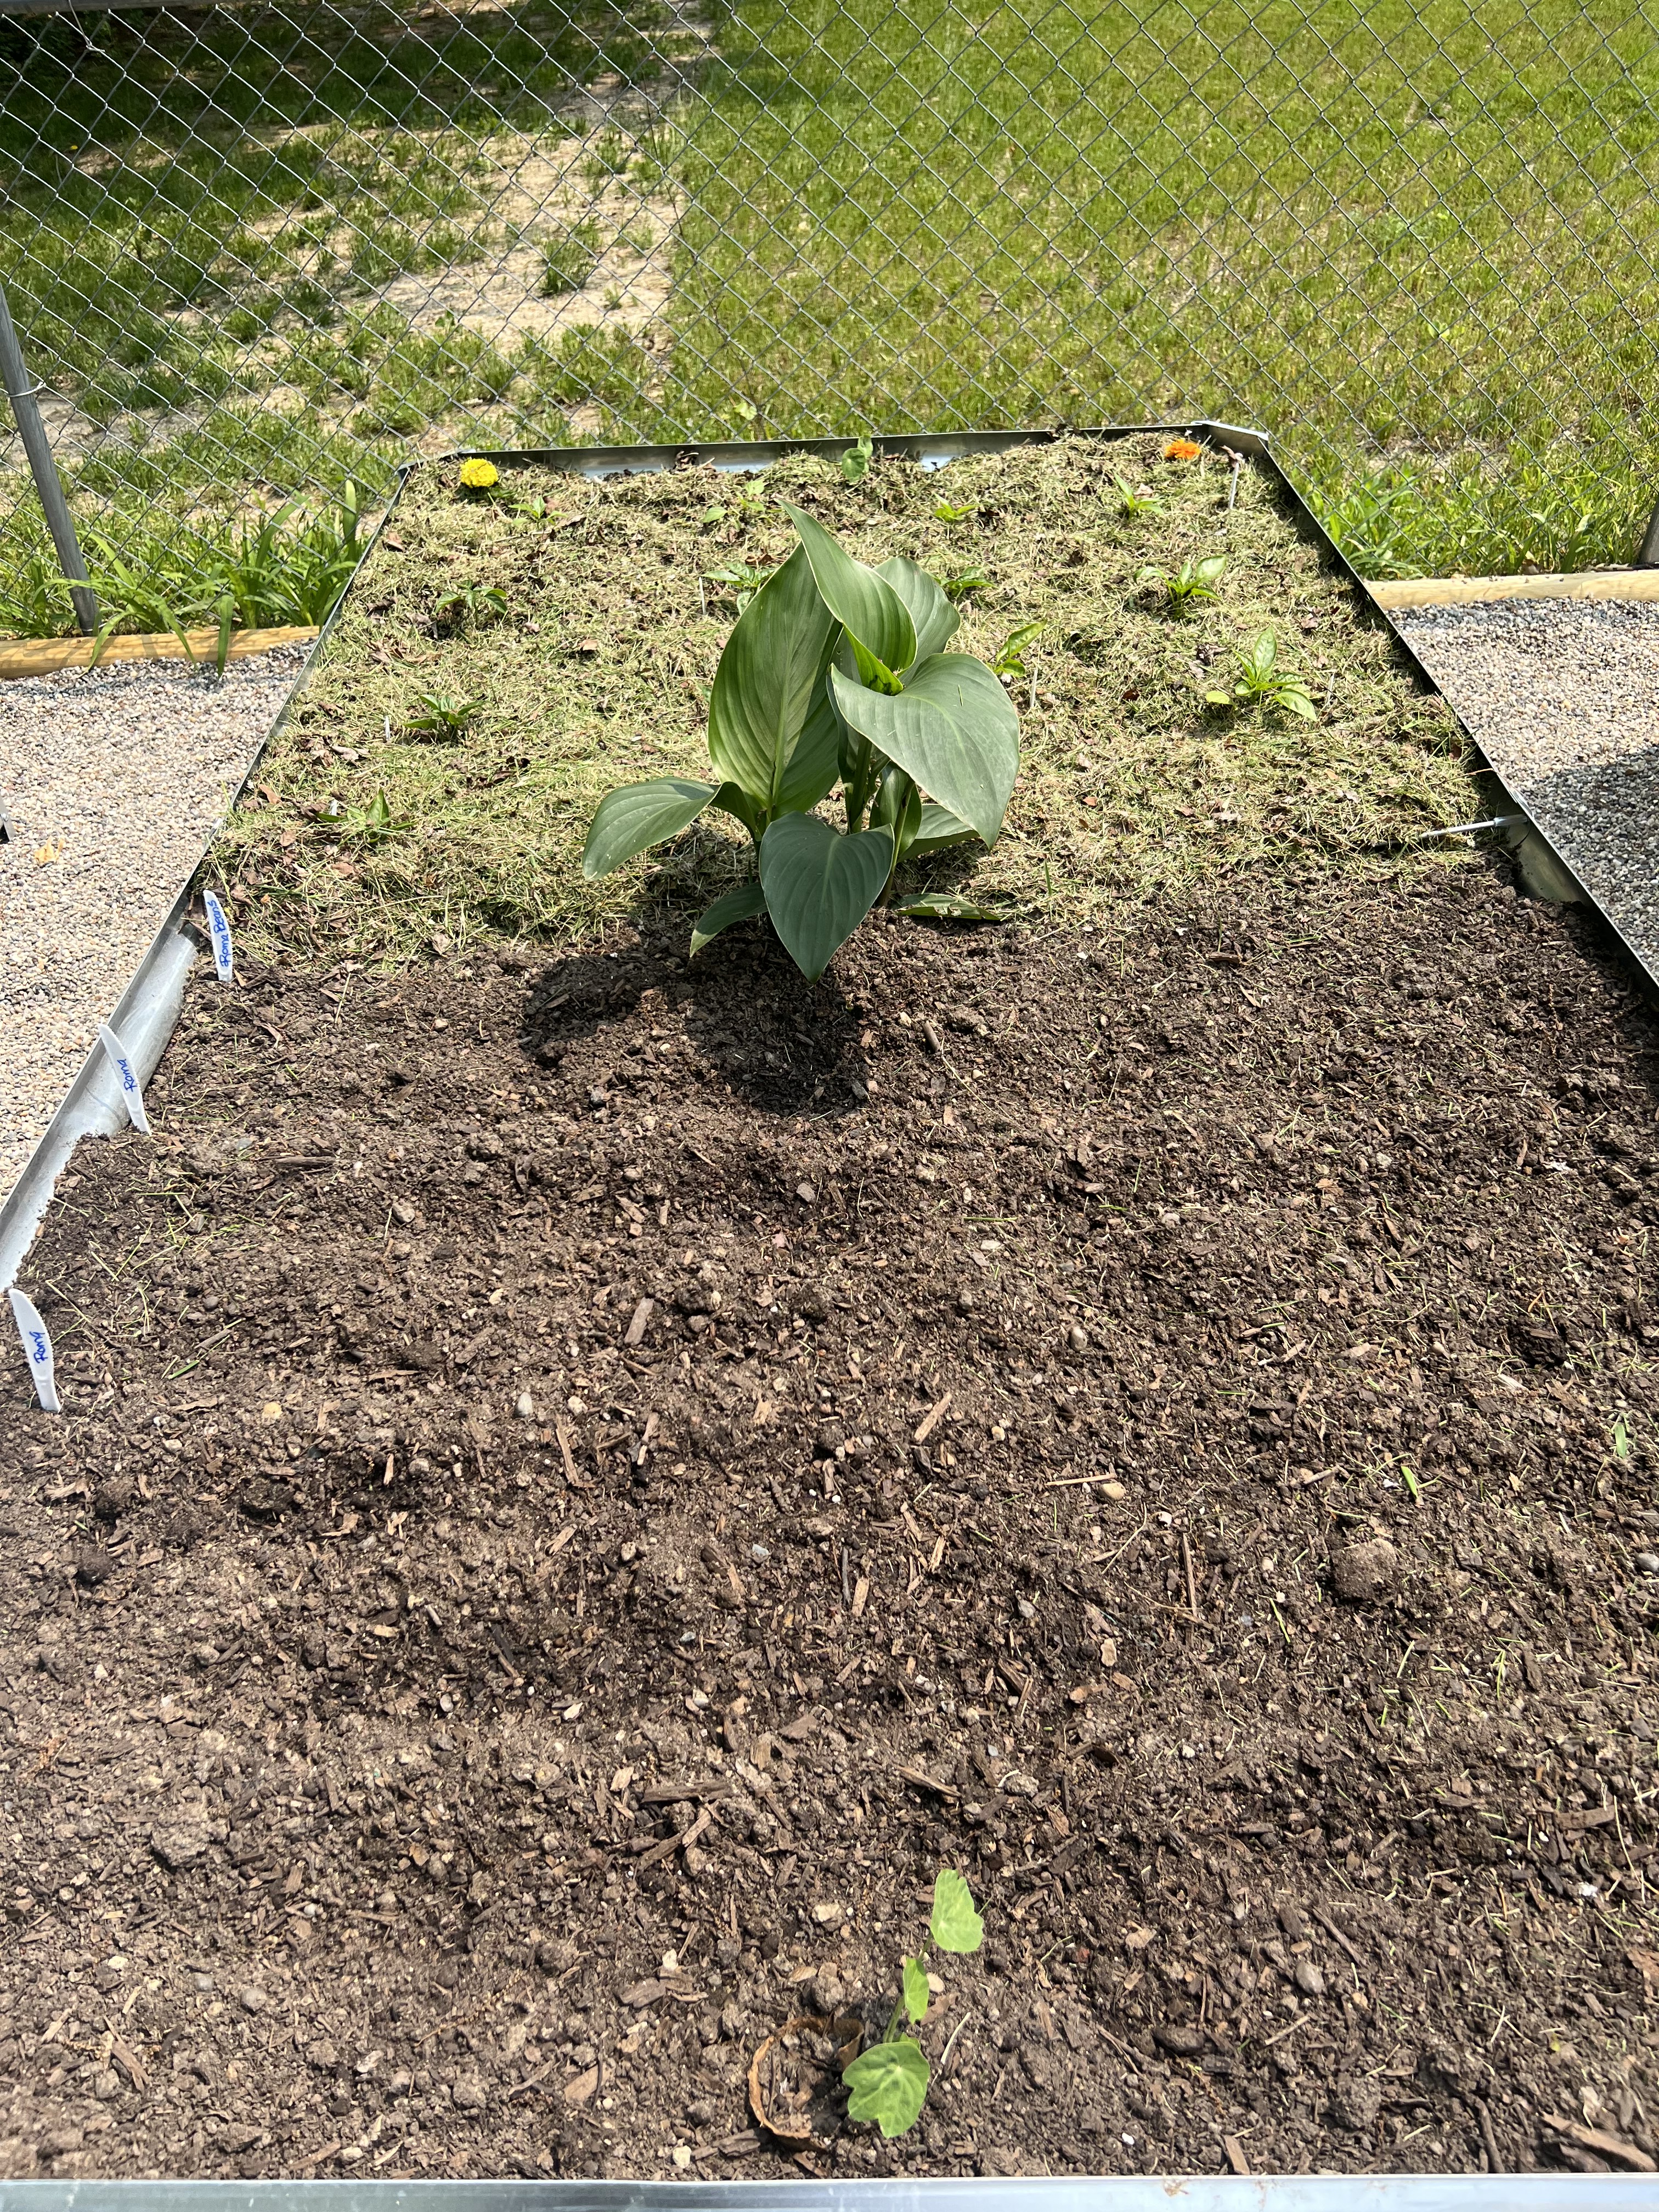
Mulching not only helps with weed control but also provides many other benefits for your plants. It helps conserve soil moisture, regulates soil temperature, improves soil fertility, and protects the roots of your plants from extreme weather conditions. Here are some tips for effective mulching:
Check out my blog on how to use Grass Clippings for mulch and why you should!
1. Choose the right mulch: There are many types of mulch available, including wood chips, straw, leaves, and compost. Choose a mulch that suits the needs of your plants and the aesthetics of your garden. Organic mulches break down over time and contribute to soil fertility, while inorganic mulches, such as gravel or landscape fabric, provide long-lasting weed control.
2. Apply the mulch correctly: Apply a layer of mulch around your plants, making sure to cover the entire root zone. The mulch layer should be about 2-3 inches thick, but avoid piling it up against the stems of your plants, as this can cause rot. Leave a small gap around the stems to allow for air circulation.
3. Replenish mulch as needed: Over time, organic mulches break down and decompose. Replenish the mulch layer as needed to maintain its thickness and effectiveness. This is especially important in areas with extreme weather conditions or heavy foot traffic.
In addition to mulching, consider using protective measures to shield your plants from potential threats. Install row covers or frost blankets to protect young plants from late frosts or cold snaps. Use netting or cages to deter birds and other animals from feasting on your fruits and vegetables. Taking these proactive steps will help ensure the health and longevity of your plants.
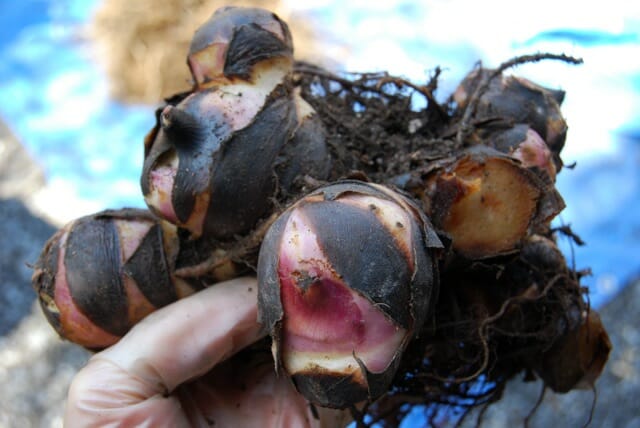
Essential tip #6: Dividing and transplanting plants
Dividing and transplanting plants is an important part of spring garden clean-up, especially for perennials that have become overcrowded or outgrown their space. Dividing and transplanting not only rejuvenates your plants but also allows you to propagate new plants and create more balance and visual interest in your garden. Here’s how to do it:
1. Choose the right time: The best time to divide and transplant most perennials is in early spring or fall when the weather is cool and the plants are dormant. Avoid dividing or transplanting during periods of hot weather or when the plants are actively growing.
2. Prepare the new planting area: Before you start digging up your plants, prepare the new planting area by loosening the soil and incorporating organic matter. This will provide a welcoming environment for the transplants and help them establish quickly.
3. Dig up the plants: Carefully dig up the clump of plants you wish to divide, making sure to preserve as much of the root system as possible. Gently separate the clump into smaller sections using your hands or a sharp knife. Each section should have a healthy root system and a few shoots or stems.
4. Replant the divisions: Plant the divisions in their new location at the same depth as they were previously growing. Water them thoroughly to settle the soil around the roots and provide them with a good start.
Check out my blog on how to properly divide invasive herbs!
Keep in mind that not all plants are suitable for dividing or transplanting. Some plants have deep taproots or delicate root systems that make them difficult to transplant successfully. Research the specific requirements of your plants or consult a gardening expert for guidance.
Essential tip #7: Cleaning and maintaining garden structures
In addition to tending to your plants, spring garden clean-up also involves cleaning and maintaining your garden structures. This includes items such as trellises, fences, garden furniture, and tools. Here are some tips to help you get started:
1. Inspect for damage: Take a close look at your garden structures and assess if any repairs or replacements are needed. Look for signs of rot, rust, or other damage that may compromise the structural integrity.
2. Clean and sanitize: Use a mild detergent or a solution of water and vinegar to clean your garden structures. Scrub away dirt, moss, and debris, and rinse thoroughly with water. This will help prevent the spread of diseases and pests.
3. Apply protective coatings: If your garden structures require protection against the elements, apply a protective coating, such as a wood sealer or rust-resistant paint. This will help prolong their lifespan and keep them looking their best.
4. Organize and store tools: Clean and sharpen your gardening tools, and organize them in a designated storage area. This will help prolong their lifespan and make them easily accessible for future use.

Regular maintenance of your garden structures not only ensures their longevity but also enhances the overall appearance of your garden. Take pride in your garden and keep it well-maintained throughout the year.
Essential Tip #8: Pest control in the garden
Pest control is an important aspect of spring garden clean-up. As the weather warms up, pests such as aphids, slugs, and snails become more active and can cause damage to your plants. Start by inspecting your plants for any signs of pest infestation, such as holes in leaves or chewed stems. Identify the specific pests and choose appropriate control methods. This can include handpicking pests, using organic insecticides, or introducing beneficial insects that prey on garden pests. Regularly monitor your plants for any signs of new pest activity and promptly take action to prevent further damage. By implementing effective pest control measures, you will protect the health and beauty of your garden.
Check out my blog on how to incorporate Companion Planting!
Essential Tip #9: Proper watering and irrigation
Proper watering and irrigation are essential for the health and success of your garden. As the weather gets warmer, it’s important to adjust your watering routine to meet the needs of your plants. Water deeply and infrequently, allowing the soil to dry out slightly between waterings. This encourages deep root growth and helps plants become more drought-tolerant. Consider installing a drip irrigation system or soaker hoses to provide water directly to the roots, minimizing evaporation and ensuring efficient water use. Mulching around your plants will also help conserve moisture and reduce the need for frequent watering. Monitor the moisture levels of your soil regularly and adjust your watering schedule accordingly.
Essential Tip #10: Planning for the future – garden design and planting
As you wrap up your spring garden clean-up, take some time to plan for the future. Evaluate the layout and design of your garden, considering factors such as sunlight exposure, soil conditions, and plant compatibility. Identify any areas that may benefit from new plantings or structural additions. Research and select plants that are well-suited to your specific growing conditions and desired aesthetic.
Create a planting schedule and map out the locations for each plant, ensuring adequate spacing and proper grouping. By planning ahead, you will create a cohesive and harmonious garden that will bring you joy throughout the seasons.
Spring garden clean-up is an essential task for any gardener who wishes to achieve a pristine and thriving outdoor space. By following the 10 essential tips outlined in this article, you will be well-equipped to tackle the challenges and reap the rewards of a clean and healthy garden. From clearing away debris and dead plants to proper soil preparation, pruning, and pest control, each step plays a crucial role in creating the ideal environment for your plants to flourish. Take the time to prepare your garden, gather the necessary tools, and implement the tips provided. Your efforts will be rewarded with a vibrant and bountiful garden that will bring you joy and satisfaction throughout the spring season and beyond.
CTA: Discover more gardening tips and tricks in our comprehensive gardening guide. Start your journey towards a beautiful and productive garden today!
If you enjoyed this blog , please LIKE, Follow, Share & leave me a comment! I love your feedback!
If you aren’t following me on Facebook & Instagram, go on over & give a LIKE & Follow me for daily tips & tricks for your home & garden!
Remember to eat fresh, shop local, & have a happy day,
Jean
Copyright Policy
All text and images on this site are copyright of For Dragonflies And Me. Unless otherwise noted, you may not use this content
This post may contain affiliate links. If you choose to purchase through an affiliate link, I may receive a small commission at no additional cost to you. You can see my full disclaimer here
