Master the Art of Ingredient Substitutions: A Beginner’s Guide for Bakers and Cooks

I have often been surprised when I mention you can substitute mayonnaise for an egg when baking and I receive a shocked look. There are many things you can substitute when baking and cooking, so I thought it would be helpful to share some of these tried & true baking and cooking tips!

Are you tired of discovering mid-recipe that you’re missing a key ingredient? Or perhaps you’re looking to make a dish healthier by substituting certain ingredients? Whether you’re a seasoned chef or a beginner in the kitchen, ingredient substitutions can be a lifesaver. In this beginner’s guide, I’ll teach you the art of ingredient substitutions, empowering you to create delicious dishes even when faced with limited pantry supplies. From swapping out butter for healthier alternatives to finding alternatives for baking powder, this blog post has got you covered. You’ll learn the tricks of the trade and discover that a well-executed substitution can actually enhance the flavor and texture of your dish. Gain the confidence to experiment with different ingredients and take your cooking and baking skills to the next level. Don’t let a missing ingredient or dietary restriction hold you back – master the art of ingredient substitutions today.

Why ingredient substitutions are important in cooking and baking

Ingredient substitutions are an essential skill for every cook and baker to have in their culinary arsenal. There are several reasons why ingredient substitutions are important:

  1. Emergency situations: Have you ever started a recipe only to realize that you’re missing a crucial ingredient? Instead of abandoning the recipe or making a trip to the grocery store, knowing how to substitute ingredients can save the day. With the right knowledge, you can find suitable replacements that will still yield a delicious dish.
  2. Dietary restrictions: Many people have dietary restrictions or allergies that require them to avoid certain ingredients. By understanding ingredient substitutions, you can adapt recipes to meet your dietary needs or those of your family and friends. This allows you to enjoy your favorite dishes without compromising your health or taste preferences.
  3. Health considerations: Substituting ingredients can also be a way to make your dishes healthier. For example, if a recipe calls for a high amount of saturated fat, you can swap it out for a healthier alternative without sacrificing flavor. Ingredient substitutions allow you to take control of your diet and make choices that align with your health goals.

Now that we understand the importance of ingredient substitutions, let’s dive into some common substitutions for baking.

Common ingredient substitutions for baking

Baking requires precision and accuracy, but that doesn’t mean you can’t make substitutions. Here are some common ingredient substitutions for baking:

  1. Butter: Butter adds richness and flavor to baked goods, but it can also be high in saturated fat. If you’re looking for a healthier alternative, try substituting butter with mashed avocado, Greek yogurt, or applesauce. These alternatives can add moisture and richness to your baked goods while reducing the saturated fat content.
  2. Eggs: Eggs are a binding agent in baking, but they can be substituted for various reasons such as dietary restrictions or allergies. For each egg, you can use ¼ cup of applesauce, mashed bananas, or silken tofu. These alternatives will help bind the ingredients together and add moisture to your baked goods.
  3. Sugar: If you’re looking to reduce the amount of sugar in your baked goods, you can try substituting it with natural sweeteners like honey, maple syrup, or stevia. Keep in mind that these substitutes may alter the texture and flavor of your baked goods, so experimentation may be required to achieve the desired results.

These are just a few examples of ingredient substitutions for baking. The key is to understand the role of each ingredient in the recipe and find a suitable alternative that will yield similar results. Remember to keep an open mind and be willing to experiment to find the perfect substitution for your needs.

Substituting dairy products in recipes

Dairy products like milk, butter, and cheese are commonly used in recipes, but they may not be suitable for everyone. Whether you’re lactose intolerant, following a vegan diet, or simply out of dairy products, here are some dairy substitutions you can try:

  1. Milk: If a recipe calls for milk, you can easily substitute it with non-dairy alternatives like almond milk, soy milk, or coconut milk. These alternatives will provide similar moisture and creaminess to your dishes, allowing you to achieve the desired results.
  2. Butter: As mentioned earlier, butter can be substituted with mashed avocado, Greek yogurt, or applesauce for baking purposes. However, if you need a substitute for spreading or cooking, you can use coconut oil, olive oil, or vegan margarine. These alternatives will provide the necessary fat and flavor in your dish.
  3. Cheese: Cheese is a beloved ingredient in many dishes, but it can be easily substituted with dairy-free alternatives. There are various vegan cheeses available in stores, made from ingredients like nuts, soy, or tapioca starch. These alternatives can be used in recipes that call for cheese, providing a similar taste and texture.

Remember to read ingredient labels carefully and choose products that align with your dietary needs and preferences. Dairy substitutions can open up a world of possibilities for those who are lactose intolerant or following a vegan lifestyle.

Gluten-free ingredient substitutions

Gluten is a protein found in wheat, barley, and rye, making it a common ingredient in many baked goods. However, for those with gluten intolerance or celiac disease, finding suitable gluten-free alternatives is essential. Here are some gluten-free ingredient substitutions you can try:

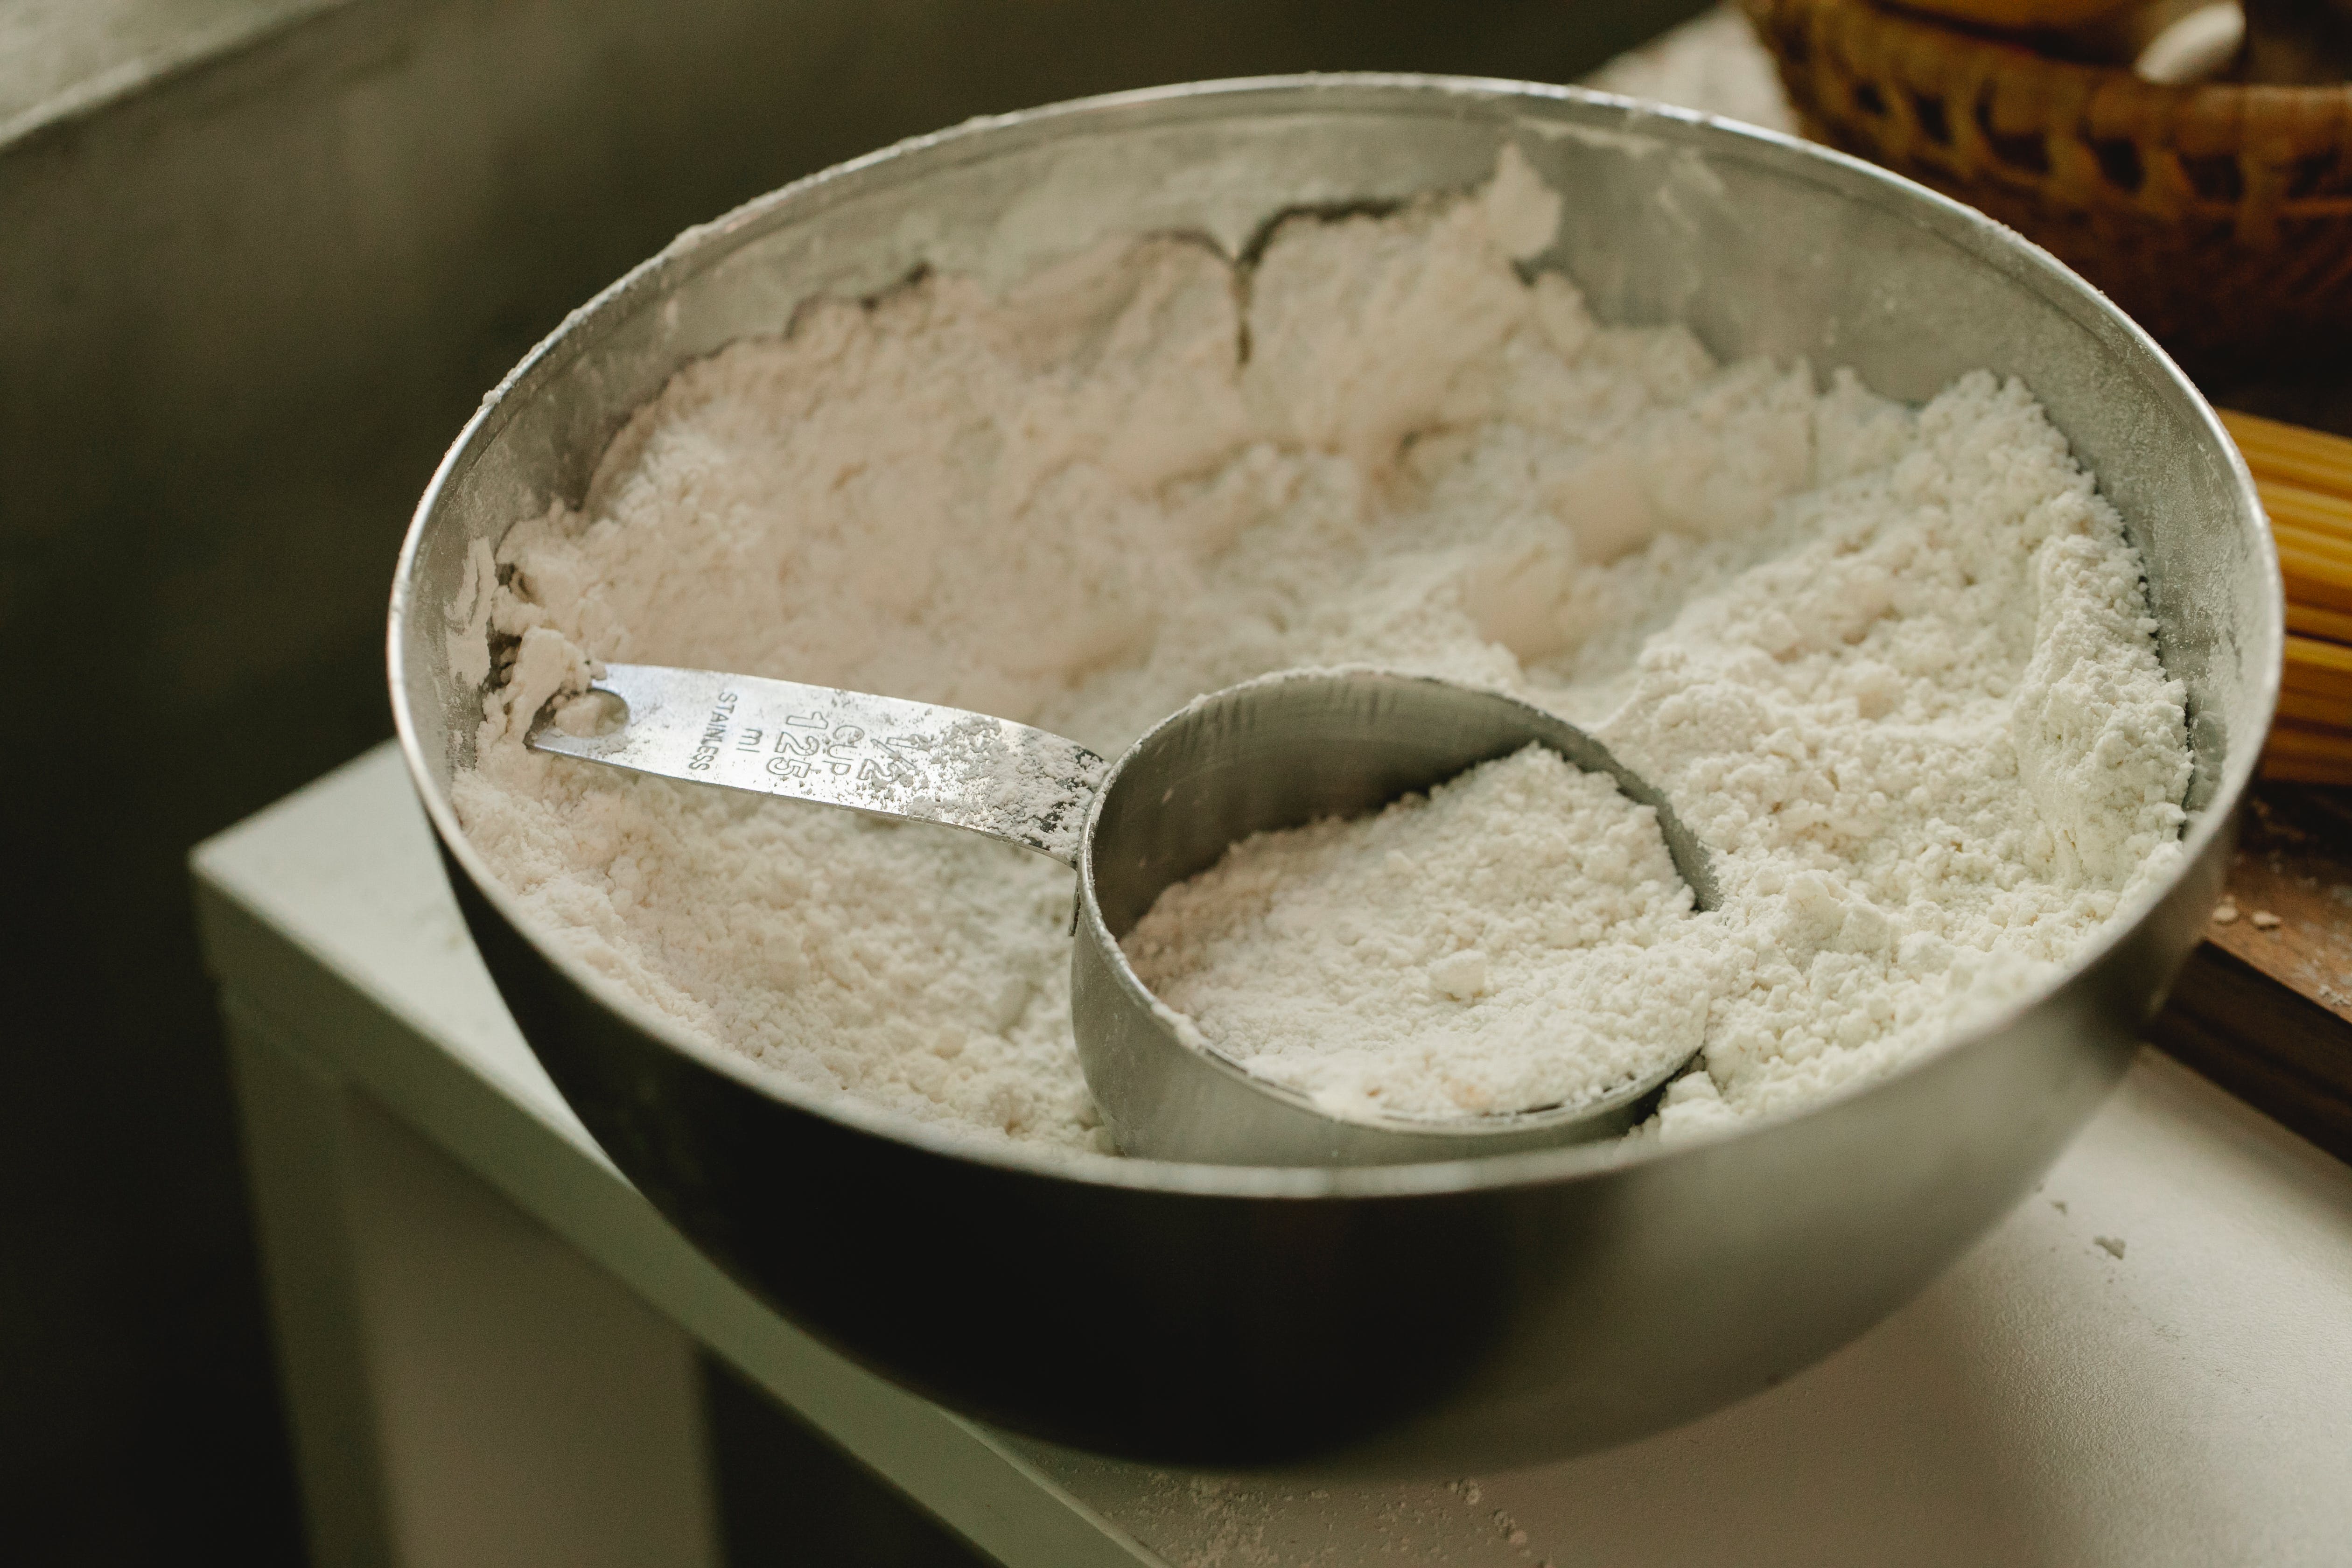
  1. Flour: Traditional wheat flour can be replaced with gluten-free flour blends, such as those made from rice, almond, or coconut flour. These alternatives can be used in a 1:1 ratio, but keep in mind that the texture and taste of your baked goods may be slightly different.
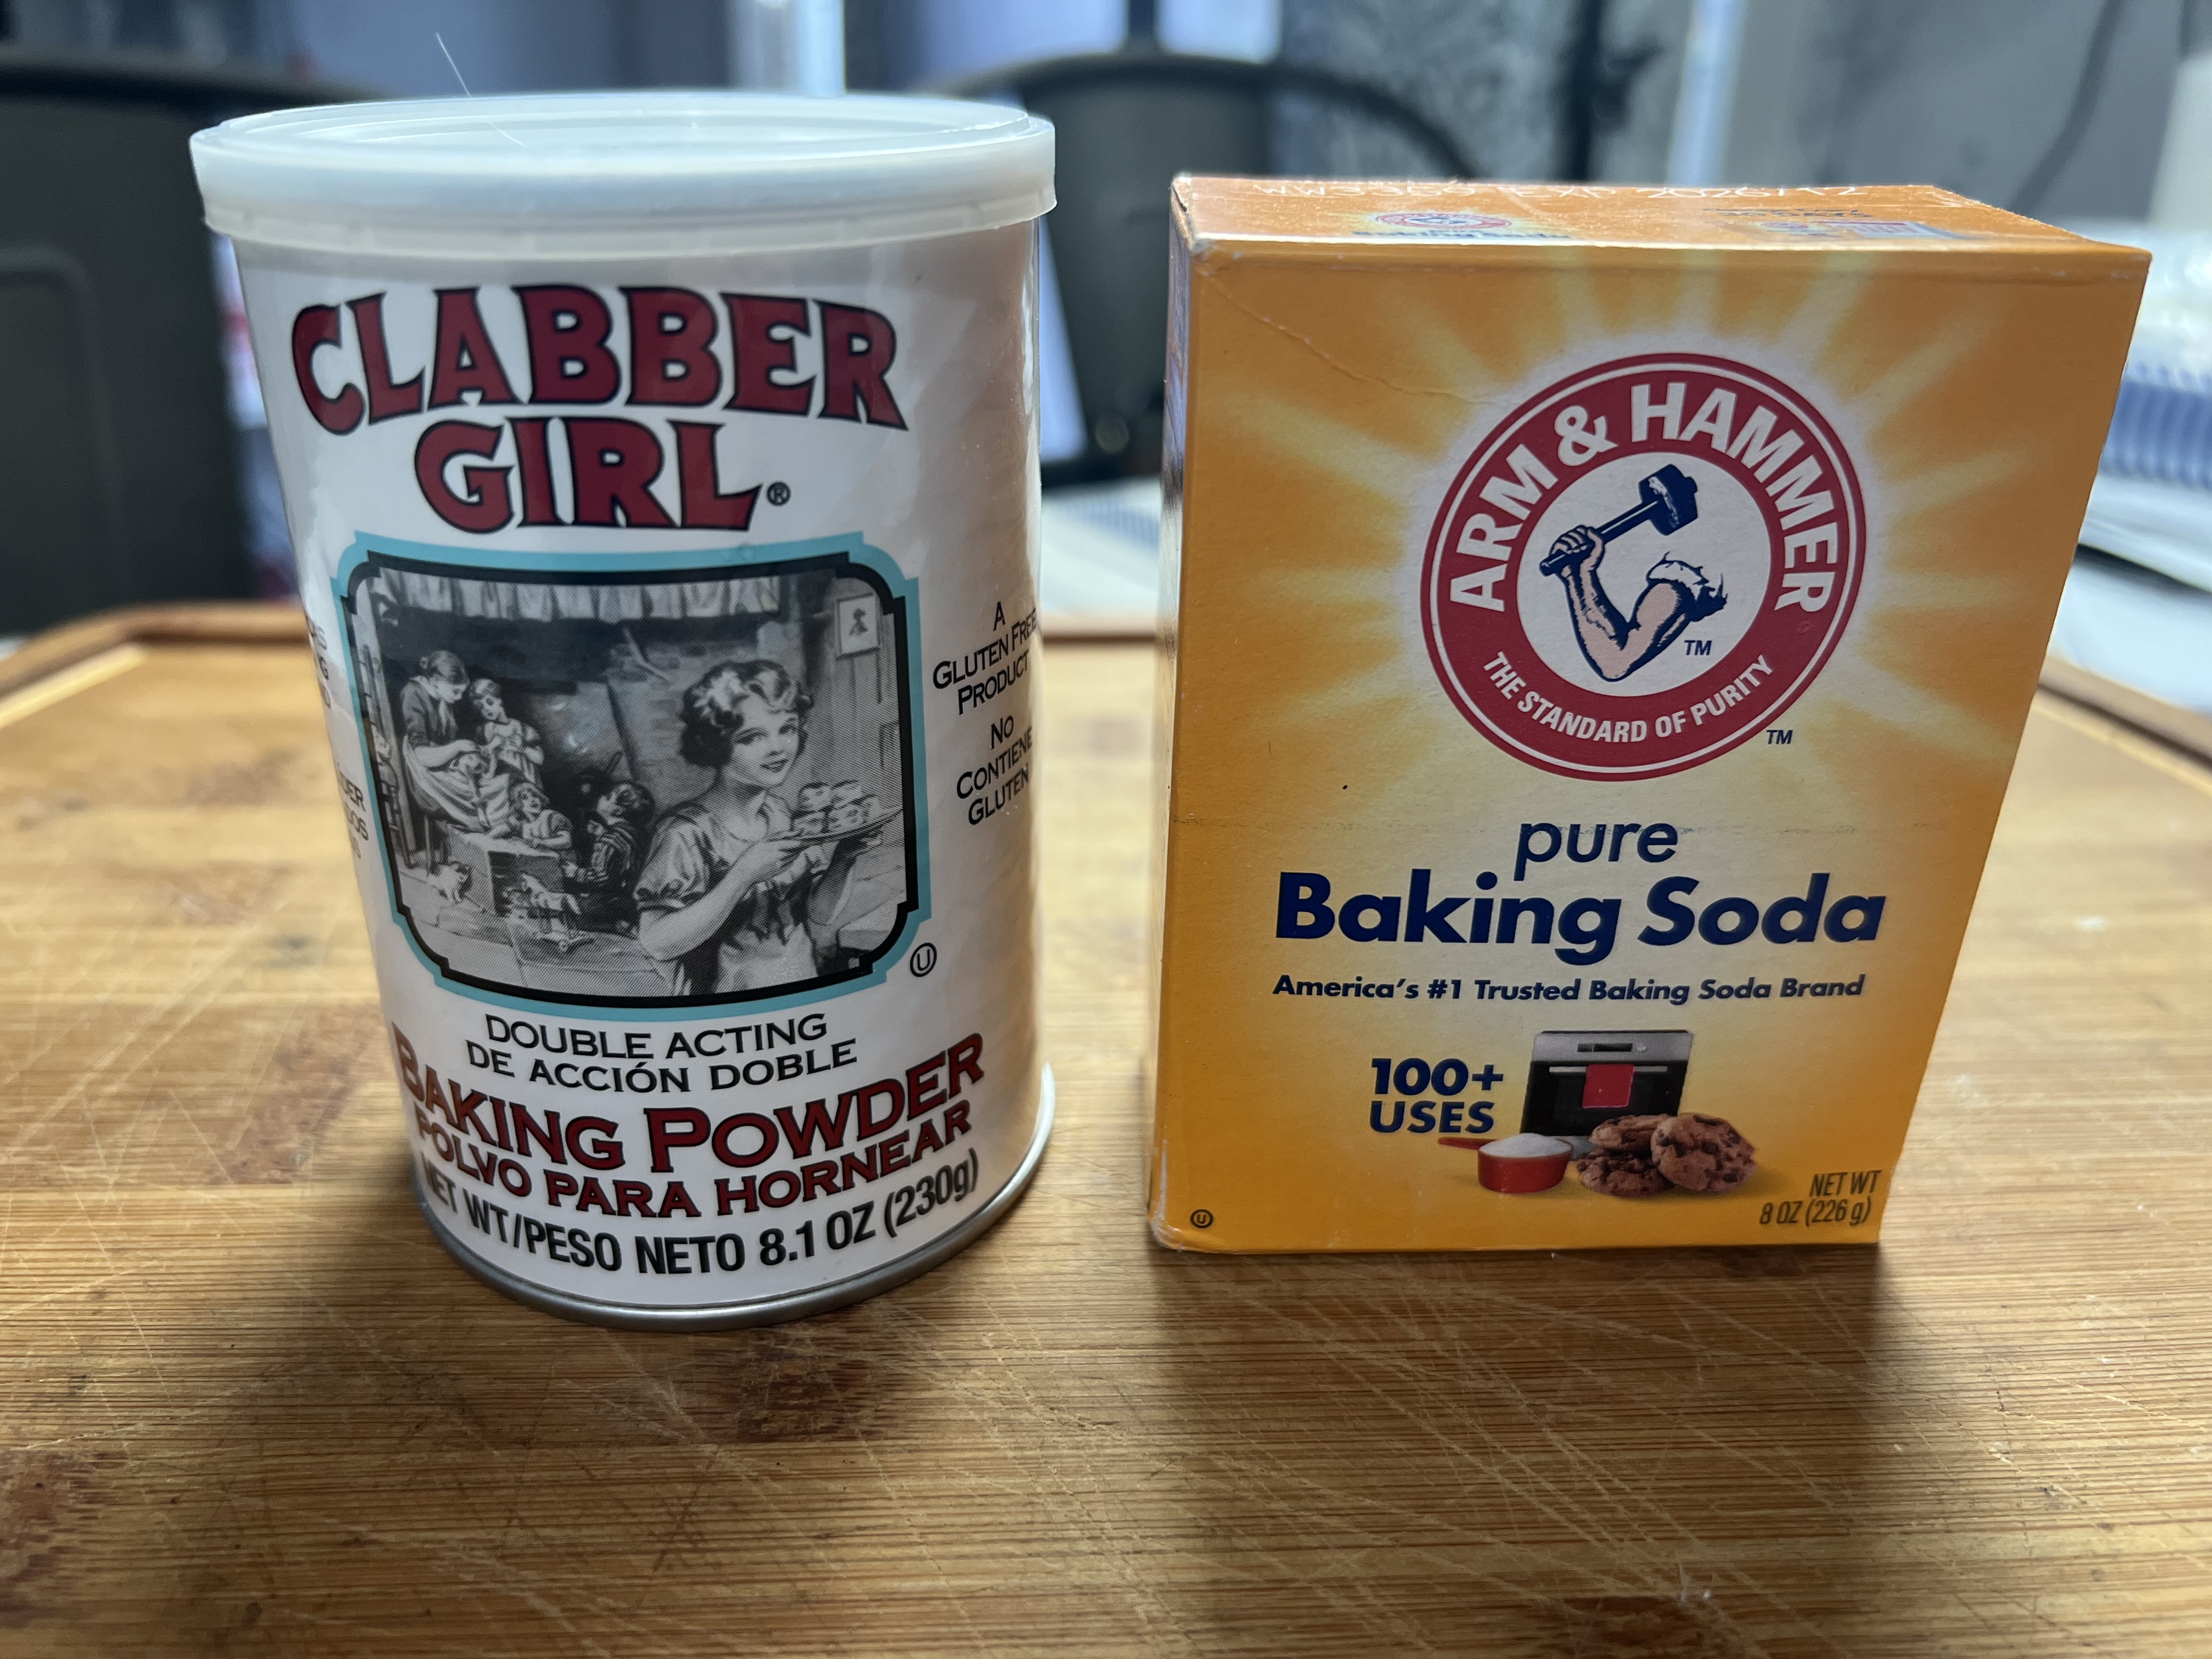
  2. Baking powder: Baking powder often contains cornstarch, which can be a problem for those with gluten intolerance. To make gluten-free baking powder, simply combine 1 part baking soda, 2 parts cream of tartar, and 1 part arrowroot powder or potato starch. This homemade gluten-free baking powder can be used as a substitute in your recipes.
  3. Pasta: If you’re craving pasta but need a gluten-free option, there are many alternatives available. You can try gluten-free pasta made from rice, corn, quinoa, or chickpeas. These alternatives can be cooked and used in your favorite pasta recipes, allowing you to enjoy a delicious gluten-free meal.

It’s important to note that when baking gluten-free, the texture and taste of your baked goods may differ from traditional recipes. However, with practice and experimentation, you can achieve gluten-free versions of your favorite treats that are just as delicious.

Vegan ingredient substitutions

Whether you’re following a vegan lifestyle or simply want to reduce your consumption of animal products, there are plenty of vegan ingredient substitutions available. Here are some common vegan substitutions you can try:

  1. Eggs: As mentioned earlier, eggs can be replaced with ingredients like applesauce, mashed bananas, or silken tofu. These alternatives will help bind the ingredients together and add moisture to your dishes.
  2. Milk: Non-dairy milk alternatives like almond milk, soy milk, or coconut milk can be used as a substitute for cow’s milk in both cooking and baking. These alternatives will provide similar moisture and creaminess to your dishes.
  3. Cheese: Vegan cheese alternatives made from nuts, soy, or tapioca starch can be used as a substitute for traditional cheese. These alternatives can be used in recipes that call for cheese, providing a similar taste and texture.
  4. Honey: Honey is often used as a sweetener, but it is not considered vegan due to its origin from bees. Instead, you can use natural sweeteners like maple syrup, agave nectar, or coconut sugar as vegan alternatives.

By incorporating these vegan ingredient substitutions into your cooking and baking, you can create delicious vegan dishes without compromising on taste or texture.

Ingredient substitutions for common allergies

Food allergies can present challenges in the kitchen, but with the right ingredient substitutions, you can still enjoy a wide variety of dishes. Here are some common ingredient substitutions for common allergies:

  1. Nuts: Nut allergies can be serious, but fortunately, there are several nut-free alternatives available. Sunflower seed butter or soy nut butter can be used as substitutes for peanut butter or other nut butters. Additionally, seeds like pumpkin seeds or sunflower seeds can be used as a replacement for chopped nuts in recipes.
  2. Wheat: Wheat allergies or gluten intolerance can be accommodated by using gluten-free flour blends, as mentioned earlier. These blends can be used as a one-to-one replacement for wheat flour in most recipes.
  3. Soy: Soy allergies can be challenging as soy is a common ingredient in many packaged foods. However, there are alternatives available. For example, you can replace soy sauce with tamari or coconut aminos, which are soy-free options that still provide a similar flavor.
  4. Shellfish: Shellfish allergies can be severe, but you can still enjoy seafood flavors with alternative ingredients. For example, you can substitute shrimp with diced chicken or tofu in recipes that call for stir-fried or sautéed shellfish.

When dealing with food allergies, it’s important to read ingredient labels carefully and be aware of cross-contamination risks. By being proactive and knowledgeable about ingredients, you can create allergen-free dishes that are safe and delicious for everyone.

Tips for successful ingredient substitutions

While ingredient substitutions can open up a world of possibilities in the kitchen, it’s important to approach them with care. Here are some tips to ensure successful ingredient substitutions:

  1. Understand the role of each ingredient: Before making a substitution, it’s important to understand the role that the ingredient plays in the recipe. For example, butter adds richness and flavor, while eggs act as a binding agent. By understanding the purpose of each ingredient, you can choose suitable alternatives that will yield similar results.
  2. Experiment in small batches: When trying out a new substitution, it’s a good idea to start with a small batch. This allows you to test the results without wasting a large quantity of ingredients. If the substitution works well, you can then scale it up for future use.
  3. Keep flavor profiles in mind: When substituting ingredients, consider the flavor profiles of the original and substitute ingredients. For example, if a recipe calls for a specific herb or spice, you may want to choose a substitute that complements the overall flavor of the dish.
  4. Adjust cooking times and temperatures: Some ingredient substitutions may require adjustments to cooking times and temperatures. For example, if you’re substituting a liquid sweetener for granulated sugar, you may need to reduce the amount of liquid in the recipe to compensate for the added moisture.
  5. Don’t be afraid to ask for help: If you’re unsure about a substitution or need guidance, don’t hesitate to ask for help. Reach out to experienced cooks, bakers, or online communities for advice and support. They can provide valuable insights and tips based on their own experiences.

Remember, ingredient substitutions are a way to enhance your culinary skills and creativity. With practice and experimentation, you’ll gain confidence in making substitutions that suit your taste preferences and dietary needs.

Recipe conversion: How to adapt recipes for ingredient substitutions

Converting recipes to accommodate ingredient substitutions may seem daunting, but with a few simple steps, you can adapt your favorite recipes to suit your needs. Here’s how to convert recipes for ingredient substitutions:

  1. Identify the key ingredients: Start by identifying the key ingredients in the recipe that you want to substitute. For example, if the recipe calls for butter, eggs, or milk, you’ll need to find suitable alternatives.
  2. Research substitution ratios: Look for substitution ratios and guidelines for the ingredients you want to replace. Many online resources and cookbooks provide substitution charts that can help you determine the appropriate amounts to use. Keep in mind that ratios may vary depending on the specific recipe and ingredient.
  3. Consider the role of each ingredient: As mentioned earlier, understanding the role of each ingredient in the recipe is crucial. Consider how the substitution may affect the texture, flavor, and overall outcome of the dish. Adjustments may be necessary to achieve the desired results.
  4. Make small adjustments: When making substitutions, it’s best to start with small adjustments and gradually increase or decrease the amounts as needed. This allows you to taste and assess the results before committing to larger quantities.
  5. Take notes: Keep track of the substitutions you make and the results you achieve. This will serve as a reference for future cooking and baking adventures. Over time, you’ll develop a personal collection of successful ingredient substitutions that work for you.

By following these steps and staying open to experimentation, you can adapt your favorite recipes to accommodate ingredient substitutions and create dishes that suit your tastes and dietary needs.

Tools and resources for ingredient substitution

Finding the right ingredient substitutions can be made easier with the help of various tools and resources. Here are a few that you can rely on:

  1. Cookbooks: Many cookbooks provide substitution charts and guidelines for common ingredient substitutions. Look for cookbooks that focus on specific dietary needs or allergies, as they often include comprehensive substitution information.
  2. Online resources: The internet is a treasure trove of information when it comes to ingredient substitutions. Websites, blogs, and cooking forums often have substitution charts, tips, and recipes that can guide you in finding suitable alternatives.
  3. Mobile apps: There are several mobile apps available that provide ingredient substitution information on the go. These apps can be handy when you’re at the grocery store or in the kitchen and need quick access to substitution options.
  4. Community support: Online communities and forums dedicated to cooking and baking can be a valuable resource for finding ingredient substitutions. You can ask questions, share experiences, and learn from others who have successfully navigated ingredient substitutions.

Remember, finding the right tools and resources that work for you can make the process of ingredient substitutions more enjoyable and efficient. Embrace the wealth of knowledge available and use it to enhance your culinary skills.

Embracing creativity in the kitchen with ingredient substitutions

Mastering the art of ingredient substitutions opens up a world of possibilities in the kitchen. Whether you’re faced with limited pantry supplies, dietary restrictions, or simply wanting to explore new flavors, ingredient substitutions empower you to create delicious dishes. From swapping out butter for healthier alternatives to finding gluten-free or vegan substitutions, there are solutions for every need.

By understanding the role of each ingredient, experimenting with different substitutions, and using the right tools and resources, you can confidently navigate ingredient substitutions. Embrace the creativity that comes with finding alternatives,

Processing…
Success! You're on the list.

If you enjoyed this blog , please LIKE, Follow, Share & leave me a comment! I love your feedback!

If you aren’t following me on Facebook & Instagram, go on over & give a LIKE & Follow me for daily tips & tricks for your home & garden!

Remember to eat fresh, shop local, & have a happy day,

Jean

Copyright Policy

All text and images on this site are copyright of For Dragonflies And Me. Unless otherwise noted, you may not use this content 

This post may contain affiliate links. If you choose to purchase through an affiliate link, I may receive a small commission at no additional cost to you. You can see my full disclaimer here.

Unlocking the Secrets: Understanding the Differences in Measuring Liquids and Solids in the Kitchen

In yesterdays blog post I discussed what the difference between baking powder and baking soda is. Today’s let’s look at another puzzling question in the world of baking & cooking, the difference between liquid and solid measuring.

In the culinary realm, precision is key. Whether you are a seasoned chef or a passionate home cook, the importance of accurate measurements cannot be overstated. However, when it comes to measuring liquids and solids, there are certain nuances that often go unnoticed. Unlocking the secrets behind these differences can elevate your cooking and baking to a whole new level. So let’s dive in friends!

Importance of Accurate Measurements in Cooking

Before diving into the specifics of measuring liquids and solids, it’s essential to understand why accuracy matters in the kitchen. Cooking is a delicate balance of flavors and textures, and precise measurements ensure that you achieve the desired outcome. Whether you’re following a recipe or experimenting with your own creations, accurate measurements provide consistency. A slight variation in the amount of an ingredient can significantly alter the taste, texture, and overall success of a dish.

Accurate measurements also play a vital role in baking, where ingredients like flour, sugar, and leavening agents must be carefully balanced. Baking is a science, and even a small discrepancy in measurements can lead to flat cakes, dense breads, or cookies that spread too much. By understanding the differences in measuring liquids and solids, you can avoid these pitfalls and create culinary masterpieces with confidence.

Measuring Liquids in the Kitchen

Join the list

Join hundreds of our subscribers and be the first to know about new content and special offers.

When it comes to measuring liquids, volume is the primary consideration. Using the right tools and techniques ensures accuracy in your measurements. The most common tool for measuring liquids is the liquid measuring cup, which typically comes in sizes ranging from one cup to four cups. These cups have clear markings on the side, indicating the volume of liquid they hold.

To measure liquids accurately, start by placing the measuring cup on a flat surface. Pour the liquid into the cup, filling it to the desired marking. It’s important to bend down to eye level with the cup to ensure the accuracy of the measurement. The liquid should be level with the marking on the cup, without any air bubbles or excess liquid.

Another useful tool for measuring smaller quantities of liquid is the measuring spoon. Measuring spoons come in various sizes, typically ranging from 1/8 teaspoon to 1 tablespoon. These spoons are especially handy when working with ingredients like vanilla extract or lemon juice, where precision is crucial.

To measure liquids using a measuring spoon, hold the spoon over the liquid container and pour the liquid until it reaches the brim of the spoon. Use a knife or spatula to level off any excess liquid, ensuring an accurate measurement. Measuring spoons are also useful for measuring smaller amounts of liquid in a recipe that calls for a specific quantity.

Different Types of Liquid Measuring Tools

While liquid measuring cups and spoons are the most common tools for measuring liquids, there are a few other options available. One alternative is the glass or graduated cylinder, which is often used in professional kitchens or laboratories. Graduated cylinders provide more precise measurements for liquids, especially when dealing with smaller quantities.

Another tool worth mentioning is the digital liquid measuring scale. This scale is designed specifically for measuring liquids and provides accurate measurements in fluid ounces or milliliters. It is particularly helpful when working with recipes that require precise liquid measurements, such as cocktails or scientific experiments.

Tips for Measuring Liquids Accurately

To ensure accurate measurements when working with liquids, consider the following tips:

  1. Use a liquid measuring cup with clear markings and pour the liquid to the appropriate level, bending down to eye level for accuracy.
  2. When working with small quantities of liquid, use measuring spoons and level off any excess liquid with a knife or spatula.
  3. For more precise measurements, consider using a glass or graduated cylinder, or a digital liquid measuring scale.
  4. Avoid measuring liquids in opaque or dark-colored containers, as it can be challenging to see the level accurately.
  5. Take note of the temperature of the liquid, as it can affect the volume. Some recipes may require adjustments if the liquid is too hot or too cold.

By following these tips, you can measure liquids with precision and confidence, ensuring consistent results in your cooking and baking endeavors.

Measuring Solids in the Kitchen

Unlike liquids, solids are measured by weight rather than volume. This is because the density of solid ingredients can vary significantly, making volume measurements less accurate. When measuring solids like flour, sugar, or vegetables, using a digital kitchen scale is essential for precise measurements.

A digital kitchen scale allows you to measure ingredients in grams or ounces, providing a more accurate representation of the ingredient’s weight. This is particularly important when it comes to ingredients like flour, where even a slight variation in weight can affect the texture and structure of baked goods.

To measure solids accurately, place a container on the scale and press the “tare” or “zero” button to reset the scale to zero. This ensures that the weight of the container is not included in the final measurement. Add the solid ingredient to the container until you reach the desired weight, as specified in the recipe. The digital scale will display the weight in real-time, allowing you to adjust as needed.

Different Types of Solid Measuring Tools

While a digital kitchen scale is the preferred method for measuring solids, there are a few other tools that can be useful in certain situations. One such tool is the measuring cup for dry ingredients, which is designed specifically for measuring bulkier solids like flour, sugar, or rice. These cups have a flat edge, allowing you to level off the excess with a straight-edged utensil.

Measuring spoons can also be used for measuring solids, especially when dealing with smaller quantities. However, it’s important to note that measuring spoons are most accurate when measuring denser ingredients like salt or baking powder, rather than lighter ingredients like flour.

Tips for Measuring Solids Accurately

To ensure accurate measurements when working with solids, consider the following tips:

  1. Use a digital kitchen scale for precise measurements, especially when dealing with ingredients like flour, sugar, or butter.
  2. Place a container on the scale and reset it to zero before adding the solid ingredient. This ensures that the weight of the container is not included in the final measurement.
  3. When using a measuring cup for dry ingredients, spoon the ingredient into the cup and level off the excess with a straight-edged utensil.
  4. Be mindful of the density of the solid ingredient. A cup of flour, for example, can vary significantly in weight depending on how it is packed.
  5. When measuring smaller quantities of solids, use measuring spoons and ensure that the ingredient is level with the brim of the spoon.

By following these tips, you can measure solids accurately, ensuring consistent results in your cooking and baking endeavors.

Common Mistakes to Avoid When Measuring Liquids and Solids

While understanding the differences in measuring liquids and solids is crucial, it’s equally important to be aware of common mistakes that can compromise the accuracy of your measurements. Here are a few pitfalls to avoid:

  1. Using the wrong measuring tool: Using a liquid measuring cup for solids or vice versa can lead to inaccurate measurements. Make sure to use the appropriate tool for each type of ingredient.
  2. Estimating measurements: Eyeballing measurements instead of using precise tools can lead to inconsistency in your recipes. Always use a measuring tool to ensure accuracy.
  3. Not leveling off: When measuring solids using a measuring cup or spoon, it’s essential to level off the excess to achieve an accurate measurement. Skipping this step can result in too much or too little of the ingredient.
  4. Measuring on an uneven surface: Placing your measuring cup or spoon on an uneven surface can throw off your measurements. Always ensure a flat and stable surface for accurate results.
  5. Ignoring ingredient density: Understanding the density of different ingredients can help you make more accurate measurements. Keep in mind that a cup of flour will weigh differently than a cup of sugar.

By avoiding these common mistakes, you can ensure that your measurements are precise and consistent, ultimately enhancing the quality of your culinary creations.

Converting Between Liquid and Solid Measurements

In some cases, you may need to convert between liquid and solid measurements. While this can seem daunting, it’s a relatively straightforward process once you understand the basic principles. Here are a few tips to help you convert between the two:

  1. Use a conversion chart: Many online resources provide conversion charts that allow you to convert between liquid and solid measurements. These charts typically list common ingredients and their equivalent measurements in both volume and weight.
  2. Understand ingredient density: Different ingredients have different densities, meaning that a cup of one ingredient may weigh more or less than a cup of another ingredient. By understanding the density of the ingredient you’re working with, you can make more accurate conversions.
  3. Be mindful of accuracy: When converting between liquid and solid measurements, it’s important to remember that slight variations can occur due to factors like ingredient density and packing methods. While conversions provide a good starting point, it’s always best to rely on precise measurements for the most accurate results.

By keeping these tips in mind, you can confidently convert between liquid and solid measurements, allowing you to adapt recipes and experiment with different ingredients.

Mastering the Art of Measuring in the Kitchen

Unlocking the secrets behind measuring liquids and solids is an essential skill for any aspiring cook or baker. By understanding the differences in measuring methods, utilizing the right tools, and avoiding common mistakes, you can achieve precise and consistent results in your culinary endeavors.

Remember, accuracy matters in cooking and baking. Whether you’re measuring liquids or solids, taking the time to ensure precise measurements will elevate your dishes to new heights. So, embrace the secrets of the kitchen, unlock the potential of your ingredients, and embark on a journey of culinary excellence. Cheers to precise measurements and delicious creations!

Processing…
Success! You're on the list.

If you enjoyed this blog , please LIKE, Follow, Share & leave me a comment! I love your feedback!
If you aren’t following me on Facebook & Instagram, go on over & give a LIKE & Follow me for daily tips & tricks for your home & garden!
Remember to eat fresh, shop local, & have a happy day,
Jean
Copyright Policy
All text and images on this site are copyright of For Dragonflies And Me. Unless otherwise noted, you may not use this content 
This post may contain affiliate links. If you choose to purchase through an affiliate link, I may receive a small commission at no additional cost to you. You can see my full disclaimer here.

Baking Powder vs. Baking Soda: Unraveling the Mystery Behind these Kitchen Staples

I often get asked, “What is the difference between baking powder and baking soda?” I thought this would be a good informative blog post for all my followers! So lets dive into this topic. Keep posted for an explanation on what the difference is between liquid and solid measuring cups as well!

In the world of baking, there are two key ingredients that often get confused: baking powder and baking soda. Both are commonly found in our kitchen cabinets, but what exactly are their differences and how do they affect our baked goods? Let’s unravel the mystery behind these kitchen staples.

Baking powder and baking soda may look similar, but they function differently in recipes. Baking soda is a pure chemical compound known as sodium bicarbonate, which, when combined with acidic ingredients like vinegar or buttermilk, creates carbon dioxide bubbles. This reaction helps dough to rise, resulting in fluffy and light-textured baked goods.

On the other hand, baking powder is a mixture of baking soda, an acid, and a stabilizer like cornstarch. It already contains the acidic component needed for the carbon dioxide release, eliminating the need for additional acidic ingredients. This makes baking powder a great choice for recipes that do not include acidic ingredients.

Understanding the difference between these two leavening agents is crucial for achieving the desired results in your baking creations. So next time you’re in the kitchen, confidently reach for either baking powder or baking soda, knowing that you have the right ingredient in hand for that perfect rise.

What is baking powder?

Baking powder is a leavening agent commonly used in baking to help dough rise and create a light and fluffy texture in baked goods. It is a mixture of several ingredients, including baking soda, an acid (such as cream of tartar), and a stabilizer (often cornstarch). These ingredients are carefully combined to create a balanced reaction when exposed to heat and moisture.

When baking powder is added to a recipe, the heat in the oven causes the acid and baking soda to react, releasing carbon dioxide gas. This gas forms bubbles in the dough, causing it to rise. The stabilizer in baking powder helps to keep the reaction stable and prevent premature release of carbon dioxide. Overall, baking powder is a convenient option because it already contains the necessary components for a successful rise, eliminating the need for additional acidic ingredients.

What is baking soda?

Baking soda, also known as sodium bicarbonate, is a pure chemical compound that is commonly used as a leavening agent in baking. It is a versatile ingredient that reacts with acidic components in recipes to produce carbon dioxide gas, which causes dough to rise.

Join the list

Join hundreds of our subscribers and be the first to know about new content and special offers.

Unlike baking powder, which is a pre-mixed leavening agent, baking soda needs an acidic ingredient to activate its leavening properties. Common acidic ingredients used in combination with baking soda include vinegar, lemon juice, and buttermilk. When baking soda and an acid come into contact with moisture and heat, a chemical reaction occurs, resulting in the release of carbon dioxide bubbles. These bubbles create air pockets in the dough, causing it to expand and rise.

Baking soda is also commonly used as a household cleaning agent and odor neutralizer due to its alkaline properties. However, it is important to note that the baking soda used for baking should be separate from the one used for cleaning, as they may not be of the same quality or purity.

Chemical differences between baking powder and baking soda

While baking powder and baking soda may look similar, they have distinct chemical differences that affect their functionality in baking.

Baking soda, or sodium bicarbonate (NaHCO₃), is a pure compound that is alkaline in nature. It is a base that reacts with acids to produce carbon dioxide gas. When baking soda is combined with an acidic ingredient in a recipe, such as vinegar or lemon juice, a chemical reaction occurs. This reaction releases carbon dioxide gas, which creates bubbles and causes the dough to rise.

On the other hand, baking powder is a mixture of baking soda, an acid, and a stabilizer. The acid component in baking powder is usually cream of tartar (potassium bitartrate), although other acids such as monocalcium phosphate or sodium aluminum sulfate may also be used. The stabilizer, often cornstarch, helps to keep the mixture dry and prevent premature activation of the leavening agents.

The main difference between baking soda and baking powder lies in their composition. Baking soda is a single ingredient, while baking powder is a combination of multiple ingredients. This fundamental difference affects how they react in recipes and determines when each should be used.

How do baking powder and baking soda affect baked goods?

The use of baking powder or baking soda in a recipe can greatly impact the texture and flavor of the final baked goods.

When baking soda is used, it creates a more intense reaction due to its alkaline nature. This reaction produces a significant amount of carbon dioxide gas, resulting in a rapid rise of the dough. This can be advantageous in certain recipes where a quick and substantial rise is desired, such as in muffins or quick breads.

On the other hand, baking powder provides a more controlled and gradual release of carbon dioxide. The combination of baking soda and an acid in baking powder allows for a more balanced reaction, resulting in a more controlled rise. This is especially useful in recipes that require a longer baking time or where a more delicate texture is desired, such as in cakes or cookies.

It is important to note that using too much baking powder or baking soda can negatively affect the final outcome of your baked goods. Excessive use can lead to an overly dense or soapy taste in the finished product. Therefore, it is crucial to follow the recommended measurements in recipes to achieve the desired results.

Using baking powder and baking soda in recipes

The choice between using baking powder or baking soda in a recipe depends on the specific ingredients and desired outcome. Understanding the role of each ingredient will help you make an informed decision.

If a recipe calls for an acidic ingredient, such as buttermilk or lemon juice, and does not include baking powder, it is likely that baking soda should be used. The acidic ingredient will react with the baking soda, resulting in a rise in the dough.

On the other hand, if a recipe does not contain any acidic ingredients, or if it specifically calls for baking powder, then it is best to use baking powder. Baking powder already contains the necessary acidic component, eliminating the need for additional acidic ingredients.

In some cases, a recipe may call for both baking powder and baking soda. This is typically done to achieve a specific rise and texture in the final product. The baking soda reacts with the acidic ingredient, providing an initial rise, while the baking powder provides additional leavening power during the baking process.

It is important to note that the amount of baking powder or baking soda required may vary depending on the recipe. It is always recommended to follow the measurements provided in the recipe to ensure the best results.

Substituting baking powder for baking soda, and vice versa

In some situations, you may find yourself without baking powder or baking soda but still need a leavening agent. While it is generally not recommended to substitute one for the other, there are a few alternatives you can consider.

If a recipe calls for baking powder but you only have baking soda on hand, you can create a substitute by mixing baking soda with an acidic ingredient. For every teaspoon of baking powder required, mix 1/4 teaspoon of baking soda with 1/2 teaspoon of cream of tartar. This combination will provide the necessary acidity for the baking soda to react.

Conversely, if a recipe calls for baking soda but you only have baking powder, you can create a substitute by increasing the amount of baking powder and reducing the acidic ingredients in the recipe. For every teaspoon of baking soda required, use 3 teaspoons of baking powder. However, keep in mind that this substitution may alter the taste and texture of the final product.

While these substitutions can be helpful in a pinch, it is always best to use the recommended leavening agent for the recipe to achieve the desired results.

Common misconceptions about baking powder and baking soda

There are several common misconceptions surrounding baking powder and baking soda. Let’s address a few of them:

Myth: Baking powder and baking soda are interchangeable.

  • Fact: While both leavening agents serve the same purpose of helping dough rise, they are not interchangeable. Baking soda requires an acidic ingredient to activate its leavening properties, while baking powder already contains the necessary acid.

Myth: Baking powder and baking soda expire quickly.

  • Fact: Baking powder and baking soda do have a shelf life, but if stored properly, they can last for a long time. Baking powder typically has a shelf life of about 6-12 months, while baking soda can last for 2-3 years. To ensure their effectiveness, store them in a cool, dry place and check for any signs of moisture or clumping before use.

Myth: Baking soda can be used as a substitute for baking powder.

  • Fact: Baking soda can be used as a substitute for baking powder in certain situations, but it is not a direct replacement. Baking powder already contains the necessary acidic component, while baking soda requires an additional acidic ingredient to activate its leavening properties.

Myth: Baking powder and baking soda add flavor to baked goods.

  • Fact: Baking powder and baking soda are primarily used as leavening agents and do not add significant flavor to baked goods. However, using too much baking powder or baking soda can result in a soapy or bitter taste in the final product.

It is important to separate fact from fiction when it comes to baking powder and baking soda to ensure successful and delicious results in your baking endeavors.

Storage and shelf life of baking powder and baking soda

Proper storage of baking powder and baking soda is essential to maintain their effectiveness and prolong their shelf life.

Both baking powder and baking soda should be stored in a cool, dry place away from moisture and direct sunlight. Exposure to moisture can cause the ingredients to clump and lose their effectiveness. It is also important to keep them tightly sealed to prevent moisture from entering the containers.

Baking soda has a longer shelf life compared to baking powder. Baking soda can last for 2-3 years if stored properly, while baking powder typically has a shelf life of about 6-12 months. To test the effectiveness of baking powder, you can mix a small amount with water. If it bubbles vigorously, it is still active and can be used. If the reaction is weak or non-existent, it is time to replace the baking powder.

It is a good practice to label the containers with the date of purchase to keep track of their freshness. Using fresh baking powder and baking soda will ensure optimal results in your baking.

Choosing the right ingredient for your baking needs

Baking powder and baking soda are essential ingredients in the world of baking, each with its own unique characteristics and purposes. Understanding the differences and functionalities of these leavening agents is crucial for achieving the desired results in your baked goods.

Baking soda is a pure compound that requires an acidic ingredient to activate its leavening properties. It is ideal for recipes that already include acidic components such as vinegar or buttermilk. On the other hand, baking powder is a convenient option that already contains the necessary acid and is suitable for recipes that do not include acidic ingredients.

When it comes to substituting one for the other, it is possible but not recommended, as it can alter the taste and texture of the final product. It is always best to use the recommended leavening agent for the recipe.

Proper storage and shelf life are important considerations to ensure the effectiveness of baking powder and baking soda. Store them in a cool, dry place and check for any signs of moisture or clumping before use.

So next time you’re in the kitchen, confidently reach for either baking powder or baking soda, knowing that you have the right ingredient in hand for that perfect rise. Mastering the use of these kitchen staples will elevate your baking creations to new heights. Happy baking!

Processing…
Success! You're on the list.

If you enjoyed this blog , please LIKE, Follow, Share & leave me a comment! I love your feedback!

If you aren’t following me on Facebook & Instagram, go on over & give a LIKE & Follow me for daily tips & tricks for your home & garden!

Remember to eat fresh, shop local, & have a happy day,

Jean

Copyright Policy

All text and images on this site are copyright of For Dragonflies And Me. Unless otherwise noted, you may not use this content 

This post may contain affiliate links. If you choose to purchase through an affiliate link, I may receive a small commission at no additional cost to you. You can see my full disclaimer here.

Baking 101~ Introduction to Baking Like a Pro

The other day I wrote a blog on The Benefits of Baking With Kids, so I thought I should also put out some information for those of you who may be new to the kitchen arena! I personally prefer to cook rather than bake. You may be wondering why, and the answer to that is I feel cooking allows me to be more creative. Baking is what I like to think of as a science. It is very important to follow directions to ensure you get the best possible outcome! Yes you can be very creative when decorating cakes & cupcakes, but you cannot veer from the ingredient list very easily. My daughter is a wonderful baker and has always dreamed of owning her own bakery.

Baking is a beautiful art that requires precision, patience, and a passion for creating delectable treats. Whether you are a beginner or an experienced baker, there are always new tips and techniques to learn to take your baking skills to the next level. In this article, I will share with you the essential tools, techniques, and principles that will help you bake like a pro. So, put on your apron, preheat your oven, and let’s get started on this baking adventure!

Essential Tools for Baking Success

Before diving into the world of baking, it is important to equip yourself with the right tools. These tools will not only make your baking experience more enjoyable but also ensure better results. Here are some essential tools every aspiring baker should have in their kitchen:

  • Measuring Cups and Spoons: Accurate measurements are crucial in baking. Invest in a set of measuring cups and spoons to measure dry and liquid ingredients precisely.
  • Mixing Bowls: A set of mixing bowls in various sizes will come in handy for mixing ingredients, whisking, and preparing dough.
  • Whisk: A whisk is a versatile tool that helps combine ingredients smoothly and incorporate air into batters and doughs.
  • Spatula: A good spatula is essential for scraping down the sides of bowls and folding ingredients gently.
  • Oven Thermometer: Oven temperatures can vary, affecting the outcome of your baked goods. An oven thermometer will ensure accurate temperature readings for perfect results.
  • Baking Pans and Sheets: Invest in high-quality baking pans and sheets that distribute heat evenly for even baking.

Understanding the Importance of Ingredient Quality

When it comes to baking, the quality of ingredients can make a significant difference in the taste and texture of your final product. Here are a few key ingredients and their importance in baking:

1. Flour: Flour is the backbone of most baked goods. Opt for high-quality all-purpose flour or specific types like cake flour or bread flour, depending on your recipe. The protein content in flour affects the structure and texture of your baked goods.

2. Leavening Agents: Baking powder and baking soda are leavening agents that help your baked goods rise. Ensure they are fresh and within their expiration date for optimal results.

3. Butter: Butter adds flavor and moisture to your baked goods. Use unsalted butter for better control over the salt content in your recipe.

4. Eggs: Eggs provide structure, moisture, and richness to your baked goods. Fresh eggs are essential for best results.

5. Sugar: Sugar not only sweetens your baked goods but also contributes to their texture and moisture content. Use the type of sugar specified in your recipe, whether it’s granulated, brown, or powdered sugar.

By using high-quality ingredients, you can elevate the taste and texture of your creations, making them truly professional.

Join the list

Join hundreds of our subscribers and be the first to know about new content and special offers.

The Science Behind Baking: Key Techniques and Principles

Baking is not just about following a recipe; it is also about understanding the science behind it. Knowing the key techniques and principles will help you troubleshoot issues and achieve consistent results. Let’s explore some fundamental concepts:

1. Gluten Formation: Gluten is formed when flour comes in contact with liquid and is agitated through mixing or kneading. It provides structure and elasticity to baked goods. The amount of gluten developed affects the texture, so different recipes require different levels of gluten formation.

2. Leavening: Leavening agents, such as baking powder and baking soda, release carbon dioxide gas when mixed with liquid and heat. This gas expands the dough or batter, causing it to rise. Understanding the right amount of leavening agent to use is crucial for achieving the desired rise.

3. Maillard Reaction: The Maillard reaction is a chemical reaction that occurs between amino acids and reducing sugars when exposed to heat. It is responsible for the browning and flavor development in baked goods. Controlling the temperature and timing is essential to achieve the perfect golden brown color and flavor.

4. Emulsification: Emulsification is the process of combining two immiscible ingredients, such as oil and water, into a stable mixture. It is crucial for creating smooth and creamy textures in certain baked goods like cakes and frostings. Techniques like creaming butter and sugar or adding eggs gradually help in emulsification.

Understanding these scientific principles will give you a deeper insight into the baking process and allow you to experiment and innovate with your recipes.

Mastering the Art of Measuring and Weighing Ingredients Accurately

Accurate measurement of ingredients is a fundamental aspect of successful baking. Even slight variations in measurements can affect the texture and taste of your baked goods. Here are some tips for measuring and weighing ingredients accurately:

  • Use a Digital Scale: Invest in a good digital kitchen scale for precise measurements. Weighing ingredients is more accurate than using volume measurements.
  • Spoon and Level Dry Ingredients: When measuring dry ingredients like flour or sugar, spoon them into the measuring cup and level off the excess with a straight edge. Do not pack the ingredients into the cup, as it can lead to dense and dry baked goods.
  • Use Liquid Measuring Cups: For liquid ingredients, use a liquid measuring cup with clear markings at eye level. Pour the liquid slowly until it reaches the desired measurement.
  • Measure Ingredients at Room Temperature: Some ingredients, like butter or eggs, are often specified at room temperature. Use a kitchen thermometer to ensure they are at the correct temperature before measuring.

By mastering the art of accurate measurement, you can ensure consistent results and perfect your baking skills.

The Role of Temperature and Timing in Baking

Temperature and timing play crucial roles in the success of your baked goods. Understanding how to manipulate these variables will help you achieve the desired results. Here are some tips to consider:

  • Preheating the Oven: Always preheat your oven to the specified temperature before baking. This ensures even heat distribution and proper rising of your baked goods.
  • Room Temperature Ingredients: Most recipes specify using room temperature ingredients like eggs, butter, or dairy. Allowing these ingredients to come to room temperature helps in better incorporation and texture.
  • Baking Time: Follow the baking time specified in the recipe as a starting point. However, every oven is different, so keep a close eye on your baked goods as they near the end of the recommended baking time to avoid over or under-baking.
  • Toothpick Test: To check for doneness, insert a toothpick into the center of the baked goods. If it comes out clean or with a few crumbs, your baked goods are ready. If the toothpick has wet batter clinging to it, continue baking for a few more minutes.

Understanding and controlling temperature and timing will ensure your baked goods are perfectly cooked and avoid any unpleasant surprises.

Tips for Achieving the Perfect Texture and Consistency in Baked Goods

The texture and consistency of your baked goods can make or break the final result. Here are some tips to help you achieve the perfect texture:

  • Creaming Method: For cakes and cookies, use the creaming method, which involves beating butter and sugar together until light and fluffy. This creates air pockets that contribute to a tender and moist texture.
  • Folding Technique: When incorporating dry ingredients into wet ingredients, use a gentle folding motion with a spatula to avoid overmixing. Overmixing can lead to a tough texture.
  • Room Temperature Butter: When a recipe calls for softened butter, ensure it is at the correct temperature. Softened butter blends easily with other ingredients, resulting in a smooth and even texture.
  • Proper Cooling: Allow your baked goods to cool completely on a wire rack before storing or decorating. Cooling allows the texture to set and prevents moisture buildup.

By implementing these tips, you can achieve bakery-quality textures in your homemade baked goods.

Enhancing Flavors with Spices, Extracts, and Other Ingredients

Flavor is an essential aspect of any baked good. Here are some ways to enhance flavors and create memorable treats:

  • Spices: Experiment with spices like cinnamon, nutmeg, ginger, or cardamom to add warmth and depth to your baked goods. Start with small amounts, as spices can be potent.
  • Natural Extracts: Vanilla extract is a classic flavor enhancer, but there are many other extracts available, such as almond, lemon, or coconut. Use extracts sparingly to avoid overpowering the flavors.
  • Citrus Zest: The zest of citrus fruits like lemons or oranges adds a burst of fresh flavor to your baked goods. Grate the outer colorful part of the fruit, avoiding the bitter white pith.
  • Mix-ins: Add texture and flavor by incorporating mix-ins like chocolate chips, nuts, dried fruits, or shredded coconut into your batters or doughs.

Experimenting with different flavors and combinations will elevate your baked goods to a whole new level.

Decorating and Presenting Your Baked Creations Like a Pro

The presentation of your baked goods can be just as important as their taste. Follow these tips to decorate and present your creations like a pro:

  • Frosting Techniques: Learn different frosting techniques like smooth buttercream, piped designs, or intricate patterns. Practice piping and decorating on a parchment paper before moving onto your actual baked goods.
  • Use Pastry Bags and Tips: Invest in a set of pastry bags and tips for more precise and professional-looking designs. Different tips create different shapes and textures for various decorations.
  • Garnish with Fresh Fruits or Herbs: Top your cakes or tarts with fresh fruits or herbs to add a pop of color and freshness. Choose fruits or herbs that complement the flavors of your baked goods.
  • Serve on Attractive Platters: Present your baked goods on attractive platters or cake stands. Consider the overall theme or occasion and choose the right servingware to enhance the visual appeal.

By paying attention to the details of decorating and presenting, you can make your baked creations look as good as they taste.

Troubleshooting Common Baking Mistakes

Even the most experienced bakers encounter challenges from time to time. Here are some common baking mistakes and how to troubleshoot them:

  • Flat Cakes: Flat cakes can result from using expired leavening agents or overmixing the batter. Check the expiration date of your baking powder or baking soda and avoid overmixing, which can deflate the batter.
  • Dry Baked Goods: Dryness can be a result of overbaking or using too much flour. Follow the recommended baking time, and spoon and level your dry ingredients to avoid excess flour.
  • Soggy Bottoms: Soggy bottoms can occur when your baked goods are not fully cooked or when they are placed on a moist surface after baking. Ensure your baked goods are fully cooked and cool them on a wire rack to prevent moisture buildup.
  • Uneven Rising: Uneven rising can be caused by uneven oven temperatures or improper mixing. Use an oven thermometer to ensure accurate temperatures, and mix your ingredients thoroughly for even distribution.

By identifying and addressing these common baking mistakes, you can overcome obstacles and improve your baking skills.

Resources and Courses for Furthering Your Baking Skills

If you are eager to take your baking skills to the next level, there are various resources and courses available to help you. Here are some options:

  • Cookbooks: Invest in reputable baking cookbooks written by experienced bakers. These cookbooks provide detailed recipes, techniques, and tips to expand your knowledge.
  • Online Tutorials: Numerous websites and YouTube channels offer free baking tutorials. Watch step-by-step videos and learn from experienced bakers at your own pace.
  • Baking Classes: Look for local baking classes or workshops in your area. These hands-on classes provide practical guidance and allow you to interact with instructors and fellow baking enthusiasts.
  • Professional Baking Courses: If you are serious about pursuing a career in baking, consider enrolling in professional baking courses. These courses provide comprehensive training in various aspects of baking and often offer certifications upon completion.

By actively seeking out resources and courses, you can continue to expand your baking skills and knowledge.

Unleashing Your Inner Pro Baker

Baking like a pro is a journey of continuous learning, experimentation, and passion. By understanding the essential tools, techniques, and principles, you can elevate your baking skills and create professional-quality treats. Remember to invest in the right tools, use high-quality ingredients, and embrace the science behind baking. With practice and perseverance, you will unleash your inner pro baker and delight yourself and others with your delicious creations. So, keep your apron on, keep learning, and keep baking!

CTA: Share your favorite baking tips or recipes in the comments below. Let’s inspire each other to become better bakers!

Processing…
Success! You're on the list.

If you enjoyed this blog , please LIKE, Follow, Share & leave me a comment! I love your feedback!

If you aren’t following me on Facebook & Instagram, go on over & give a LIKE & Follow me for daily tips & tricks for your home & garden!

Remember to eat fresh, shop local, & have a happy day,

Jean

Copyright Policy

All text and images on this site are copyright of For Dragonflies And Me. Unless otherwise noted, you may not use this content 

This post may contain affiliate links. If you choose to purchase through an affiliate link, I may receive a small commission at no additional cost to you. You can see my full disclaimer here.